Changing gearstick gaitor?
 07 January 2011, 04:52 PM
#1
Scooby Regular
Thread Starter
iTrader: (4)

Join Date: Nov 2007
Location: Devon
Posts: 445
Likes: 0
Received 0 Likes
on
0 Posts
Hi guys,
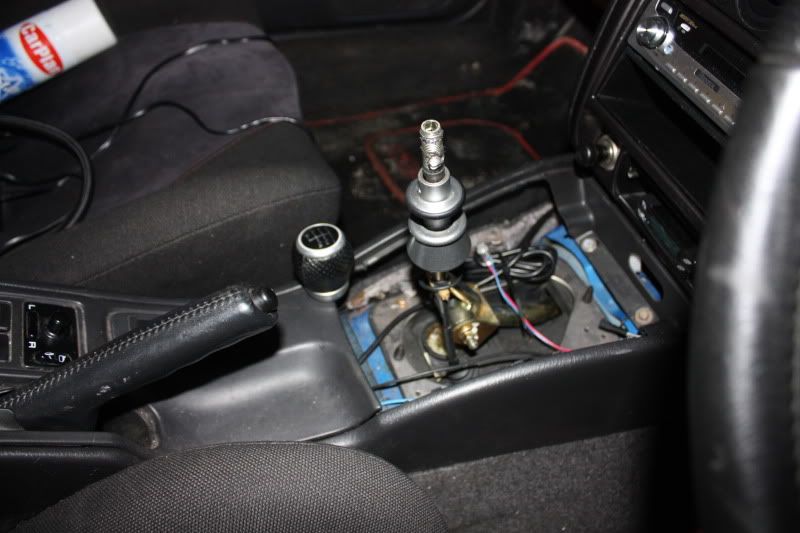
I have a classic type r and am trying to change the gaitor on the gearstick.
I undid the trim and removed the old gaitor by cutting it as it was very worn.
So I then connected the gaitor to the plastic base piece using the plastic pins and metal clips.
How do I get the gaitor over the top of the gearstick? I have removed the gearknob but the plastic piece at the top of the stick is still too thick?
Last edited by screechy; 07 January 2011 at 04:55 PM.

 07 January 2011, 06:02 PM
#3
Scooby Regular
Thread Starter
iTrader: (4)
Join Date: Nov 2007
Location: Devon
Posts: 445
Likes: 0
Received 0 Likes
on
0 Posts
It's a 6 speed **** and it unscrewed anti-clockwise. Looks like that's how it should come apart as the top of the stick was exposed with a thread on it.
Last edited by screechy; 07 January 2011 at 06:24 PM.
 09 January 2011, 12:28 PM
#6
Scooby Regular
Thread Starter
iTrader: (4)
Join Date: Nov 2007
Location: Devon
Posts: 445
Likes: 0
Received 0 Likes
on
0 Posts
There are 2 circular holes just below the top of the silver bit but they don't seem to do anything. Was thinking they may have been allen screws but tried all the allen keys I have and nothing happens.
Trending Topics
 16 January 2011, 12:48 PM
#11
It was a cheapy from a local car shop, it came in a plastic package labelled "Leather gear lever gaitor, universal fit."
To fit it, I had to unpick the seam around the bottom, (to give it a bit more length), hold it against the underside of the surround and mark the positions of the little clips with a felt pen. I then burned the leather into a small hole at those points with a red-hot skewer. Better to burn it than try and cut it, which can lead to tearing later
The leather goes over the spigots on the surround and is held in place with tiny pieces of black ABS, (or styrene), plastic sheet about 1/10" thick, (called 100 thou), bought from a model shop and cut with scissors after having holes drilled in each the same size as the spigots. The ABS sheet was held in place with a dab of styrene cement on each.
The gaitor cost me the amazing sum of �7.50.
Took longer to type this than to fit, really.

Thread
Thread Starter
Forum
Replies
Last Post
Sam Witwicky
Engine Management and ECU Remapping
17
13 November 2015 10:49 AM

