
1994 Version Sti RA.... Restoration Project.


Ollie it will just be some metal polish on occasion with a metal wax sealant, that's all I have ever used.... Now the rough grainy finish is off especially on the wishbones you would be surprised how easy this is to maintain. From my experience coating it is not an option for me, one stone chip and the water would get under it.


 with the car freshly white underneath its the only thing I could do or all the bodywork effort would be wasted.
  just not Japanese
I've asked the question on the RA forum to see if anyone has an idea over there.
More like JAM than JDM I think Kev 
Had a look at the top mount tonight... It's showing its age so other than a tidy up there's not a lot than can be done, I've been fin straightening in order to get a better flow plus removed the black surround in order to give better access to tidy up and paint.
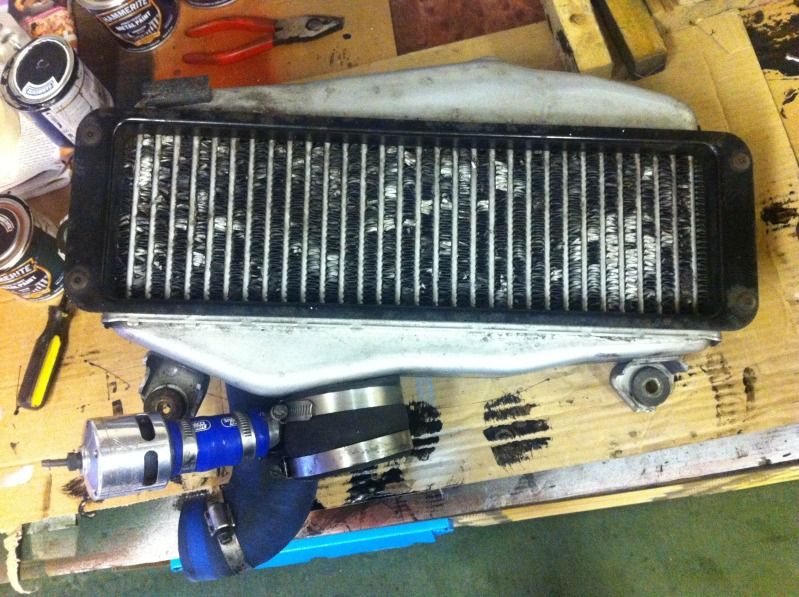
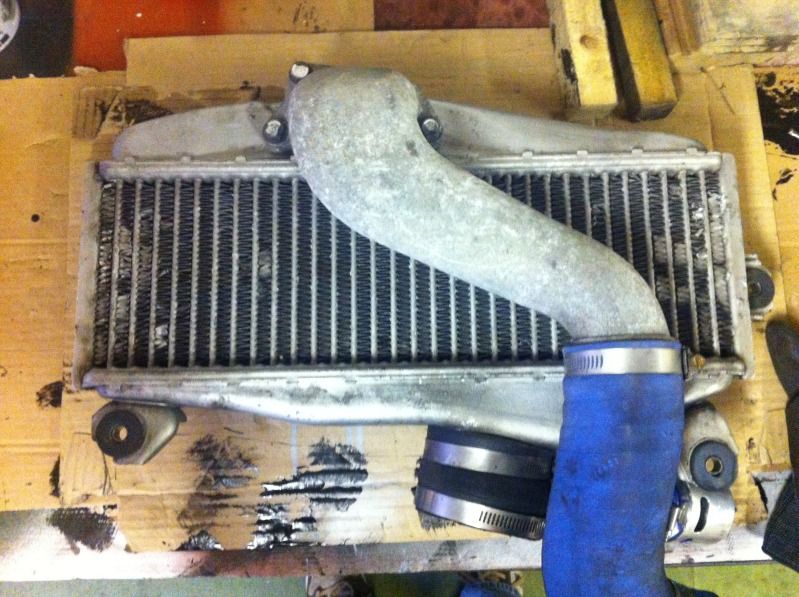
Dump valves coming off and OEM going back on.
Had a look at the top mount tonight... It's showing its age so other than a tidy up there's not a lot than can be done, I've been fin straightening in order to get a better flow plus removed the black surround in order to give better access to tidy up and paint.
Dump valves coming off and OEM going back on.
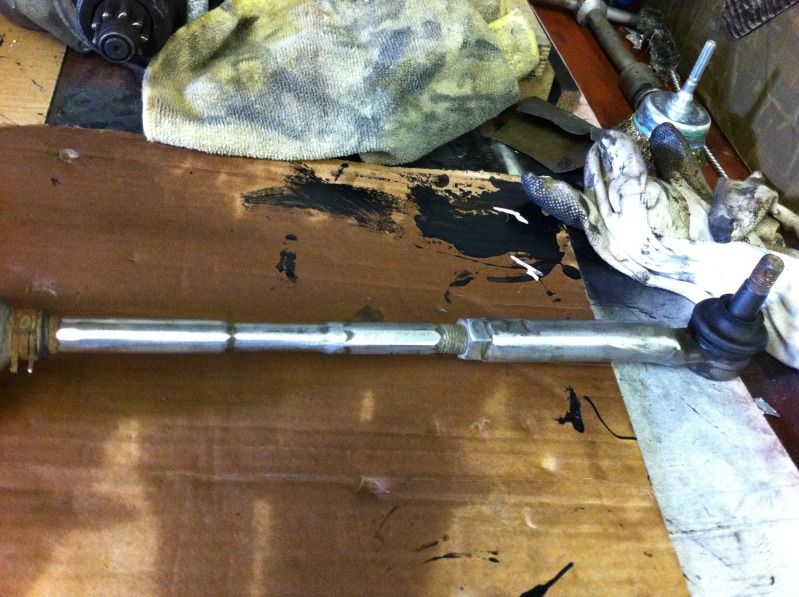
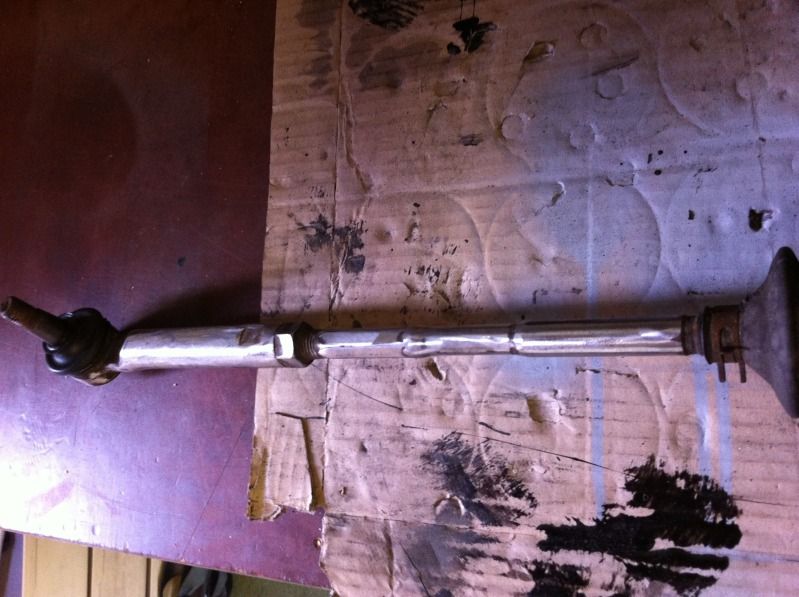
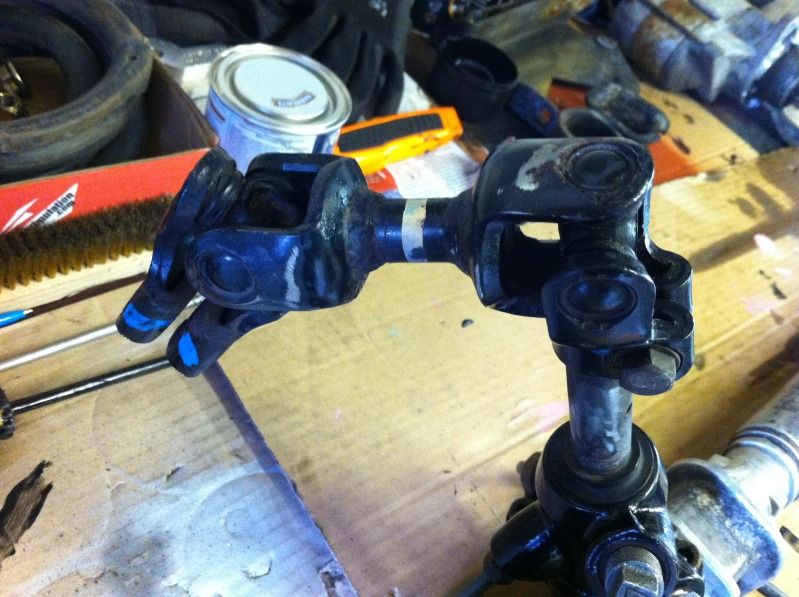
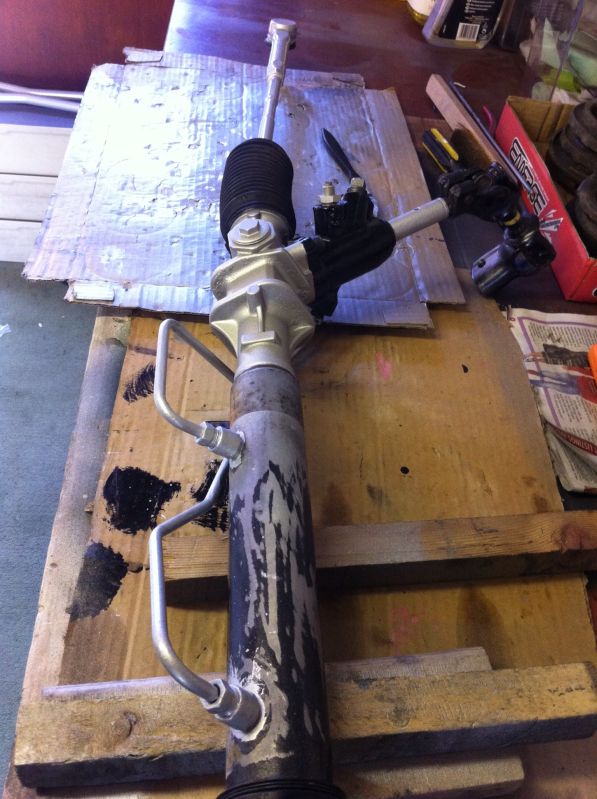
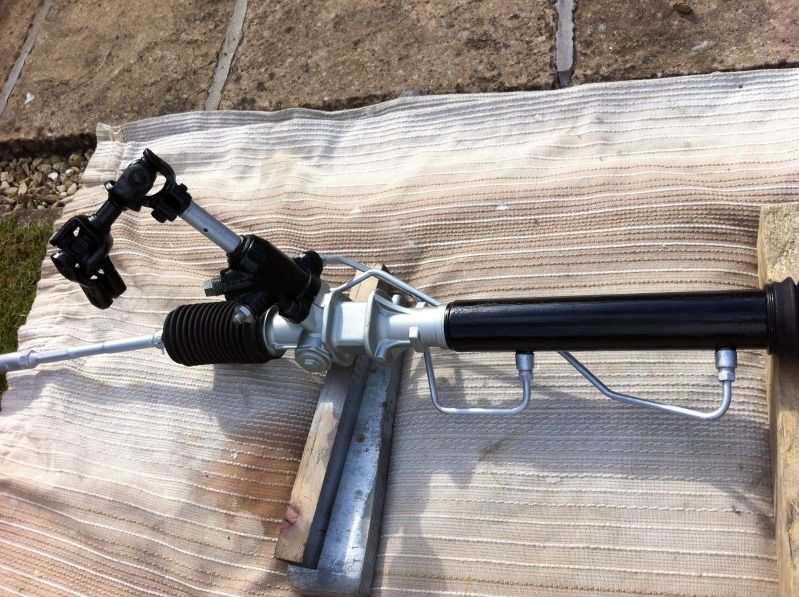
It's a dry evening for a change so I made the most of it and got on with the steering rack outside... It's a dusty job and its no good indoors for sure.
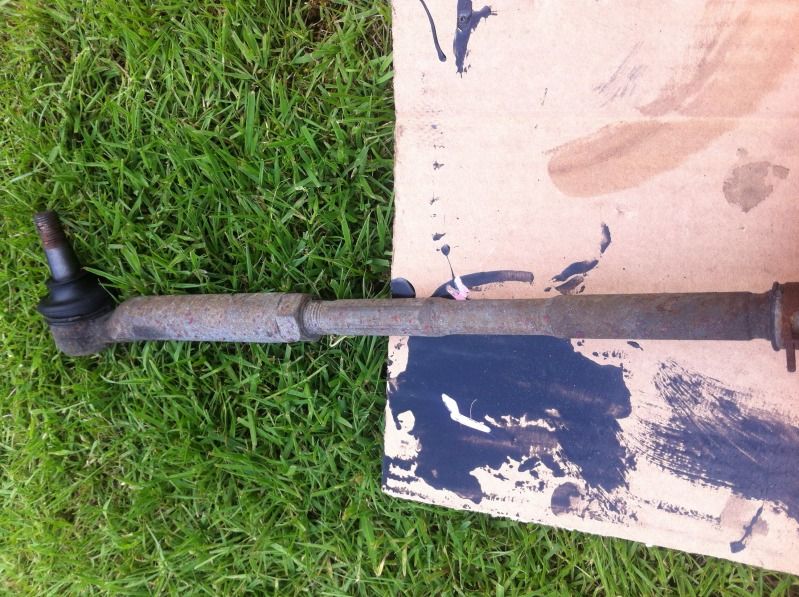
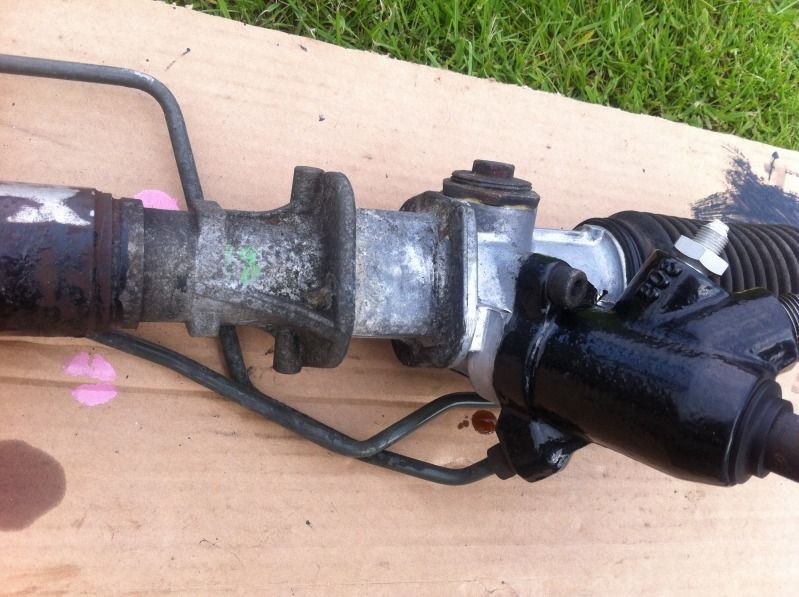
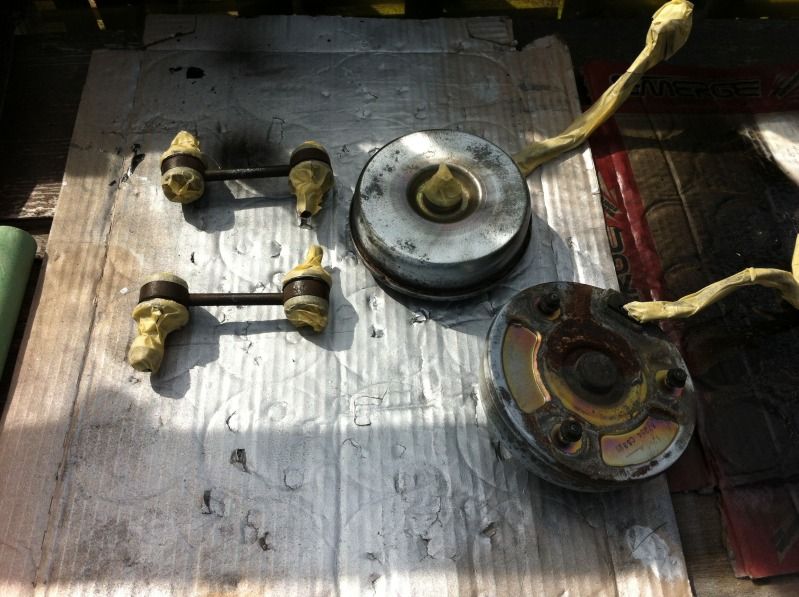
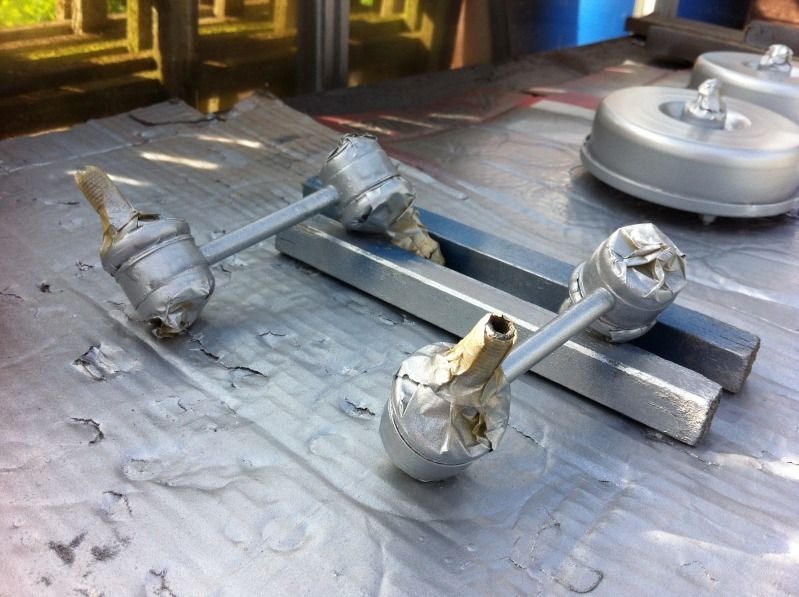
Nothing to bad just surface scabbing and the black powder coat had rust bubbles lurking under it.
Then a few afterwards after a clean back.

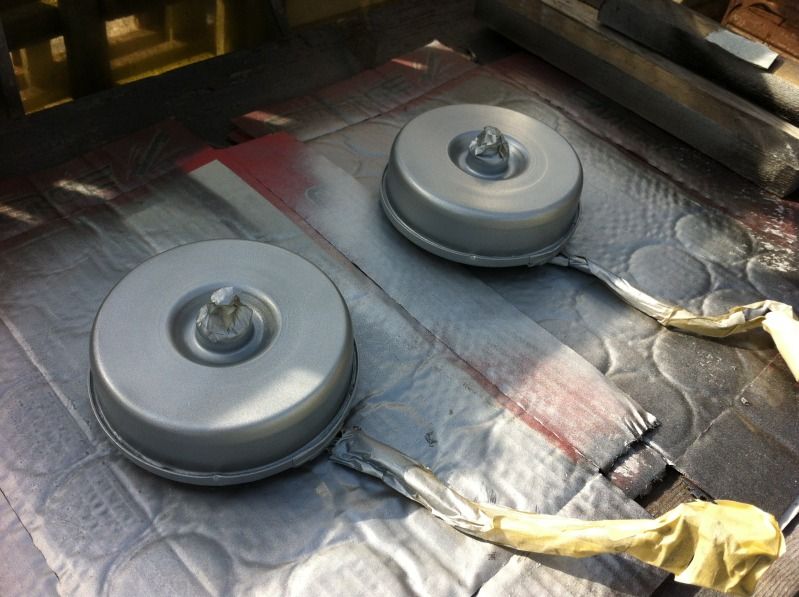
Finished off by a good coat of prep and ready so all being well I can get on with the paint tomorrow and tick this off the list.
Nothing to bad just surface scabbing and the black powder coat had rust bubbles lurking under it.
Then a few afterwards after a clean back.
Finished off by a good coat of prep and ready so all being well I can get on with the paint tomorrow and tick this off the list.
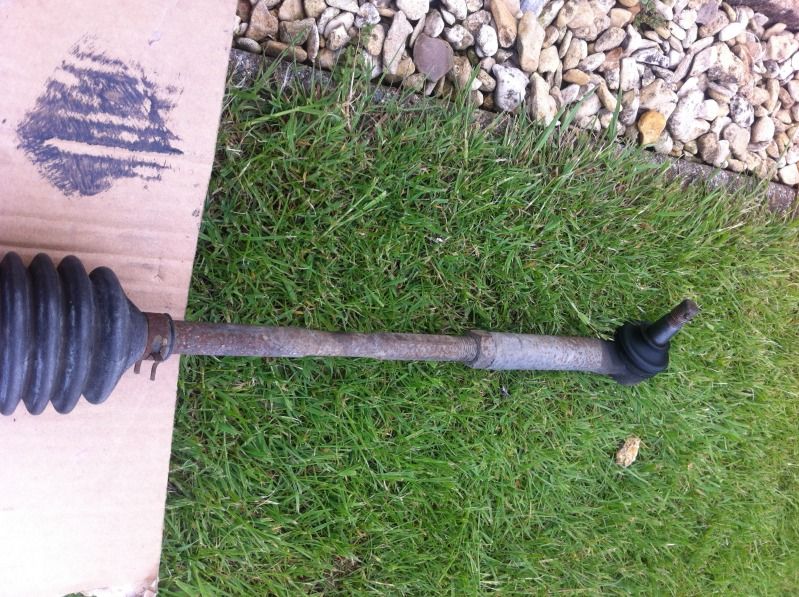
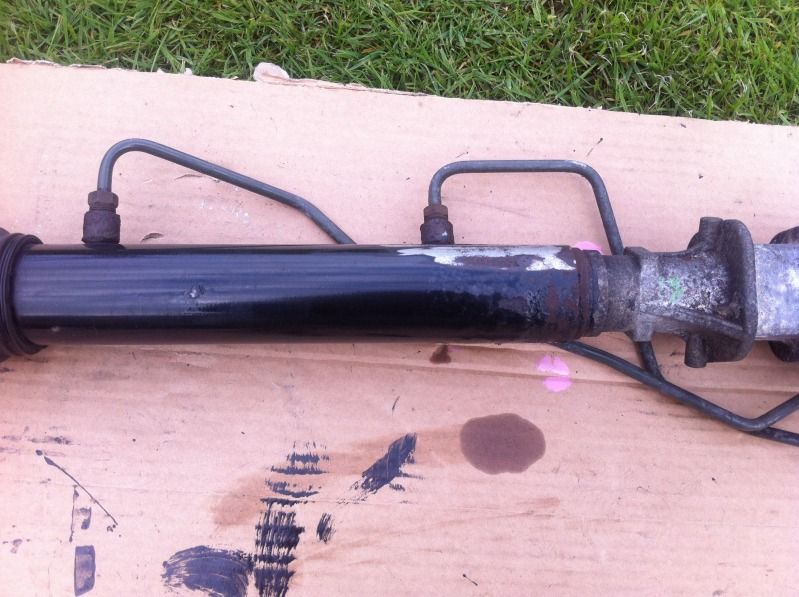
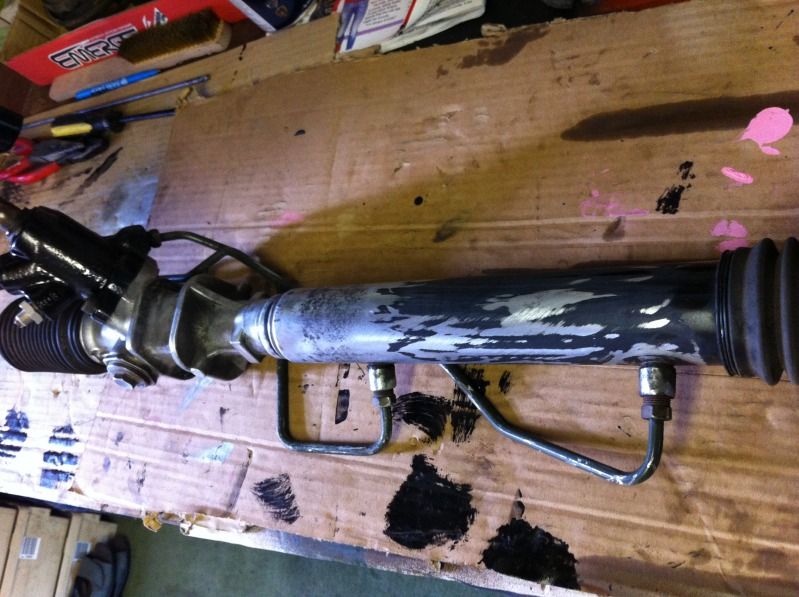
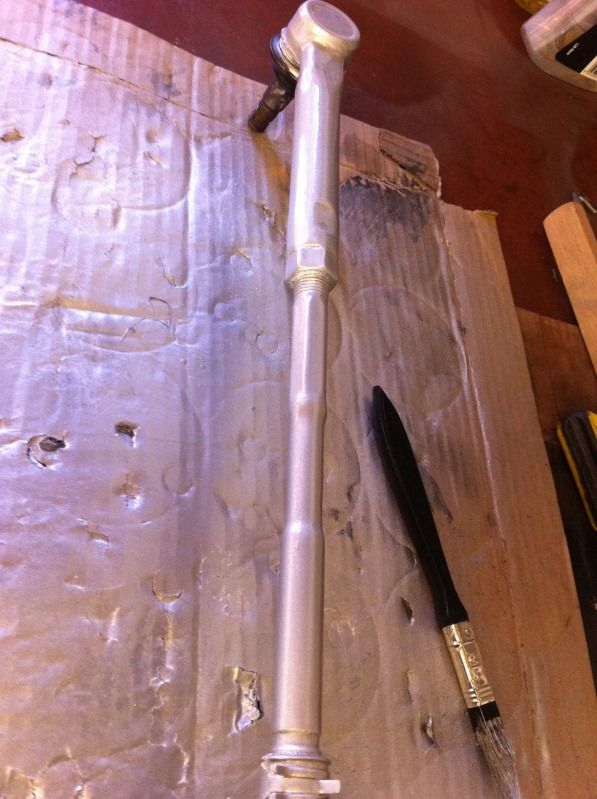
Part way into the rack, only the black to finish tomorrow in it...
Small steps
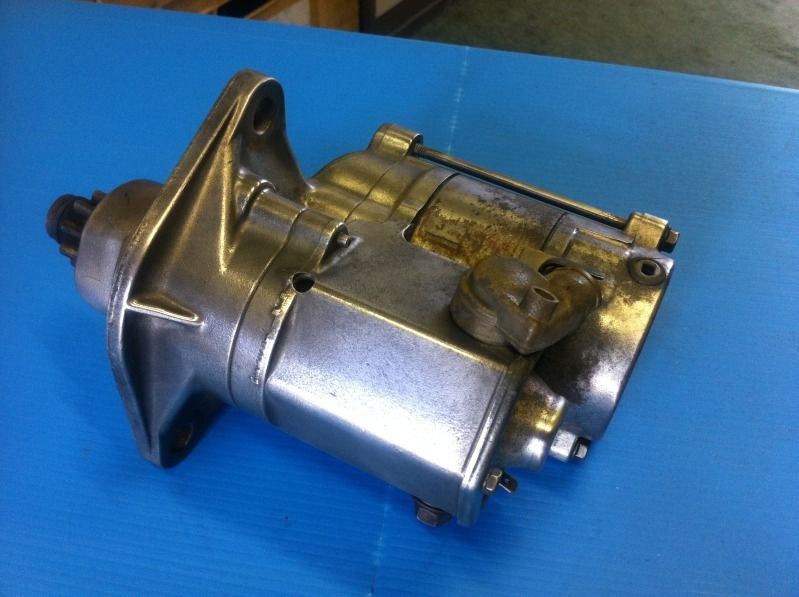
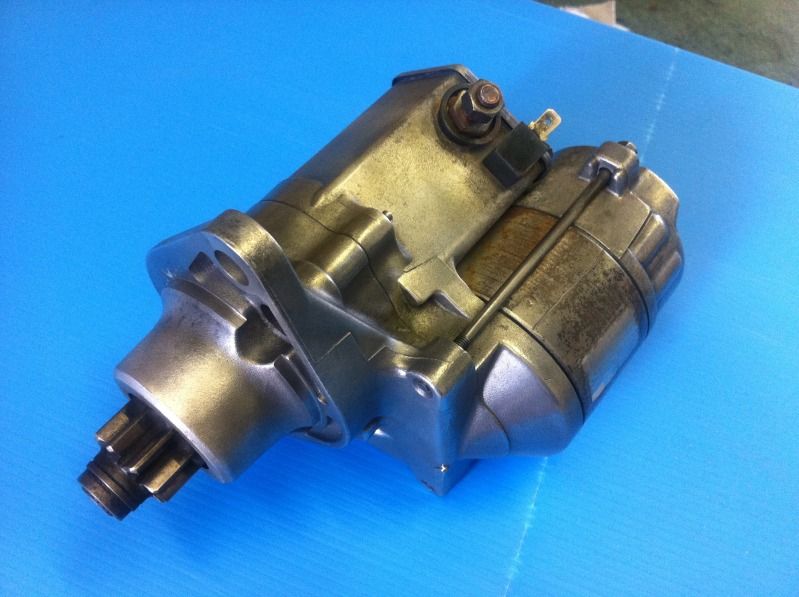
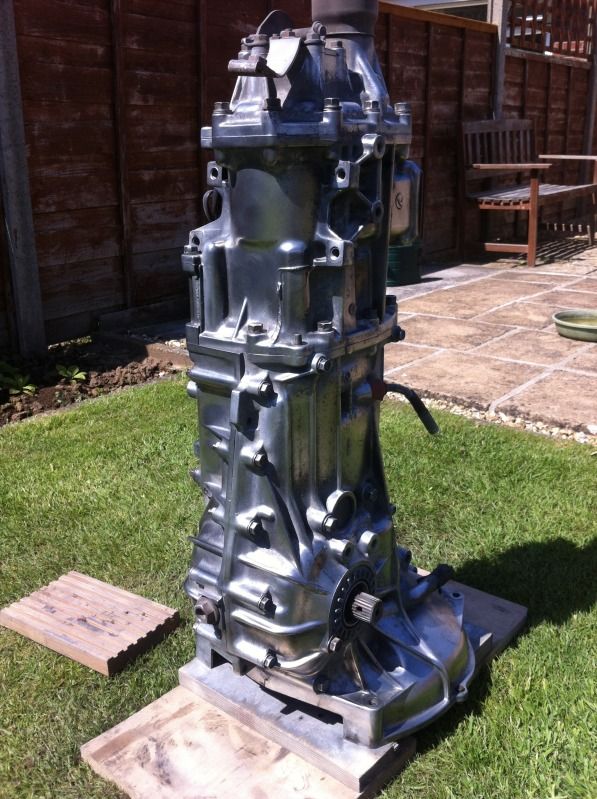
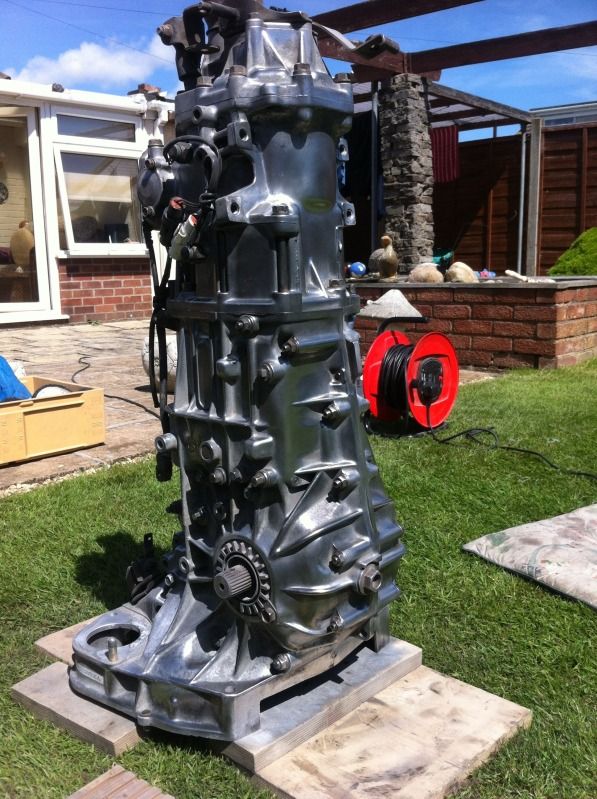
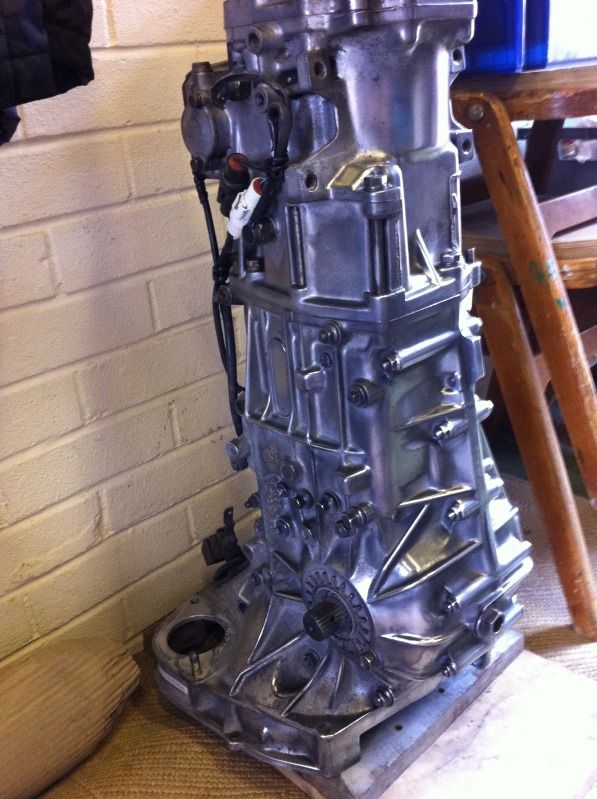
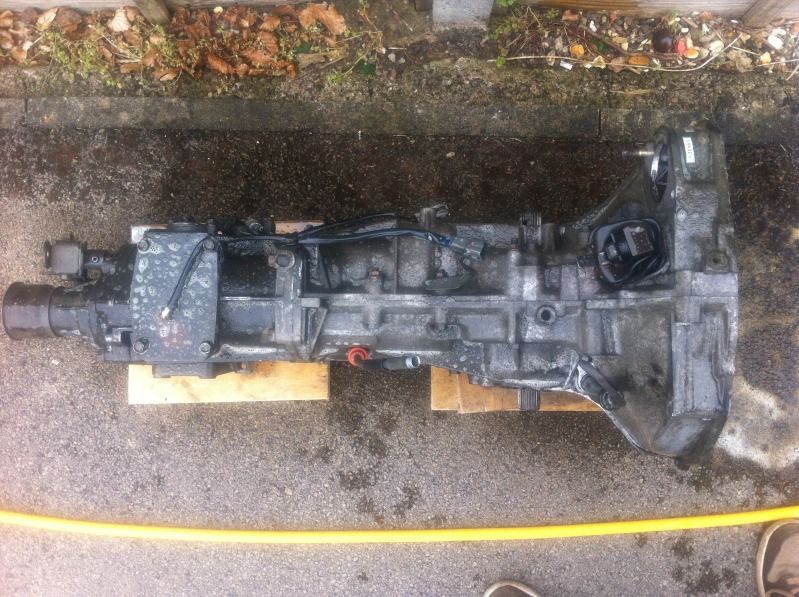
I had 10 minutes on the starter motor as well just to see what I could archive... Gives me an idea of what to try on the gearbox tomorrow if the weather plays ball.
Small steps
I had 10 minutes on the starter motor as well just to see what I could archive... Gives me an idea of what to try on the gearbox tomorrow if the weather plays ball.
It's a job to know what to do for the best really Frayz... On the rack the ram will get a sheen black finish and as for the starter it was in a state so I wanted to simply clean it back without doing to much to it, I'm nervous about painting to much in respect when it's back together it may start to look scabby in the future then with paint on it things get difficult to refresh. That finish is simply a scotchbrite mop and a quick cotton mop afterwards.
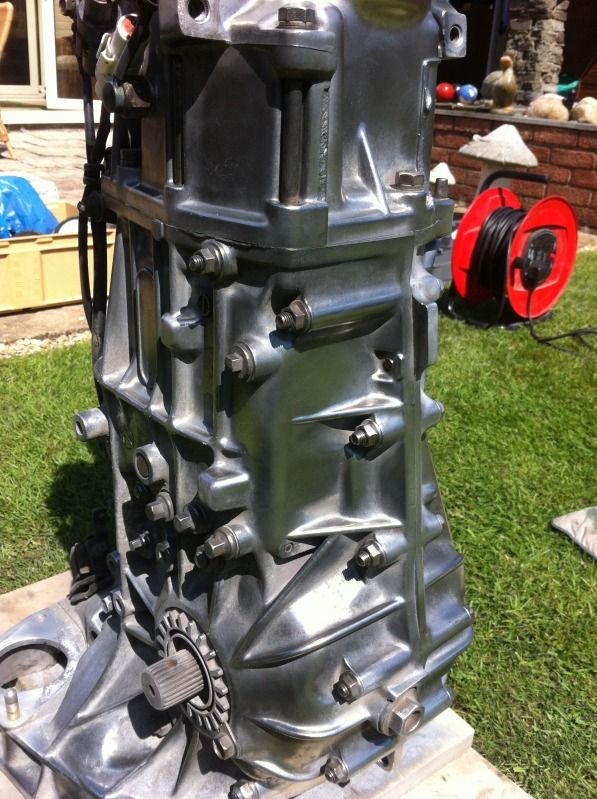
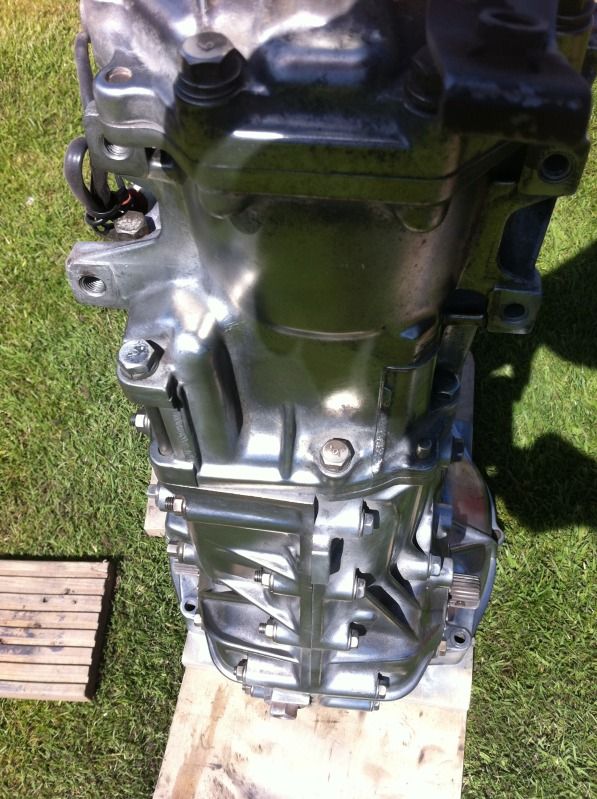
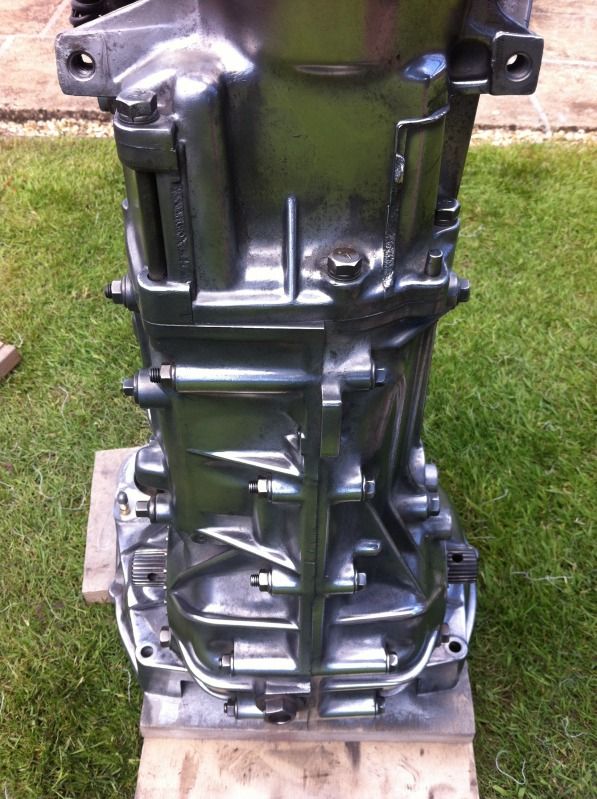
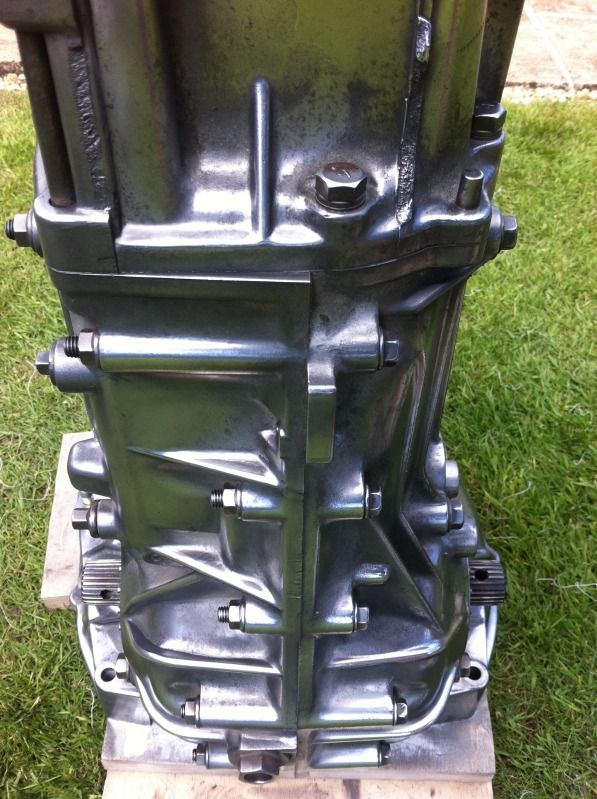
A quick lunchtime update when I'm having a break.... Made the most of a sunny day and sorted the gearbox out, there's a few small brackets that I will be painting but other than that it's sorted.
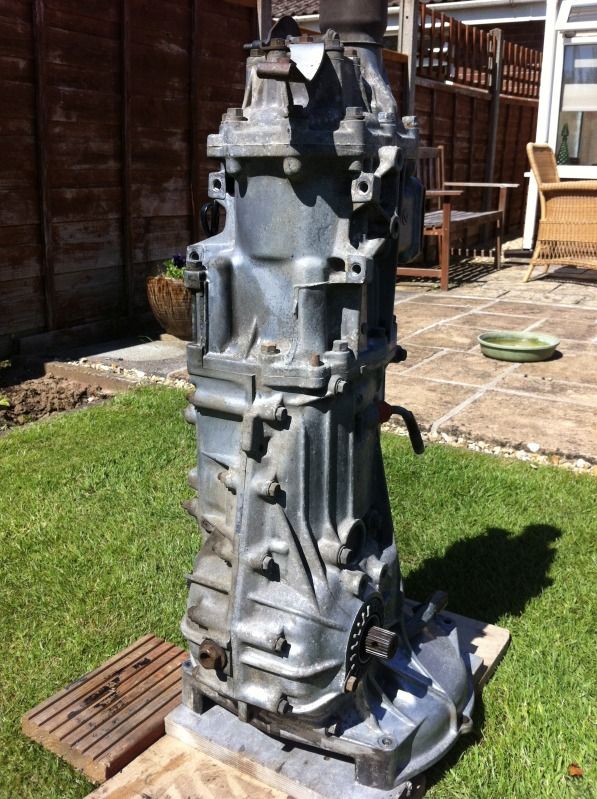
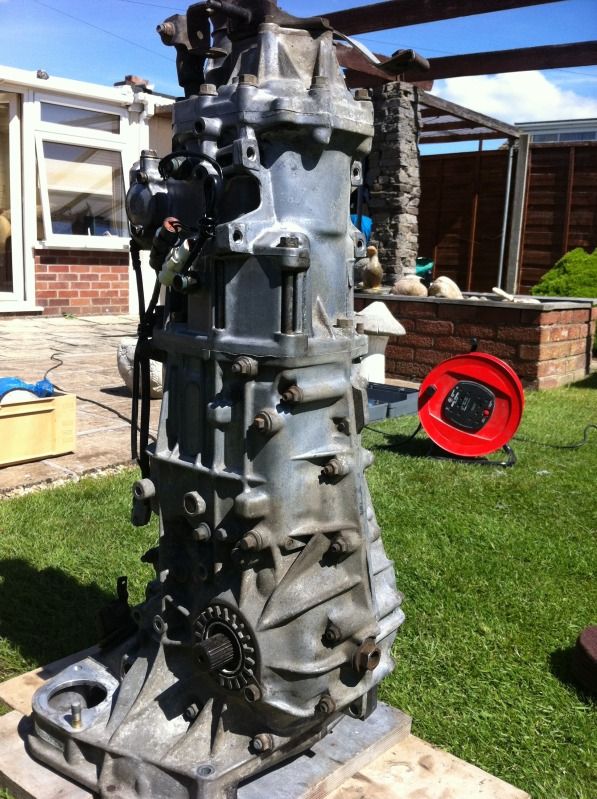
This is part way after the first run over... Which removes all the scabbing.
Taking shape...
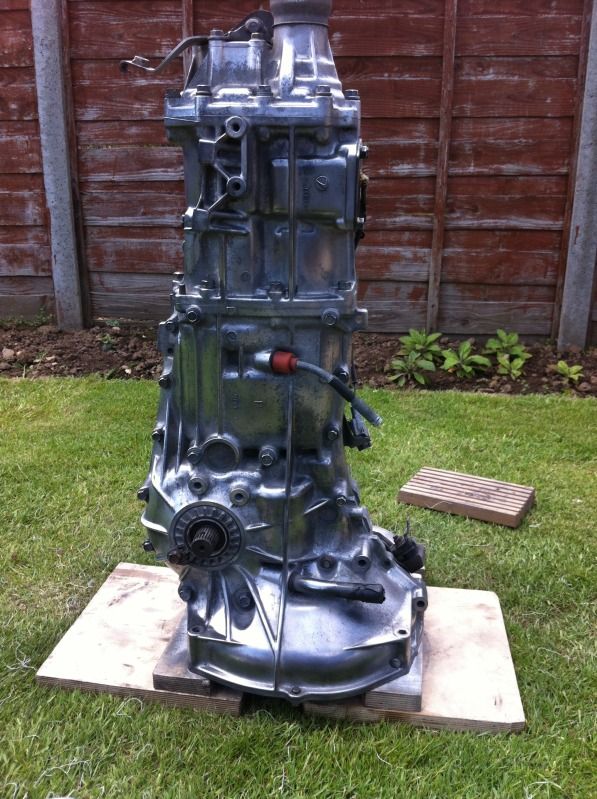
I payed extra attention to the underside as that's most visible...

Top view...
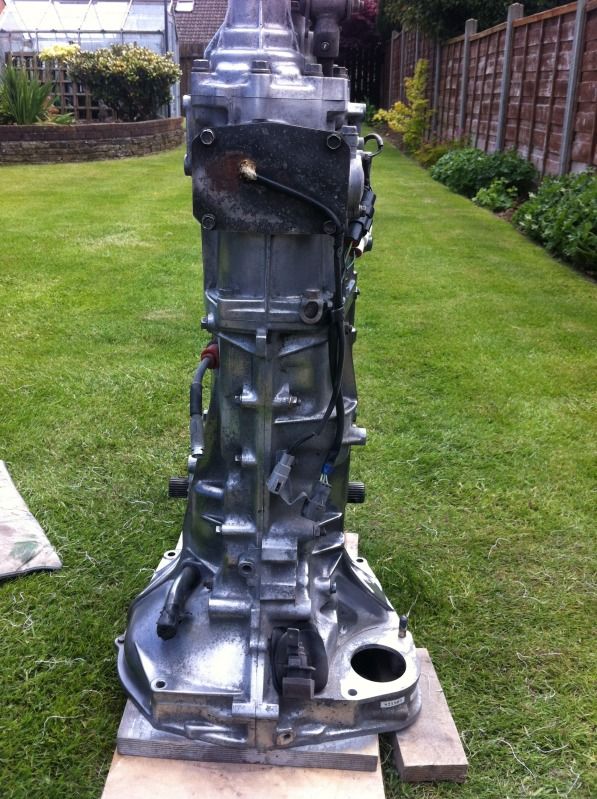
Then started the final finish...
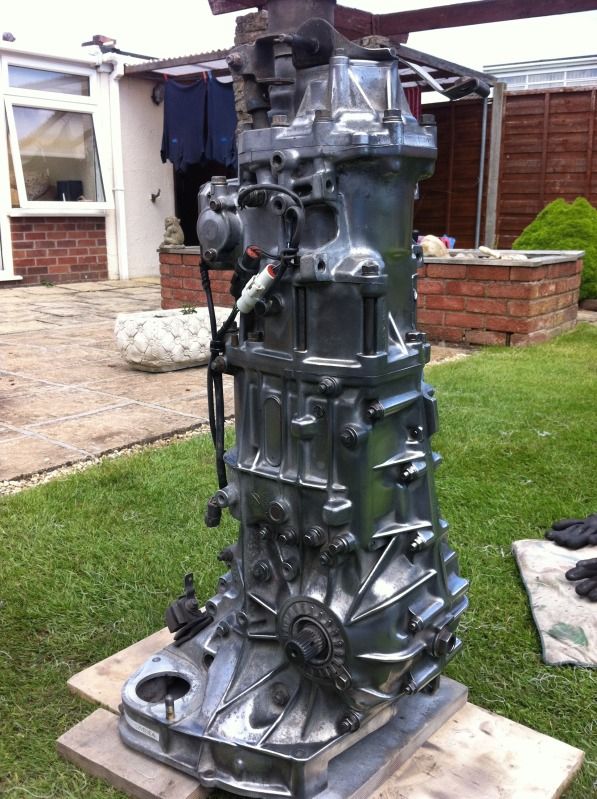

And as it stands all ready to rock n roll
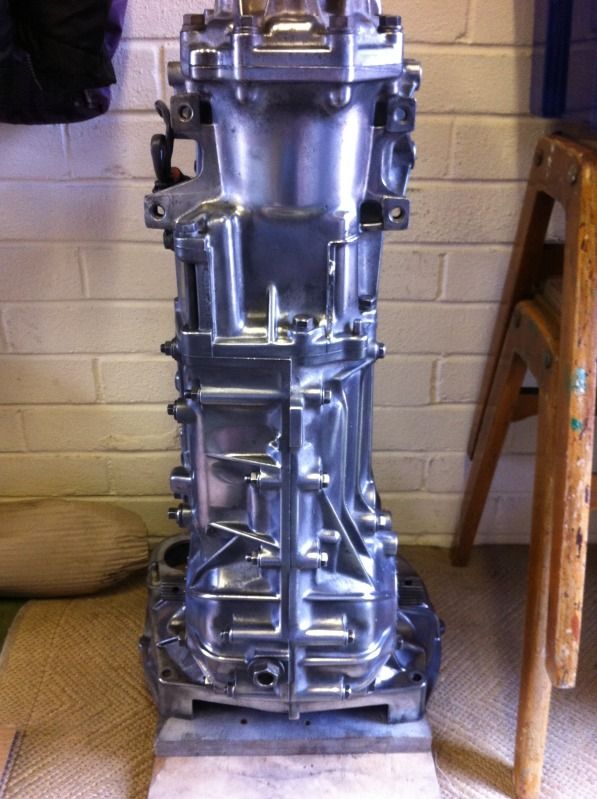

I'm happy with that its a good clean finish that will last for a good time and a long way from the state it was in

Made a start on Si's Brembo calipers,the fronts are in almost perfect condition so don't require much prep at all,infact they are the best condition I have had the pleasure of doing.
The rears on the other hand are as most I see,alloy corrosion in many area's but by no means the worst I've seen,basically I have all the corrosion area's dealt with which did require parting the caliper halfs to deal wit the corrosion that had occured under the stainless shims but that does allow me to clean up the hex head retaining bolts better.
Just a little more rubbing down and then key up the fronts and a nice coat of etch/primer/paint and finally clear coat but not before applying the stickers so they never come off due to being under the clear coat.
All bleed nipples and stainless plates removed
[IMG] [/IMG]
[IMG]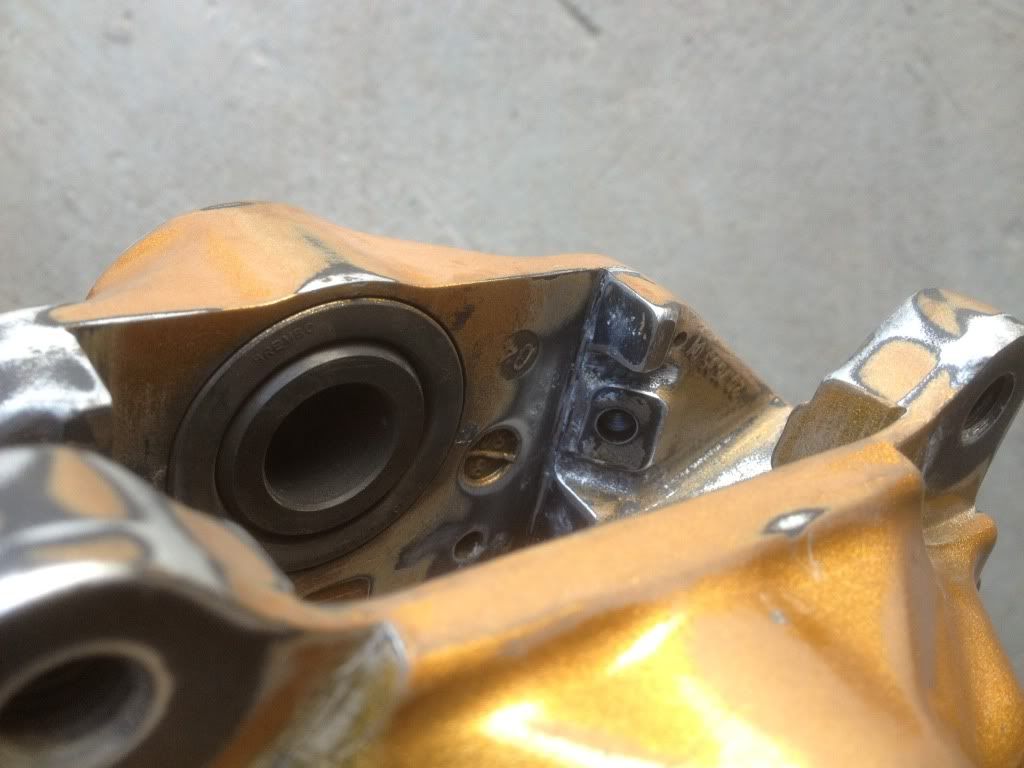 [/IMG]
[IMG]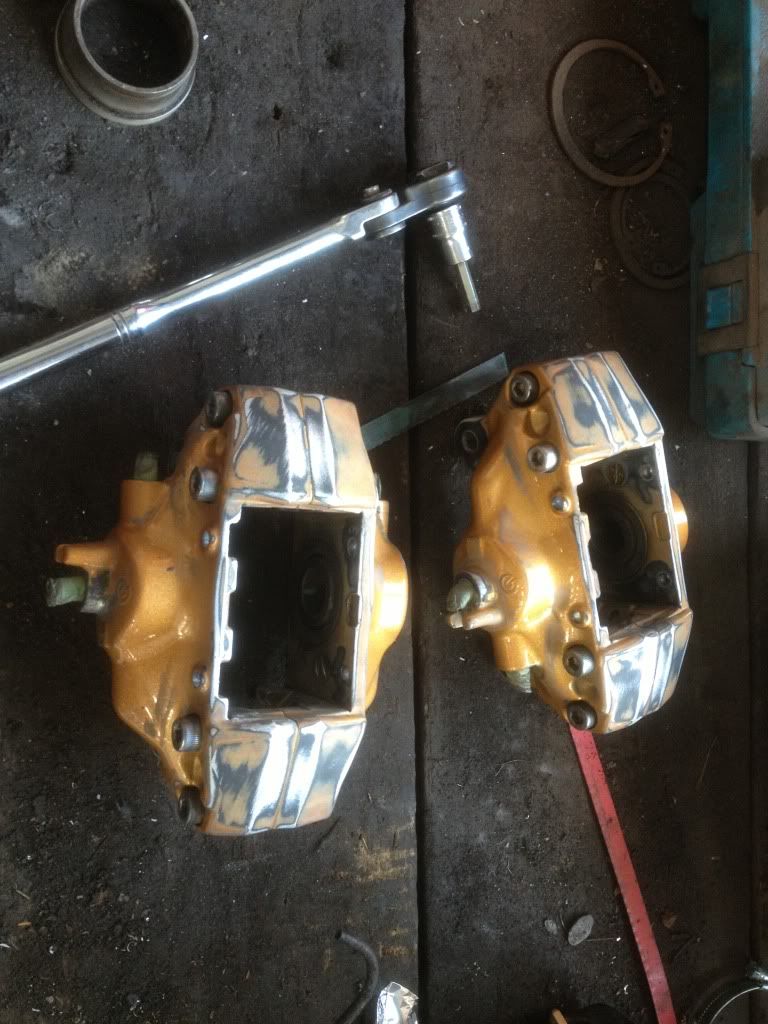 [/IMG]
[IMG]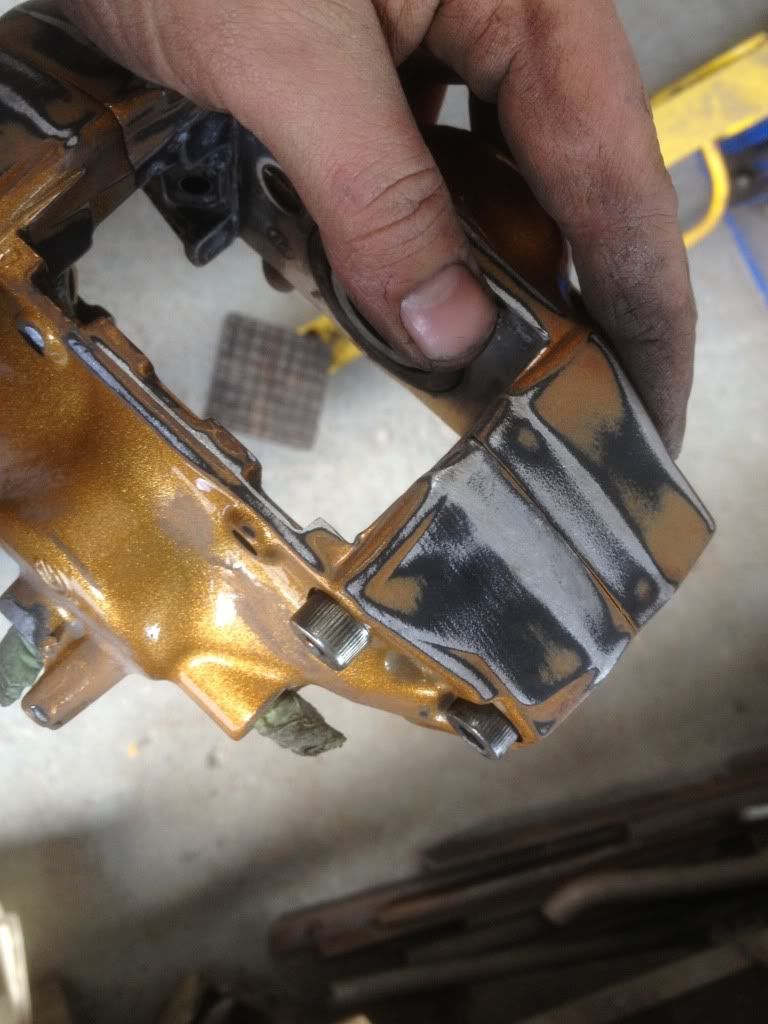 [/IMG]
[IMG]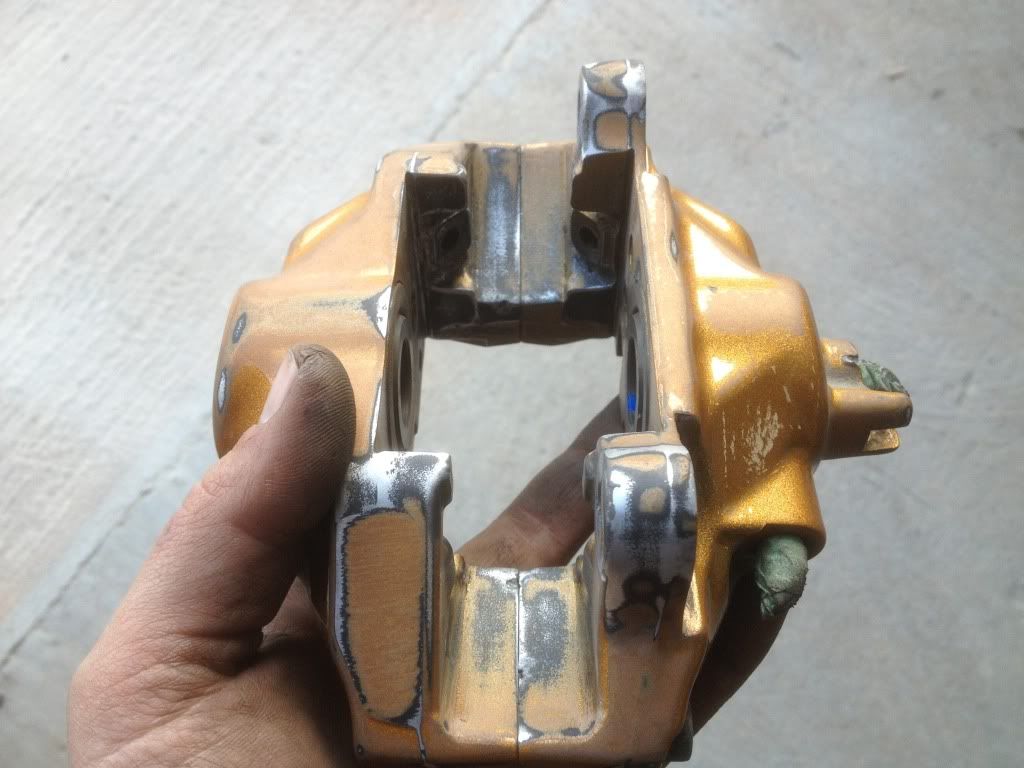 [/IMG]
More pics to follow
The rears on the other hand are as most I see,alloy corrosion in many area's but by no means the worst I've seen,basically I have all the corrosion area's dealt with which did require parting the caliper halfs to deal wit the corrosion that had occured under the stainless shims but that does allow me to clean up the hex head retaining bolts better.
Just a little more rubbing down and then key up the fronts and a nice coat of etch/primer/paint and finally clear coat but not before applying the stickers so they never come off due to being under the clear coat.
All bleed nipples and stainless plates removed
[IMG]
 [/IMG]
[IMG]
 [/IMG]
[IMG]
 [/IMG]
[IMG]
 [/IMG]
[IMG]
 [/IMG]
More pics to follow
That's great thanks Ryan... They are coming on nicely, far better to have them refurb fully rather than just throwing more paint on top from a can clogging up everything. I'm looking forward to seeing these in the finished colour they will look brilliant on the car. Are you happy with the stickers ? I picked up what I felt was suitable but since you have done them before your the best one to advise me on that
Totaly pointless to just paint over top as the corrosion issues will just come back in a matter of weeks plus with out removing the shims you struggle with the pads not fitting properly as the corrosion lifts the shims and makes the clearance smaller for the pad to fit.
The stickers are just fine Si,they will look awesome when I'm finished.
The stickers are just fine Si,they will look awesome when I'm finished.
plus as I see it progress it drives me on even more I really hope to have it ready for RallyDay as I've said but there's still a fair bit for me to do and then time scale will be in others hands for the rebuild. I can't get to the zinc coaters for a few weeks so that will probably be the last job for me at this stage at home then the fun starts all over again
Totaly pointless to just paint over top as the corrosion issues will just come back in a matter of weeks plus with out removing the shims you struggle with the pads not fitting properly as the corrosion lifts the shims and makes the clearance smaller for the pad to fit.
The stickers are just fine Si,they will look awesome when I'm finished.
The stickers are just fine Si,they will look awesome when I'm finished.
Stage one was the full degrease and clean, then the next step was a satinising mop (scotchbrite material) then I used a brass wheel brush to get into the corners followed by a polishing mop with some bar compound to get it some shine... Final step a clean mop just to remove residue.
Want some links to the sort of products I use Micky ?
Praise be
Chipped away again today and there is light starting to develop now at the end of this stage of the tunnel plus I made good use of my spray booth but the ventilation is not the best just as well I've no tomatoes on the go they would have been looking a little sorry for themselves
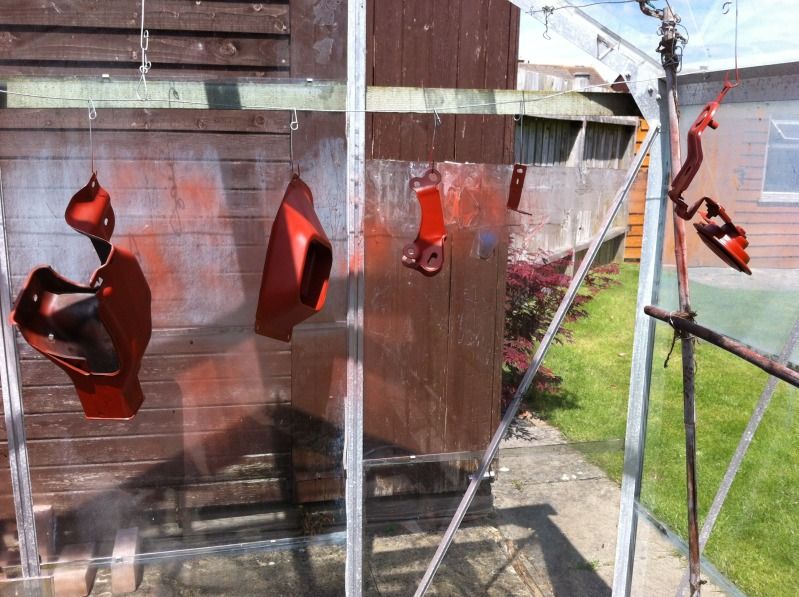

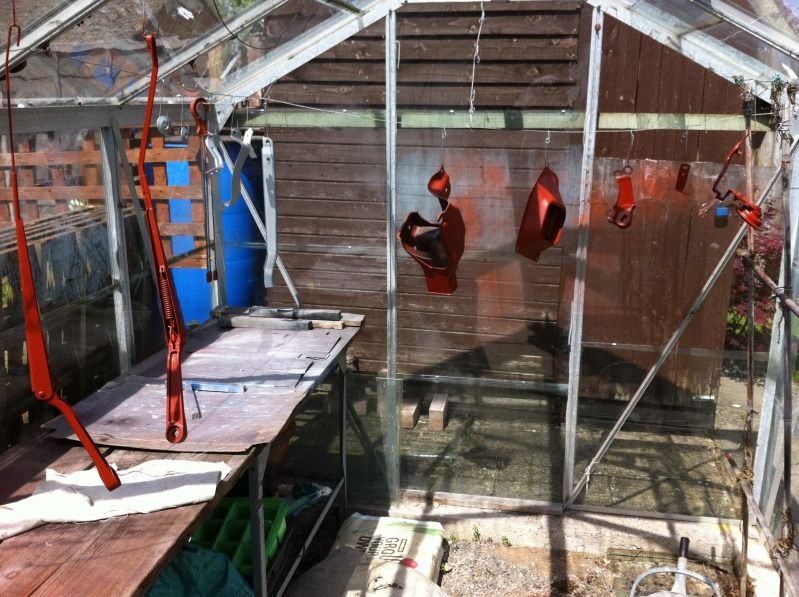
All finished.....
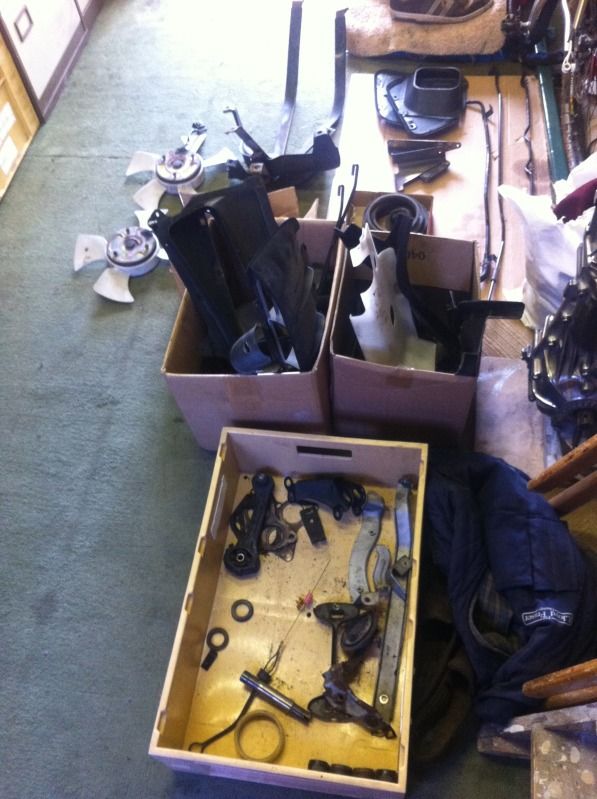
Hopefully all the parts pictures have not bored you all to much, it's not often we see the car all in it's component parts and it is all good for reference.
Simon
Chipped away again today and there is light starting to develop now at the end of this stage of the tunnel plus I made good use of my spray booth but the ventilation is not the best
just as well I've no tomatoes on the go they would have been looking a little sorry for themselves All finished.....
Hopefully all the parts pictures have not bored you all to much, it's not often we see the car all in it's component parts and it is all good for reference.
Simon