
1994 Version Sti RA.... Restoration Project.

Indeed Ian... On the can it says wait 4 hours before top coat application, I think I could have fired it on in 30 minutes but I resisted  it will be top coat tomorrow night now.
I've a suspension question.... Ive picked up a set of Red Type R struts along with the OEM springs, just how different will a set of Eibach Springs be to the OEM ones? The last thing I wish to do is get it all built back up and align it to find I wish I looked at the springs closer at the time.
it will be top coat tomorrow night now.I've a suspension question.... Ive picked up a set of Red Type R struts along with the OEM springs, just how different will a set of Eibach Springs be to the OEM ones? The last thing I wish to do is get it all built back up and align it to find I wish I looked at the springs closer at the time.


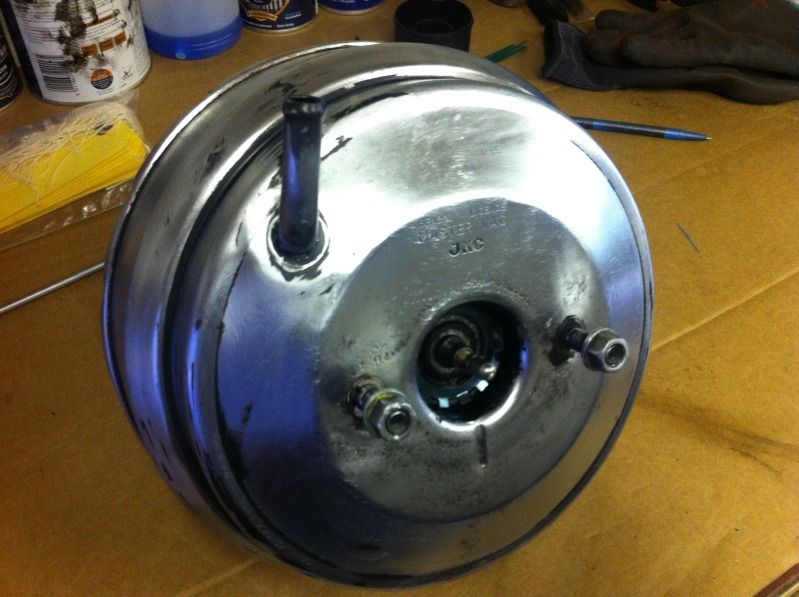
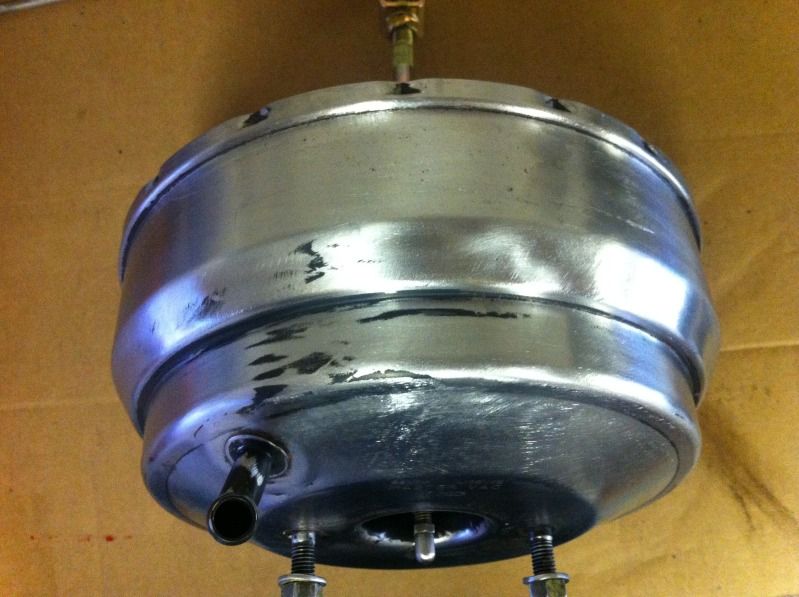
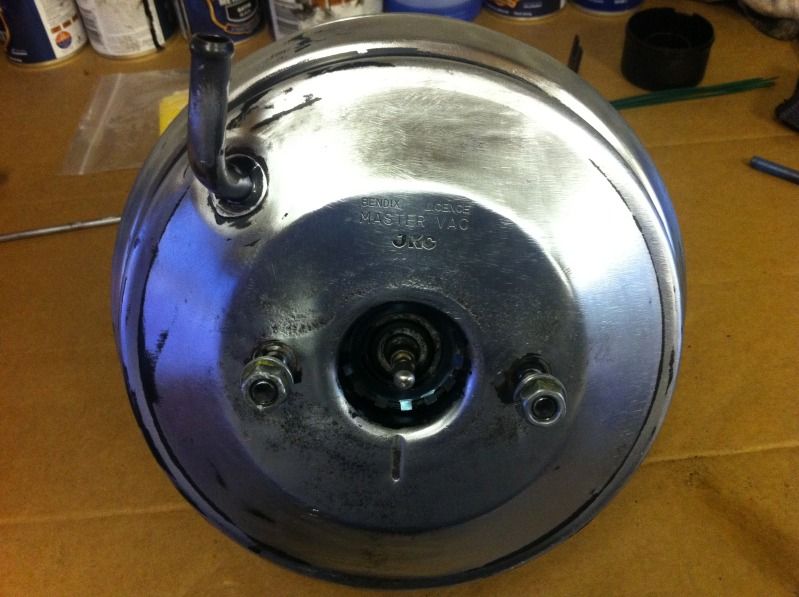
A couple more small bits tonight just to keep the momentum forward...
Final coat on a few of the bits in the spray booth

Then another little batch of the smaller items, where the scabbing was I've gone back to bare metal.
Then a coating of prep and ready on the bare metal to cure it ready for paint tomorrow.
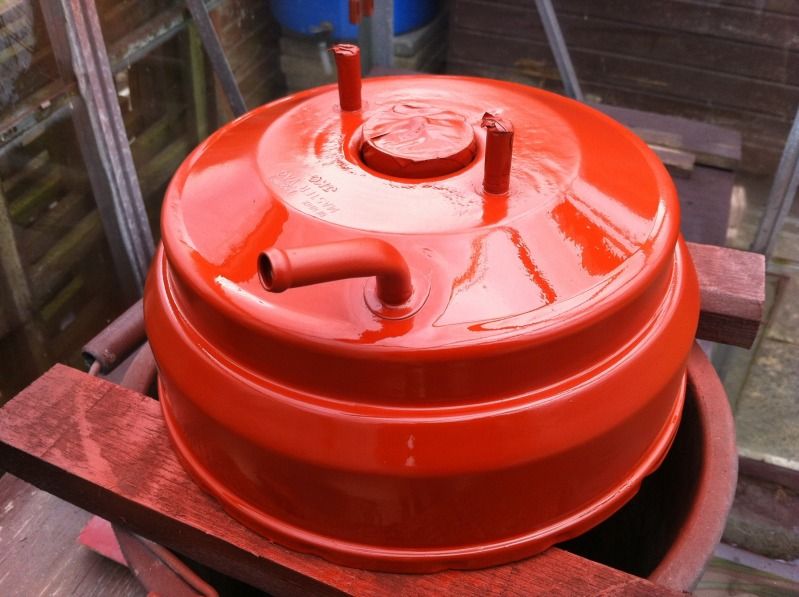
Then one of the next jobs will be this one.....
Final coat on a few of the bits in the spray booth
Then another little batch of the smaller items, where the scabbing was I've gone back to bare metal.
Then a coating of prep and ready on the bare metal to cure it ready for paint tomorrow.
Then one of the next jobs will be this one.....
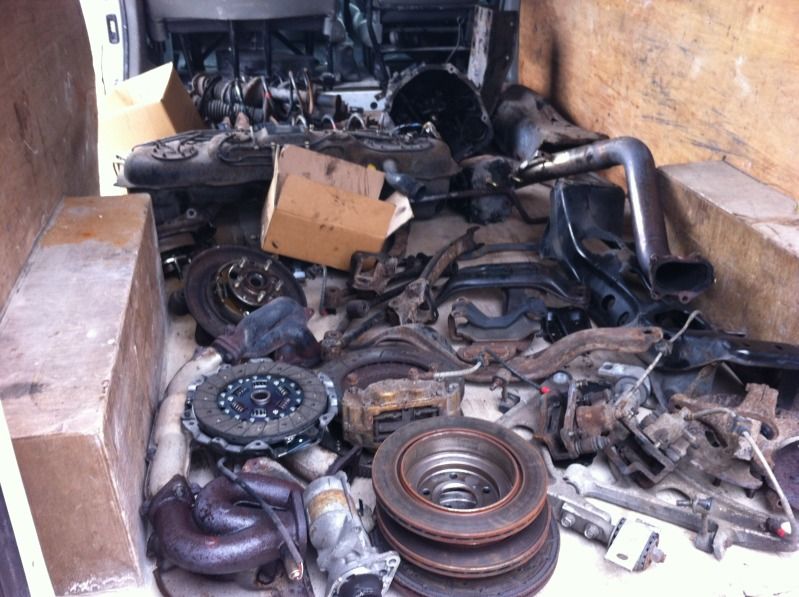
 my album already has 372 pictures in it tbh even though I steamed full on into this I did not know the full extent of what was under there either so we are all learning
One of the guys on the RA forum has asked me to weigh some of the cross members etc for info so I will do that when all the sandblasted parts come back, also I left my camera with the paint shop so there will hopefully be some nice detail of the bodywork with the car on the jig.
Nice work and attention to detail
+ for the elbaich pro springs as there progressive rate makes them slightly more forgiving than standard in a straight line but, stiffer under load in the twistys .I'm not a 100 % but when I bought mine I think they said they'd lower my uk turbo by 35mm but ,wouldn't lower the sti .So therefore I assume the standard sti is 35mm lower than the uk turbo set up .
+ for the elbaich pro springs as there progressive rate makes them slightly more forgiving than standard in a straight line but, stiffer under load in the twistys .I'm not a 100 % but when I bought mine I think they said they'd lower my uk turbo by 35mm but ,wouldn't lower the sti .So therefore I assume the standard sti is 35mm lower than the uk turbo set up .
and I would imagine the base car for ride height has to be the GL model in order to get comparison measurements, that's my best guess.  to late.... Slight oversight
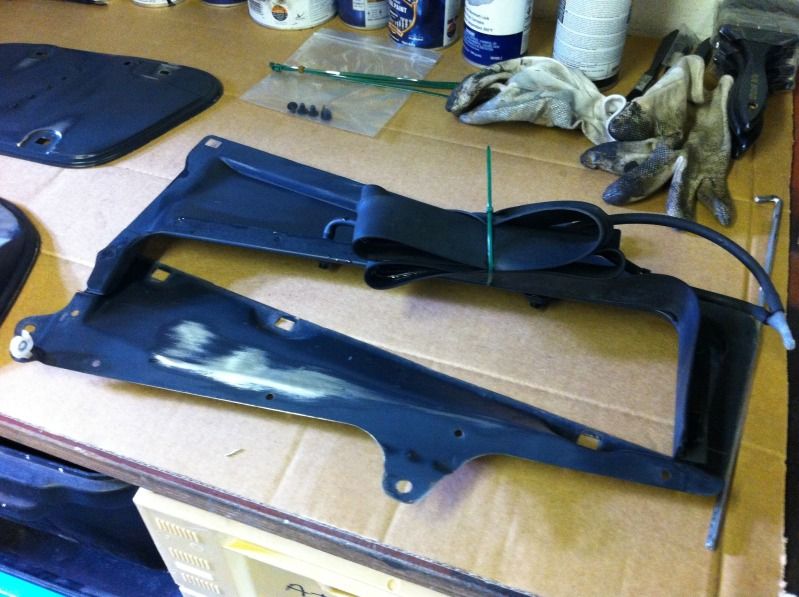
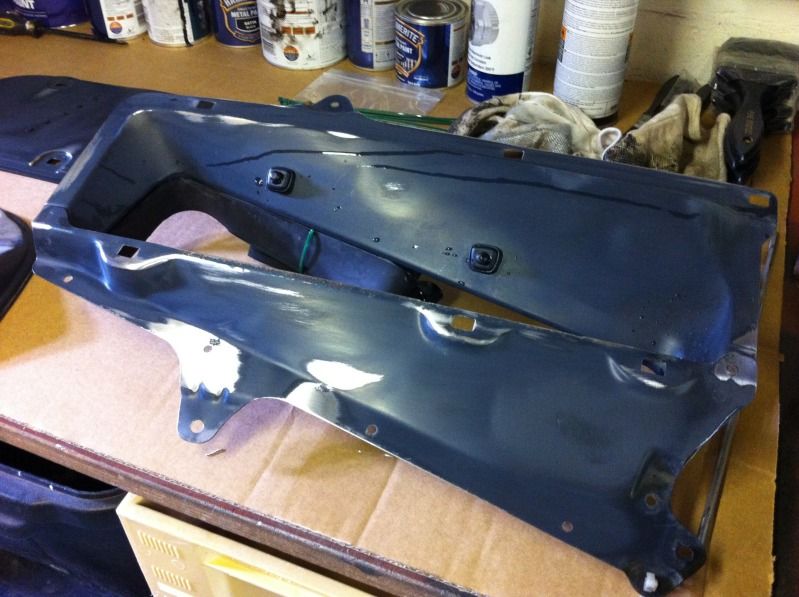
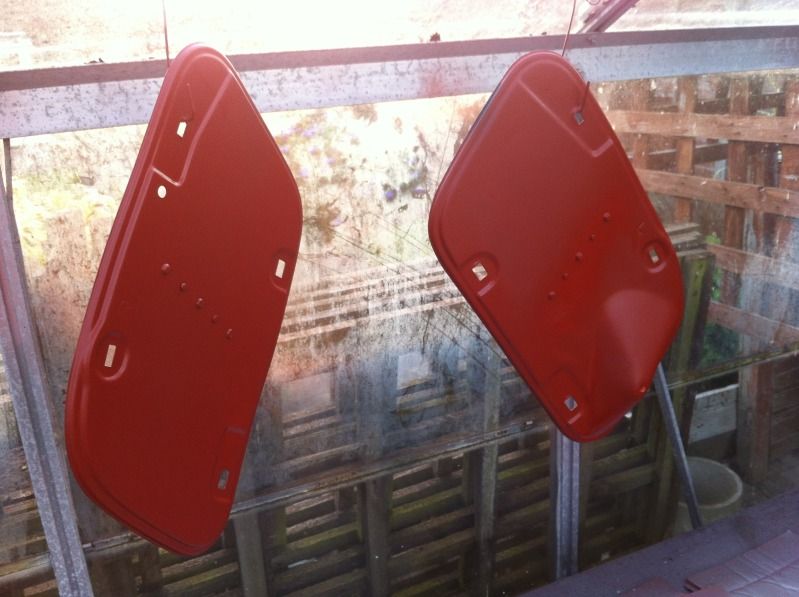
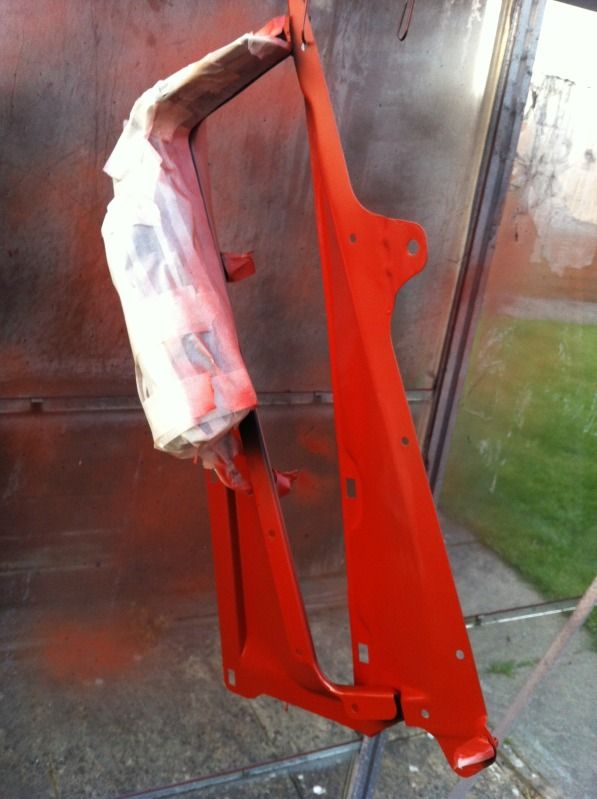
Only a couple of little bits tonight....
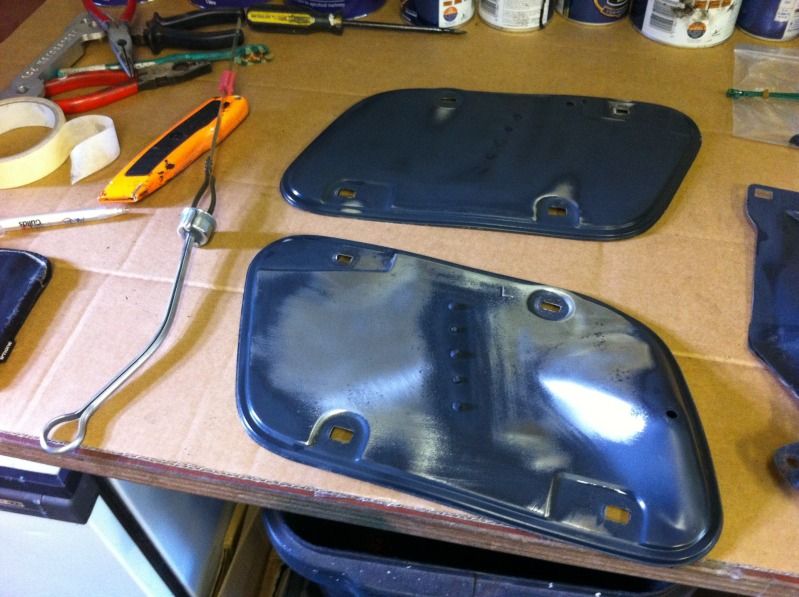
Under bonnet panels...
Finished off the wiper arms with a coat of Matt black and also freshened the dipstick.
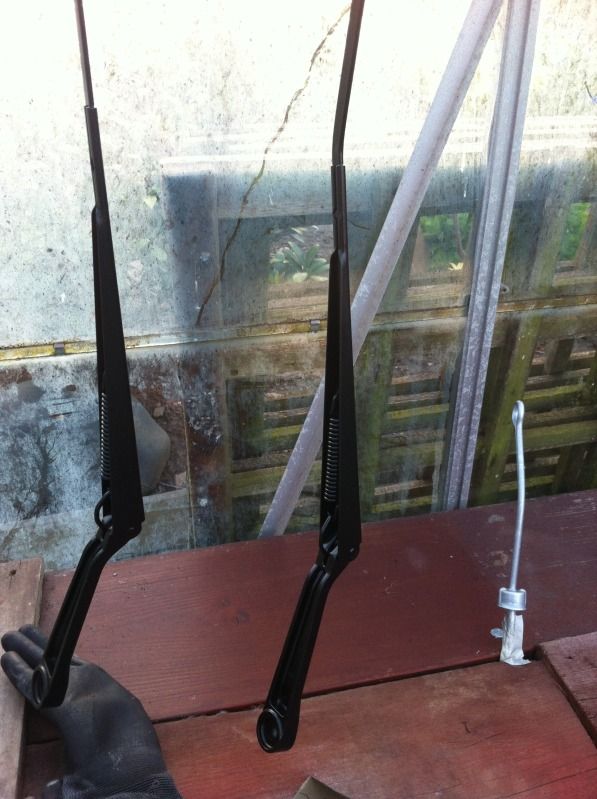
Great to see all the small items being packed away now I'm getting there
Under bonnet panels...
Finished off the wiper arms with a coat of Matt black and also freshened the dipstick.
Great to see all the small items being packed away now I'm getting there
Last edited by Silver Scooby Sport; Jun 4, 2013 at 09:35 PM.

Strewth by the time I've finished this I don't want to see this site ever again
But I'm available for polishing advise and motivational assistance lol
Last edited by Silver Scooby Sport; Jun 5, 2013 at 05:53 PM.
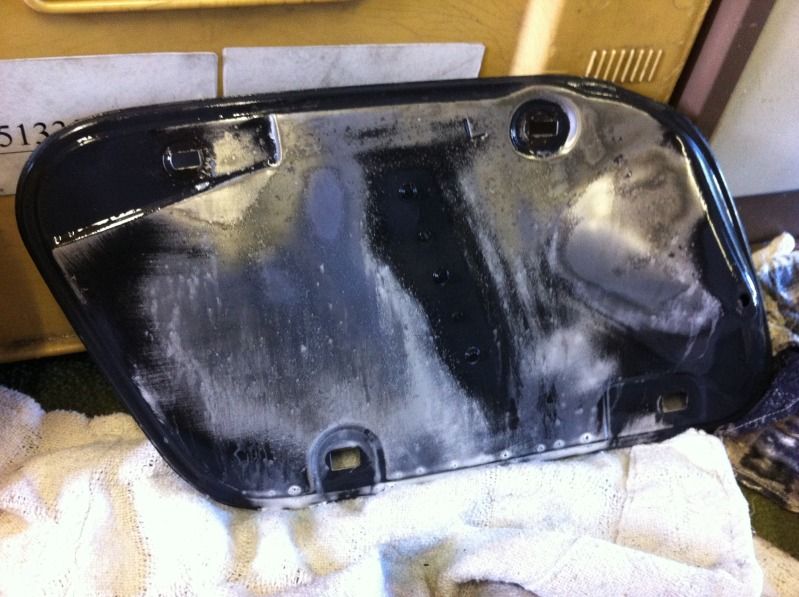
Just a few more small parts tonight, I sanded them right back as again small areas of bubbling to clean away.
Also picked this rear parcel shelf up of ASB Breakers on here, the one in the car has been cut and speakers dropped in with no covers and the speakers simply dropped in from above.
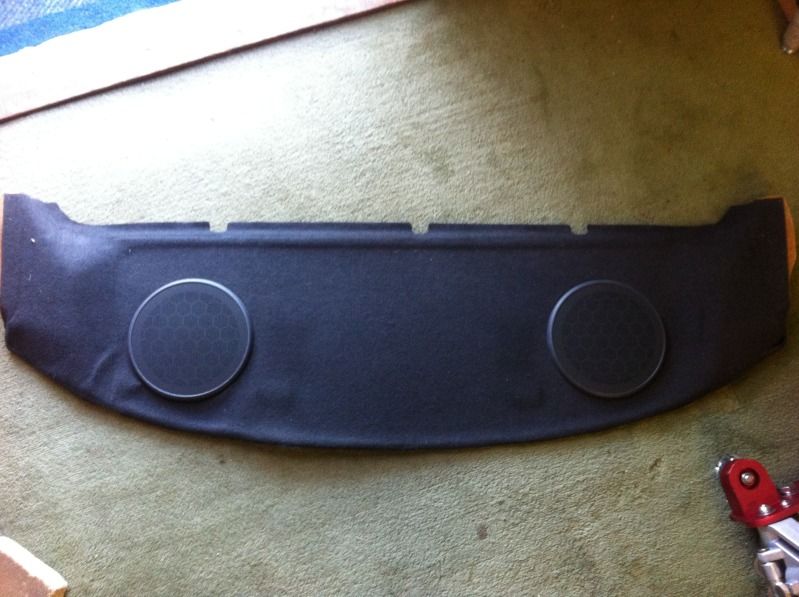
I will be fitting a set of 6x9 subs along with a small amp which is the same set up as I ran in the old classic, that's how much it impressed me... I scoured eBay for over 3 months daily and eventually one appeared, I still look on there now and have not seen another, so I think I had a lucky break.
This is the set up from the old car...


And the controller..

Also picked this rear parcel shelf up of ASB Breakers on here, the one in the car has been cut and speakers dropped in with no covers and the speakers simply dropped in from above.
I will be fitting a set of 6x9 subs along with a small amp which is the same set up as I ran in the old classic, that's how much it impressed me... I scoured eBay for over 3 months daily and eventually one appeared, I still look on there now and have not seen another, so I think I had a lucky break.
This is the set up from the old car...
And the controller..
Last edited by Silver Scooby Sport; Jun 5, 2013 at 09:02 PM.
Cough.... No it's a temperature controlled booth
Ok I do have a spider problem in the booth and when I go back in the tomorrow when I get home I will find cobwebs over everything I have painted
Potting Shed = Polishing Workshop
Greenhouse = Spray Booth
It dries well in there too
Ok I do have a spider problem in the booth and when I go back in the tomorrow when I get home I will find cobwebs over everything I have painted
Potting Shed = Polishing Workshop
Greenhouse = Spray Booth
It dries well in there too


I have been doing spray on hair lately
Never let it be said this has always been a clean job.... The one night I forgot to put my hat on while cleaning the crud off, I had my glasses and face mask but made a school boy error
 and all of a sudden for the first time in 20 years I had hair
Cheers Frayz
I came across this picture the other day and had a fit when I realised where I came from
Last edited by Silver Scooby Sport; Jun 6, 2013 at 10:49 PM.
And it took some getting off let me tell you
That was close confines in the shed with the satin mops on the bench grinder.
I normally wear mask and glasses and an old hat as its a rotten job
What may not be so obvious for anyone that does not know me is I do not have one single hair on my head
That was close confines in the shed with the satin mops on the bench grinder.
I normally wear mask and glasses and an old hat as its a rotten job
What may not be so obvious for anyone that does not know me is I do not have one single hair on my head
Last edited by Silver Scooby Sport; Jun 6, 2013 at 10:53 PM.

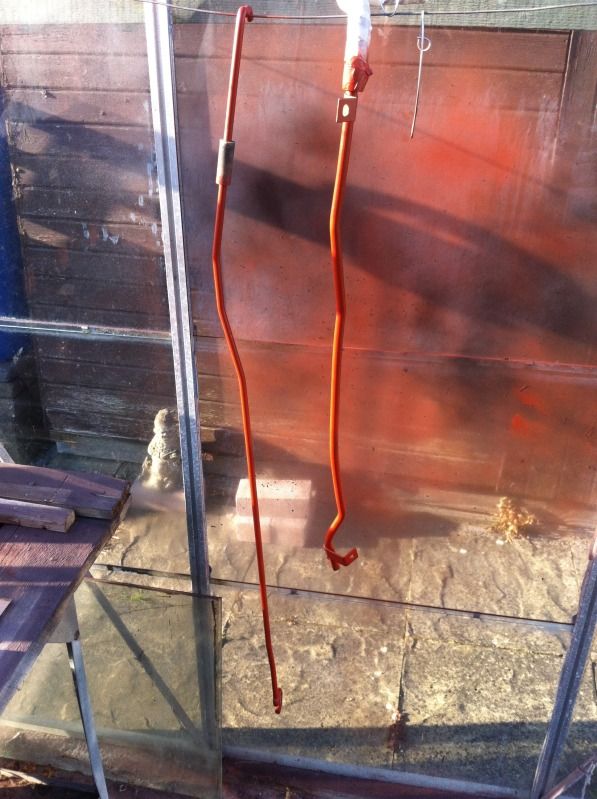
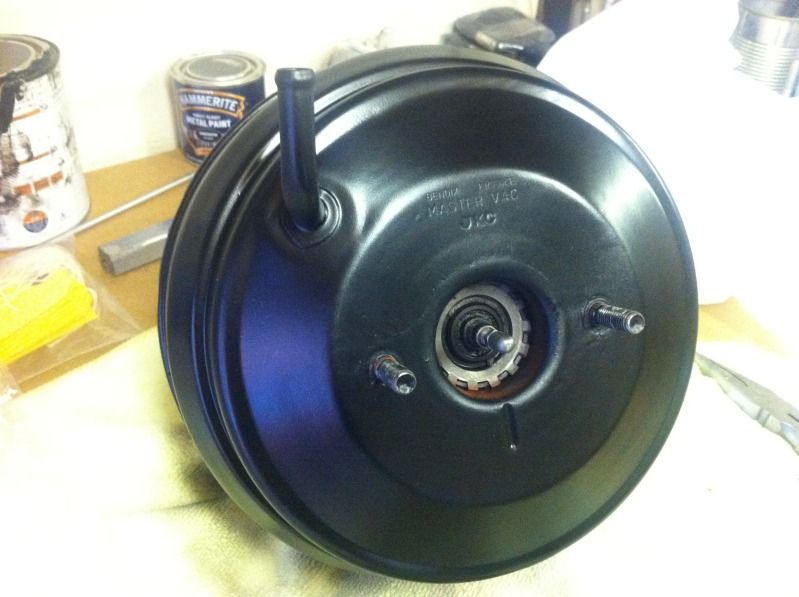
Had another little go this afternoon...
I thought it was better to strip the whole thing back to the bare surface for a coat of primer...
Then under the first coat of primer...

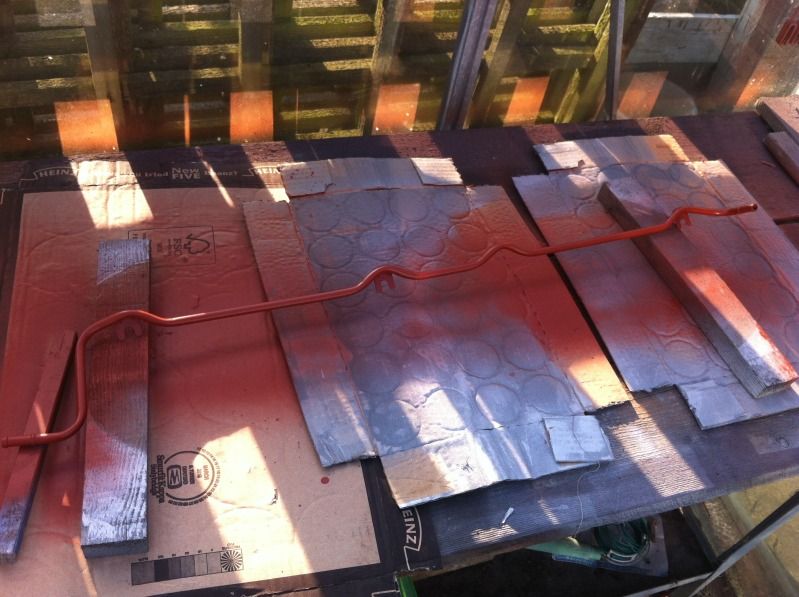
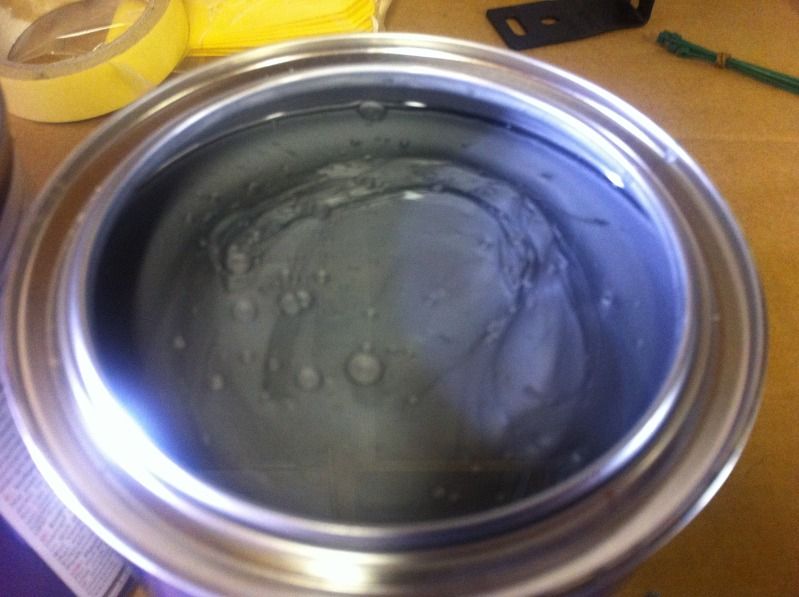
Also picked up the paint for the suspension and cross members etc.
Suspension struts, back to OEM finish.
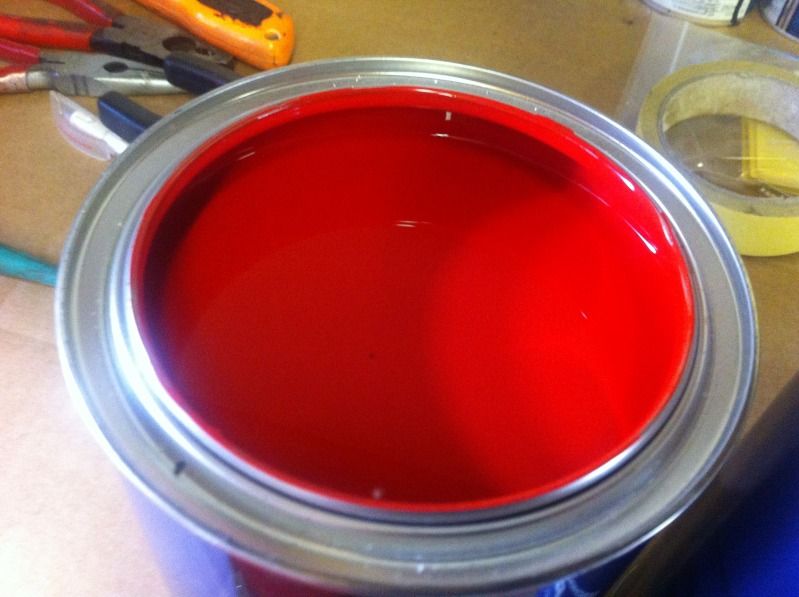
Cross members (I may add a touch of black with this to darken it slightly) this is a solid gloss finish.
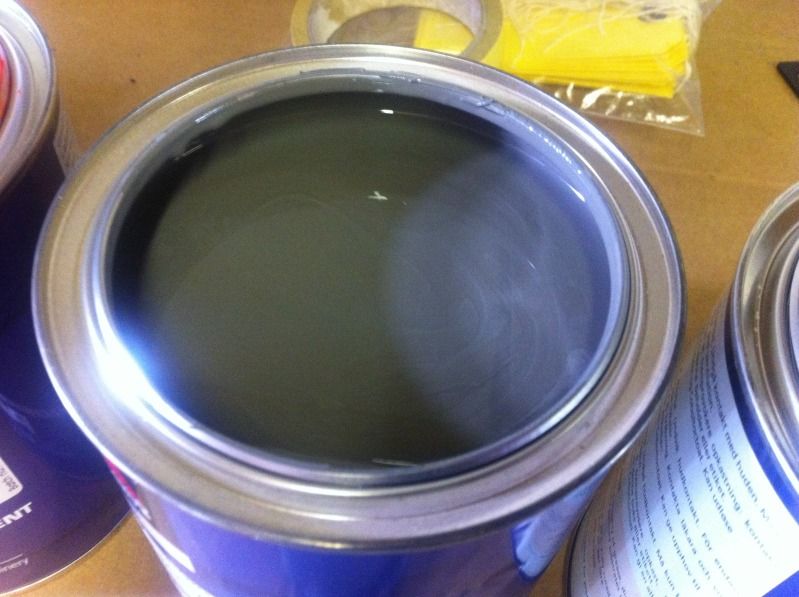
Finally Anti roll bars etc (basically anything that would be uprated pink)
This picture does not show it fully but this is quite a bright slightly metallic silver that dries to a sheen finish.


Just took the afternoon to read through your restoration thread it's so in depth and precise it has gave me a lot of ideas about the finishings on my own project.keep up the good work it will be a superb car when you reach the climax.SJ.
Thanks Glenn... I was undercover there for a short while
You can say that again Paul... The further I go the keener I am
Thanks S.J. I'm pleased to hear that this has helped you out, it's nice on easy on iPhone and pad to take the pics upload via the app and post so rather than build up a library I find it easier to top up daily if I work on it, there's still a way to go yet too
All being well I will now collect all the bead blasted items Tuesday, then on the weekend deliver it to the guy that's going to paint those items, this will take around three weeks before I get them back finished.
In general terms the plans from now will be....
1. Clean and paint where needed the last few parts I personally have to work on.
2. Organise zinc coating for all the nuts and bolts.
3. Order a general listing of stainless nuts and bolts as replacements and spares.
4. Collect the suspension and sub frames in finished state.
5. Order the bushes from Alyn at AS Performance for refit into suspension.
6. Hopefully my small list of parts will arrive from Import Car Parts ready for rebuild, bulk head grommet and windscreen rubber, plastic filler cover for the rear wheel arch.
7. Hopefully the bodywork will also be finished by this point
8. Engine work, fix power steering leak, replace rocker cover gasket, then degrease wash and clean the engine up as best as I can.
9. Windscreen.
When the body is done I can step back with the pictures in time that the body shop have taken for me and list them out.
In my mind I would like to think by early August I would like to be in a position that everything is in place to get it built back up nothing is cast in stone but I find I need to have a general plan to work to but if the line moves it moves we shall see, when you have to rely on other people there are aspects that you cannot control and I mean that respectfully so there are times when I am not in any control at all and we have to let the dice roll.
Simon
All being well I will now collect all the bead blasted items Tuesday, then on the weekend deliver it to the guy that's going to paint those items, this will take around three weeks before I get them back finished.
In general terms the plans from now will be....
1. Clean and paint where needed the last few parts I personally have to work on.
2. Organise zinc coating for all the nuts and bolts.
3. Order a general listing of stainless nuts and bolts as replacements and spares.
4. Collect the suspension and sub frames in finished state.
5. Order the bushes from Alyn at AS Performance for refit into suspension.
6. Hopefully my small list of parts will arrive from Import Car Parts ready for rebuild, bulk head grommet and windscreen rubber, plastic filler cover for the rear wheel arch.
7. Hopefully the bodywork will also be finished by this point
8. Engine work, fix power steering leak, replace rocker cover gasket, then degrease wash and clean the engine up as best as I can.
9. Windscreen.
When the body is done I can step back with the pictures in time that the body shop have taken for me and list them out.
In my mind I would like to think by early August I would like to be in a position that everything is in place to get it built back up
nothing is cast in stone but I find I need to have a general plan to work to but if the line moves it moves we shall see, when you have to rely on other people there are aspects that you cannot control and I mean that respectfully so there are times when I am not in any control at all and we have to let the dice roll.Simon
Last edited by Silver Scooby Sport; Jun 9, 2013 at 09:31 PM.
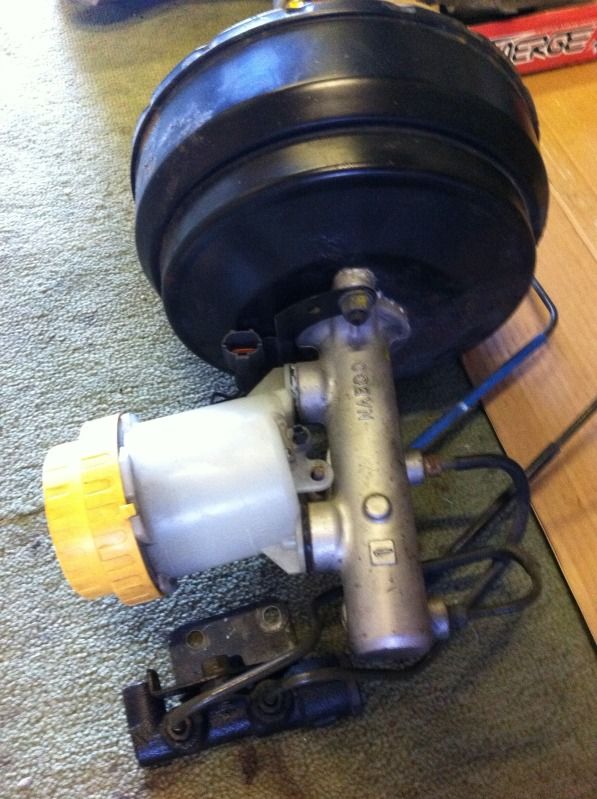
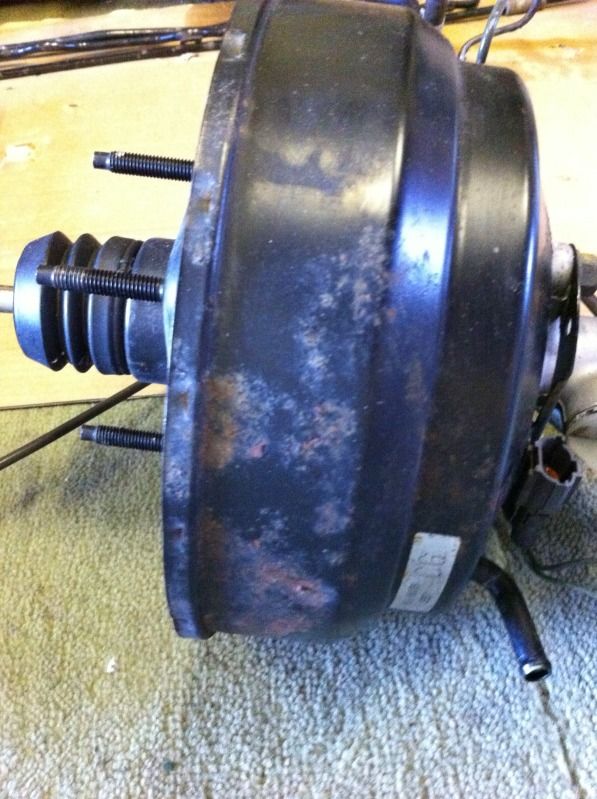
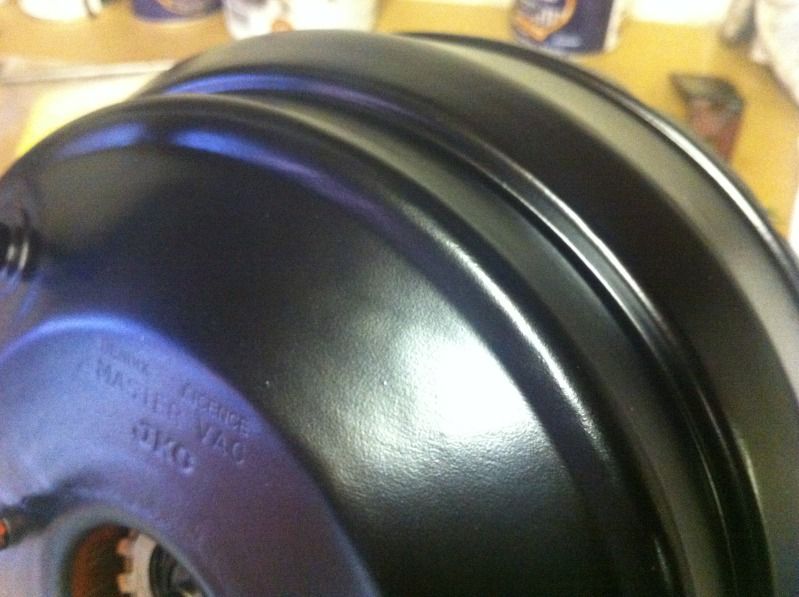
Finished off a few more parts of the jigsaw this evening.
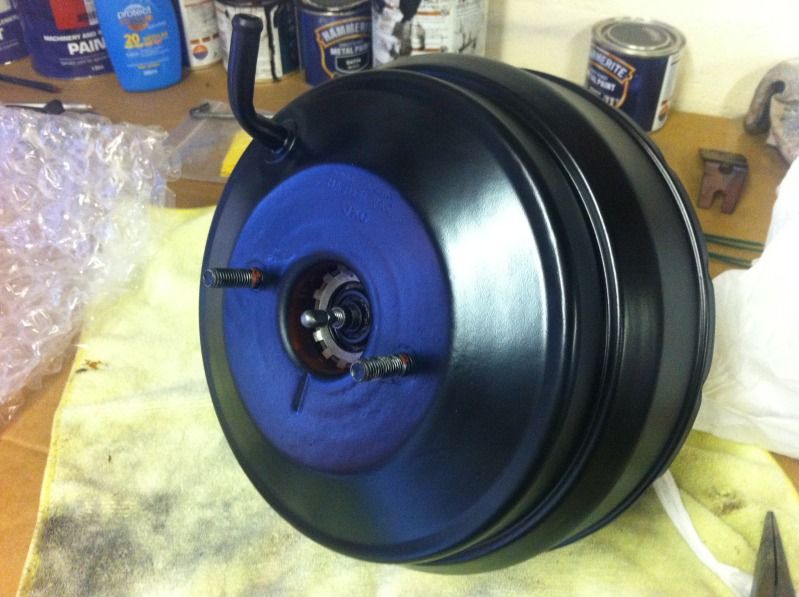
Very pleased with the finish from the rattle cans.
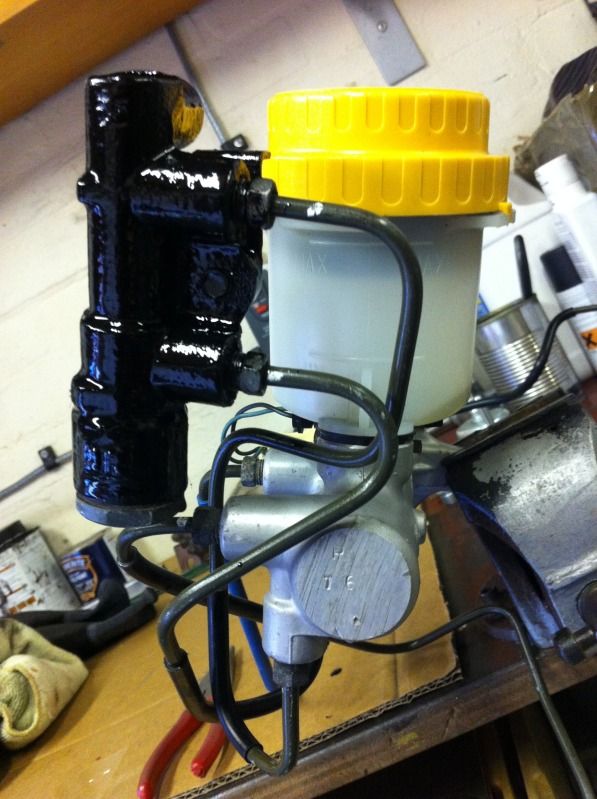
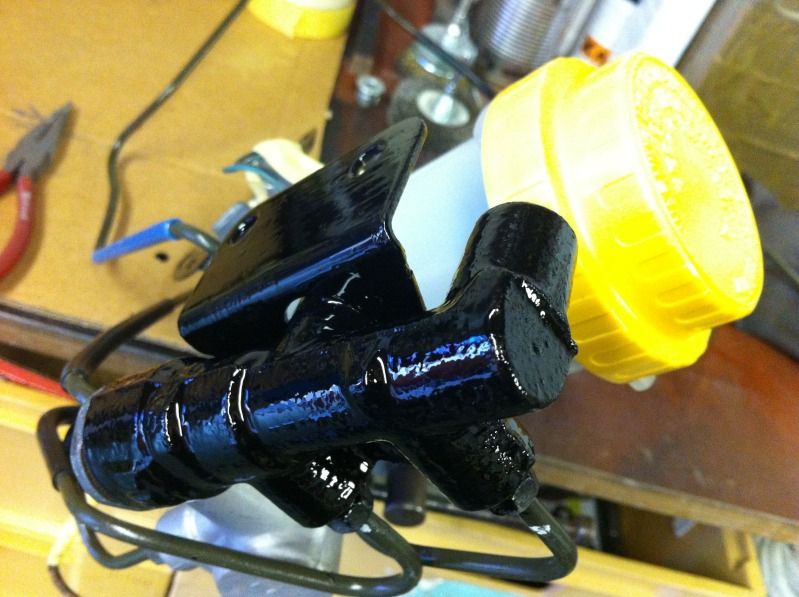
The brake lines will be replaced but for now we have left a few short lengths in place in order to help get the replacements plotted out in the engine bay.

Very pleased with the finish from the rattle cans.
The brake lines will be replaced but for now we have left a few short lengths in place in order to help get the replacements plotted out in the engine bay.
Finally got round to finishing up on Si's calipers,looking rather nice now I think you'll agree although when I went to apply the stickers I suddenly realised the rear stickers were to big[for the later hatch rears with bigger square face] so that stopped me being able to apply the stickers under the clear coat but I don't think it will detract from the overall finish once Si applies the right ones.
[IMG]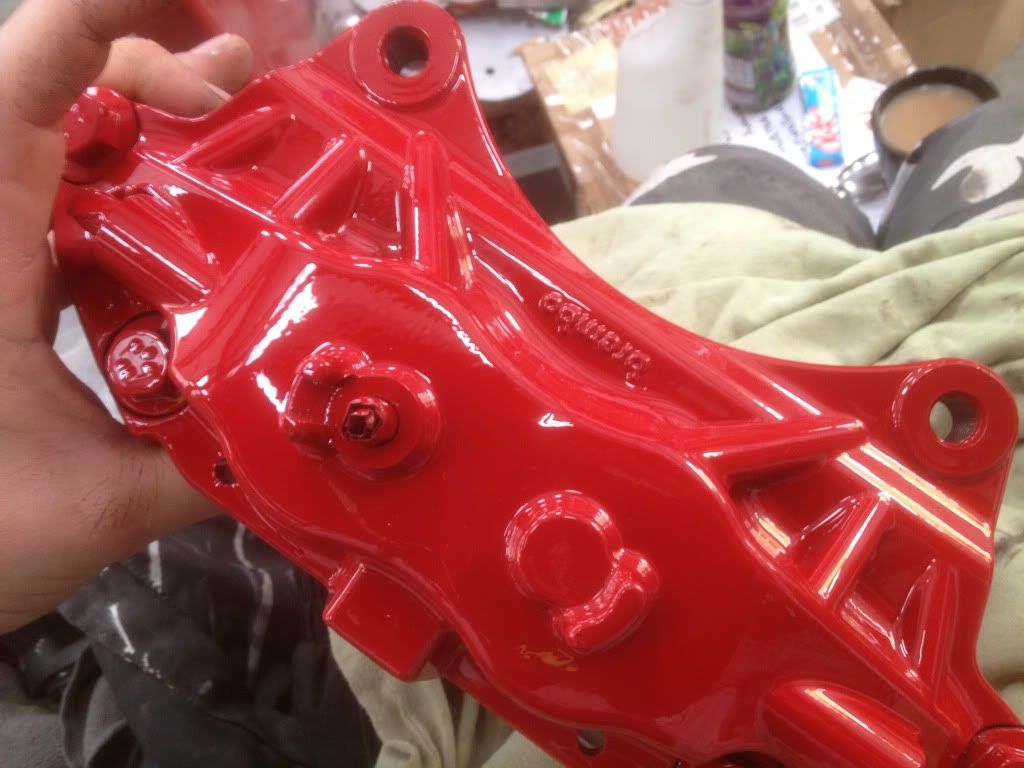 [/IMG]
[IMG]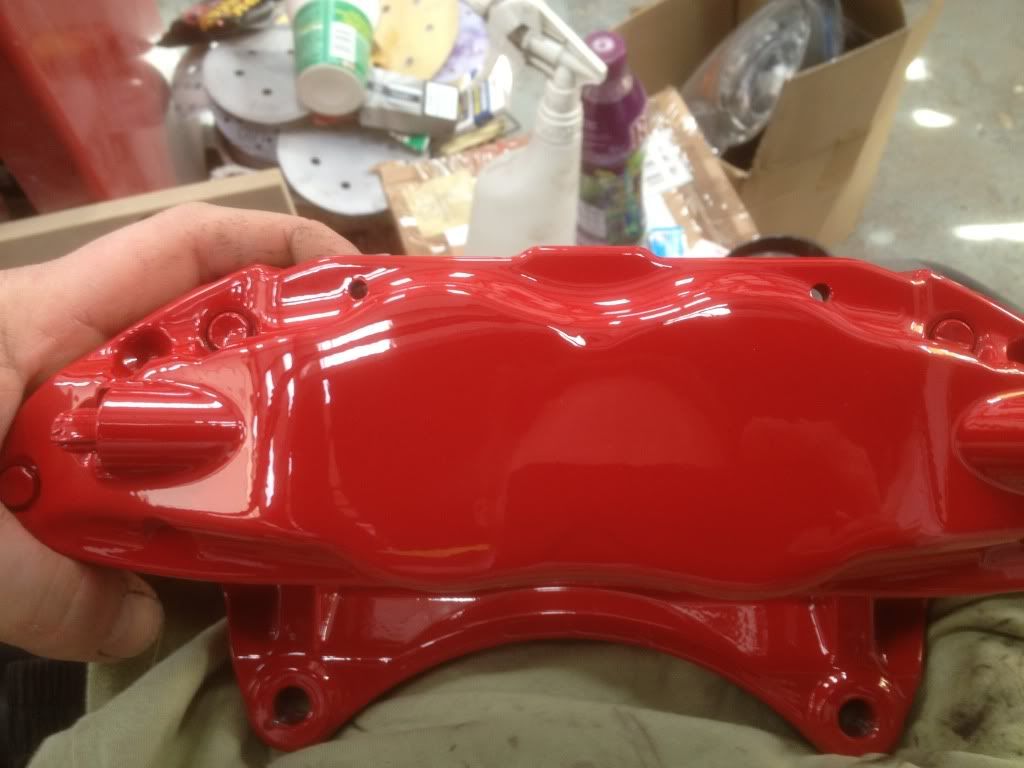 [/IMG]
[IMG]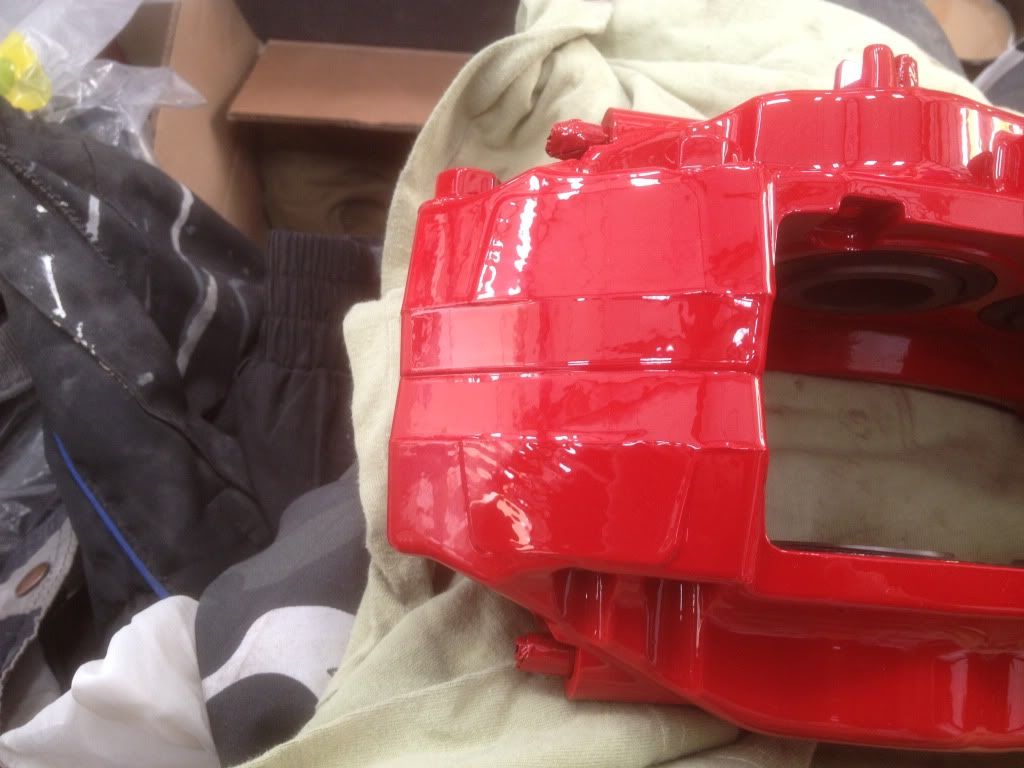 [/IMG]
[IMG]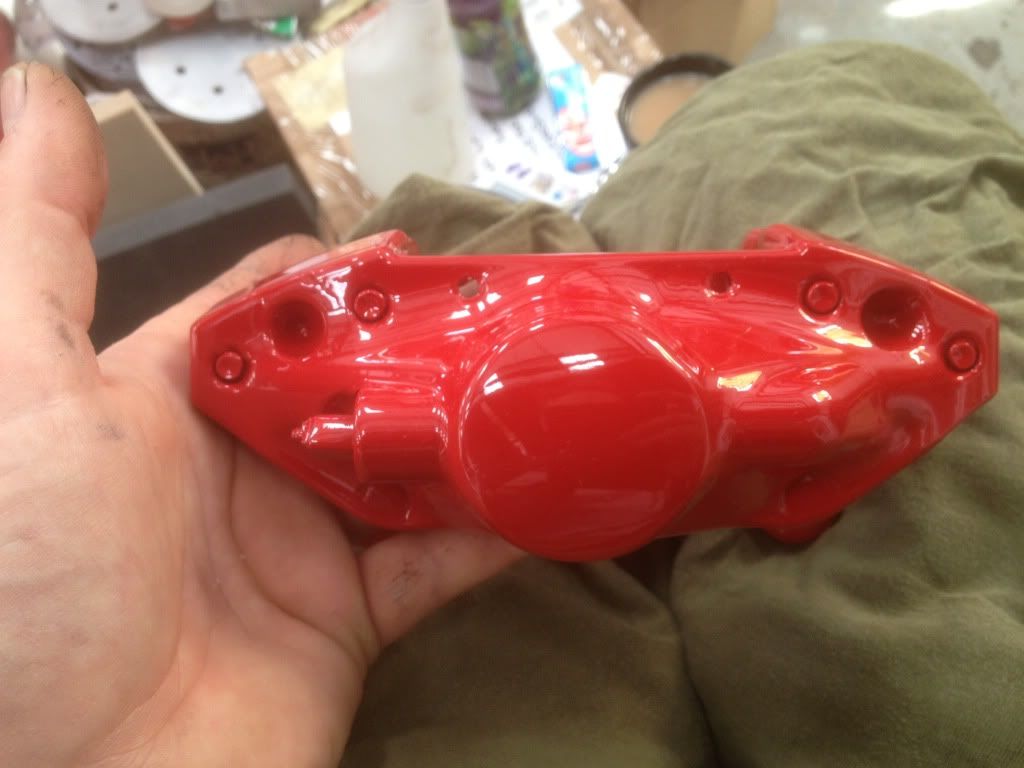 [/IMG]
[IMG]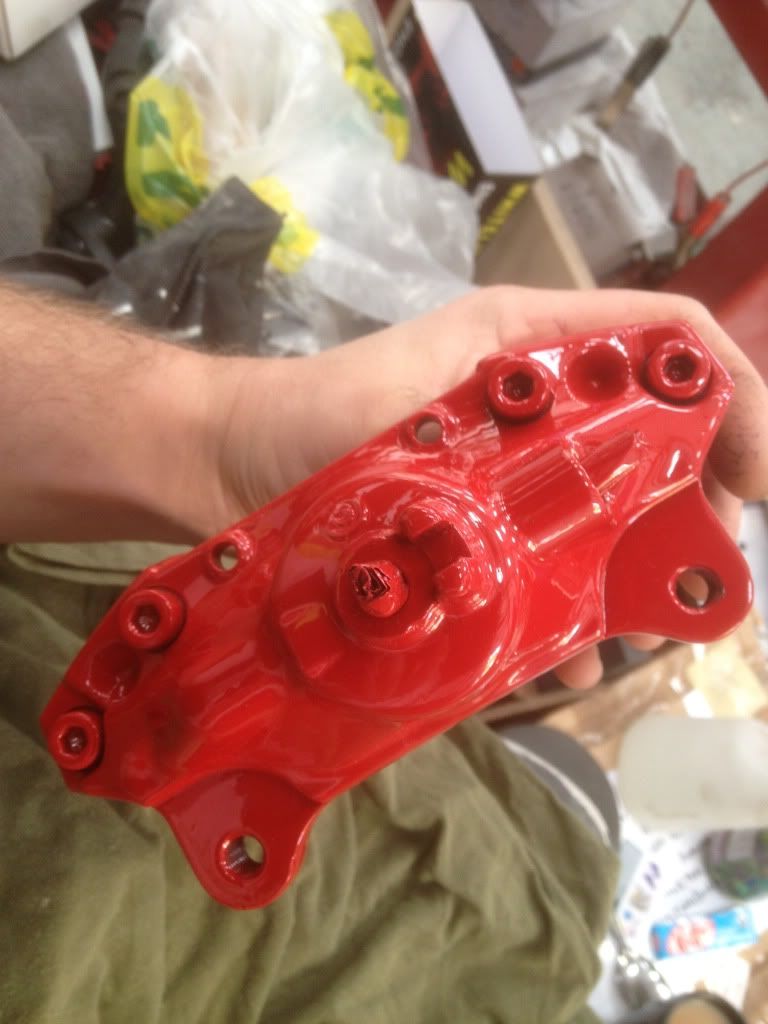 [/IMG]
[IMG]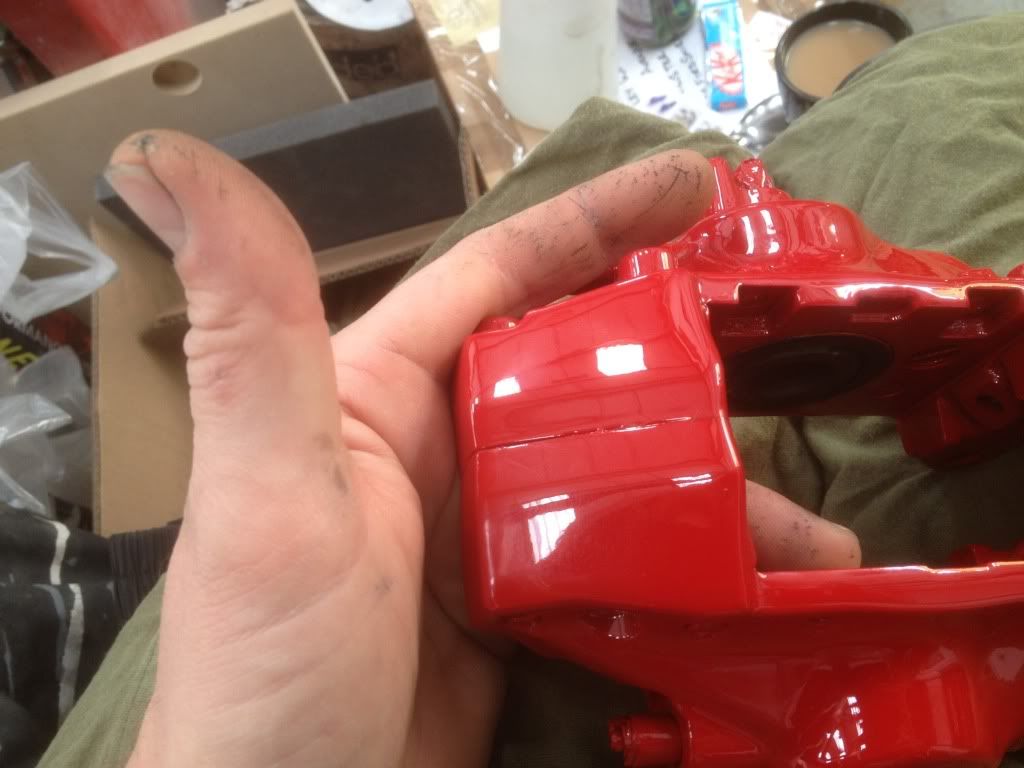 [/IMG]
[IMG]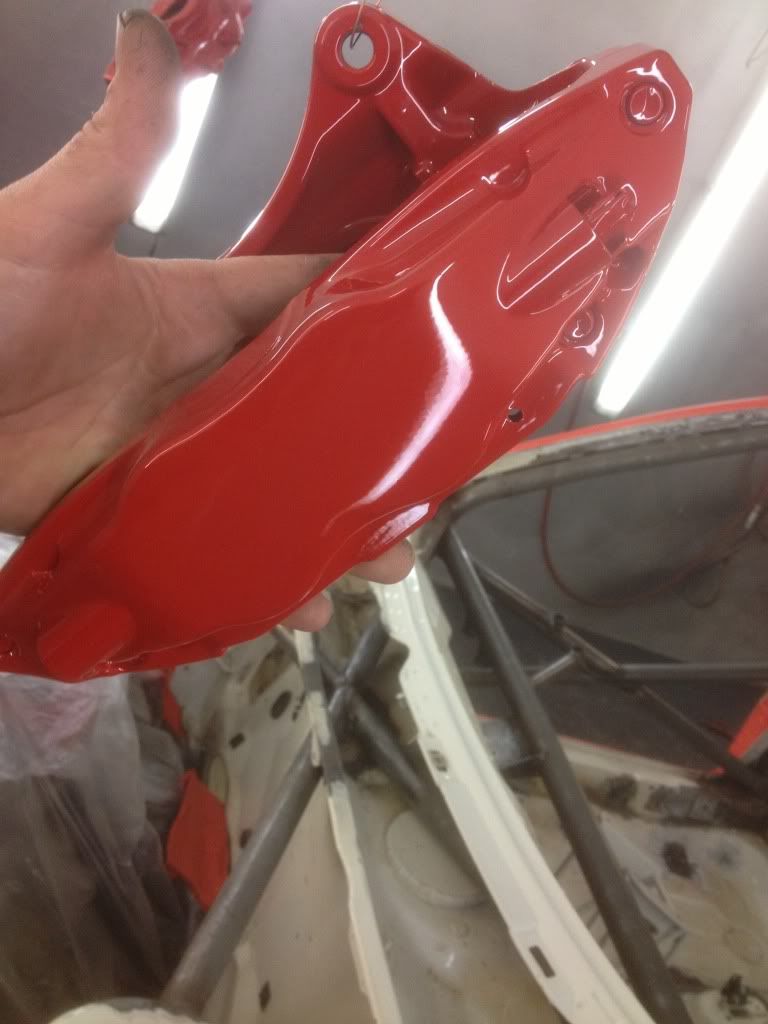 [/IMG]
[IMG]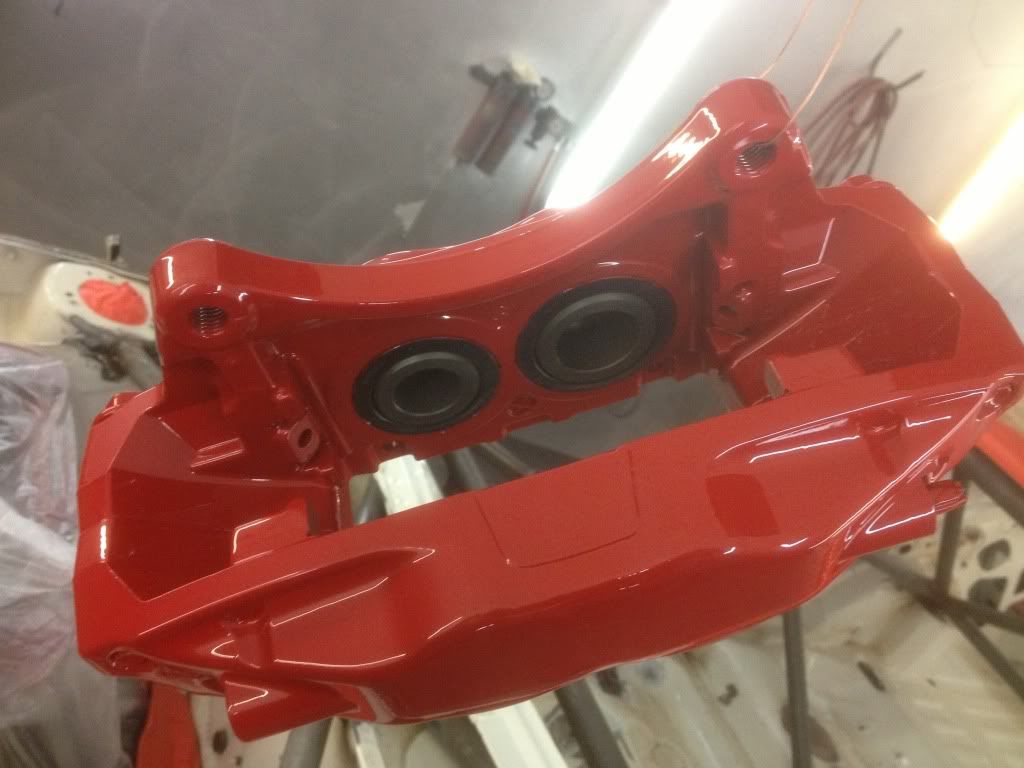 [/IMG]
[IMG]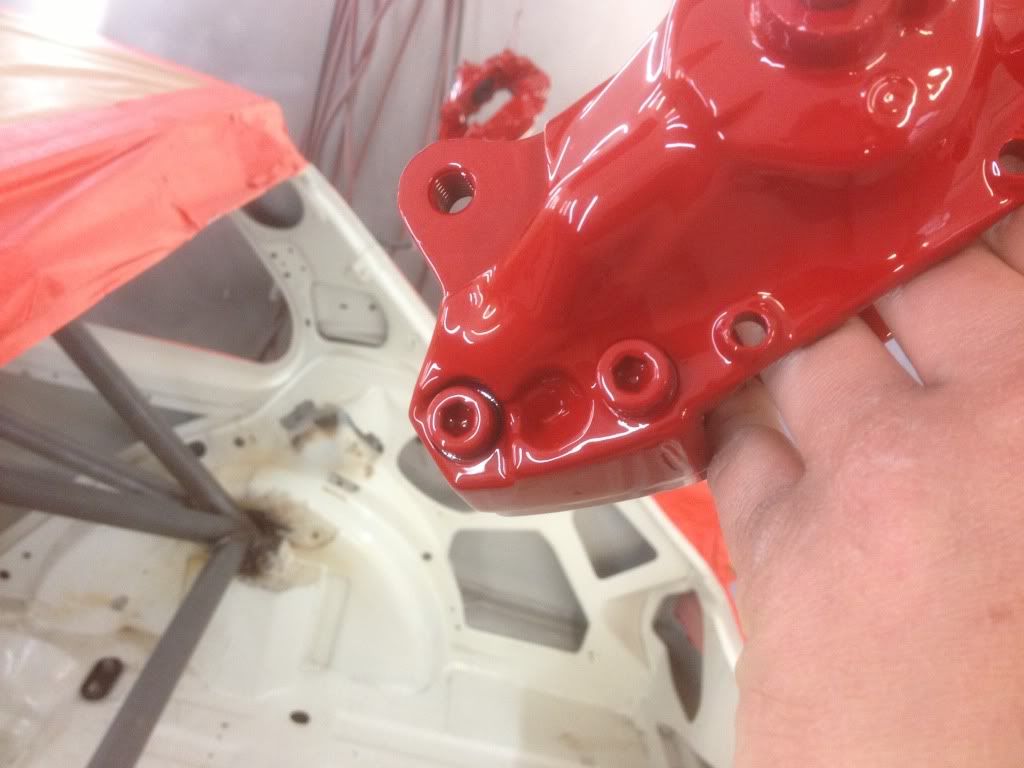 [/IMG]
[IMG]
 [/IMG]
[IMG]
 [/IMG]
[IMG]
 [/IMG]
[IMG]
 [/IMG]
[IMG]
 [/IMG]
[IMG]
 [/IMG]
[IMG]
 [/IMG]
[IMG]
 [/IMG]
[IMG]
 [/IMG]