
1994 Version Sti RA.... Restoration Project.

 it spurs me on.
I've got a plan to spruce up the plastic covers etc on the car like the fuel filler one mounted in the rear arch for example....
 did you know that you can polish plastic just like alloy and stainless with the correct polishing compound
  that will be a new one for me to try

Joined: Sep 2005
Posts: 19,945
Likes: 2
From: "Engineering Perfection in Essex"
Yes I was aware if this Si. Done it many times on old Bauer skates. Be very careful how much heat you put into them as you can melt plastic very quickly.
It's not quite like polishing metal in that instance
It's not quite like polishing metal in that instance
I've got some scrap plastic parts Frayz so I shall have a practice first so I don't go melting anything 
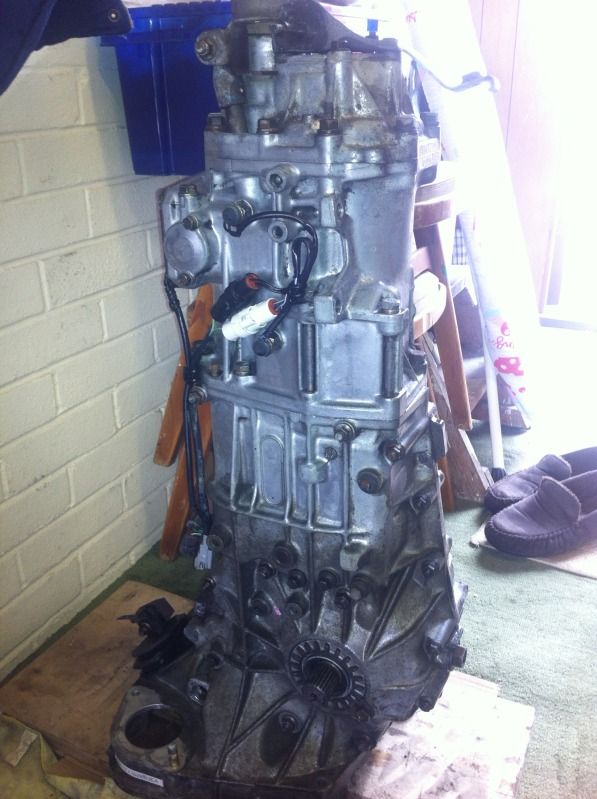
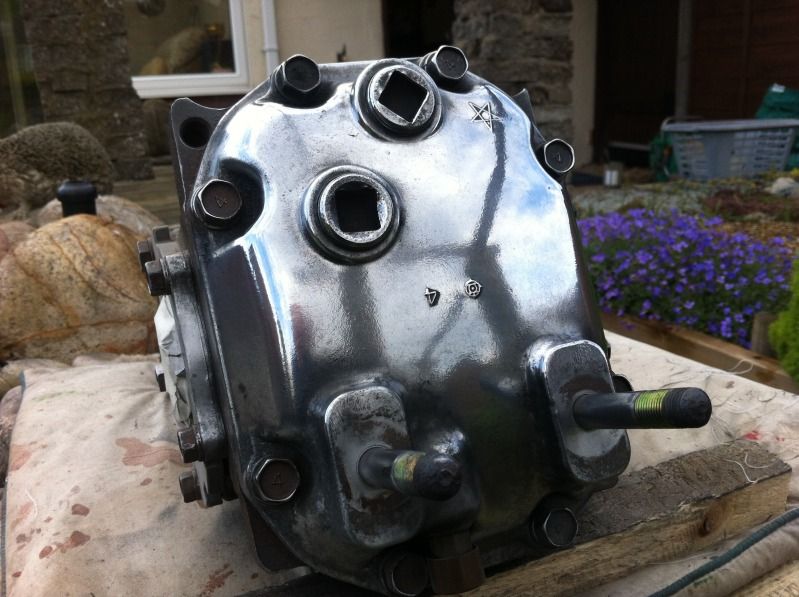
Had a go on the gearbox today... just the first stage a degrease, not the lightest weight to be carrying around let me tell you
Anyone of a slight disposition must look away now as a toothbrush was sevearly injured during the making of these pictures
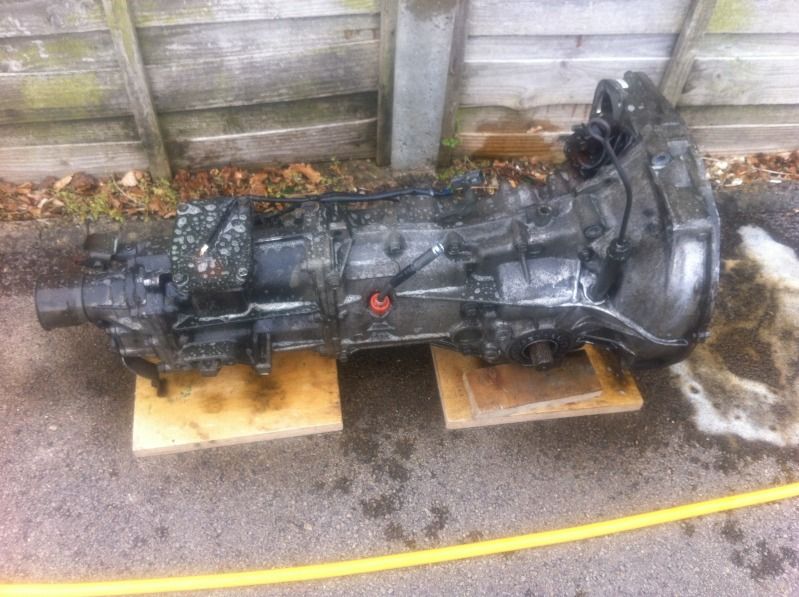

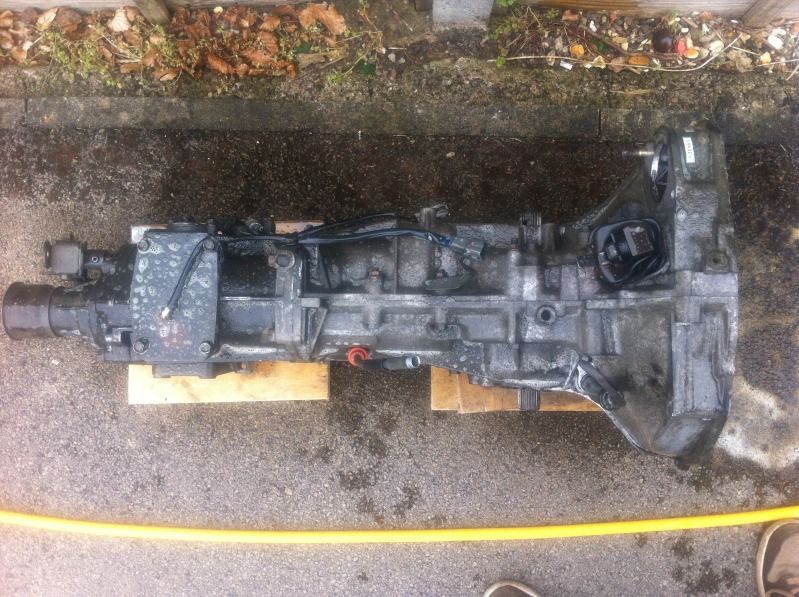
And after....

Had a go on the gearbox today... just the first stage a degrease, not the lightest weight to be carrying around let me tell you
Anyone of a slight disposition must look away now as a toothbrush was sevearly injured during the making of these pictures


And after....


Left the gearbox today as it was so nice outside that can be done when its a wet day.
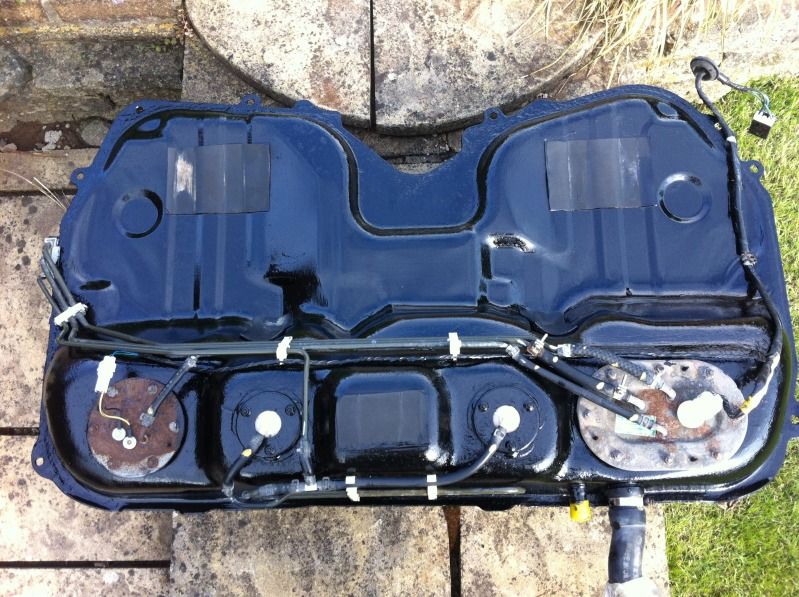
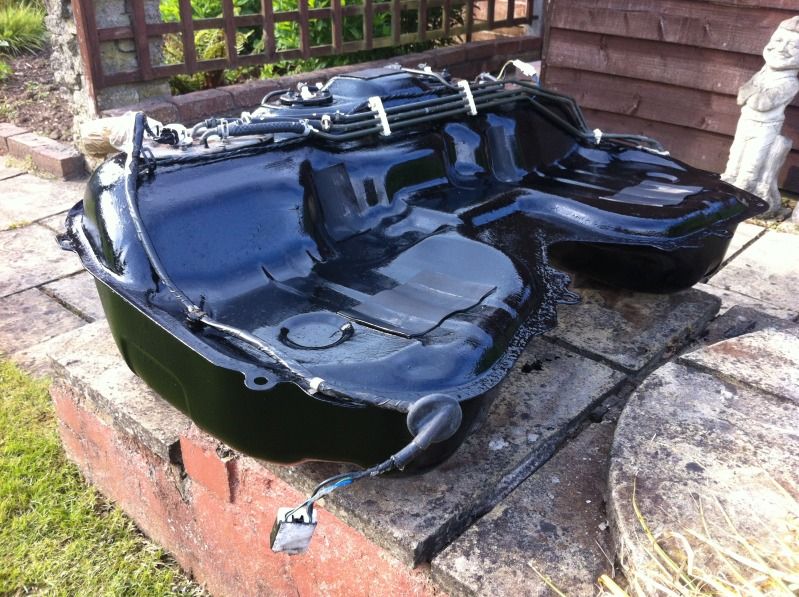
Had a go on the fuel tank firstly.....
First job was to wash and de grease and wire brush the rusty areas.
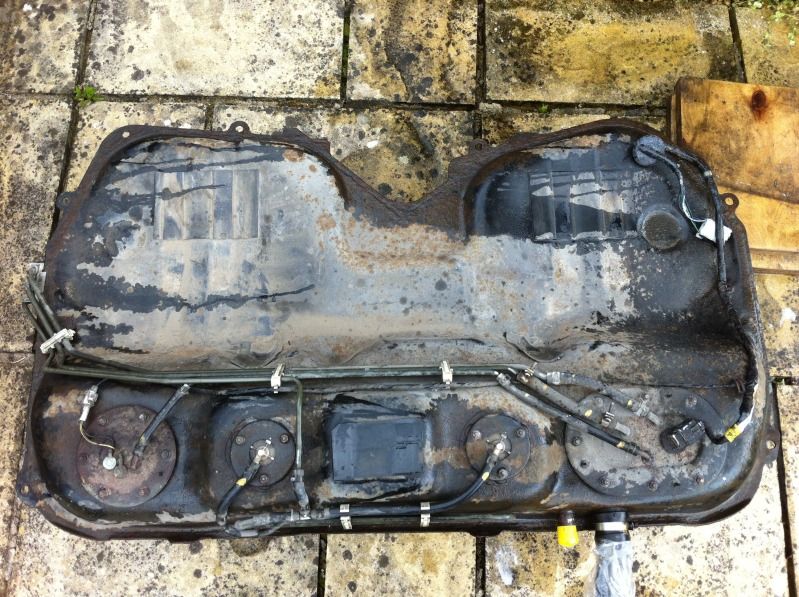

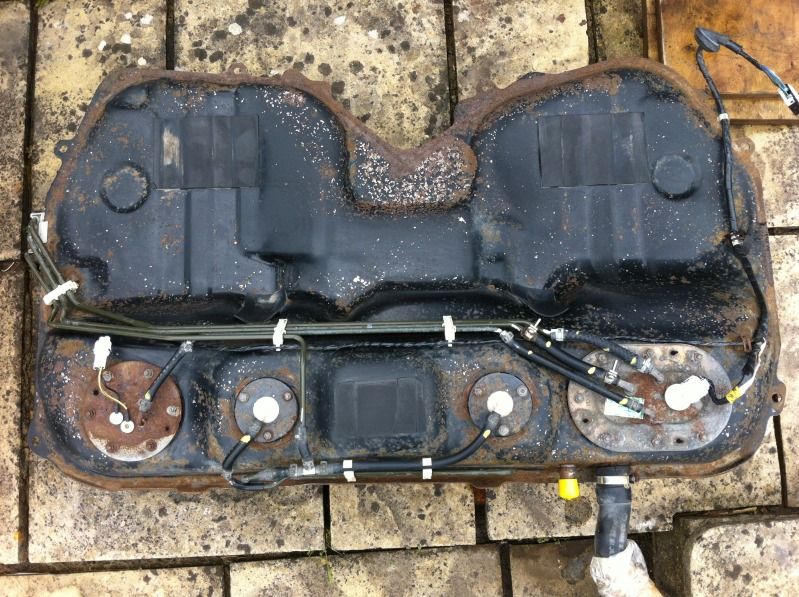
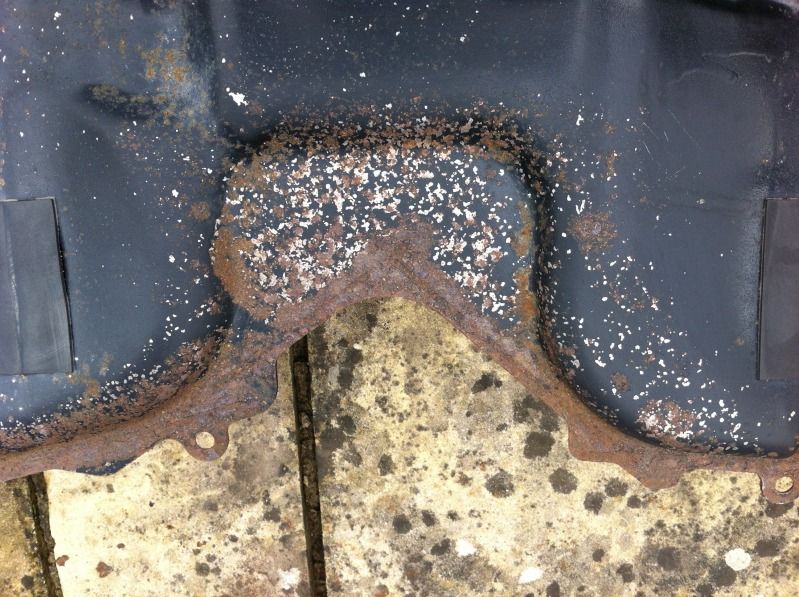
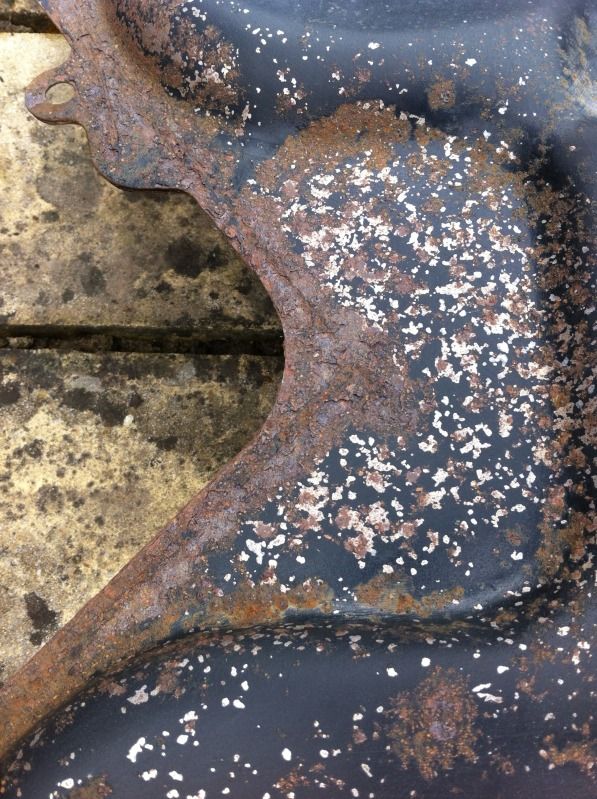
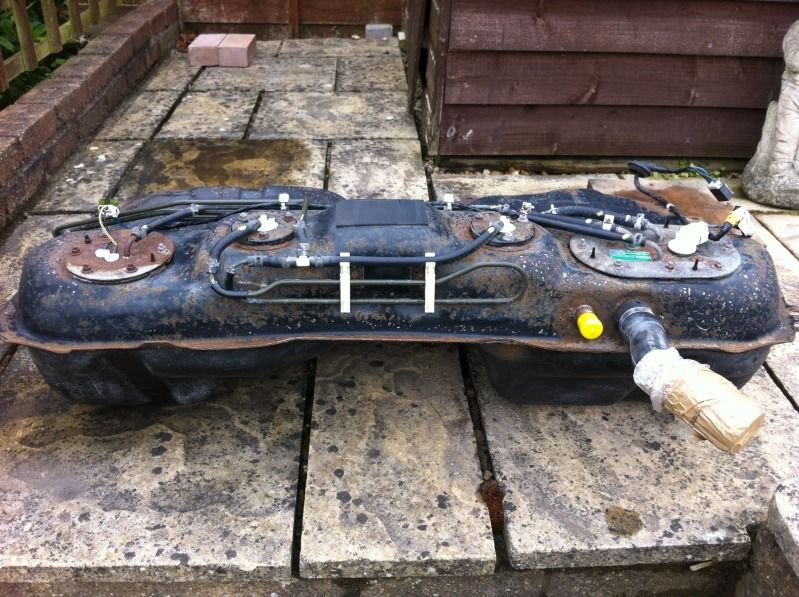
After looking at the scabby bits and the finish that was already on the tank I decided simply to whack a couple of heavy coats of Hammerite on as it covers well and encapsulates the rust in.
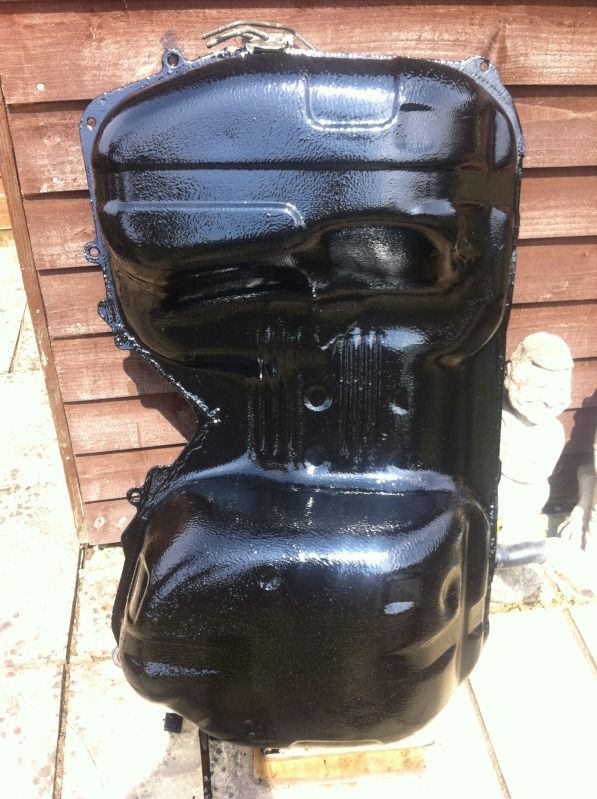
The two panels will be coated silver to finish it off fully.
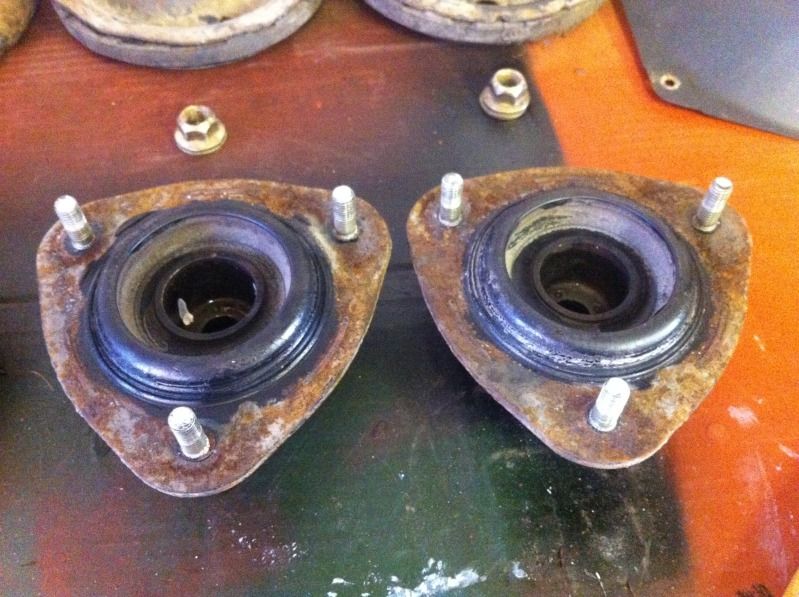
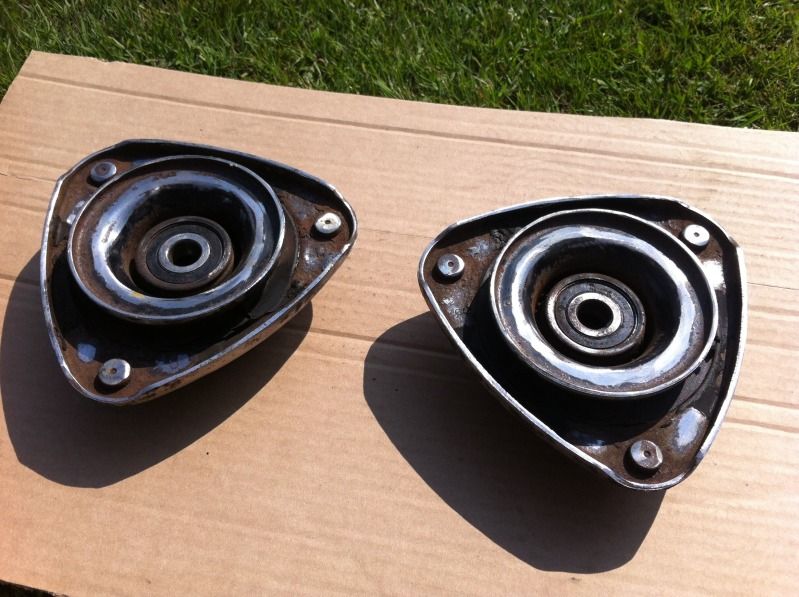
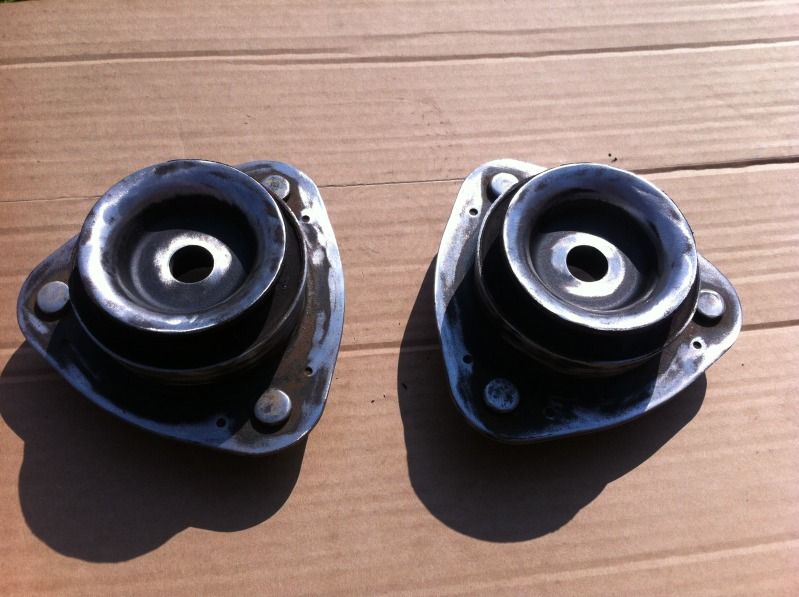
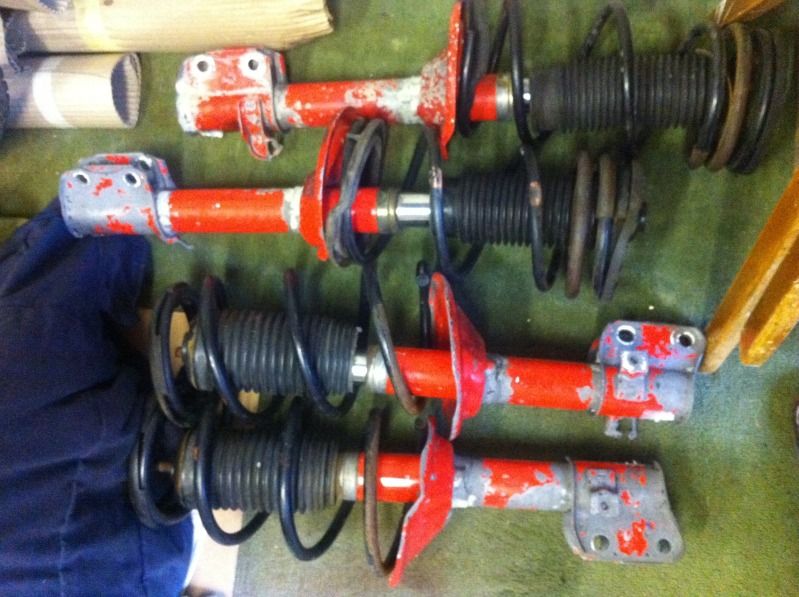
Then the next job was to refresh the top mounts off the suspension, I have a set of red Type R struts on the way but I will need to re-use my existing mounts to fix to them.
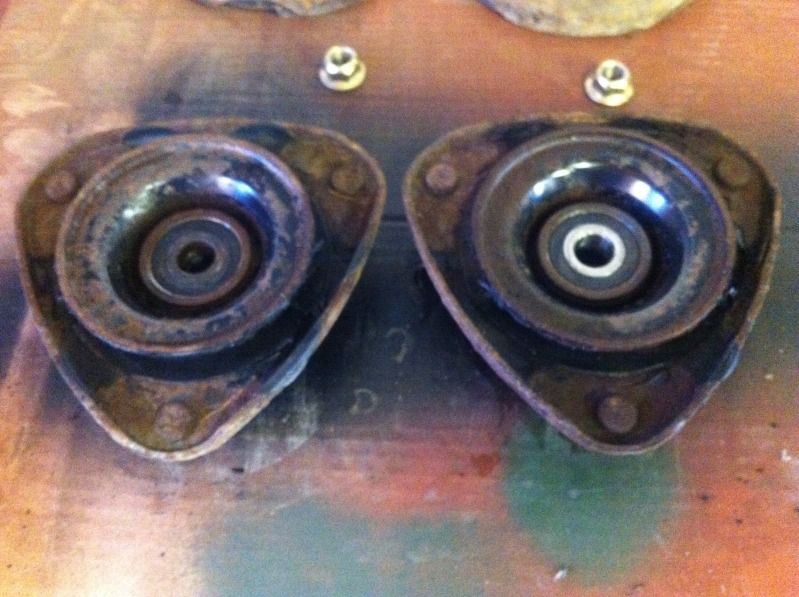
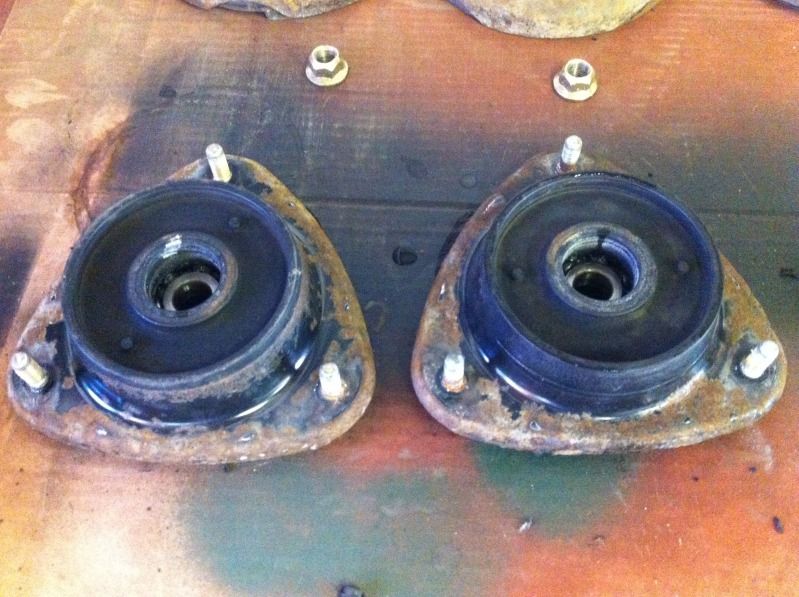
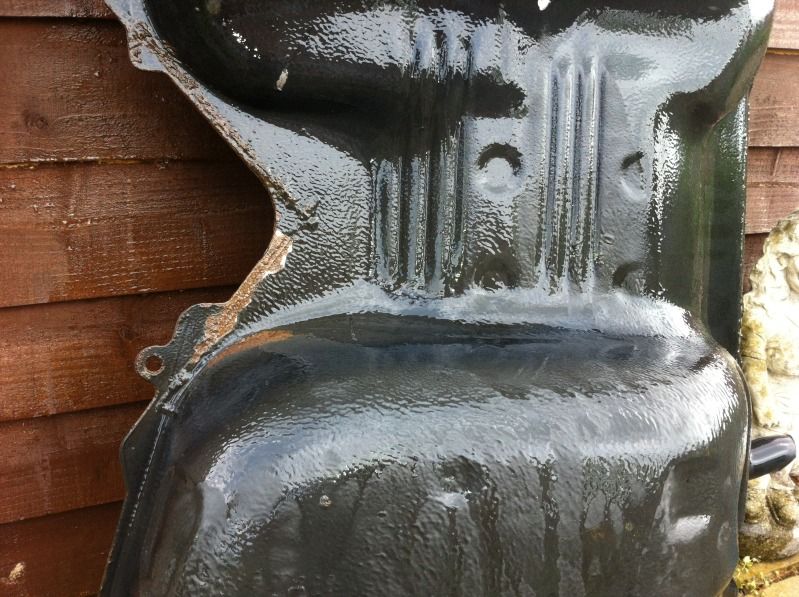
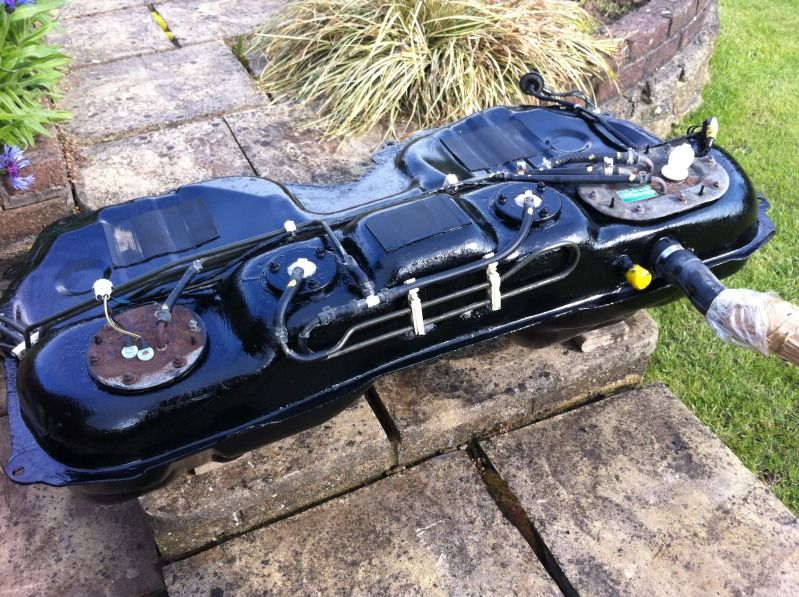
Now are after prepping for paint....
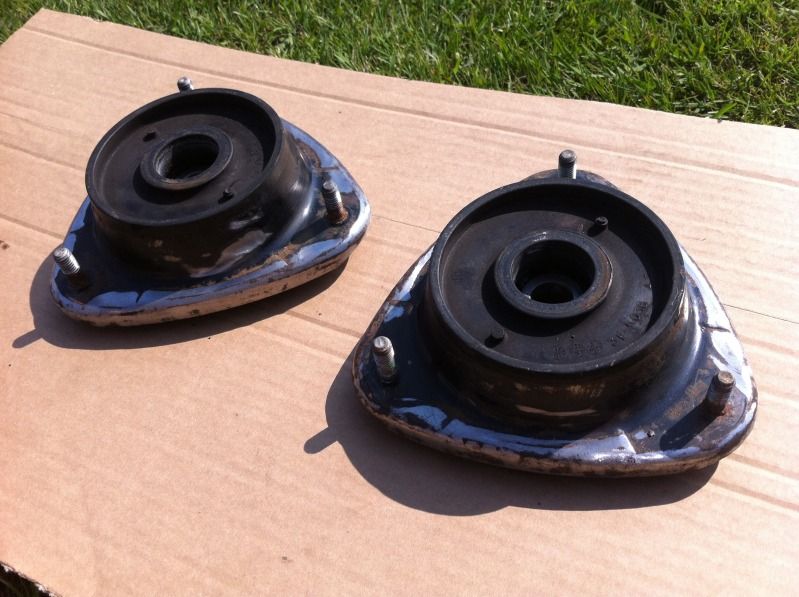
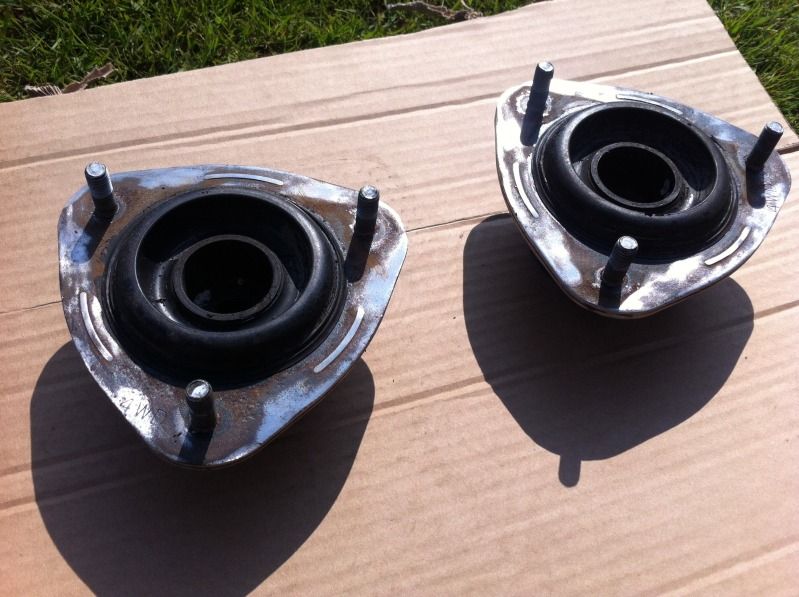
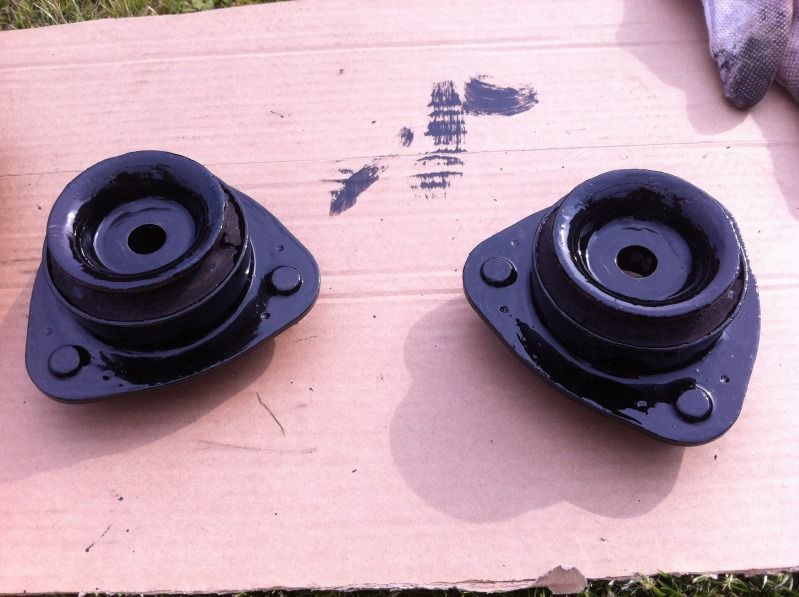
First coat applied.... Second will be a sheen finish.
Had a go on the fuel tank firstly.....
First job was to wash and de grease and wire brush the rusty areas.
After looking at the scabby bits and the finish that was already on the tank I decided simply to whack a couple of heavy coats of Hammerite on as it covers well and encapsulates the rust in.
The two panels will be coated silver to finish it off fully.
Then the next job was to refresh the top mounts off the suspension, I have a set of red Type R struts on the way but I will need to re-use my existing mounts to fix to them.
Now are after prepping for paint....
First coat applied.... Second will be a sheen finish.
Busy weekend for you mate. Looking good tho, makes it a lot easier having components off the car. Gotta love the hammerite direct to rust! I've been using it this weekend.
Joe
Joe
I've also had a talk with the chap that's going to paint the sandblasted parts yesterday when I get them back, he has suggested using a very hard wearing paint he's used before that gives a sheen finish rather than gloss which I am happy with for all the Sub frames etc, there's no lacquer it's simply top coat to finish, colours top secret until dry
I'll then take more when they come back from sandblasting to compare.
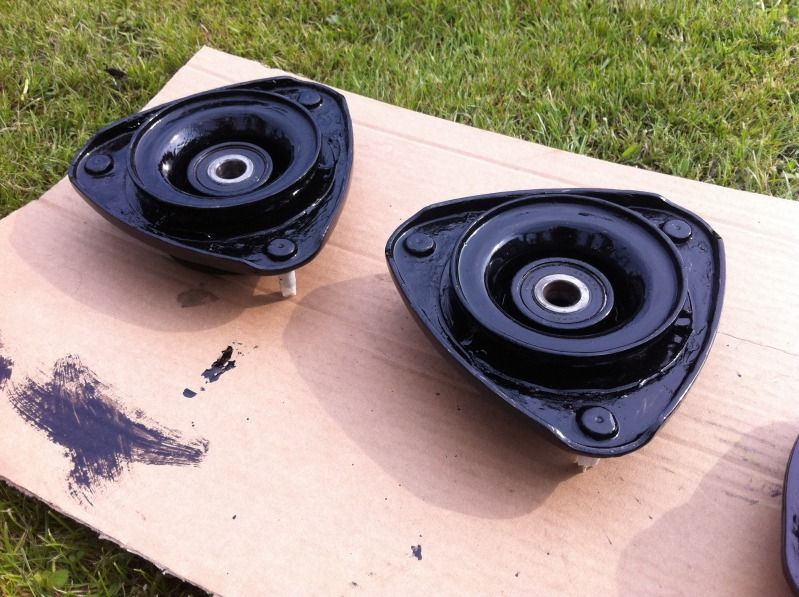
Crossed a few more items off the list tonight, finished the top mounts with a second coat, another coat on the bottom of the fuel tank so just the small covers to finish that off and finally finished the drive shafts completely.... I'll box them up next so they are safe and secure until the re build.
The devil is in the detail and the pink painted bands are visible from the rear of the car so that was the finishing touch.
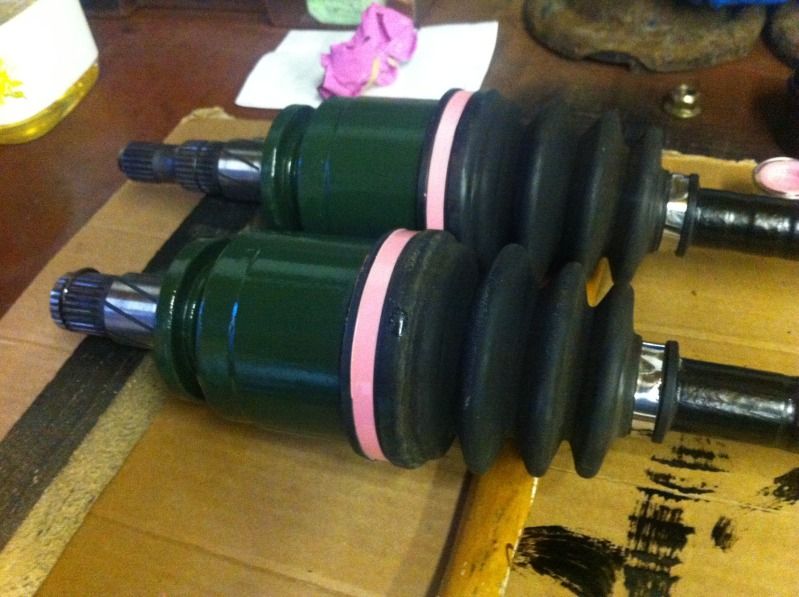
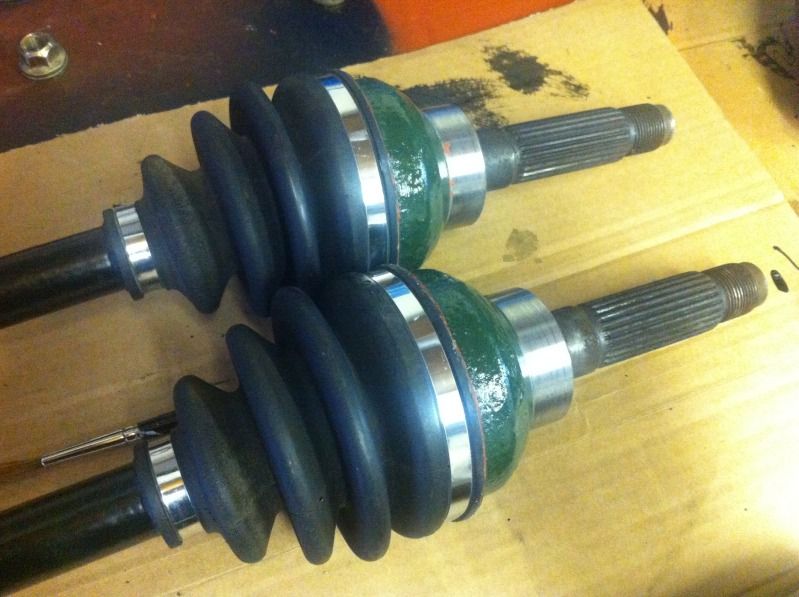
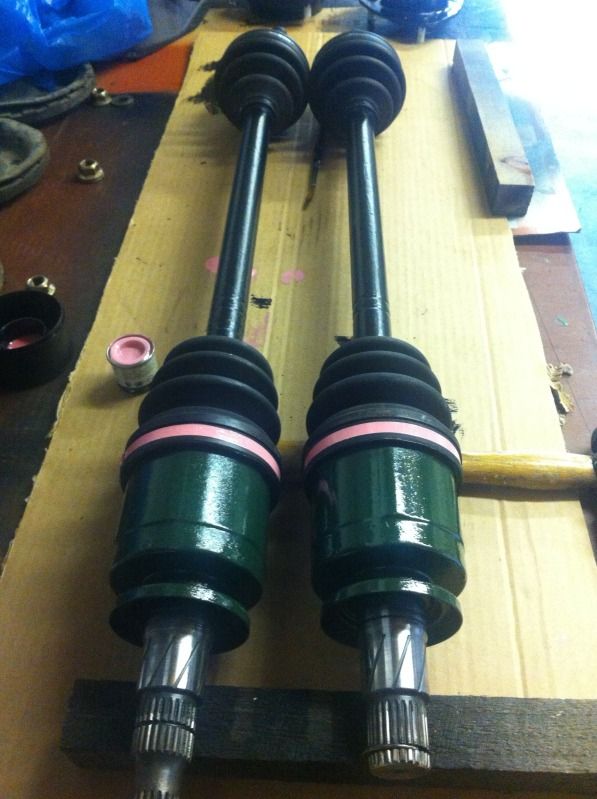
The devil is in the detail
and the pink painted bands are visible from the rear of the car so that was the finishing touch.
Last edited by Silver Scooby Sport; May 20, 2013 at 08:32 PM.


OEM get your head under yours there you may be showing a bit of pink without realising 
Damn.... Ouch.... Cough.... Cough.... Schoolboy error there
Cerise Cerise Cerise indeed yes your right Ian.... Quite mad really it's a tiny tin of Humbrol model paint and its a 100% match on what was left from manufacture.
get your head under yours there you may be showing a bit of pink without realising Cerise Cerise Cerise indeed yes your right Ian.... Quite mad really it's a tiny tin of Humbrol model paint and its a 100% match on what was left from manufacture.
Small update today a couple of little steps the last few days.
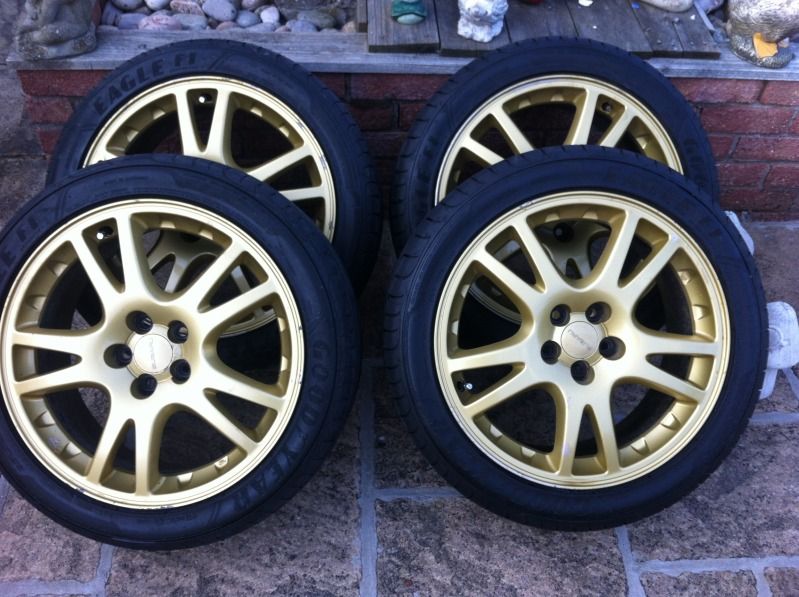
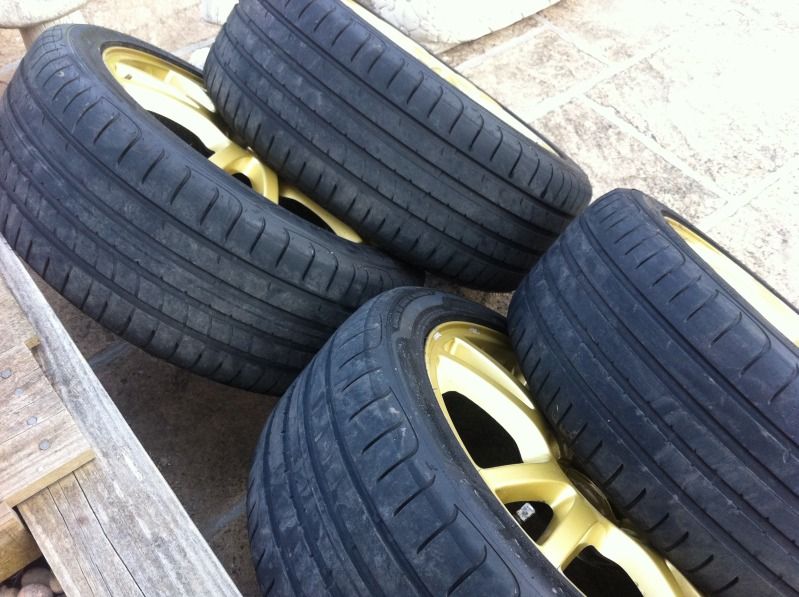
First off I have been looking for some new age wheels for the last few months without much success... How may people out there selling wheels have not one brand of tyres but two, three and even four different tyres fitted and still want silly money... When I picked the RA up it had four different brands of tyres fitted it's madness. Anyway I dropped in the traders breaking section on here and dropped straight onto a really nice set with great tyres, alloys have some scab on them but that's only to be expected with the age.
So a massive thanks to Matty from PolePosition as he was spot on with the description and the packing and transport was great as well.
These will get me started well for the build and set up plus also be winter wheels afterwards.... No need to get what I have an eye on now until next spring.
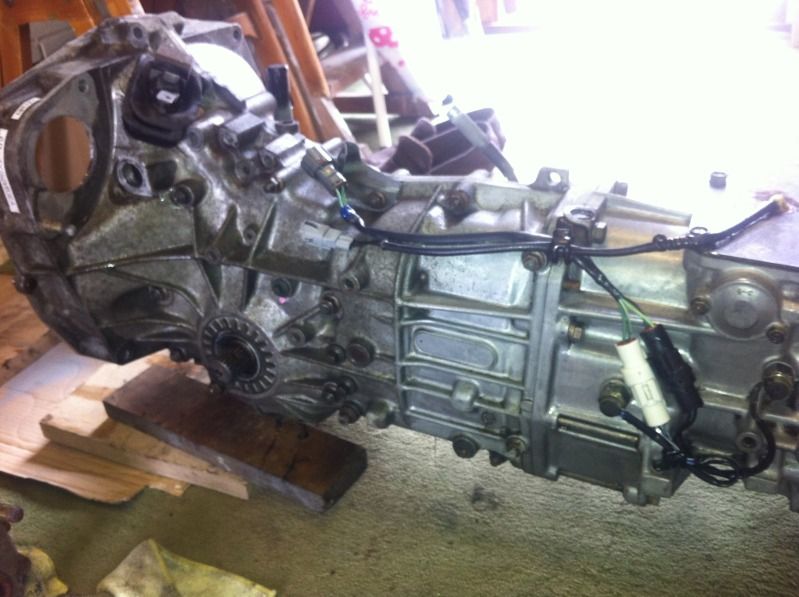
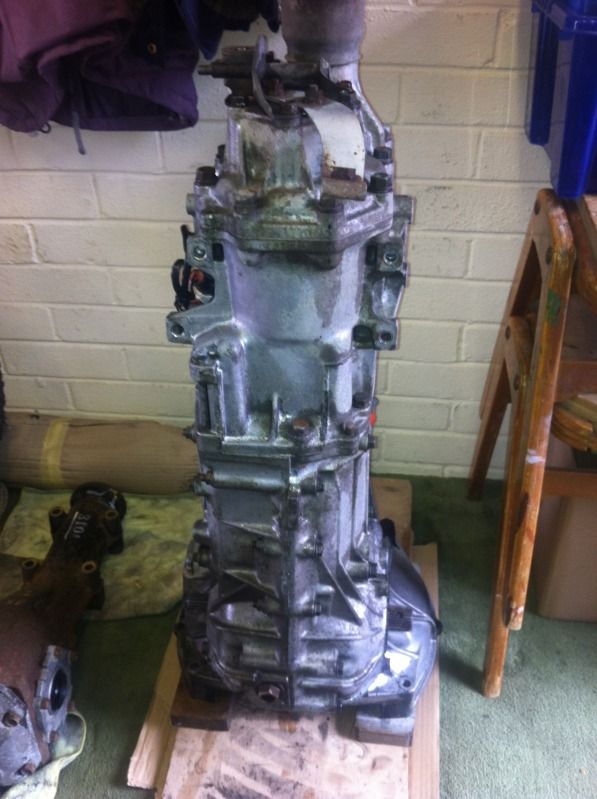
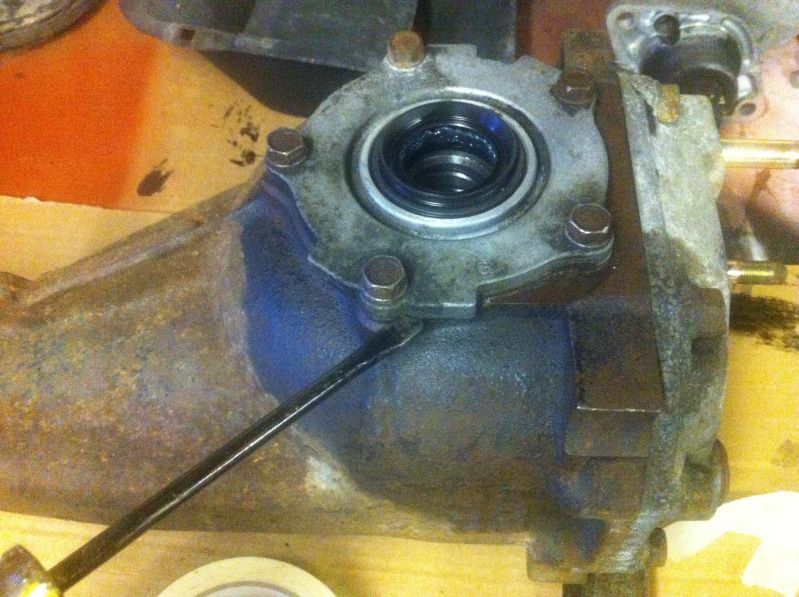
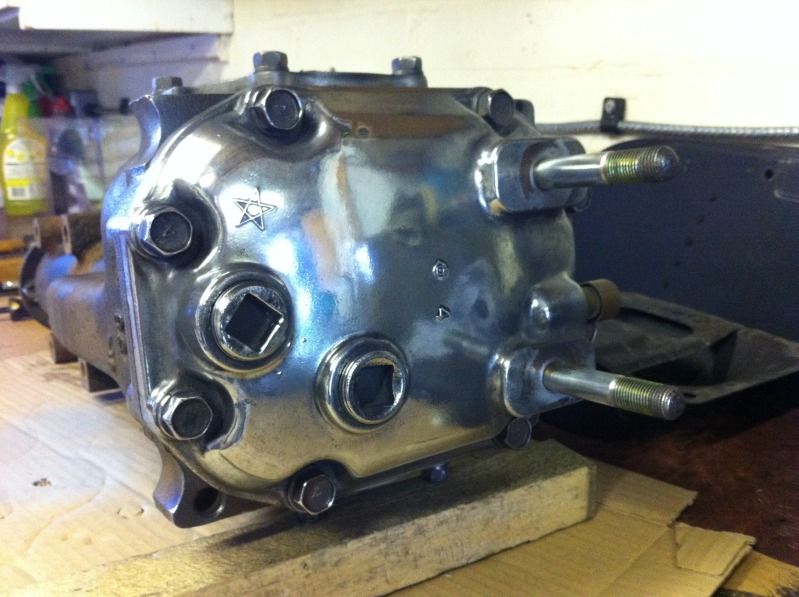
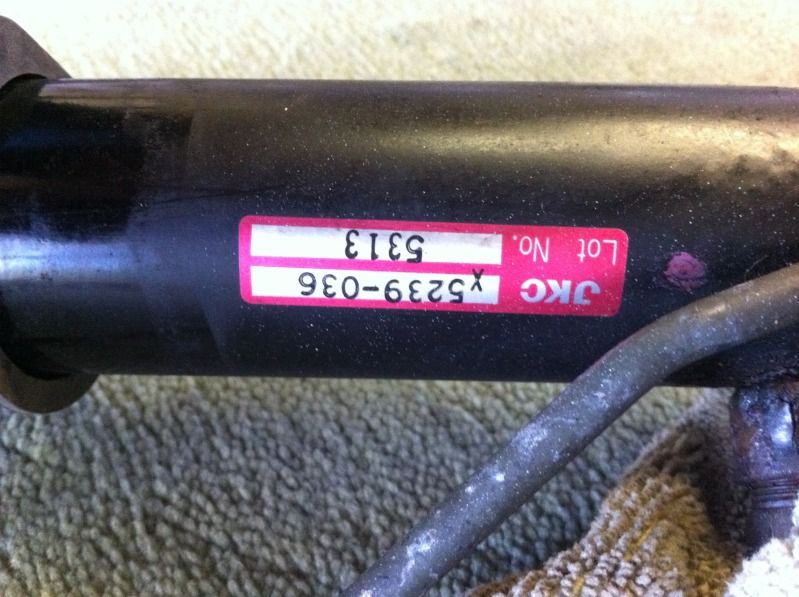
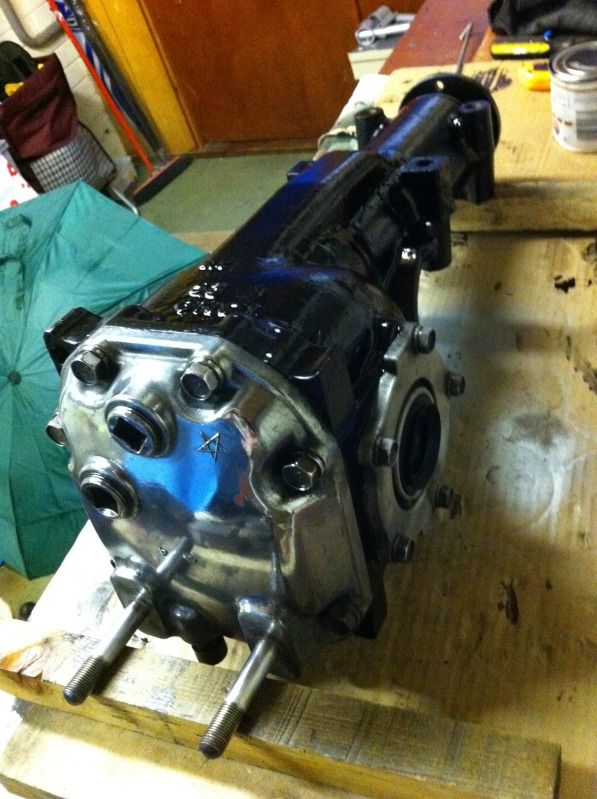
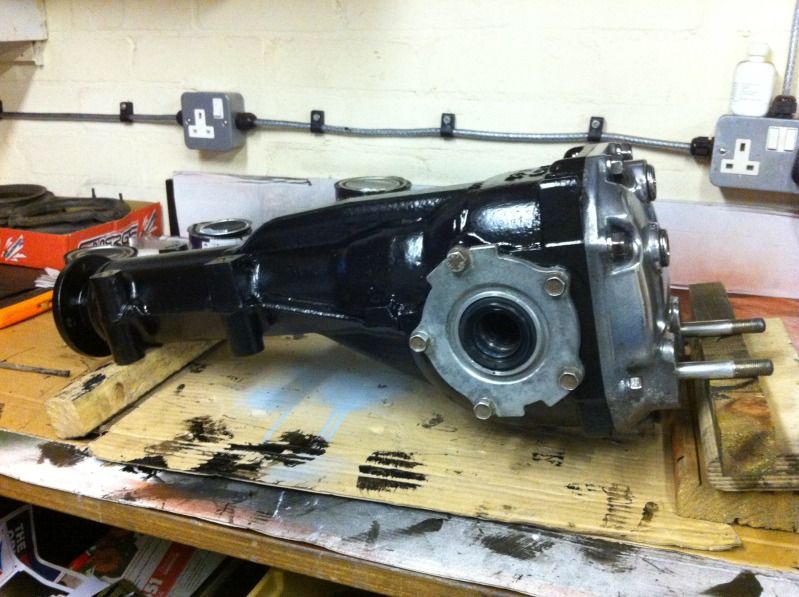
Right guys got a tech question.... I've just had the seals changed on the rear diff as shown below.
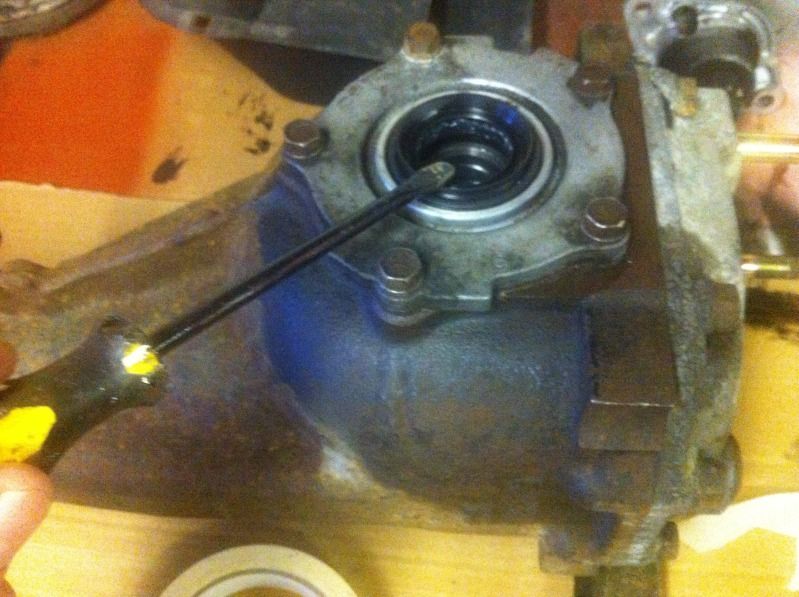
You can see the oil patch on the diff from an old leak, is there also a gasket under the alloy ring that could be the leak as well ?
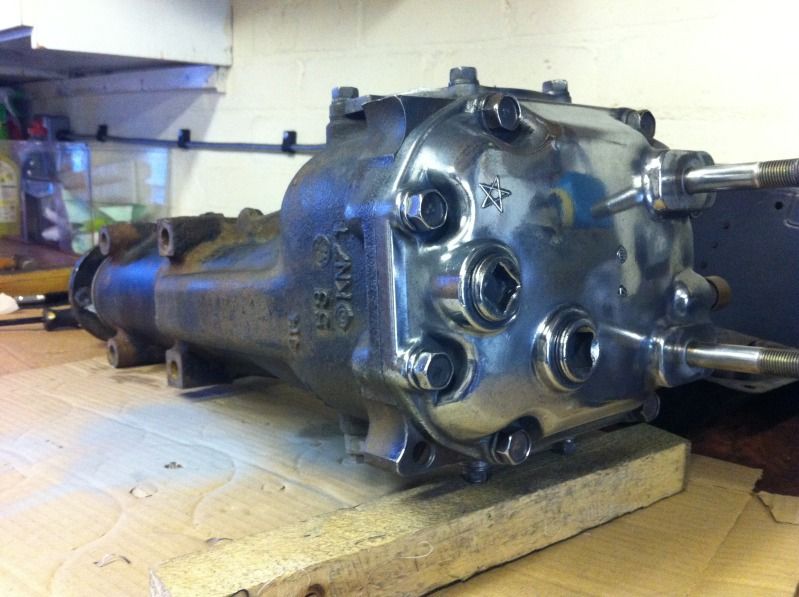
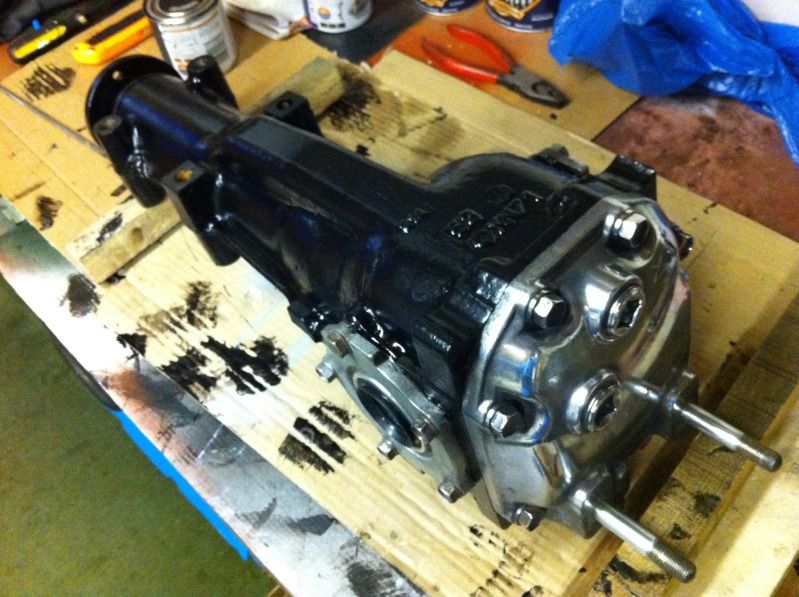
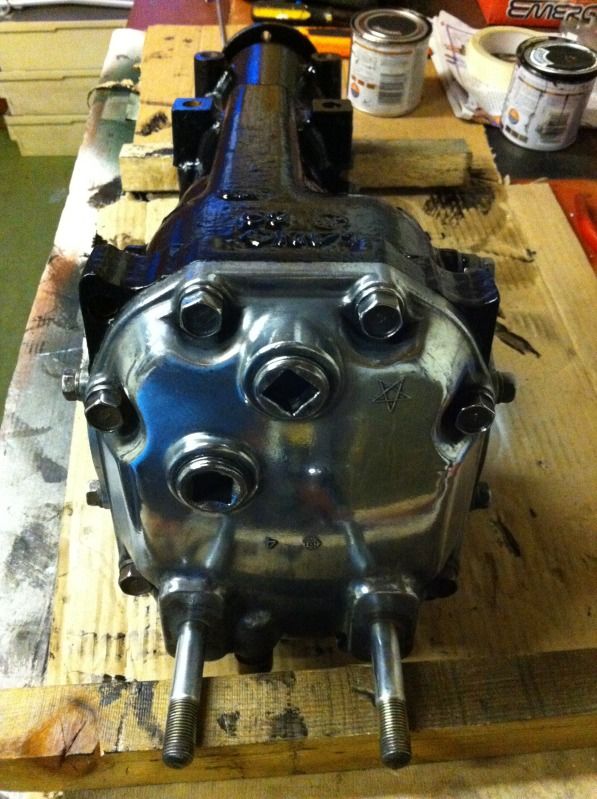
And well for anyone that knows me you know I was always going too.....
Step one....
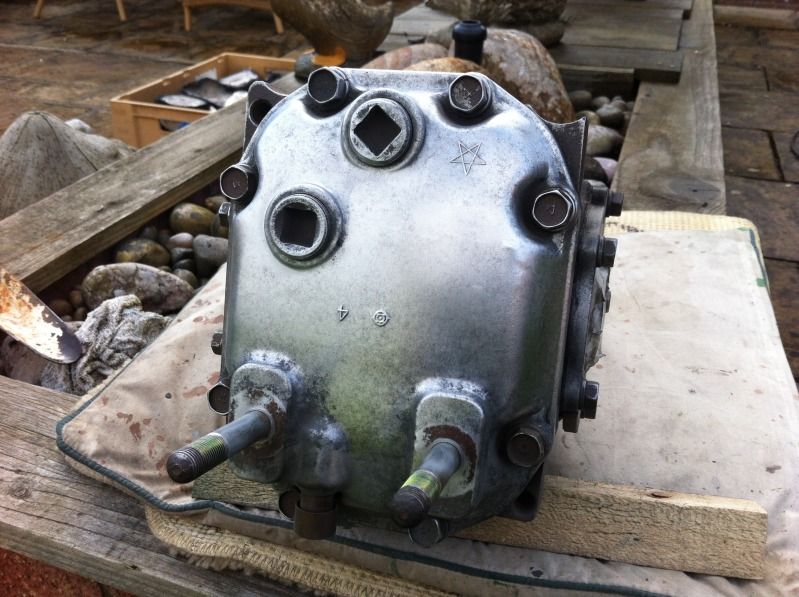
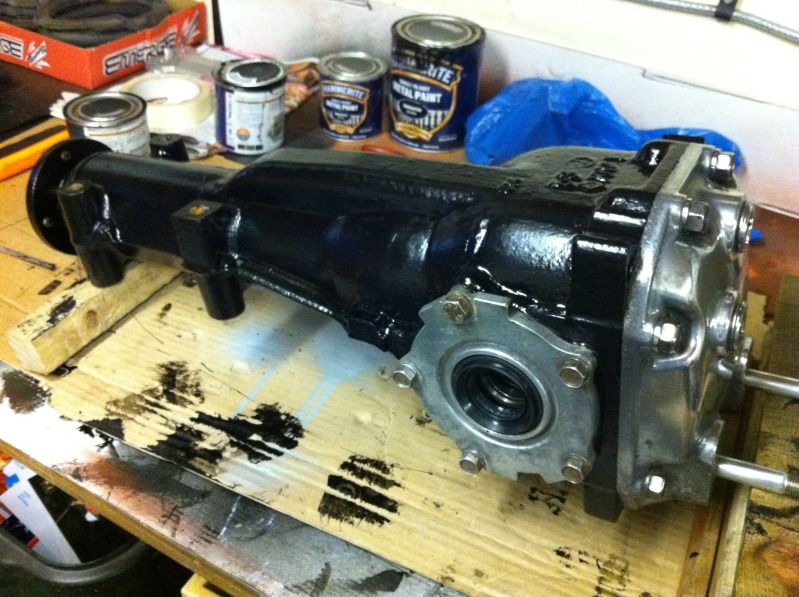
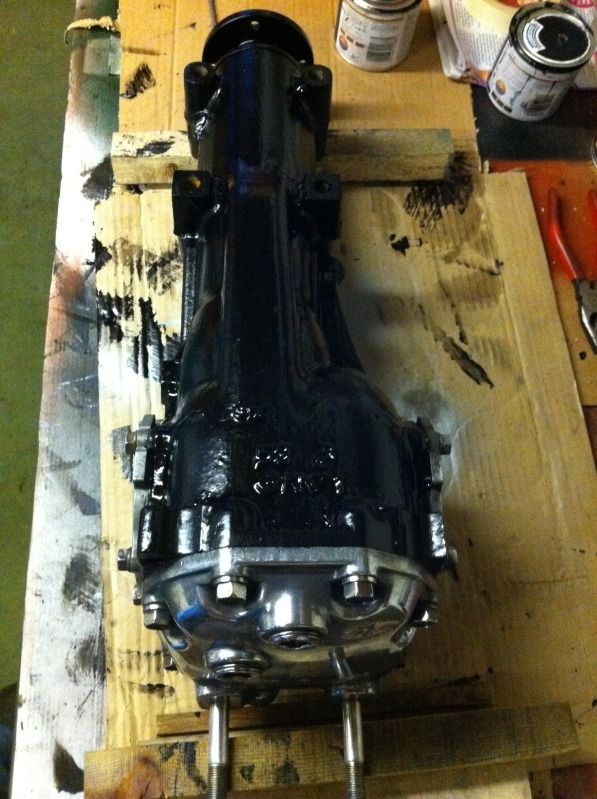
Step two...
The casing will now have a fresh coat of black as the next step.
First off I have been looking for some new age wheels for the last few months without much success... How may people out there selling wheels have not one brand of tyres but two, three and even four different tyres fitted and still want silly money... When I picked the RA up it had four different brands of tyres fitted it's madness. Anyway I dropped in the traders breaking section on here and dropped straight onto a really nice set with great tyres, alloys have some scab on them but that's only to be expected with the age.
So a massive thanks to Matty from PolePosition as he was spot on with the description and the packing and transport was great as well.
These will get me started well for the build and set up plus also be winter wheels afterwards.... No need to get what I have an eye on now until next spring.
Right guys got a tech question.... I've just had the seals changed on the rear diff as shown below.
You can see the oil patch on the diff from an old leak, is there also a gasket under the alloy ring that could be the leak as well ?
And
well for anyone that knows me you know I was always going too.....Step one....
Step two...
The casing will now have a fresh coat of black as the next step.
Here's a couple of good pictures Frayz, this is the old car a few years ago and you forget just how visible certain things are under it, that's why I'm making sure I get all the detail work done now as when its together I will not get access.


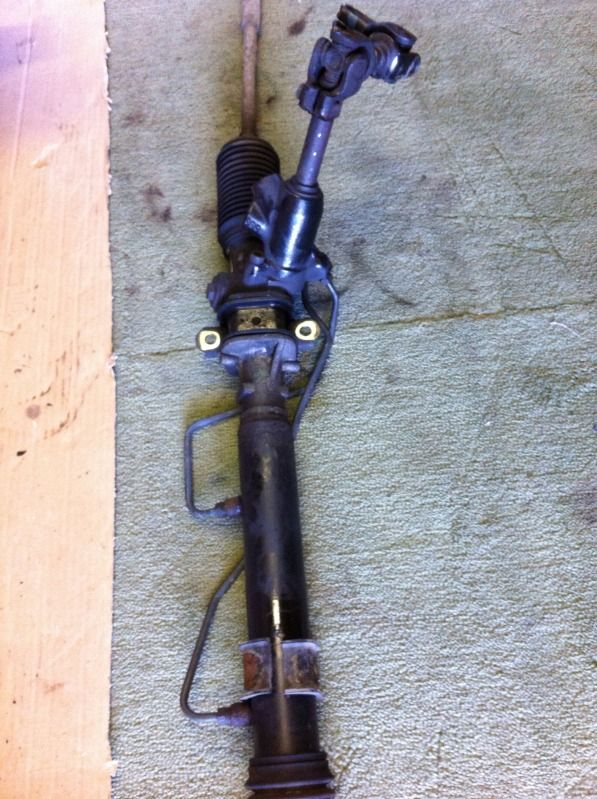
I need to bring the steering rack home tomorrow
Indeed.... It maybe something that is to do with the casting but who knows, be interesting like you say Joe to find out.
Pink sock and all of that
A little more progress this afternoon... I picked up the Type R struts earlier... Condition looks great and ready nearly for a fresh coat of red paint.
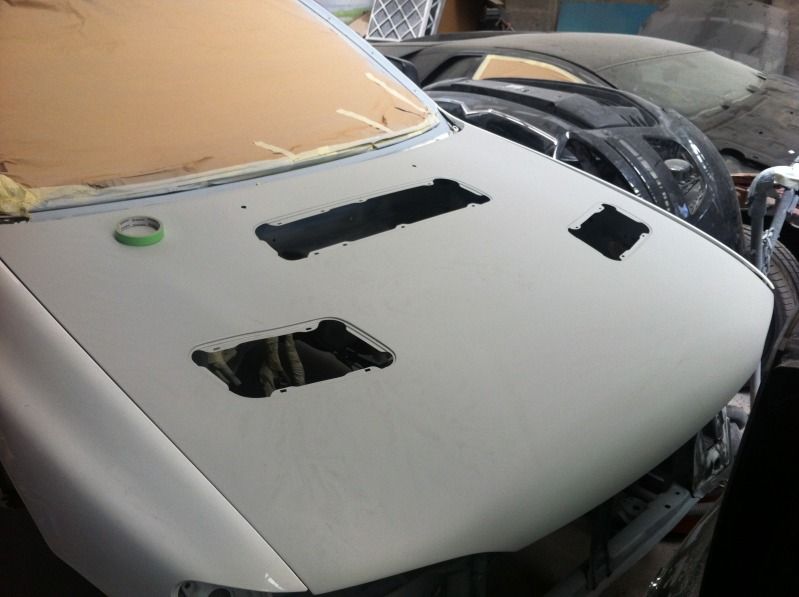
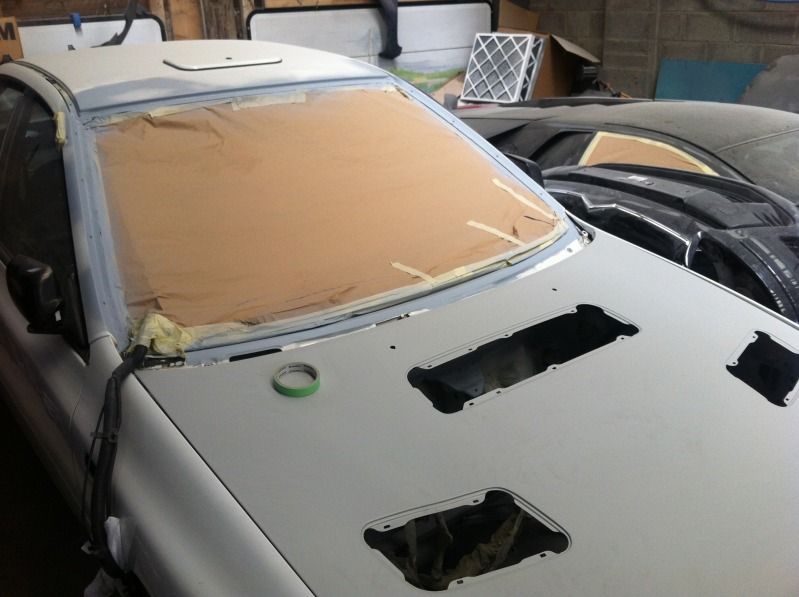
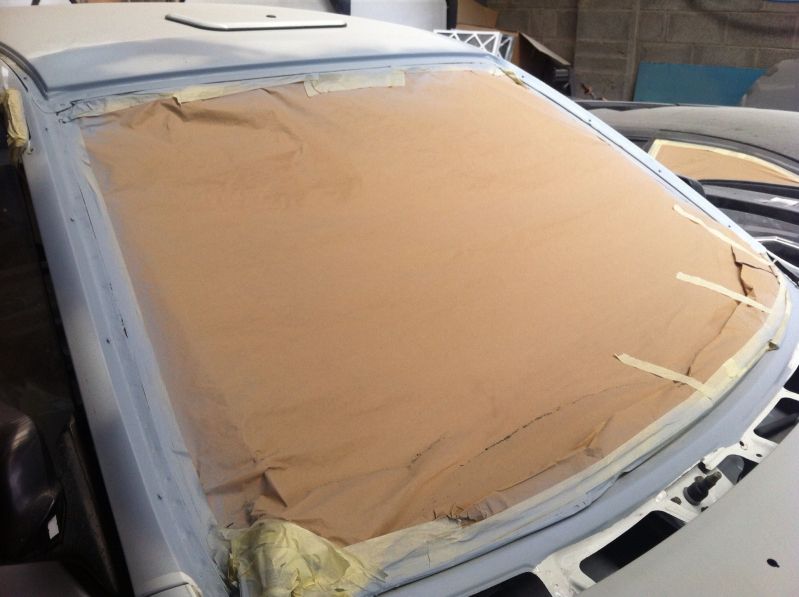
Also I had a look at the shell... Unfortunately there is a delay with the spit being fabricated so its just the bonnet and the window surround plus the rust patch by the arial that has been sorted out, as soon as the spit arrives its going to be around 2 weeks work. No big shakes really as I've still got a bit to do yet so I'm looking at mid July to pair parts and body back in the same place fingers crossed Doing the shell in between helps my bill
I'm saying I am working to a date... I want to be at RallyDay with the car, if I can make it I will be well pleased if not then it will be not long after I hope.

Pink sock and all of that
A little more progress this afternoon... I picked up the Type R struts earlier... Condition looks great and ready nearly for a fresh coat of red paint.
Also I had a look at the shell... Unfortunately there is a delay with the spit being fabricated so its just the bonnet and the window surround plus the rust patch by the arial that has been sorted out, as soon as the spit arrives its going to be around 2 weeks work. No big shakes really as I've still got a bit to do yet so I'm looking at mid July to pair parts and body back in the same place fingers crossed
Doing the shell in between helps my bill I'm saying I am working to a date... I want to be at RallyDay with the car, if I can make it I will be well pleased if not then it will be not long after I hope.

Looking good mate,
I've managed to sort the garage out and found all the bits for the swap.
I'll take them into work and get APC to collect them, Can you PM me you address details,
The mounts on the strut braces need repainting but thats normal for the whiteline powder coating!!!
I've managed to sort the garage out and found all the bits for the swap.
I'll take them into work and get APC to collect them, Can you PM me you address details,
The mounts on the strut braces need repainting but thats normal for the whiteline powder coating!!!
Cheers Micky.... Trying to have a bit of a push here its moving quite well with the larger parts.
Your doing well Joe trust me because if the car was not as I say in a thousand parts I'd be struggling as well.... I have been swapping around with the weather to plus I'm lucky I have an old shed I can simply make as much mess as I want without thinking about it.... I'll be pleased of it when I start on the headers it's a balancing act here in some respects as I'm doing so much and project managing the rest between others, there's days that my head is spinning with to much information
Thanks Danny.... Great don't worry I've sent a brand new whiteline rear arb to be sandblasted, the guy look at me a bit odd and I said if I fit that in 12 months time it will be a giant rust bubble
Swap shop tidy I'll drop you a pm and I'll also send the cover via TNT on Tuesday.
it's a balancing act here in some respects as I'm doing so much and project managing the rest between others, there's days that my head is spinning with to much information Looking good mate,
I've managed to sort the garage out and found all the bits for the swap.
I'll take them into work and get APC to collect them, Can you PM me you address details,
The mounts on the strut braces need repainting but thats normal for the whiteline powder coating!!!
I've managed to sort the garage out and found all the bits for the swap.
I'll take them into work and get APC to collect them, Can you PM me you address details,
The mounts on the strut braces need repainting but thats normal for the whiteline powder coating!!!
don't worry I've sent a brand new whiteline rear arb to be sandblasted, the guy look at me a bit odd and I said if I fit that in 12 months time it will be a giant rust bubble Swap shop tidy
I'll drop you a pm and I'll also send the cover via TNT on Tuesday.
Joined: Apr 2005
Posts: 11,778
Likes: 4
From: Newcastle. 330bhp-289lb/ft @ 1bar boost - 12.4s @ 105mph
It has to be said that Whiteline's coatings are better than Cusco's. When I bought my rear diffuser, I got the Cusco bar as well so the spare wheel well didn't need drilled.
When first fitted;

Nice and shiny, but, about 3 months later it looked like it had been at the bottom of the North Sea for about 6 years.

A further part of the jigsaw for this week coming, I've got a couple of things on the go at once here... Trying to get all the one colour items together so I can paint them all at once.

Another part off the list... Still a little tacky in the pictures so it will dull a little more when fully dry turned out better than I expected.
If its dry outside tomorrow I can get back on the steering rack as I need to sand some of the black paint off as its bubbling with rust underneath then I can prep ready for paint.
I've ordered the paint for the underside components and suspension struts today plus I've had an update from the sandblaster to say it should all ready for collection by the end of the week
turned out better than I expected. If its dry outside tomorrow I can get back on the steering rack as I need to sand some of the black paint off as its bubbling with rust underneath then I can prep ready for paint.
I've ordered the paint for the underside components and suspension struts today plus I've had an update from the sandblaster to say it should all ready for collection by the end of the week