
97 UK Turbo Wagon - DIY Style


Thread Starter
Scooby Regular
Joined: Jul 2006
Posts: 52
Likes: 0
Been a bit of a lurker on here but thought I would post up a few pics of bits and pieces I have been working on.
Its a daily driver and tow car for my mk1 sprint car so needs to be on the road as much as possible, but having done 100k+ miles, a few bits have needed sorting.
Away to the nurburgring in August as well as hopefully doing a few sprints/hills while I rebuild the golf, so needing to fix/upgrade a few bits.
Pics...


and some from the rolling road day at jap performance


Its a daily driver and tow car for my mk1 sprint car so needs to be on the road as much as possible, but having done 100k+ miles, a few bits have needed sorting.
Away to the nurburgring in August as well as hopefully doing a few sprints/hills while I rebuild the golf, so needing to fix/upgrade a few bits.
Pics...
and some from the rolling road day at jap performance
Last edited by Ali M; Jul 24, 2007 at 05:30 PM.
Thread Starter
Scooby Regular
Joined: Jul 2006
Posts: 52
Likes: 0
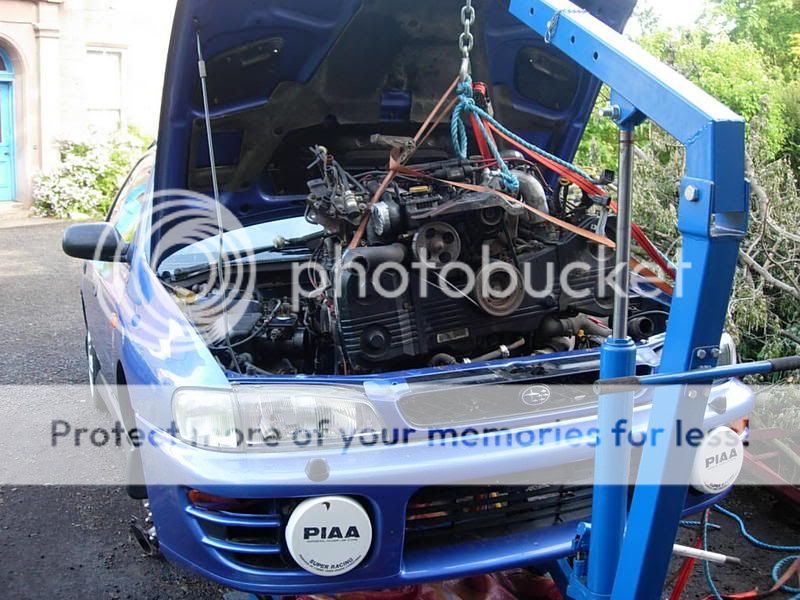
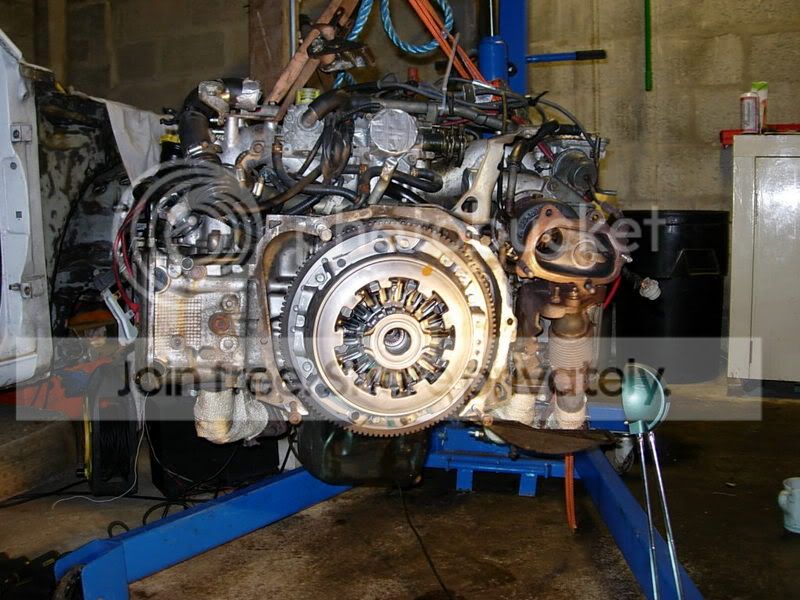
Here are a few pics of work I did a couple of weeks ago. The gaskets for the headers needed done and as all the studs holding them on were completely gone and I couldnt get in about to get them off, I decided to pull the engine and do a few other bits too.
Hopefully this will prevent me from getting left behind by a certain volvo + Vr en route to the nurburgring!
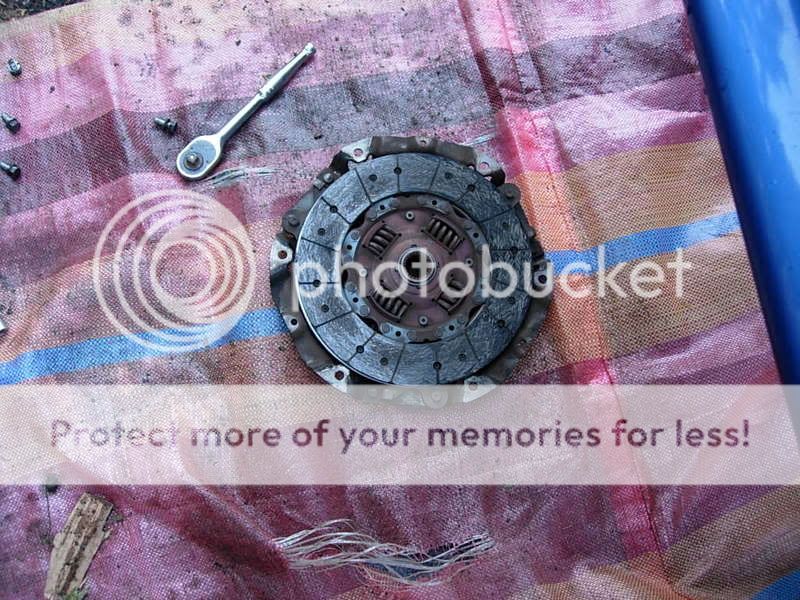
Old clutch didnt look to bad but was getting changed bfore going away anyway.
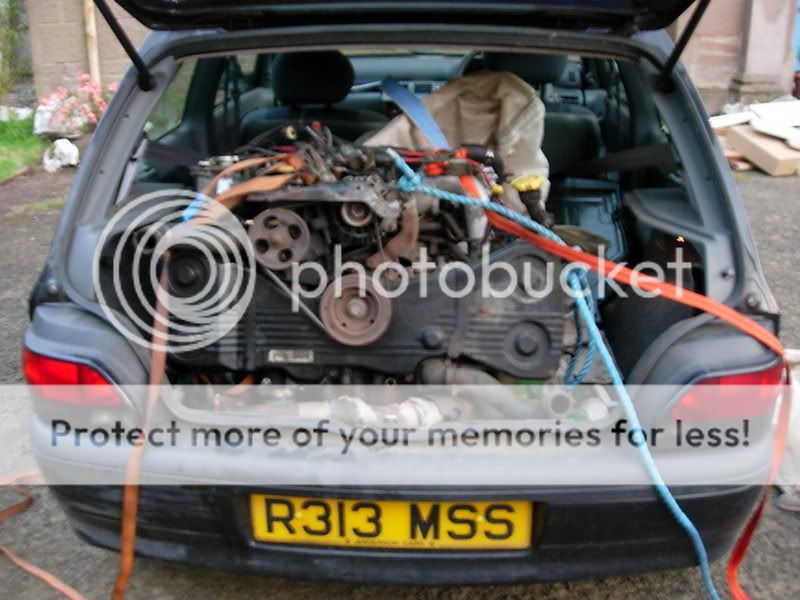
Scoob powered Clio?!

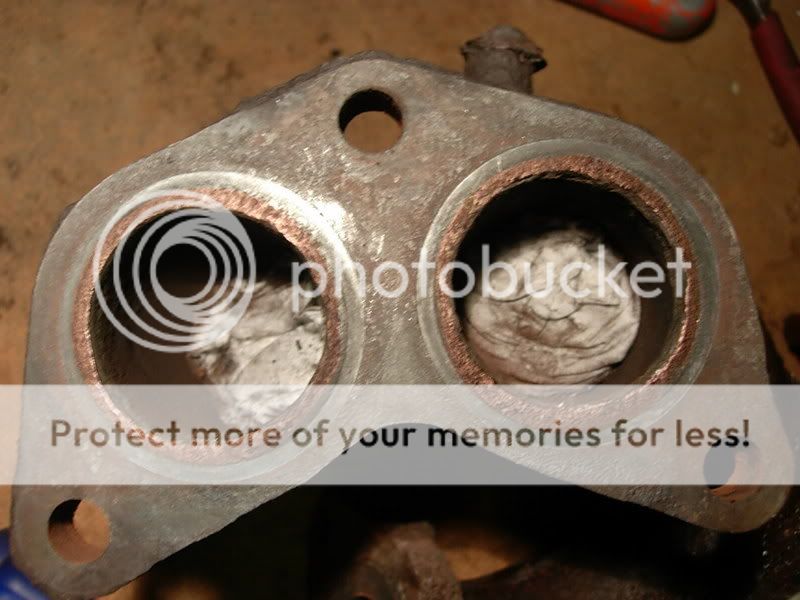
The nuts holding on the headers...

Filed then chisled them off...

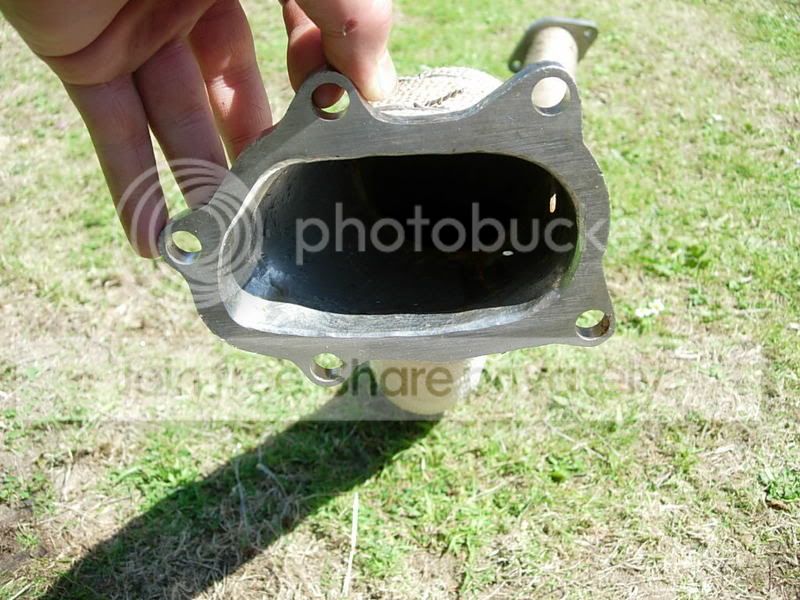
Ported the headers. Just opened them up and smoothed out any rough casting marks and just tried to improve flow.

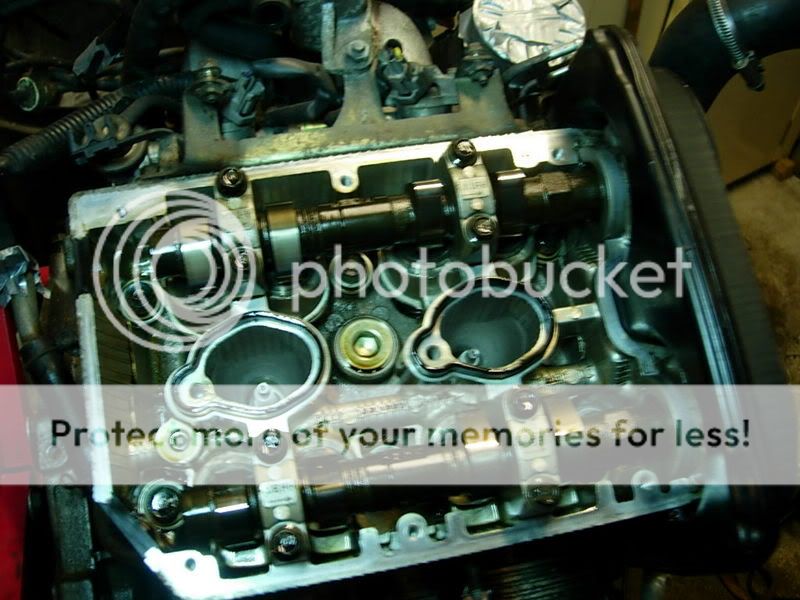
New sealant on cam covers, a common problem so im told.
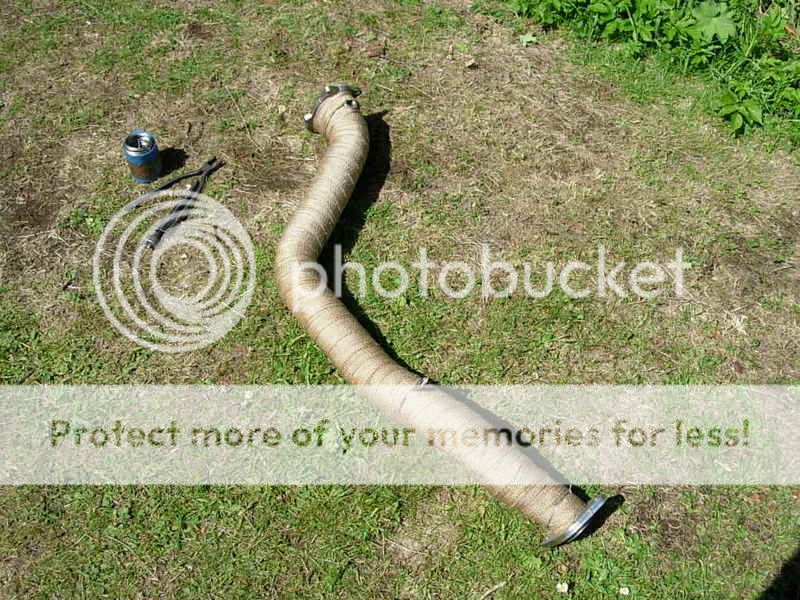
D/P heat wrapped and fitted
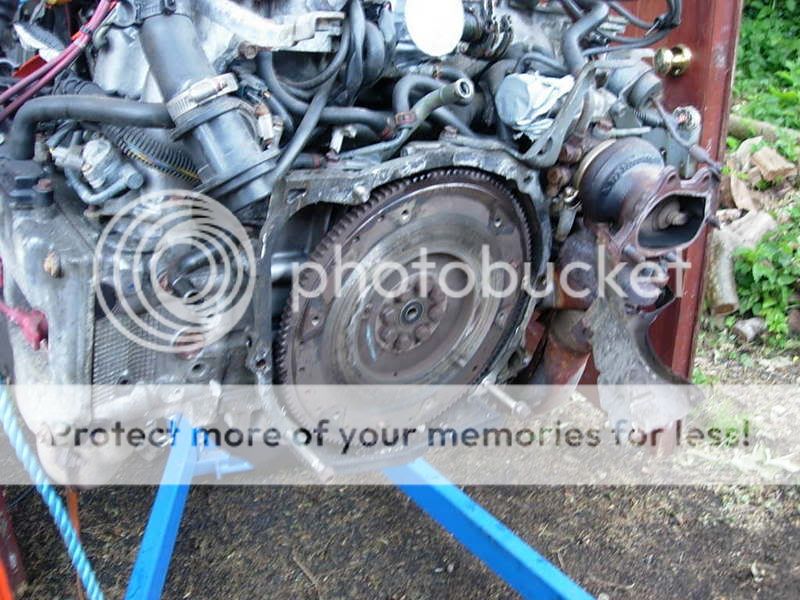
Lightened and balanced flywheel fitted with new clutch.
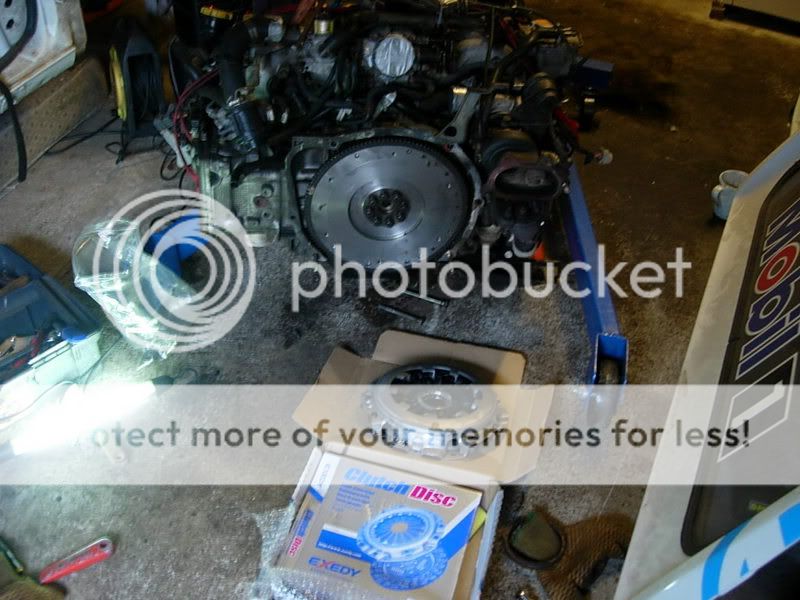
Also fitted new k+n panel filter, new plugs, fuel filter, oil filter etc while I was there.
Put it all back in and couldnt get any gears. Thought I had fitted release bearing wrong but turns out I was sent the wrong clutch! All taken out and old clutch was fitted again. I then did it all again when I got the correct clutch, can now change a scoob clutch in under 5 hours which im pleased about.
Looking forward to seeing how much difference the porting has hopefully made, have not done it before but a good learning curve. Not done any of this before but like getting stuck in and having a go.
Cheers to Goof for the loan of the hoist and Wuz for his endless scoob knowledge and near 24hr phone support!
Hopefully this will prevent me from getting left behind by a certain volvo + Vr en route to the nurburgring!
Old clutch didnt look to bad but was getting changed bfore going away anyway.
Scoob powered Clio?!
The nuts holding on the headers...
Filed then chisled them off...
Ported the headers. Just opened them up and smoothed out any rough casting marks and just tried to improve flow.
New sealant on cam covers, a common problem so im told.
D/P heat wrapped and fitted
Lightened and balanced flywheel fitted with new clutch.
Also fitted new k+n panel filter, new plugs, fuel filter, oil filter etc while I was there.
Put it all back in and couldnt get any gears. Thought I had fitted release bearing wrong but turns out I was sent the wrong clutch!
All taken out and old clutch was fitted again. I then did it all again when I got the correct clutch, can now change a scoob clutch in under 5 hours which im pleased about. Looking forward to seeing how much difference the porting has hopefully made, have not done it before but a good learning curve. Not done any of this before but like getting stuck in and having a go.
Cheers to Goof for the loan of the hoist and Wuz for his endless scoob knowledge and near 24hr phone support!
Last edited by Ali M; Jul 19, 2007 at 05:37 PM.
Thread Starter
Scooby Regular
Joined: Jul 2006
Posts: 52
Likes: 0
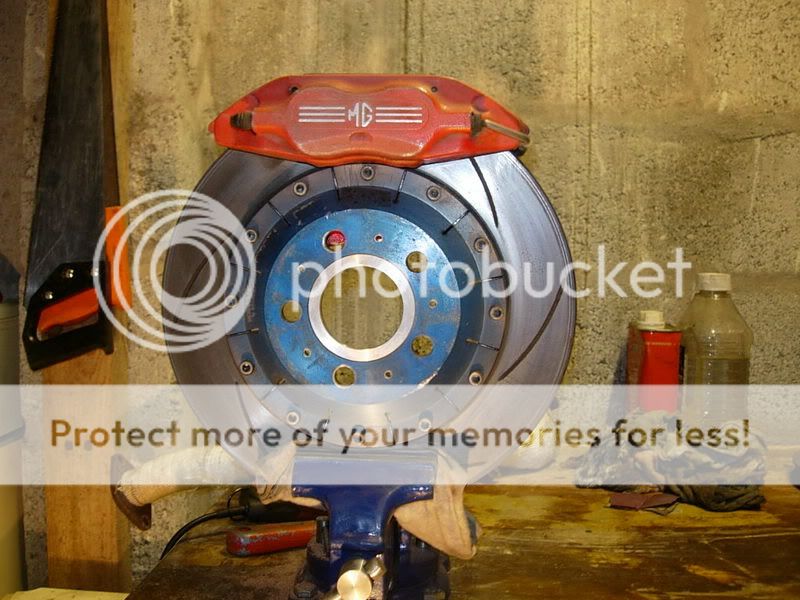
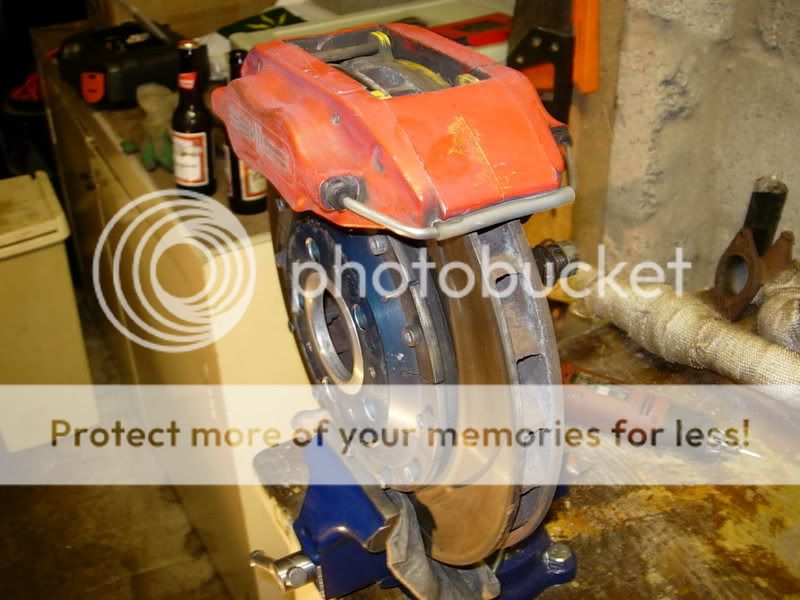

AP Racing 4 pots with 305mm Prodrive Alcon 2 piece discs off an MGF cup car that I bought from Flat 4 on here.
The discs are very light and the calipers although twice the size of the 16v calipers off the golf, almost weigh half as much!
Nurburgring in August so brakes were a must, my current 2 pots are hopeless.


 Keep us posted with any performance perceptions etc
Thread Starter
Scooby Regular
Joined: Jul 2006
Posts: 52
Likes: 0
Yes. I will be going back to the same dyno dynamics rr for a comparison. It did 235bhp @ flywheel, 177bhp @ wheels completely standard, which I thought was not bad as are they not rated at 208bhp standard?
Not looking for any serious gains at the moment as I have just graduated from uni the other week and so have no job so far, and as yet, no money!
 So that means just doing the stuff I can afford at the moment. Hopefully take it further in the near future i.e. bigger turbo, injectors, f/p etc. Would quite like ~ 350bhp.
Would it be reasonable to achieve + 25 bhp with the mods I have done? (Full 2.5" decat, home ported headers + turbo, k+n panel filter...)
Thread Starter
Scooby Regular
Joined: Jul 2006
Posts: 52
Likes: 0
Anyone have any opinions on the easiest way to get the sump off?
Its leaking from the back off the sump and is definately not the rear crank seal as I replaced that when I had the engine out.
I know I should have done this when the engine was out, but didnt realise at the time what a pain in the ar*e the bolts at the rear of the sump would be.
Wuz said to undo engine mounts and lift up the engine but I only have my jack and no hoist so not sure if I can lift it high enough. Drop subframe?
I really can't be bothered removing the engine again! Any help appreciated
Cheers, Ali
Scooby Regular

Joined: Sep 2001
Posts: 9,465
Likes: 0
From: The Cheshire end of the emasculated Cat & Fiddle
A technique I've used on Golfsfor years that should woork on a scoob, make yourself an 'H' shaped frame from 3"x2" Timber, make the two vertical legs about a foot long and the horizontal member long enought ospan your engine bay.
Place the two short pieces 3" face upright in the wing gutters, then place the long piece on top of them, again 3" face vertical, screw the frame together (taking care that your screws aren't long enough to hit your bodywork.
When this is assembled run a pair of 1" ratchet straps over the cross beam, down under the engine and back up to the ratchet again, wind them taught and then undo your engine mounts.
Using your trolley jack, you can now lift the engine up as high as you need to, tighten the ratchet straps up, and remove the jack
NOTE: ALWAYS have the trolley jack in place bearing the engine's weight before you attempt to release the straps when lowering
Trending Topics
Thread Starter
Scooby Regular
Joined: Jul 2006
Posts: 52
Likes: 0
Thanks for that Chris P.
TBH I think I may just lift it with a hoist as I have one I can borrow and reckon will be a bit easier. Doesnt really look like there is any quick easy way to do it whatever method you use!
You say you have been into golf's, have you ever been on clubgti.com? I remember seeing a ChrisP on there...
Edit - Btw, found that it is not the sump gasket/sealant. 100% sure I have a porus sump!! When I clean it all off I can see oil appearing from nowhere. More money
Last edited by Ali M; Jul 23, 2007 at 10:22 PM.

Thread
Thread Starter
Forum
Replies
Last Post