My First Impreza: A Hawkeye STI
#1
Seeing as it took me 4-5yrs to do a build thread on my previous car I decided I'd start one straight away with this car!
I picked this car up from Stan Palmers last weekend.
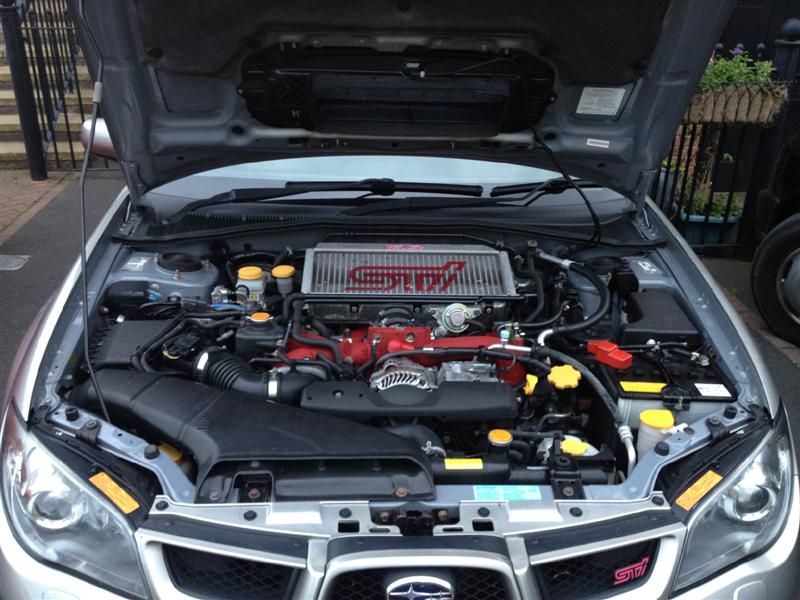
Apparently the previous owner ran the engine dry thus requiring a rebuild. Stan and Neil (Palmer) left it in the capable hands of Rob Ostle and below is the list of the work he carried out (written by Rob himself (cheers buddy)):
"Once the engine was removed it became apparent that the engine had indeed suffered a cylinder number 2 ring-land fracture to which in turn has destroyed the bore.
The decision was made by the customer to sell the car to use in it what was a non runner as the case may be. I then took the Job on board as the Main engine builder in the workshop & stripped the whole engine right back to bare component parts.
I then sent the following parts to Paul Finch.
2x Block halves
2x Cylinder Heads
The block halves were decked aka Skim the block face to ensure a true flat surface for a multi layer gasket, They then underwent an overbore and plateu hone on each cylinder which was measured on each stroke of the machining process. The cylinder heads Underwent Skimming and a full crack and pressure test.
These Items were returned to myself with the following parts from Paul:
2x 1.1 mm Cosworth Multilayer Stopper Gaskets.
1x ACL Race series Main bearings
1x ACL Race series Big End Bearings.
1x set Mahle 99.75 mm 4032 Forged Pistons complete with wrist pins Lock Clips and Ringset.
In the meantime while these parts were away the other Engine parts underwent measuring and chemical cleaning, The oil pump was stripped out chemically cleaned and measured to be well within tolerance.
Upon engine parts arriving back to me, the Valves were re-cut into the valve seats, new stem seals fitted before refitting the valve springs and retainers with all new valve collets.
The crankshaft was also measured and chemically cleaned & a dry assembly took place with the use of a plastigauge to ensure a clearance of 0.014 thou was present, service limit is 0.020 for reference, same clearance for the big ends.
After dry assembly the engine block was stripped down again, The conrods were then checked and measured for true straightness and chemically cleaned & assembled onto the Crankshaft with the clearance of 0.014 thou. the block was then assembled and torqued in sequence. The pistons were then assembled with the correct ring gaps and fitted down a lubricated bore and the wrist pins located and lock clips fitted & oil pump now mounted in place.
Headgaskets fitted and heads refitted and heads torqued down in correct sequence.
Camshafts chemically cleaned and fitted in the heads and rotated full cycle twice with standard shims in place as a start point for re-shimming the valve Clearances.
Once measured cams removed and correct size shims fitted 0.25mm intake 0.35mm exhaust, Cams refitted and cam covers refitted.
AVCS Pulleys chemically cleaned out and refitted and torqued down, all Idlers and tensioners cleaned and refitted to the engine, Brand new timing belt fitted also. Front covers refitted and front pulley torqued in place.
Exhaust manifold refitted and turbo up-pipe and turbo.
Intake manifold refitted and torqued down and piped up.
Flywheel refitted and new clutch fitted.
Refit engine to vehicle, Refill with vital fluids
Prime up engine on starter motor to ensure oil pressure.
Check and top up oil levels
Road test vehicle Limiting boost levels and revs to 4000rpm for 400 miles, To which I did.
I also fitted 2 new rear stuts, a new headlight leveling sensor on the rear."
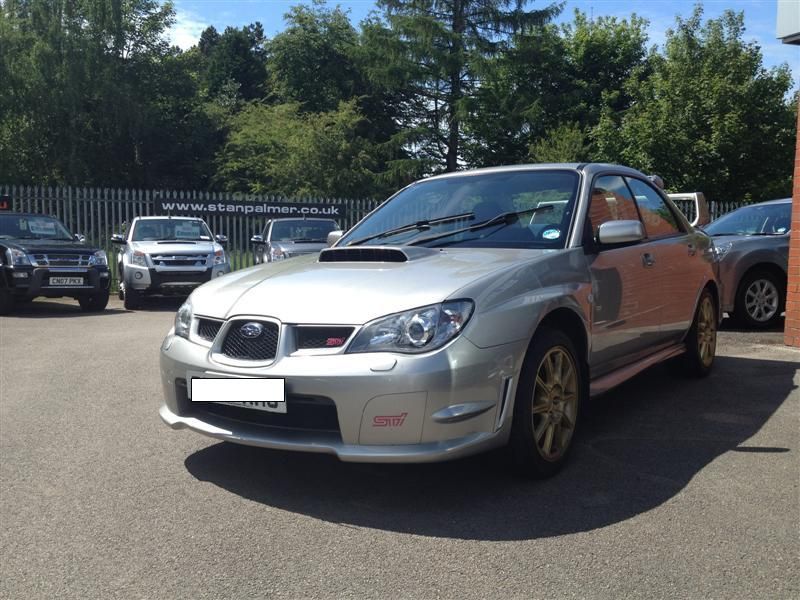
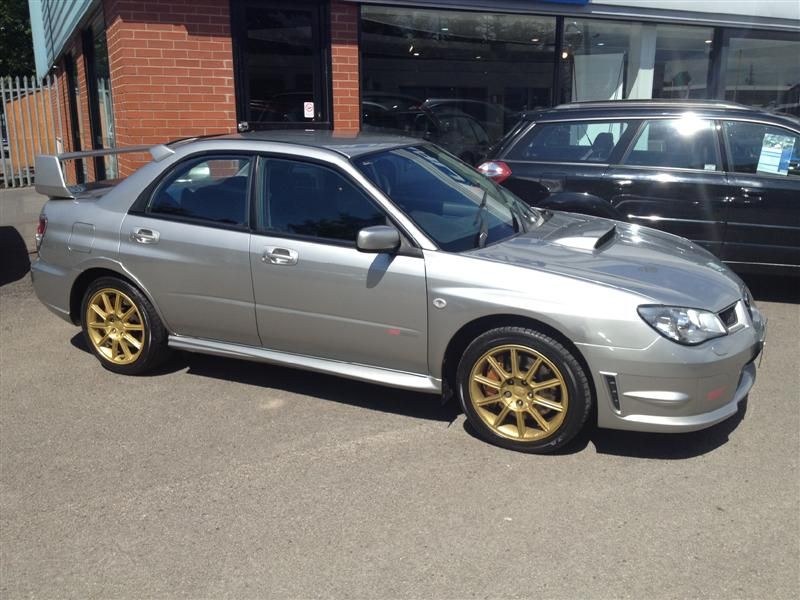
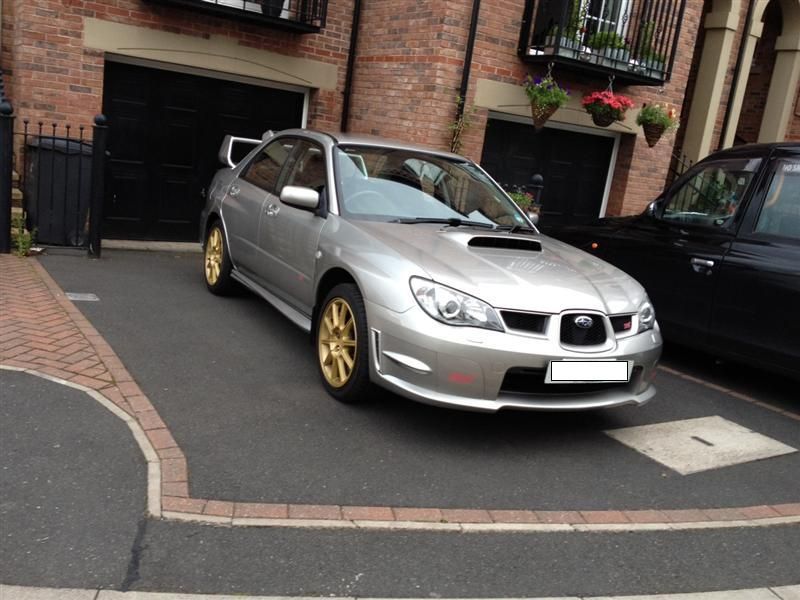
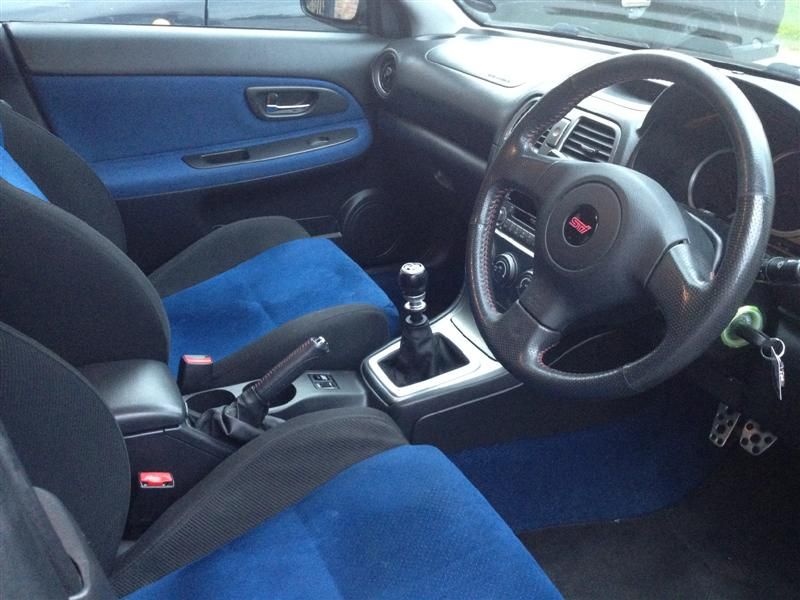
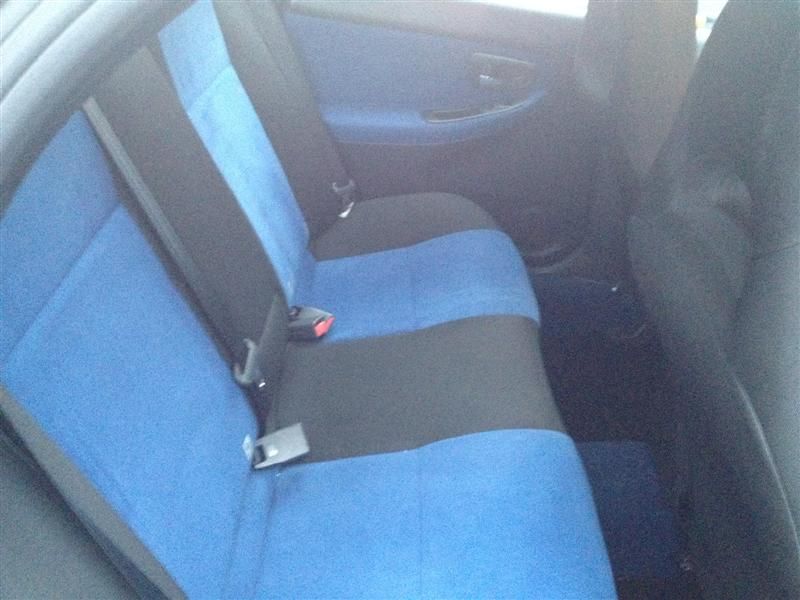
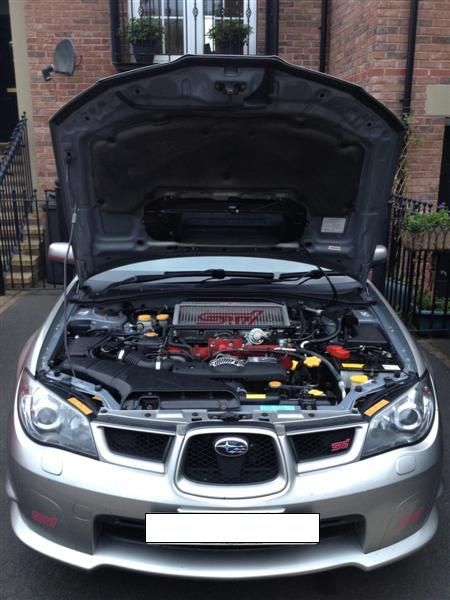
The body and interior of the car are both extremely clean as they've only done 41k miles so as you can see from above with Rob's expertise this car is now my perfect base to create a safe, usable, fast road car.
Sorry for the essay!
Pictures:


Trending Topics
#9
Reassuring to know Carl. Not sure how many other techs Stan Palmers have but if the car needs any work in the future or for servicing then I'll be requesting that Rob does when booking it in!
I was originally thinking black/matt black/anthracite etc but it seems so many silver cars go for that colour. So I'm thinking of staying with the metallic theme with a darker/more bronze shade of gold for my next wheels. Like the Rota Grid Drift look but need to ideally see how bronze they are in real life as only seen advertising pics of them.
Then carbon touches (splitter, rear diffuser, wing mirrors etc) for the rest of the car.
#14
Thanks mate but I can't take any credit yet apart from a wash, clay, polish and wax when I got her home. It is Rob who should get the credit as he rebuilt the engine and he's the one who got her interior all cleaned up and looking pretty much showroom standard!
#19
Well my first modification arrived Saturday morning; a Pipercross panel filter. I got it fitted Saturday lunch time and the car hasn't felt the same since  it doesn't feel as quick I don't think. The only difference the filter seems to have made is there's a lot more sucking noise on acceleration.
Should I have disconnected the battery for 15mins after fitment I allow the ECU to learn the new addition upon start up again or should I have just stuck with the original paper filter?
 it doesn't feel as quick I don't think. The only difference the filter seems to have made is there's a lot more sucking noise on acceleration.
Should I have disconnected the battery for 15mins after fitment I allow the ECU to learn the new addition upon start up again or should I have just stuck with the original paper filter?
Last edited by oliVeR6; 30 July 2012 at 07:41 AM.
#21
Lol you're not wrong! Had to pull the pipe off from the airbox to get it back on and my god those two catches at the bottom were a nightmare to get back in! So yer, I'm assuming it's back on properly but I'll double check, cheers
Last edited by oliVeR6; 30 July 2012 at 04:04 PM.
#22
The Pipercross filter you've fitted, is it the Subaru Pro R one?
Just wondering because I was contemplating replacing my Green cotton filter at the next service (it's been in there a while now) and was considering the Pro R one.
Just wondering because I was contemplating replacing my Green cotton filter at the next service (it's been in there a while now) and was considering the Pro R one.
#23


