
97 shed warrier!

Like a child in a sweet shop! didnt know where to start..while all doors were off, perfect for access to the interior and fit some ICE, nothing too mad just good quality.
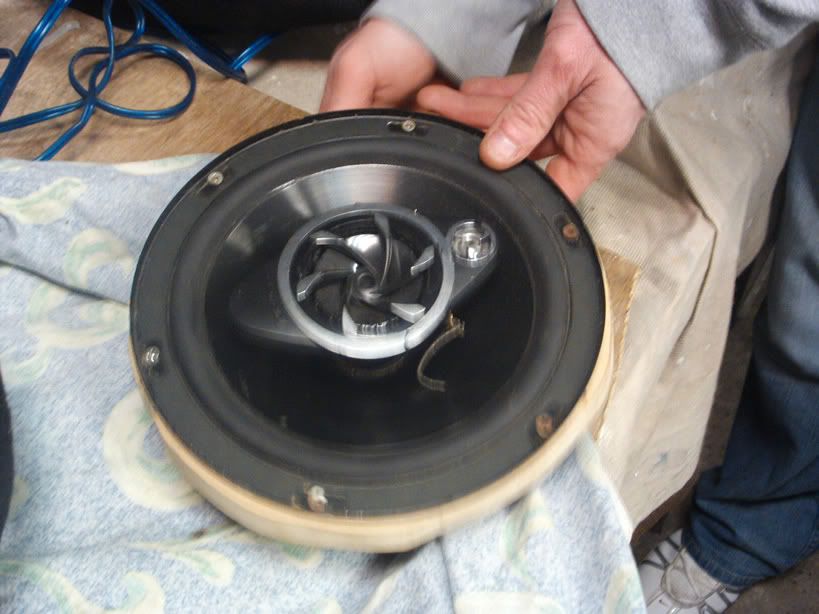
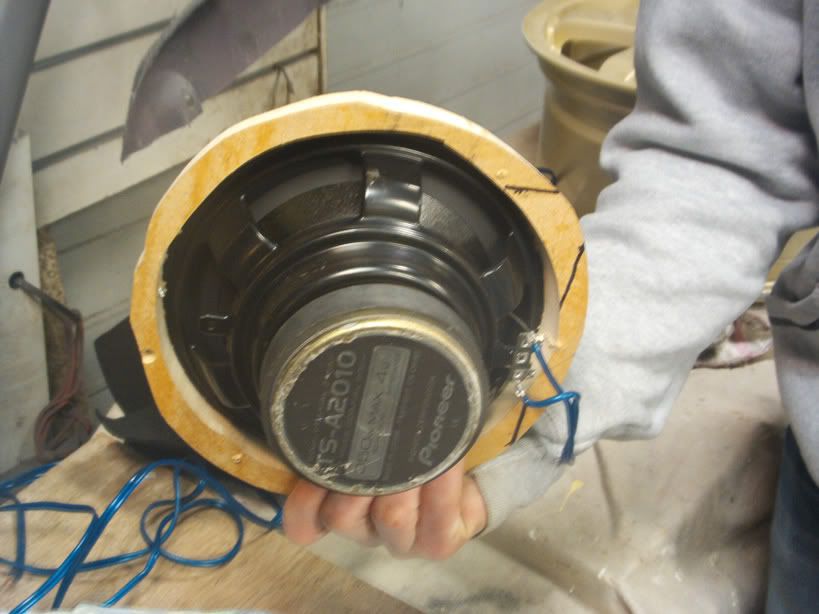
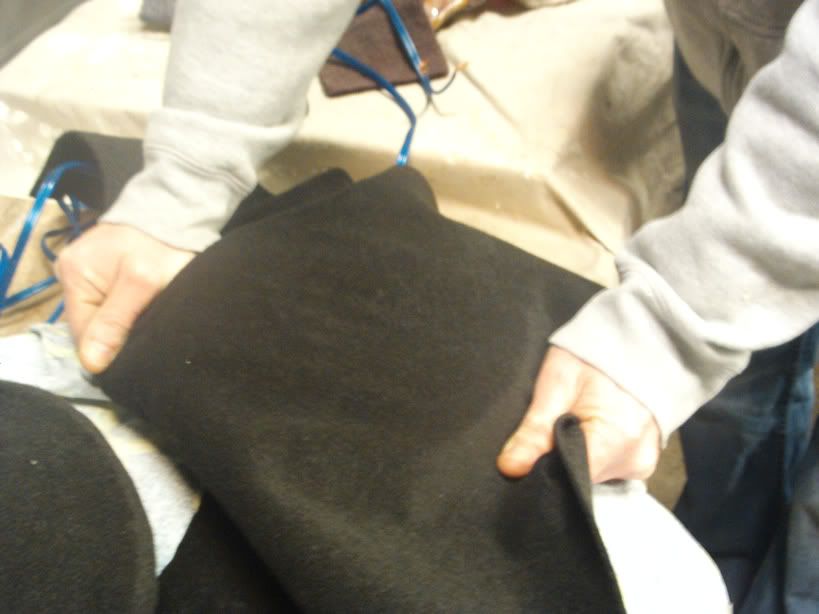
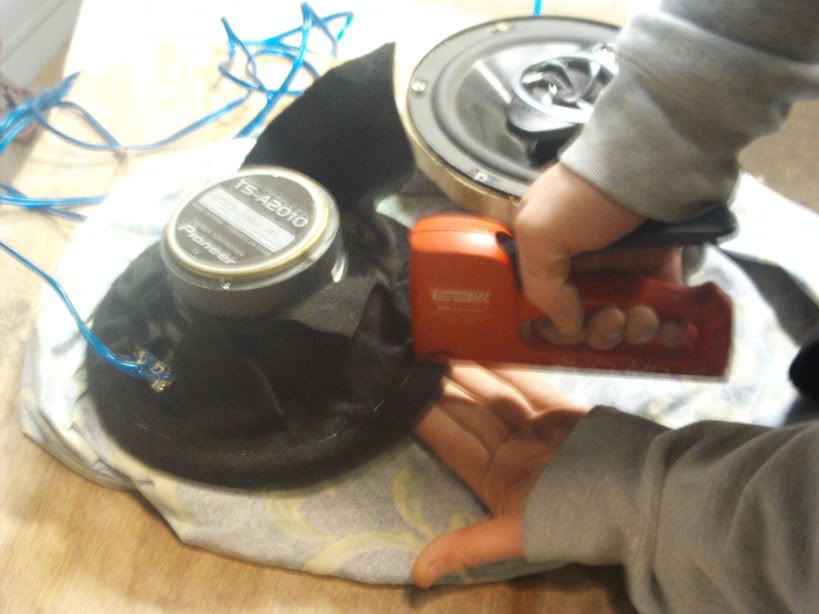
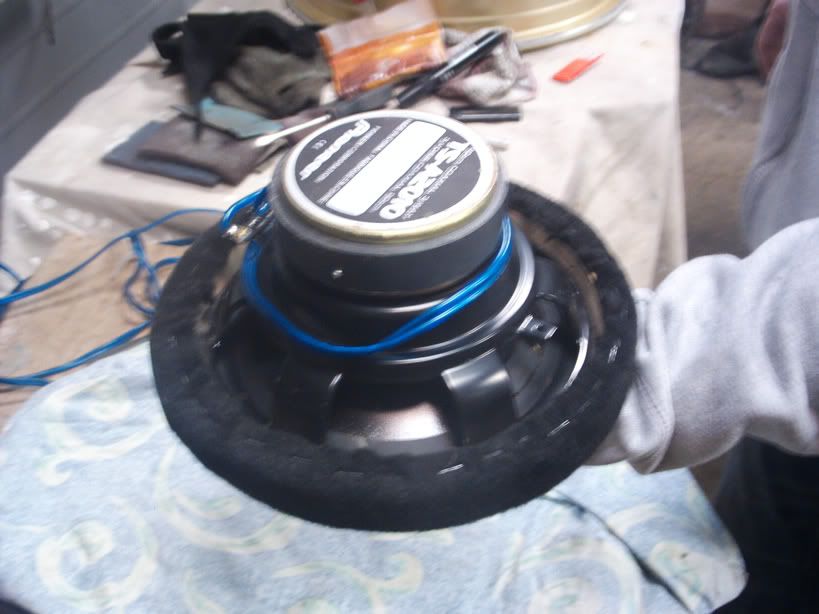
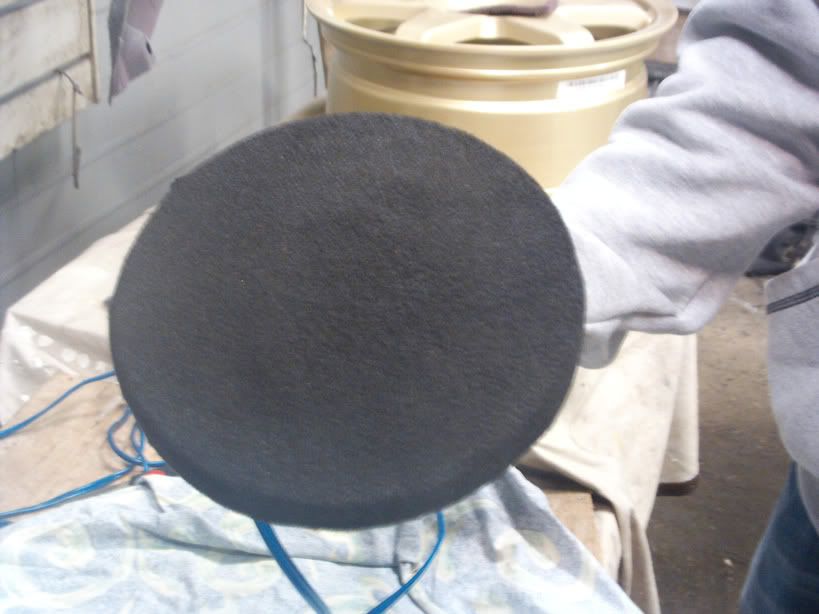
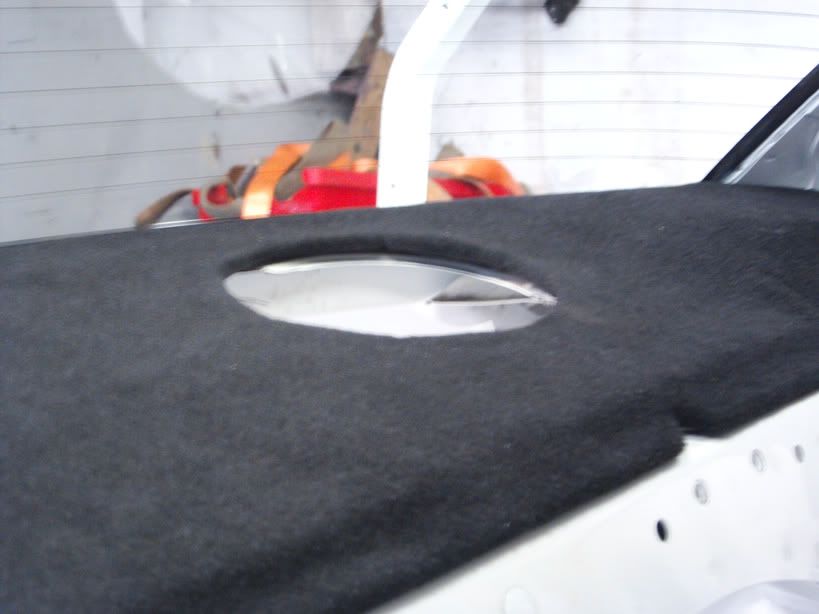
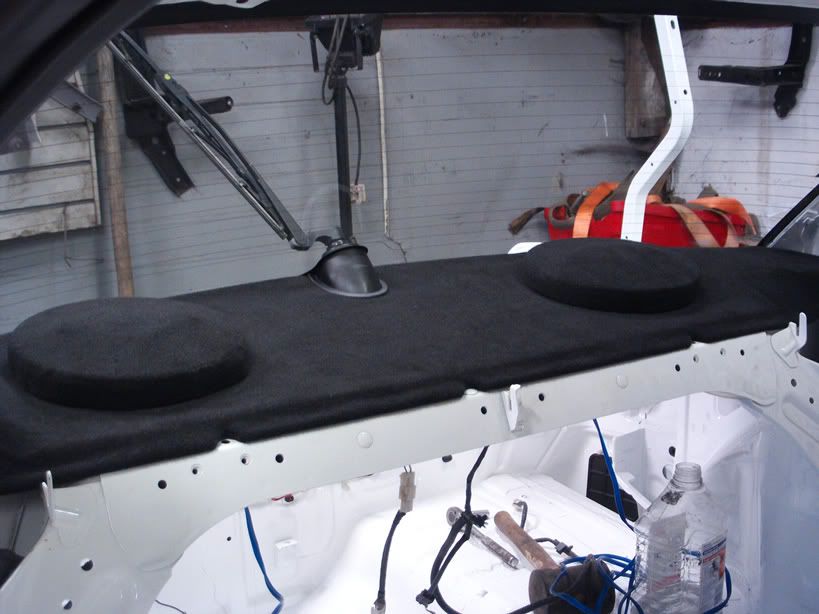
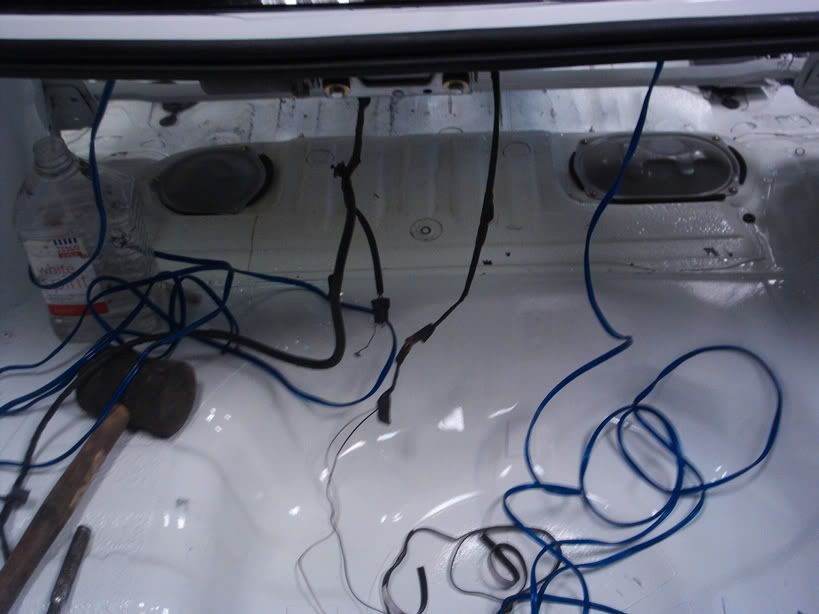
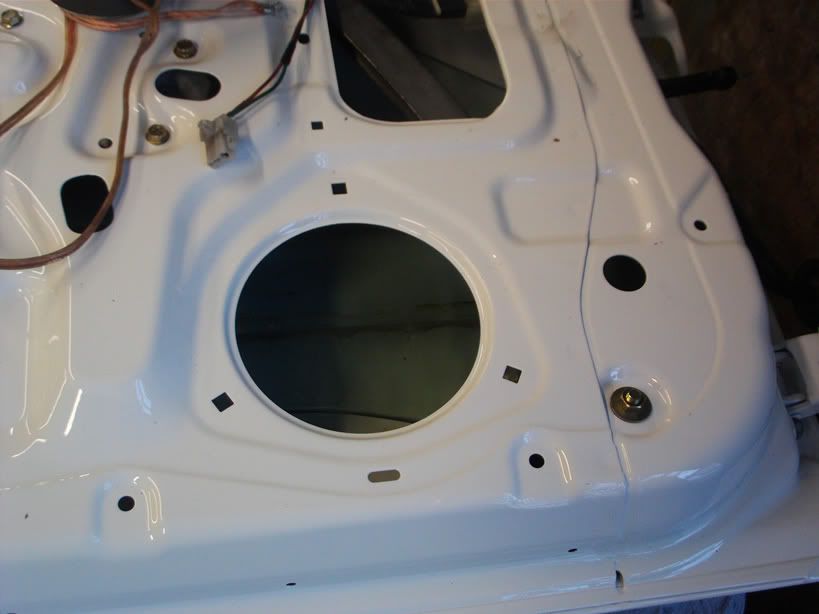
Before paint, had enlarged standard speaker opes in back, recovered back shelf with accustic carpet, made up some mdf spacer rings, fixed speakers into the rings,pulled carpet accross speakers arround bottom of rings so all parts that touched had a carpet covering to stop any buzzing or vibration ,dropped rings with speakers into opes then fixed from the bottom up through steel into the rings, tight as a button!

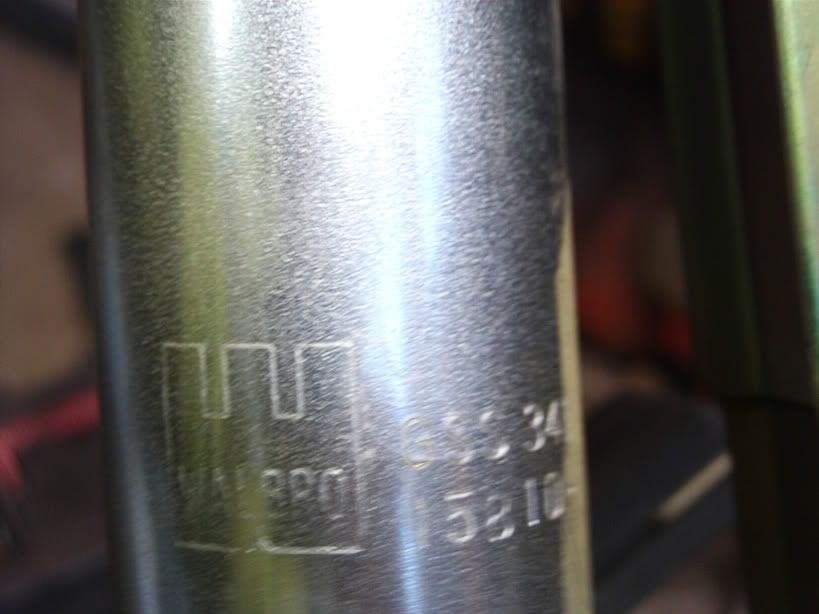
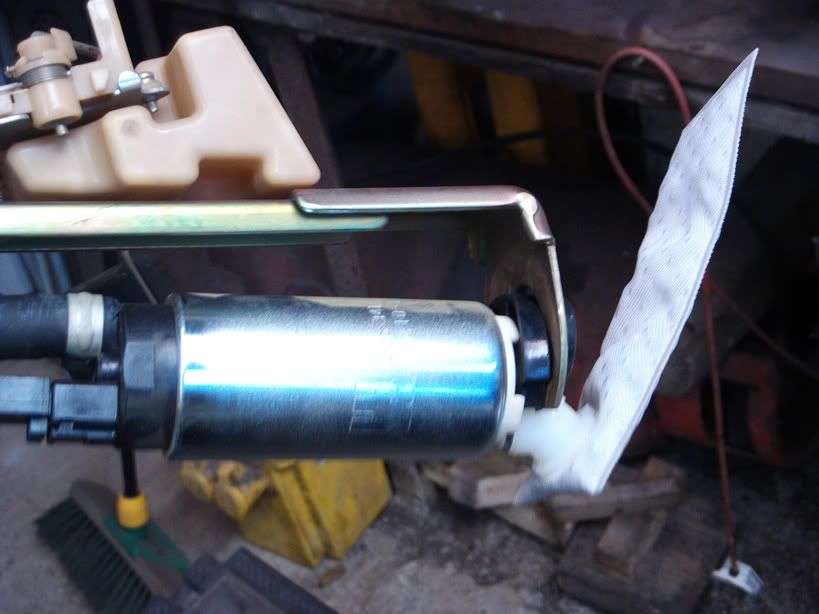
While I was in the boot I fitted a Walbro 255 motorsport pump
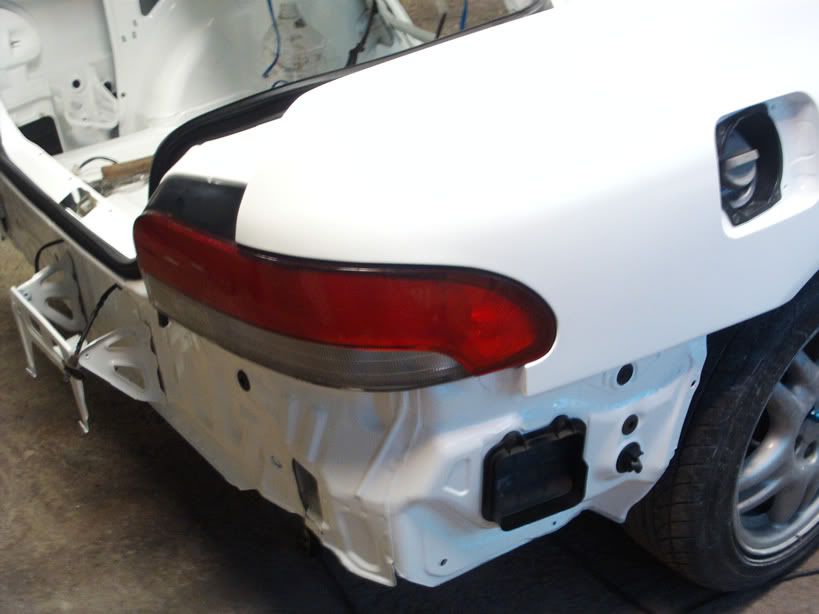
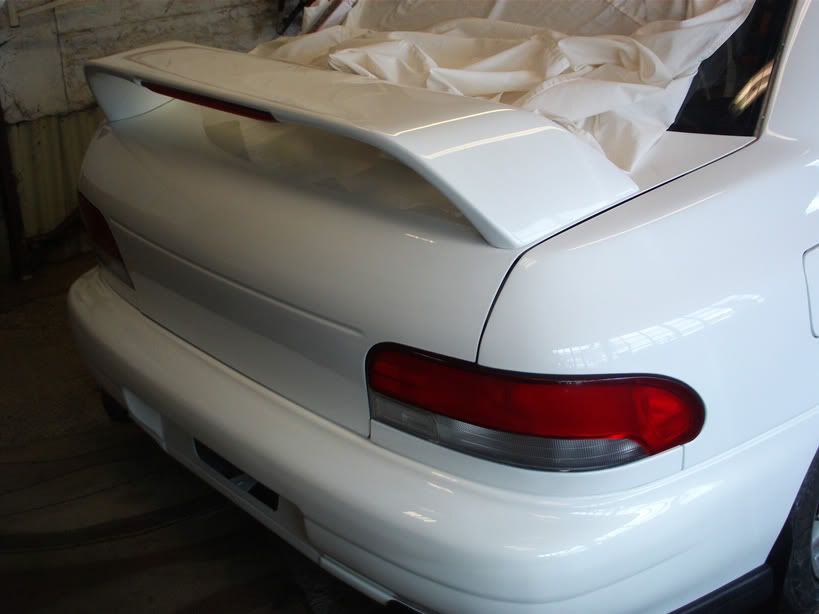
Rear lights in, after looking at two shells for so long its starting to look like a car again, gives me some motivation, love the classics in white
Before paint, had enlarged standard speaker opes in back, recovered back shelf with accustic carpet, made up some mdf spacer rings, fixed speakers into the rings,pulled carpet accross speakers arround bottom of rings so all parts that touched had a carpet covering to stop any buzzing or vibration ,dropped rings with speakers into opes then fixed from the bottom up through steel into the rings, tight as a button!
While I was in the boot I fitted a Walbro 255 motorsport pump
Rear lights in, after looking at two shells for so long its starting to look like a car again, gives me some motivation, love the classics in white
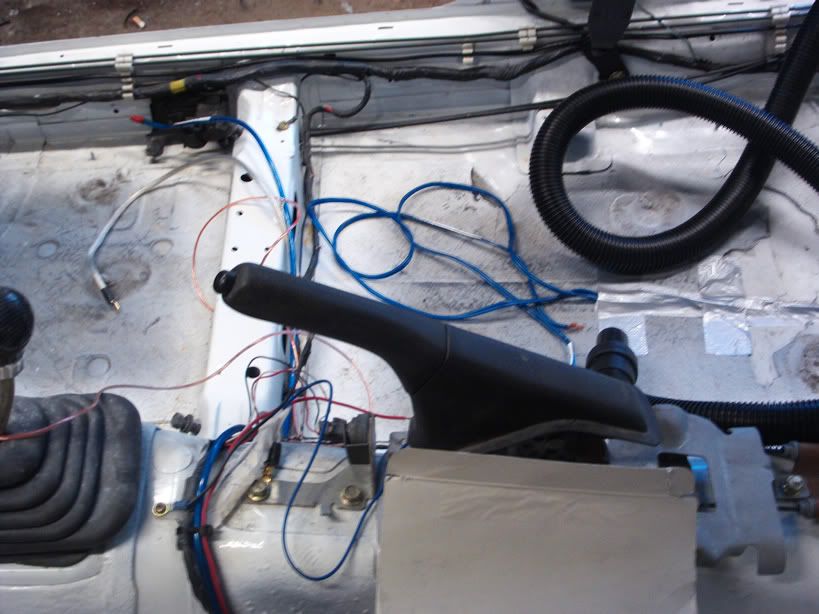
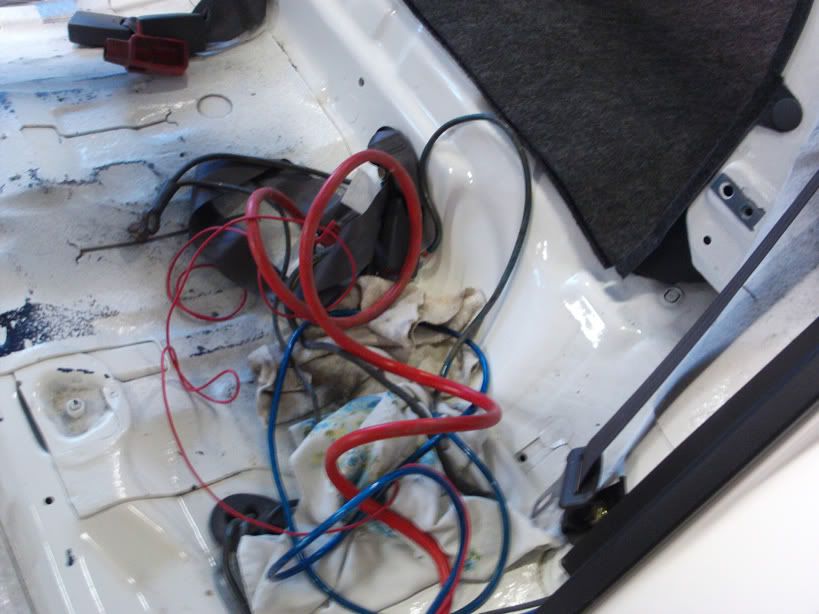
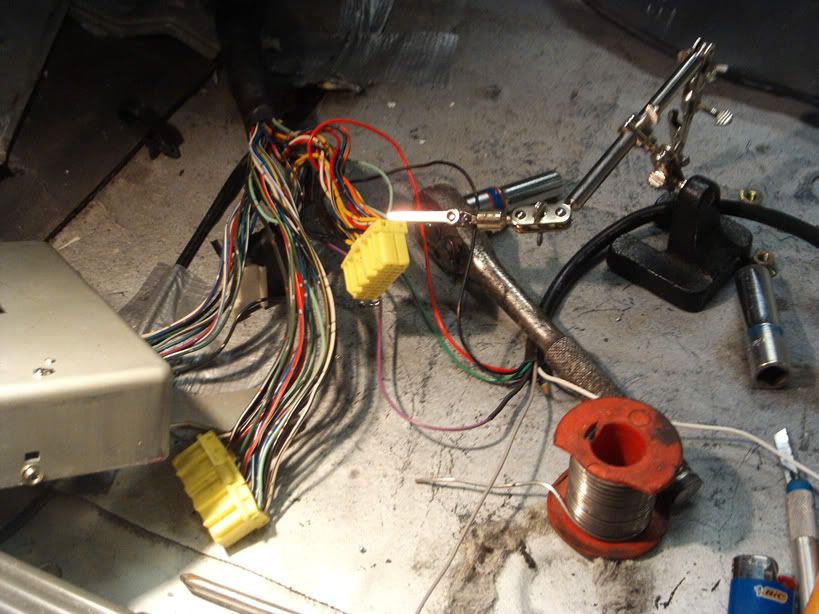
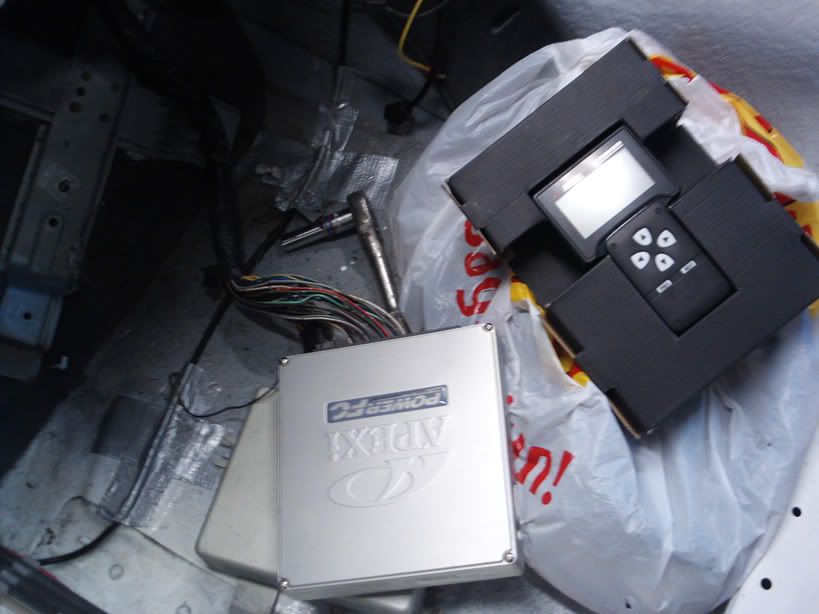
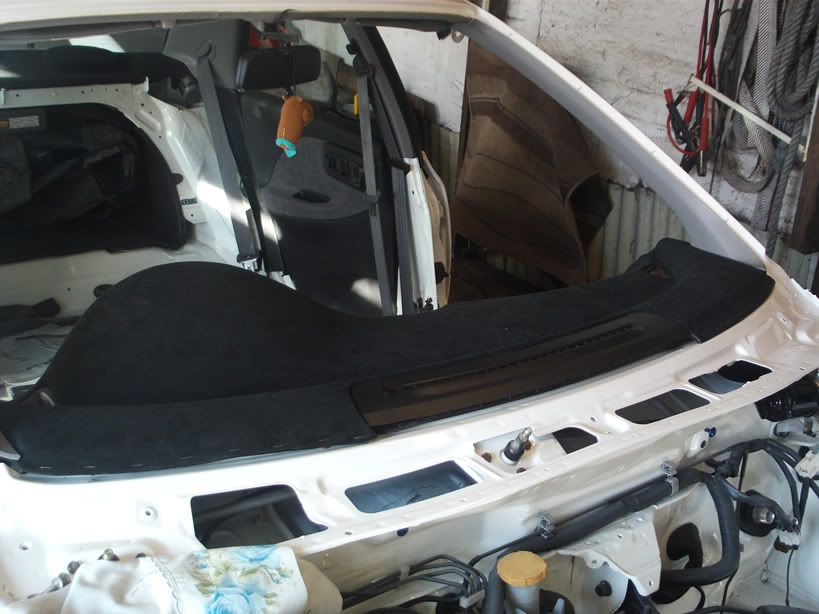
Try and run what extra wiring I need before the carpet went in, phone bluetooth,all ICE cables including internal aerial ( I ditched the external one) Battery cable (Battery Relocated to boot) apexi avcr and apexi power fc that I got for a steal (thanks John M)
Had to purchase new roof trims and front and back screen trims but managed to recondition the two side ones with satin black on the metal sections and plastic aerosol black paint on the rest. and its just as well as the price of these off the dealer was mental

Back half of the car coming together now with boot, doors and bumper on, fitted the spats without the corner sections as I think they are neater and personally think the other ones date the car more, its also easyier to fit mudsplashers, went with sparco flaps from halfords because they are nice and thin and not as in your face or expensive as some out there, then thats a personal view, different horses for different courses!!
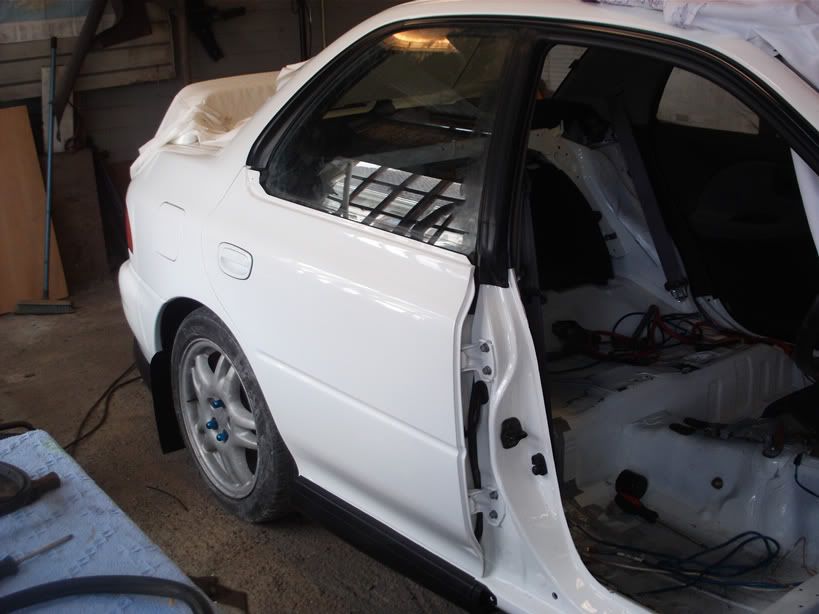
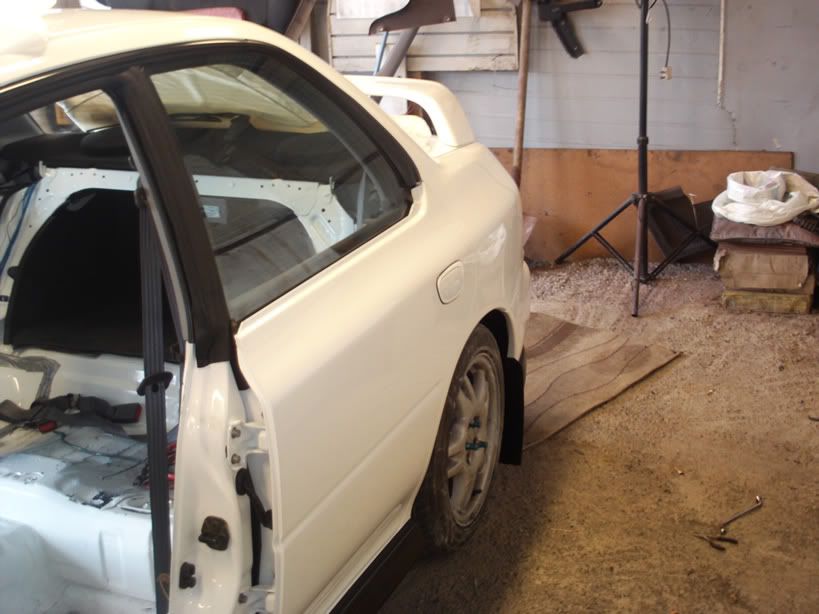
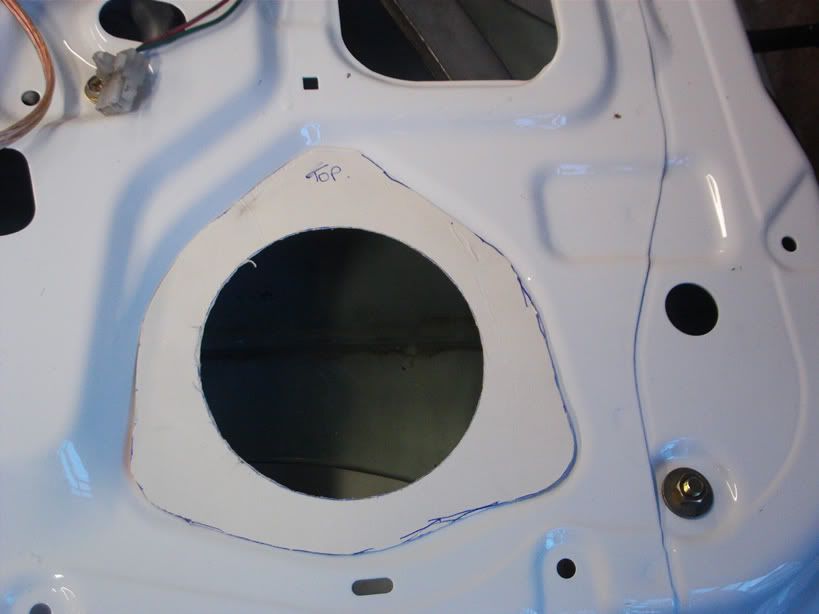
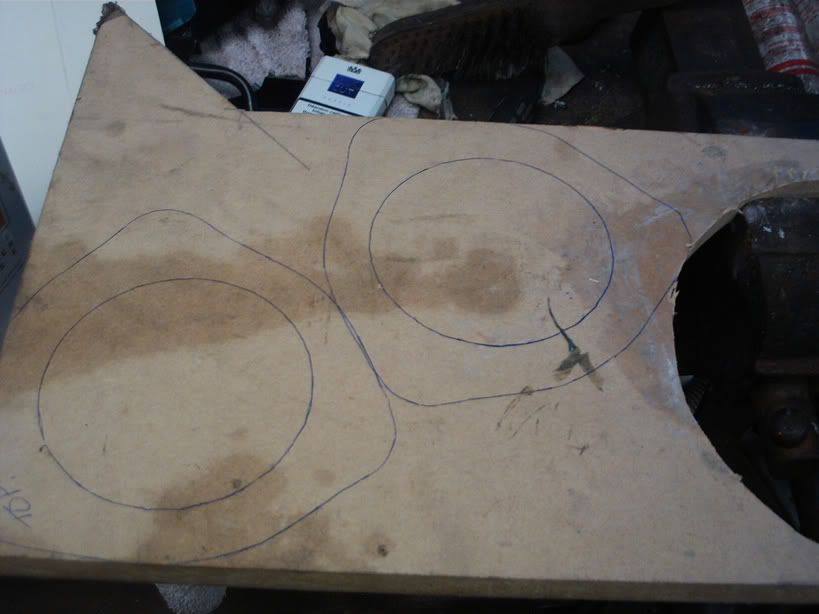
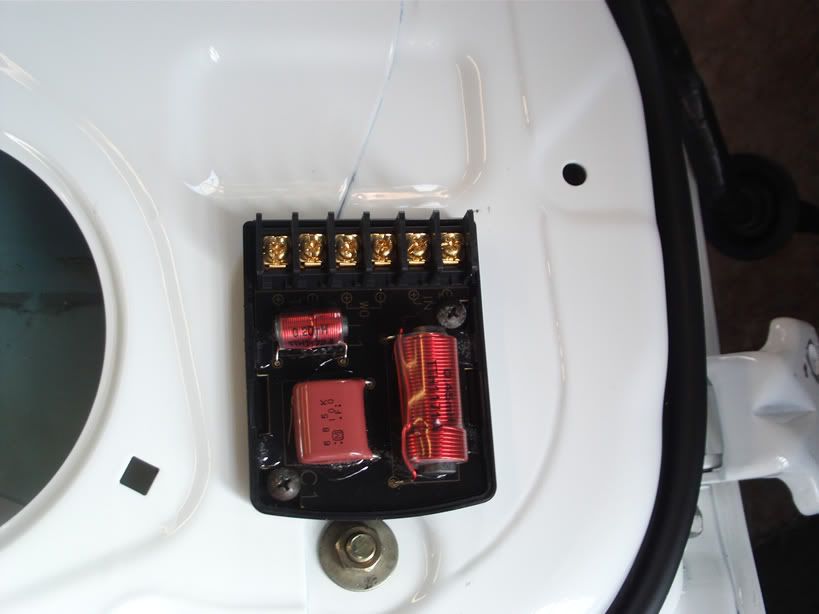
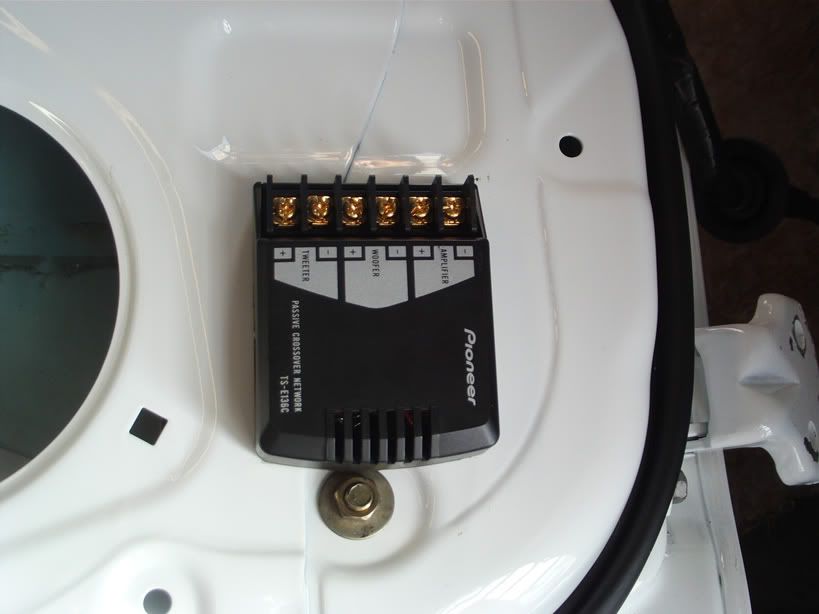
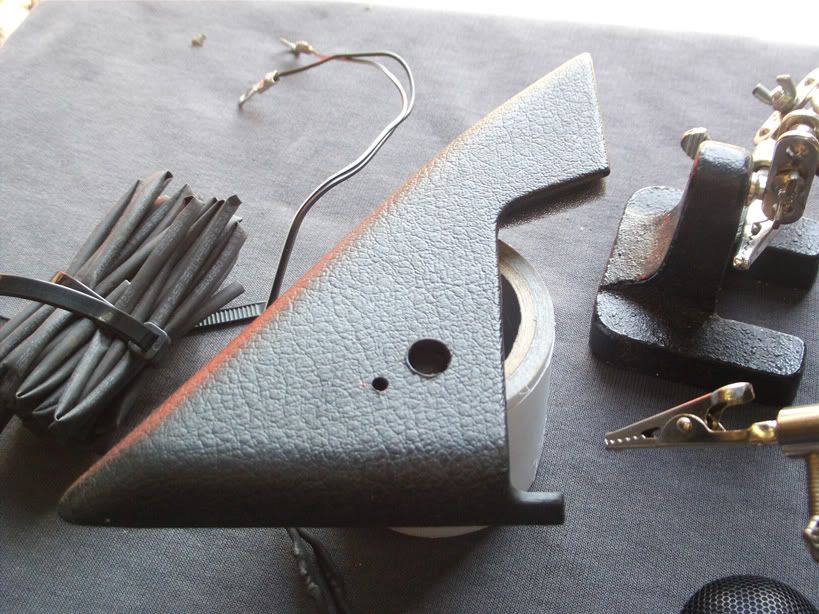
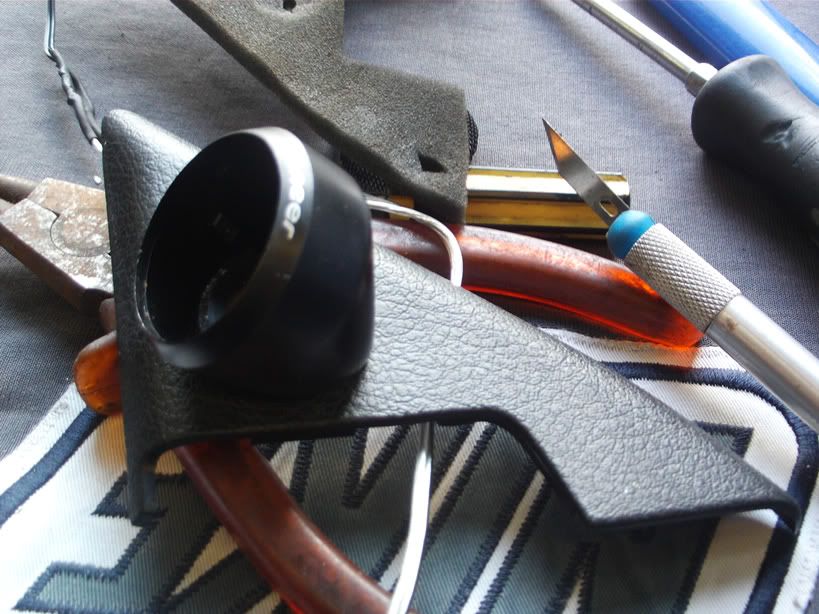
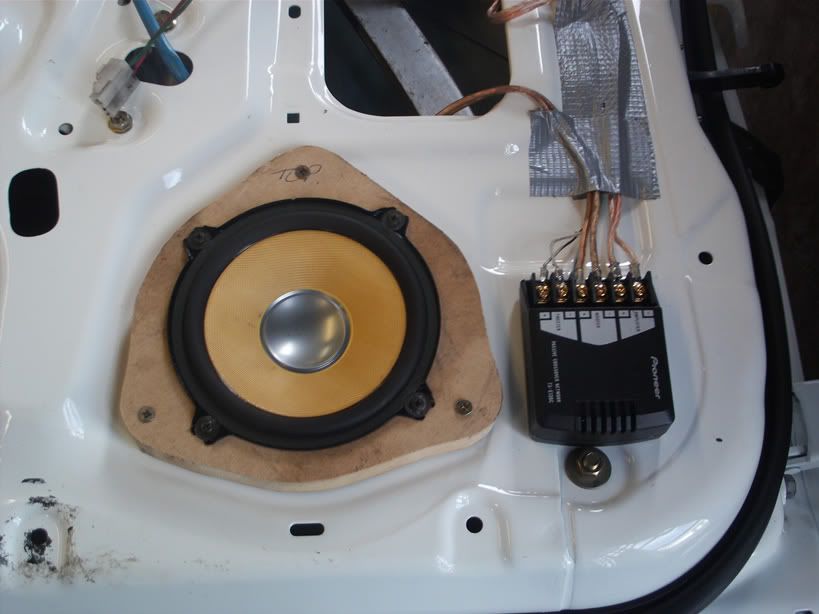
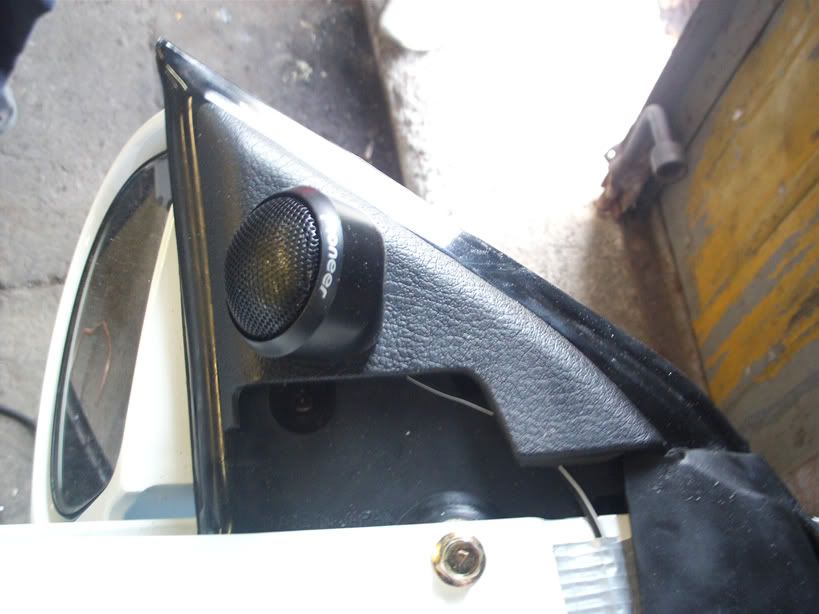
The reassembley of the doors was tough enough and the front ones more so because the Impreza is pillarless, there is more gubbins on the inside to keep the glass stable, getting all this back into the freshly painted doors was a bit of a sweat fest, I also fitted component speakers while they were on the bench.

Next up was the dash, think I did more research and spent more time doing this job than any other... I was so involved in it I took **** all pictures..
I decided after reading on a good few sites that flocking was out, I have the orignal dash wrapped up and put away safe I decided to recover a spare dash in alcantara myself, I tracked down an offcut on fleabay, so armed with this and some 3m contact glue I tackled it.....
Am happy with the result considering it was my first attempt, how it will wear only time will tell.

With the dash in and doors on I got the windscreen man in.
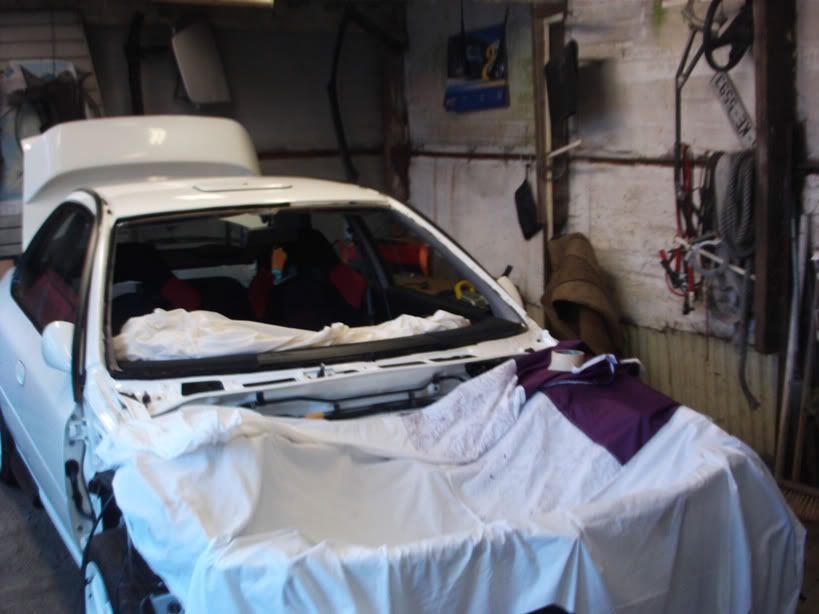
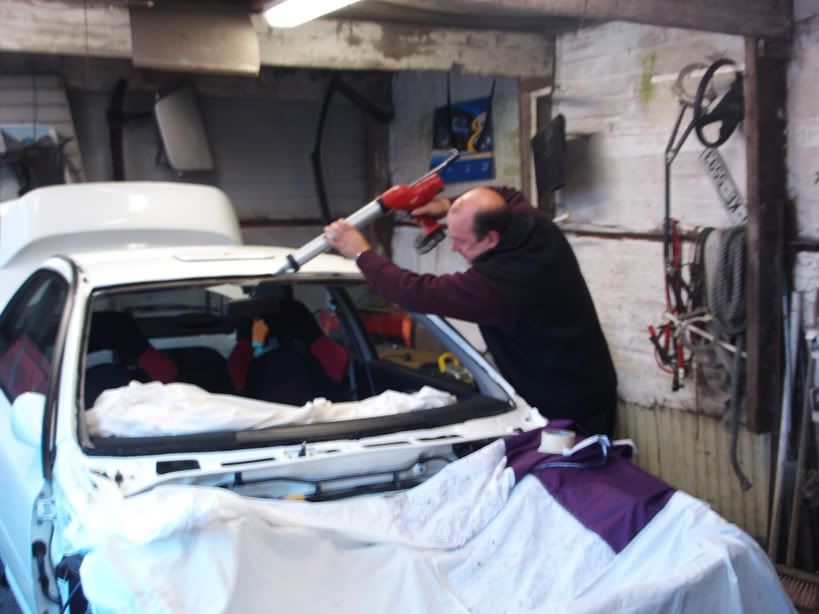
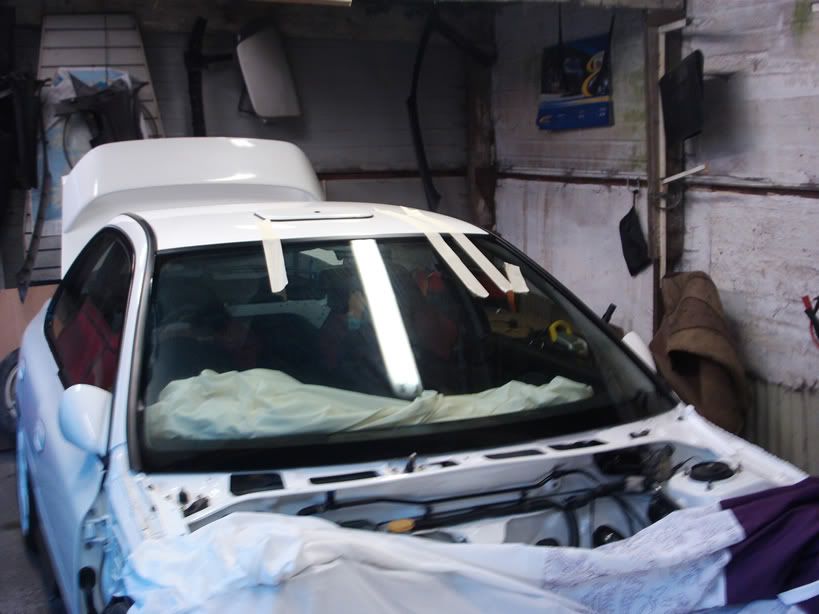
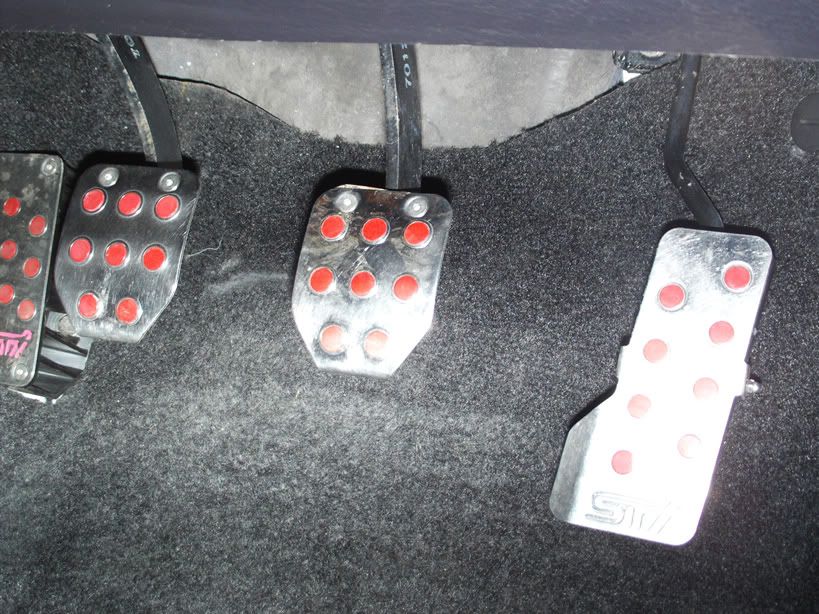
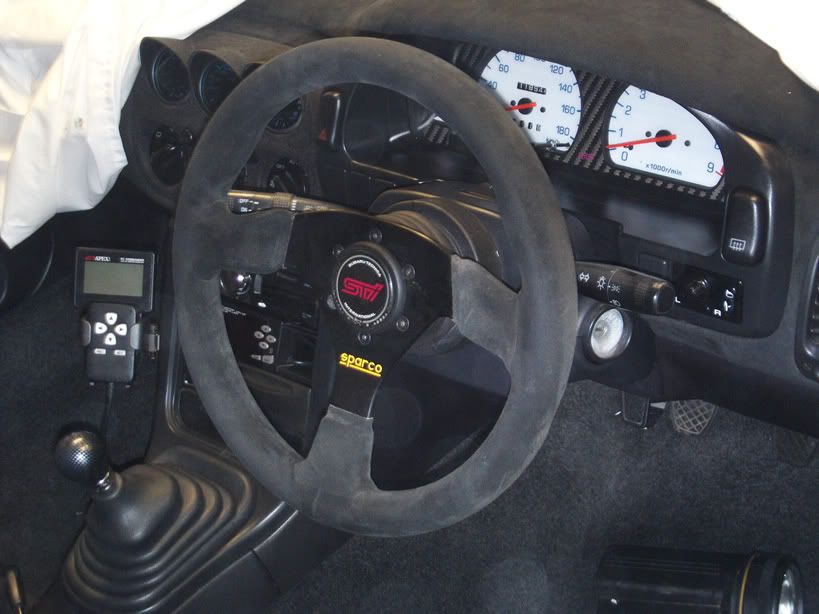
With it closing, I could now clean the carpets and seats and fit them, I fitted a sparco steering wheel and managed to get the sti horn into it, also picked up a set of sti pedals, inside pretty much finished.... for now.
Had to purchase new roof trims and front and back screen trims but managed to recondition the two side ones with satin black on the metal sections and plastic aerosol black paint on the rest. and its just as well as the price of these off the dealer was mental
Back half of the car coming together now with boot, doors and bumper on, fitted the spats without the corner sections as I think they are neater and personally think the other ones date the car more, its also easyier to fit mudsplashers, went with sparco flaps from halfords because they are nice and thin and not as in your face or expensive as some out there, then thats a personal view, different horses for different courses!!
The reassembley of the doors was tough enough and the front ones more so because the Impreza is pillarless, there is more gubbins on the inside to keep the glass stable, getting all this back into the freshly painted doors was a bit of a sweat fest, I also fitted component speakers while they were on the bench.
Next up was the dash, think I did more research and spent more time doing this job than any other... I was so involved in it I took **** all pictures..
I decided after reading on a good few sites that flocking was out, I have the orignal dash wrapped up and put away safe I decided to recover a spare dash in alcantara myself, I tracked down an offcut on fleabay, so armed with this and some 3m contact glue I tackled it.....
Am happy with the result considering it was my first attempt, how it will wear only time will tell.
With the dash in and doors on I got the windscreen man in.
With it closing, I could now clean the carpets and seats and fit them, I fitted a sparco steering wheel and managed to get the sti horn into it, also picked up a set of sti pedals, inside pretty much finished.... for now.


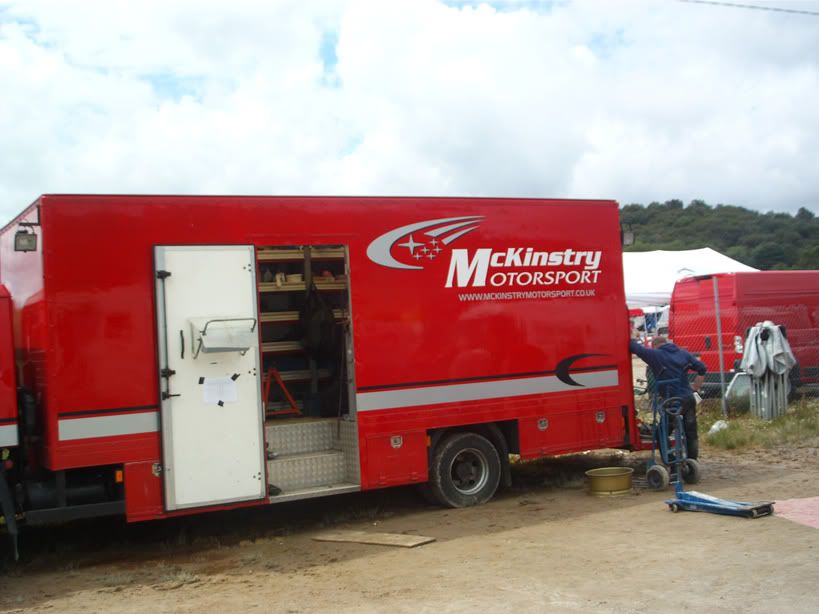
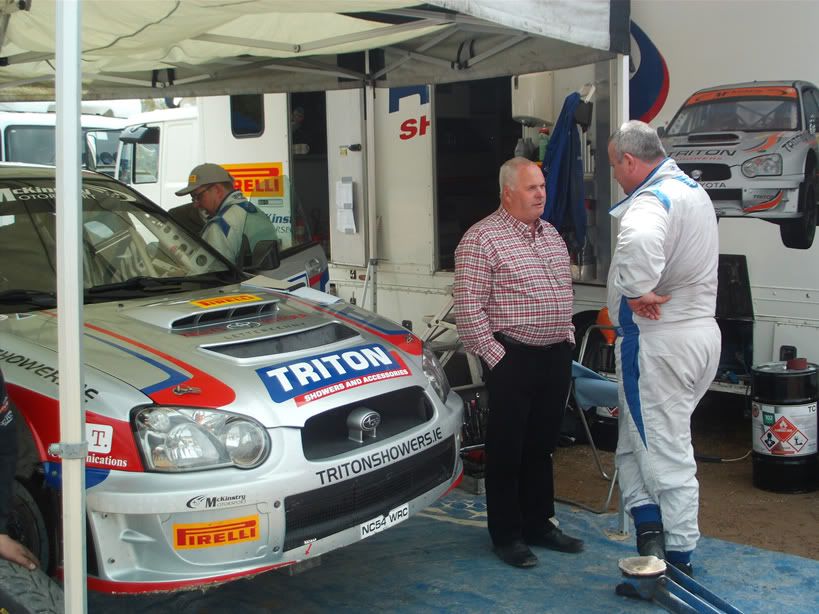
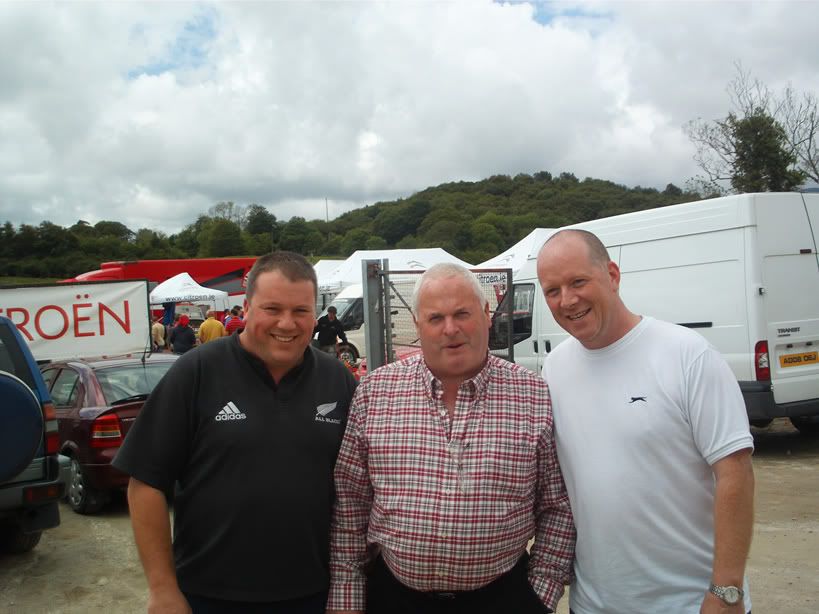
On a rare break from the shed at the Donegal International, myself and the red lad bumped into the rally legend that is kenny Mckinstry 
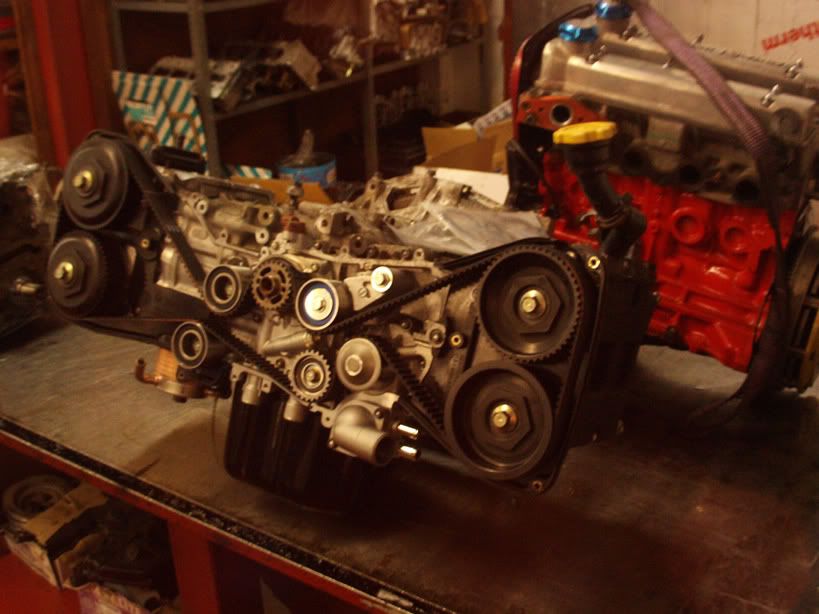
Another present arrived at this stage and gave me a perfect excuse to pay a visit to the Engine builder.

Its a bit worring how excited a grown man can get about uprated engine internals!!
I cant praise Martin and joanne at www.westwarseng.com enough for the personal and professonal way they go about their business, dealing with big money customers on a daily basis yet when the small man comes in on a budget they take time to advise and make you feel at home, his work speaks for its self having built and mapped some of the quickest road and track cars in this country.
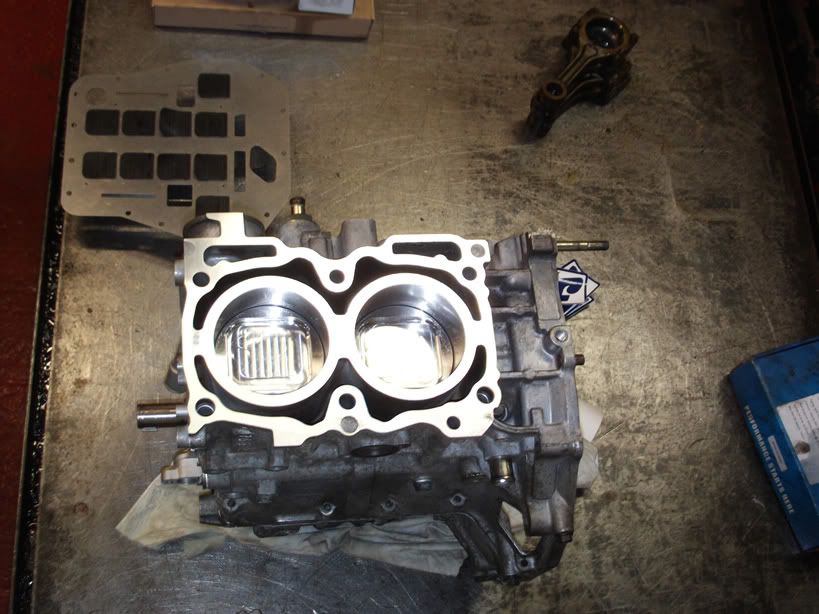
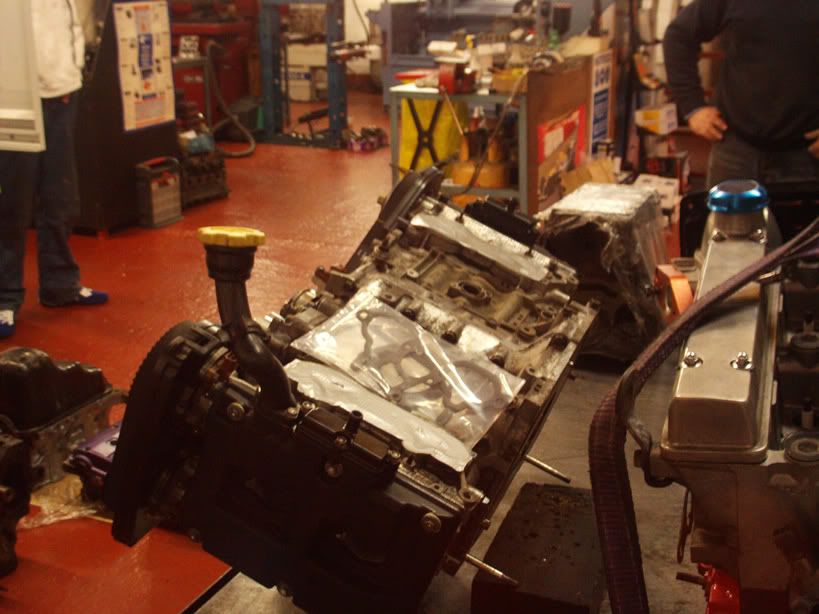
At this stage he had the bottom end refaced washed rehoned and fitted with ACL race bearings, Manley steel conrods and forged Wiseco pistins as well as group N oil pump, new water pump and all seals, to say I was happy was an understatement!!!
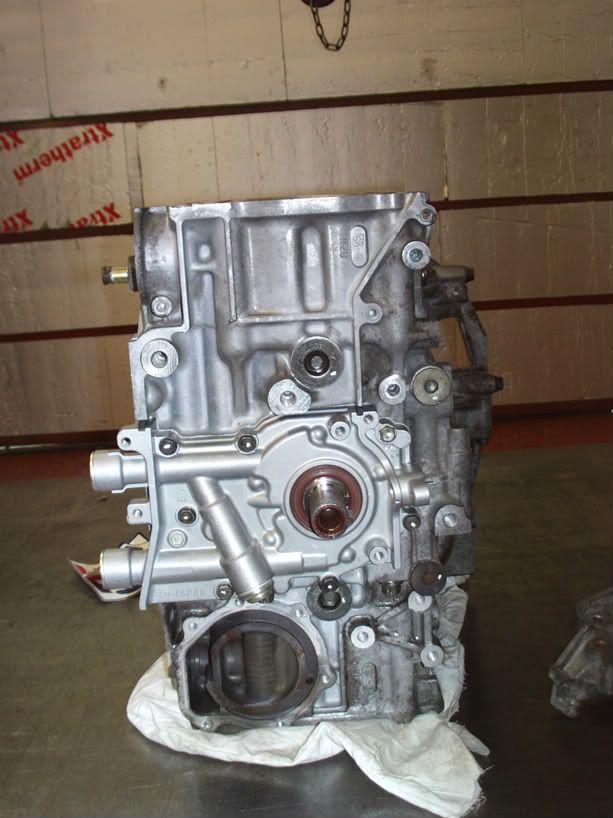
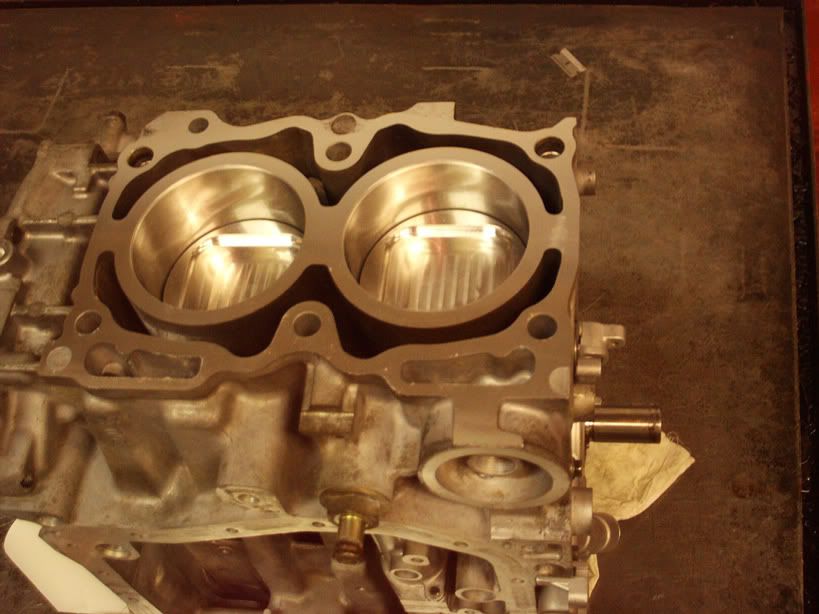
Martin was half way through reworking the heads so I left him at it, trying not to ring him ever half hour to see if it was ready
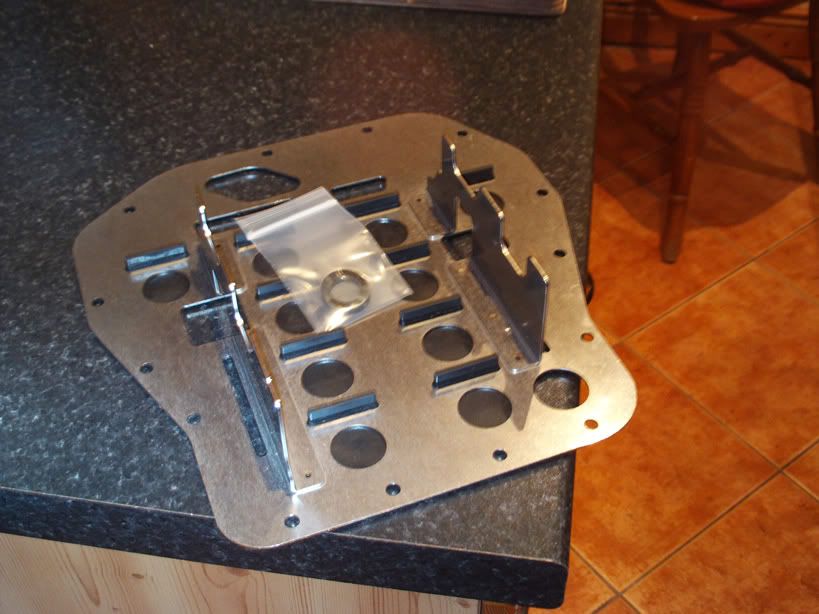
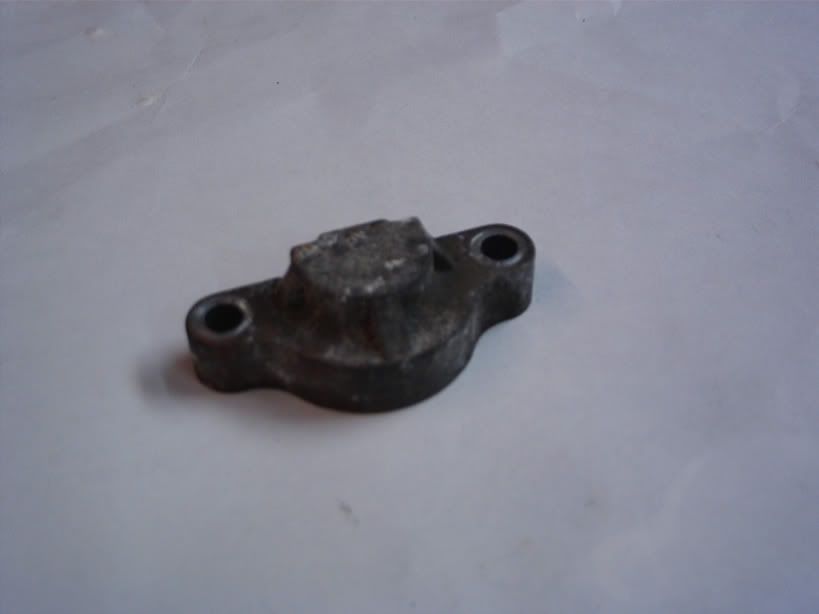
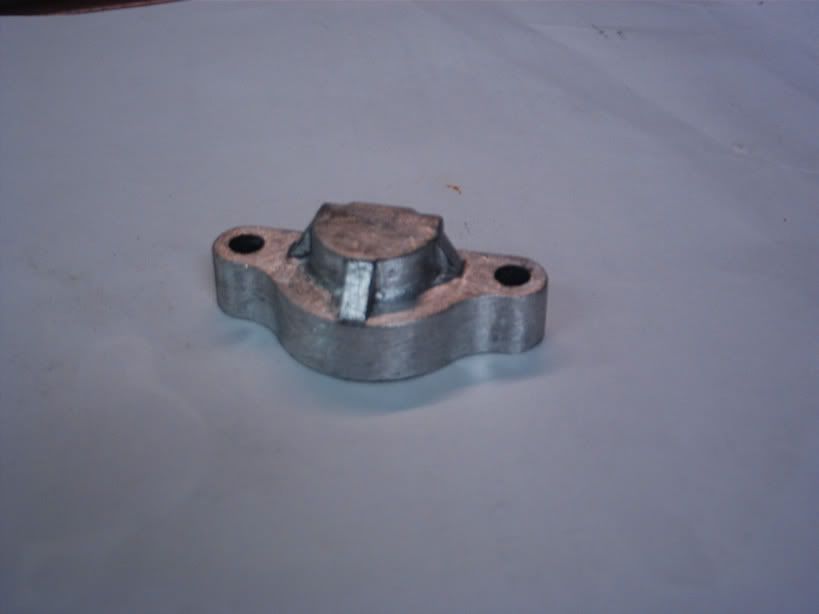
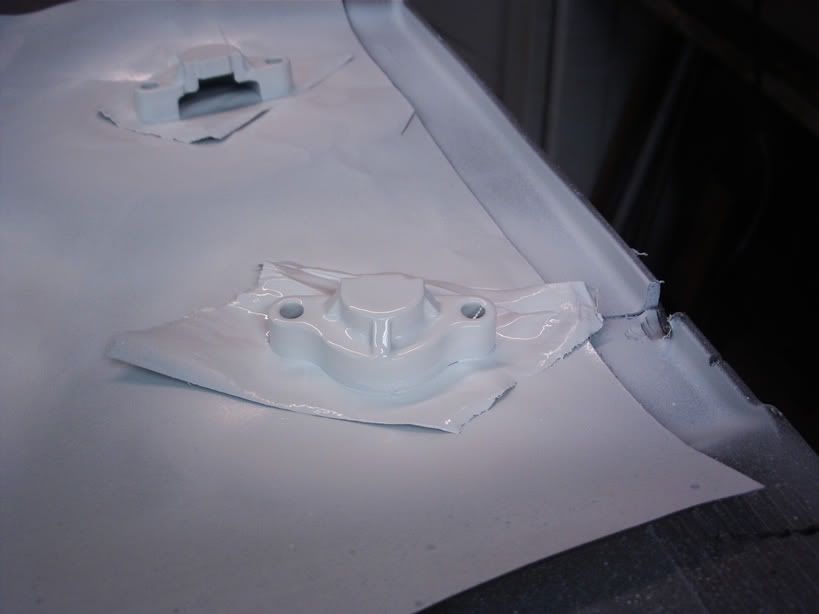
While I was waiting I cleaned and painted the Injector caps.
Another present arrived at this stage and gave me a perfect excuse to pay a visit to the Engine builder.
Its a bit worring how excited a grown man can get about uprated engine internals!!
I cant praise Martin and joanne at www.westwarseng.com enough for the personal and professonal way they go about their business, dealing with big money customers on a daily basis yet when the small man comes in on a budget they take time to advise and make you feel at home, his work speaks for its self having built and mapped some of the quickest road and track cars in this country.
At this stage he had the bottom end refaced washed rehoned and fitted with ACL race bearings, Manley steel conrods and forged Wiseco pistins as well as group N oil pump, new water pump and all seals, to say I was happy was an understatement!!!
Martin was half way through reworking the heads so I left him at it, trying not to ring him ever half hour to see if it was ready
While I was waiting I cleaned and painted the Injector caps.
The call I was waiting for came... Engine was ready for pick up!!!

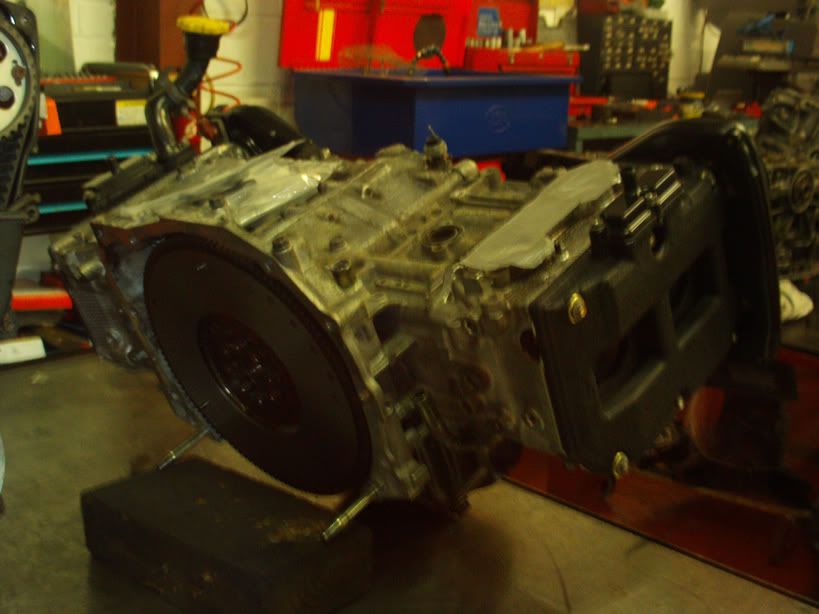
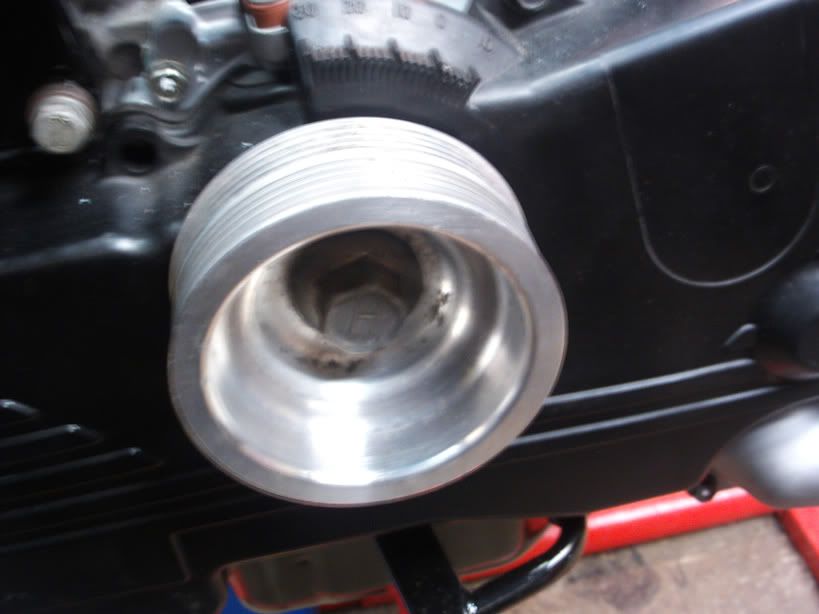
He refaced the flywheel for me aswell, pics not great I know. loaded it up and brought it home, As I was waiting for parts to come in I started with what I had and bolted on a bargain I got off SN, an alloy crank pull along with cam covers.
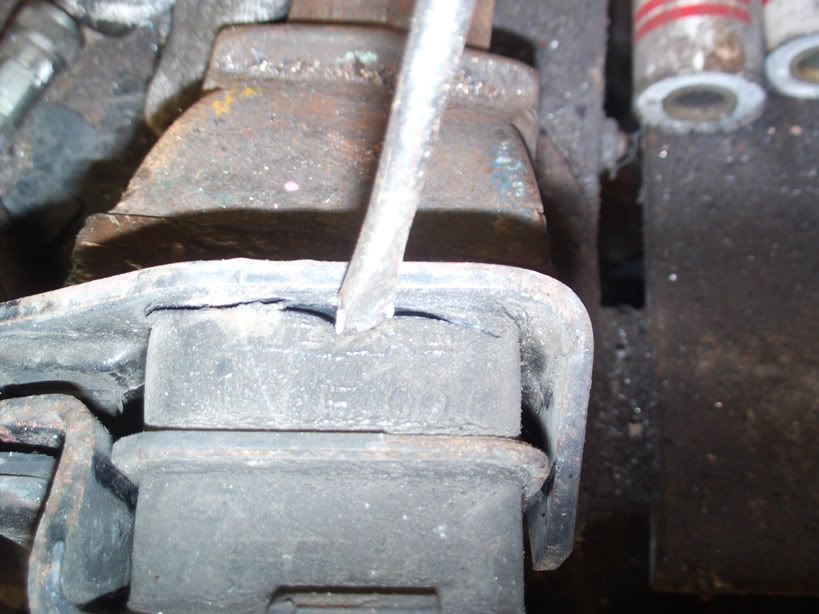
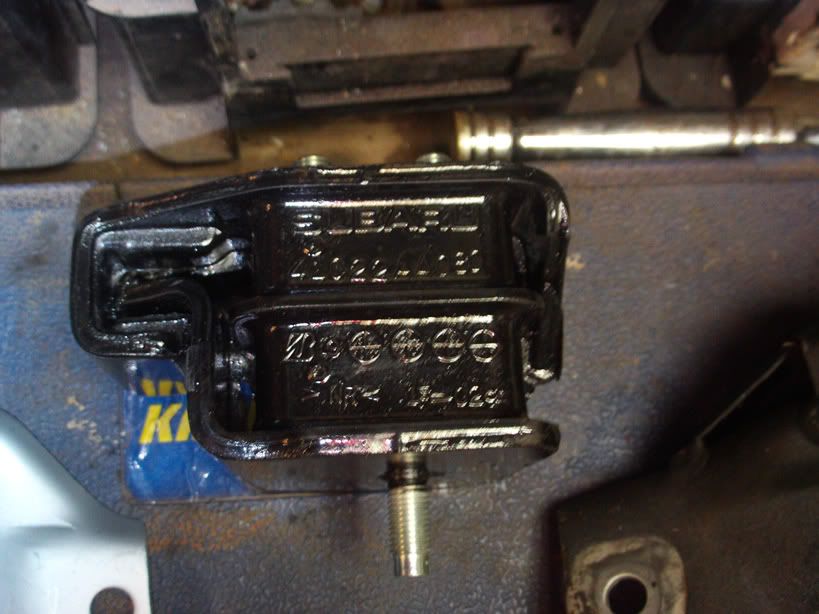
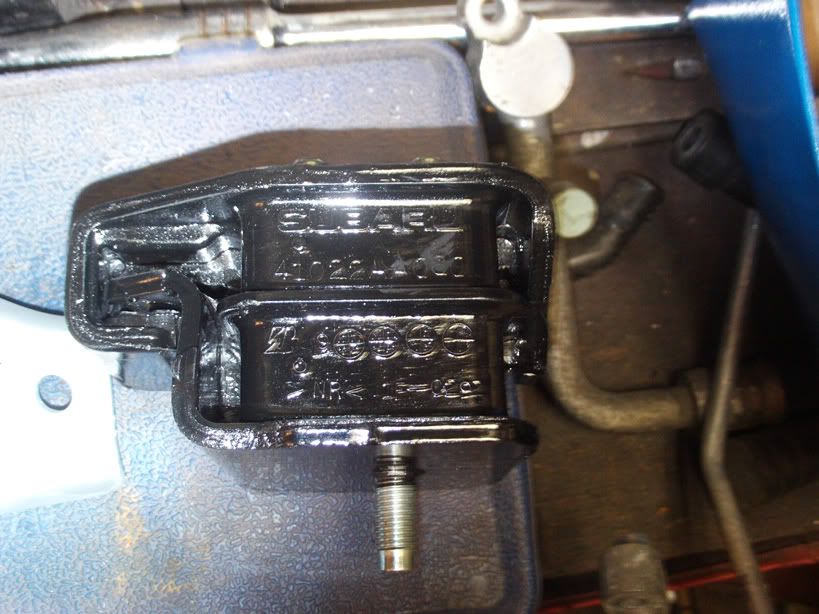
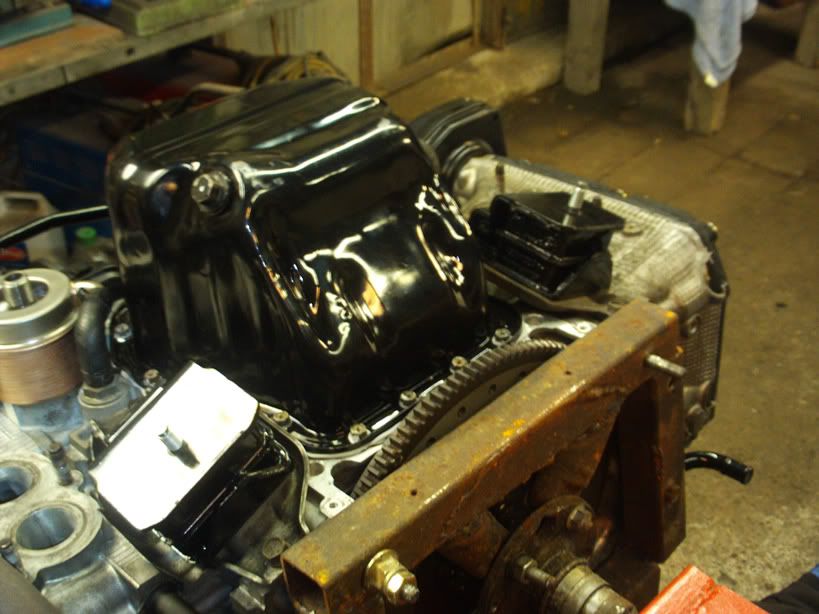
First to come in was the group N engine mounts, and just as well as the old ones looked fine untill I took them off, they were both cracked.
I also used the old mounting brackets as the new ones didnt have heat shields.
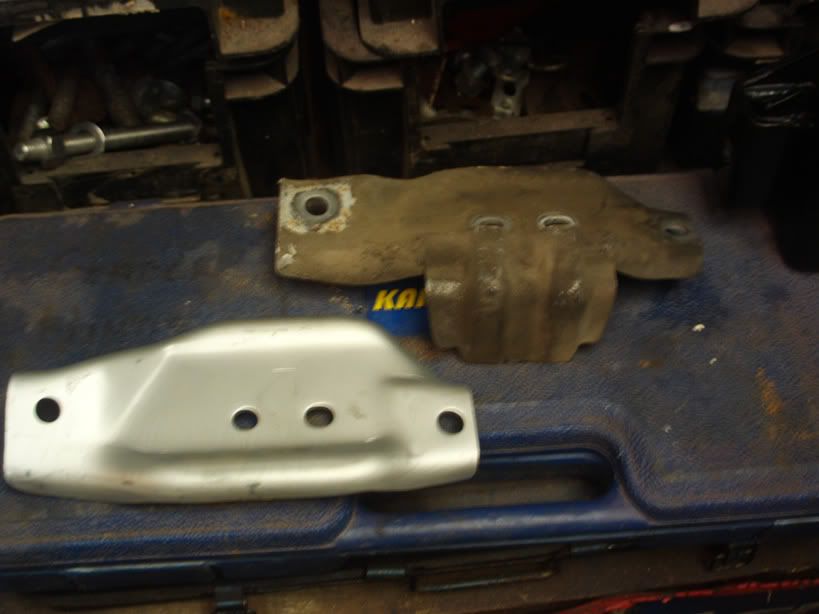
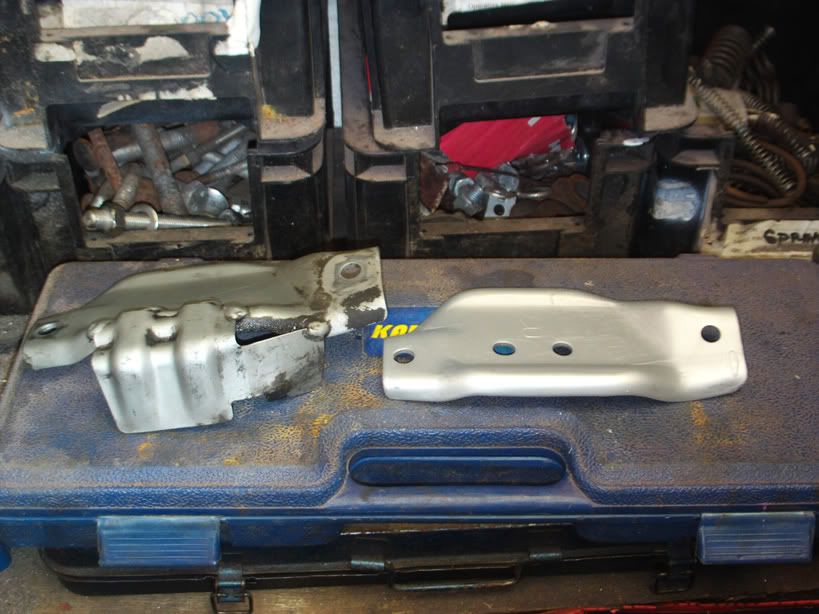
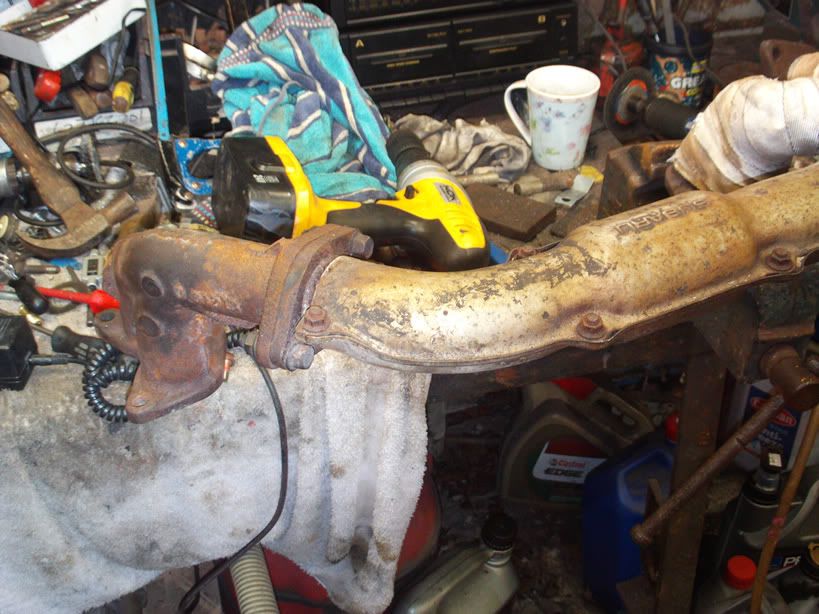
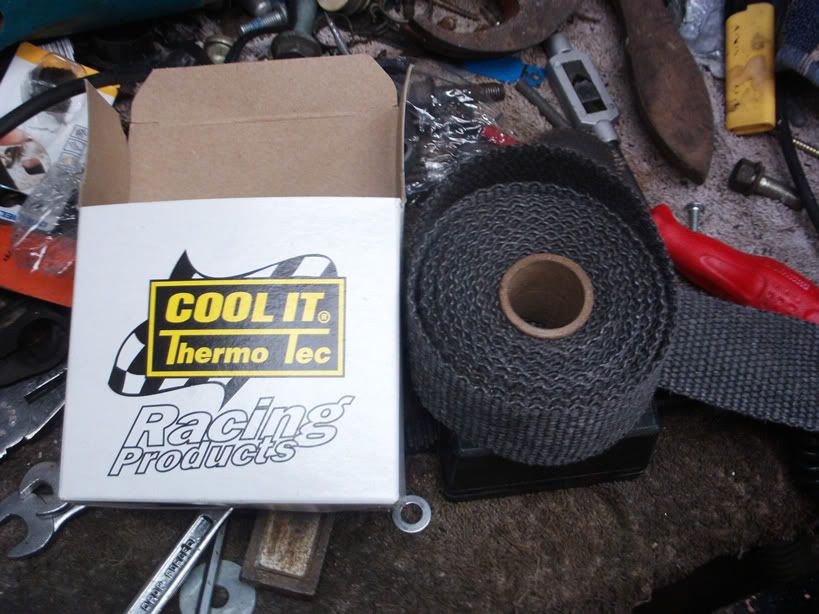
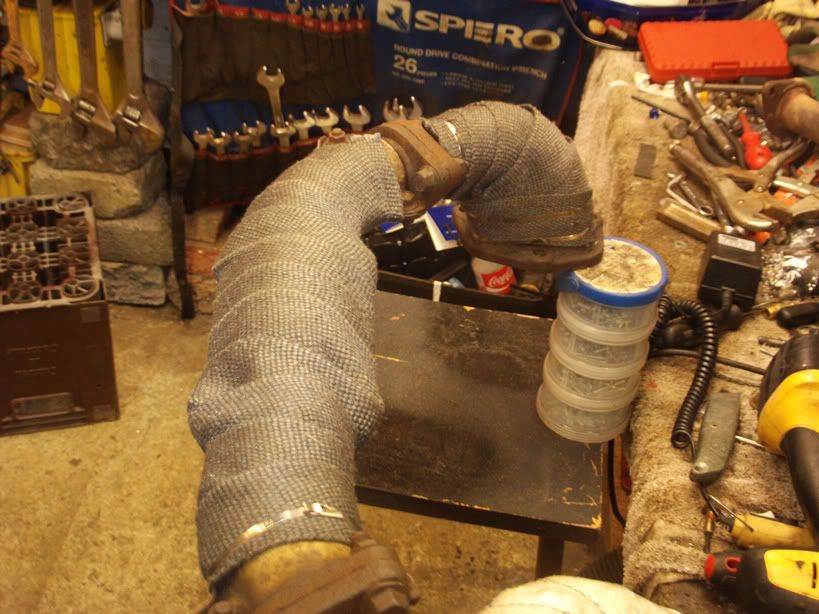
I can always change the headers at a later stage, but im going to see how I get on with the standard sti ones and see if they are holding me back, there seems to be a good few schools of thought on this issue and as Ive had problems with headers not sealing and cracking in the past ill see how I go, I cut off the brackets for the heat shields and heat wrapped them to do away with the cool down crackle that they all give off. I also changed all the gaskets.
He refaced the flywheel for me aswell, pics not great I know. loaded it up and brought it home, As I was waiting for parts to come in I started with what I had and bolted on a bargain I got off SN, an alloy crank pull along with cam covers.
First to come in was the group N engine mounts, and just as well as the old ones looked fine untill I took them off, they were both cracked.
I also used the old mounting brackets as the new ones didnt have heat shields.
I can always change the headers at a later stage, but im going to see how I get on with the standard sti ones and see if they are holding me back, there seems to be a good few schools of thought on this issue and as Ive had problems with headers not sealing and cracking in the past ill see how I go, I cut off the brackets for the heat shields and heat wrapped them to do away with the cool down crackle that they all give off. I also changed all the gaskets.
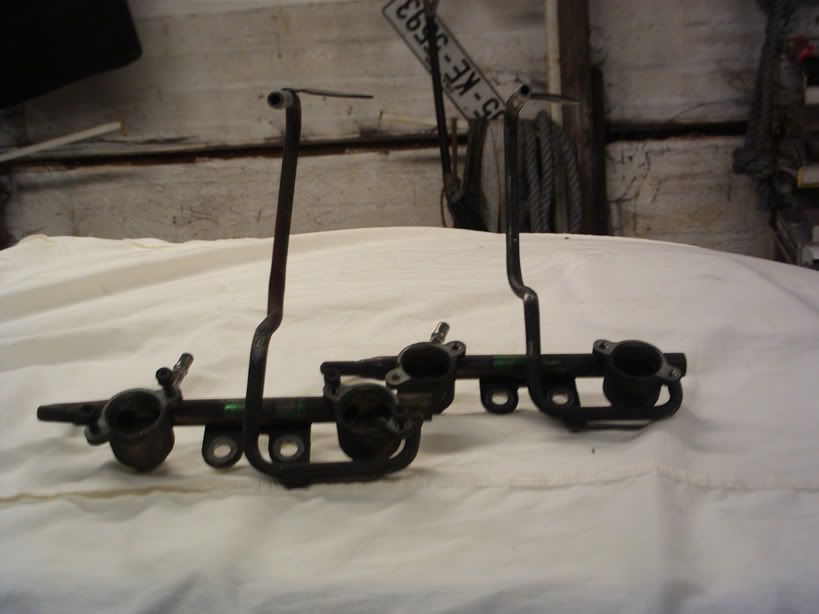
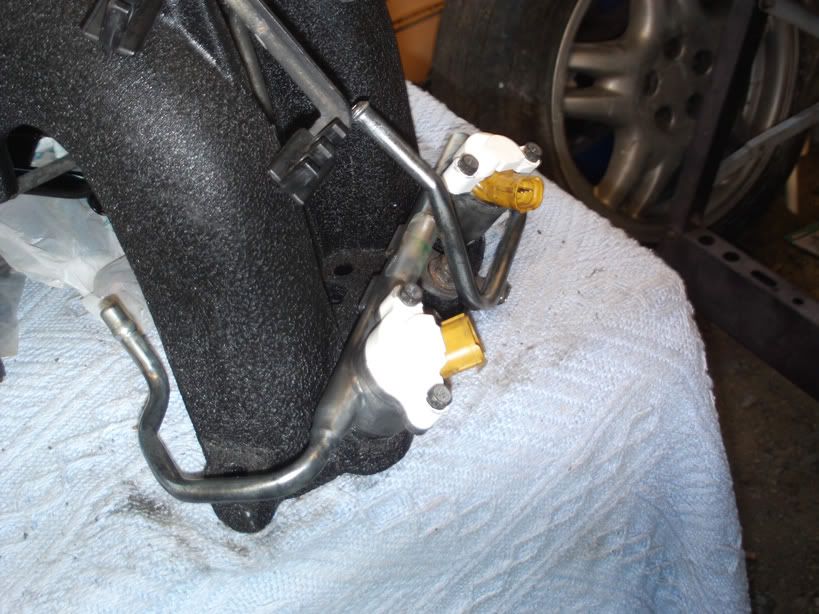
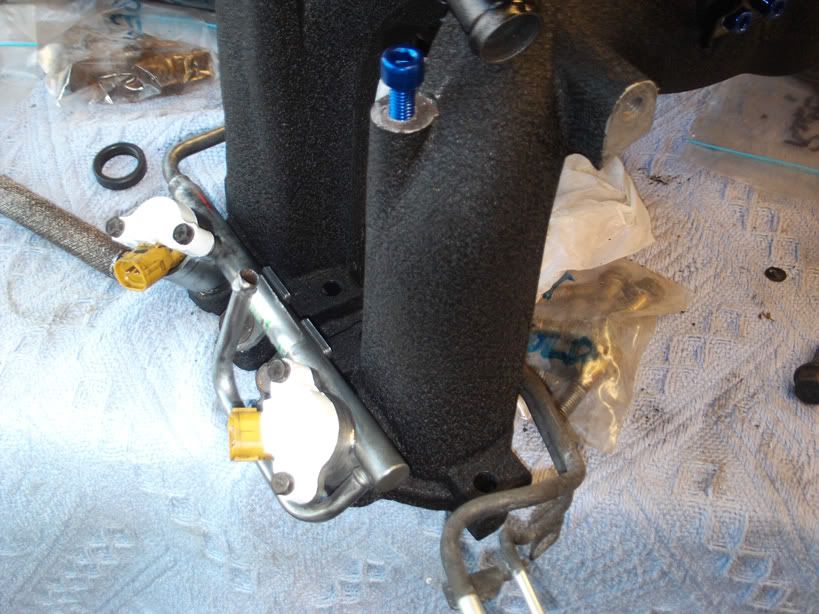
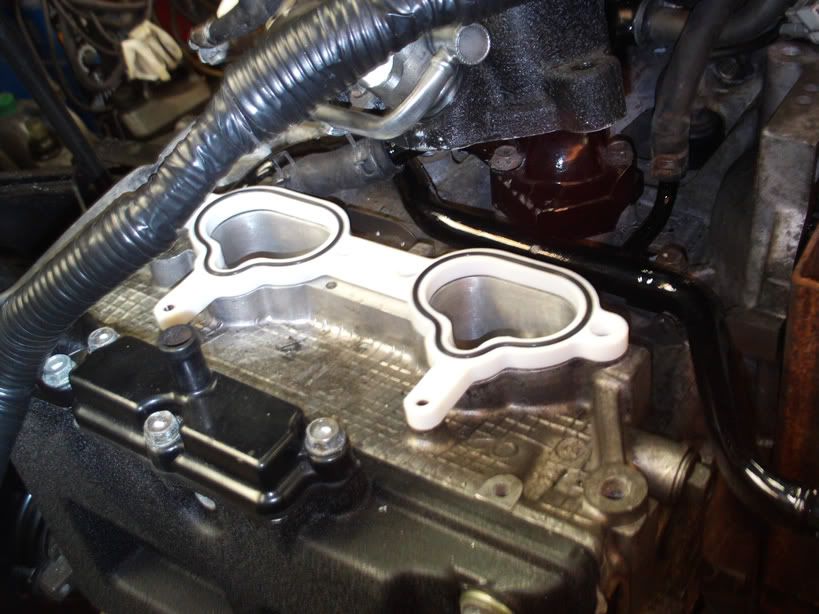
Next up to tackle was the fuel rails, now if money was no object, parallel billit rails with all the braded hoses and earls conectors would be the way to go, but as I still had a turbo and other essentials to buy, all this was out for the time being.. I was still trying to find a way to have the parrell set up for little or no money, as fuel pressure drop with the standard fuel route has been flagged by more learned men than me as a problem, I looked at the standard rails on the bench I noticed the passenger side was a nice bit shorter than the drivers side and was flared both ends as it is joined under the inlet by rubber pipes, it also was without the standard fuel pressure reg....  picked up a second passenger side rail and a pipe flareing kit from a mate and where the top curves up to accept fuel from the filter on the standard set up, I cut, as it would be pointing out toward the drivers wing when fitted to that side and would also foul the header tank, had to trim back the other ends and test fit a few times, I then flared them as I would be using push on pipes for now, picked up two Y joiners and hey presto parallel fuel rails and no adaptor needed to by pass the standard FPR for little or no money
JOB DONE.
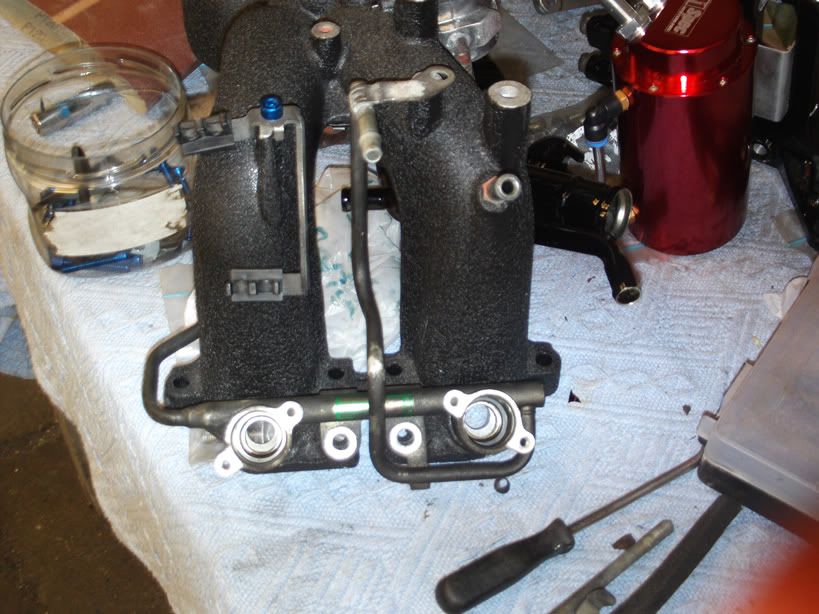
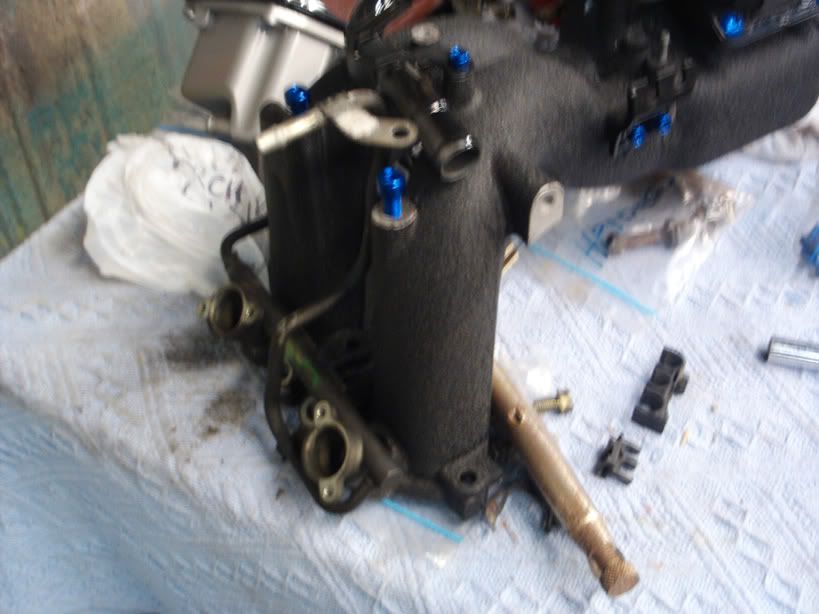
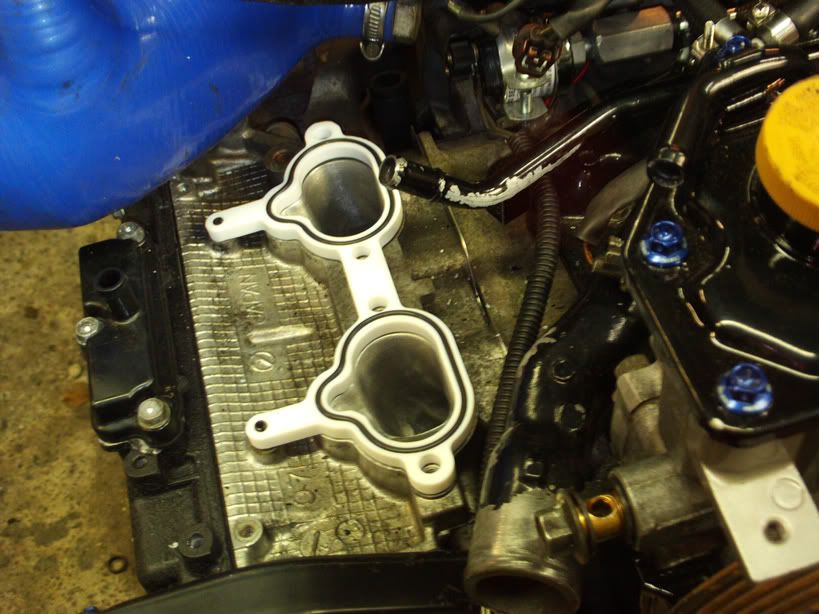
Two of carl daveys thermo inlet spacers and the inlet was ready for fitting
picked up a second passenger side rail and a pipe flareing kit from a mate and where the top curves up to accept fuel from the filter on the standard set up, I cut, as it would be pointing out toward the drivers wing when fitted to that side and would also foul the header tank, had to trim back the other ends and test fit a few times, I then flared them as I would be using push on pipes for now, picked up two Y joiners and hey presto parallel fuel rails and no adaptor needed to by pass the standard FPR for little or no moneyJOB DONE.
Two of carl daveys thermo inlet spacers and the inlet was ready for fitting
Ha Ha Thanks Rob, had thoughts along the same line as that... when I do finally finish it break through into the sitting room and leave it in there so nothing happens it!!
Managed to secure a second hand but low milage and good condition RCM400 off the stig on here (thanks lad) so getting close to returning my precious EJ20 back in its rightfull place, but like all the other jobs so far ran into problems! the silicone inlet pipe was too small for new turbo aswell as oil feed and water feed I had too get made up as they were wrong as well, nothing major just time consuming, also had to trim the gearbox bell housing for it to bolt on!!! but got it in the end.
Thanks Rob, had thoughts along the same line as that... when I do finally finish it break through into the sitting room and leave it in there so nothing happens it!!Managed to secure a second hand but low milage and good condition RCM400 off the stig on here (thanks lad) so getting close to returning my precious EJ20 back in its rightfull place, but like all the other jobs so far ran into problems! the silicone inlet pipe was too small for new turbo aswell as oil feed and water feed I had too get made up as they were wrong as well, nothing major just time consuming, also had to trim the gearbox bell housing for it to bolt on!!! but got it in the end.


Scooby Regular
iTrader: (8)
Joined: Jul 2005
Posts: 998
Likes: 0
From: Now with added 2.1 jun/cosworth power
Just come across this mate, was in the same kind of situation as you 2 and a bit years back when i got ripped of with a lemon that had been in a front ender, went the same route as you have. Your build is looking top so far chap well done, i kind of wish i went along the lines of painting and tidying etc as i went along, i went in search for big power instead lol, im almost there now on mine its almost finished.
Will keep checking in on this one mate looks very impressive so far, hats of to you.
Will keep checking in on this one mate looks very impressive so far, hats of to you.
Thanks Trails, its threads like yours that gave me the courage to tackle it, love the Wagon lad well done ... its only the thread thats moving on a pace, project on going the last two years!! only got around to uploading every thing recently.
Thanks Worbs, sorry to hear you got shafted, hope ye hit the big figures your after, good luck
Thanks Rob
... its only the thread thats moving on a pace, project on going the last two years!! only got around to uploading every thing recently.Thanks Worbs, sorry to hear you got shafted, hope ye hit the big figures your after, good luck
Thanks Rob
With the turbo problems over come ond the fuel rails sorted I kept looking at it on the stand wondering if I had missed any thing.... couldnt belive the time for engine to go in was finaly here!!
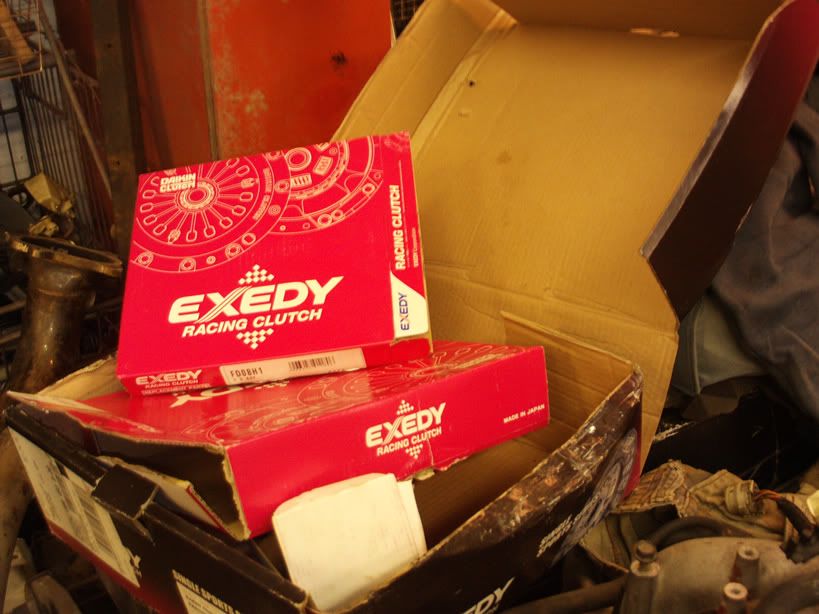
So borrowed an engine stand from a mate hoisted it off my DIY stand bolted on the clutch and with a push from the red lad we went about dropping it in...
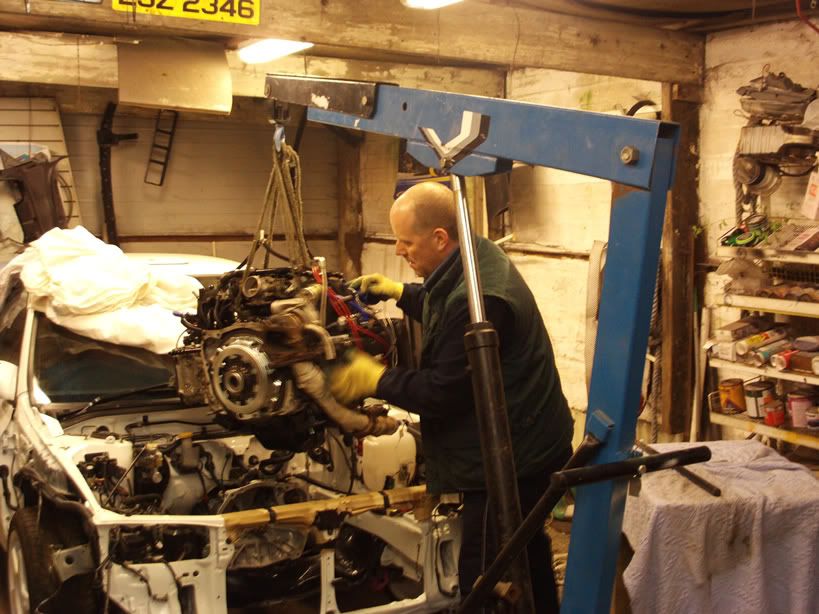
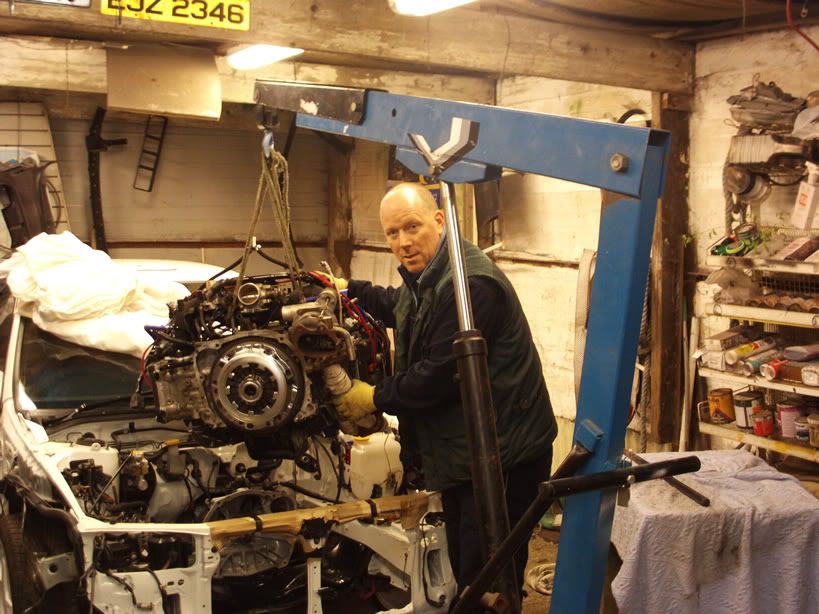
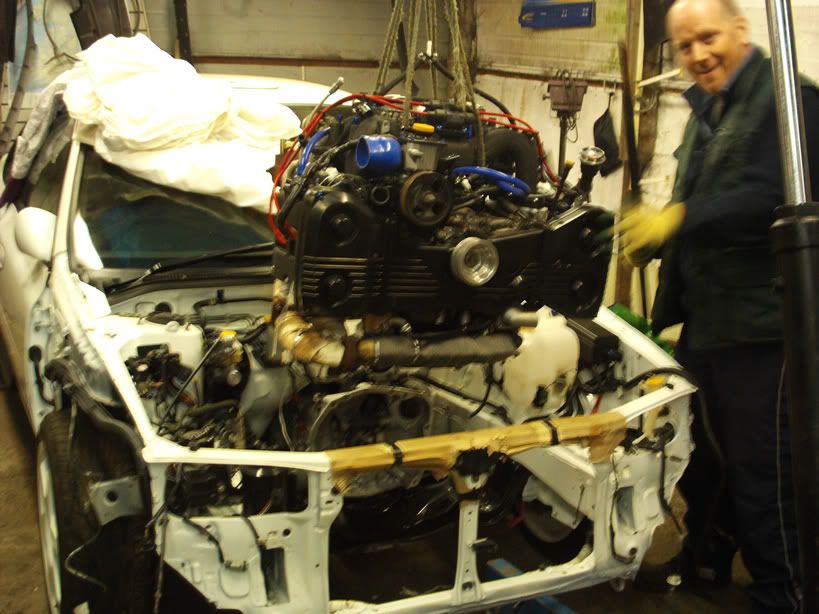
One of the handiest jobs so far! she just sailed in.. engine mountings starter and gearbox all bolted up in about half an hour... couldnt belive it..
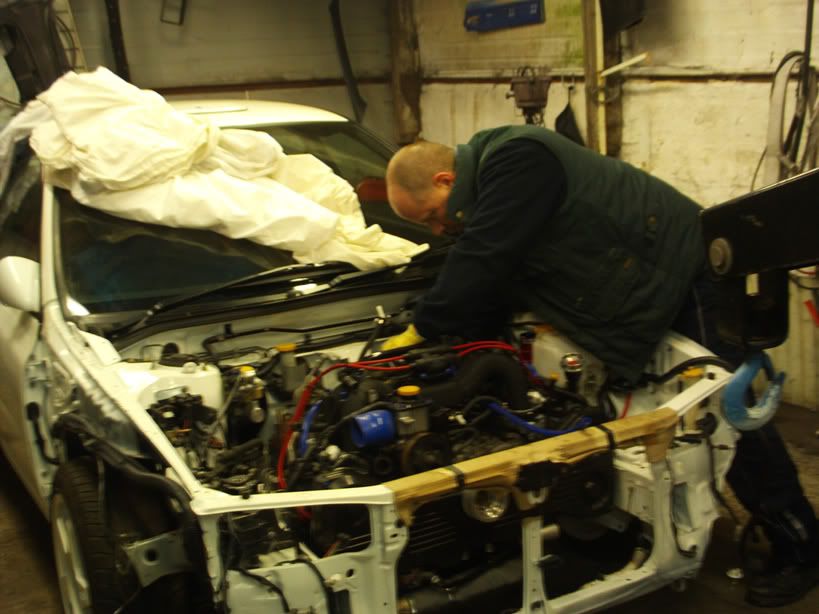
Really started to come togther quick at this stage, didnt put any panels on for fear of doing harm on engine fit..but now was full steam ahead..had bonnet on fitted with 22b style vents and Mishimito front mount that I etch primed and finished in satin black, the whole black/white theme seems to be coming together well.
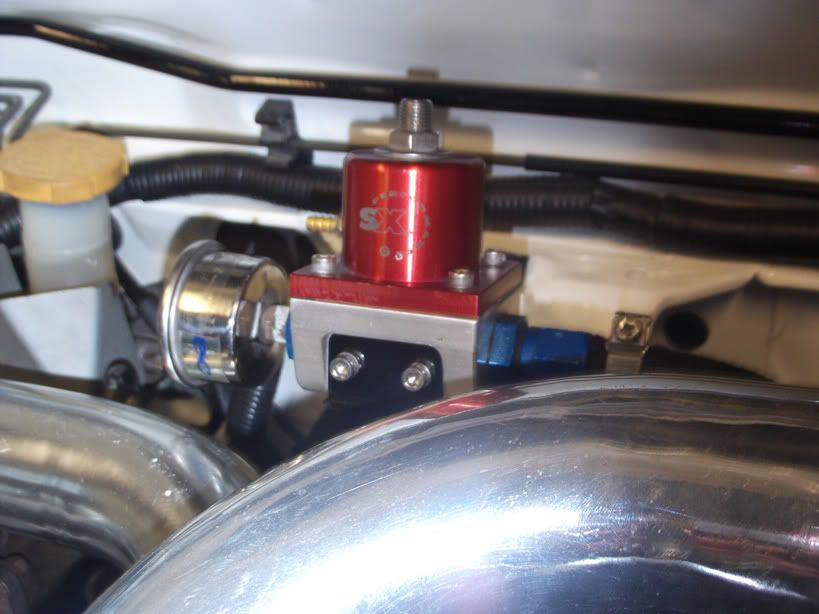
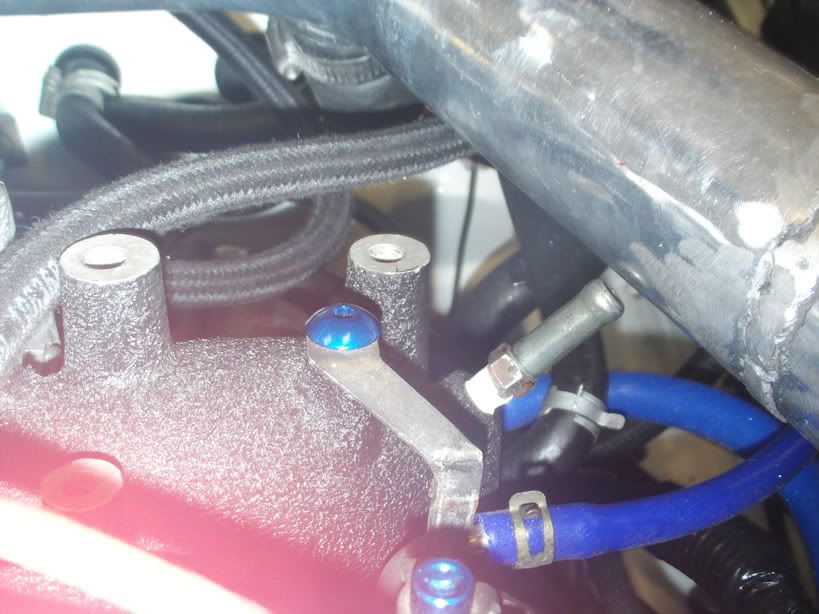
Another SN bargan, SX fuel pressure reg, thanks jonboy, plumed in and made up bracket to hold it where OE top mount went.
Another bargan.. this time from our own ISDC (need to renew membership)
Mishimoto rad, two problems.. 1, its off a new age. 2, Im told you cant have a front mount and a big rad because theres no room for pipe work.
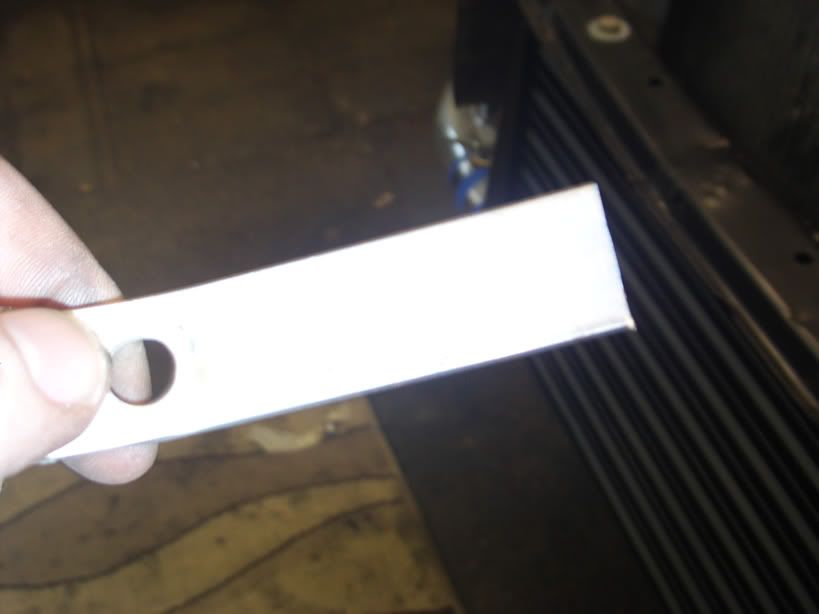
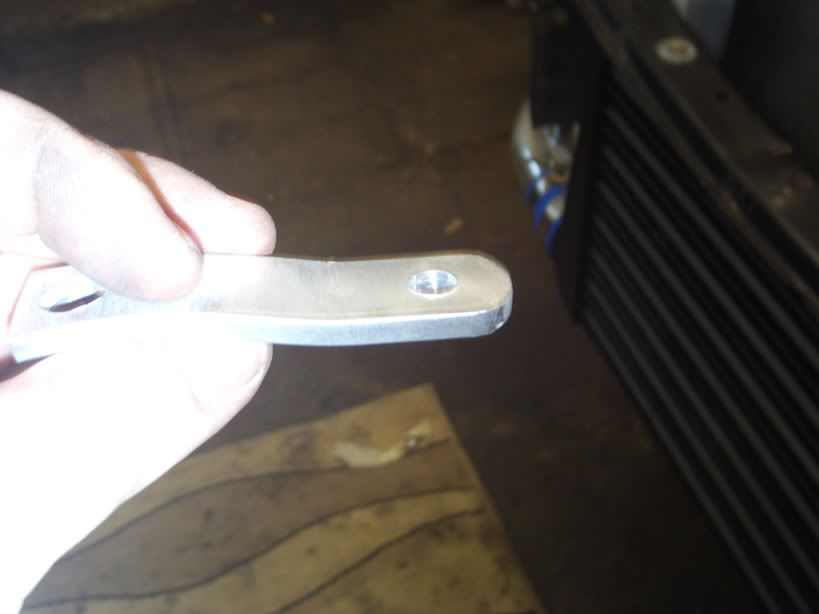
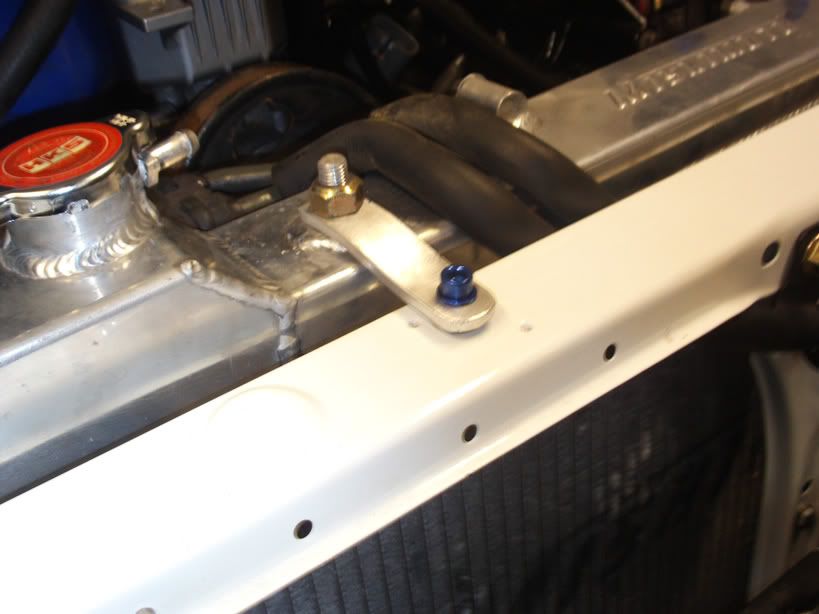
Firstly= newage, the two spuds on the bottom fit into the classic holes no bother, as for the top, just threaded the the spuds and made two brackets from a length of alloy, rounding the ends to try and hide the make and do look.
bit of trimming and swapping, with the two main hoses but no real trouble to get it hooked up.
Had to swap the big mishimoto cap for a small metal one as it wouldnt allow the bonnet to close, I cut the spring out of this to leave it sealed, (classic cap on header tank) that just left the two pipes coming from the header tank, the first one just plumed into the neck of the cap on new rad, and the other one runs accross the top of rad via a steel pipe to expansion tank, couldnt get standard one to work ( too light any way) so used spare brake vacume pipe from back off engine bay, worked perfect! I know it seems like alot of hasstle but saved about �200 so worth it.
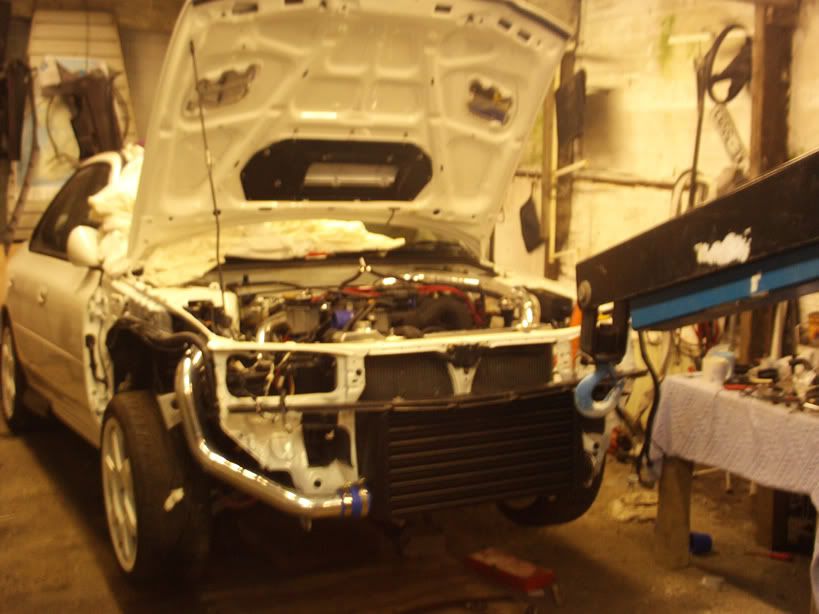
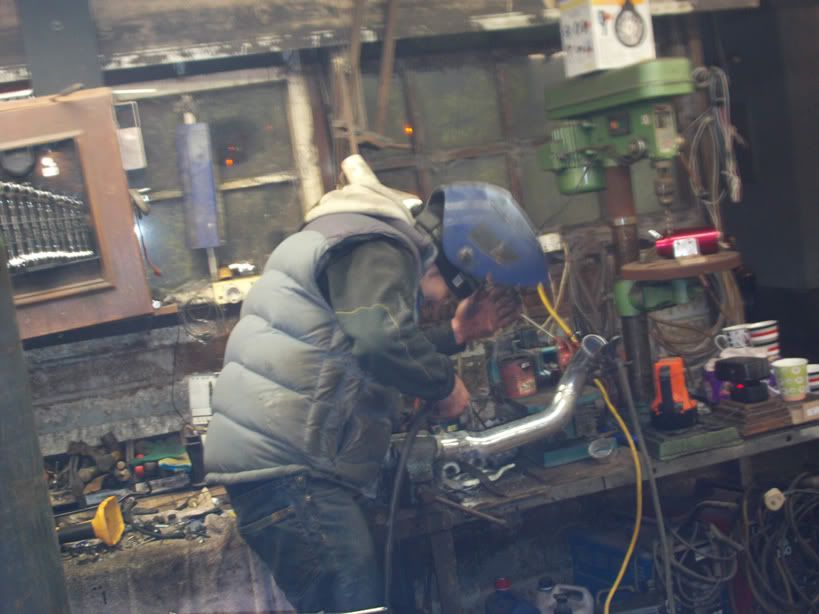
Problem no 2, FMIC pipe work, not the drama I was told it would be, all you need is a mate who can weld alloy pipe (thanks Ken), some spare pipe,a good hacksaw and plenty of patience, it will fit tight to pass side chassis leg, I used ac gas canister bracket to fit up pipe in optimum position then trimmed the rest of the pipe work to fit, took it all off and welded it up. job done.
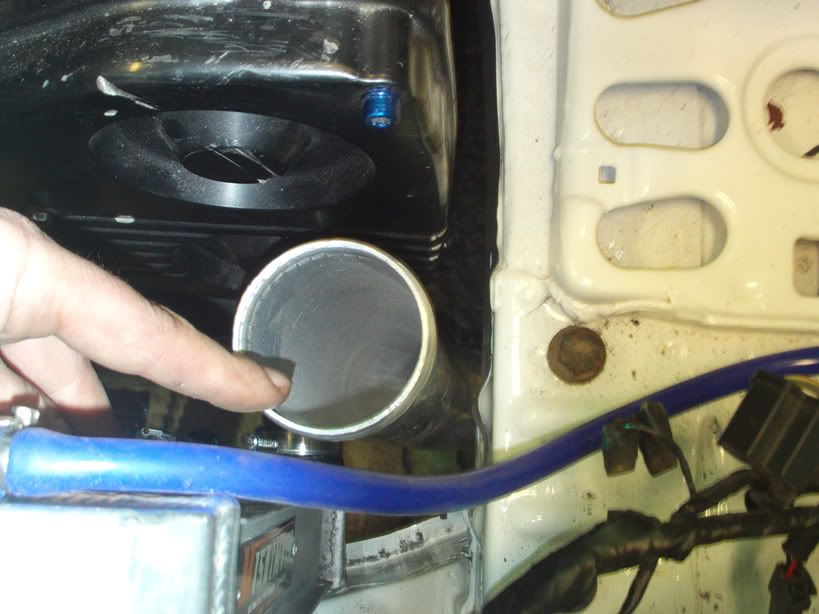

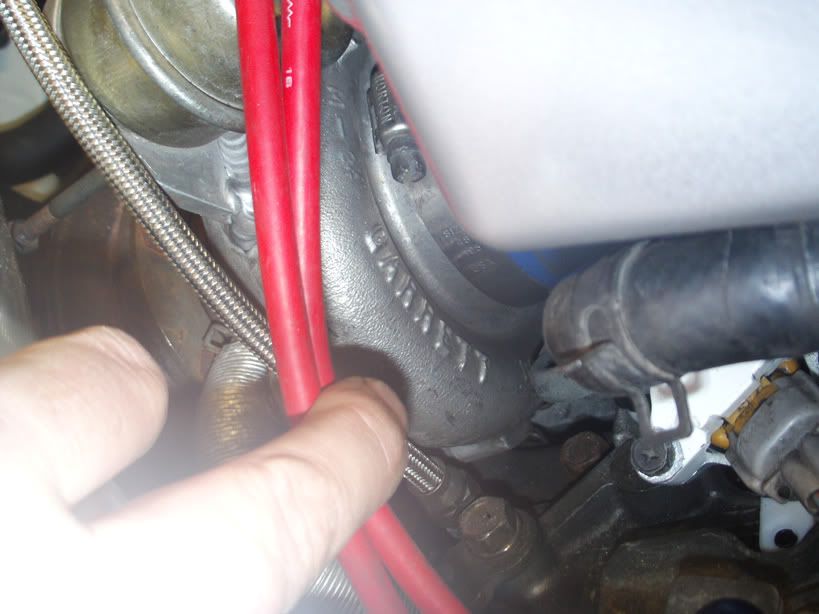
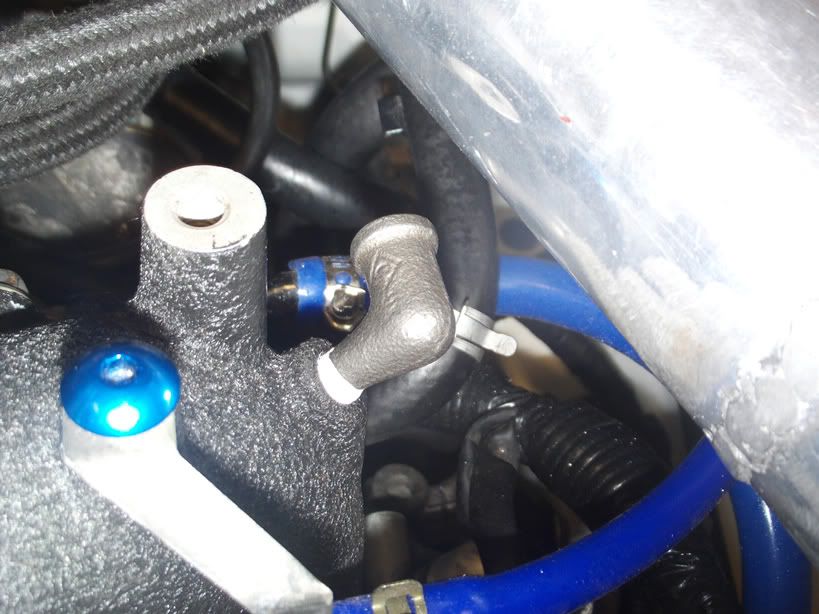
All on when I noticed the brake vacum from manifold was blocked by IC pipes, so picked up a 90� air fitting from hardware and problem solved.

Wings on, Front bumper positioned by the gill (thanks gill) and ran cold air feed up to filter from brake cooler channel in plastic on drivers side
So borrowed an engine stand from a mate hoisted it off my DIY stand bolted on the clutch and with a push from the red lad we went about dropping it in...
One of the handiest jobs so far! she just sailed in.. engine mountings starter and gearbox all bolted up in about half an hour... couldnt belive it..
Really started to come togther quick at this stage, didnt put any panels on for fear of doing harm on engine fit..but now was full steam ahead..had bonnet on fitted with 22b style vents and Mishimito front mount that I etch primed and finished in satin black, the whole black/white theme seems to be coming together well.
Another SN bargan, SX fuel pressure reg, thanks jonboy, plumed in and made up bracket to hold it where OE top mount went.
Another bargan.. this time from our own ISDC (need to renew membership)
Mishimoto rad, two problems.. 1, its off a new age. 2, Im told you cant have a front mount and a big rad because theres no room for pipe work.
Firstly= newage, the two spuds on the bottom fit into the classic holes no bother, as for the top, just threaded the the spuds and made two brackets from a length of alloy, rounding the ends to try and hide the make and do look.
bit of trimming and swapping, with the two main hoses but no real trouble to get it hooked up.
Had to swap the big mishimoto cap for a small metal one as it wouldnt allow the bonnet to close, I cut the spring out of this to leave it sealed, (classic cap on header tank) that just left the two pipes coming from the header tank, the first one just plumed into the neck of the cap on new rad, and the other one runs accross the top of rad via a steel pipe to expansion tank, couldnt get standard one to work ( too light any way) so used spare brake vacume pipe from back off engine bay, worked perfect! I know it seems like alot of hasstle but saved about �200 so worth it.
Problem no 2, FMIC pipe work, not the drama I was told it would be, all you need is a mate who can weld alloy pipe (thanks Ken), some spare pipe,a good hacksaw and plenty of patience, it will fit tight to pass side chassis leg, I used ac gas canister bracket to fit up pipe in optimum position then trimmed the rest of the pipe work to fit, took it all off and welded it up. job done.
All on when I noticed the brake vacum from manifold was blocked by IC pipes, so picked up a 90� air fitting from hardware and problem solved.
Wings on, Front bumper positioned by the gill (thanks gill) and ran cold air feed up to filter from brake cooler channel in plastic on drivers side
Joined: Nov 2003
Posts: 13,356
Likes: 58
From: in the woods...........555 Wagon Sqn
I need one of those 90 vacume elbows in my life though...what exactly is it and where can i get one from?
Ian

Thanks for all the comments lads, dont know if its a failing on my part to get excited about seeing positive comments on my build  .... (think we can forget about mom for a while.. we got a whole new bag of problems!!!)
Thanks Trails, if you just unbolt the OE vacume pipe out of the inlet and bring it in to any decent hardware they will give you out a 90 degree, think he said mine was an air fitting.
Thanks 53, part number long gone in the bin sorry, butdo remember I ordered it over the phone no chassis no given as I think they are the same accross most of the classic range.
.... (think we can forget about mom for a while.. we got a whole new bag of problems!!!) Thanks Trails, if you just unbolt the OE vacume pipe out of the inlet and bring it in to any decent hardware they will give you out a 90 degree, think he said mine was an air fitting.
Thanks 53, part number long gone in the bin sorry, butdo remember I ordered it over the phone no chassis no given as I think they are the same accross most of the classic range.

few galons of motion lotion and it was time to turn her over.... was apprehensive to say the least, but as ive found throughout this build the jobs you think will be no bother end up being a B@st*&d! and vice versa, first turn of the key and she burst into life!!
I couldnt stop smiling, plenty of smoke, from all sorts burning off in engine bay and assembley oil in the internals coming out through the exhaust, but after a short time running she cleared out, just a small speedbump with a faulty temp guage (thanks Ralph) but other than that sweet as a nut, finished off the front end took it out of the shed (its home for the last 12 months!) for a run up the road, cut out once or twice slowing down to stop but all ok now.
Went with the white grill badge to tie in with the black white theme and did the black in the headlight mod (tough, long horrible job)
took the red lad to get the speedo pluged back into the gear box

After a bit of effort!!!
Borrored the gills good eye to lign the front flaps with the back ones.
This is the stage im at now, trying to get some miles on her to run it in, and a few quid together for bigger injectors ( made bits of the budget) got it through the nct (mot) after replacing the Lamda sensor and martin tweaking the power fc, am still running the standard boost controller, will change oil, fit 550cc, and avcr, all before map session when miles are up. untill then ill get some pics of it out in sunlight.
I couldnt stop smiling, plenty of smoke, from all sorts burning off in engine bay and assembley oil in the internals coming out through the exhaust, but after a short time running she cleared out, just a small speedbump with a faulty temp guage (thanks Ralph) but other than that sweet as a nut, finished off the front end took it out of the shed (its home for the last 12 months!) for a run up the road, cut out once or twice slowing down to stop but all ok now.
Went with the white grill badge to tie in with the black white theme and did the black in the headlight mod (tough, long horrible job)
took the red lad to get the speedo pluged back into the gear box
After a bit of effort!!!
Borrored the gills good eye to lign the front flaps with the back ones.
This is the stage im at now, trying to get some miles on her to run it in, and a few quid together for bigger injectors ( made bits of the budget) got it through the nct (mot) after replacing the Lamda sensor and martin tweaking the power fc, am still running the standard boost controller, will change oil, fit 550cc, and avcr, all before map session when miles are up. untill then ill get some pics of it out in sunlight.

Thanks jay and Timmy
Its only the posting thats fast BPR! the build is on going over two years at this stage, taking pictures all along, putting them up now ive nearly finished.
Thanks trails, yeah feels great, love the classics, cant beat the flat four rumble, tough driving about off boost though, really looking forward to getting her mapped.