
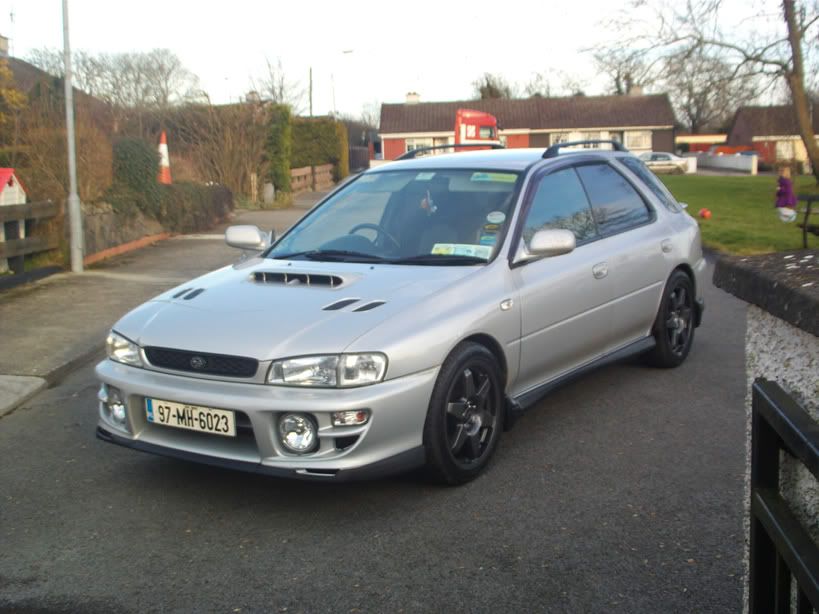
97 shed warrier!

Hi all, Love the project section of this site, the big guns like JGM and AF are breath taking, but its the normal do it your self guys i admire, (sorry for your bad luck daz davies) so after having a heavy frontal in my 97 STI i decided to give it a go myself using you guys finished cars as inspiration.
My shell was pretty much scrap but all running gear was ok, i managed to track down a 97 mcrea edition with four doors two wings rear window, front and rear subframes and loom, it was pretty much gutted other than that but thats all I needed really.
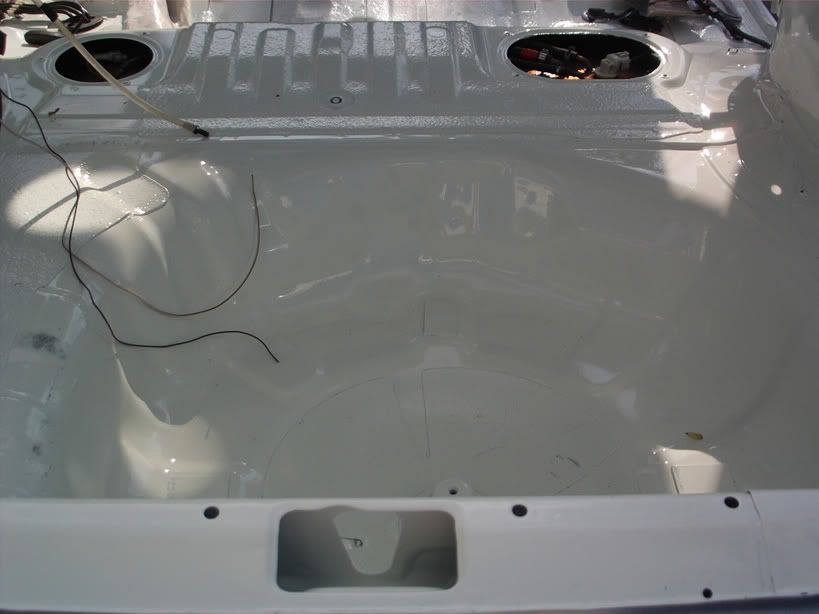
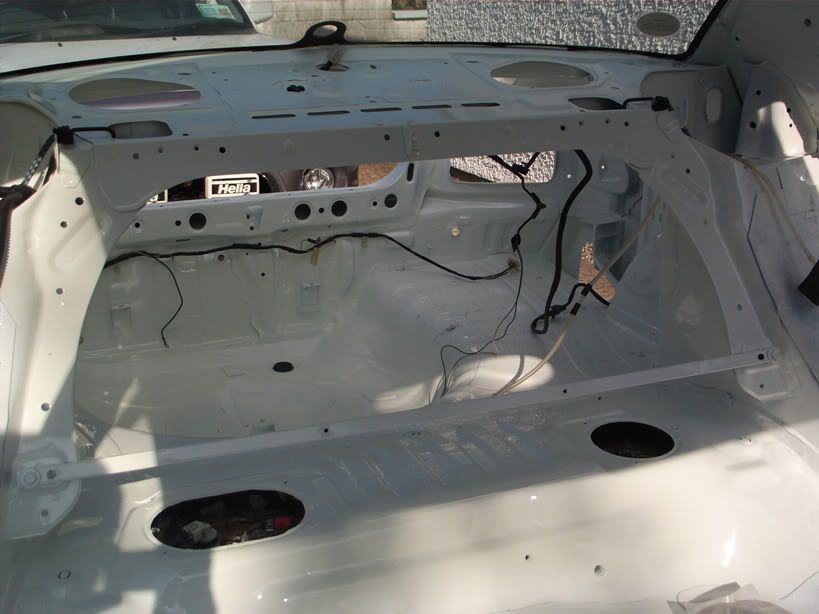
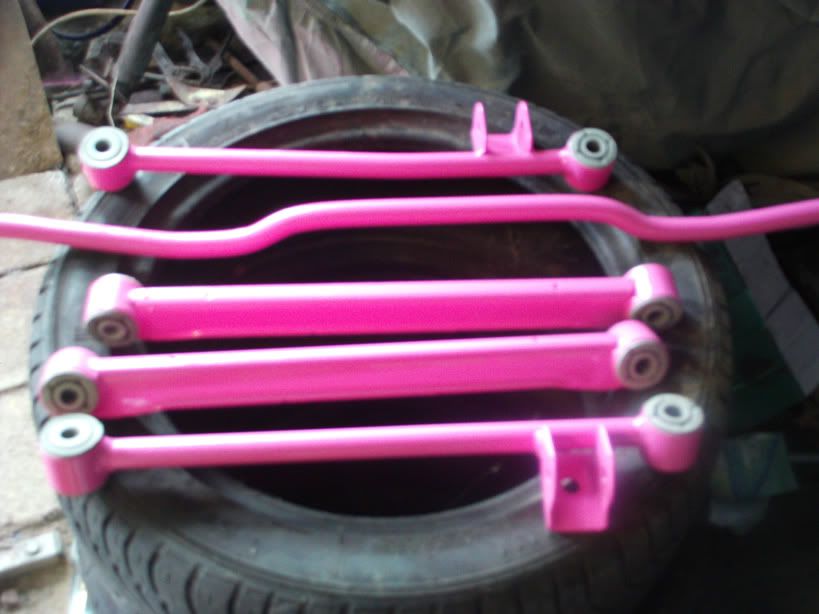
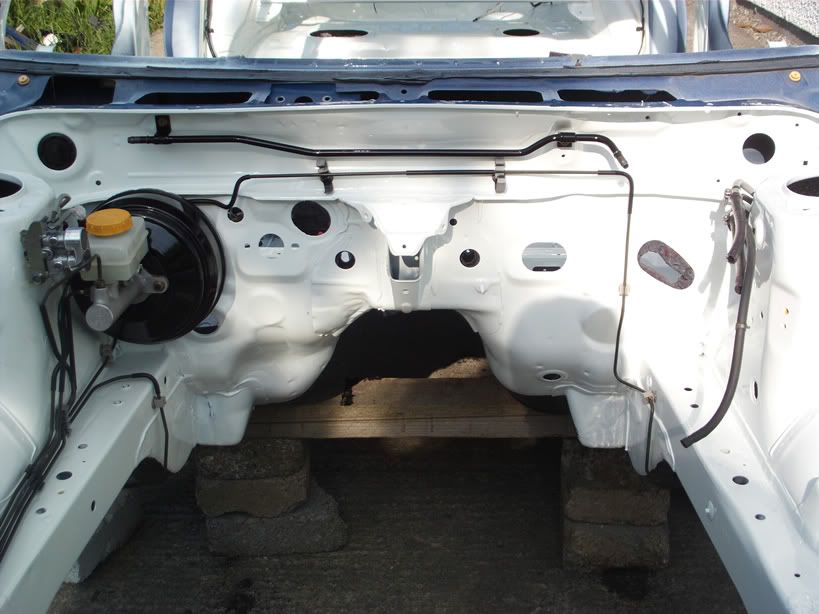
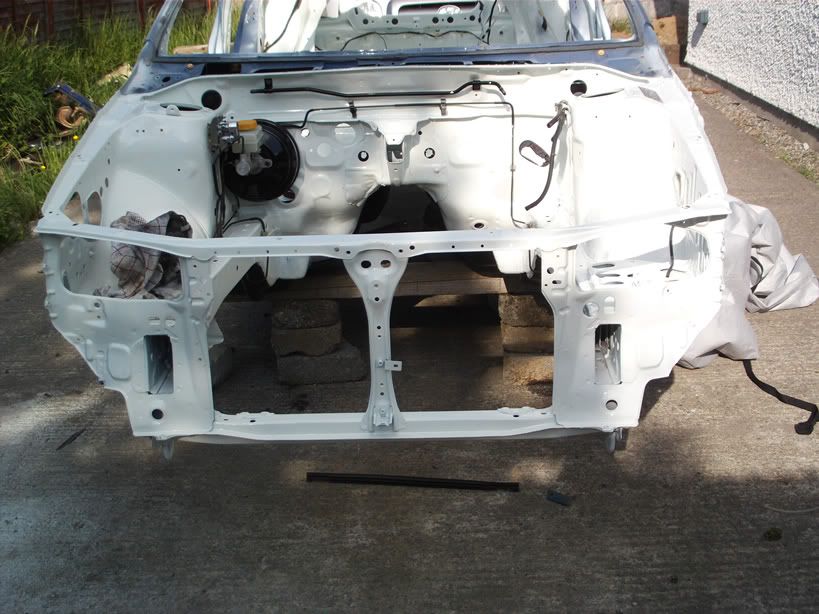
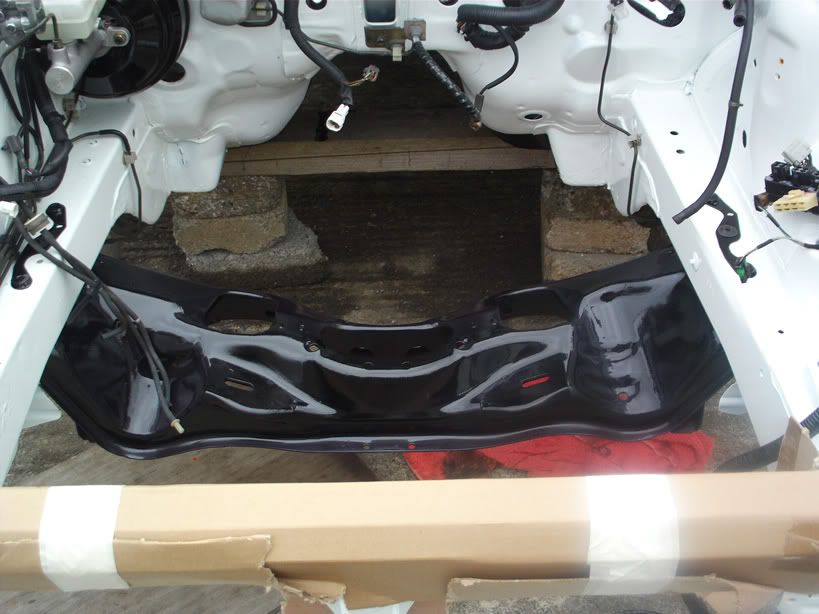
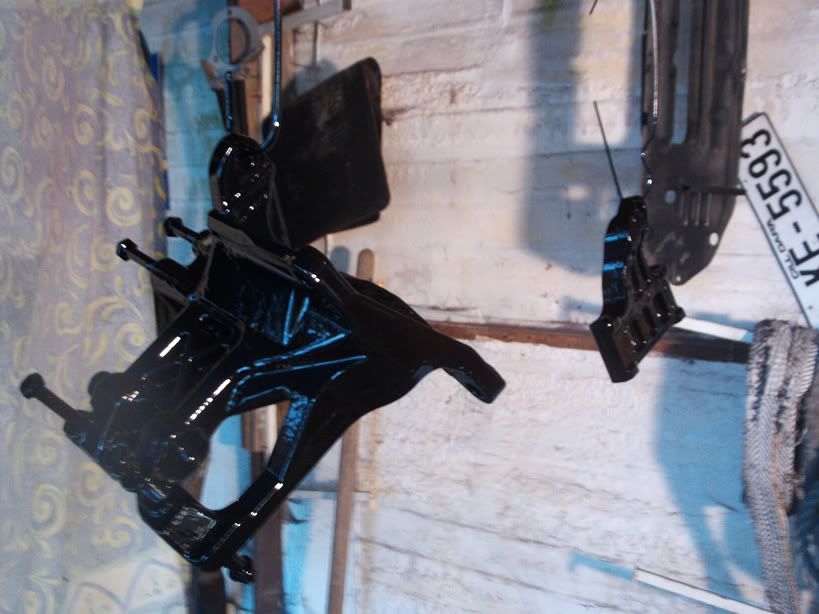
I started by taking every thing out of shell execpt for the rear screen, turned it up on its side in the yard! seam welded the jacking points and front turrets for strength, I then wax oiled the chassis legs on the inside with a kit I got from Halfords, undersealed the lot while all suspension and subframes were away getting shotblasted and etch primed, i then 2pac painted the whole inside,engine bay and boot with 203 white, gloss black for subframes and got pink mixed up (by giving them toy phone) for trailing arms etc.

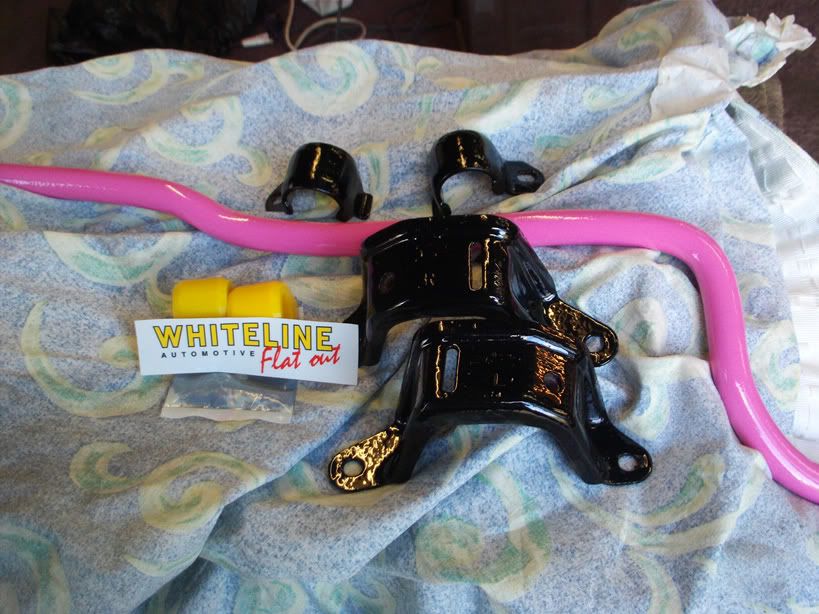
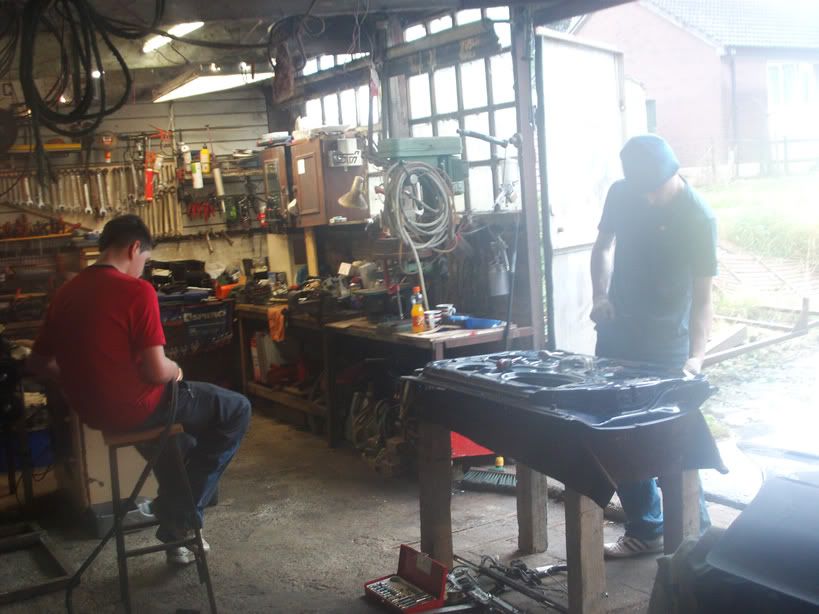
painted as many parts in shed as I could think off while car was outside, so i wouldnt destroy my lovely white paint with black and pink over spray!
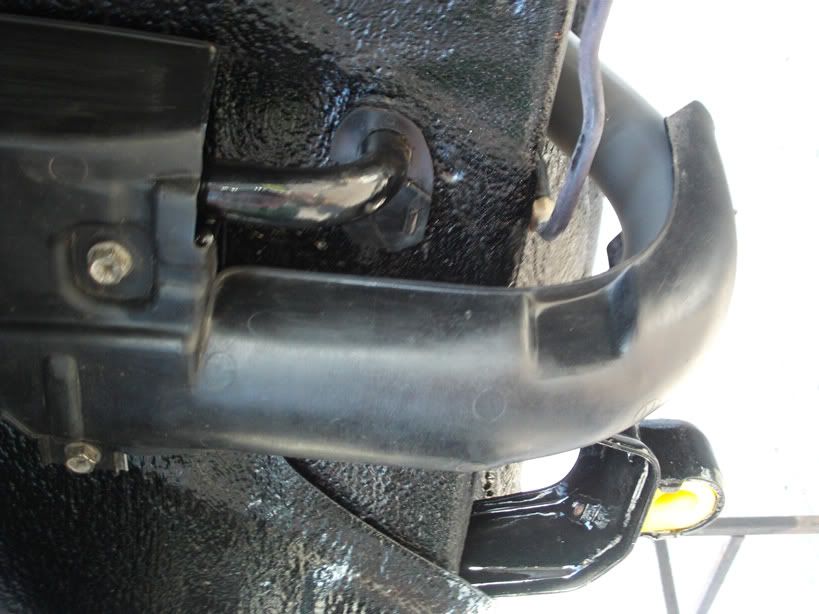
Brake servo painted and fitted

Started on inside by fitting Handbreak and sound mat.
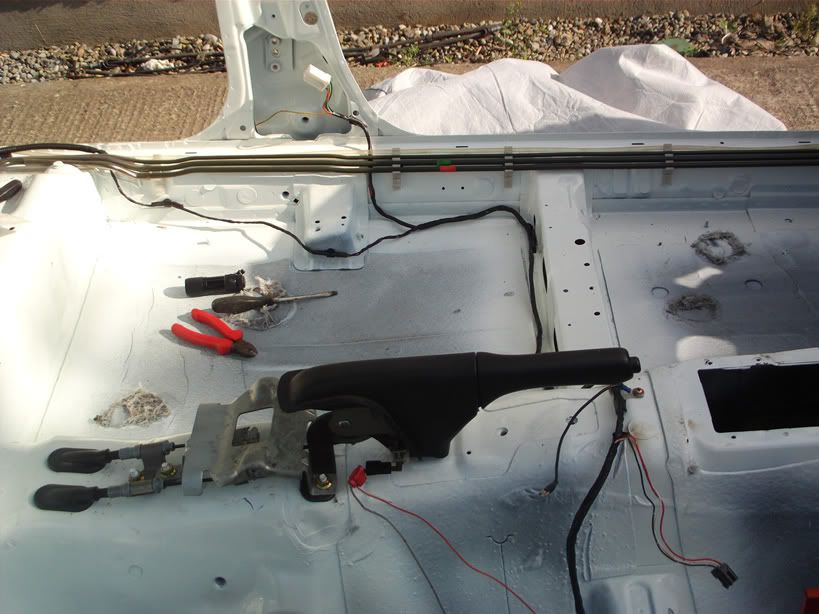
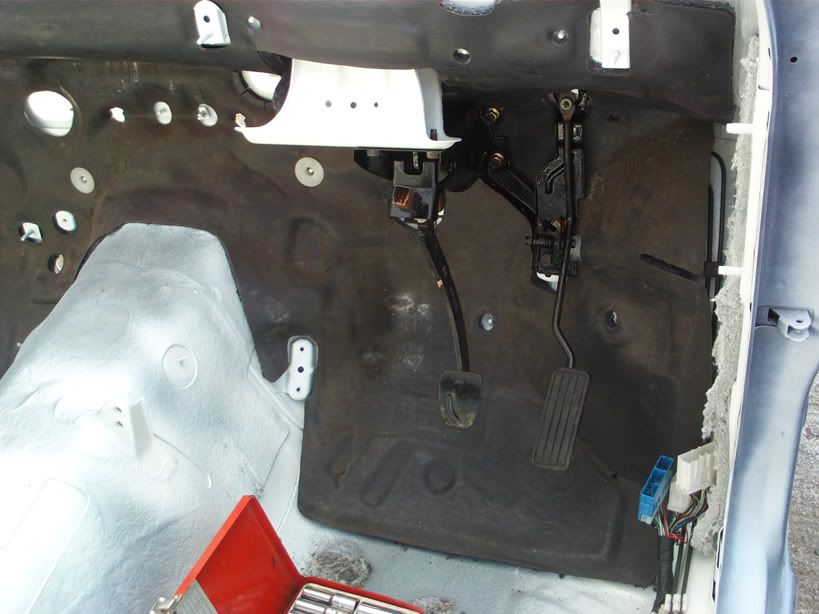
Next was refitting the loom
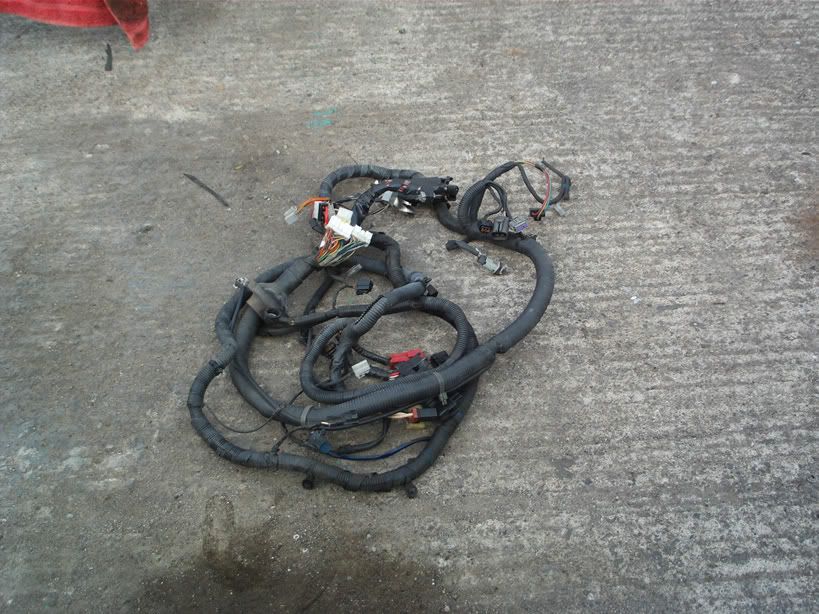
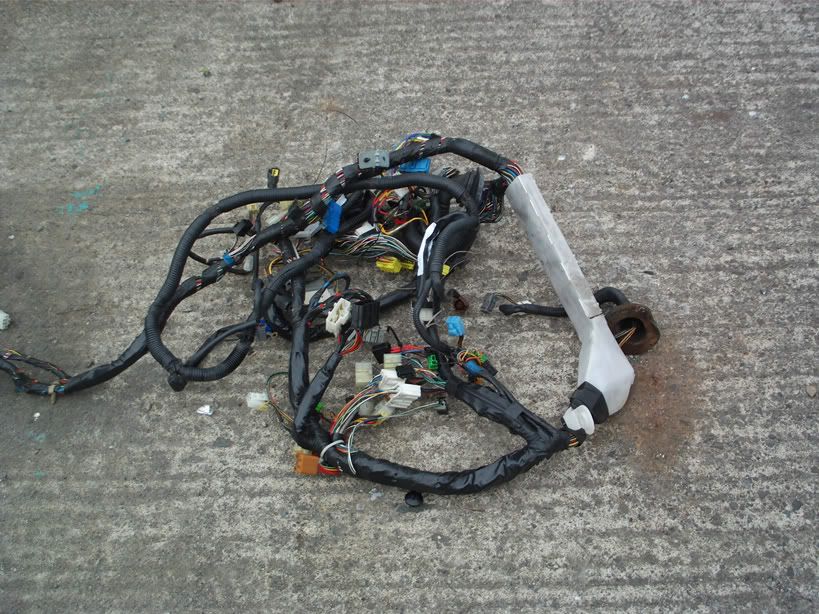
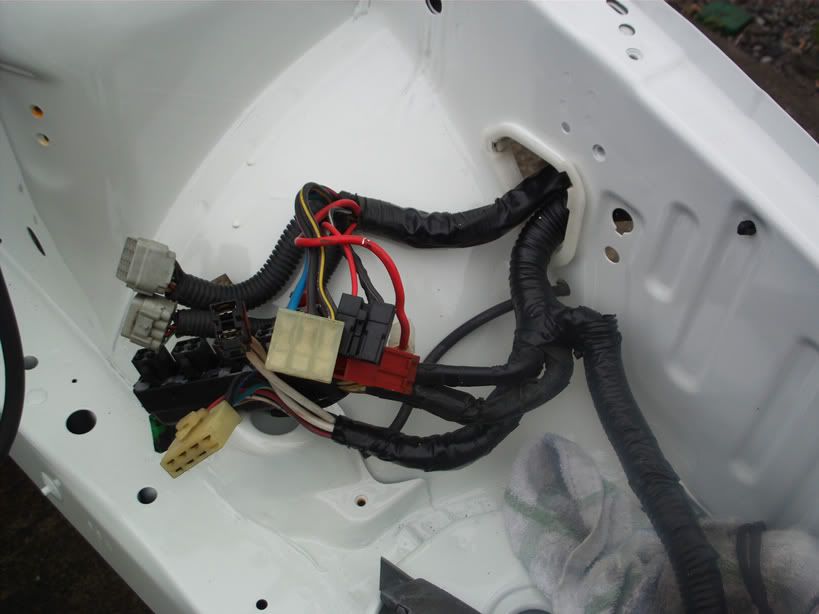
As I had to take parts from my doner car to fit on the project car, i could examine clean, polish, paint or modify before refitting.
mindfull I was on a budget!!
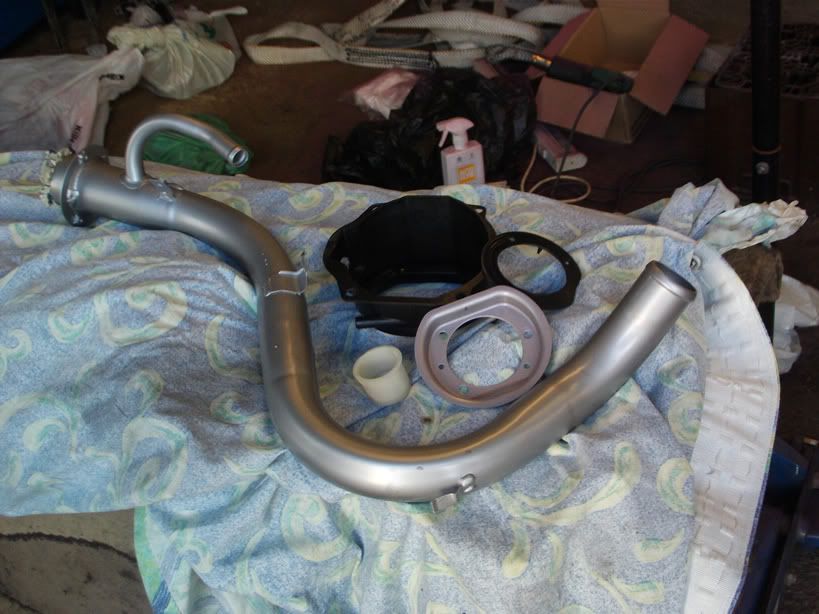
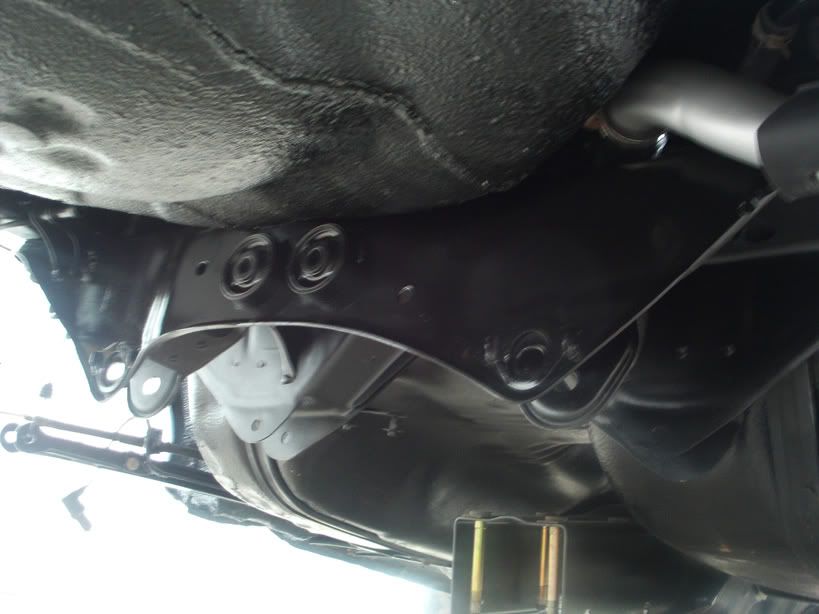
next was fuel tank painted with hammerite, fuel neck etch primed and fresh coat of silver applied as corrision was pretty bad on these.
next on was the subframes.
My shell was pretty much scrap but all running gear was ok, i managed to track down a 97 mcrea edition with four doors two wings rear window, front and rear subframes and loom, it was pretty much gutted other than that but thats all I needed really.
I started by taking every thing out of shell execpt for the rear screen, turned it up on its side in the yard! seam welded the jacking points and front turrets for strength, I then wax oiled the chassis legs on the inside with a kit I got from Halfords, undersealed the lot while all suspension and subframes were away getting shotblasted and etch primed, i then 2pac painted the whole inside,engine bay and boot with 203 white, gloss black for subframes and got pink mixed up (by giving them toy phone) for trailing arms etc.
painted as many parts in shed as I could think off while car was outside, so i wouldnt destroy my lovely white paint with black and pink over spray!
Brake servo painted and fitted
Started on inside by fitting Handbreak and sound mat.
Next was refitting the loom
As I had to take parts from my doner car to fit on the project car, i could examine clean, polish, paint or modify before refitting.
mindfull I was on a budget!!
next was fuel tank painted with hammerite, fuel neck etch primed and fresh coat of silver applied as corrision was pretty bad on these.
next on was the subframes.
Last edited by Classic STI Paddy; Mar 23, 2012 at 05:31 PM.

 Good luck
  looks good, always wanted to do this myself, keep up the good work,

Trending Topics

Thanks For the comments guys 
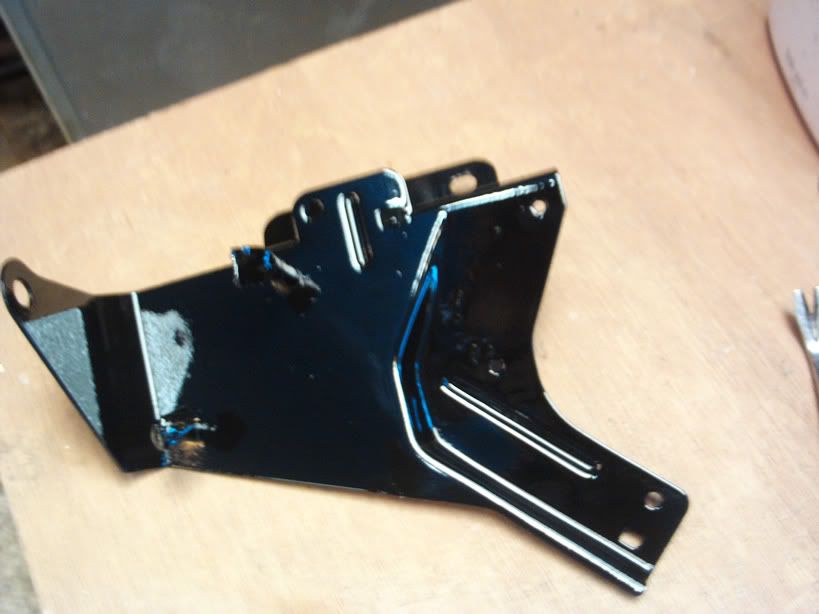
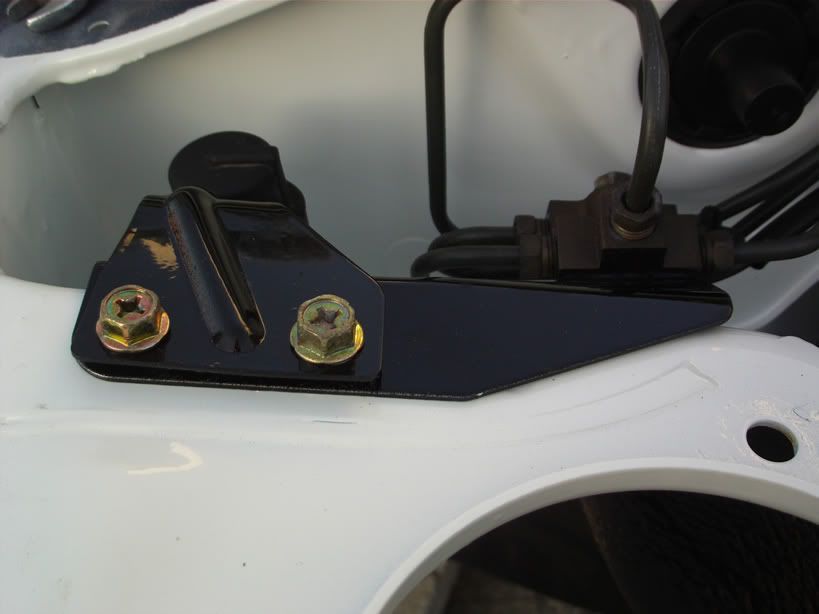
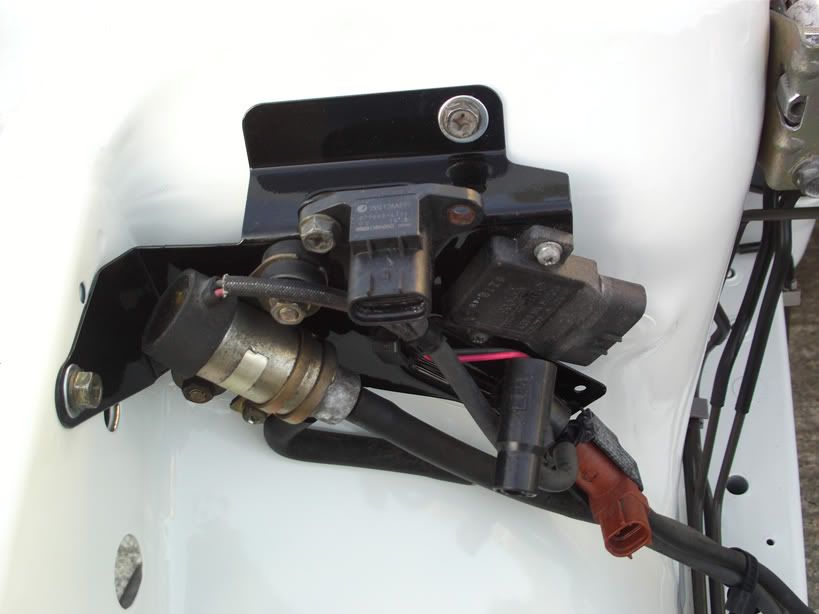
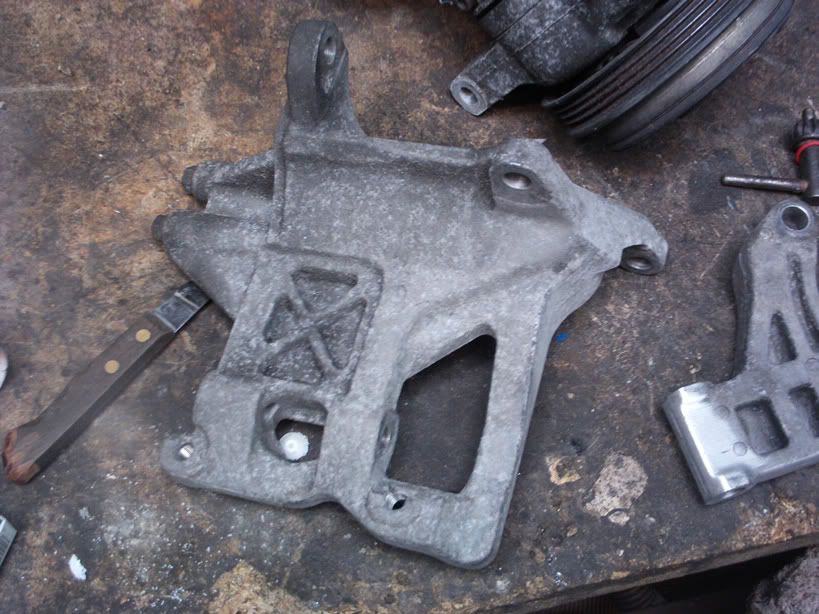
another bracket painted and fitted
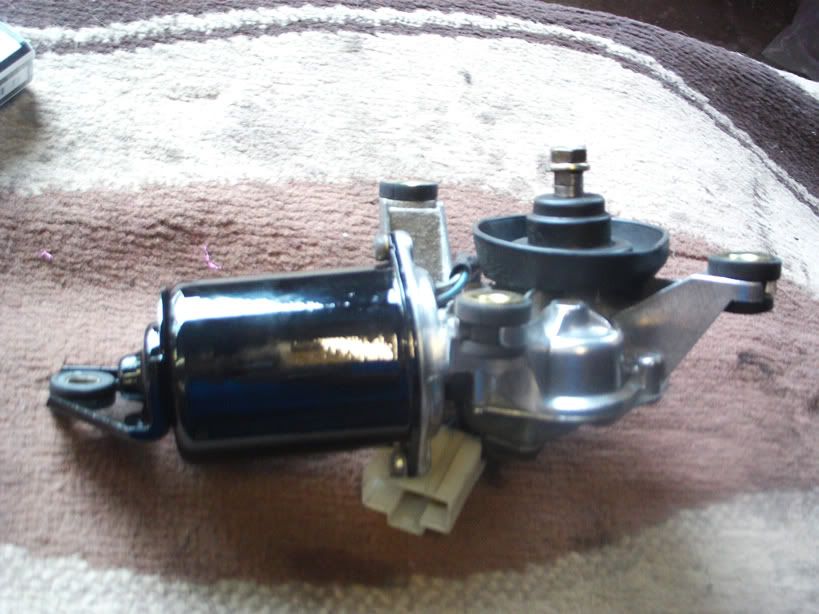
Wiper motor cleaned and painted
Picked up a combo pack of anodised bolts from probolt for anything visable going back in, found if you want and order an exact size it works out very expensive, but if you get the combo pack you can cut them down to suit at a fraction of the cost

Cleaned and painted the diff
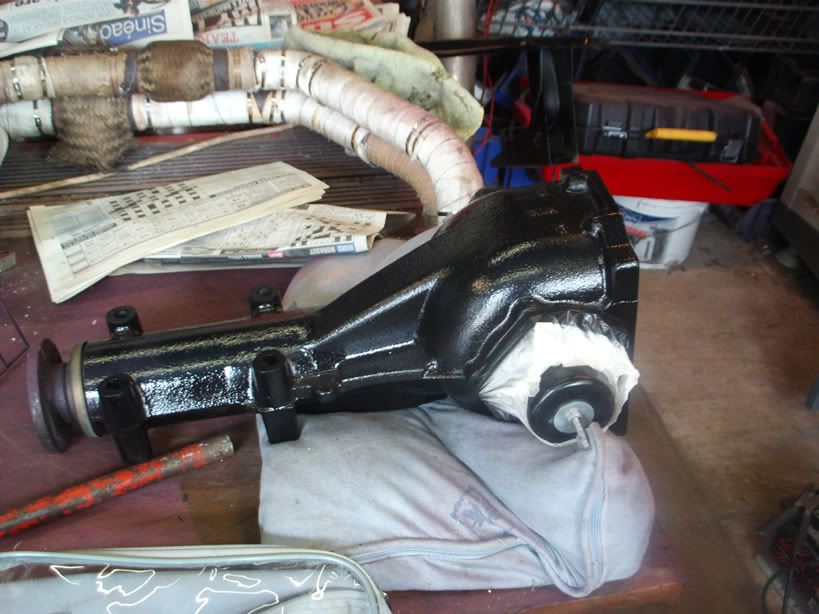
only polished the bottem half of the cover, as the top section cant be seen, have some titanium bolts for it as you can see the diff when fitted from behind, thought the ring of blue nuts would look good, bit **** I know.

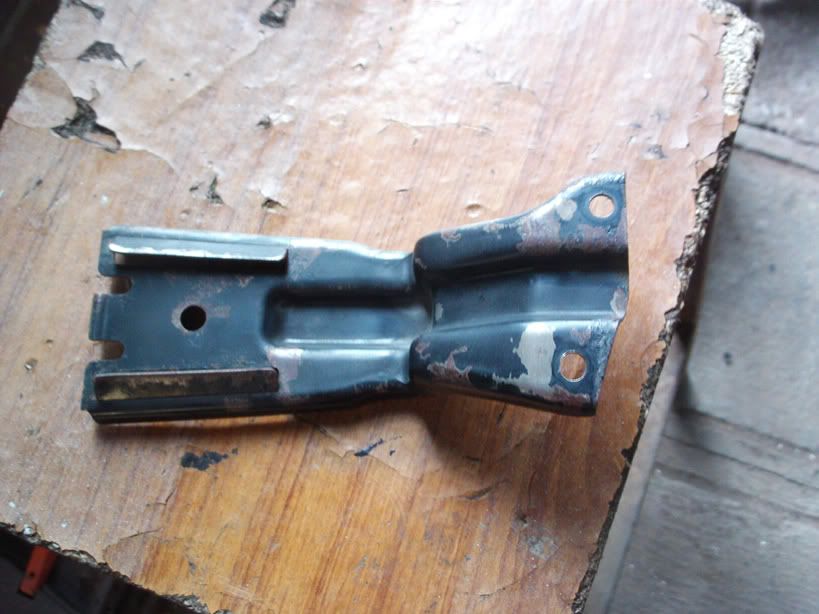
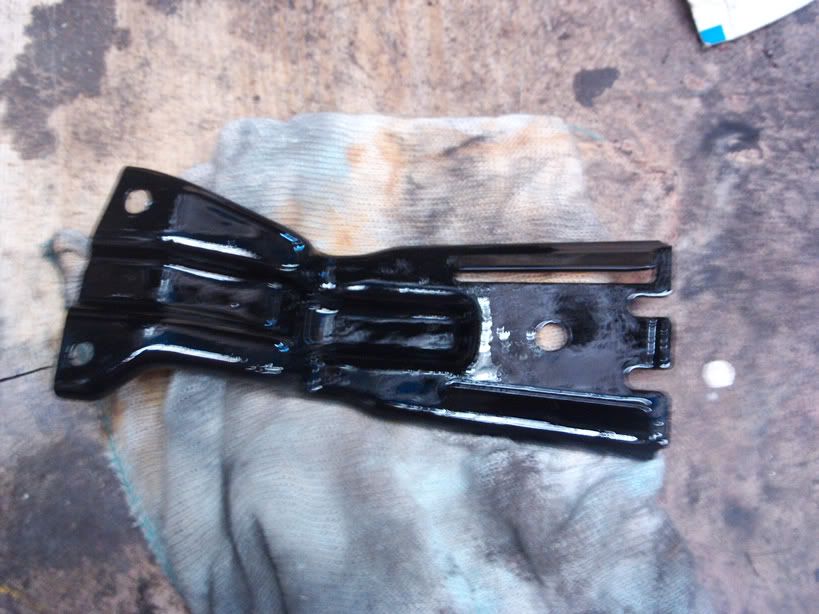
Charcoal canester bracket before and after.
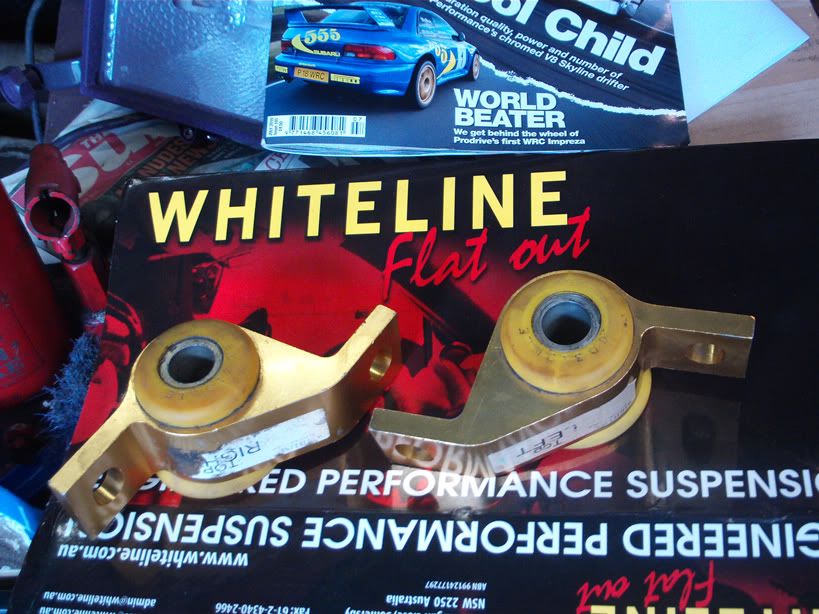
Few more suspension goodies to go on!

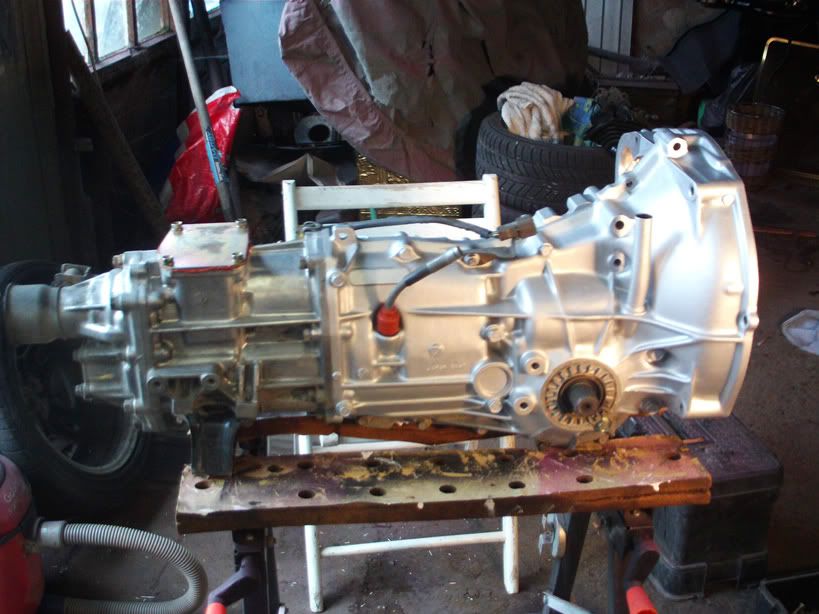
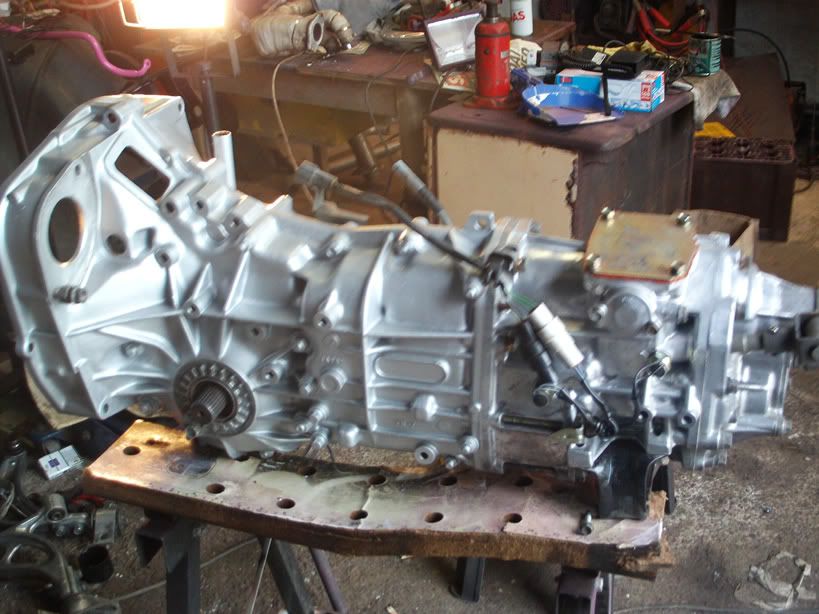
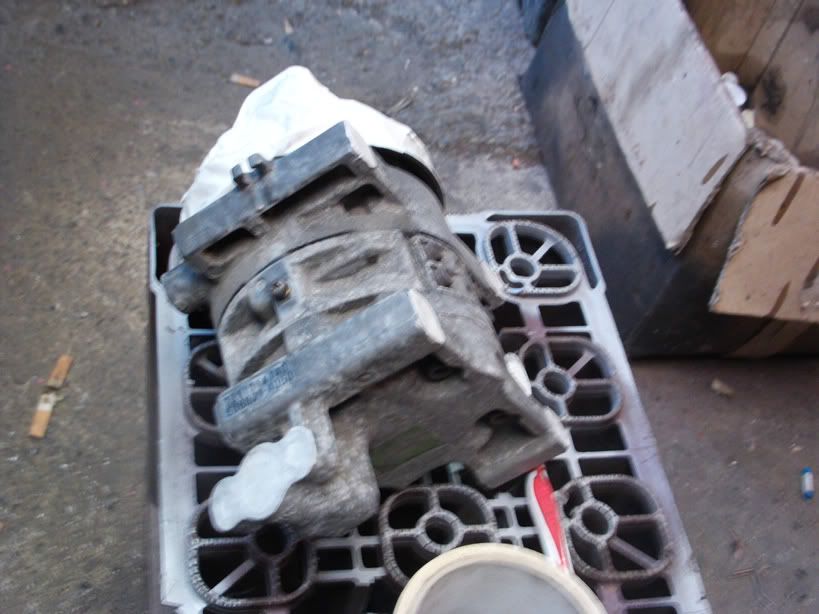
Degrease, powerhose and paint the gearbox, longterm is to convert to six speed, but have a long shopping list, and the box is down toward the end.
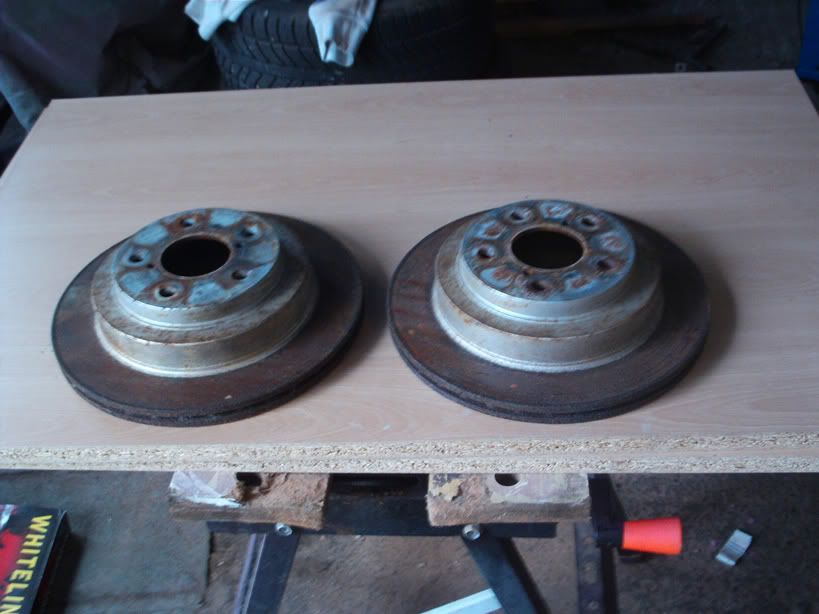
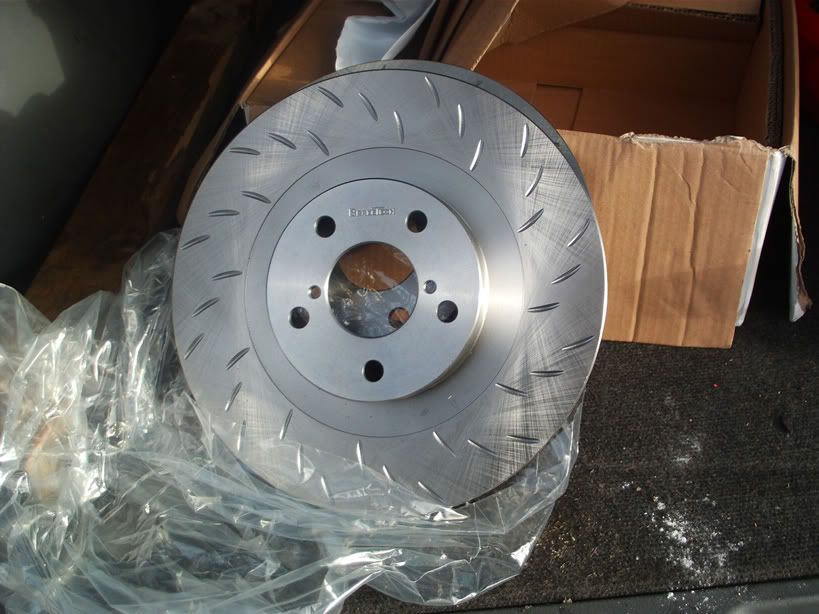
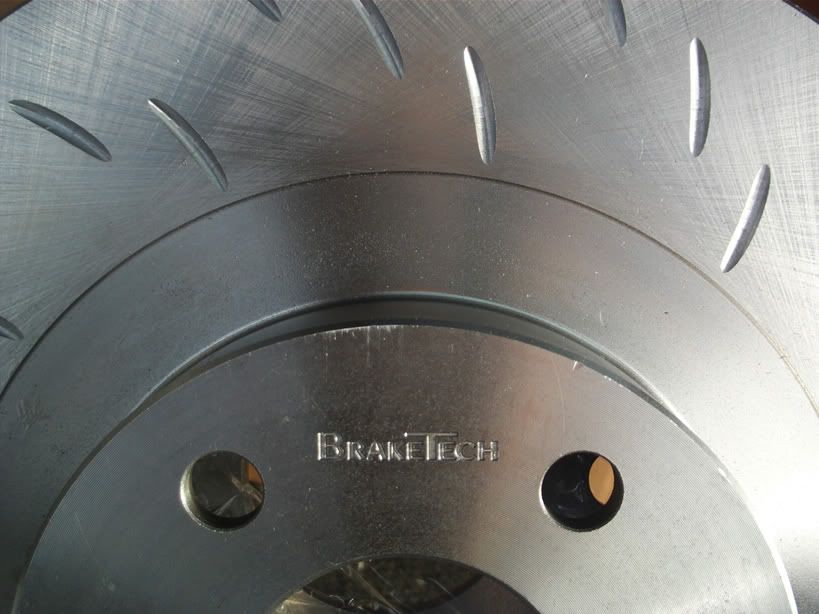
new pads all round, new discs for the front, but got the back ones resurfaced, then painted.

another bracket painted and fitted
Wiper motor cleaned and painted
Picked up a combo pack of anodised bolts from probolt for anything visable going back in, found if you want and order an exact size it works out very expensive, but if you get the combo pack you can cut them down to suit at a fraction of the cost
Cleaned and painted the diff
only polished the bottem half of the cover, as the top section cant be seen, have some titanium bolts for it as you can see the diff when fitted from behind, thought the ring of blue nuts would look good, bit **** I know.
Charcoal canester bracket before and after.
Few more suspension goodies to go on!
Degrease, powerhose and paint the gearbox, longterm is to convert to six speed, but have a long shopping list, and the box is down toward the end.
new pads all round, new discs for the front, but got the back ones resurfaced, then painted.


Thanks guys, dont understand the pitch question lad sorry, both the doner car and the new shell are both 97 sti jdm cars, so every thing is a straight swap.
Thanks Gordon, pretty slow on key board lad, pecking at it like a chicken!
Thanks Gordon, pretty slow on key board lad, pecking at it like a chicken!

Thanks again guys for the comments and support 
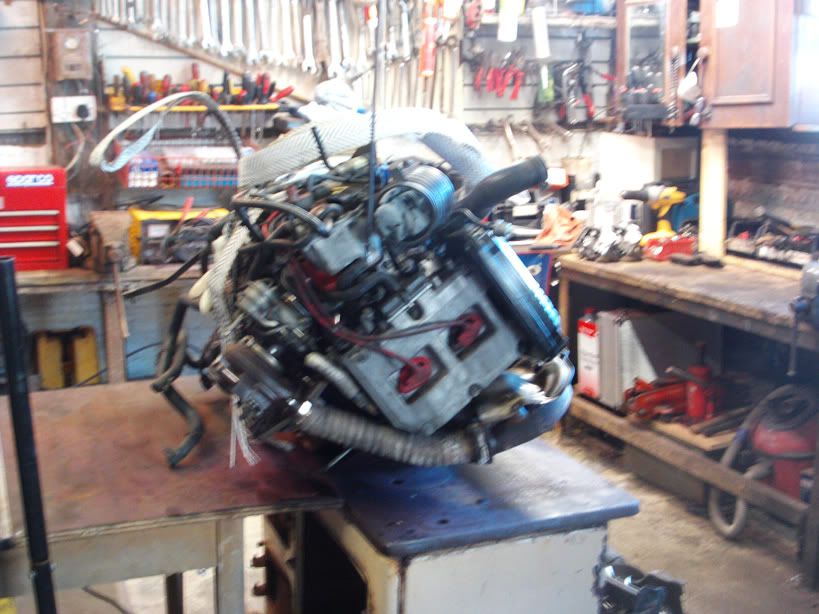
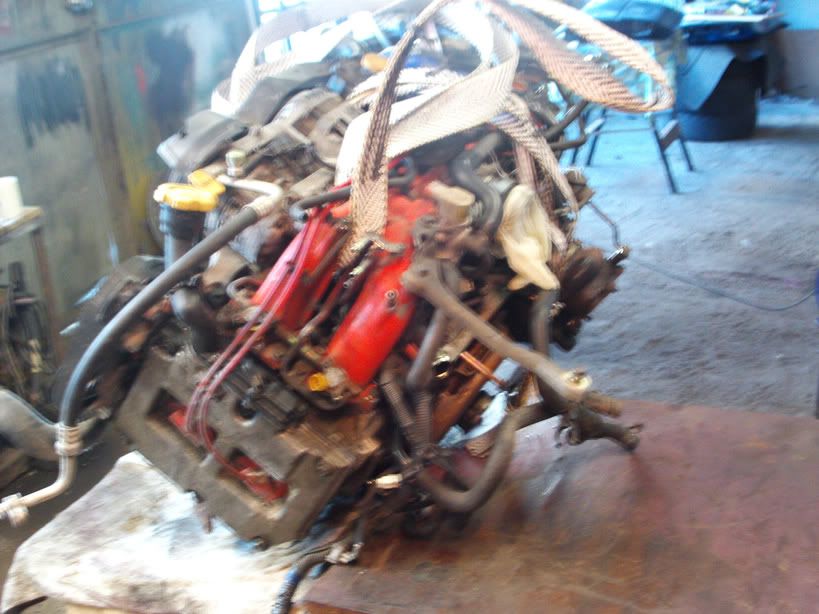
Got doner engine out and into shed.
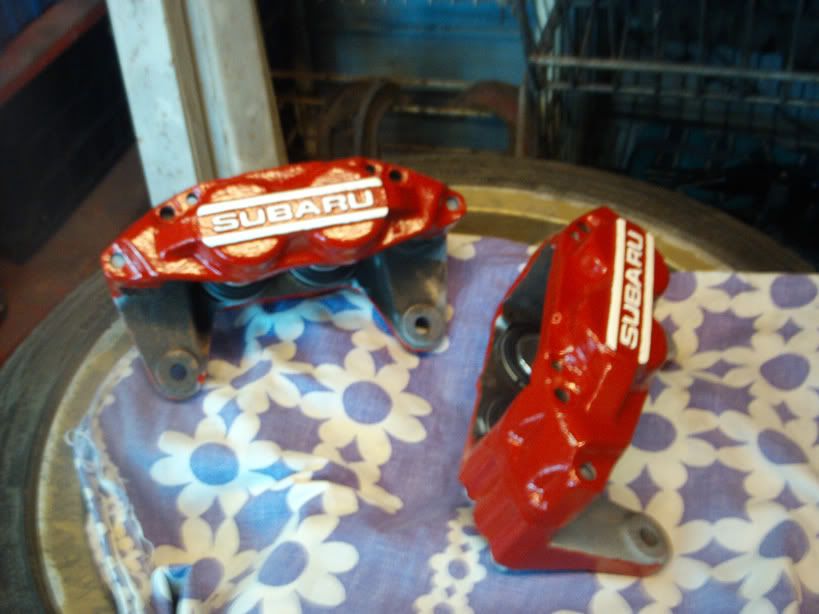
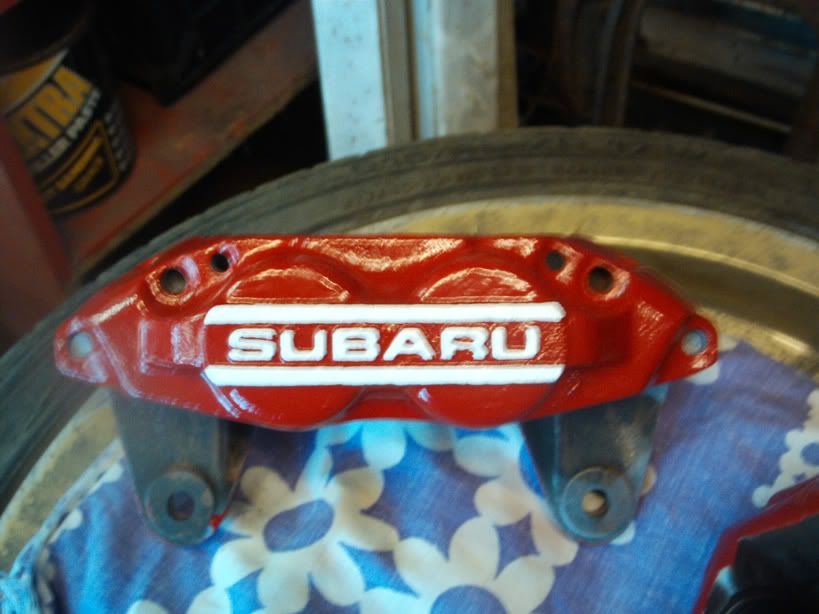
Time to tackle the front calipers as big brakes are not in the budget, they were working fine but I got a recon kit from the main dealer and just as well, when I broke them down the pistins were badly rusted.
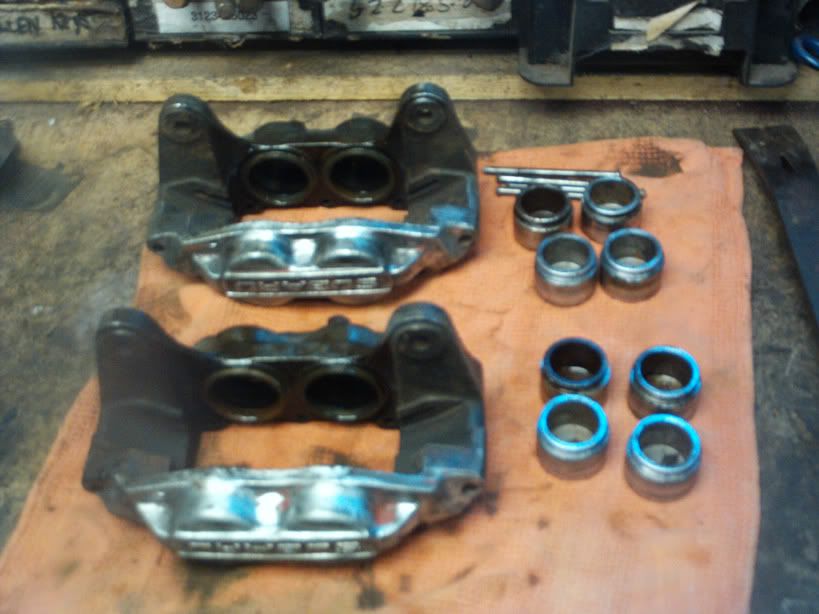
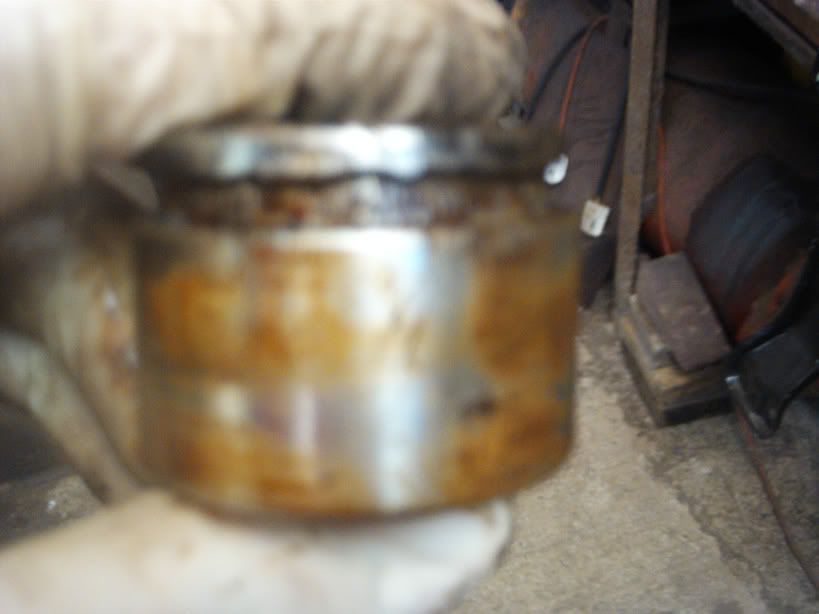
Rubbed them down with emery paper and machine oil and they came up perfect.
while I had them split I went over trhem with a drill and wire brush, then reassembled the lot.
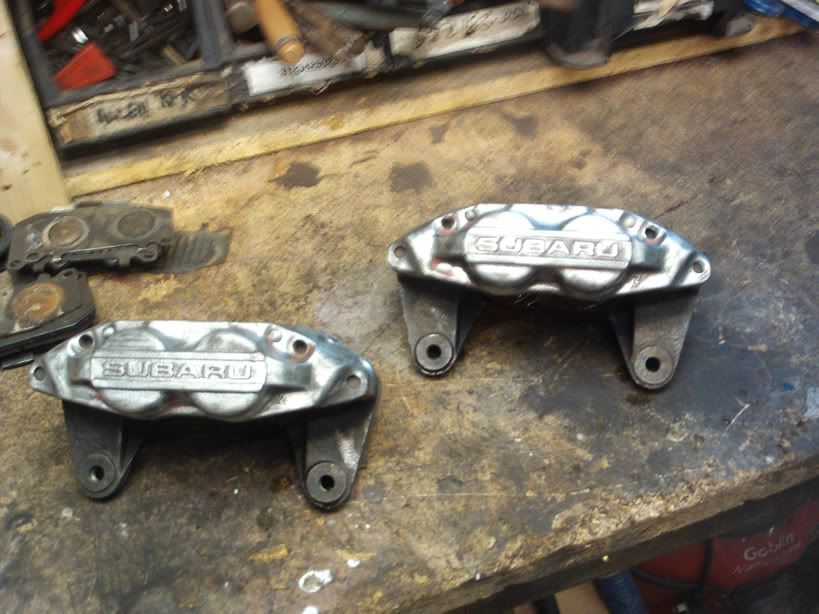
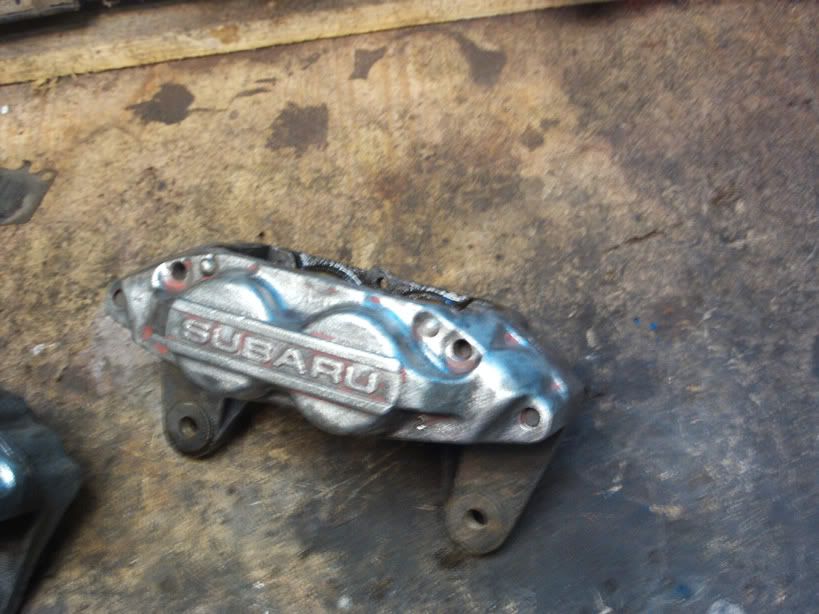
Then back into Halfords for some caliper paint, should have shares in the place before this is finished!!
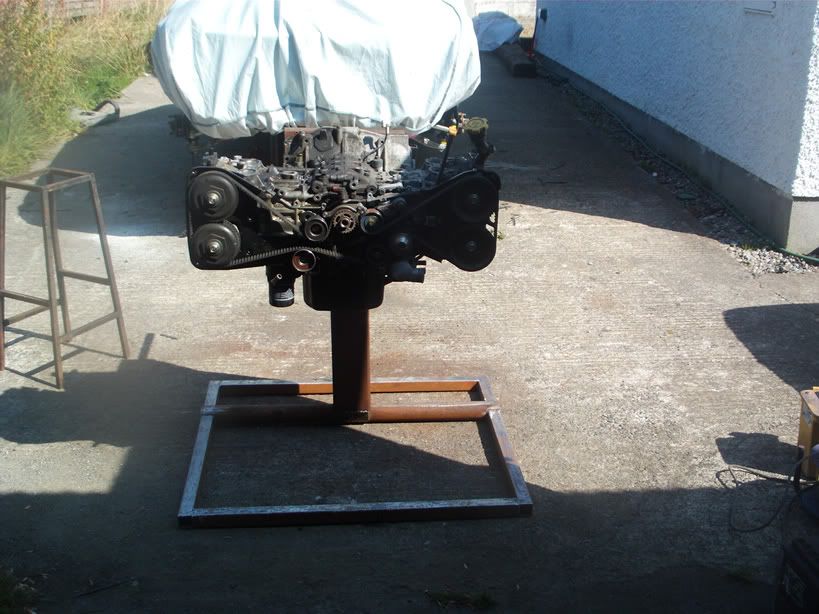
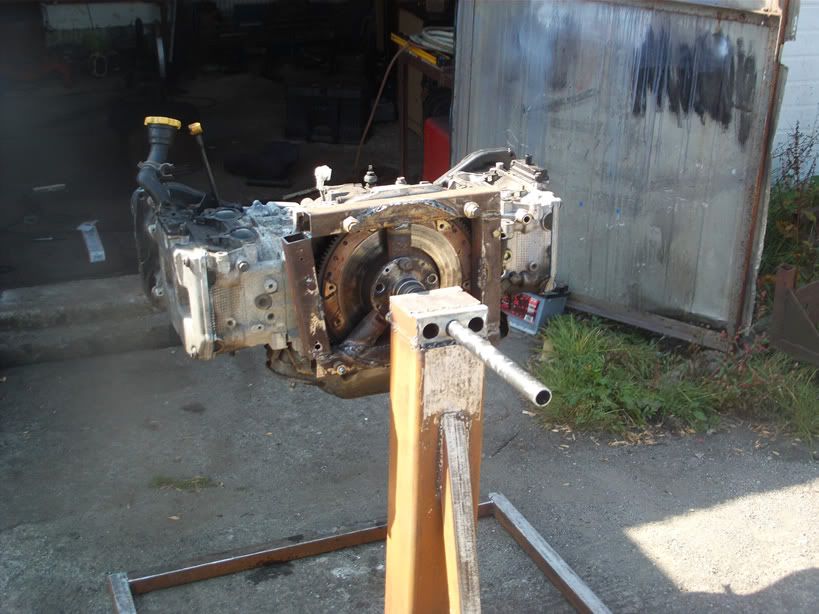
My self and my mate Stevo gathered up what ever scrap lengths off steel I had about the shed and put togther a engine stand.
Bit like myself, dosent look great but it does the job!!
Got doner engine out and into shed.
Time to tackle the front calipers as big brakes are not in the budget, they were working fine but I got a recon kit from the main dealer and just as well, when I broke them down the pistins were badly rusted.
Rubbed them down with emery paper and machine oil and they came up perfect.
while I had them split I went over trhem with a drill and wire brush, then reassembled the lot.
Then back into Halfords for some caliper paint, should have shares in the place before this is finished!!
My self and my mate Stevo gathered up what ever scrap lengths off steel I had about the shed and put togther a engine stand.
Bit like myself, dosent look great but it does the job!!
Two front discs and pads arrived, straight on with braded hoses and dot 5.1 fluid, bleed them out and I have a rolling chassis!
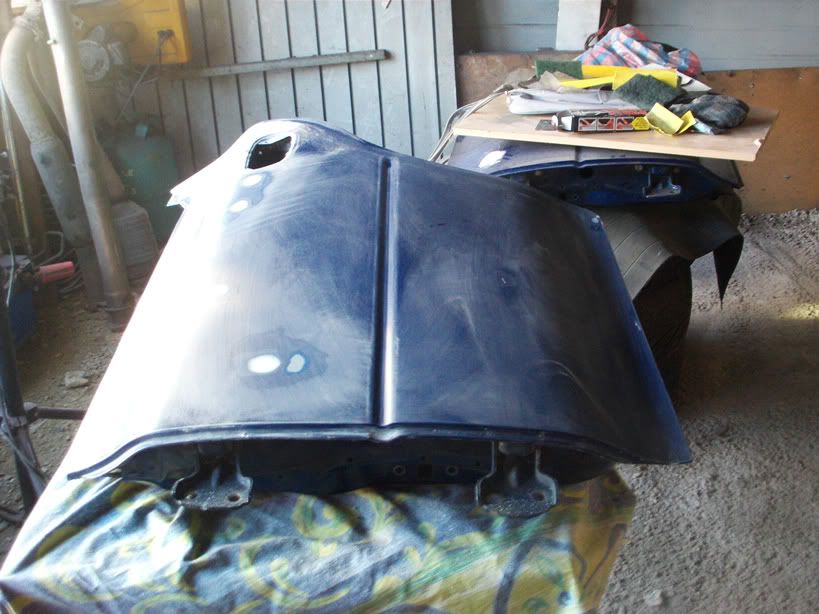
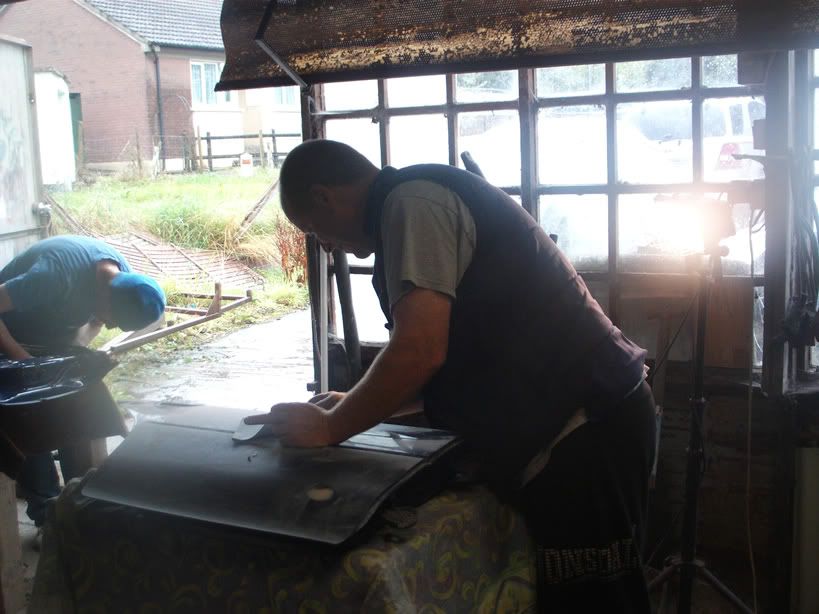
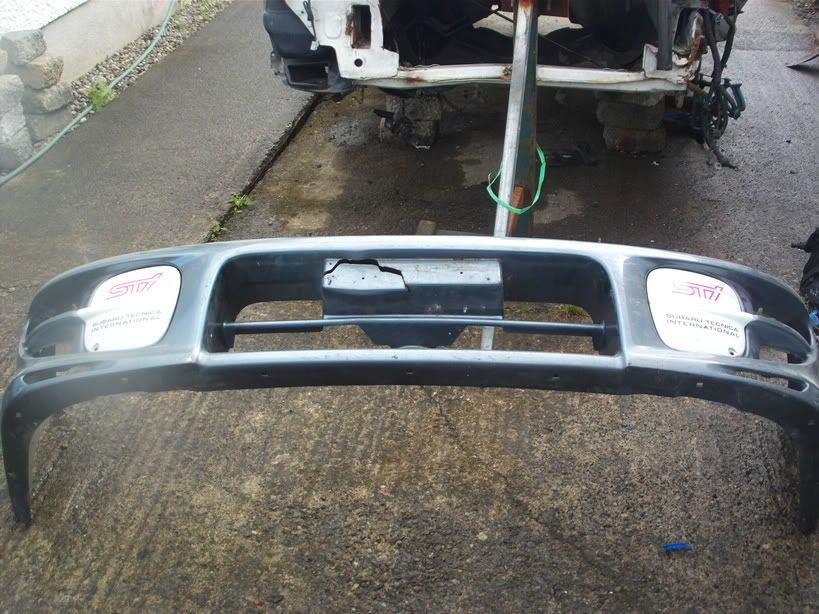
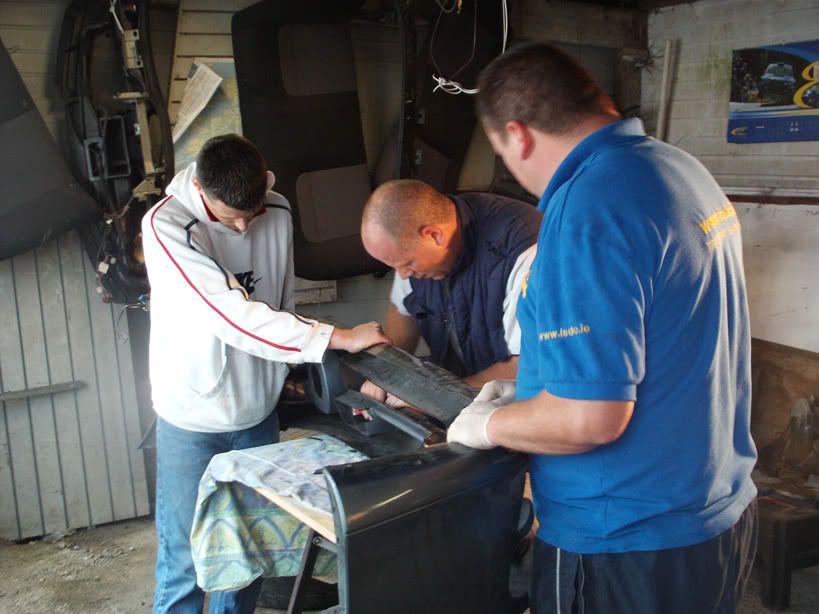
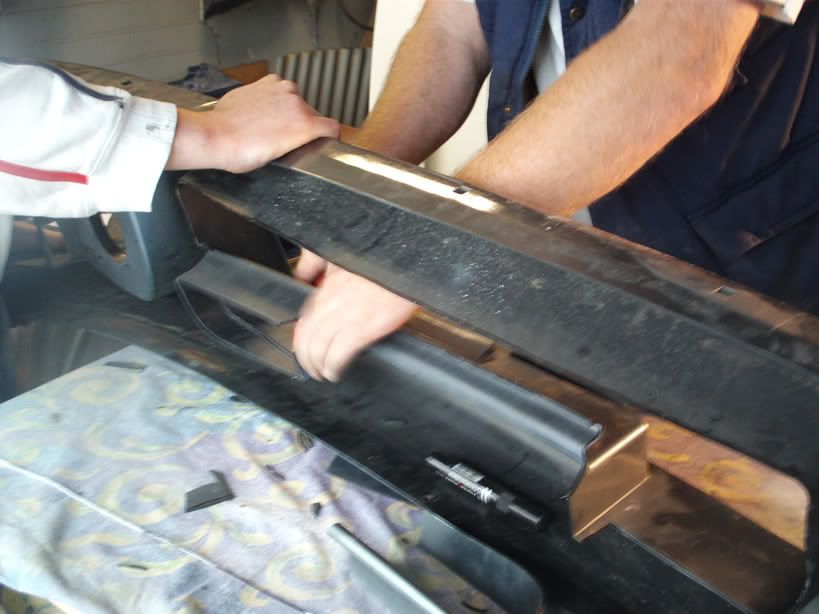
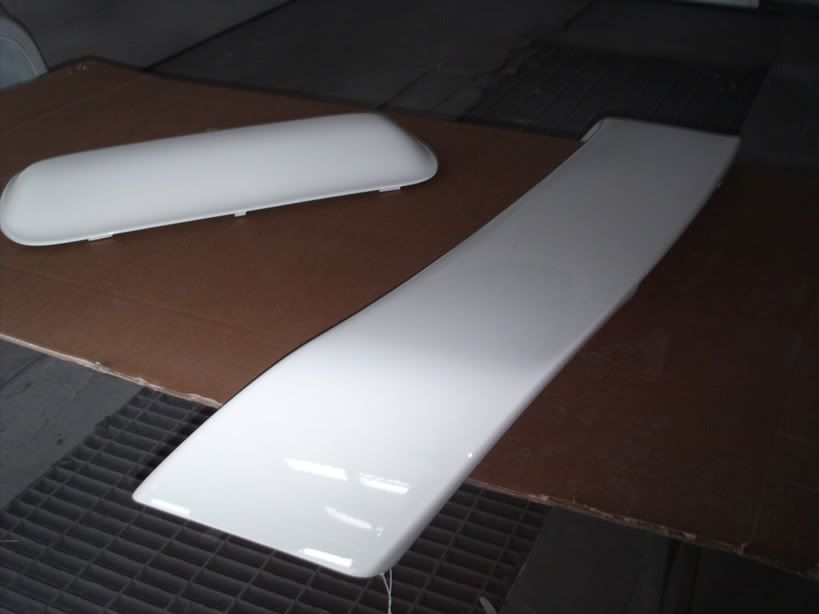
Next up was the body work, my thoughts were to keep it simple, no lairy spoilers or body kits, just nice and clean.
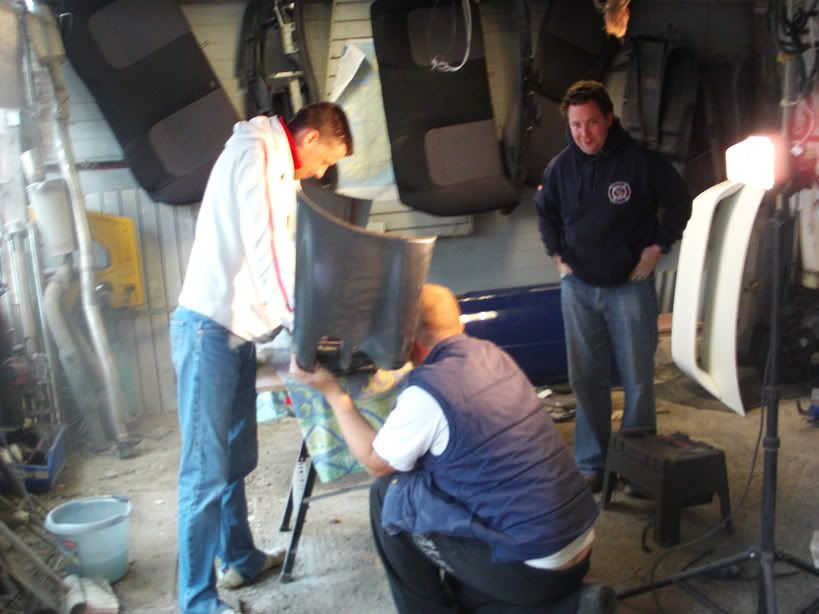
we rubbed the whole car down and filled and sanded what ever we could find, fergus the big bro was the main man on this part of the build as he has some expierience in this field.
Thanks for all your help lad.
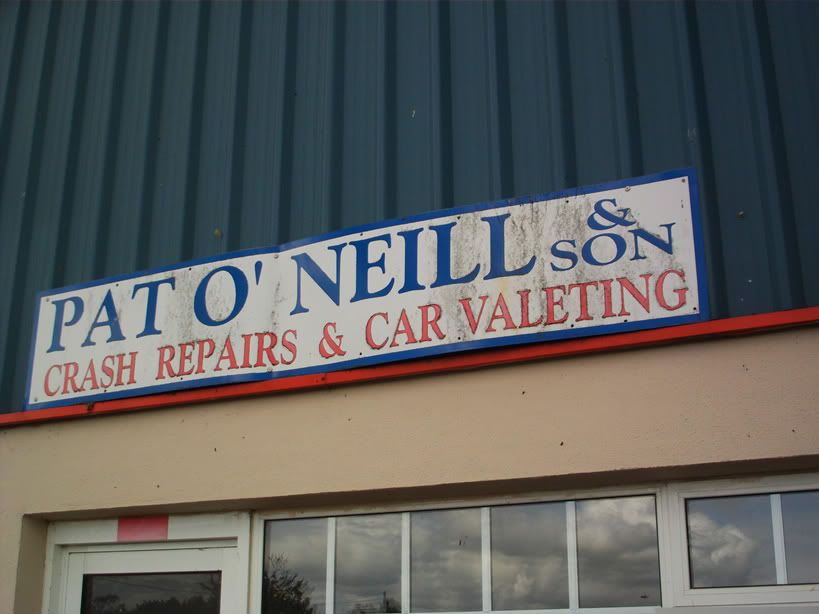
Not to mention the o neil boys, Gordon and noel, thanks lads
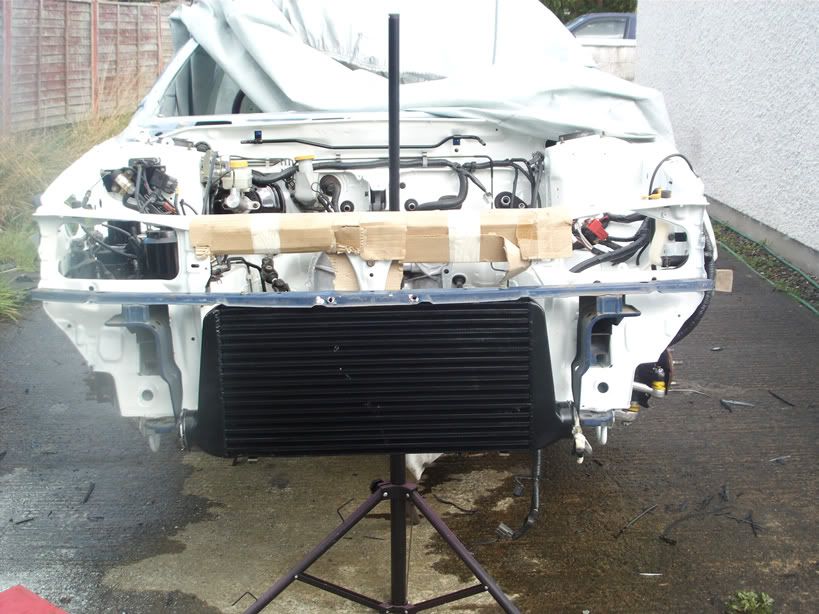
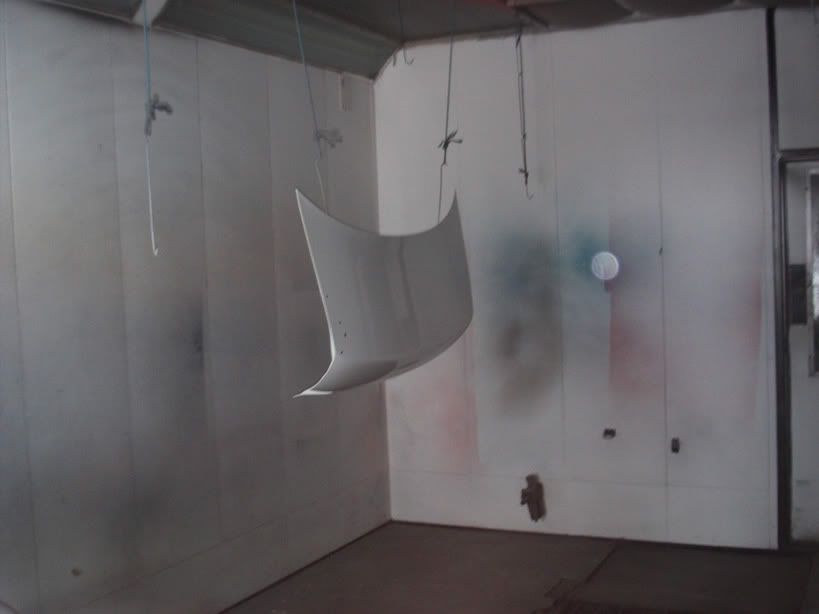
Test fitted the front mount ( a hundred times!!) and Trimmed ver 5 front bumper to suit
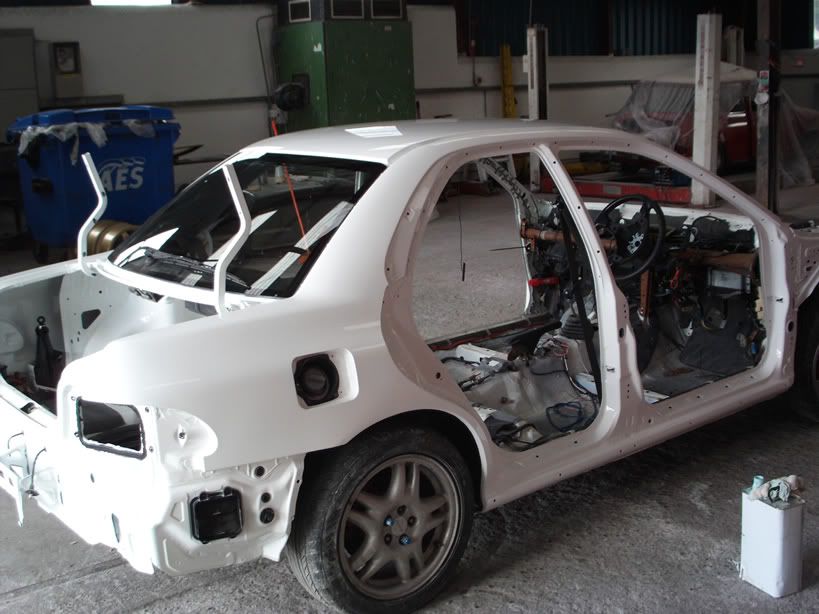
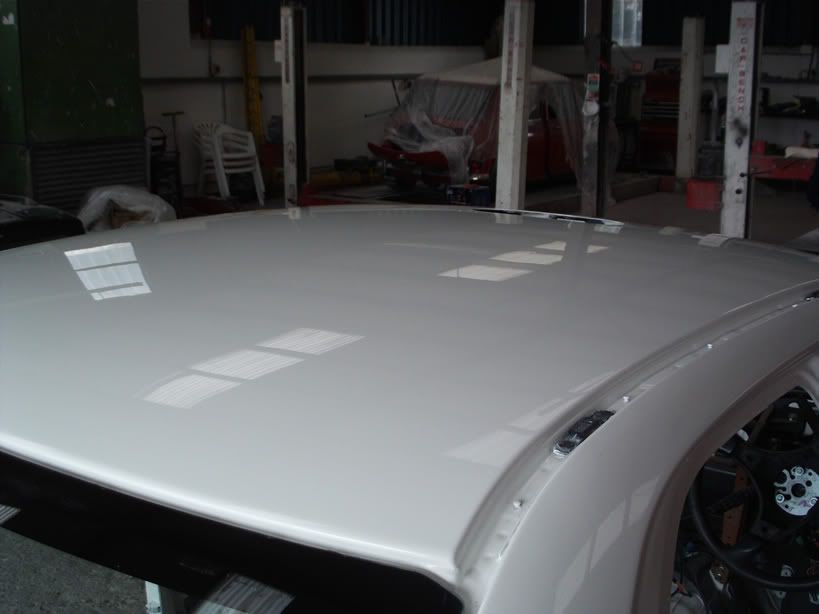
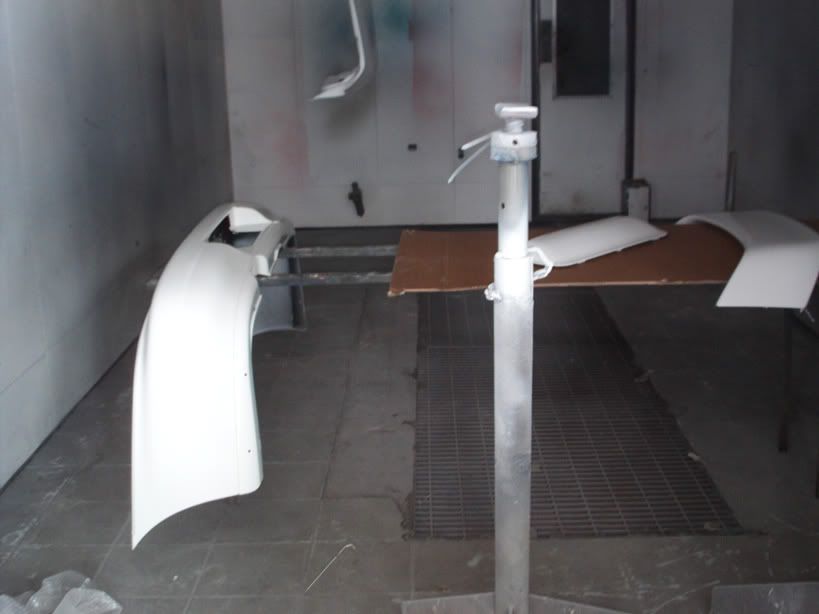
We welded up the rear boot lock and aerial holes and sent the lot off to the body shop for a fresh coat of paint, I was lucky to find a local guy that took on the job considering the car was still in parts so was messy to take in as it took up a nice bit of space, I also left him in the alloys as I thought all white including wheels will be a nice look.
Time to tackle the million other jobs that need doing!!
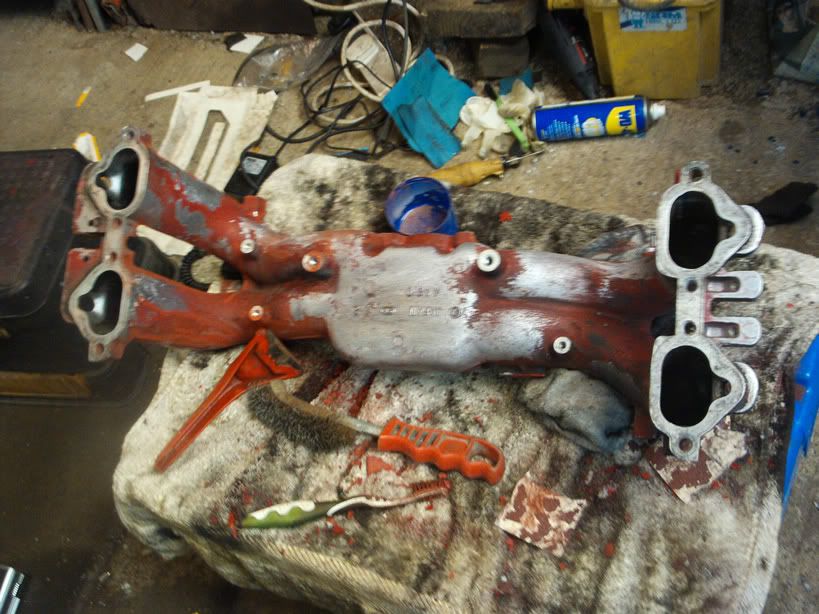
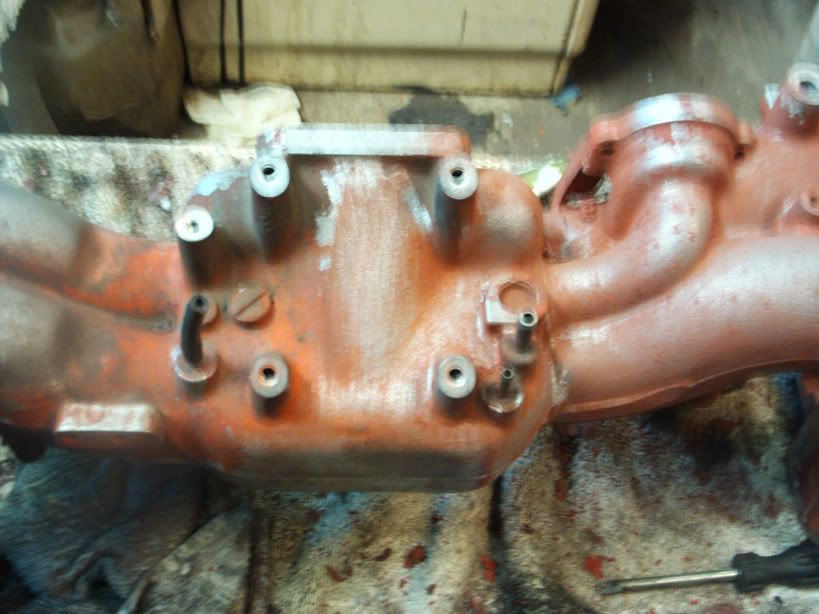
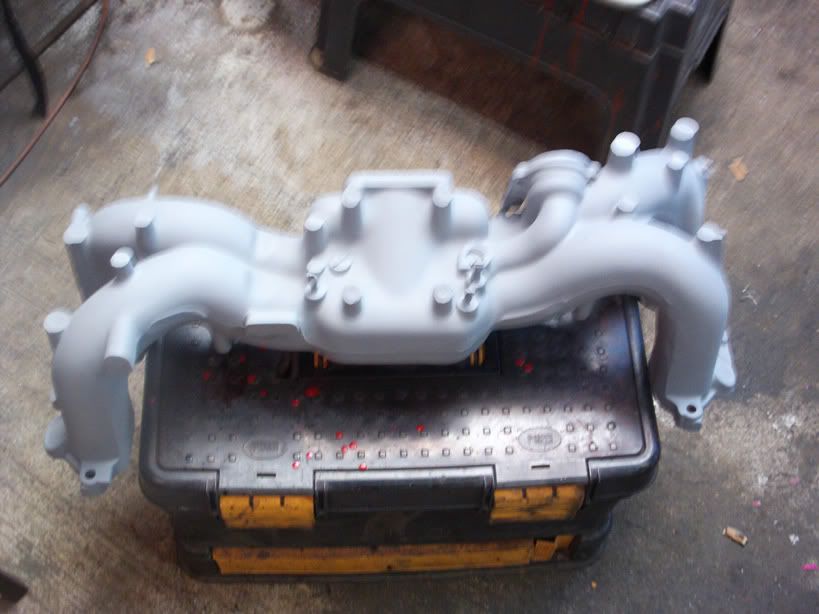
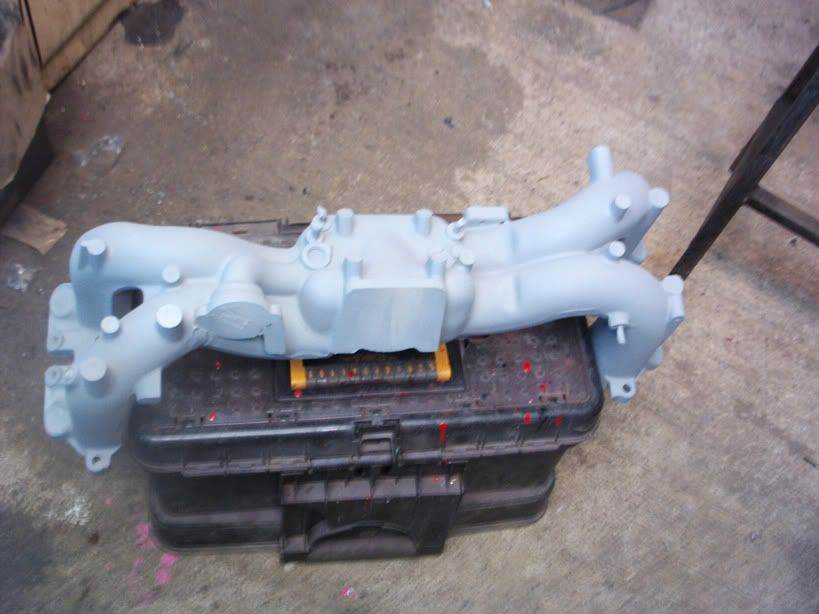
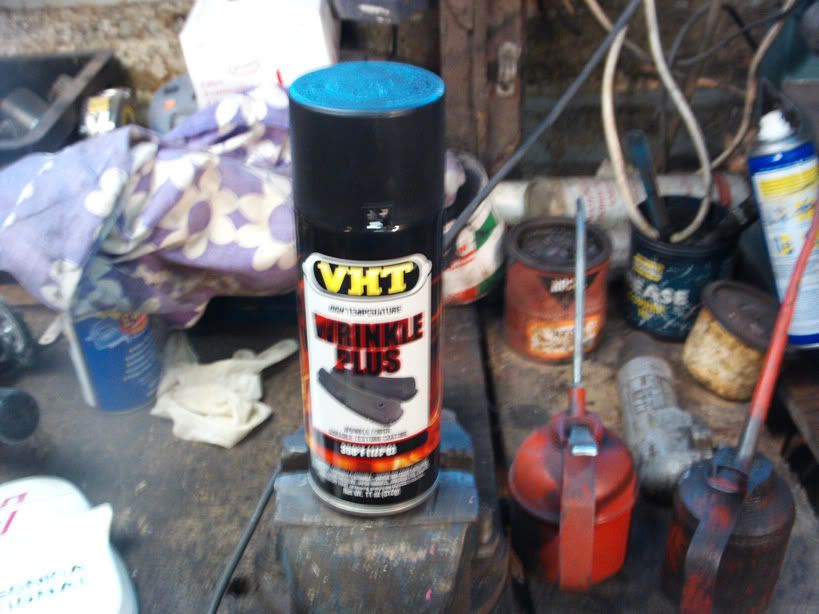
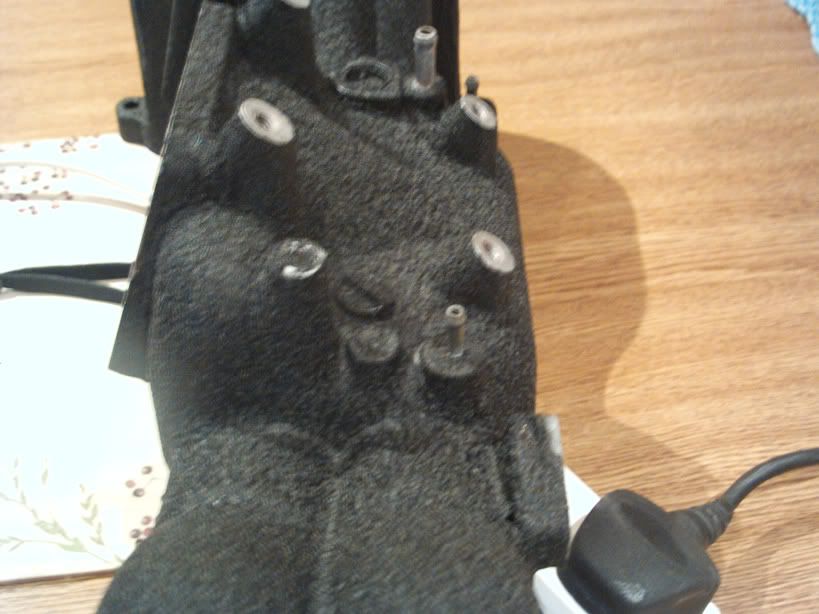
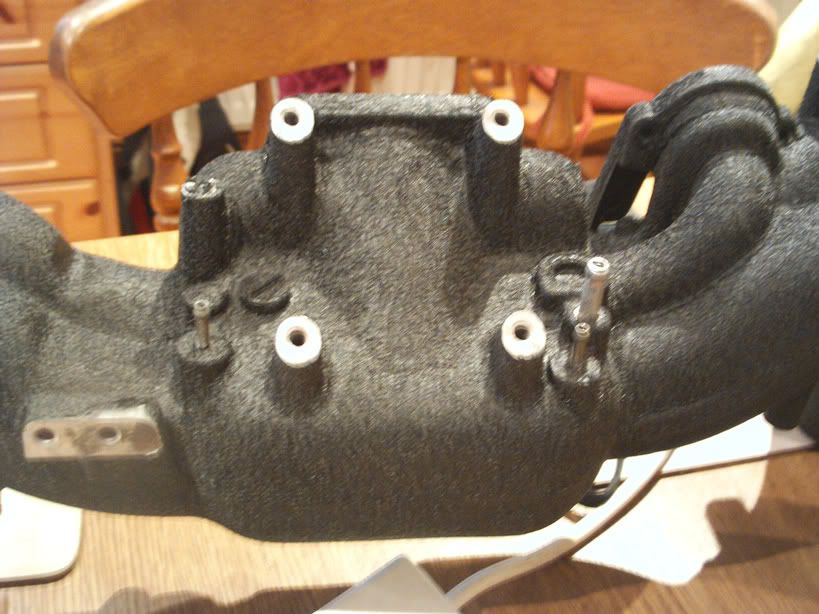
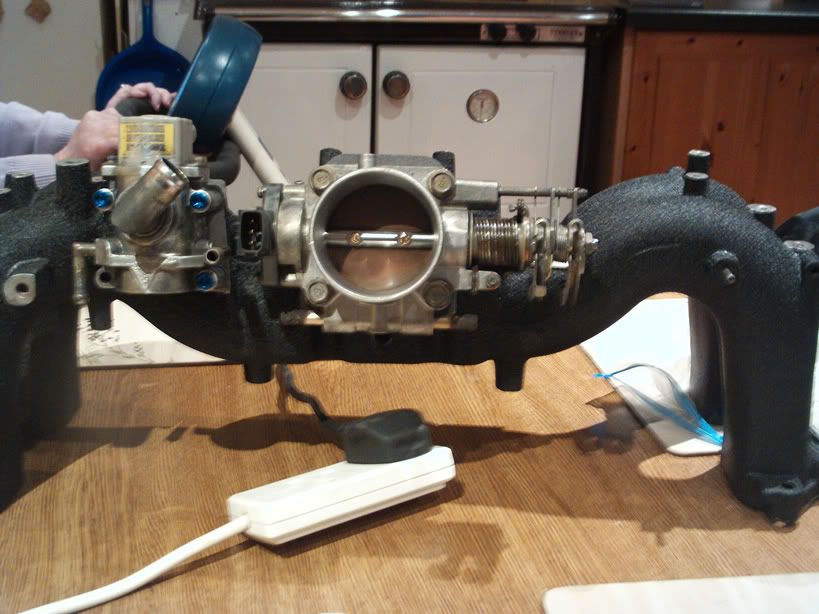
First was the inlet manifold, paint off, clean, prime with etch primer then vht black wrinkle paint
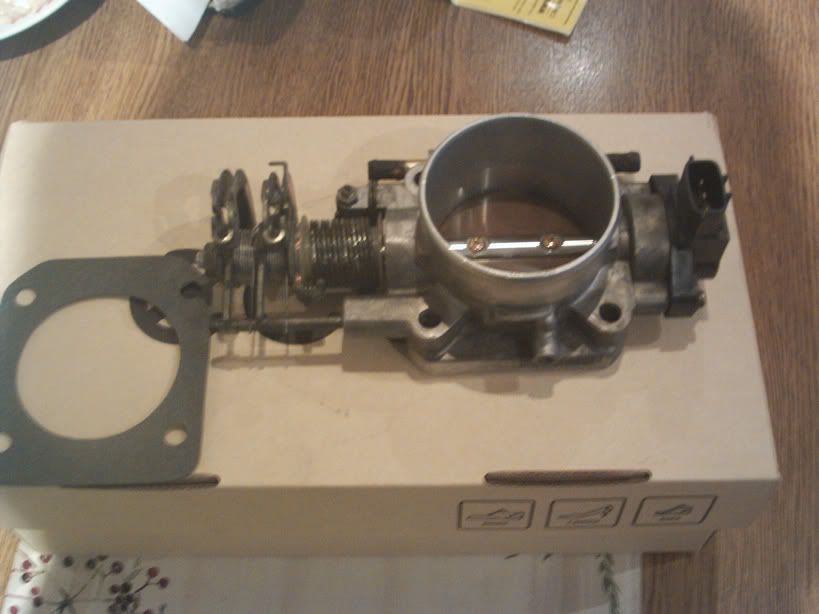
Throttle body cleaned and new gasket
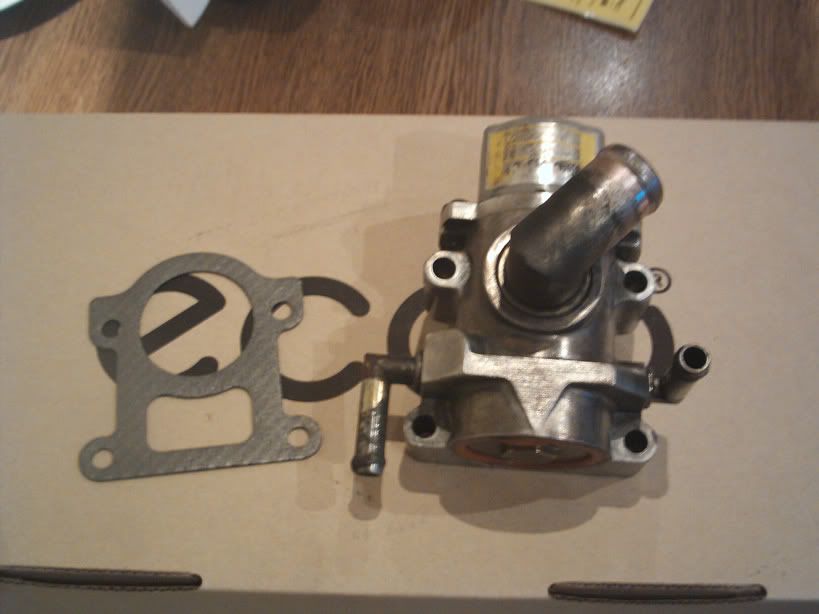
Idle control valve cleaned and new gasket
All bolted back together
Next up was the body work, my thoughts were to keep it simple, no lairy spoilers or body kits, just nice and clean.
we rubbed the whole car down and filled and sanded what ever we could find, fergus the big bro was the main man on this part of the build as he has some expierience in this field.
Thanks for all your help lad.
Not to mention the o neil boys, Gordon and noel, thanks lads
Test fitted the front mount ( a hundred times!!) and Trimmed ver 5 front bumper to suit
We welded up the rear boot lock and aerial holes and sent the lot off to the body shop for a fresh coat of paint, I was lucky to find a local guy that took on the job considering the car was still in parts so was messy to take in as it took up a nice bit of space, I also left him in the alloys as I thought all white including wheels will be a nice look.
Time to tackle the million other jobs that need doing!!
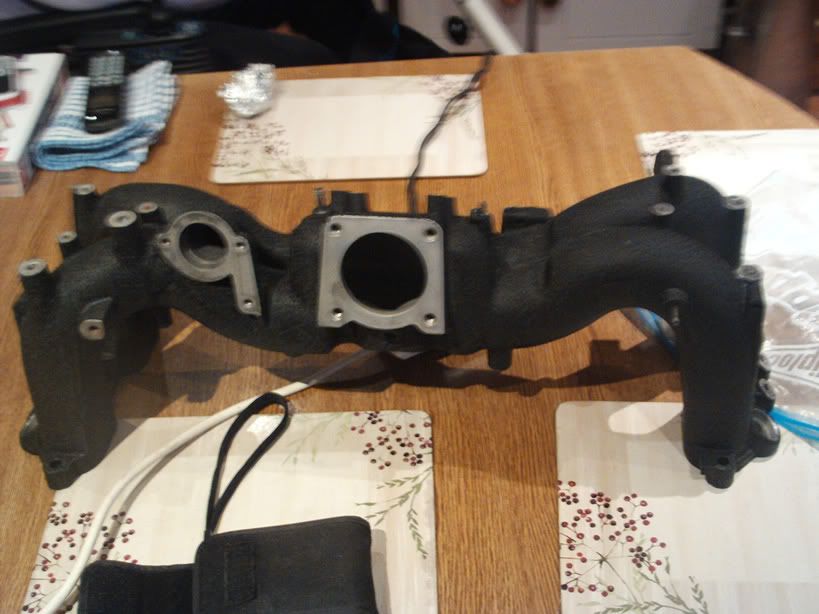
First was the inlet manifold, paint off, clean, prime with etch primer then vht black wrinkle paint
Throttle body cleaned and new gasket
Idle control valve cleaned and new gasket
All bolted back together
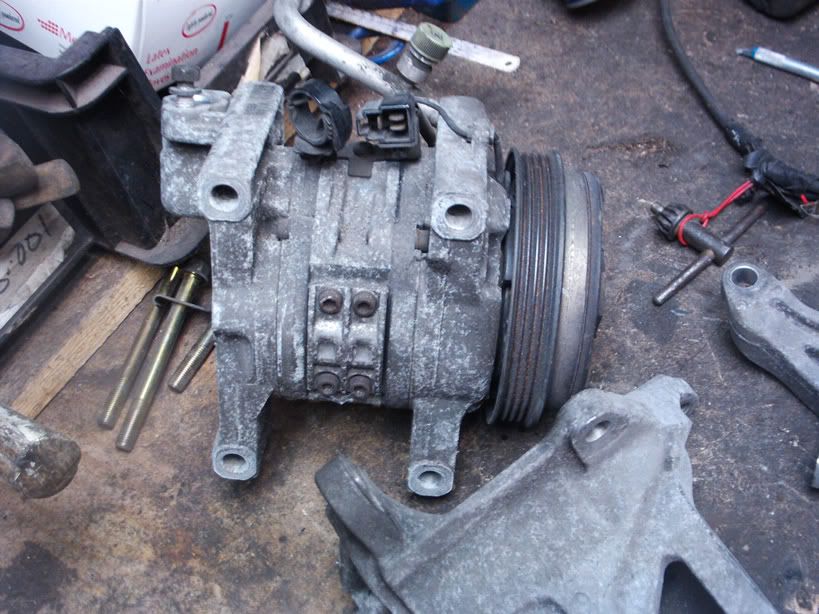
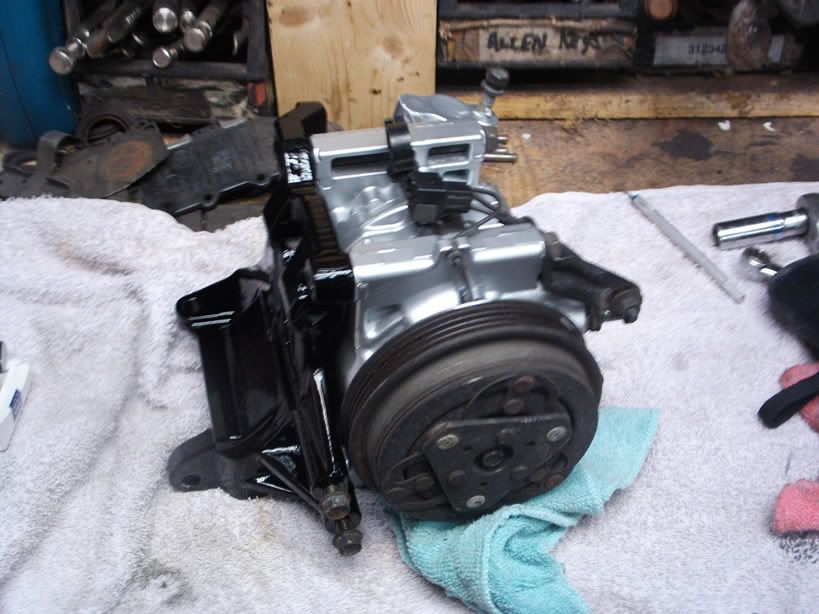
Did a recon job on the ac unit but as of yet havent put it on the car

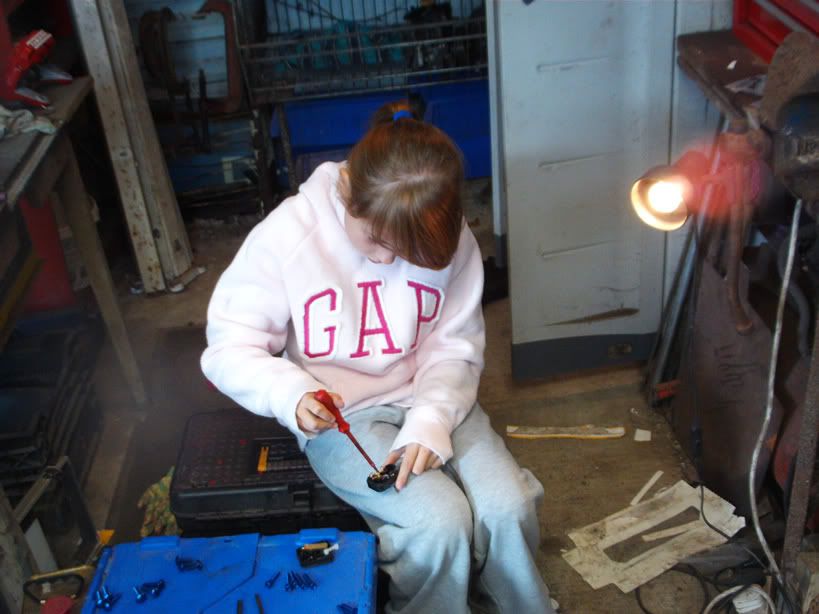
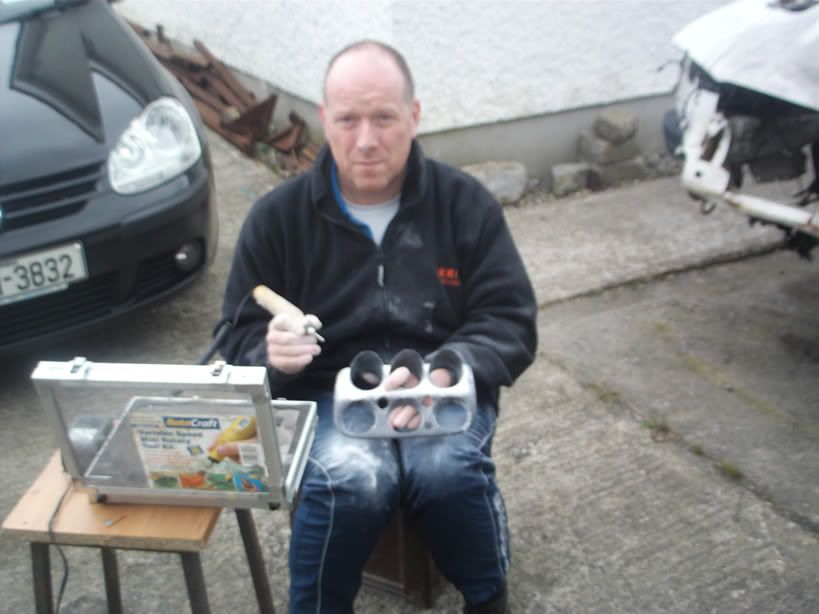
The lovely Ciara C working hard, cos she likes to help me.... and def not for phone credit!!
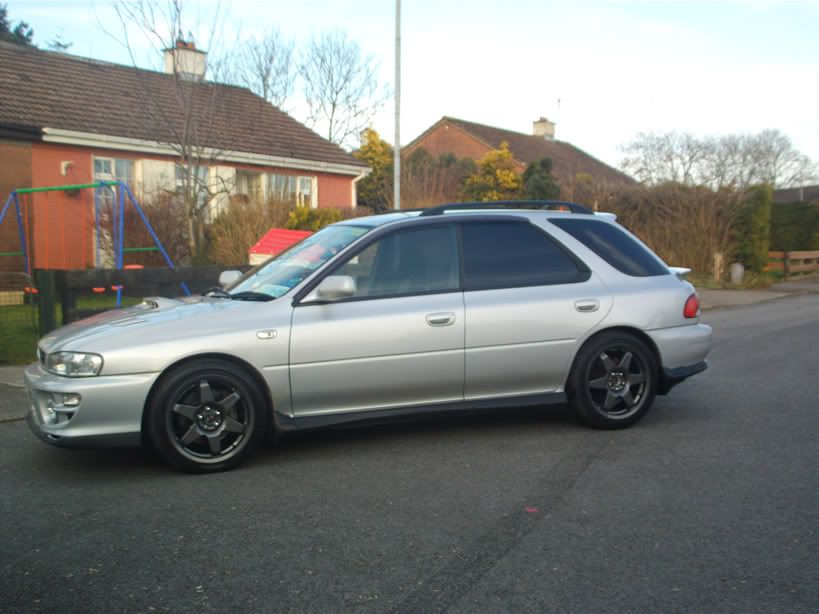
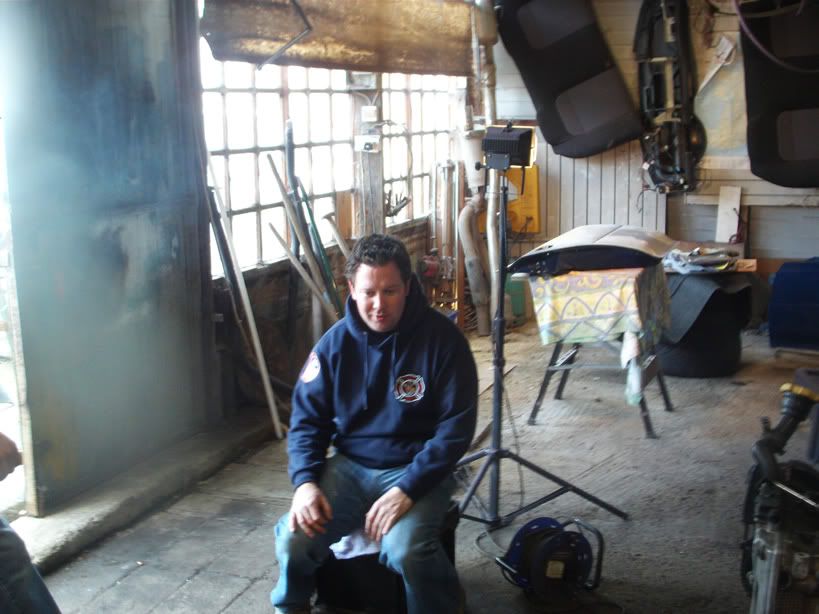
The bro sold this lovely wagon to John M then had some kind of a mid life crisis with toyota before returning to the brotherhood

The afore mentioned John M stopping mt toolbox floating away!
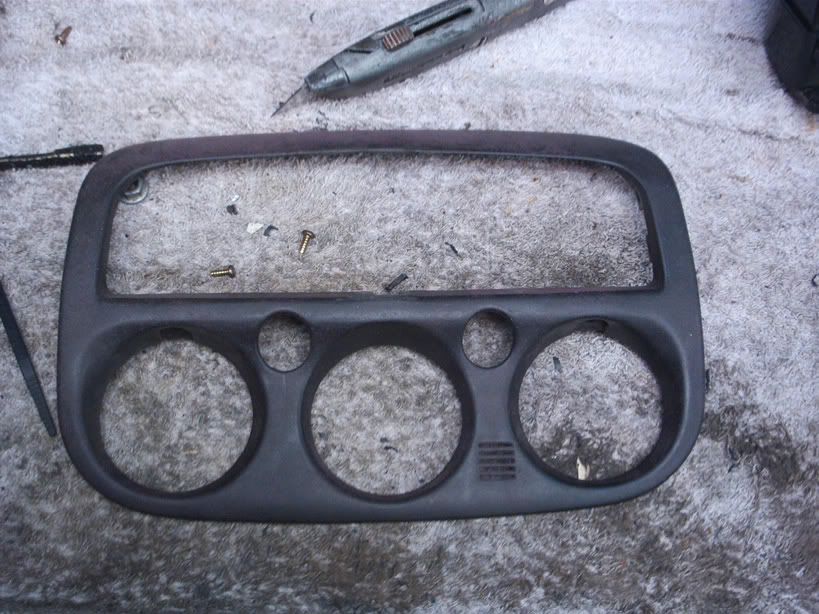
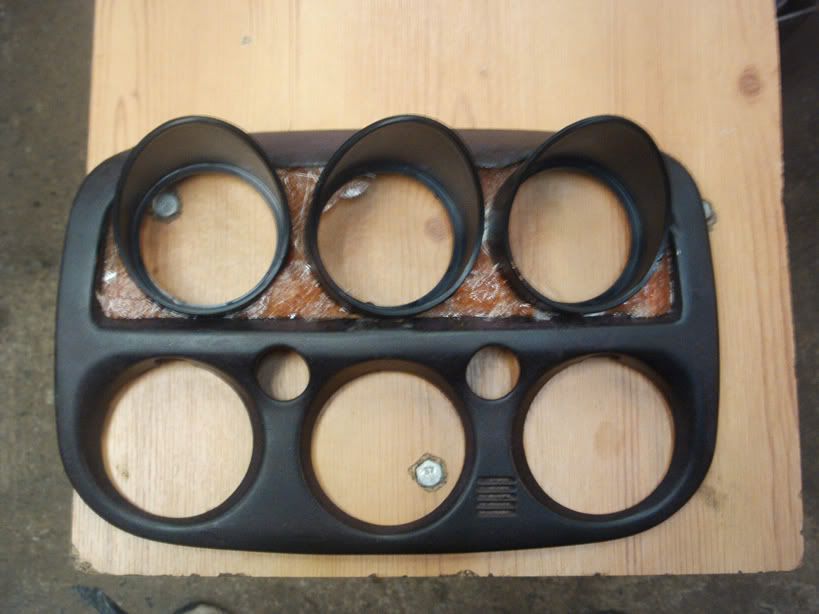
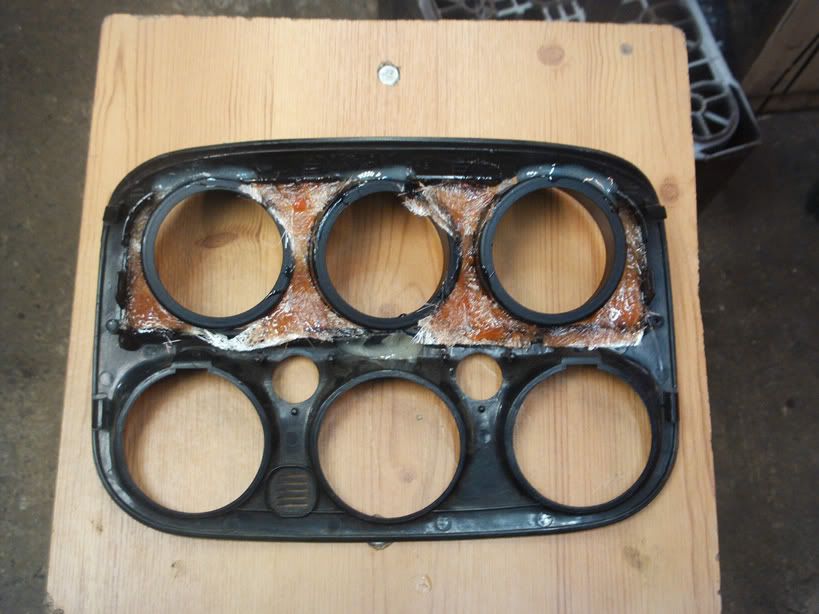
Couldnt get the centre guage pod that replaces the air vents as they are discontinued, so I made my own.
First job unscrew the vents from behind then cut out the plastic bar thats left in the middle.
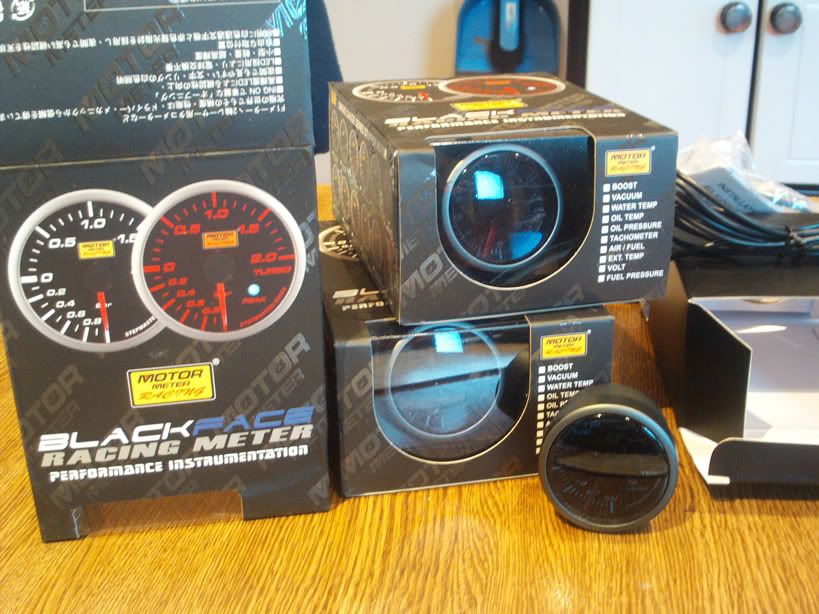
The prosport guages I got came with their own shrouds, I sat them into the ope facing toward the driver slightly, had to notch out top and bottom a small bit so they sat even, but when was happy dropped in some glue just to hold them long enough to back them up with fiberglass.
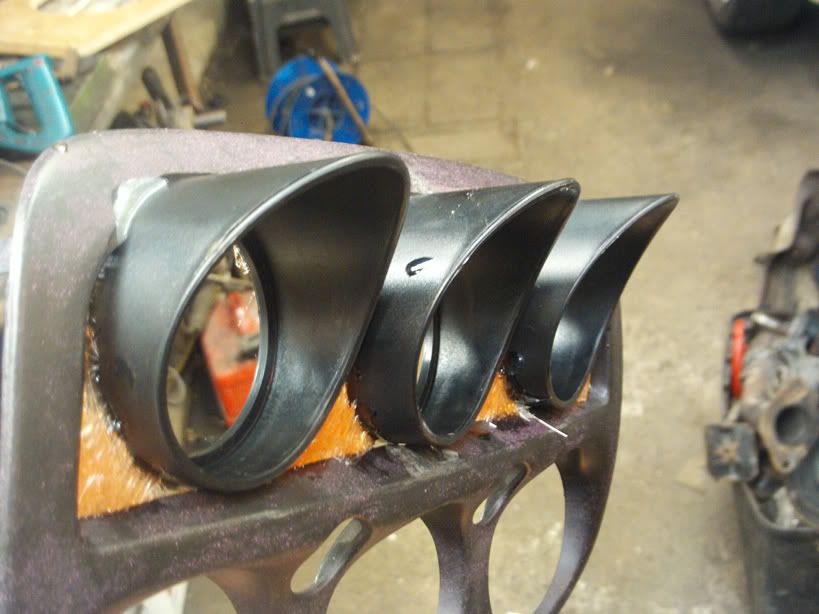

Then when it went off filled it in with normal auto filler.
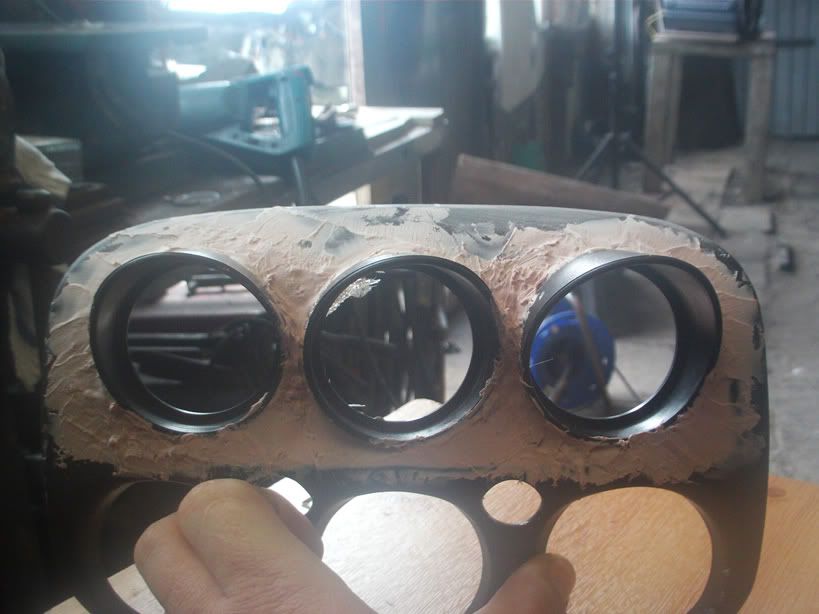
Red lad sanding it out with the dremel, was pretty tough to get a nice finish between the pods as there wasnt a lot of room
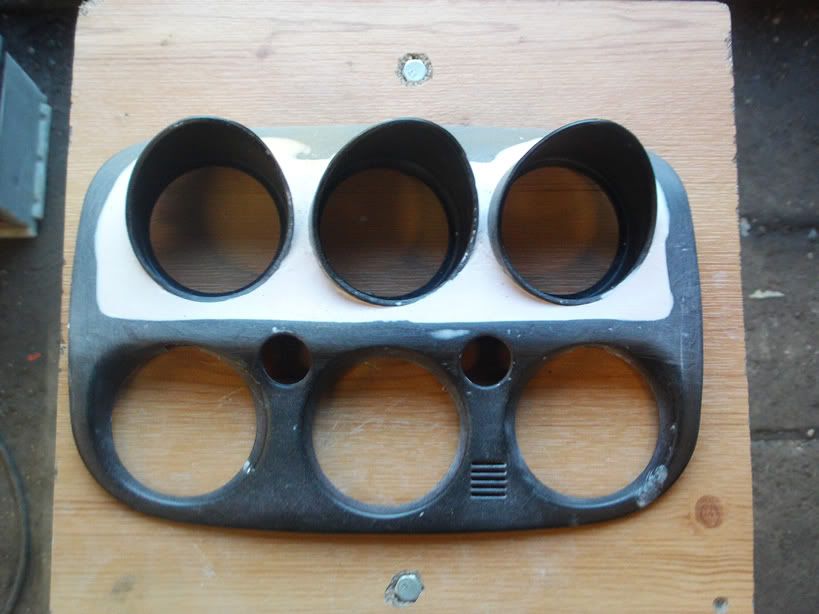

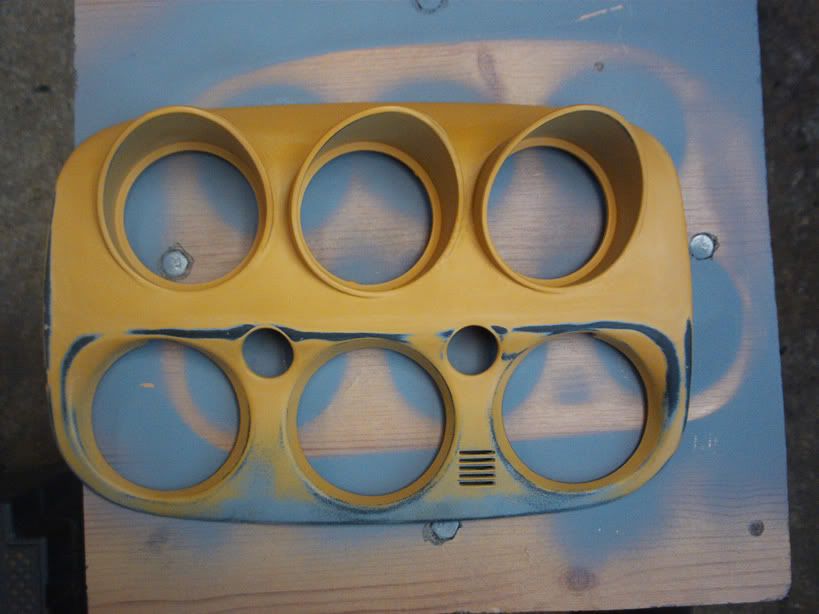
Some filler primer just to take any imperfections out.
The lovely Ciara C working hard, cos she likes to help me.... and def not for phone credit!!
The bro sold this lovely wagon to John M then had some kind of a mid life crisis with toyota before returning to the brotherhood
The afore mentioned John M stopping mt toolbox floating away!
Couldnt get the centre guage pod that replaces the air vents as they are discontinued, so I made my own.
First job unscrew the vents from behind then cut out the plastic bar thats left in the middle.
The prosport guages I got came with their own shrouds, I sat them into the ope facing toward the driver slightly, had to notch out top and bottom a small bit so they sat even, but when was happy dropped in some glue just to hold them long enough to back them up with fiberglass.
Then when it went off filled it in with normal auto filler.
Red lad sanding it out with the dremel, was pretty tough to get a nice finish between the pods as there wasnt a lot of room
Some filler primer just to take any imperfections out.

 nice thread
Thanks gordon, Good point 53, had them in shed only a short while, before I put them on and they started to rust, quick blast of etch primer and silver wheel aerosol sorted them out, same as back ones.
Thanks Irish-scooby-10r, am outside Edenderry on the Kildare side
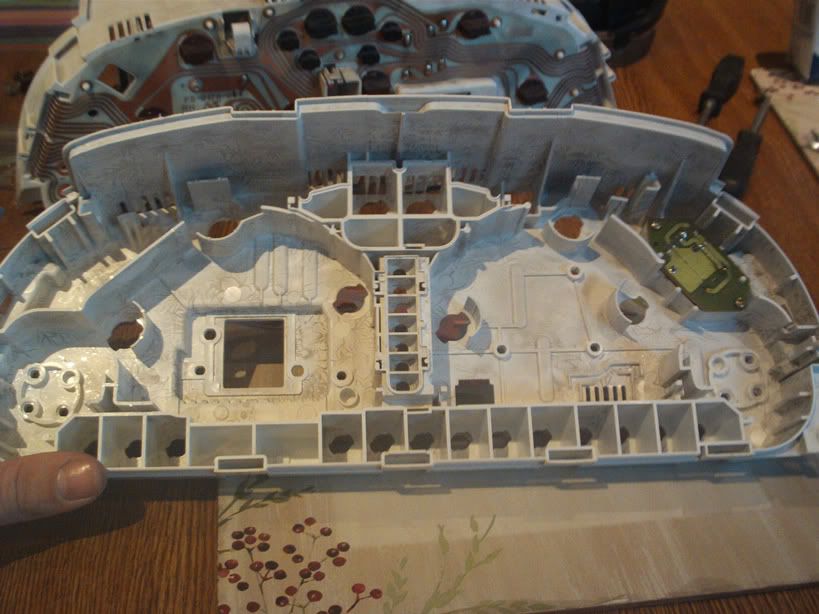
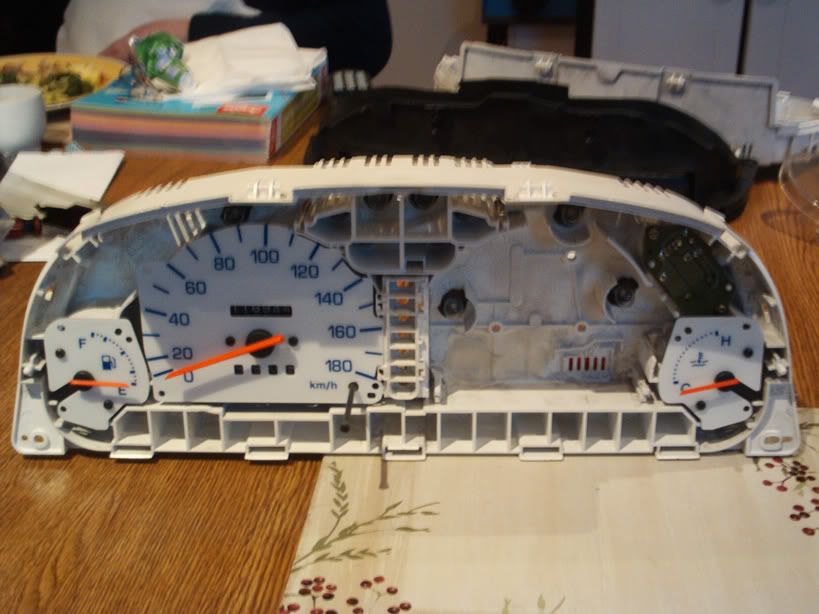
As I was at the guages I decided to freshen up the main cluster with a lockwood white dial kit and a new cover from the main dealer.


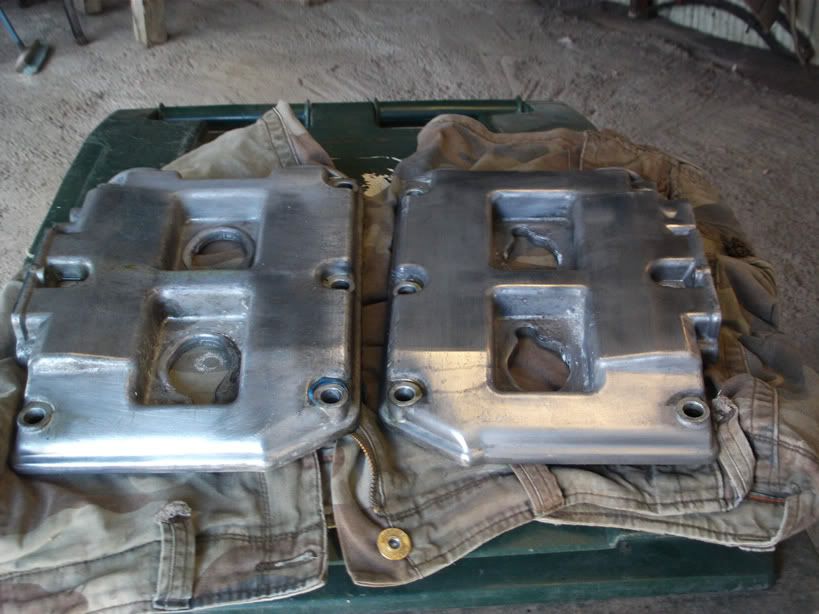
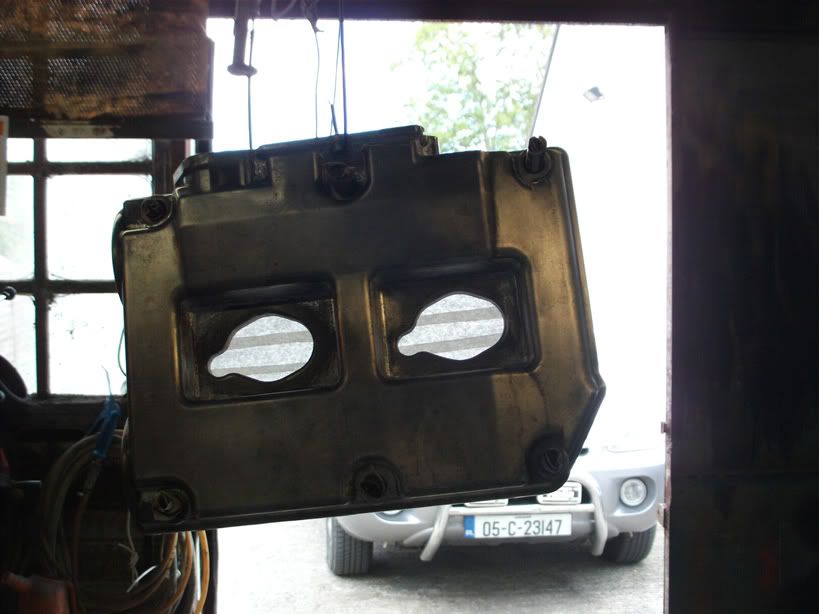
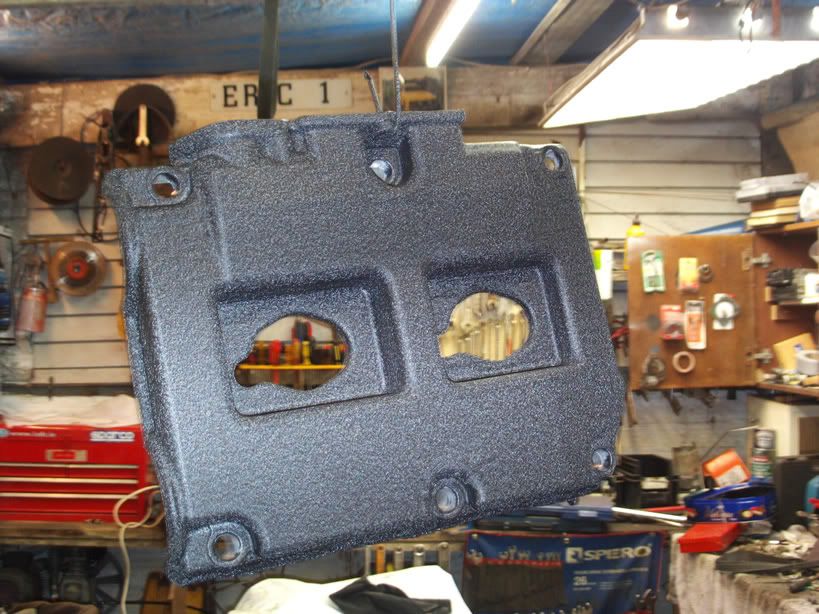
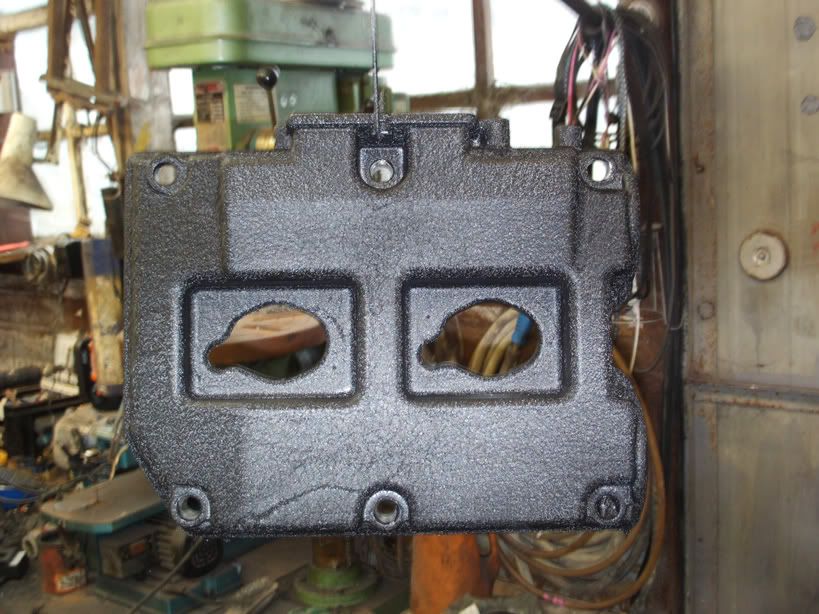
Have the Engine stripped down and ready for the machine shop, I cleaned and painted whatever I could think of so I could leave the lot down for him to reassemble, clean etch prime and wrinkle finish the cam covers.
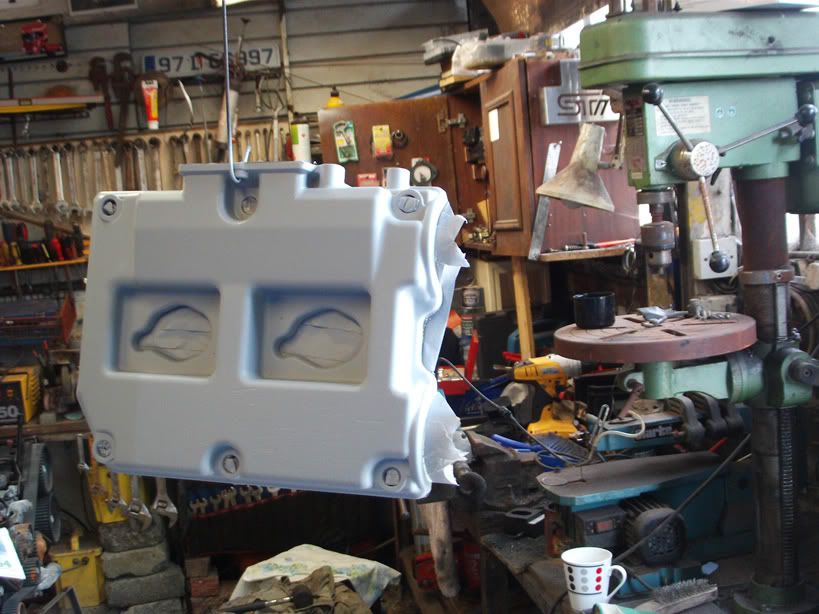
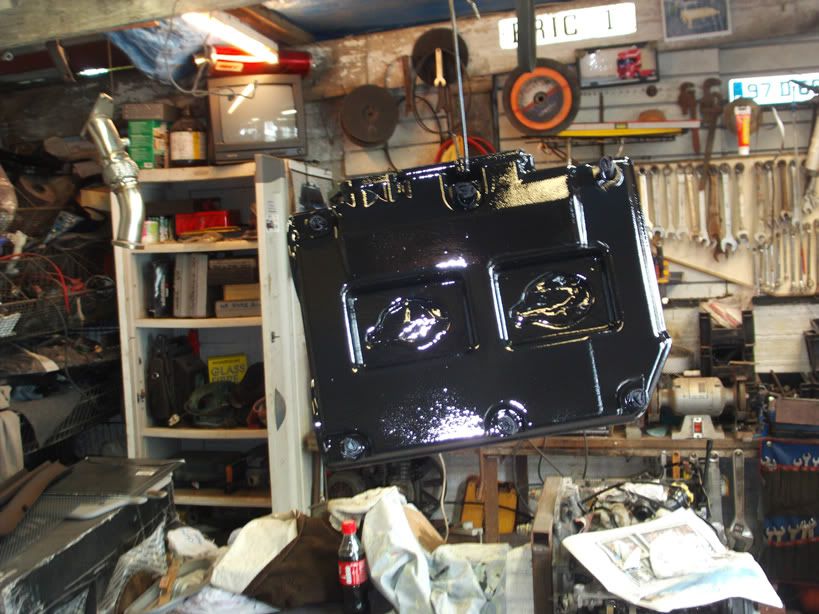
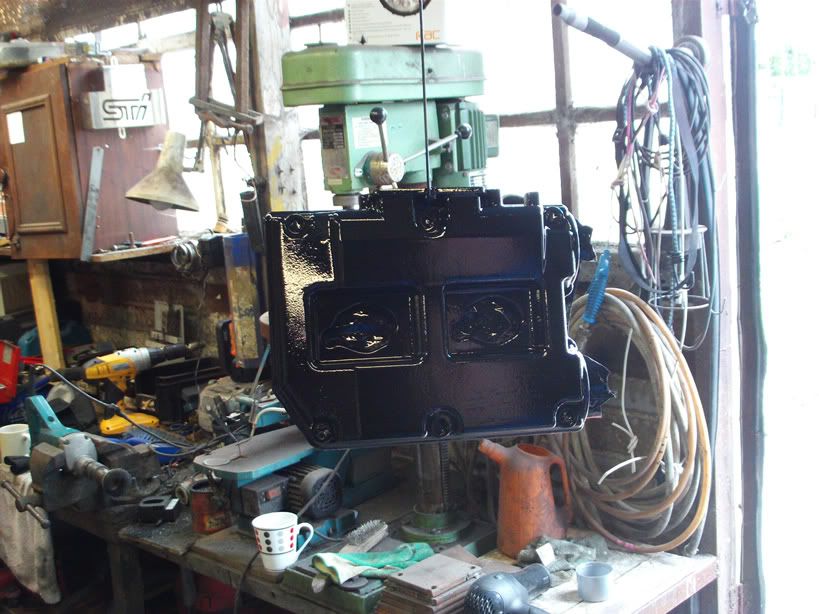
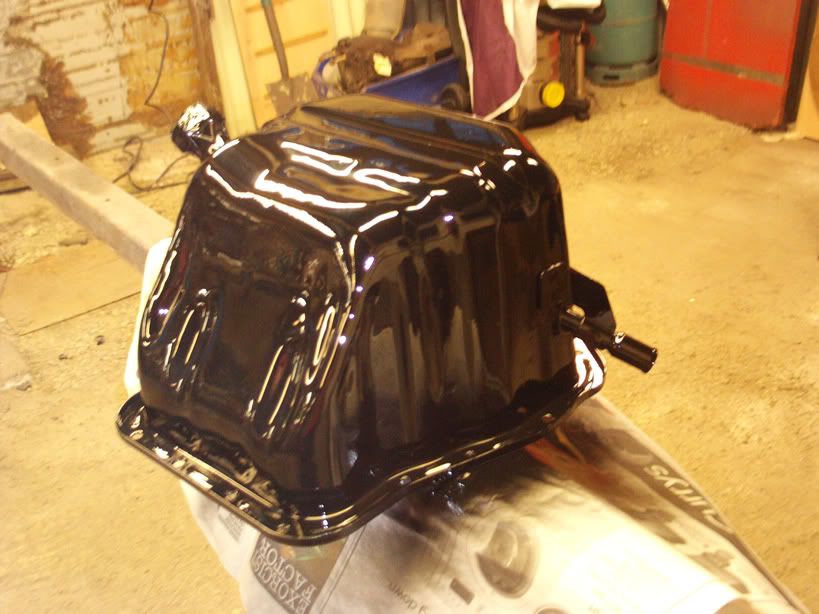
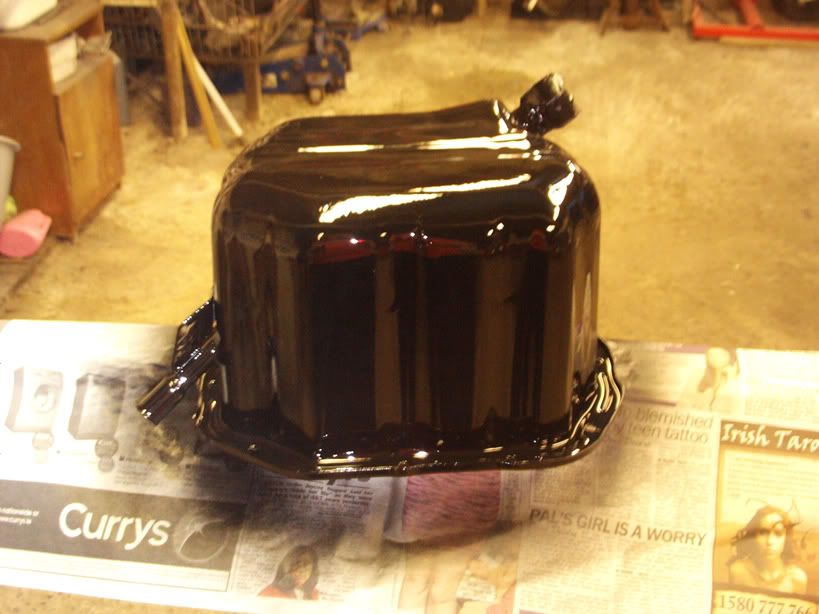
clean, etch prime and gloss finish the sump.
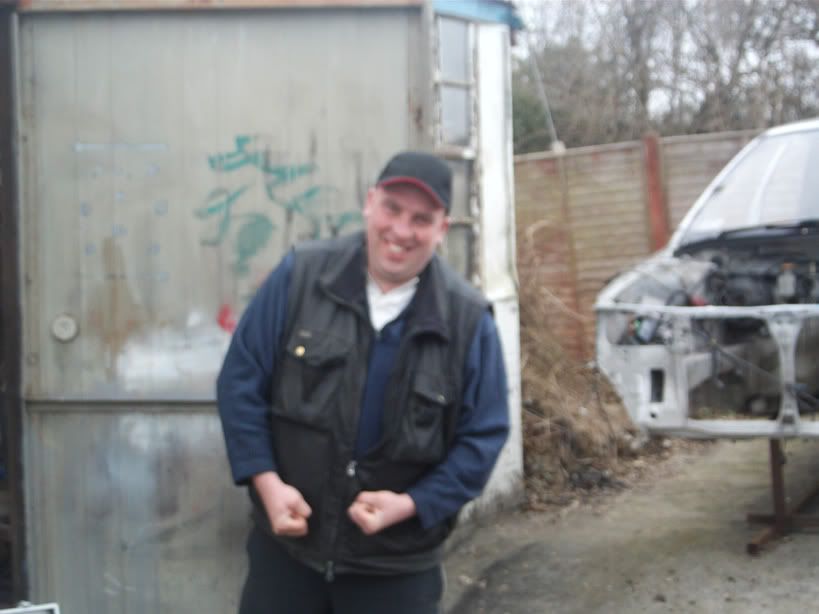
The turn out for the strong man competition was poor!! joe fly
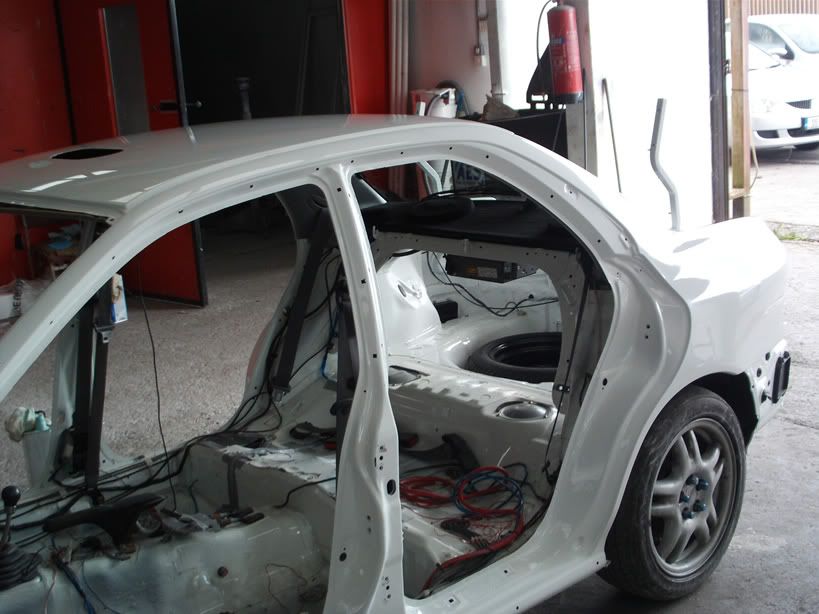
Got call from the body shop..... car ready!!!

Thanks Irish-scooby-10r, am outside Edenderry on the Kildare side
As I was at the guages I decided to freshen up the main cluster with a lockwood white dial kit and a new cover from the main dealer.
Have the Engine stripped down and ready for the machine shop, I cleaned and painted whatever I could think of so I could leave the lot down for him to reassemble, clean etch prime and wrinkle finish the cam covers.
clean, etch prime and gloss finish the sump.
The turn out for the strong man competition was poor!!
joe flyGot call from the body shop..... car ready!!!