97 shed warrier!
 08 July 2012, 08:03 PM
#91
Scooby Regular
iTrader: (41)
Join Date: Nov 2003
Location: in the woods...........555 Wagon Sqn
Posts: 13,347
Received 55 Likes
on
42 Posts
Hi Trails
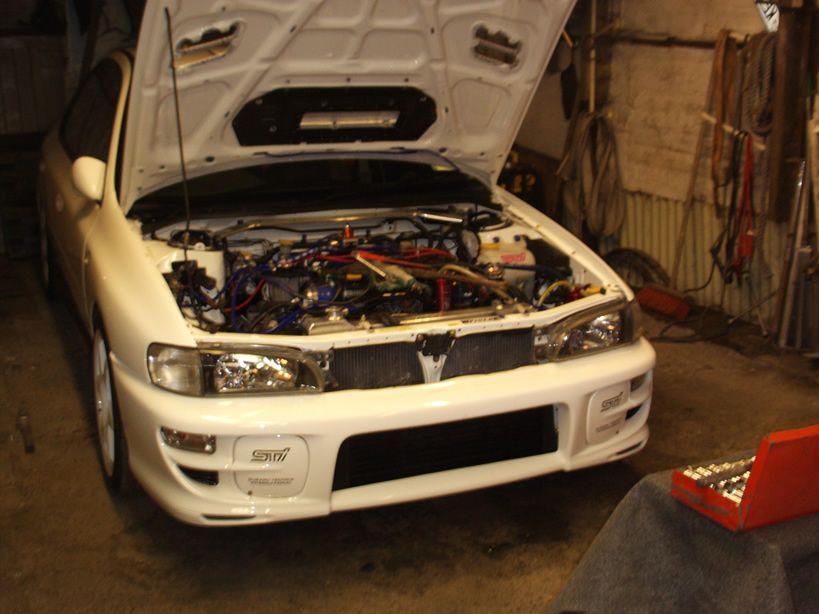
A very laggy 320bhp!!
Its bittersweet... good to be back on the road, but shes not right, the turbo is more suited to a newage, with the 76ml air inlet there is too much of a squeeze under the ver 3 inlet, nearly 1/3 of the mouth of the turbo is blocked by the leg of the inlet that along with a fmic and using a power fc means keeping the mass air flow sensor, he just cant get it too spool up, the air intake is too restrictive..
Need to go back to a 56ml turbo inlet, something with a strong bearing so it will spool earlier and higher and hold it , am looking at a hybrid from turbo technics based on a vf23 with a 360 degree pinned bearing..... but as i blew the best part of a grand on turbo, bigger inlet pipe im low on funds...

 12 September 2012, 09:55 PM
#93
Scooby Regular
Thread Starter
iTrader: (3)
Join Date: Nov 2011
Location: Ireland
Posts: 72
Likes: 0
Received 0 Likes
on
0 Posts
Hi scoobyman, if you bring any item in the colour you want to your paint supplier (childs mobile phone in my case) he will match and mix it for you. if ye cant find any thing try cerese pink.
13 September 2012, 06:45 AM
#96
Scooby Regular
iTrader: (4)
Join Date: Mar 2009
Location: nr leeds
Posts: 2,473
Likes: 0
Received 0 Likes
on
0 Posts
car looks ace mate, surely you can sort the turbo. plenty of ppl run that size of turbo on classics if not bigger. i`m running an 18g and made the inlet pipe out of some old ic pipe ,works a treat. also try inlet mani spacers , will lift the inlet up a bit. i got rid of all the recirc crap under the mani and just run catch cans ,gives you more room
19 September 2012, 11:38 AM
#97
Scooby Regular
Thread Starter
iTrader: (3)
Join Date: Nov 2011
Location: Ireland
Posts: 72
Likes: 0
Received 0 Likes
on
0 Posts
Thanks stedee, have the davey spacers and ditched the recirc pipes for catch cans, the prob is the ope on the inlet side of the turbo is 76 ml, even on the standard smaller turbo inlet ope, if you look the inlet pipe kickes off to one side to go around the leg of the inlet manifold, now ive a much bigger ope, bigger kick on pipe, harder turbo to spool along with a front mount is giving me too much lag....
the only way around all this is to rotate the turbo, but the price of the pipe work is mental to say the least, so my plan is to buy a decent tig welder and fabricate the up pipe and down pipe myself, i also plan to turn the ic upside down to shorten that pipe work, its going to be this winters progect, ill post up pics and results as I go.
the only way around all this is to rotate the turbo, but the price of the pipe work is mental to say the least, so my plan is to buy a decent tig welder and fabricate the up pipe and down pipe myself, i also plan to turn the ic upside down to shorten that pipe work, its going to be this winters progect, ill post up pics and results as I go.
08 February 2013, 05:11 PM
#99
Scooby Regular
Thread Starter
iTrader: (3)
Join Date: Nov 2011
Location: Ireland
Posts: 72
Likes: 0
Received 0 Likes
on
0 Posts
Hi all
Car back in shed since november last, couple of things on the todo list, rotate turbo, turn IC upside down, port and polish headers, move air filter into inner wing, change my make shift fuel rails for proper billet items,few more odds and sods as I go, all DIY and on a budget.
The main reason for all this is to get rid of the lag and spool her up a bit sooner, am about half way through at the moment, thought id better get some pics up as camery memory is nearly full!!
First things first, pull her in and strip her down
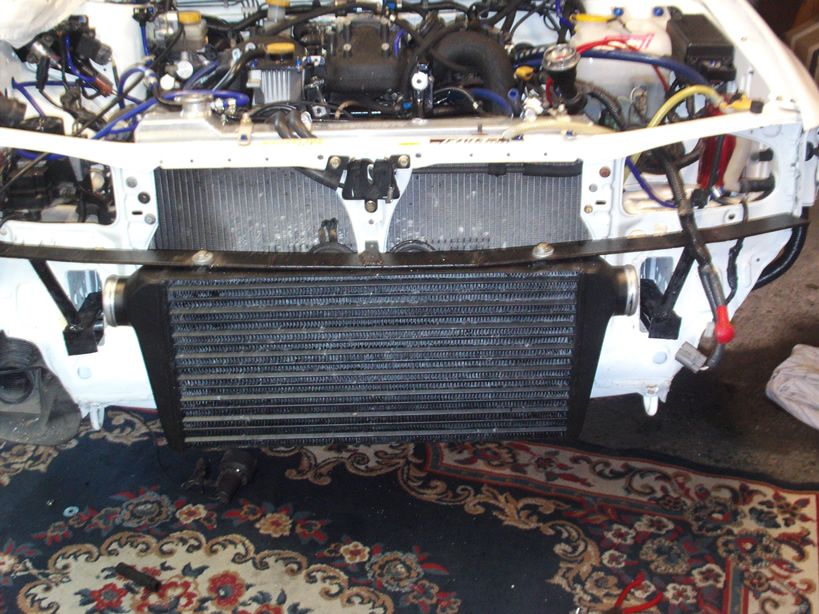
I know there is much debate about FMIC pipe work not being an issue to the right mapper, but the fact of the matter is shorter equals quicker spool, thats why the OE cooler is where it is. note the long FMIC pipes.
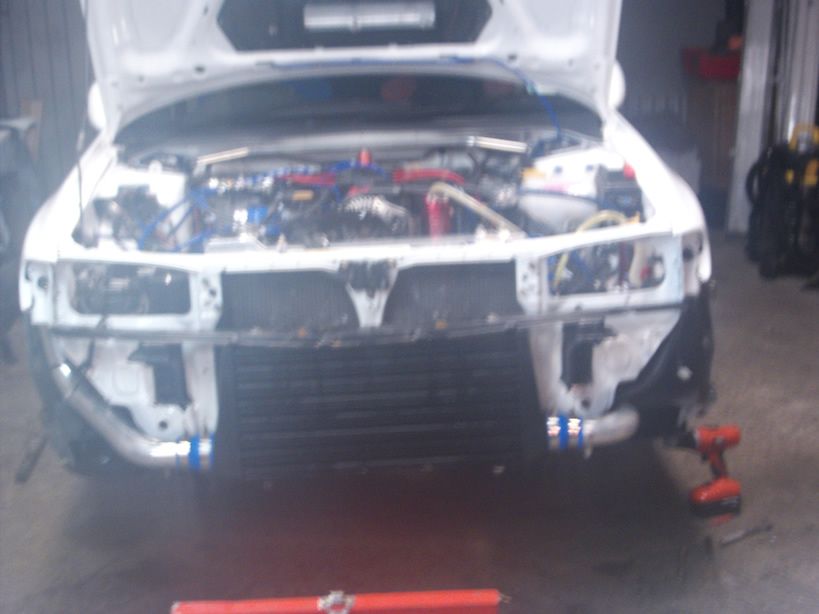
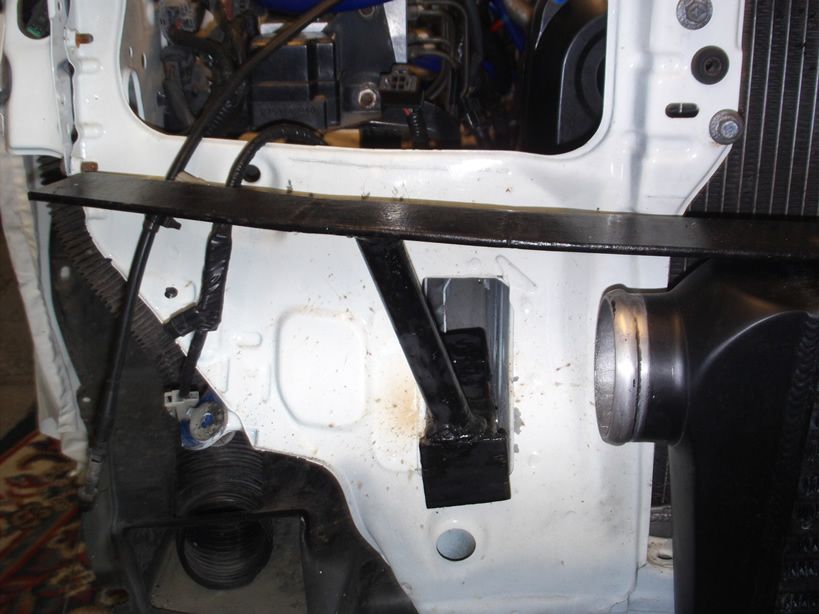
The OE bumper bar is not really designed to take the weight of an IC big or small, and mine seems to have started to buckle under the strain, a new stronger one will have to be made taking into consideration the OE mounting points on top will have to be relocated to the bottom to leave space for pipes, before I took it off I marked some spots on the front panel off the top of bumper bar to keep my height right.
With the old bar on bench I cut a length of inch and a half flat bar into sections with a slight angle on the ends to get it to bend slightly, welding as I went.
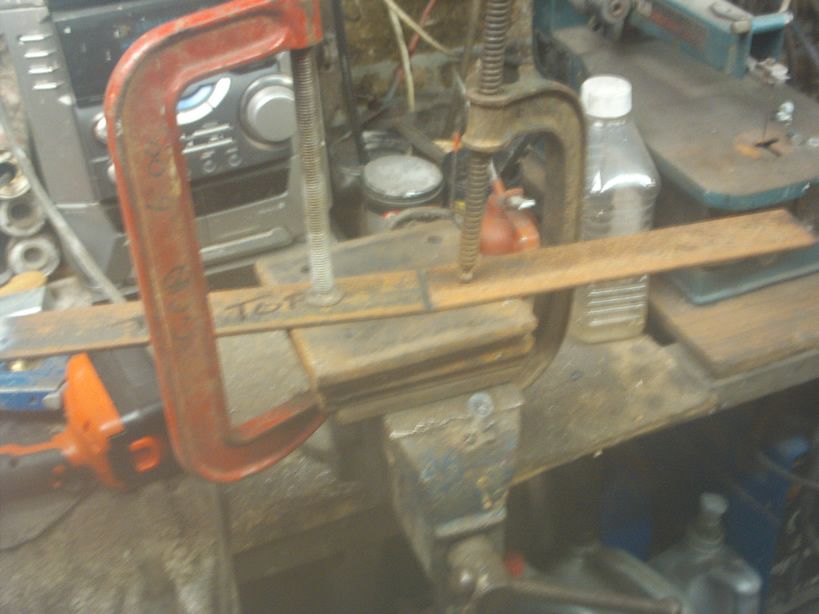
If you grind where the ends butt up to each other at an angle you are left with a v on top and bottom, you can then weld both sides and have enough to bring it back flat.

After looking up at chassis rail from underneath I discovered it was double skinned, so not a good idea to drill there as tightening bolts would pull it all out of shape, I came in from the inner wing side as low as I could go.
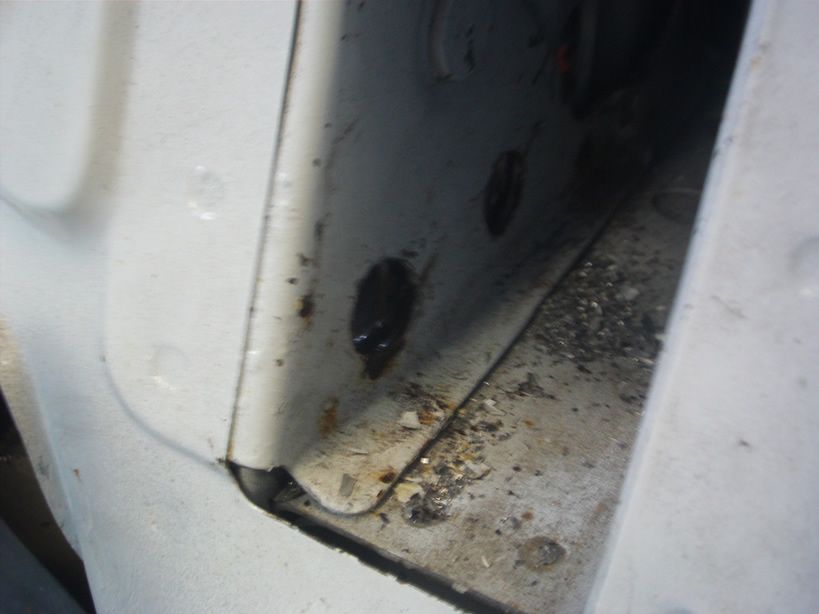
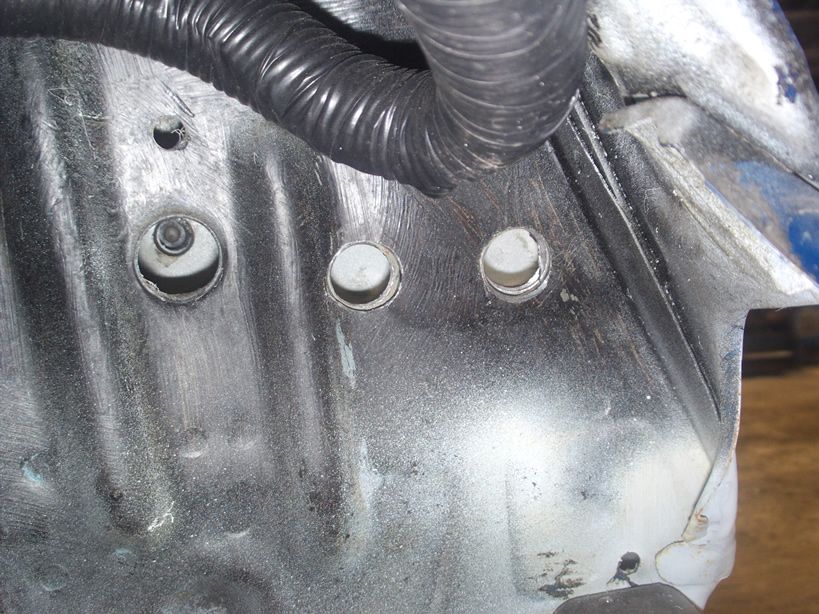
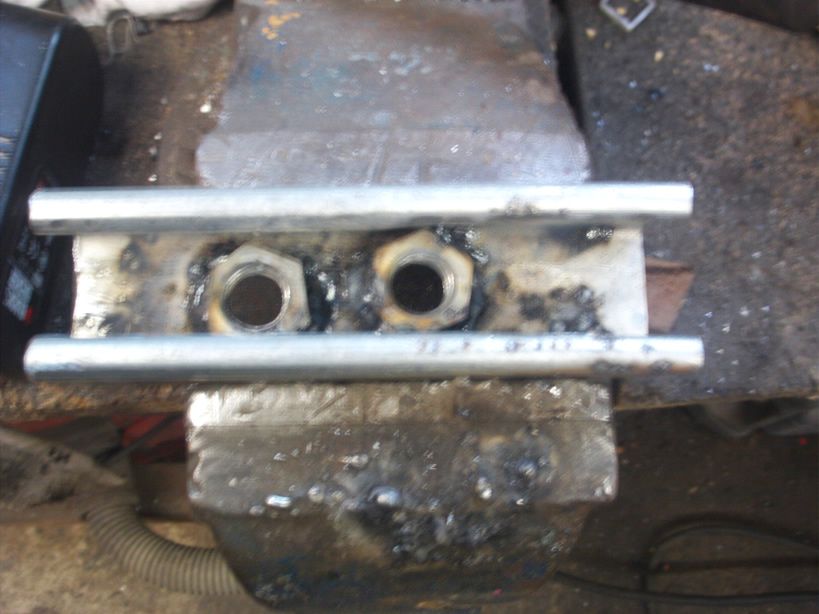
Slide a length of unistrut in and clamp down with open side facing away from holes as will be welding in captive nuts, mark unistrut through drilled holes in car, then take out and drill out, big enough not to foul nuts but enough left to weld on to.
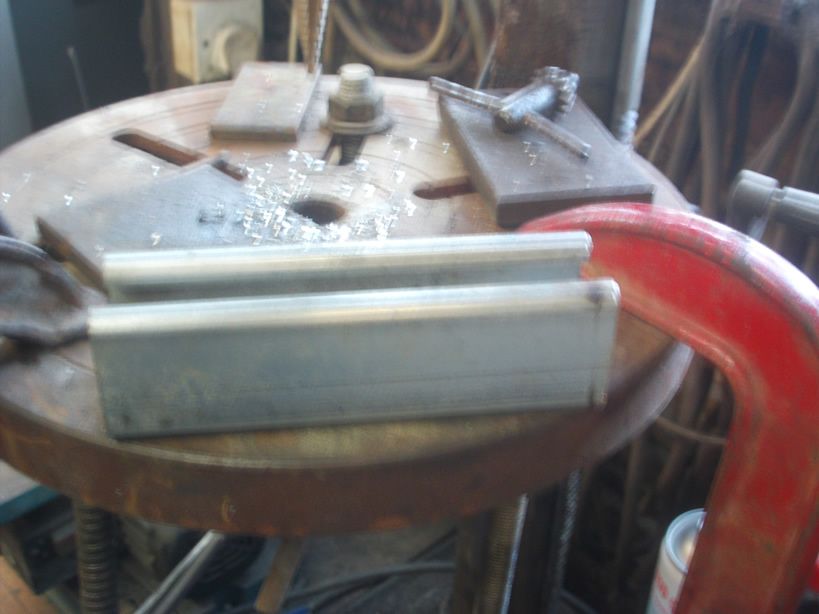
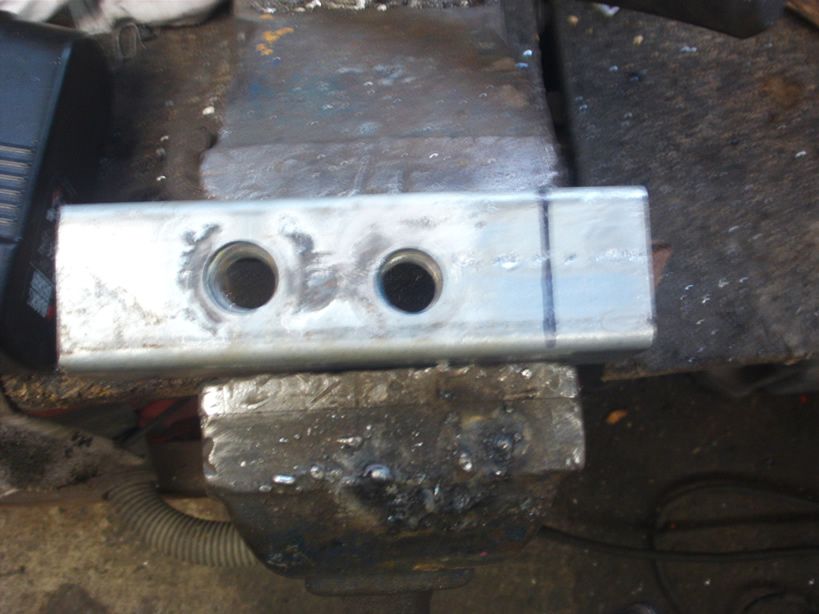
Welding the nuts proved tricky as I kept arking on the edges, but got there in the end, black paint is a bad welders best friend
Dont forget if using this material to grind off coating for a clean weld as it will be dipped.
Car back in shed since november last, couple of things on the todo list, rotate turbo, turn IC upside down, port and polish headers, move air filter into inner wing, change my make shift fuel rails for proper billet items,few more odds and sods as I go, all DIY and on a budget.
The main reason for all this is to get rid of the lag and spool her up a bit sooner, am about half way through at the moment, thought id better get some pics up as camery memory is nearly full!!
First things first, pull her in and strip her down
I know there is much debate about FMIC pipe work not being an issue to the right mapper, but the fact of the matter is shorter equals quicker spool, thats why the OE cooler is where it is. note the long FMIC pipes.
The OE bumper bar is not really designed to take the weight of an IC big or small, and mine seems to have started to buckle under the strain, a new stronger one will have to be made taking into consideration the OE mounting points on top will have to be relocated to the bottom to leave space for pipes, before I took it off I marked some spots on the front panel off the top of bumper bar to keep my height right.
With the old bar on bench I cut a length of inch and a half flat bar into sections with a slight angle on the ends to get it to bend slightly, welding as I went.
If you grind where the ends butt up to each other at an angle you are left with a v on top and bottom, you can then weld both sides and have enough to bring it back flat.
After looking up at chassis rail from underneath I discovered it was double skinned, so not a good idea to drill there as tightening bolts would pull it all out of shape, I came in from the inner wing side as low as I could go.
Slide a length of unistrut in and clamp down with open side facing away from holes as will be welding in captive nuts, mark unistrut through drilled holes in car, then take out and drill out, big enough not to foul nuts but enough left to weld on to.
Welding the nuts proved tricky as I kept arking on the edges, but got there in the end, black paint is a bad welders best friend
Dont forget if using this material to grind off coating for a clean weld as it will be dipped.
12 February 2013, 04:16 PM
#101
Scooby Regular
Thread Starter
iTrader: (3)
Join Date: Nov 2011
Location: Ireland
Posts: 72
Likes: 0
Received 0 Likes
on
0 Posts
Thanks sunny, although the shed looks better in the pics than real life! but its dry so cant complain.
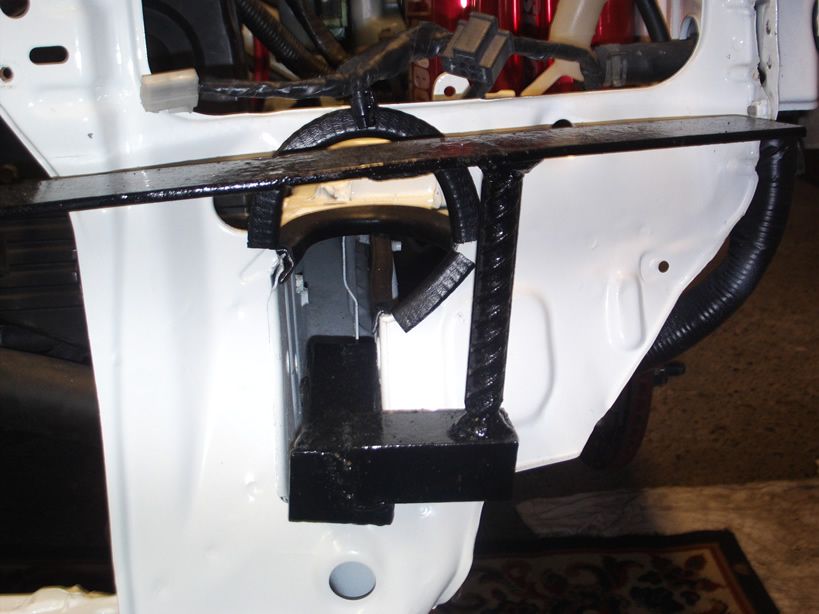
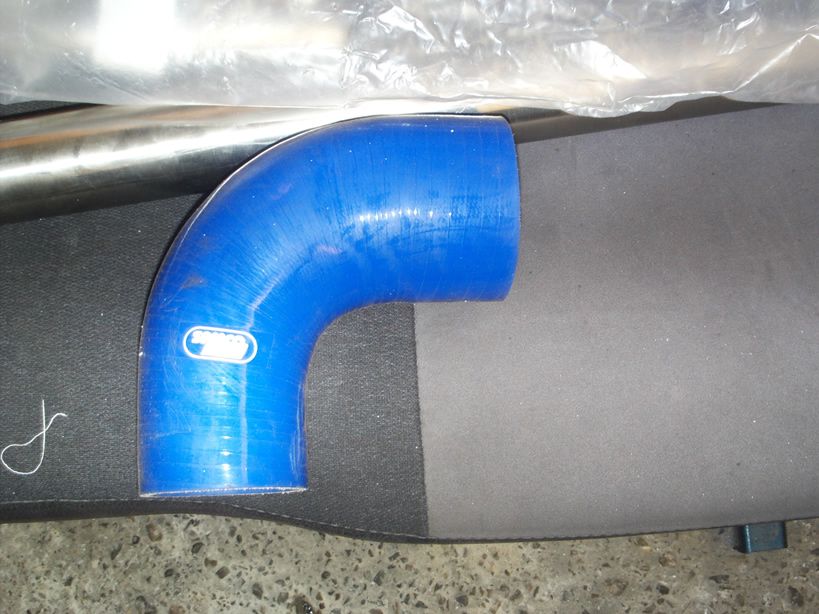
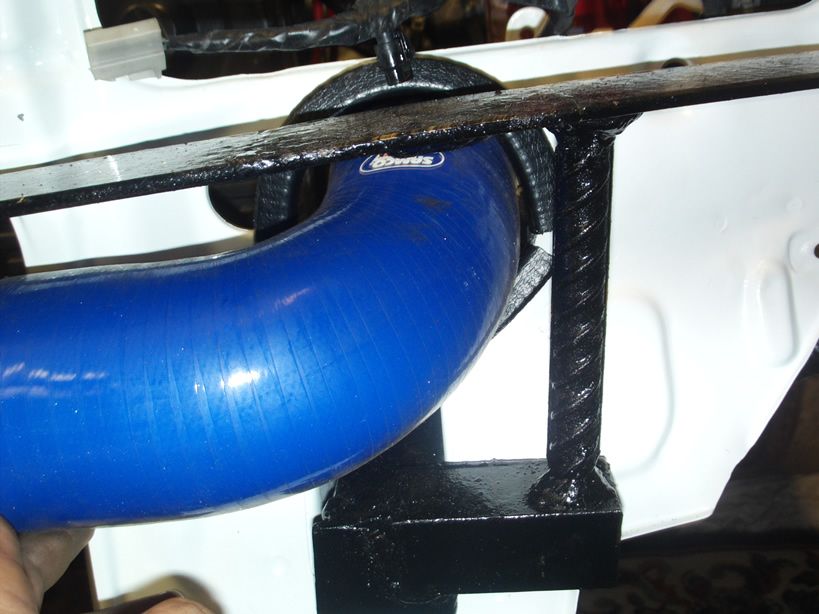
I jumped the gun a bit at this point, while I was waiting for 90 degree reducer samcos to come in I joined the bumper bar to the mounting bracket allowing "as i thought" enough room for said hoses.... WRONG
Had to cut them out and move over by about 3 inches
Before
After
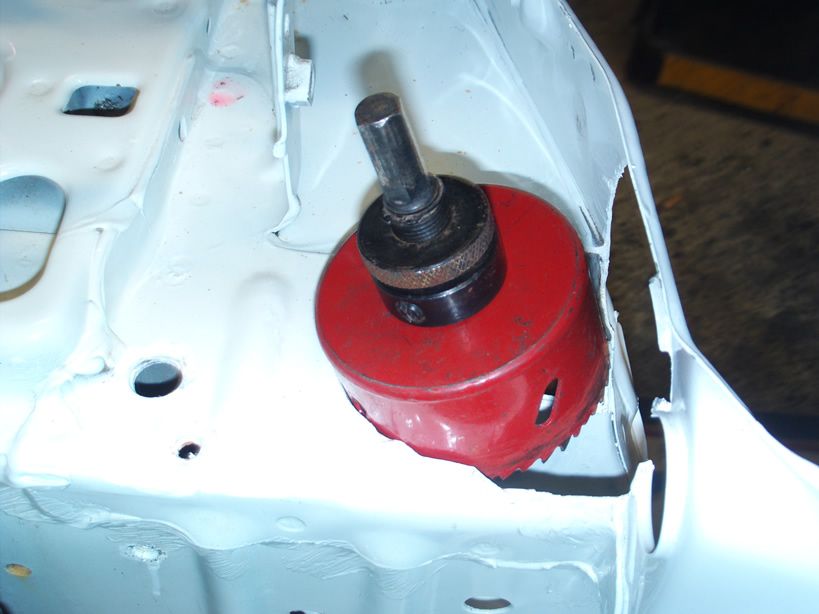
I cut through front panel with a large hole saw in a large drill, not easy this as panel is not a flat surface, once pilot hole is drilled i replaced metal bit in hole saw for steel masonary bit (only after I broke 2 bits) it was better able for the vibration of cutting.
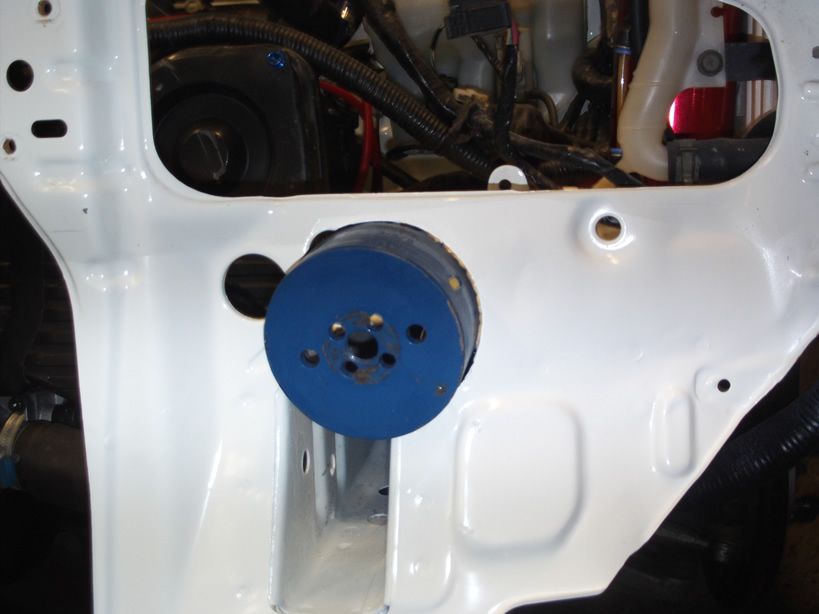
Using a smaller hole saw I came down from above to give me plenty of room for my IC pipes "hopefully"
As with the original build a lot of time is spent planning, you try and have stuff to do while you are waiting for parts to come in, not really possible this time as Im measuring as i go, and there is a lot of fab work.
While waiting for materials I started on the headers, using the black sut mark and gaskets as a guide as to how far to take out.

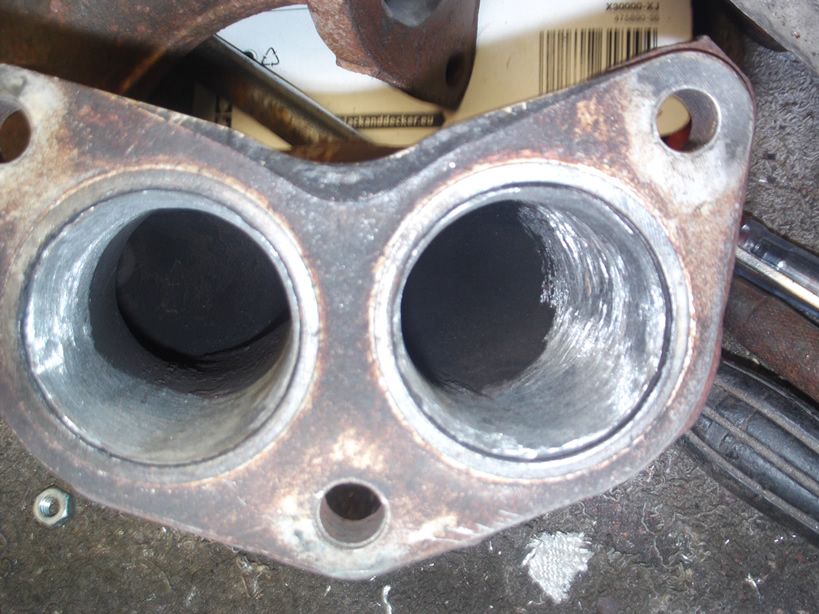
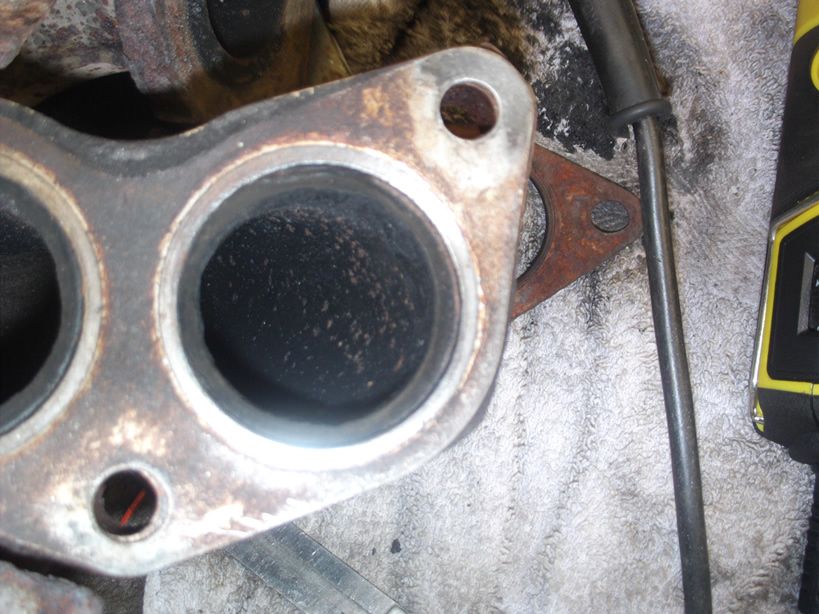
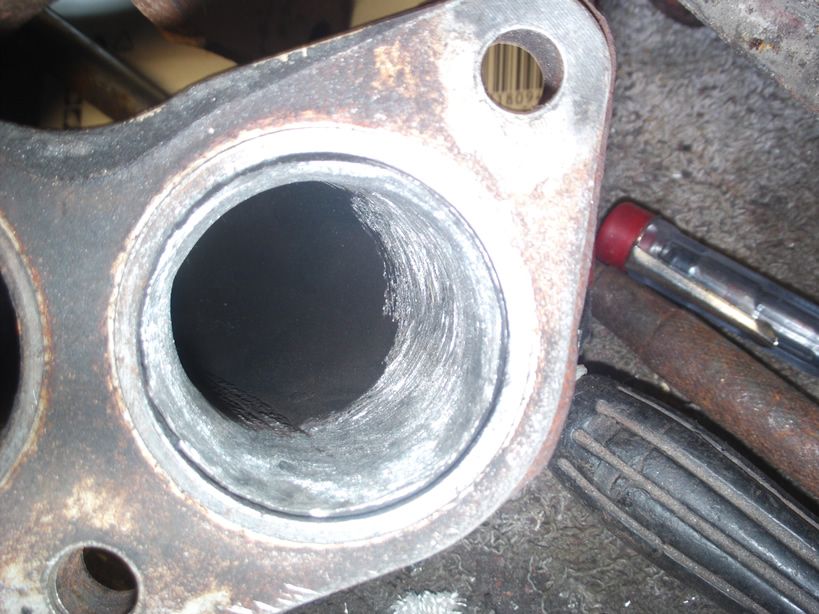
Nice bit to come out of the uppipe flange, I matched this to the turbo inlet.
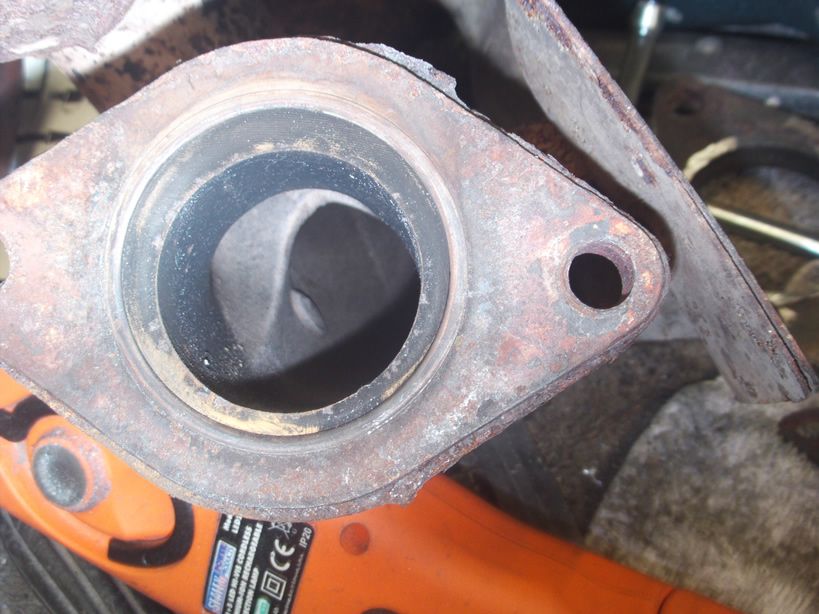
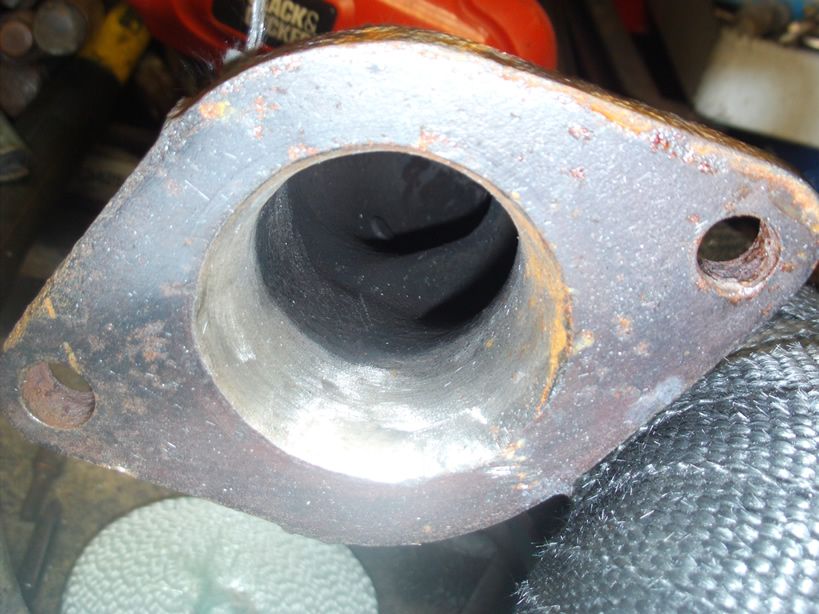
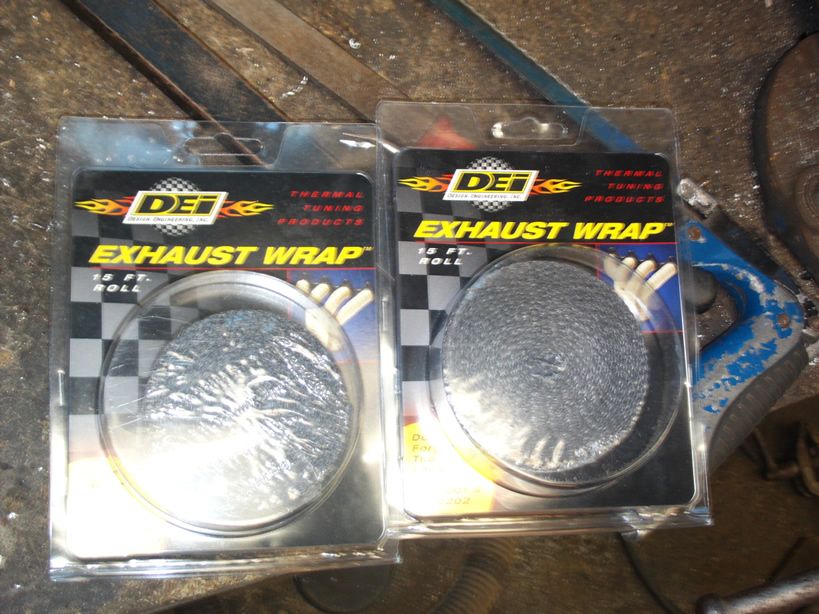
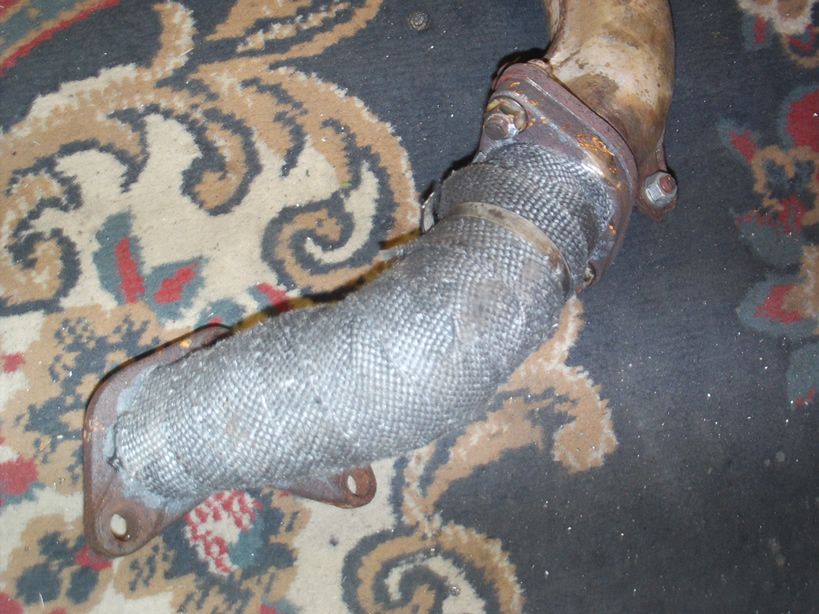
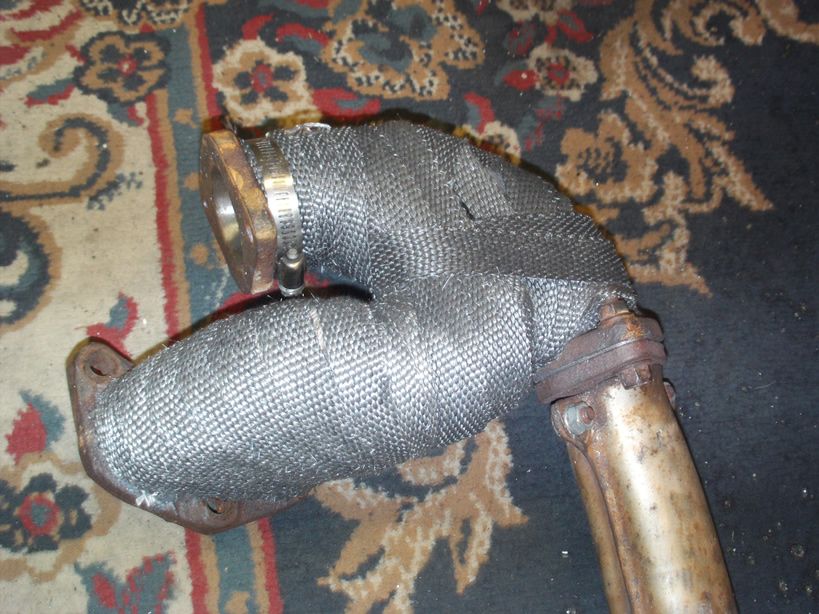
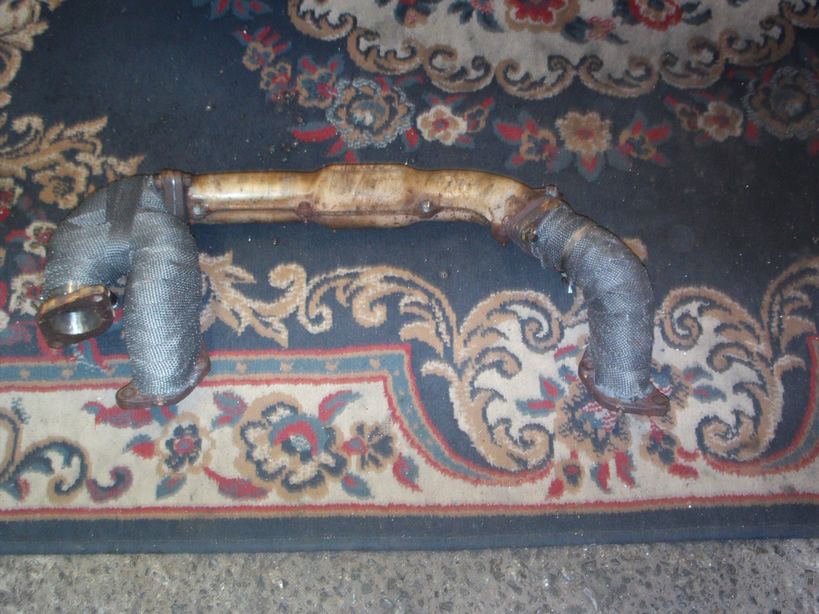
while all was apart I took the edge off the centre pipe running between both headers which was pretty severe, doubled up on the OE heat protection then wrapped over it, replacing nuts on reassembly, rewrapping both ends using new wrap because the old stuff once off didnt look great.
I jumped the gun a bit at this point, while I was waiting for 90 degree reducer samcos to come in I joined the bumper bar to the mounting bracket allowing "as i thought" enough room for said hoses.... WRONG
Had to cut them out and move over by about 3 inches
Before
After
I cut through front panel with a large hole saw in a large drill, not easy this as panel is not a flat surface, once pilot hole is drilled i replaced metal bit in hole saw for steel masonary bit (only after I broke 2 bits) it was better able for the vibration of cutting.
Using a smaller hole saw I came down from above to give me plenty of room for my IC pipes "hopefully"
As with the original build a lot of time is spent planning, you try and have stuff to do while you are waiting for parts to come in, not really possible this time as Im measuring as i go, and there is a lot of fab work.
While waiting for materials I started on the headers, using the black sut mark and gaskets as a guide as to how far to take out.
Nice bit to come out of the uppipe flange, I matched this to the turbo inlet.
while all was apart I took the edge off the centre pipe running between both headers which was pretty severe, doubled up on the OE heat protection then wrapped over it, replacing nuts on reassembly, rewrapping both ends using new wrap because the old stuff once off didnt look great.
Last edited by Classic STI Paddy; 12 February 2013 at 04:17 PM.


Thread
Thread Starter
Forum
Replies
Last Post
TylerD529
Lighting and Other Electrical
5
20 September 2015 12:10 PM