When you click on links to various merchants on this site and make a purchase, this can result in this site earning a commission. Affiliate programs and affiliations include, but are not limited to, the eBay Partner Network.
Recently I gave these headers I've been tripping over in my flat for the past few months another coat of heat wrap in preparation for fitting & mapping. After I applied the original 15M roll of wrap there was a gap in it ...
So I stupidly bought another roll one so now it's double layered around the "hot bit" (A minutes silence please for the two pairs of gloves & two shirts that are in the bin )...
As mapping's off the cards for a while I am punting these on eBay too clear my flat out as I need life to balance itself out before I get involved with any more projects (ending tonight around 10PM: Be quick!!!!! )
18" Rota GRA alloys powdercoarted in gunmetal grey with metallic fleck
Eibach lowering springs
More hammerite
Whiteline rear anti-rollbar & drop links
Front & rear strut braces
Prodrive fast road geometry setup
Whiteline gear-shift linkage kit
Braided brake lines
HT auto's front lip splitter (currently fcuked due to a roadkill incident)
Japspeed non-resonated stainless centre section
Hayward & Scott 2.5" angled Jap Backbox
So it's getting there...
I need to pull the headlights out, split them (again) & paint the insides gloss black (not satin ), then sand & lacquer the lenses. Airbag also needs repainting (satin this time - go figure ). I also have a can of spray tint for the side repeaters but removing all the plastic crap from the arches to access them doesn't look like fun.
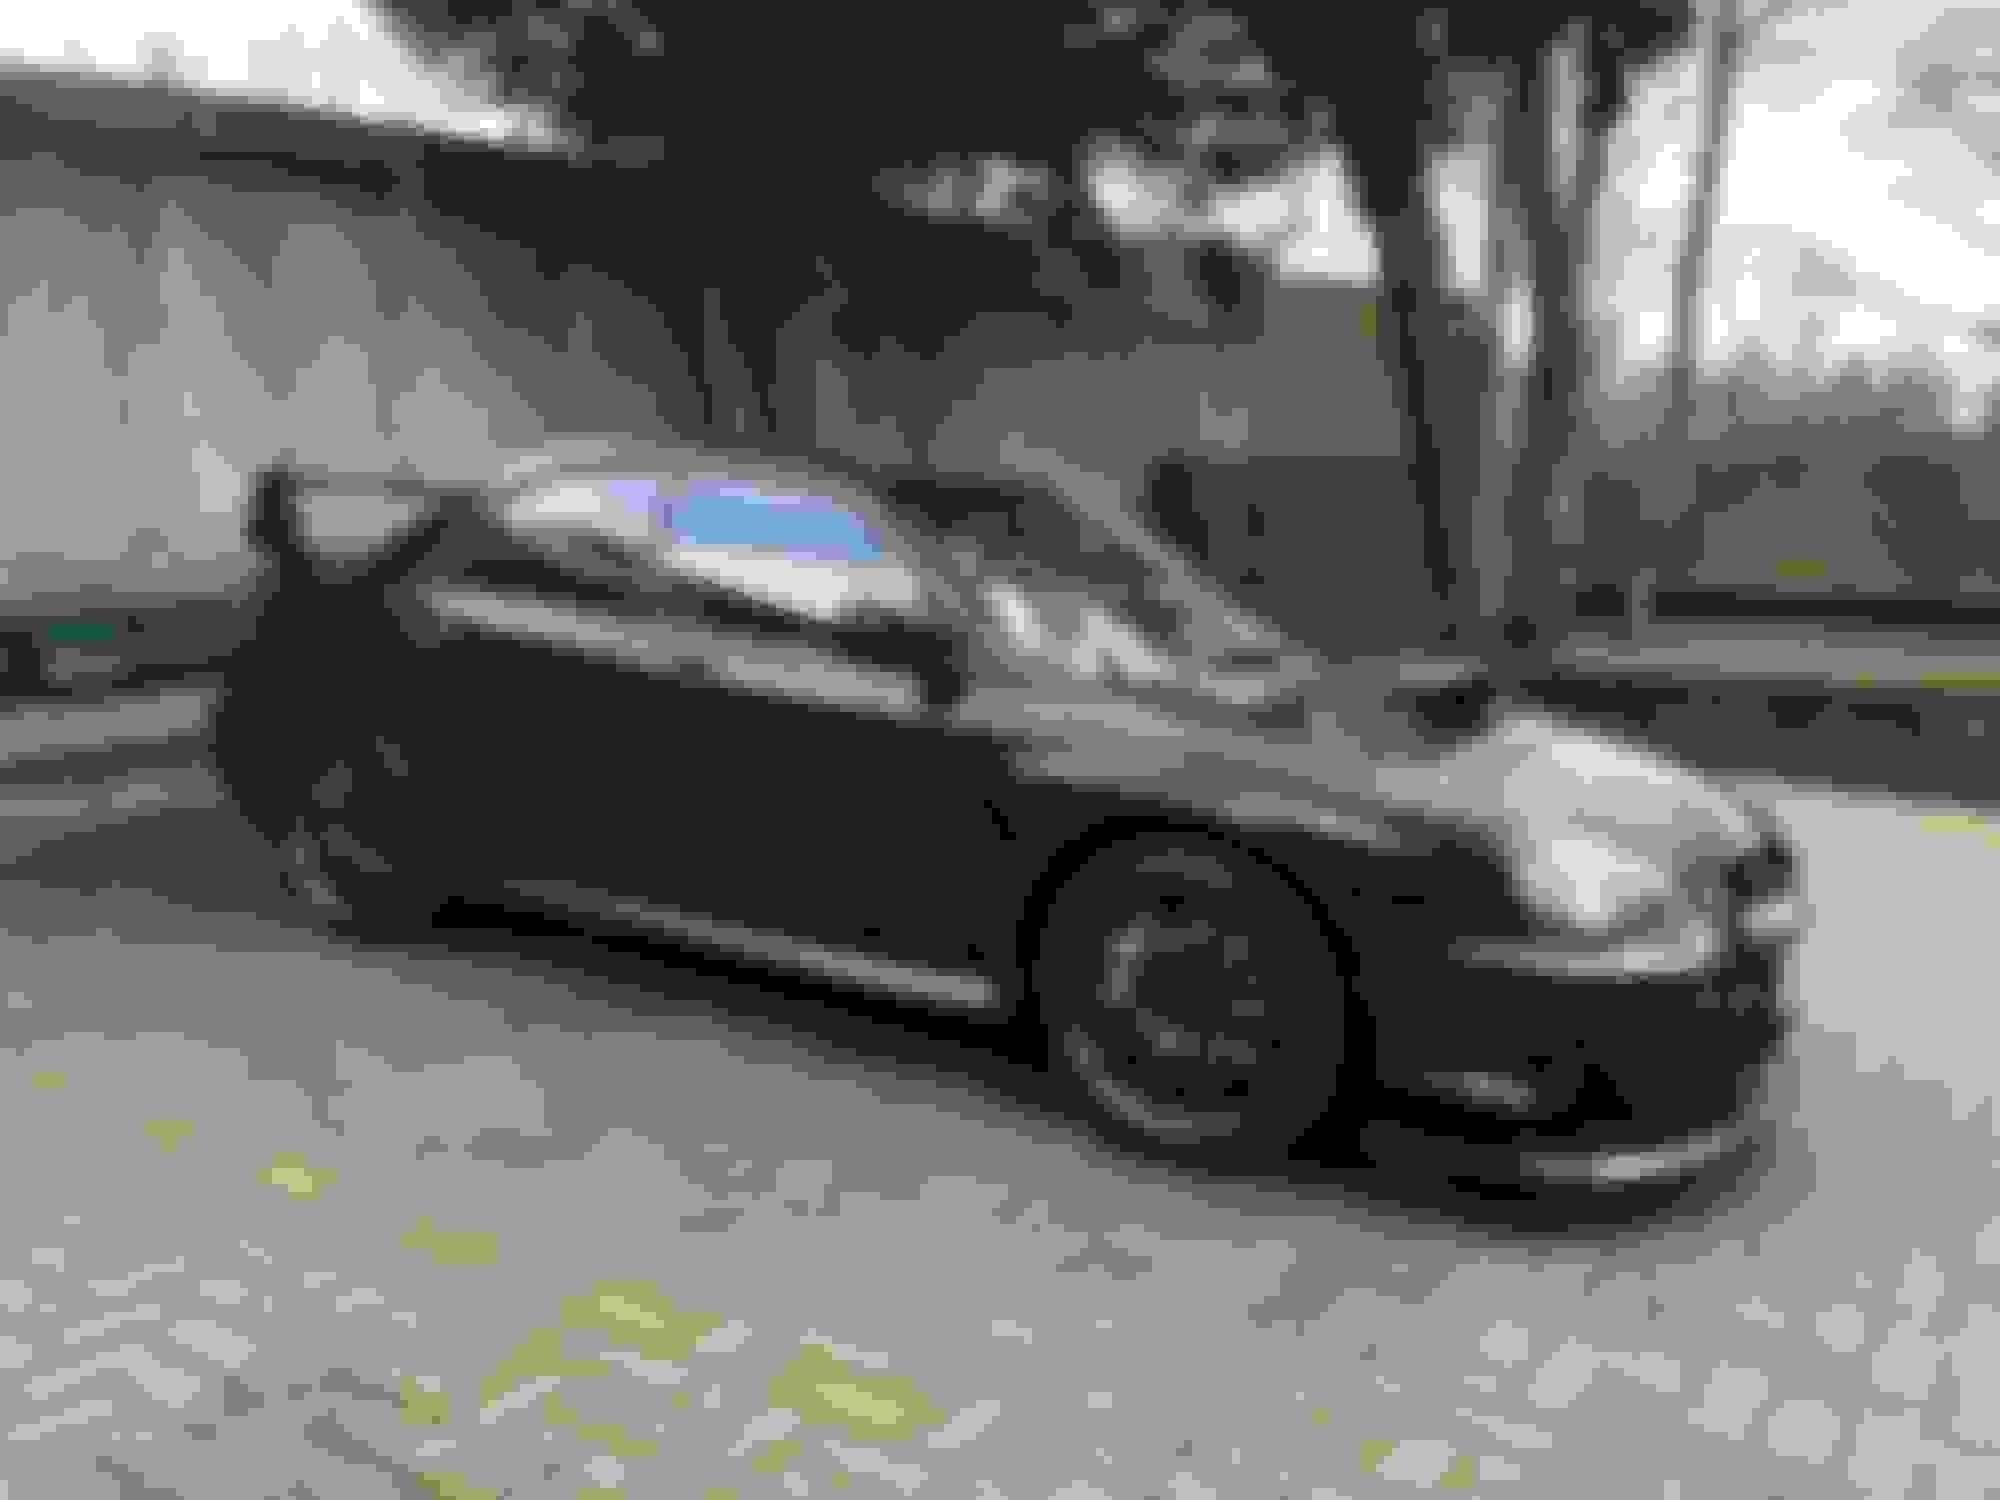
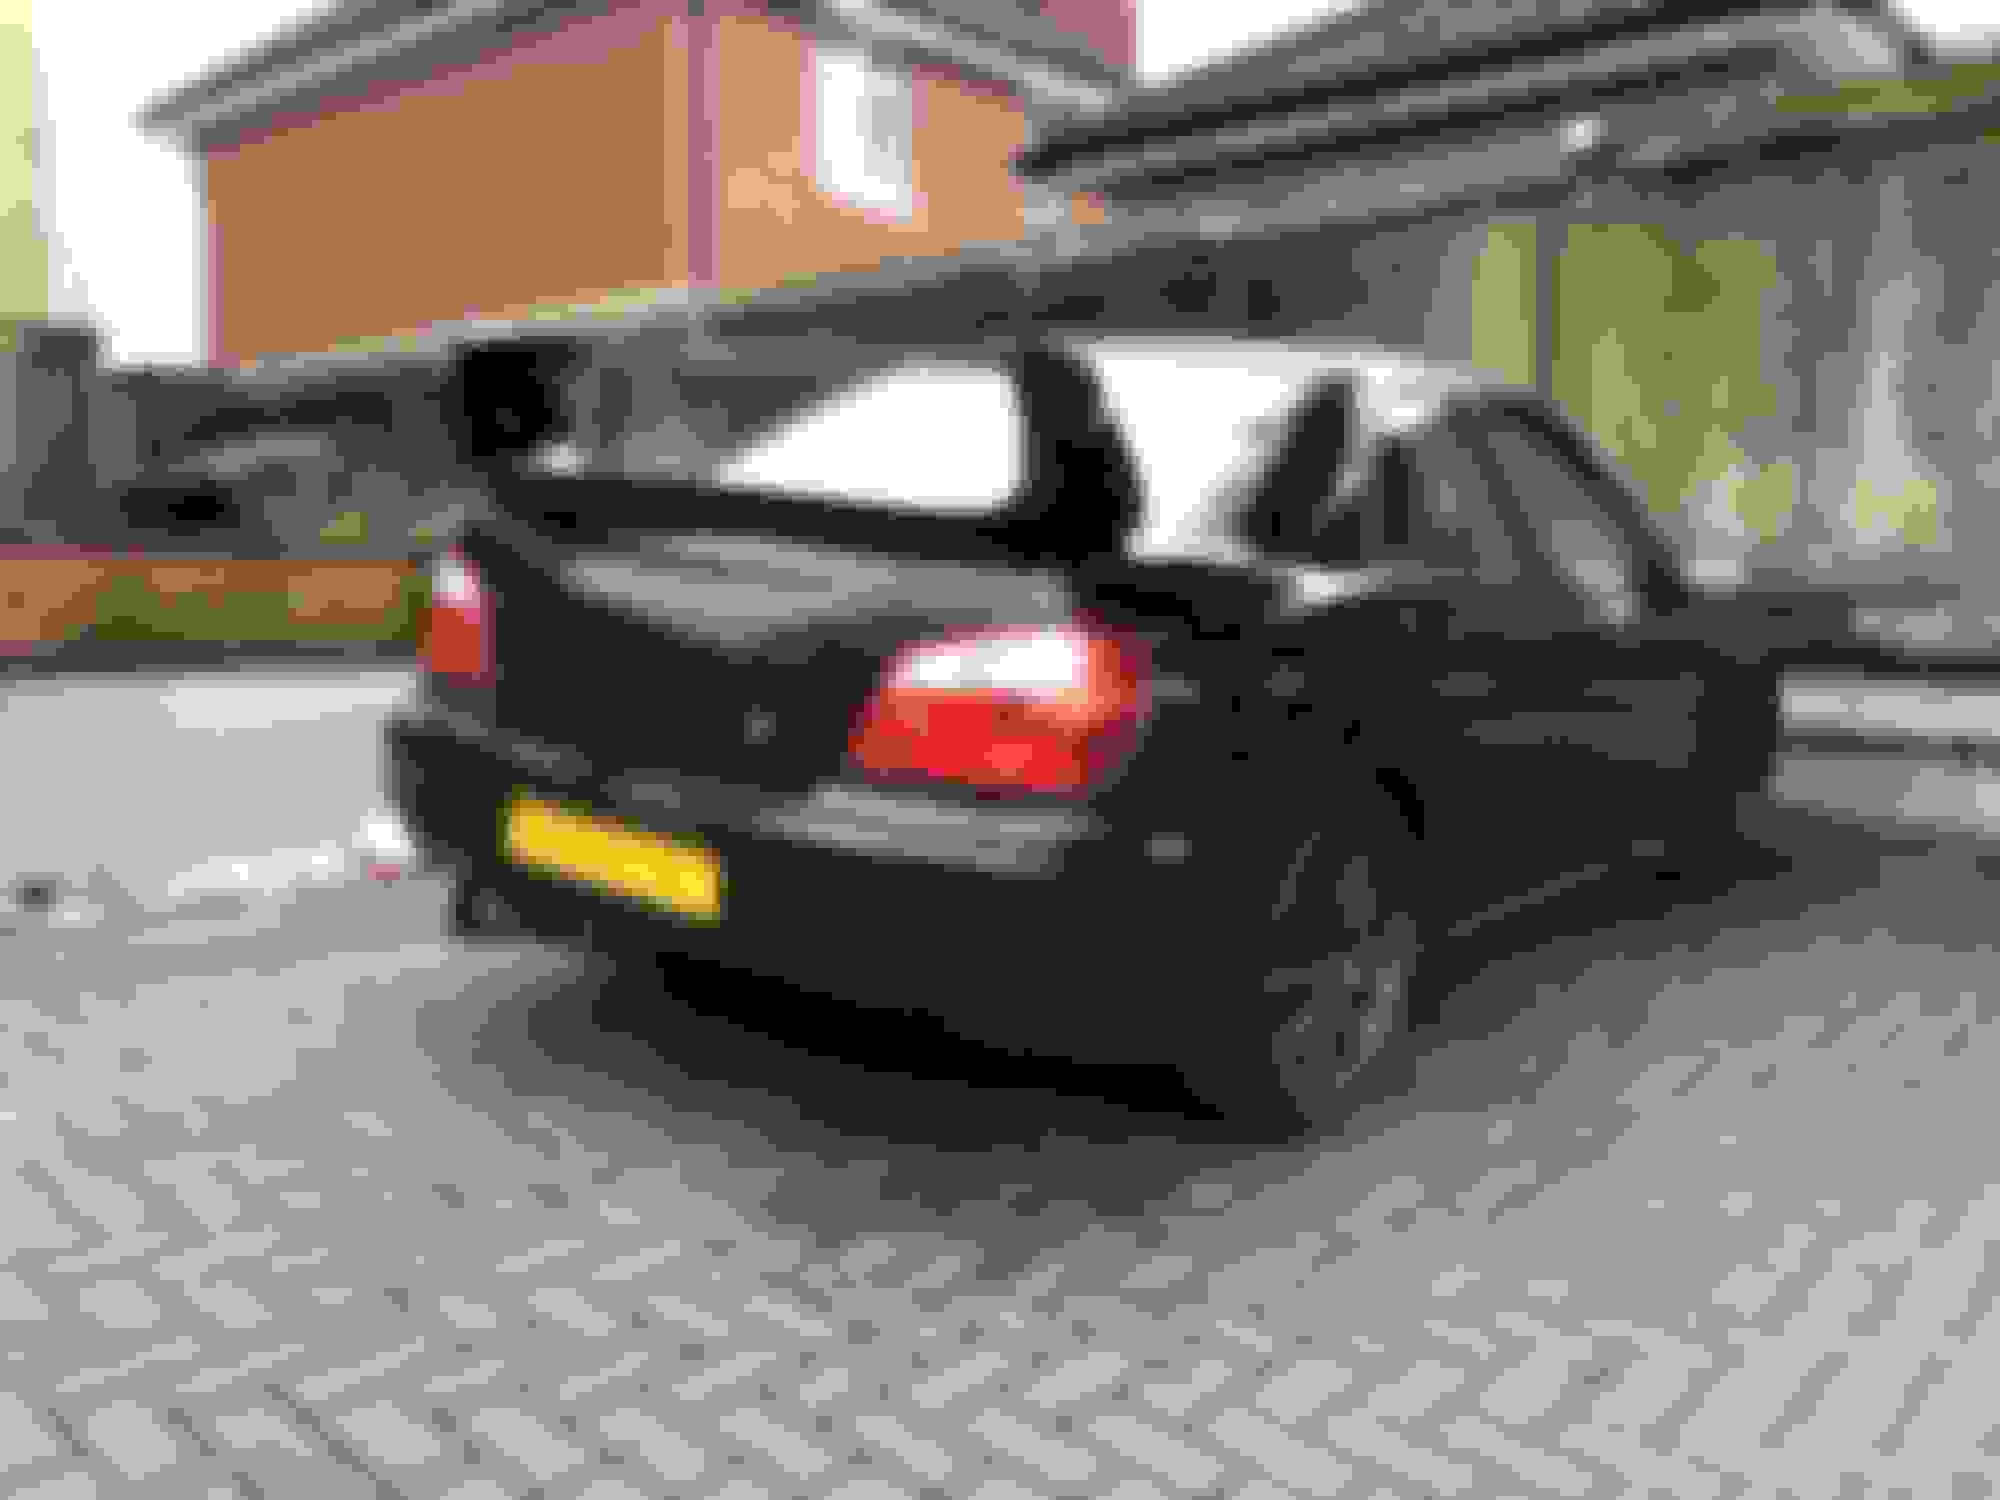
And after two (yes two) washes this weekend, it's looking good (even with a cracked front splitter). I recon I could fibreglass it back together (all those years of crashing motorbikes & repairing the fairings ) but it's not currently up on the priorities list.
[QUOTE=Kaosone;12045916
I also have a can of spray tint for the side repeaters but removing all the plastic crap from the arches to access them doesn't look like fun.
[/QUOTE]
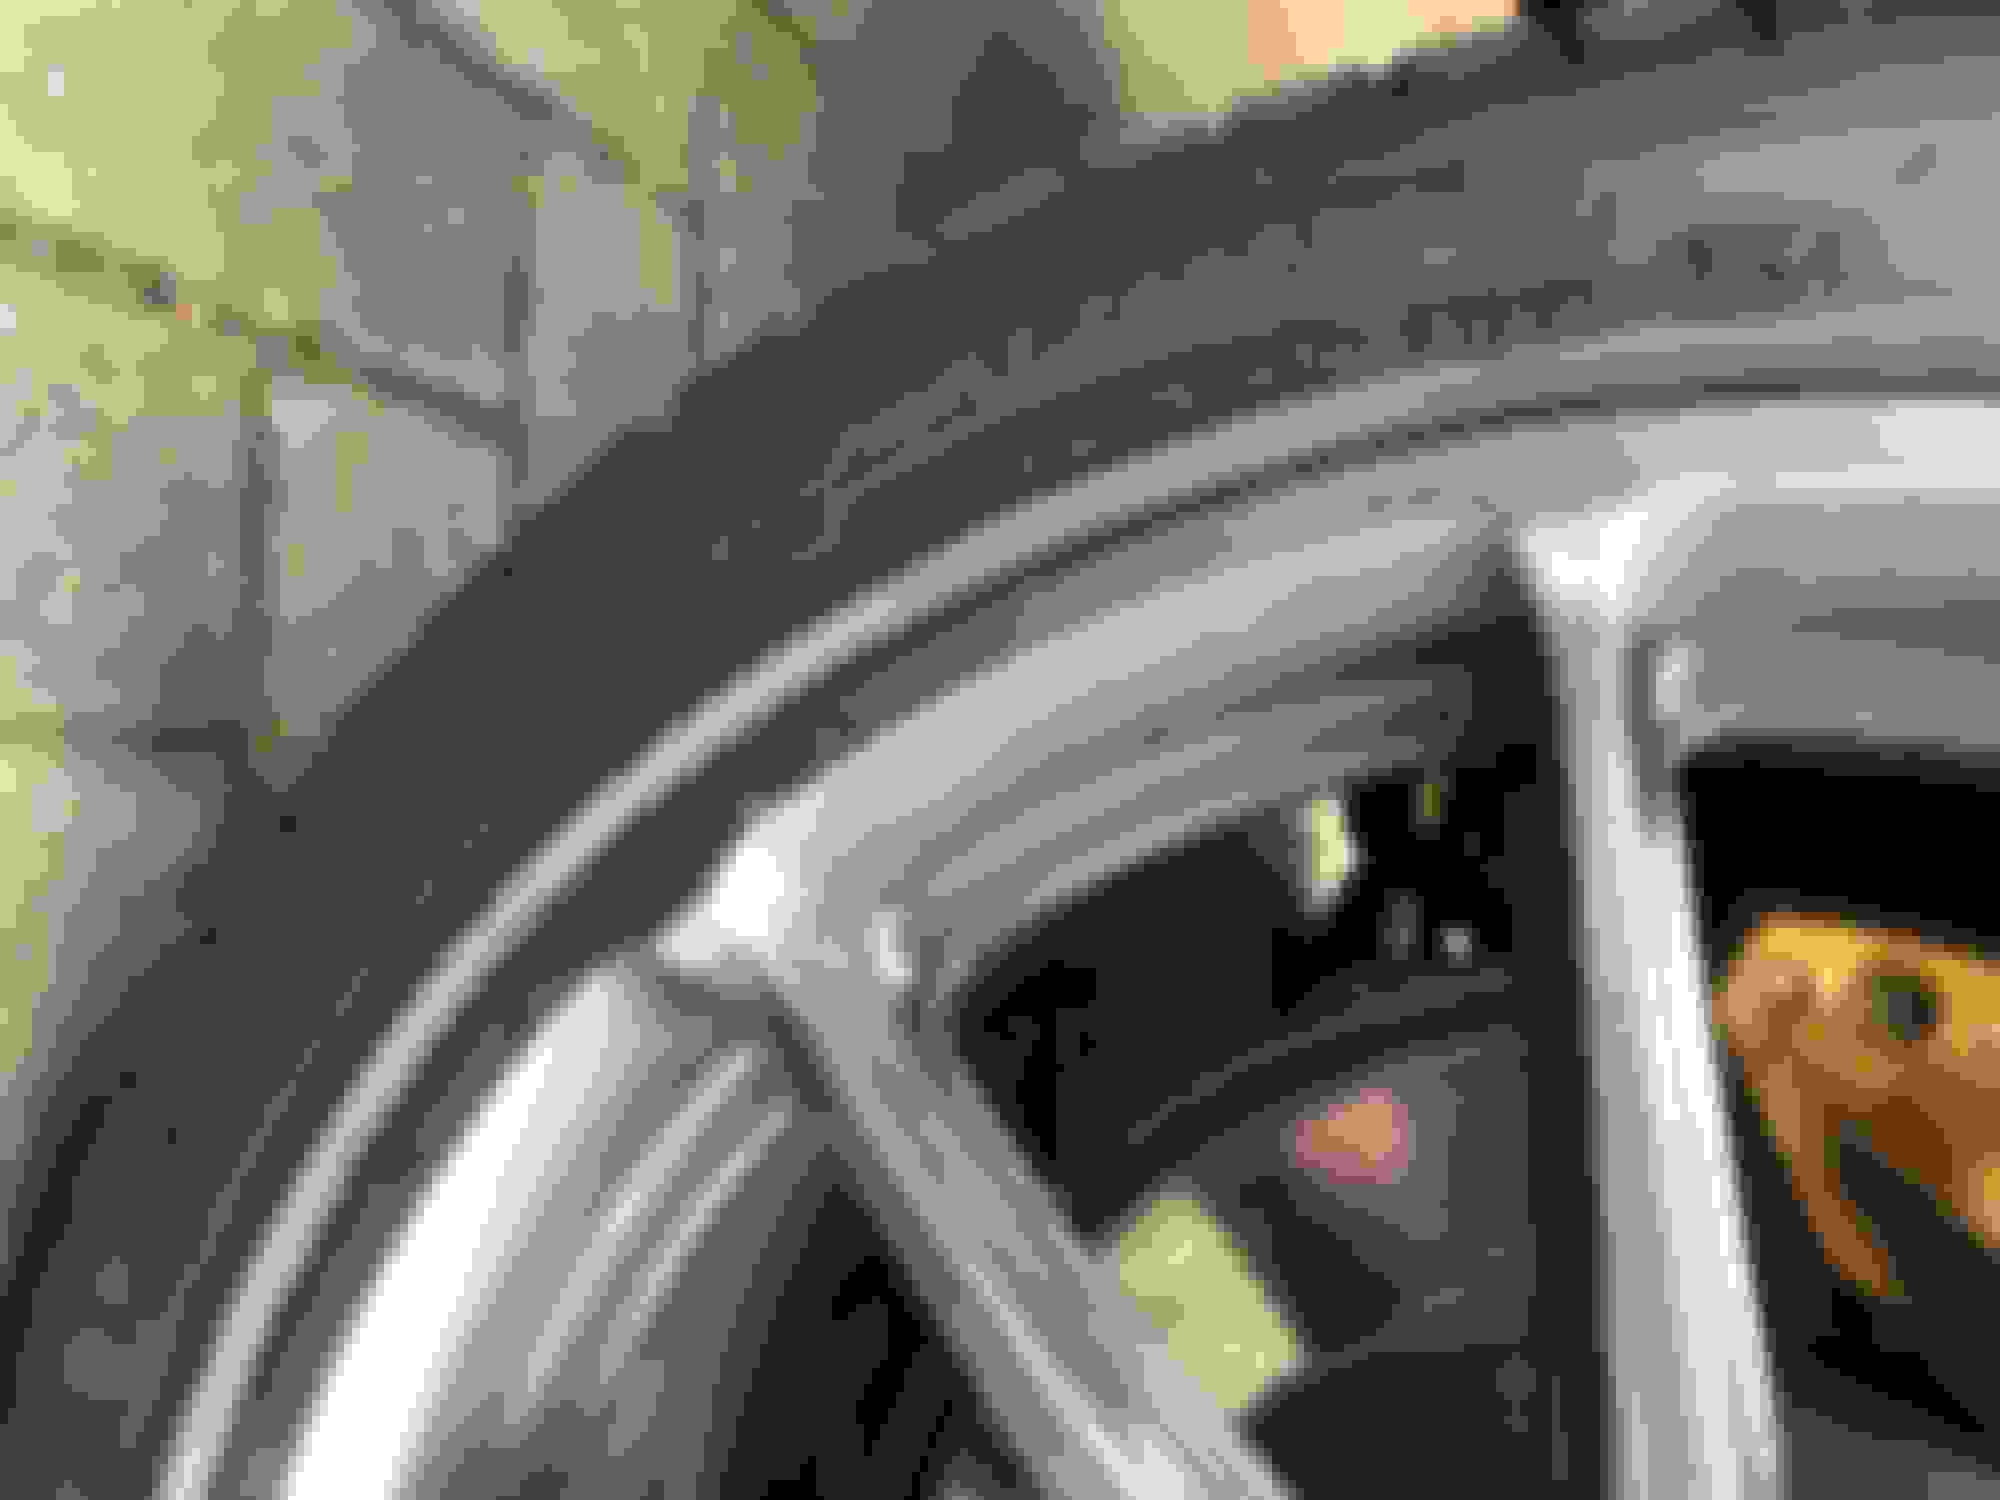
Also got these badboy's fitted as it turns out shagged winter tyres as sketchy as hell when it's 12 degrees outside . Noticeably a vast improvement & these ones even have tread on them
Also ordered me a new centre cap as the tyre fitter returned this one to me (along with a good chunk of the sealant that was holding it on)
I had an alignment done at the tyre fitters as I wanted measurements from the fast road geometry setup & I was bitter about not getting a print out (looks like this is it).
To my disgust I didn't get the printout everyone else gets showing the diargrams of the wheels & the read & green number boxes
Any thoughts on the above from anyone who understands what they're looking at..?
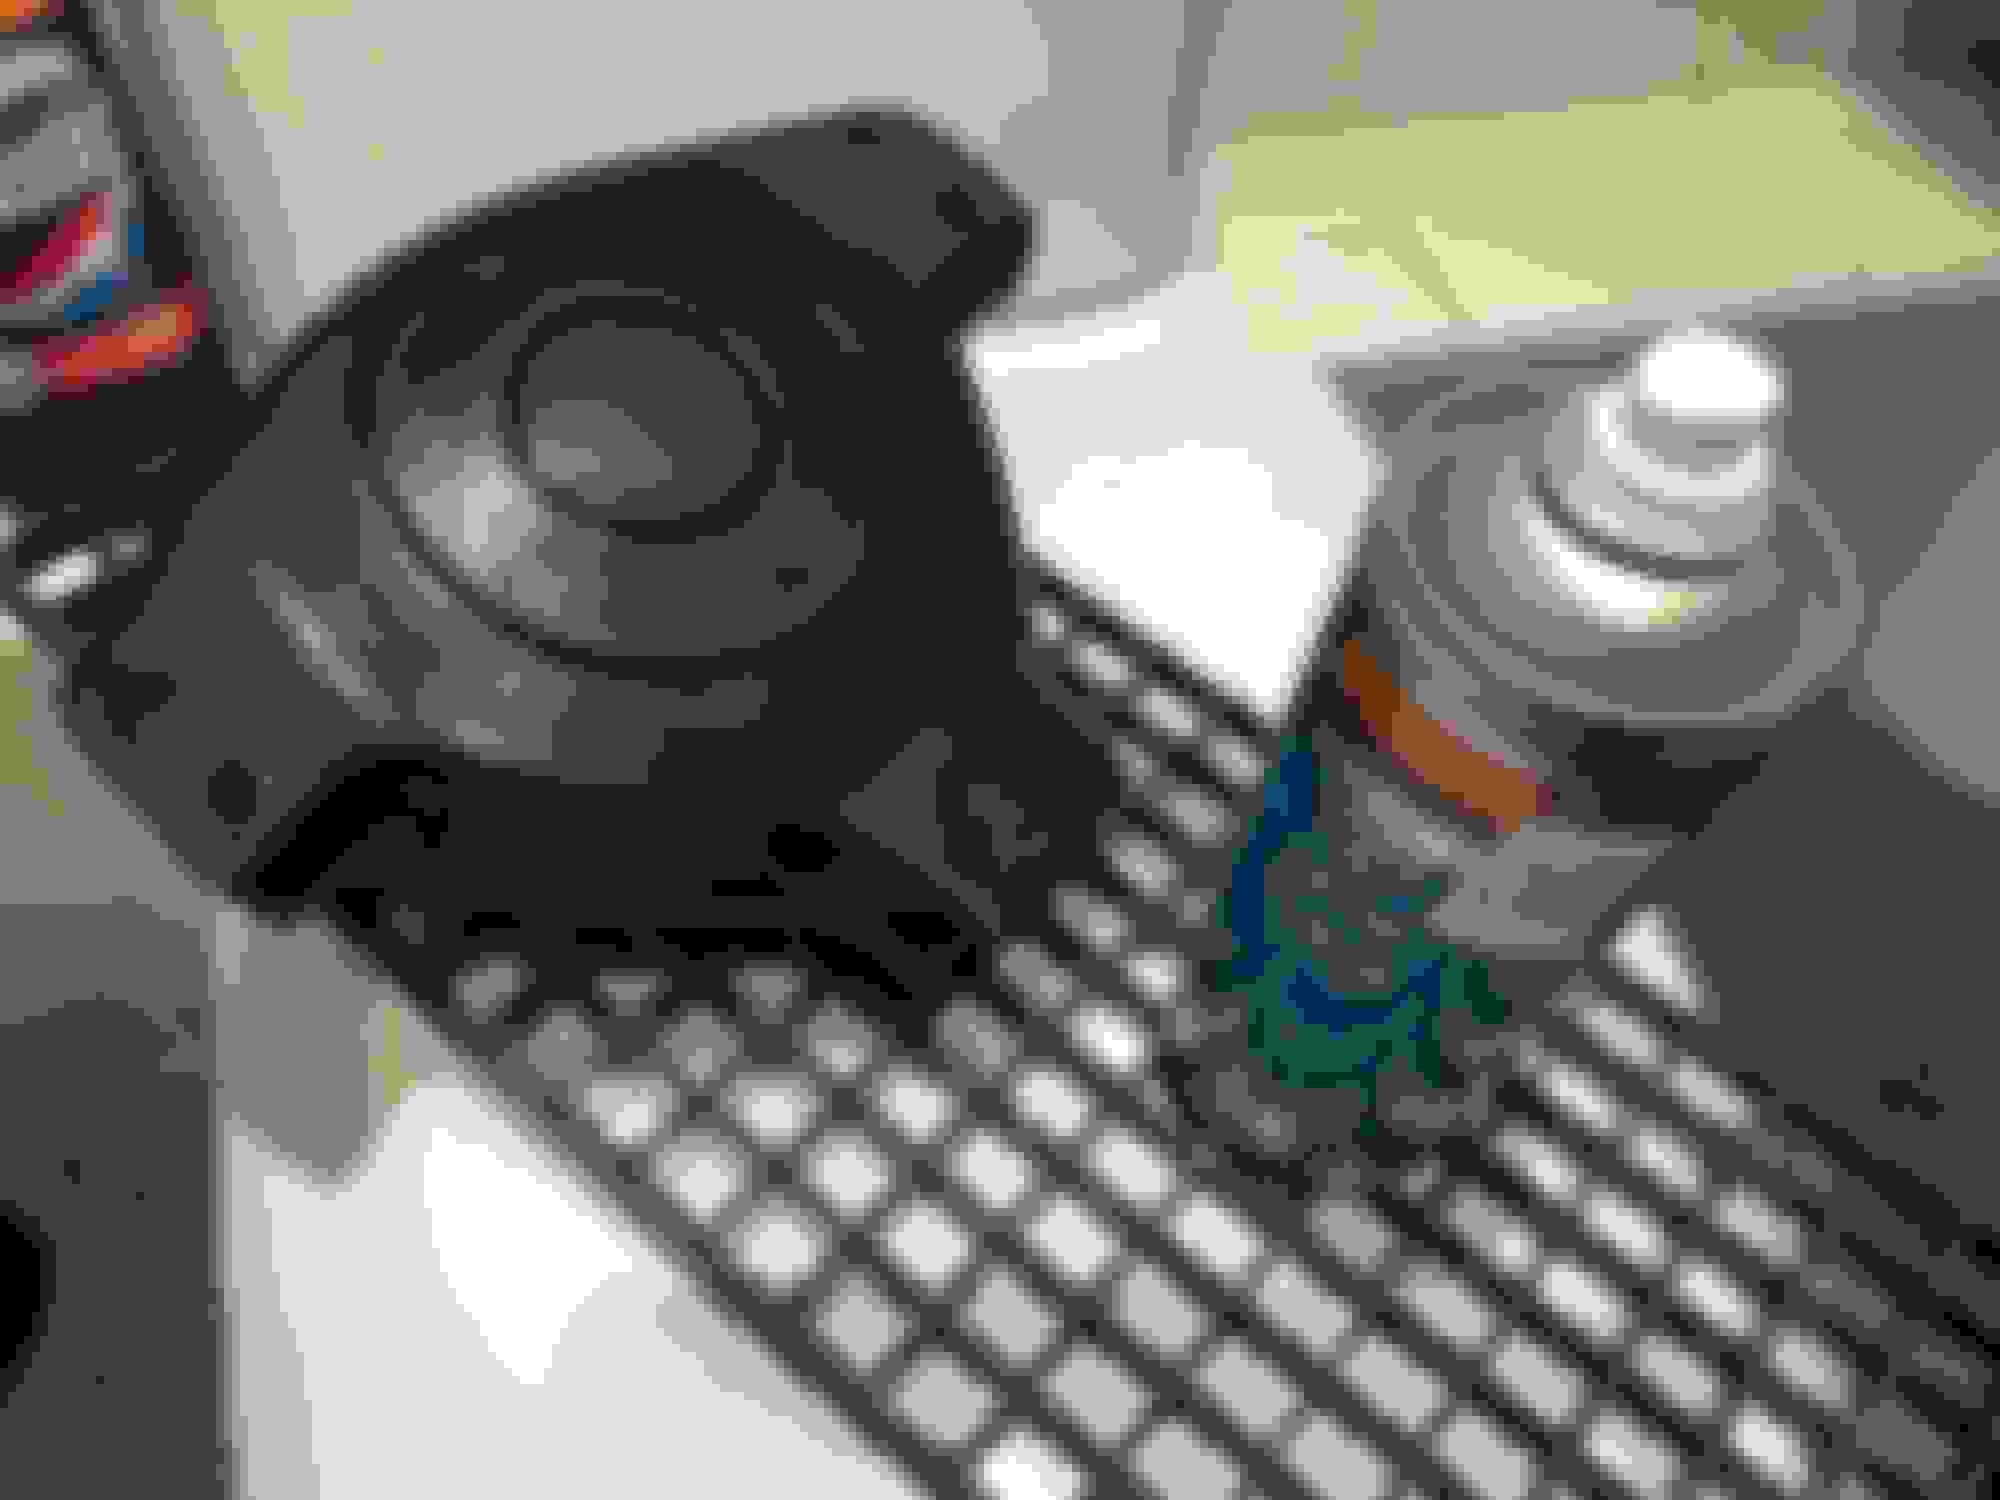
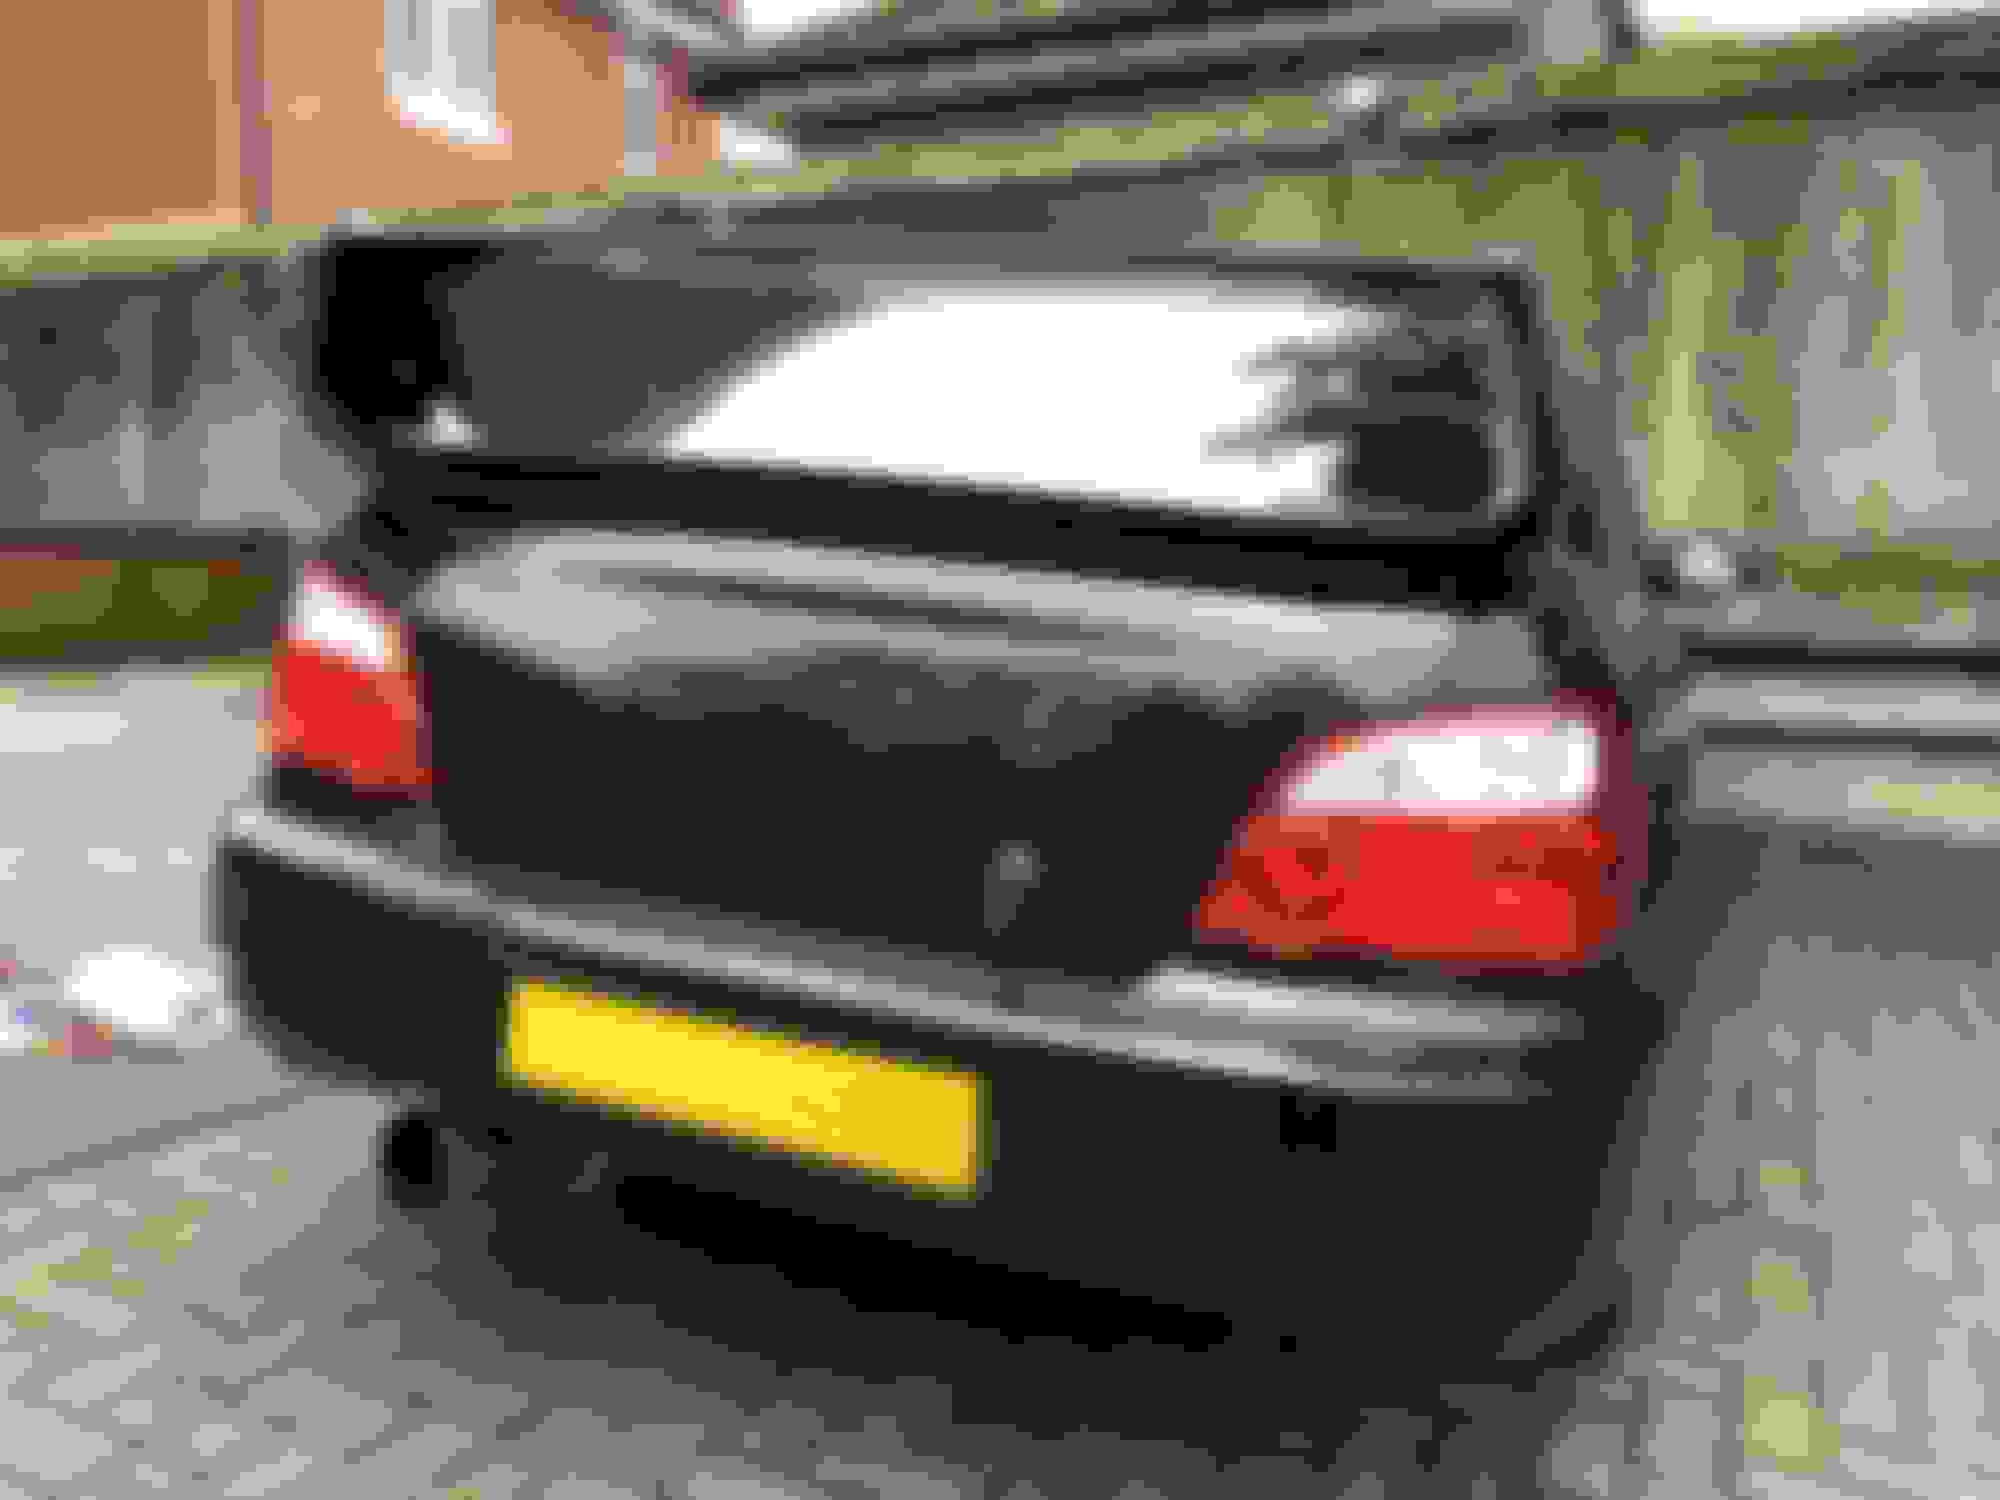
The adhesive just rubs off the underside of the spoiler
So after 1 hour & 7 minutes of rubbing & some light sanding later this side of the mating surface is good to go
Then I just need to replace the two corroded (funked) bolts from the rear corners of the spoiler & I have a tube of Tiger Seal to stick it back down with & also seal around the bolt holes
Cleaning up the boot lid is going to be the hardest part, that I need to research (be given inspiration ). I have a heat gun so warming & scraping is an option, unless there's something acidic that will break it down without damaging the paint.
For now though the holes are taped up with electrical tape & the rear view mirror has never looked so big
I am probably not the best person to ask as only have a set of ditch-finders & shot Yokohama winters to compare to but they feel very "connected" & especially in the wet
Sad news this fella been a follower of your thread from when you first started you will be missed on the forum
No interest in in so far (which I find strange as I thought it would sell quite easily having just had a monster service with cambelt & new tyres, also 15 stamps in the service book, only 3 previous owners & no MOT advisories for the last 6 years) so if it doesn�t sell it looks like I am keeping it.
Still here, took a month to get a genuine inquiry & by then I'd calmed down so here we are
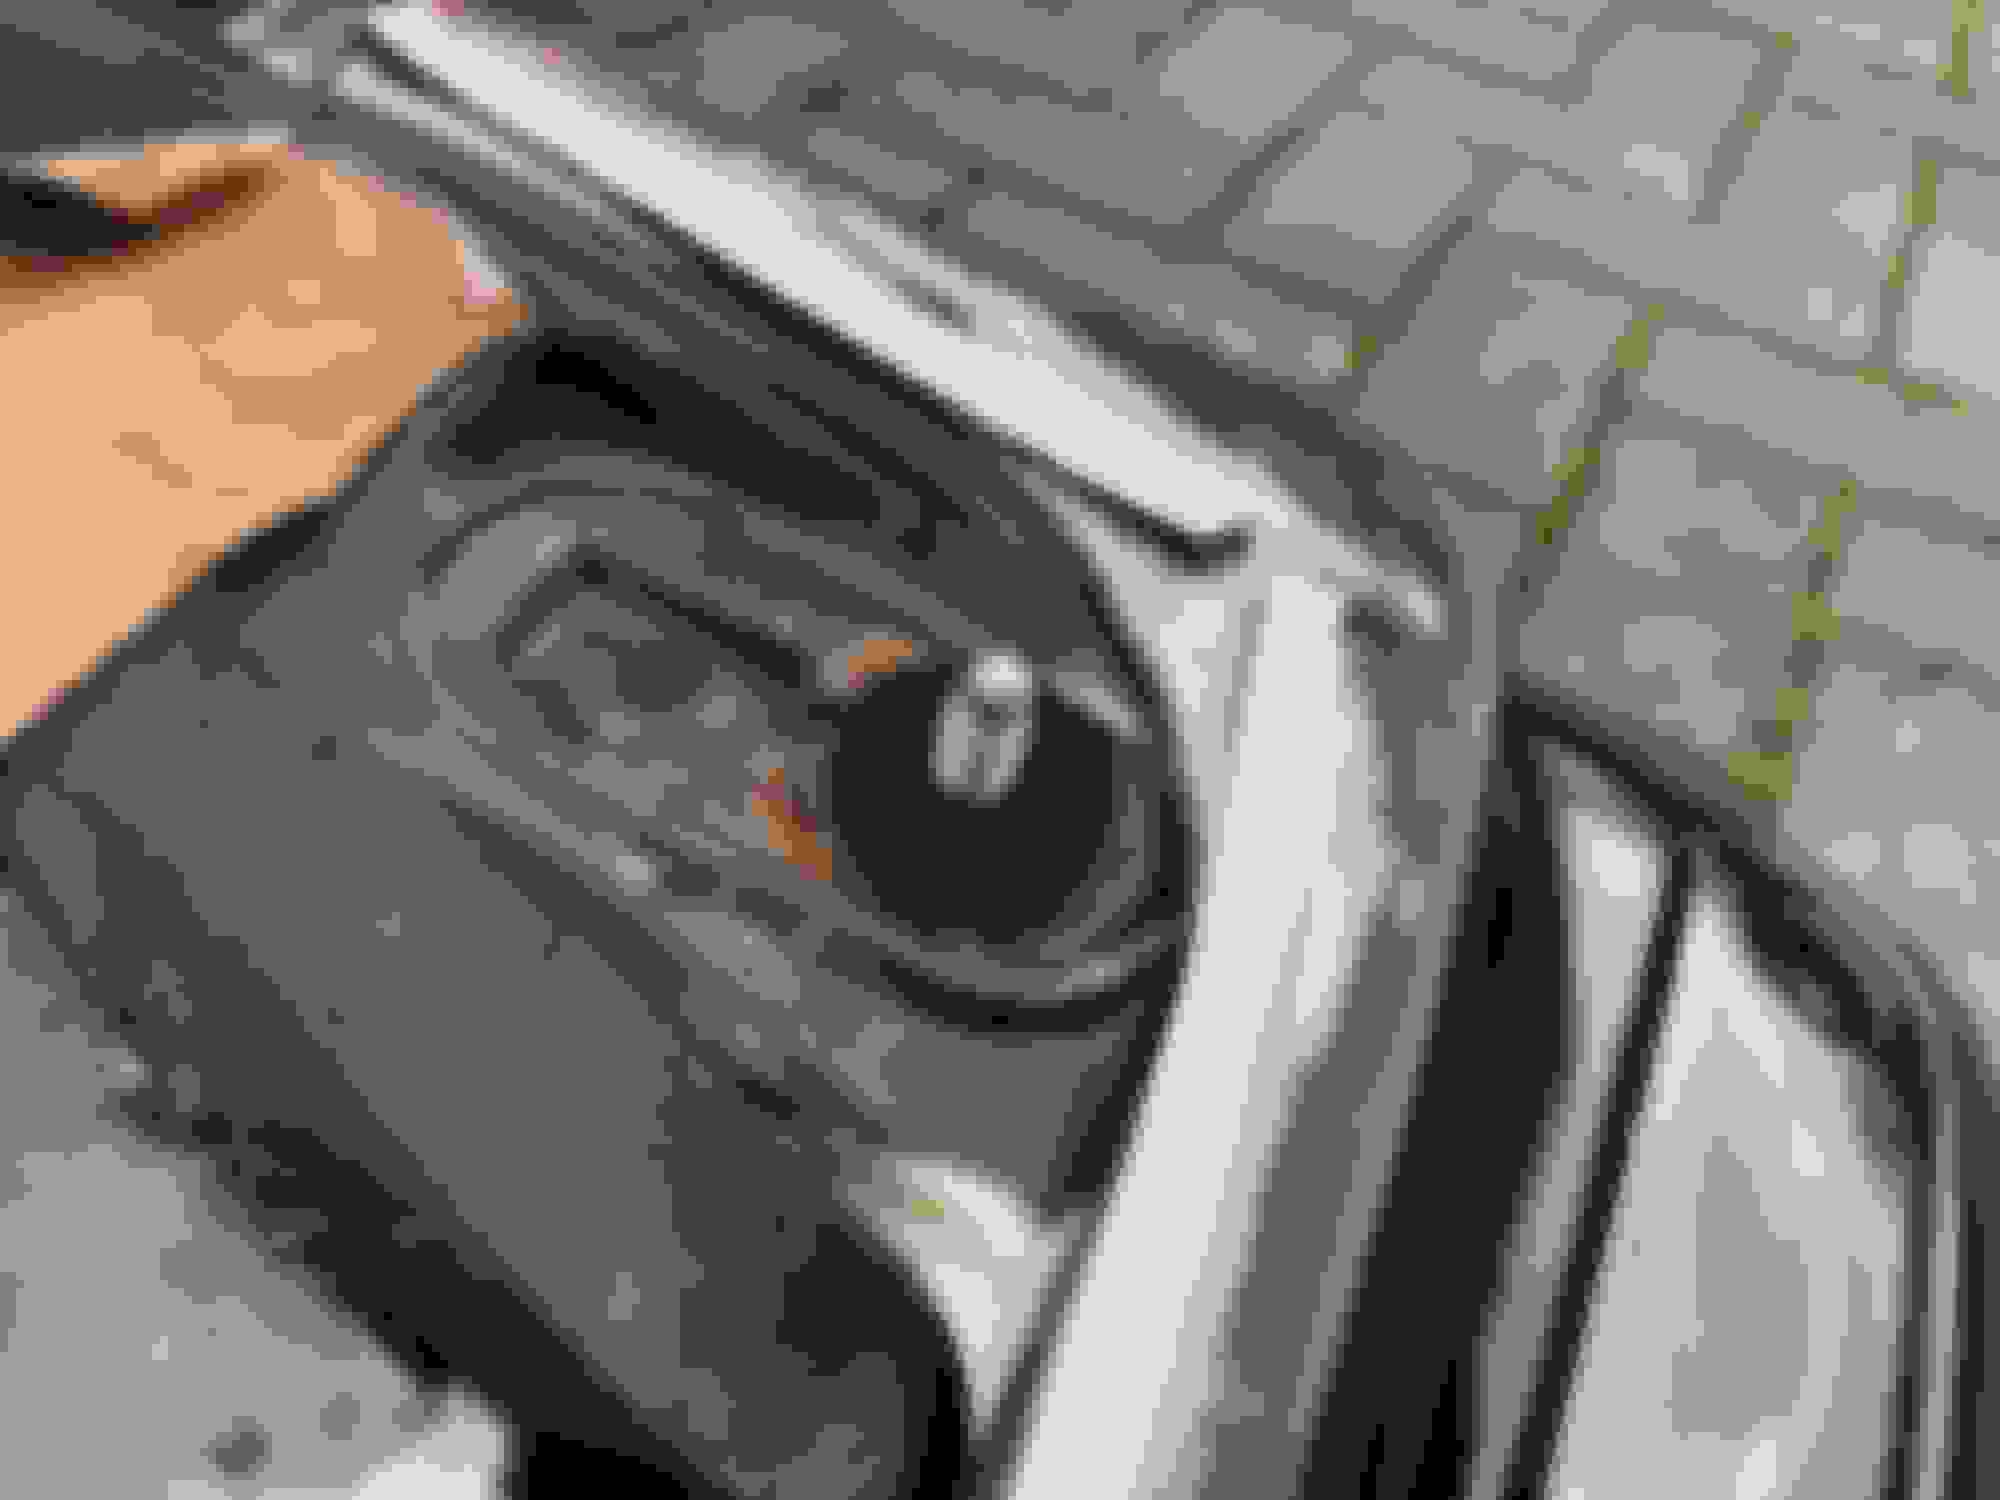
New Brembo pads which I am assuming are stock & are a small improvement over the (AdVan?) or whatever was in there...? (I am too tight to spend �120+ on a set of front pads )...
The inner pads on both sides were worn a lot lower than the outer pads - Is this normal (pistons seemed to move freely)?
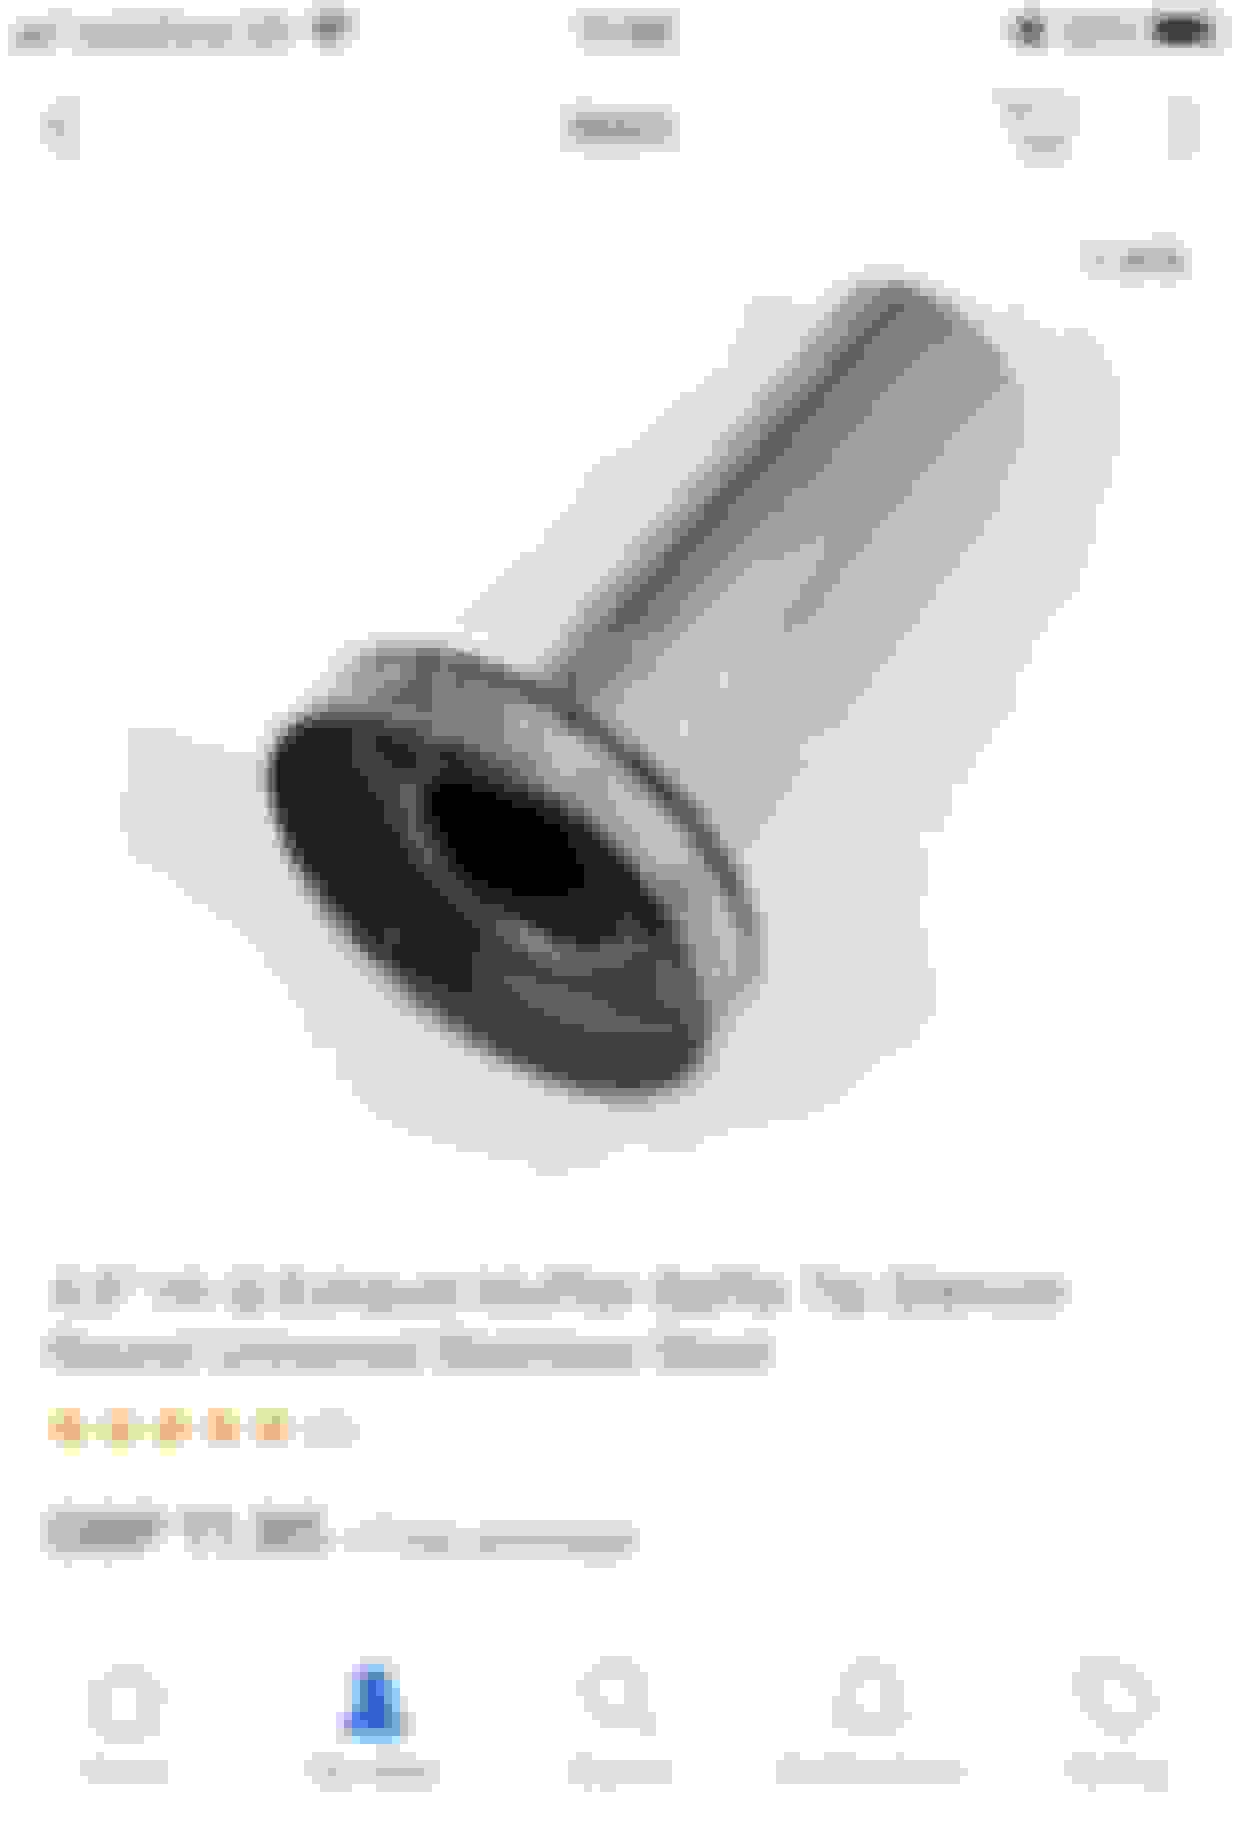
With both an MOT due & a booming H&S angled Jap backbox I took a punt on one of these for the sake of �12...
Drove to the MOT centre, fitted it & handed them the keys...
And it passed!!! That's 7 years in a row without any advisories & also without buying a ProDrive backbox
Sat for over 2 hours reading through this. Good work! Hope you still have her!! Given me plenty of inspiration.
Yup, still got it. just showed it some love as it's done 3,000 miles since the monster service it had in February.
Despite the fact I can't get it to do 20MPG to save my life... I like it
Originally Posted by RRP1STI
Great read fella,how do you find the Eibach springs now they have settled?,how much have they actually lowered car by?,Cheers
They're awesome...
My two biggest complaints about this car for the first 10 or so months where I resisted the urge to modify it were; the body roll & the gap between the front tyre & wheel arch. The Eibach springs sorted both of those, officially they lower the rear 25mm & the front 35mm, I'd describe it as "the perfect amount." Looks spot on now, the car sits lower & level, without arcing up at the front & is firmer all round with less roll. No complaints at all.
I only drove it for a very short time before fitting the Whiteline 21mm rear anti-roll bar & solid droplinks which noticeably made the car "crashy" over **** UK roads & my initial reaction was I should have just gone with the springs as they massively improved how planted the car felt.
However I've since got used to it I wouldn't change it back as it corners so hard while staying as flat as the engine layout . I guess the moral of the story is don't buy springs & a roll bar at the same time? Maybe?
I�d love to pick your brains about changing the LED�s in your Speedo and dash! Mine seem to have gone dim, not sure if they are dim or just me being used to brighter dials but I�d love to change it. You got any guide or info for taking apart and refitting and bulbs used or anything?
I'm about to start 'refurbishing' an 04 STi. The engine has lacked some care, so will order some new bolts and brackets and give it a go.
Replied to your PM
Originally Posted by Aaronfoster
I’d love to pick your brains about changing the LED’s in your Speedo and dash! Mine seem to have gone dim, not sure if they are dim or just me being used to brighter dials but I’d love to change it. You got any guide or info for taking apart and refitting and bulbs used or anything?
Hello mate,
I found the green bulbs in the stock Type UK clocks very dim (they're while glass bulbs with a green rubber condom thing on). The LED's are a much better solution.Threads with the info in below
It's straight forward enough, there's no soldering or anything, you just pull the bulb out of it's holder & push the LED in (LEDs are directional so if they don't light up rotate them 180 degrees). This is the same with the ignition barrel ring, I also bought an EVO clock that lights up white & put blue film over the front to match the clocks.
I didn't do the bulbs in the headlight adjustment & fog light switch (by your right knee) as they look like a b45tard to do & are out the way. I failed with the bulbs for the HVAC kit though & ended up just removing them so they don't light up now (but that's just between you & me ). There are threads on it but I am either a **** or the hawkeye is different


 ...
... 
 )...
)... 
") )
)


 ), then sand & lacquer the lenses. Airbag also needs repainting (satin this time - go figure
  ). I also have a can of spray tint for the side repeaters but removing all the plastic crap from the arches to access them doesn't look like fun.
 ) but it's not currently up on the priorities list.
 ) years
 )
)
 )
)


 )...
)...