When you click on links to various merchants on this site and make a purchase, this can result in this site earning a commission. Affiliate programs and affiliations include, but are not limited to, the eBay Partner Network.
I�ve seen a couple of TD05 18G turbos up for sale recently & I want one. I don�t need one, but that�s not the point.
I also felt how hot my intake manifold & more importantly my TMIC get after a drive & found it shocking.
So on top of upgraded turbo urges I am also conflicted about fitting; thermal inlet spacers, a turbo blanket, making up some form of heatshield, sealing the intercooler to under the bonnet & wrapping the up & downpipes vs. Manning� up & fitting a front mount which I know the best option although I didn�t want to ditch the stock airbox, cut my front bumper &/or lose the stock look
To add to that I also can�t help thinking my bushes could do with replacing. After 100k miles & 16 years (assuming they�re original) it seems logical that they�re past there best, yet on the other hand that sounds like throwing money at a problem that may not exist
I do actually have a couple of genuine complaints about the car so while an uprated turbo would be nice & all it would make sense to address these. The issues in question are...
1) Gearbox feels lose, the shifter is like playing with a limp dick.
2) Vague steering feel. The wheel has about 10 degrees of play in it & fine adjustments fo nothing.
So with that in mind & the best part off two weeks off work over Christmas I ordered a Group N gearbox mount from AS Performance & from eBay picked up Whiteline Steering rack & Whiteline gearbox crossmember pads.
Everyone�s favourite auction site also turned up a 2015 STI steering rack
It�s 13:1 ratio over the stock 15:1 so is a �quick rack� (the newage Spec C racks are 13:1) & more importantly is a different design which has �feel� so it should be a good upgrade & vast improvement.
Speaking of AS Performance yesterday I called them & spoke to Alyn about Harvey Smith headers & up pipes (there’s a post on here from around 2012 mentioning they will continue to supply them but nothing since).
The up-pipes are available @ �189 delivered.
The ported headers & up-pipe are �495, then when you ship your stock headers back they refund you so the total comes to �375 (I think ).
Food for thought. Along with a 3-port boost solenoid, front mount & mapping etc
you could change shifter bushing too especially rear one
Originally Posted by Kaosone
Compared to the SuperPro kit which is just the bush, The Whiteline kit also comes with a mad bracket thing which keeps the lever in check (far superior)...
The rear shifter bushing has already been replaced with the Whiteline one
What I do need to consider however is if I do the pitch mount & while I am in there do I also fit my black intake manifold, thermal spacers, a silicone inlet hose, turbo blanket & wrap the exhaust pipes (would make sense to do all those little jobs in one hit but the cost adds up).
I also felt how hot my intake manifold & more importantly my TMIC get after a drive & found it shocking.
So on top of upgraded turbo urges I am also conflicted about fitting; thermal inlet spacers, a turbo blanket, making up some form of heatshield, sealing the intercooler to under the bonnet & wrapping the up & downpipes vs. Manning� up & fitting a front mount which I know the best option although I didn�t want to ditch the stock airbox, cut my front bumper &/or lose the stock look
Careful with the front mount - it's not certain that it's better at all. There's a lot of extra pipe-work for one, and the volume of the cooler itself is enormous compared to the STI item.
In my (probably not so humble) opinion, the front mount makes the car worse to drive compared to the STI TMIC i'm running now.
I've had both STI TMIC and front mounts (Autobahn 88 and JapSpeed) on the car with a td05-20g, and there is more lag (not talking spool time) with the FMIC, particularly at lower revs where the turbo isn't _quite_ fully spooled up yet.
Wrapping the exhaust pipes will make a difference to under bonnet temps, as will heat shielding around the turbo. There are the "turbo bonnets" (as in, hats), of course, but I also bought (many years ago) some heat shielding matting from Alyn at AS Performance, and my feeling is that it makes a big difference also (probably more so than e.g. the downpipe). Reason being that the turbo exhaust housing will be warmer than the downpipe (probably close to up-pipe temps), and it also sits very close to the intercooler.
My personal feeling about the phenolic spacers is that they are a waste of money, unless you need the space under the intake manifold for a bigger inlet pipe etc. The reason for this is that the air does not sit around in the inlet manifold for long enough for significant heat transfer to occur into the air itself, even if the manifold is hot to the touch.
Careful with the front mount - it's not certain that it's better at all. There's a lot of extra pipe-work for one, and the volume of the cooler itself is enormous compared to the STI item.
In my (probably not so humble) opinion, the front mount makes the car worse to drive compared to the STI TMIC i'm running now.
I've had both STI TMIC and front mounts (Autobahn 88 and JapSpeed) on the car with a td05-20g, and there is more lag (not talking spool time) with the FMIC, particularly at lower revs where the turbo isn't _quite_ fully spooled up yet.
That's interesting, was the car mapped when the intercoolers were swapped?
I think the moral of the story here might be don't open the bonnet & touch things in the hot engine bay . I'd just been out & about so there was plenty of time for it to heatsoak without direct airflow & plus its always been like that (as I expect most are).
However now at least I can see there's work to be done here. I'll have a read through "Floyds Economy Stage III" thread again as he did some work on getting the best from a top mount & had IAT data to back it up too (https://www.scoobynet.com/projects-4...stage-iii.html).
Originally Posted by Henrik
Wrapping the exhaust pipes will make a difference to under bonnet temps, as will heat shielding around the turbo. There are the "turbo bonnets" (as in, hats), of course, but I also bought (many years ago) some heat shielding matting from Alyn at AS Performance, and my feeling is that it makes a big difference also (probably more so than e.g. the downpipe). Reason being that the turbo exhaust housing will be warmer than the downpipe (probably close to up-pipe temps), and it also sits very close to the intercooler.
Someone might have got a bit carried away today ordering heat wrap etc ...
Where did you install the heat shield matting? Under the turbo heatshield?
Originally Posted by Henrik
My personal feeling about the phenolic spacers is that they are a waste of money, unless you need the space under the intake manifold for a bigger inlet pipe etc. The reason for this is that the air does not sit around in the inlet manifold for long enough for significant heat transfer to occur into the air itself, even if the manifold is hot to the touch.
Someone might have ordered a set of these too
I have a black inlet manifold I painted the best part of a year ago which I should really get round to fitting & if I am going through the ballsache of pulling of the strut brace, intercooler & throttle body etc then while I am it I'll fit the phenolic spacers as well as sorting out a few other bits.
Originally Posted by Henrik
Also, nice car - i like the boot spoiler
Thanks, I like it too & am trying to make it better . Boot spoilers are awesome, everyone should have one
Parts hoarding continues, for what I am classing as “phase 2” (phase 1 will be under the car)...
OBP 3 port baffled catch can, to plumb both the cylinder head vents & the PCV (crankcase) vent into. The baffles will separate any oil that blows by so it can be drained from the can & will keep it out the intake / intercooler / engine.
I am assuming there are two “return” ports on the inlet hose one for the pcv & another for the cylinder head vents (they join together on the rail on the front of the intercooler). I’ll blank one off & run a single return line from the can outlet to the intake to keep it a closed loop system
I am hoping it really is Subaru specific fitment, but at least having a bracket on it to begin with is a start...
Turbo blanket & DEI heat wrap for the up & down pipes, shout make a dent in the battle against heatsoak...
Bargain bucket pitch mount, feels really nice quality for a �25 knock off (probably feels about the same as a �120 one )...
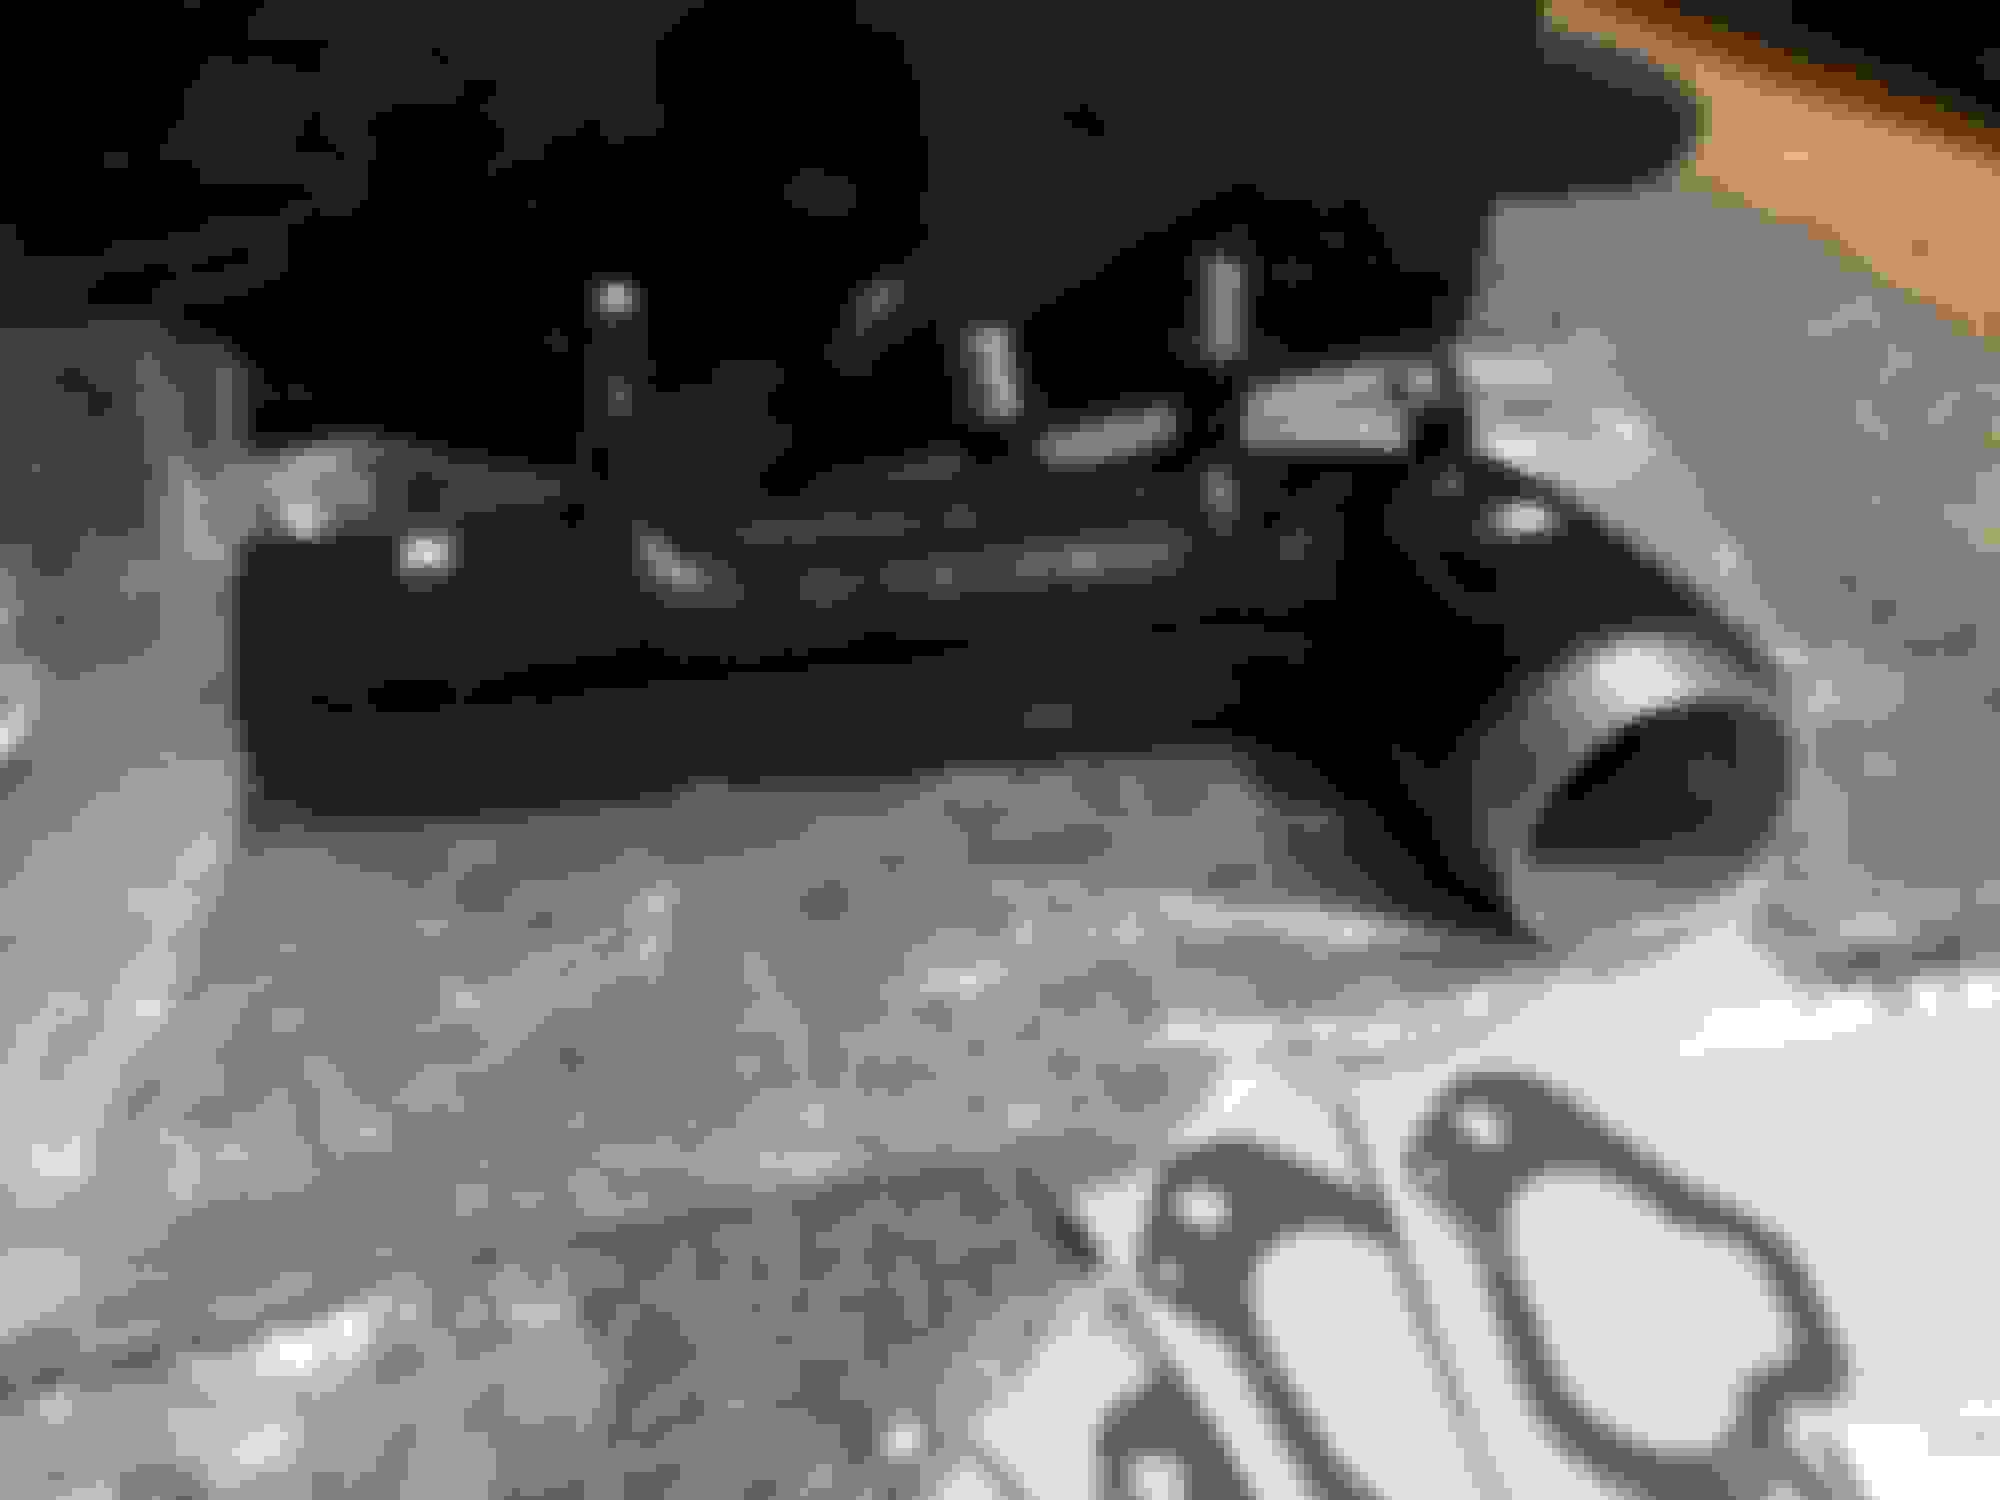
10mm Phenolic spacers from AS Performance & gaskets...
Silicone inlet manifold...
As much as I’d like a Perrin one this was �102 (not �220) so under 1/2 price & while I’ve not seen a Perrin one 1st hand I doubt this is 1/2 as good.
It’s widely reported the cheap & nasty stock plastic one can collapse under boost, the jubilee clip the seals it to the turbo can mince the plastic & the ridges in it cause turbulence.
Word on the street is this is “designed to be fitted with the inlet manifold in situ” so I am guessing it’s narrower than some of the others & is closer to a replica of the stock inlet (I’ll offer them up when fitting).
Is a thick design & feels rigid, should be a better quality replacement for the stock inlet pipe...
Christmas came & went, perhaps not as productive as I'd have liked but progress none the less. I dug out the WRX manifold I smoothed the casting marks out off & painted about 10 months ago & threw that on the pile...
Starting under the car, old gearbox brace pads (I'd never taken the gearbox cover off before, so I'll revisit this with a drill/wire brush, hammerite & underseal)...
Turns out I already had a Group N gearbox mount
The original one flexed which the new one didn't, so I fitted it
Old vs. new gearbox cross member pads, the old ones were very plyable compared to the Whiteline ones....
Verdict:
A) It's ******* cold lying on the floor in this weather.
B) It's made a slight improvement, very slight but an improvement (still sloppy though).
More stealthing - Throttle body & intercooler top hat spacers
Yeah, that's my bathroom
Speaking of the Intercooler it's a bit oxidised
I know opinions are divided on painting intercoolers (Frayz did it so it must be OK), however I didn't paint the core & this stuff should allow metal to dissipate heat by up to 15% (not overly fussed, I just want it black)...
OBP Catch can mounted, I removed the bracket that supports the AC line that runs to the rear bulkhead, spaced the can out with 2x M8 nuts & used longer bolts to mount it...
The mounting holes didn't line up so I had to elongate them so I could get the bolts in straight so it's nearly "Subaru fitment" (also the Subaru breather hoses are 13mm so why they chose 10mm for the can is beyond me )...
Solid pitch mounted fitted (as the rest of it was doing me in & wanted an easy win)
The weekend after new years & royal mail have just delivered this lot on a Saturday, the only thing missing is the 10mm silicone hose I ordered for the catch can...
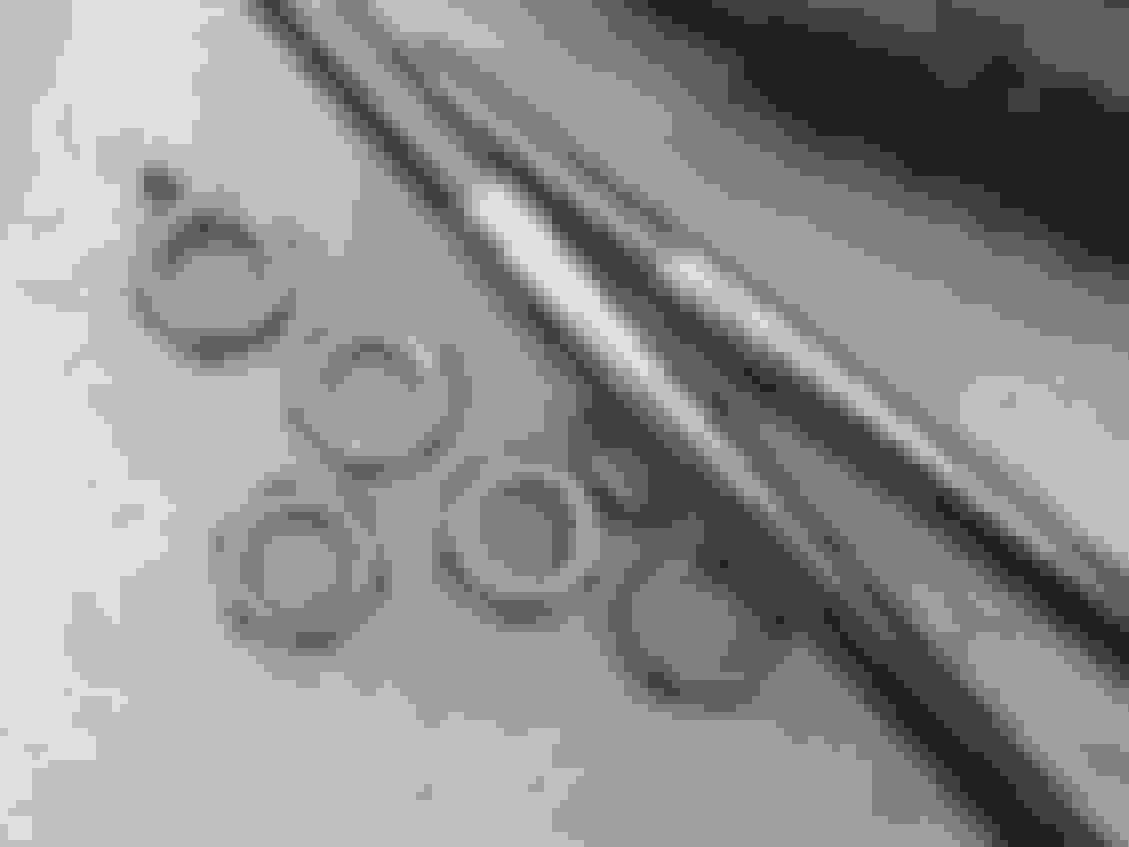
Bungs to block off the intake holes for crank & head vents, a filter to vent the catch can to atmosphere (saves feeding s7itty hot air back into the intake), 13mm - 10mm reducers to drop the breather hoses down to match the catch can, 10mm 90 degree pieces to route the catch can hoses without kinking them & jubilee clips to secure them.
The longer bolts are A4 stainless (obviously ) & for the "not TGV's". The stock bolts were 95mm so with 10mm inlet spacers I'd need 105mm , these are 110mm (were easily available in a short time frame). Either the threads are long enough or I'll have to get creative...
Pipe from the crank case breather: One is 17mm & I used the PCV valve I'd drilled & tapped to block it, the other is 13mm & has a 10mm reducer in it to run it to the catch can...
Seeing as my silicone hose never showed up I am temporary using this clear 10mm I had knocking about...
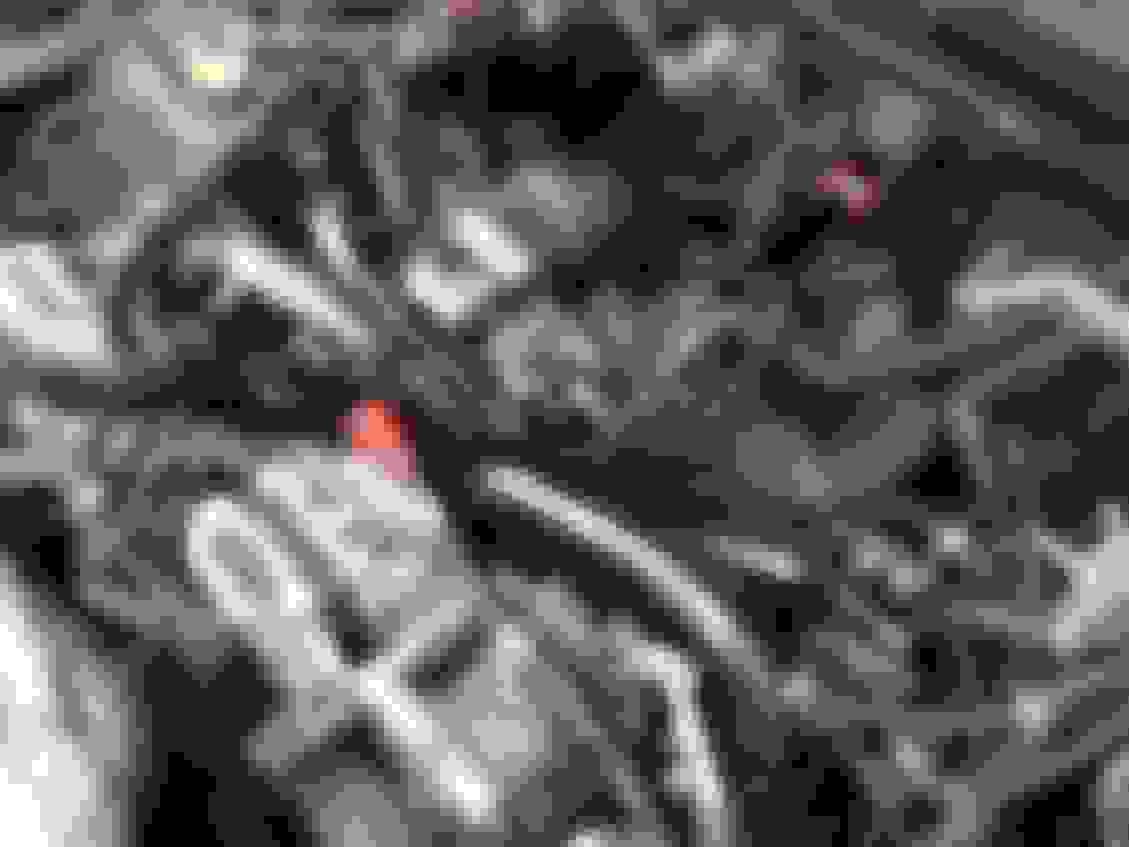
I've ditched the pipe that used to run across the intercooler & feed both cylinder head vents into a single point in the intake, just below the wastegate actuator you see the far left head vent & the crank case breather exiting just below the throttle body...
I was restricted by the lengths of pipe I had but round two will be neater (& I'll paint those brass elbows black ). I'd also like to run some pipe to hide the catch can breather down out of site in case MOT testers don't like it (I need to look into if it needs be be higher than the can to vent though)...
Inlet hose: Not sure? The fit seems "forced" also I am sure one of the vacuum inlets is the wrong size as I split a hose on it & ended up routing it to a smaller port that was for something else & connecting the "something else" pipe else where . Whatever it's fine.
Thermal Spacers: I didn't photograph them but they're in (I haven't touched up the inlet manifold since though).
Turbo Blanket: I have touched up the intercooler though & the turbo blanket appears to be working miracles. Not a very scientific test but after a boring commute to work I expected it to be heatsoaked to hell & while it was maybe a little warm but not so hot I couldn't hold my hand on it like last time (will investigate further
Solid Pitch Mount: Probably the biggest bang for buck so far, was only �25 & made a night & day difference compared to the gearbox mount & cross-member pads (although every little helps). The gear lever now feels like a "bolt action rifle" (I don't recall ever firing one but it seems like a fitting description none the less).
Catch Can: Nothing to report as of yet, need to put some more miles on it. However seeing how much oil was in the inlet manifold it seems like a worthwhile investment.
DEI Heat Wrap: This stuff is epic, but I couldn't be fcuked to pull the downpipe off & wrap it so I returned it & got my �50 back
Hammerite: I love this stuff it has stealthed the under bonnet up nicely & it all blends in rather than being broken up by the red (plus I am plain & boring so this suits me).
Next...
I bought this DEI Reflect-A-Cool adhesive to line the inside of the stock heatshield which I am going to paint with VHT (black incase you were wondering ) & refit for the stock / stealth look (I probably wouldn't have bothered with the shielding if I'd noticed how effective the turbo blanket was before ordering it).
With my Forge BOV (that was on the car when I bought it) being stainless it sticks out "a bit". I won a recirculating valve from an STI hatch which is like new & came in at a whopping �15.50 delivered (different part number but matches the gasket for my intercooler). I'll paint it black & then after going through the trouble to remove the recirculating pipe & bung the new intake at the source I'll probably be swearing a lot when fitting it .
*Note: I am subscribing to the theory that instead of losing all that air from the intake system while changing gear it would make sense to pump it back into the inlet before the turbo. Documented here: https://www.scoobynet.com/scoobynet-...ifference.html
Finally more stealth is required :
I need to pull the intercooler off to redo the catch can lines & while I am at it I'll paint the intercooler & cable mounting brackets, catch can & the elbows on the catch can hoses (Brass? ). I'll also do some hose & cable management to secure & tidy things up a bit, fit the recirc valve & (black) heatshield & put my strut brace back on.
I am also tempted to source a standard front anti-roll bar, get it powder-coated gloss black (to match the rear) & fit it with Whiteline drop links & bushes while installing the 2015 steering rack (I'll save that for when it warms up outside though).
I desperately need to fix my tmic, and yours looks good so I might copy your design there
Thanks, what do you mean by �fix your TMIC�, tidy it up?
Noticeably after painting around the edges the core looks worse for wear, I�ll have a go at straightening the fins out at some point. I am skeptical about painting the whole thing in case of reducing its efficiency.
Thanks, what do you mean by �fix your TMIC�, tidy it up?
Noticeably after painting around the edges the core looks worse for wear, I�ll have a go at straightening the fins out at some point. I am skeptical about painting the whole thing in case of reducing its efficiency.
Yes, painting the edges... My core is a complete disaster zone. I've straightened all the fins, but a lot of them were so mangled and corroded they broke off in chunks. I'm hoping to clean the core up by using a foam paint roller on it with some silver paint. Should at least get to a uniform colour that way, and not affect the heat exchange properties either as the fins won't be covered.


 ), on the right is a T5 bulb mount as used in the clocks which is 8mm...


")


 . I'd just been out & about so there was plenty of time for it to heatsoak without direct airflow & plus its always been like that (as I expect most are).


 )...
)...


 ) & refit for the stock / stealth look (I probably wouldn't have bothered with the shielding if I'd noticed how effective the turbo blanket was before ordering it).
 ). I'll also do some hose & cable management to secure & tidy things up a bit, fit the recirc valve & (black) heatshield & put my strut brace back on.


