
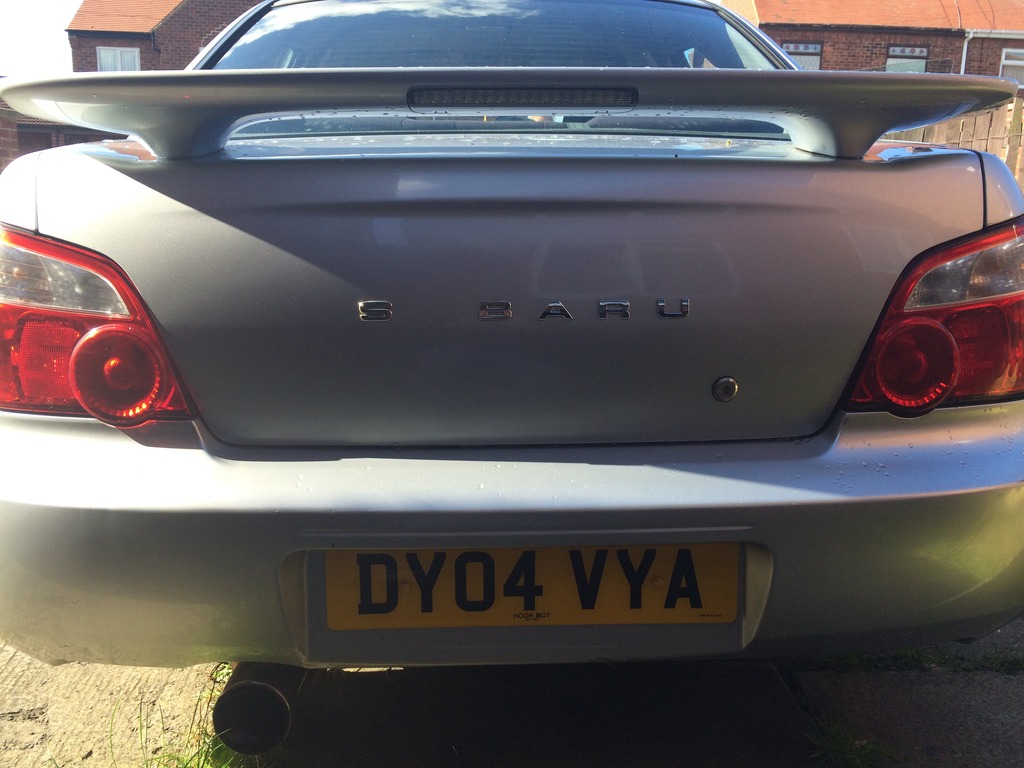
How to: Attach S-U-B-A-R-U letters to boot lid
 10 May 2015, 09:43 AM
#1
Scooby Regular
Thread Starter

Join Date: Apr 2015
Location: Sunderland
Posts: 189
Likes: 0
Received 0 Likes
on
0 Posts
Hi all, I can't offer up much mechanical knowledge but I'd like to help other members out anyway I can so thought I'd put this little guide together for anyone looking to attach/ reattach the Subaru letters to their boot lid.
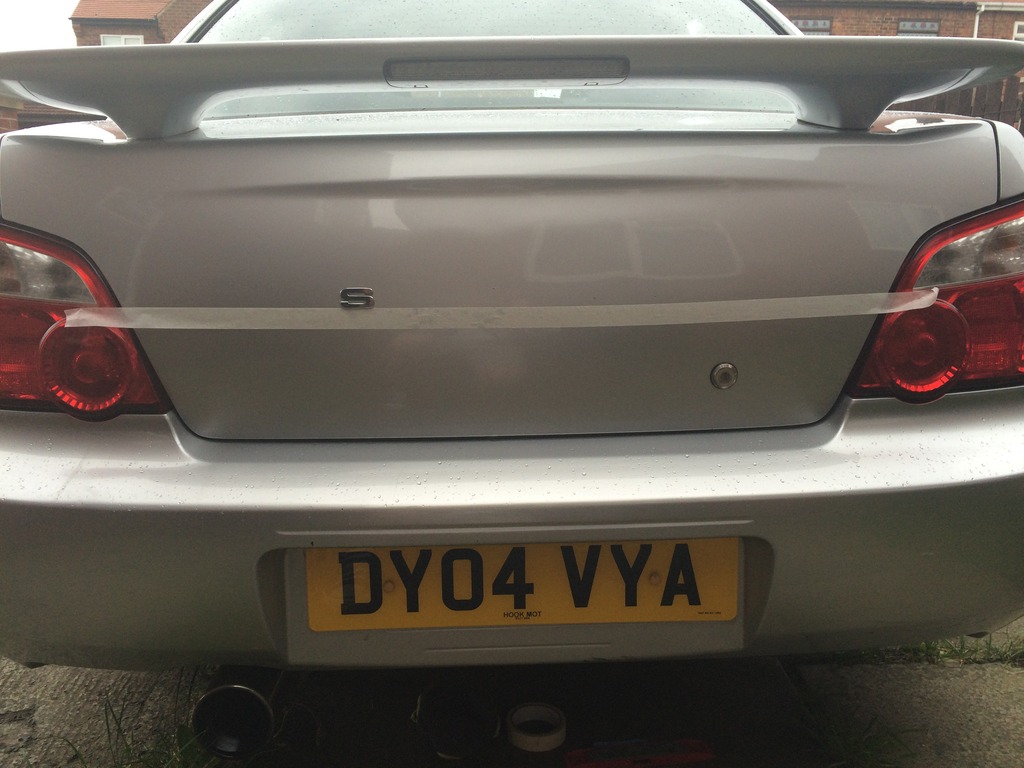
When I bought my Scooby it had a letter "U" missing and the other letters were stuck on with what looked like cheap glue, leaving a horrible crusty yellow build up around each letter. First time I washed the car another letter just fell off.
To take the remaining letters off I used a hairdryer on the hottest setting and left it hovering over each letter for around a minute then used some thick thread to take the letter off (up and down round the back of the letter and pull towards the other side whilst doing it).
When all the letters were off I used a very small amount of WD40 on a cloth to take the remaining glue off the boot lid. I wouldn't recommend spraying it directly on the body as it could land on your back bumper and the plastic isn't as resilient as the metal when it comes to WD40. Be patient at this part, it will take a while and a little elbow grease but the glue will come off eventually.
After that I gave my bootlid a good wash and dried it ready for the new letters (make sure there are no tiny hair or bits of dirt that could get stuck behind your letters).
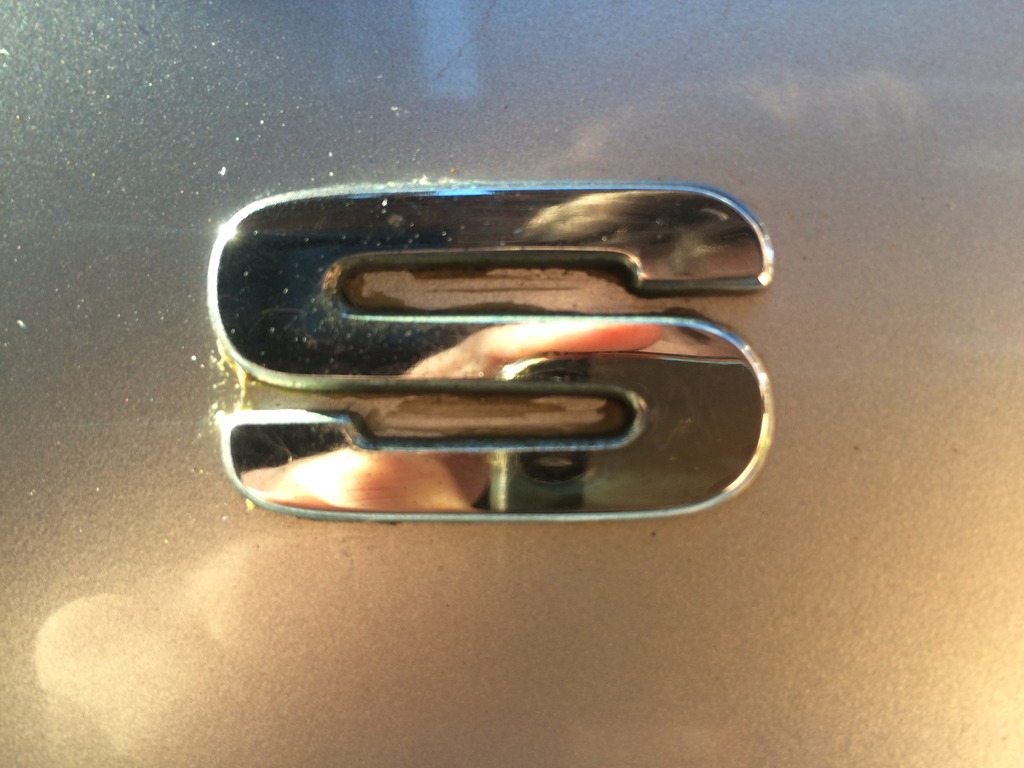
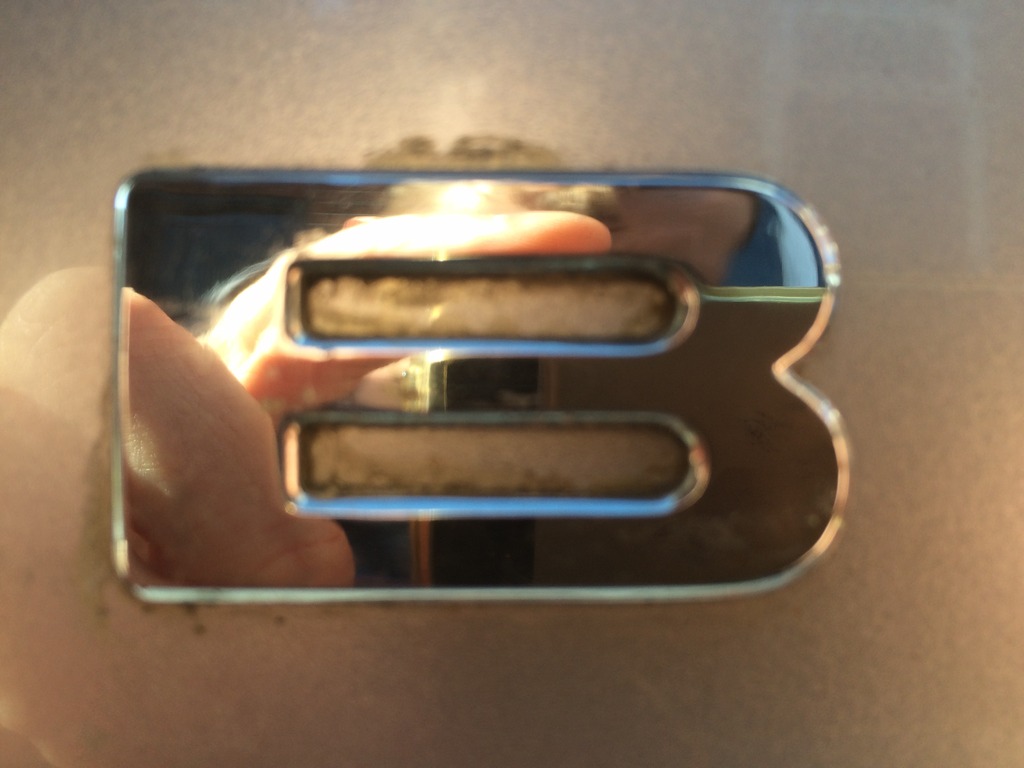
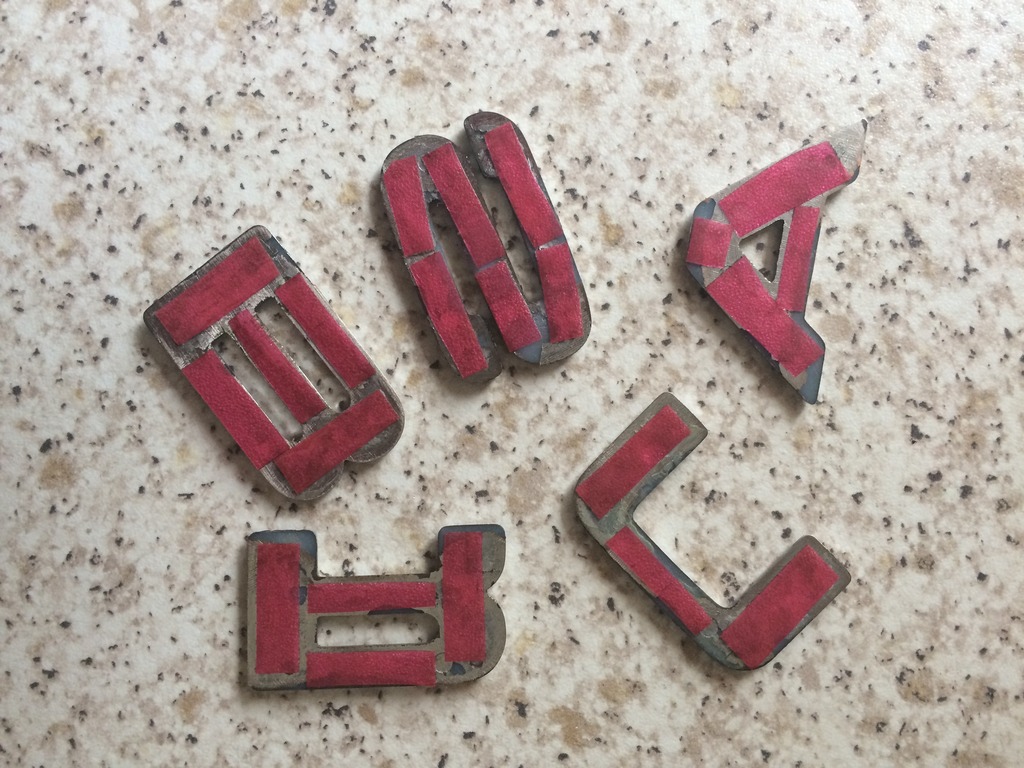
I used a razor blade to take the old glue off the back of the letters then used small strips of strong double sided tape to cover the back of the letters.
I used a piece of masking tape to make sure my letters were straight, place it directly under the clear part of your rear lights.
Measure to the centre of the tape then measure 10mm to the left, line up your first letter, then measure 20mm and repeat until you've reached the position where your "S" will go. Use a pen to leave small marks on your masking tape when measuring and lining your letters up. This will save sticking any letters down in the wrong place and having to peel them off again.
After I fit the first 3 letters I used another piece of masking tape and lined it up the top of the letters to make sure I was still following a straight line with the other letters.
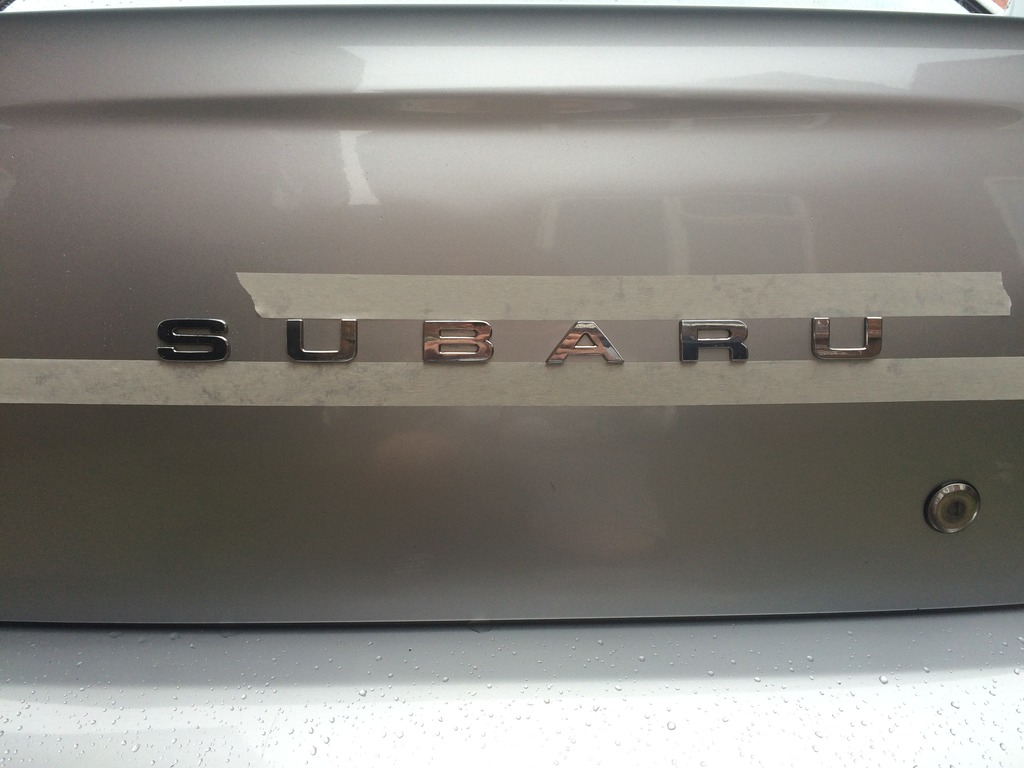
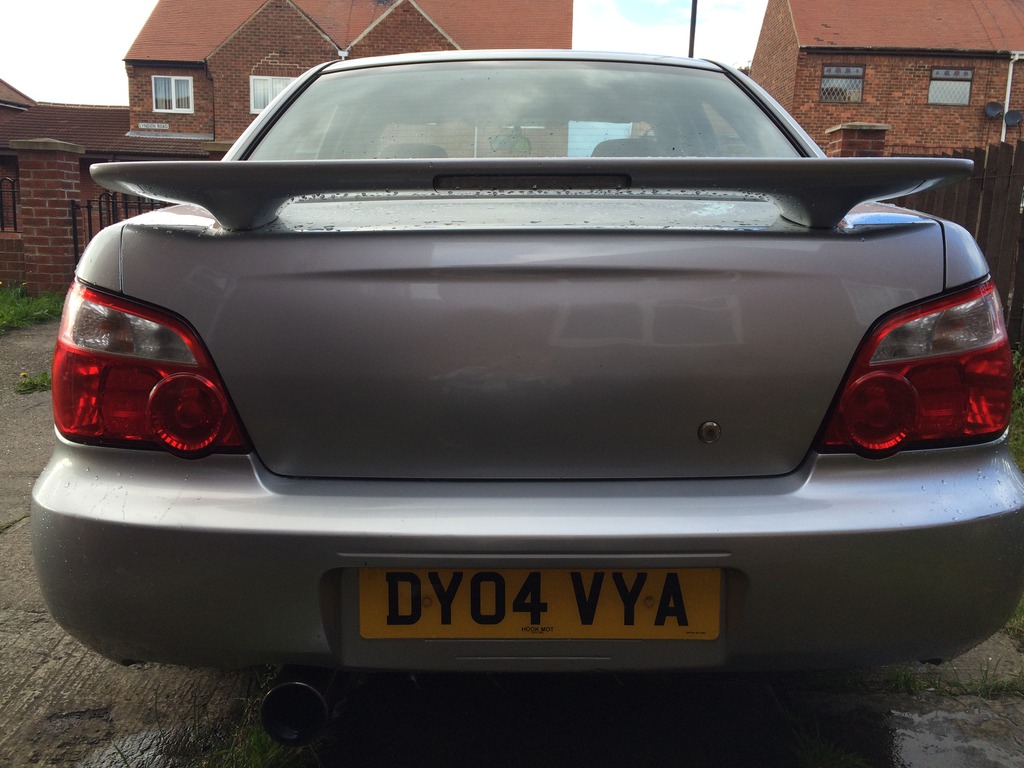
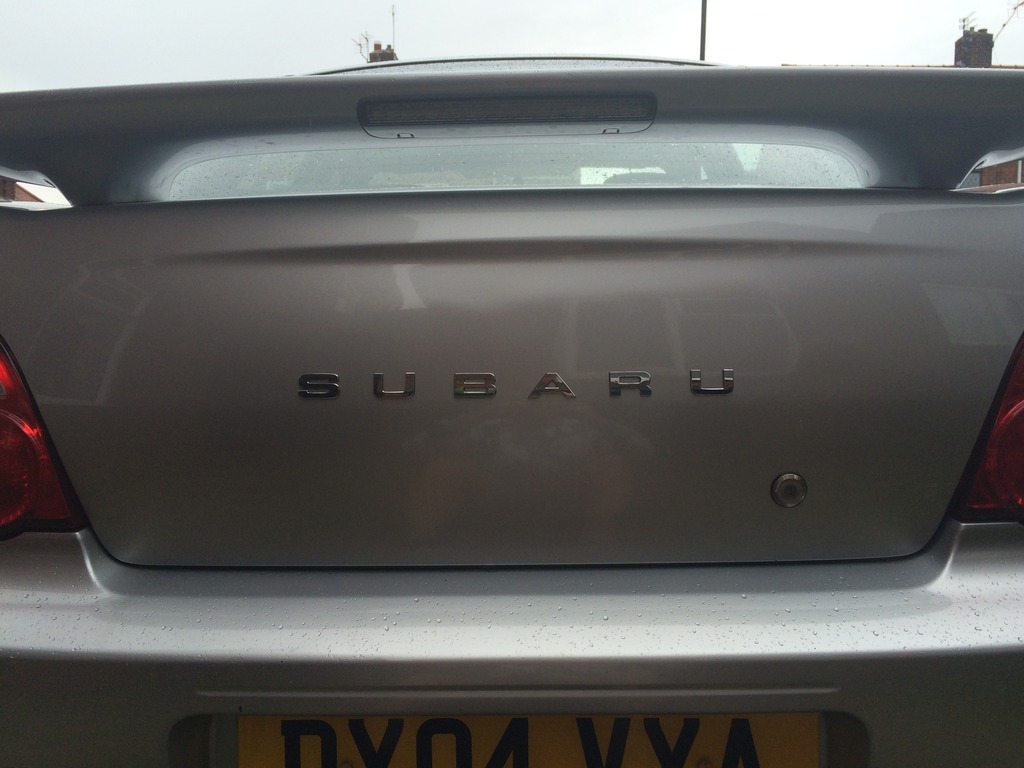
When all your letters are on, give them a firm push down (but not too firm, we don't want to dent your boot!) Peel the masking tape off slowly.
Stand back and admire your work, job done!
When I bought my Scooby it had a letter "U" missing and the other letters were stuck on with what looked like cheap glue, leaving a horrible crusty yellow build up around each letter. First time I washed the car another letter just fell off.


To take the remaining letters off I used a hairdryer on the hottest setting and left it hovering over each letter for around a minute then used some thick thread to take the letter off (up and down round the back of the letter and pull towards the other side whilst doing it).
When all the letters were off I used a very small amount of WD40 on a cloth to take the remaining glue off the boot lid. I wouldn't recommend spraying it directly on the body as it could land on your back bumper and the plastic isn't as resilient as the metal when it comes to WD40. Be patient at this part, it will take a while and a little elbow grease but the glue will come off eventually.
After that I gave my bootlid a good wash and dried it ready for the new letters (make sure there are no tiny hair or bits of dirt that could get stuck behind your letters).

I used a razor blade to take the old glue off the back of the letters then used small strips of strong double sided tape to cover the back of the letters.

I used a piece of masking tape to make sure my letters were straight, place it directly under the clear part of your rear lights.
Measure to the centre of the tape then measure 10mm to the left, line up your first letter, then measure 20mm and repeat until you've reached the position where your "S" will go. Use a pen to leave small marks on your masking tape when measuring and lining your letters up. This will save sticking any letters down in the wrong place and having to peel them off again.

After I fit the first 3 letters I used another piece of masking tape and lined it up the top of the letters to make sure I was still following a straight line with the other letters.

When all your letters are on, give them a firm push down (but not too firm, we don't want to dent your boot!) Peel the masking tape off slowly.
Stand back and admire your work, job done!

 10 May 2015, 11:24 AM
#3
Scooby Regular
Thread Starter
Join Date: Apr 2015
Location: Sunderland
Posts: 189
Likes: 0
Received 0 Likes
on
0 Posts
That was the original plan after I took them off, I was going to go down the hawkeye boot route. The more I thought about it the more I wanted to put the letters back in love the original look.


Trending Topics
10 May 2015, 08:04 PM
#8
Scooby Regular
Thread Starter
Join Date: Apr 2015
Location: Sunderland
Posts: 189
Likes: 0
Received 0 Likes
on
0 Posts


 also worth going over with a hairdryer/heat gun after to make sure the adhesive on the double sided tape sticks well.
11 May 2015, 09:52 AM
also worth going over with a hairdryer/heat gun after to make sure the adhesive on the double sided tape sticks well.
11 May 2015, 09:52 AM
#10
Scooby Regular
Thread Starter
Join Date: Apr 2015
Location: Sunderland
Posts: 189
Likes: 0
Received 0 Likes
on
0 Posts
Maybe, personally I wouldn't do that because when I started heating my letters up to take them off they started to drop slightly. Depends on what kind of adhesive you use I suppose.

Thread
Thread Starter
Forum
Replies
Last Post
Mattybr5@MB Developments
Full Cars Breaking For Spares
28
28 December 2015 11:07 PM
Mattybr5@MB Developments
Full Cars Breaking For Spares
12
18 November 2015 07:03 AM

