
how much work is it to get you lump looking new


 should make it easier to clean then
 22 October 2012, 06:05 PM
#7
Scooby Regular
iTrader: (1)
Join Date: May 2011
Location: Nottingham
Posts: 2,263
Likes: 0
Received 0 Likes
on
0 Posts
I've just started doing mine this weekend while shifting stuff about for my manifold swap , I assume you're stripping stuff off to do it , the more the better , I de greased it all first , then a combination of small wire brush , scotchbrite then wet and dry ,
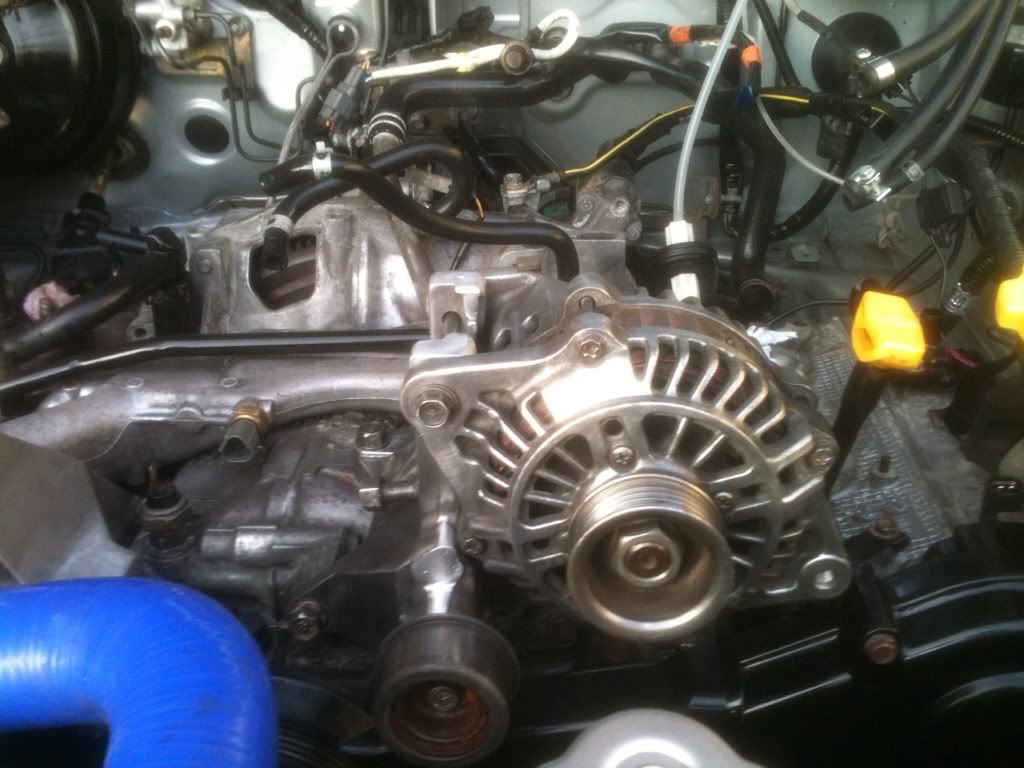
This is how far I've got so far , not a brilliant pic ,but it's getting there
This is how far I've got so far , not a brilliant pic ,but it's getting there
Last edited by toneh; 22 October 2012 at 06:06 PM.
Trending Topics
22 October 2012, 06:16 PM
#9
I've just started doing mine this weekend while shifting stuff about for my manifold swap , I assume you're stripping stuff off to do it , the more the better , I de greased it all first , then a combination of small wire brush , scotchbrite then wet and dry ,
This is how far I've got so far , not a brilliant pic ,but it's getting there
This is how far I've got so far , not a brilliant pic ,but it's getting there
Yes mate have the engine out and in bits yours is looking good
22 October 2012, 06:16 PM
#10
Scooby Regular
iTrader: (1)
Join Date: May 2011
Location: Nottingham
Posts: 2,263
Likes: 0
Received 0 Likes
on
0 Posts
I wouldn't bother with clear coat or owt , once it's done just keep on top of it
Gives you an excuse to get away from the mrs
Just keep plugging away at it , I did contemplate taking the motor out to do a proper job
Gives you an excuse to get away from the mrs
Just keep plugging away at it , I did contemplate taking the motor out to do a proper job
22 October 2012, 06:30 PM
#12
Scooby Regular
iTrader: (1)
Join Date: May 2011
Location: Nottingham
Posts: 2,263
Likes: 0
Received 0 Likes
on
0 Posts
It seems never ending , as soon as one bits clean it highlights all the other dodgy bits , I'm replacing most of the bolts as well , wasn't intending to but now they look horrible
22 October 2012, 07:12 PM
#13
They'd certainly make a fortune out of me.
22 October 2012, 07:19 PM
#14
Scooby Regular
iTrader: (1)
Join Date: May 2011
Location: Nottingham
Posts: 2,263
Likes: 0
Received 0 Likes
on
0 Posts
I'm going round mine with stainless , not ideal with aluminium but for how often I strip it to bits it should be fine
Gonna get some pulleys , also thinking of getting my ps pump bracket and alternator bracket anodised but It may look a bit OTT
Gonna get some pulleys , also thinking of getting my ps pump bracket and alternator bracket anodised but It may look a bit OTT
22 October 2012, 10:46 PM
#16
This is good paint. Brillo it lightly (cover up all the bits) degrease & jet wash. Then spray away!
http://www.ebay.co.uk/itm/HYCOTE-ENG...item230bf51c02
http://www.ebay.co.uk/itm/HYCOTE-ENG...item230bf51c02
24 March 2013, 03:54 PM
#17
i know this is a bit of a thread revival but wondered which type of paint gave the best results
im currently doing a self build and starting to get bored waiting for my block to come back .so i thought id polish a few bits under the bay keep my idle hands busy but, since doing a bit of research (finding out clear coat yellows over time) iv decided to paint a few bits instead (rocker cover ,inlet,belt cover etc..) mabey the block itself as its been through a hot wash already.
most of the parts are ally and wanted to know if anyone can recomend a hi temp etch primer and scooby ish blue (enamel ?) top coat .
cheers clive
im currently doing a self build and starting to get bored waiting for my block to come back .so i thought id polish a few bits under the bay
keep my idle hands busy but, since doing a bit of research (finding out clear coat yellows over time) iv decided to paint a few bits instead (rocker cover ,inlet,belt cover etc..) mabey the block itself as its been through a hot wash already.most of the parts are ally and wanted to know if anyone can recomend a hi temp etch primer and scooby ish blue (enamel ?) top coat .
cheers clive

Thread
Thread Starter
Forum
Replies
Last Post
Mattybr5@MB Developments
Full Cars Breaking For Spares
38
17 July 2016 10:43 PM