The Bug - Refreshed
 09 August 2014, 08:53 PM
#1
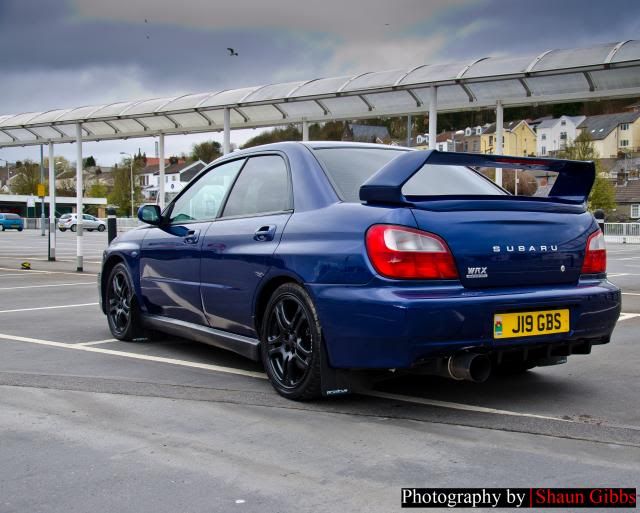
OK, so ive had MY51 Bug WRX for 3 1/2 years and a new job allowed me to take it of the road for an indefinite period of time to allow me to make some changes and generally freshen him up.
The plans are not crazy but to get it looking clean, updated / uprated and most importantly reliable.
At the moment what is on the car is as follows
Engine
RCM induction kit
Cobra sport cat back
Suspension
Front and rear Sti strut braces
Sti shocks with Eibach pro street lowered springs (-40mm)
Front Whiteline Drop links (to be fitted)
Brakes
Standard 4 pots fully refurbished by Godspeed
Godspeed discs and pads all round
Exterior
JDM Sti one piece grill
JDM Sti HID headlights
Ht Autos rear diffuser
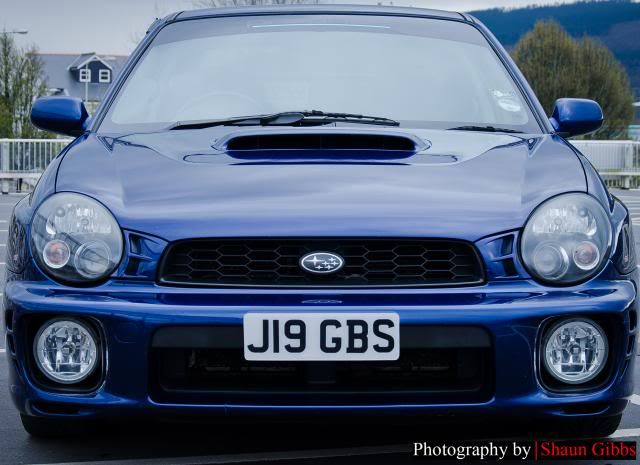
so prior to taking it off the road it looked like this

So let the journey begin....
I hope that some of you will find this interesting, and that other can guide and help me thought this process.
The plans are not crazy but to get it looking clean, updated / uprated and most importantly reliable.
At the moment what is on the car is as follows
Engine
RCM induction kit
Cobra sport cat back
Suspension
Front and rear Sti strut braces
Sti shocks with Eibach pro street lowered springs (-40mm)
Front Whiteline Drop links (to be fitted)
Brakes
Standard 4 pots fully refurbished by Godspeed
Godspeed discs and pads all round
Exterior
JDM Sti one piece grill
JDM Sti HID headlights
Ht Autos rear diffuser
so prior to taking it off the road it looked like this


So let the journey begin....
I hope that some of you will find this interesting, and that other can guide and help me thought this process.
Last edited by GIBZY; 20 August 2014 at 09:50 PM.
 09 August 2014, 09:05 PM
#2
So, With some of the panels looking a little tired and knowing that there was some hidden rust areas behind the front bumper i first set about tackling that
Off with the front end to expose the oh so typical rusty bumper support panel
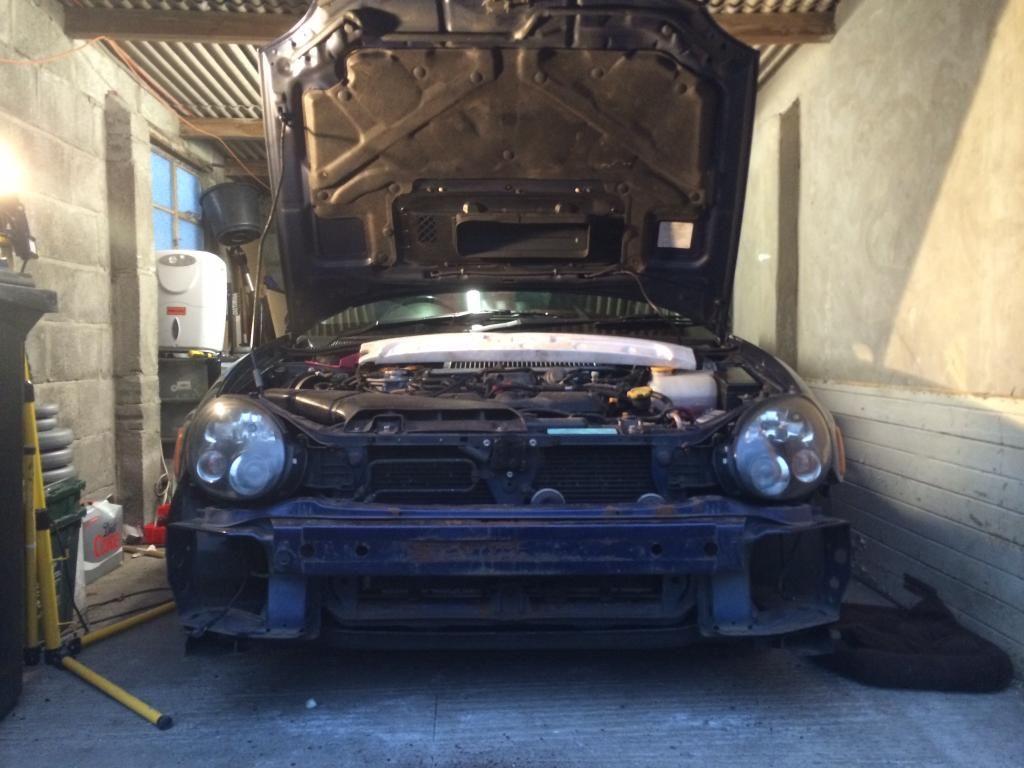
And fully naked

On Good authority from Ian (The Trooper 1815) i bought some Bilt Hammer Hydrate 80 rust treatment and set about treating the panel


On top of that went 3 layers of Rust Not primer

Its currently awaiting a coat (or two) of black smooth hammerite.. the colour wont matter too much as it is all hidden
Thats today work out the way with. More tomorrow
09 August 2014, 09:30 PM
#3
Scooby Senior
iTrader: (51)
Join Date: Nov 2005
Location: Wherever I park my car, that's my home
Posts: 20,491
Likes: 0
Received 2 Likes
on
2 Posts
Some simple stuff makes the world of difference - zinc plating nuts and bolts, powder coating brackest etc - DBM does come up nice with simple and subtle updates
Last edited by JonMc; 09 August 2014 at 09:33 PM.
09 August 2014, 09:35 PM
#4
By the looks i will end up having a full body respray in the new year as it needs it.

Trending Topics
 I'll be keeping an eye on this one to see how it turns out.
 09 August 2014, 11:05 PM
#10
Scooby Senior
iTrader: (51)
Join Date: Nov 2005
Location: Wherever I park my car, that's my home
Posts: 20,491
Likes: 0
Received 2 Likes
on
2 Posts
I drove an early classic and was hugely disappointed and never thought I'd ever buy a scoob until I drove a bug - they'd never appealed to me until then but I consider them a mature choice
09 August 2014, 11:10 PM
#11

I have read through your build thread a number of times and got a few tips from it.
Ive got a set of front and rear drop links, ARB's and ALK to fit soon. so that should eb a challenge in itself. !!!
 09 August 2014, 11:25 PM
#16
Scooby Senior
iTrader: (51)
Join Date: Nov 2005
Location: Wherever I park my car, that's my home
Posts: 20,491
Likes: 0
Received 2 Likes
on
2 Posts
They should be alloy which will be silver and unpainted, but I've heard of some bugs having steel ones which are black painted. Best to check as they have different drop links...
Alloy

Steel

Alloy
Steel

 10 August 2014, 01:49 PM
#21
Another fairly busy morning and the removal of the back bumper, boot lid, autosol the cobra back box and removal of both the front wings.


First coat of smooth black applied to the support bar

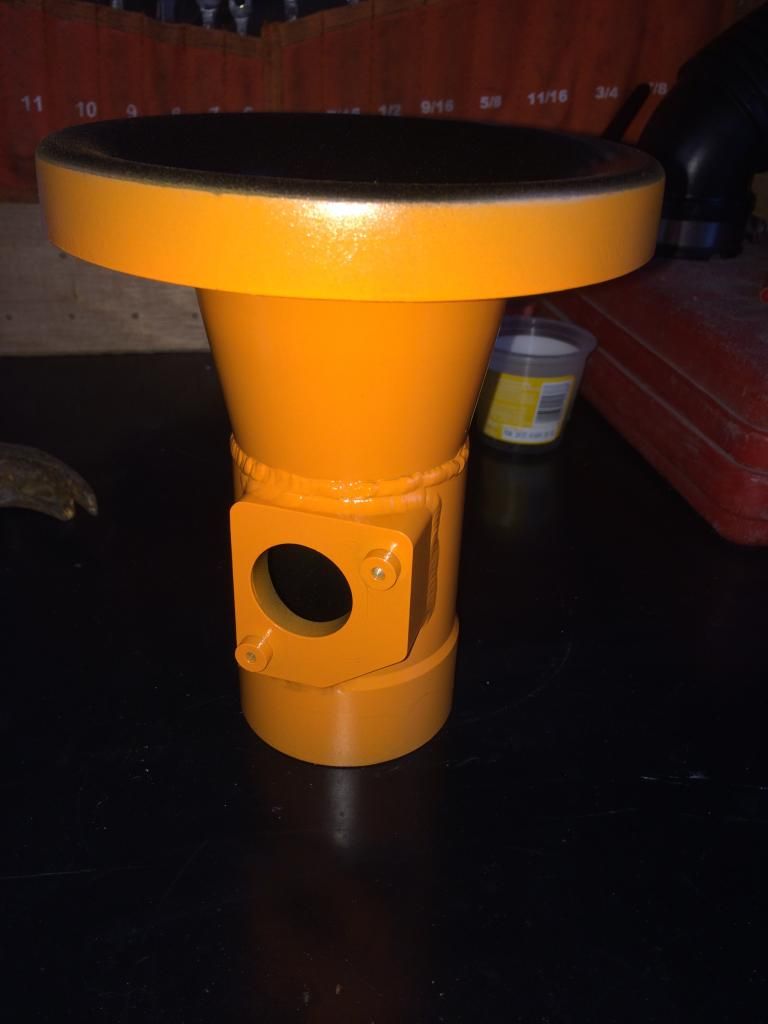
And as I want to inject a little colour under the bonnet I thought what the hell and tried out a bold colour on the RCM induction MAF tube
And whilst apart the K&N was given a wash dry and re-oiling.

More too come tomorrow
First coat of smooth black applied to the support bar
And as I want to inject a little colour under the bonnet I thought what the hell and tried out a bold colour on the RCM induction MAF tube
And whilst apart the K&N was given a wash dry and re-oiling.
More too come tomorrow
 10 August 2014, 09:30 PM
#26
So between hurricane like wind and rain I managed to trial fit the induction hose and alternator cover.
What you all think of a little splash of colour under the hood?

Oh and I took of the strut brace and gave it the once over

What you all think of a little splash of colour under the hood?

Oh and I took of the strut brace and gave it the once over

Last edited by GIBZY; 10 August 2014 at 09:32 PM.
 12 August 2014, 12:53 PM
#30
For those of you who want to buy new nuts/bolts and washers for front newage droplinks... Dont ask whiteline in Aussie land. They will tell you this
Bolts x4
Top to Bottom � 75mm
Thickness � 9mm
Thread � 30mm
8 Washers
ID � 11.5mm
OD � 30mm
1.5mm Thick
4 Spacers
ID � 10mm
OD � 24mm
Thickness � 5mm
4 Smaller Washers
ID � 10mm
OD � 20mm
Thickness � 1.5mm
and 4 Nuts to suit the bolts.
Ive only gone and ordered M8 bolts.... Arrrr **** !!!!
Bolts x4
Top to Bottom � 75mm
Thickness � 9mm
Thread � 30mm
8 Washers
ID � 11.5mm
OD � 30mm
1.5mm Thick
4 Spacers
ID � 10mm
OD � 24mm
Thickness � 5mm
4 Smaller Washers
ID � 10mm
OD � 20mm
Thickness � 1.5mm
and 4 Nuts to suit the bolts.
Ive only gone and ordered M8 bolts.... Arrrr **** !!!!