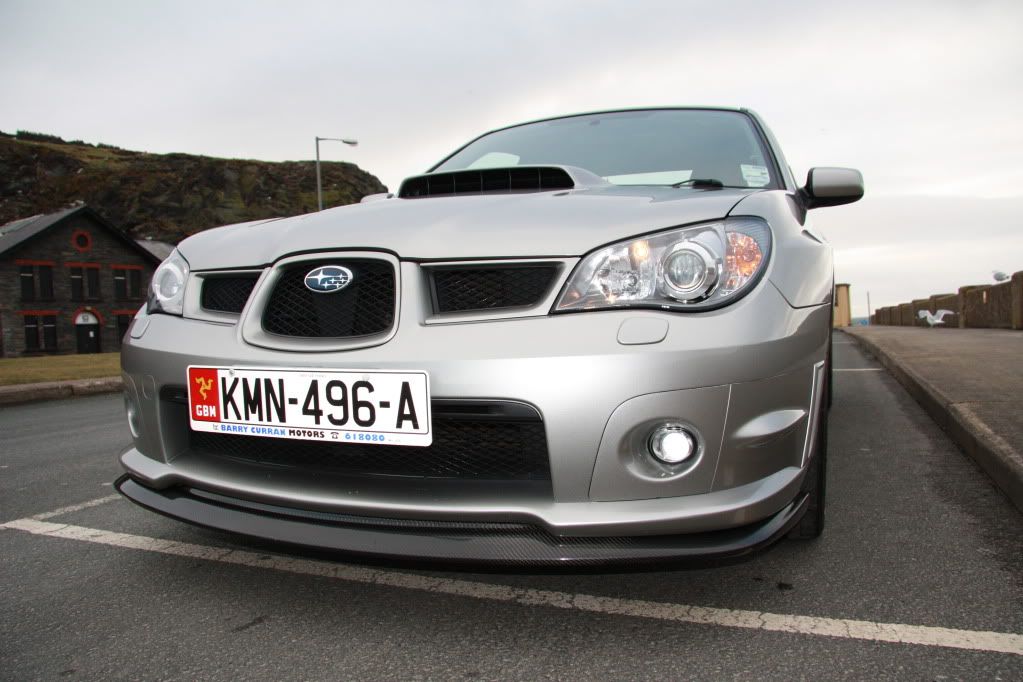
New carbon fibre front splitter


 08 January 2011, 03:30 PM
#5
Scooby Regular
Thread Starter
Thanks! I got it from Revolution. They have a dedicated Subaru website @ http://www.just-subaru.com/. Reasonable price and fast delivery too.
 08 January 2011, 04:29 PM
#7
Scooby Regular
Thread Starter
Thanks for the comments guys. Next jobs are mud-flaps and smaller number plates.
I'm also considering a Blitz Nur Spec R cat-back exhaust, but not sure yet. I reckon I'll like it for a couple of months then get sick of the noise
I'm also considering a Blitz Nur Spec R cat-back exhaust, but not sure yet. I reckon I'll like it for a couple of months then get sick of the noise
Trending Topics


 08 January 2011, 08:09 PM
#12
Scooby Regular
Thread Starter
08 January 2011, 08:34 PM
#14
Scooby Regular
Join Date: Oct 2010
Location: Essex
Posts: 361
Likes: 0
Received 0 Likes
on
0 Posts
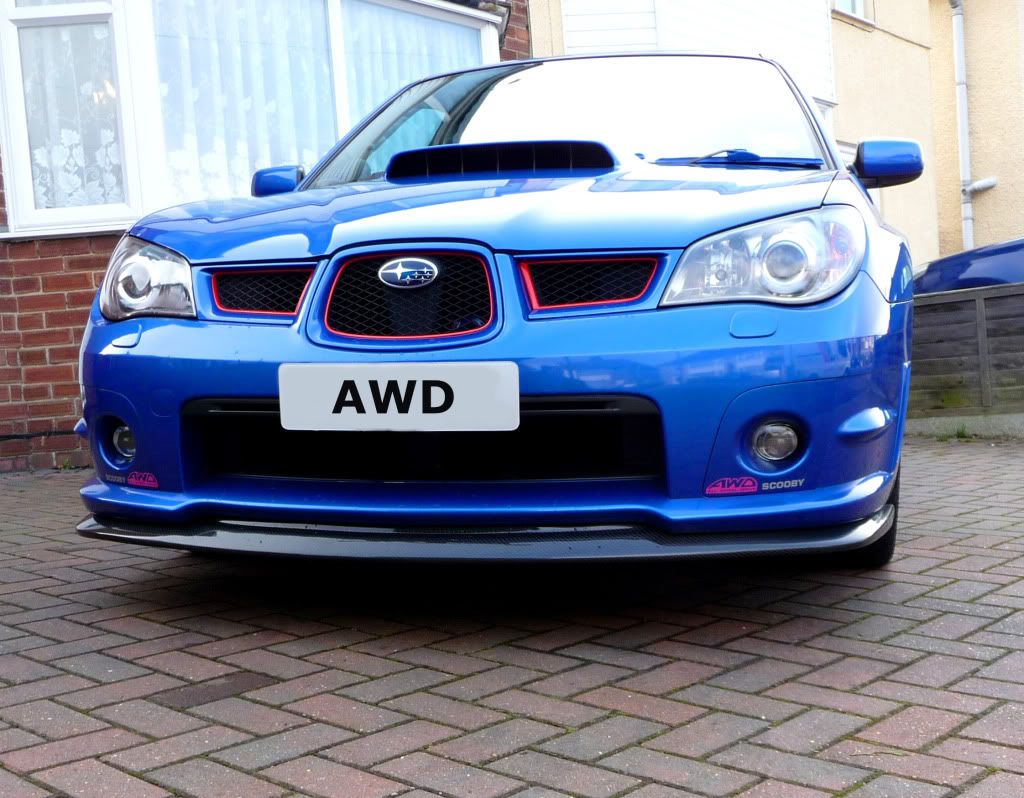
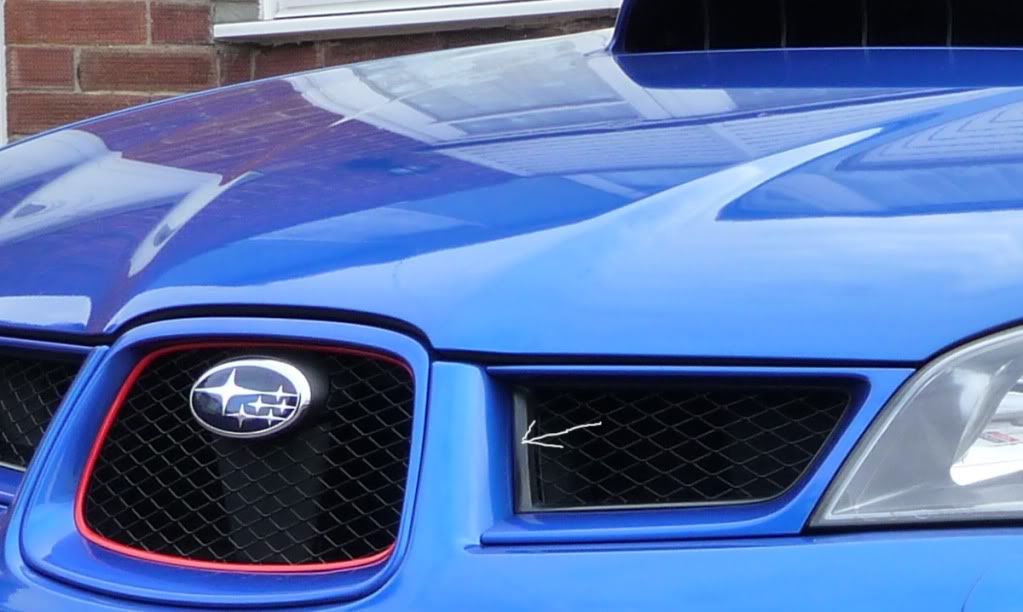
The grill inserts are the originals, I dismantled the grills and painted the black inserts. It's a bit fiddly but worth the effort if it's something that appeals.
 08 January 2011, 10:24 PM
#17
Scooby Regular
Join Date: Oct 2010
Location: Essex
Posts: 361
Likes: 0
Received 0 Likes
on
0 Posts
I think it's worth looking at various colours to see which best compliments a car's base colour. It's a bit of a pain getting the inner parts of those trims out of the the frames and then making sure the paint is not tacky where it can weld the whole thing together and make it hard to get apart again if a different look is required at some later date. Besides, these cars can eat money, so it's handy to find a way of personalising the car without laying out big money and actually getting some time to tinker.
all the best
Tim
all the best
Tim
 09 January 2011, 08:48 PM
#21
Scooby Regular
Thread Starter

 . Been trying to sell it for ages
  10 January 2011, 10:19 PM
#25
Scooby Regular
Thread Starter
Thanks!
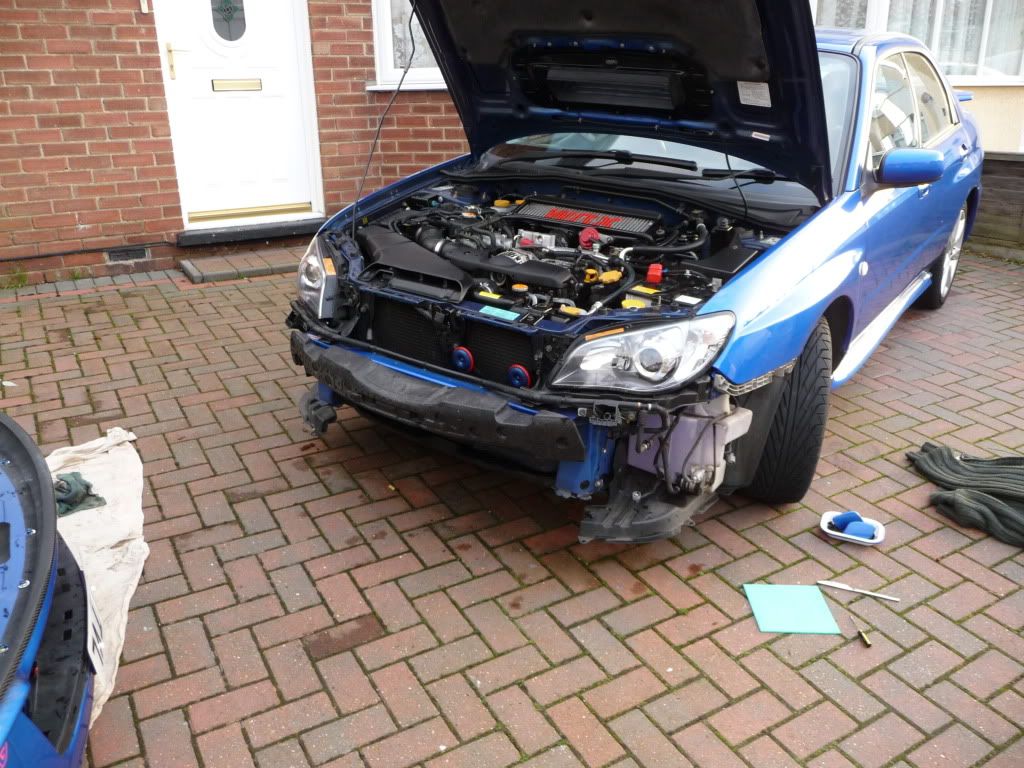
Well, not as easy as Revolution lead me to believe. You need to take the wheel arch fairings off to get to the nuts/bolts from the inside. Ideally you'd need a ramp too, so not really an 'on your driveway' job.
10 January 2011, 10:30 PM
#26
Scooby Regular
Join Date: Oct 2010
Location: Essex
Posts: 361
Likes: 0
Received 0 Likes
on
0 Posts
Took the front bumper off when I did mine, flipped it over on a dust sheet then bolted it on. It took half hour to remove the bumper and the same to re fit. Also a good opportunity to clean and rust proof all the bits that are not usually accessible.
11 January 2011, 03:53 PM
#28
Scooby Regular
Join Date: Oct 2010
Location: Essex
Posts: 361
Likes: 0
Received 0 Likes
on
0 Posts
You may or may not want to disconnect the battery, I personally couldn’t be ar$ed.
Have a few basic tools to hand, flat screwdrivers in a couple of sizes, buttering knife, some cloths to protect surfaces and maybe some thin sheet cardboard, also for protecting painted surfaces. A large dust sheet to place bumper on, and something to calm the nerves before hand will be an asset.
First remove front grille. Remove the six captive clips which are obvious when the bonnet is up. Look around behind the middle grille and you’ll see the clips on that moulding which need lightly manipulating to release them and the middle grille will pull straight out the front.
A similar procedure with the side grilles which also pull out one at a time. It might be easier on some cars to get a side grille out first, just depends on how nimble one’s fingers are.
Then remove remaining clips that can be accessed with the grilles removed, then remove the clips in the arches that hold the bumper to the wings. Remove three clips on either side which hold the mud guards which are the plastic bits under the car which are between the lower edge of the bumper and wheel arches. Remove three clips under the front of the bumper which attach it to the bottom front of the car.
The bumper is attached to the car where it meets the wings, between the headlights and arches by a hook on arrangement with pops off as you manoeuvre the bumper forwards. The caps on the headlamp washers(easy to forget these) pop off as they have captive lugs.
At this point, when the bumper feels to have come free, have something to rest it on without allowing it to go right down to ground level or have an assistant hold it. Reach behind the bumper to where the fog lamps are and unplug them. The bumper is now free of the car.
Re-fit in reverse order, the only tricky bits are getting the bumper to clip back where it meets the wings, though not too bad, and getting hold of the washer jets to pull out far enough to re attach the little covers onto them. They just push snap back on but you need to hold the jets with something while pushing them to a click fit or they pop off when the jets are released. It is fine to pull the washer jets out like when they are in use as they are piston like but require real holding on to as one puts the covers back on.


Thread
Thread Starter
Forum
Replies
Last Post
Mattybr5@MB Developments
Full Cars Breaking For Spares
28
28 December 2015 11:07 PM
shorty87
Full Cars Breaking For Spares
19
22 December 2015 11:59 AM
Pro-Line Motorsport
Car Parts For Sale
2
29 September 2015 07:36 PM