de-tangoed headlights
 09 February 2007, 07:12 PM
#1
Scooby Regular
Thread Starter

Join Date: Oct 2006
Posts: 76
Likes: 0
Received 0 Likes
on
0 Posts
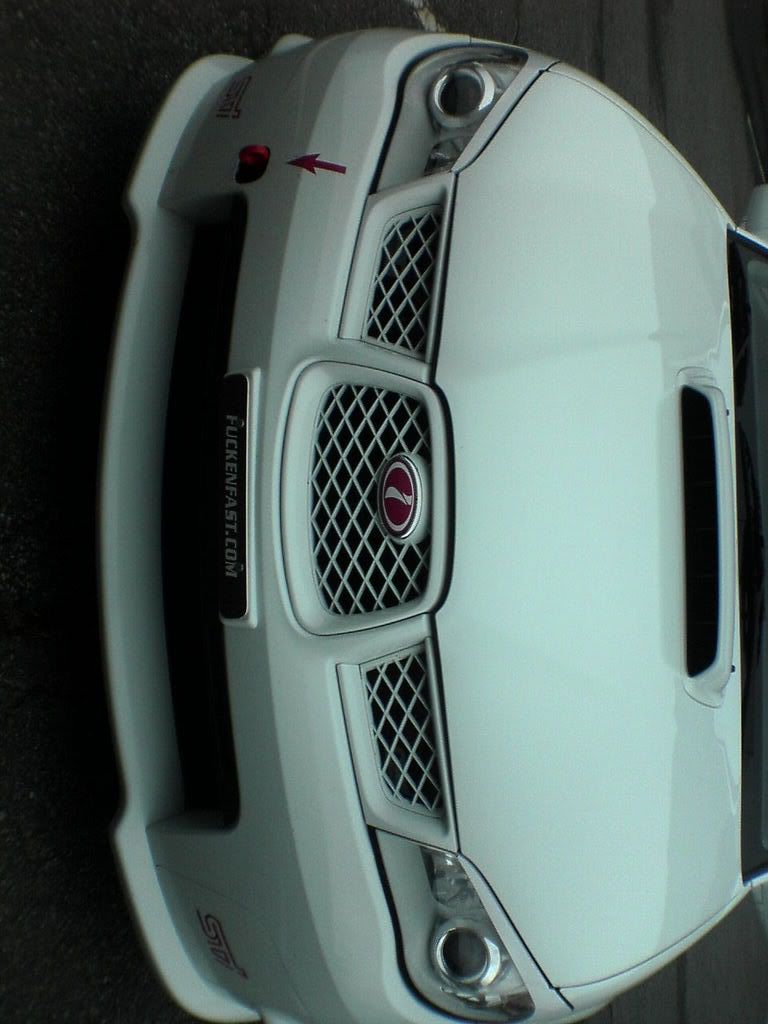
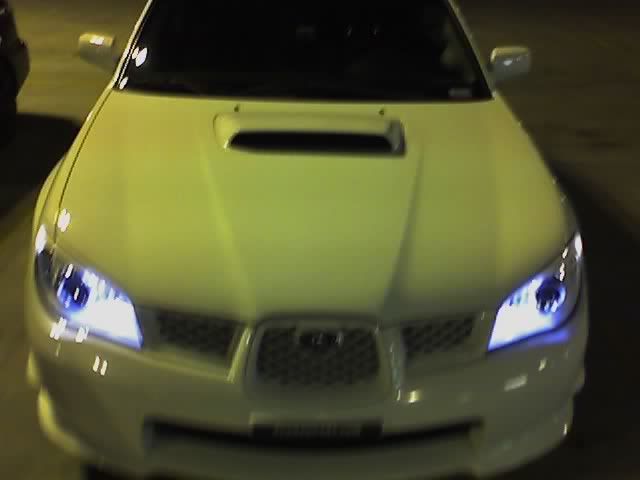
going to do my03 blobeye this weekend, i was thinking about painting the outer part of the chromed reflector say a matt black. has anyone else done this? if so any pics wpould be appreciated. the car is wr blue so open to any suggestions.

 09 February 2007, 07:37 PM
#3
Scooby Regular

Join Date: Oct 2006
Posts: 99
Likes: 0
Received 0 Likes
on
0 Posts
 it looks fast too.com


 09 February 2007, 10:47 PM
#7
Scooby Regular

Join Date: Aug 2006
Posts: 1,093
Likes: 0
Received 0 Likes
on
0 Posts
nothing an oven and some motorcycle crank-case sealer cant do...
How to clear MY04 headlights - photo instructions - Interior & Exterior Modification & Care - NASIOC
every thing you need to know.
How to clear MY04 headlights - photo instructions - Interior & Exterior Modification & Care - NASIOC
every thing you need to know.
Trending Topics
09 February 2007, 10:52 PM
#8
Scooby Regular
Join Date: Aug 2006
Posts: 1,093
Likes: 0
Received 0 Likes
on
0 Posts
Here's some info I posted in a thread a while ago...
On your 05, you can remove the headlights easily, without taking the bumper off. First, remove the gril and painted center piecesl, then you'll see all the bolts you need to remove the headlights.
Next, take EVERYTHING out of the headlights that will possibly come off... bulbs, wiring, screws, EVERYTHING!!! You should basically have just a plastic housing, stripped down. Maybe the metal screw from the headlight leveling still attached, but that's ok. It's important to get all the small screws off from around the edges, or you'll break the plastic inside the headlight, when you try to pry it appart.
Now, pre-heat oven to 200F
Get a cookie sheet, and place a towel on top of the sheet, so NO metal is touching plastic. Place the headlight on the sheet, black-plastic down. Do one at a time, so you dont get in over your head.
Bake for EXACTLY 15 minutes. This seems to work VERY well, and is relatively easy to pull appart without damage, or too much work. I've done 7 sets this way, with ZERO problems.
Grab a pair of mechanics gloves to work with, and remove the headlight from the oven. I find it easiest to put a towel in my lap, and pry it appart with a flat head, in my lap. Just be careful, and go around the whole edge slowly, and get it all to come appart at once. Just work with it, and it will seperate.
*BE CAREFUL NOT TO GET ANY BLACK FACTORY SEALANT ON THE LENS, INSIDE OR OUT*
If you do, it's not the end of the world, but you seriously want to avoid touching the inside with ANYTHING at all costs. If you do, make sure you clean it VERY well, first with "Goo-Gone" to get rid of the sticky crap, then with an ammonia based window cleaner to get rid of ANY sort of oil, or residue.
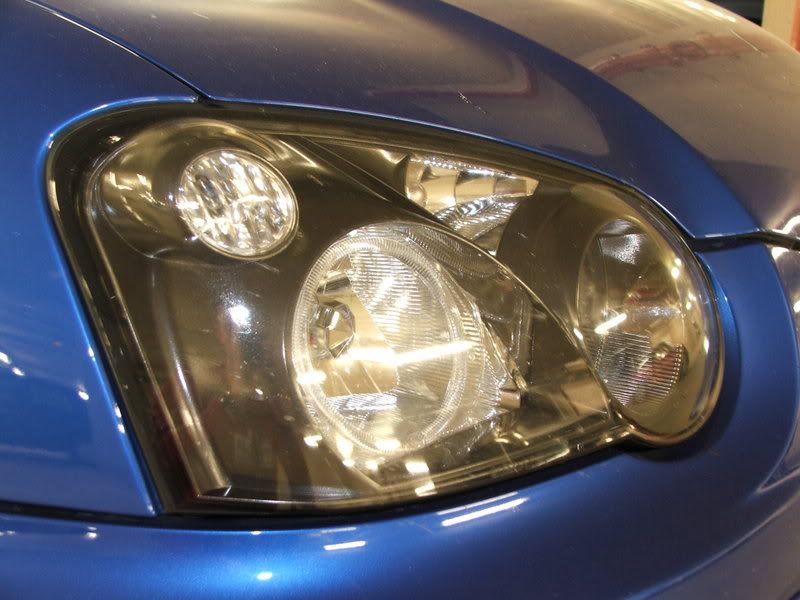
Now, you'll see that the chrome surround is bolted to the lens cover. Simply unbolt that, and you'll have your trim appart. You can now take the amber bulb covers out. If you want to spray them black, (which I think looks best) then just tape off the reflector area nicely, and spray the whole chrome surround flat black. You want the reflector taped off, so it still functions later on!
For paint, I recommend Krylon "Ultra-Flat" black... and the Krylon Fusion paint seemed to work well, also. Just make sure it's flat. Gives the best finish, and factory look.
Once you're done spraying, re-assemble the trim to the lens cover, but dont re-install the amber covers, unless you like that look.
Now, take the liquid gasket, and drizzle a small bead all around the seal. You don't need a lot, since you still have a lot of the factory glue, too.
Gently press the two halves together, but DONT force them all the way together just yet. Just enough so they're snug.
Re-bake for 10 minutes, then take out, and press together completely. This re-heats the factory glue, and gives a perfect seal.
Re-install everything, in reverse order... and you're done!
Hope that helped! Any questions, PM me...
your friendly american...
if your close to cambs.... ill do it for beer.
On your 05, you can remove the headlights easily, without taking the bumper off. First, remove the gril and painted center piecesl, then you'll see all the bolts you need to remove the headlights.
Next, take EVERYTHING out of the headlights that will possibly come off... bulbs, wiring, screws, EVERYTHING!!! You should basically have just a plastic housing, stripped down. Maybe the metal screw from the headlight leveling still attached, but that's ok. It's important to get all the small screws off from around the edges, or you'll break the plastic inside the headlight, when you try to pry it appart.
Now, pre-heat oven to 200F
Get a cookie sheet, and place a towel on top of the sheet, so NO metal is touching plastic. Place the headlight on the sheet, black-plastic down. Do one at a time, so you dont get in over your head.
Bake for EXACTLY 15 minutes. This seems to work VERY well, and is relatively easy to pull appart without damage, or too much work. I've done 7 sets this way, with ZERO problems.
Grab a pair of mechanics gloves to work with, and remove the headlight from the oven. I find it easiest to put a towel in my lap, and pry it appart with a flat head, in my lap. Just be careful, and go around the whole edge slowly, and get it all to come appart at once. Just work with it, and it will seperate.
*BE CAREFUL NOT TO GET ANY BLACK FACTORY SEALANT ON THE LENS, INSIDE OR OUT*
If you do, it's not the end of the world, but you seriously want to avoid touching the inside with ANYTHING at all costs. If you do, make sure you clean it VERY well, first with "Goo-Gone" to get rid of the sticky crap, then with an ammonia based window cleaner to get rid of ANY sort of oil, or residue.
Now, you'll see that the chrome surround is bolted to the lens cover. Simply unbolt that, and you'll have your trim appart. You can now take the amber bulb covers out. If you want to spray them black, (which I think looks best) then just tape off the reflector area nicely, and spray the whole chrome surround flat black. You want the reflector taped off, so it still functions later on!
For paint, I recommend Krylon "Ultra-Flat" black... and the Krylon Fusion paint seemed to work well, also. Just make sure it's flat. Gives the best finish, and factory look.
Once you're done spraying, re-assemble the trim to the lens cover, but dont re-install the amber covers, unless you like that look.
Now, take the liquid gasket, and drizzle a small bead all around the seal. You don't need a lot, since you still have a lot of the factory glue, too.
Gently press the two halves together, but DONT force them all the way together just yet. Just enough so they're snug.
Re-bake for 10 minutes, then take out, and press together completely. This re-heats the factory glue, and gives a perfect seal.
Re-install everything, in reverse order... and you're done!
Hope that helped! Any questions, PM me...
your friendly american...
if your close to cambs.... ill do it for beer.
10 February 2007, 12:42 PM
#9
Scooby Regular
Thread Starter
Join Date: Oct 2006
Posts: 76
Likes: 0
Received 0 Likes
on
0 Posts
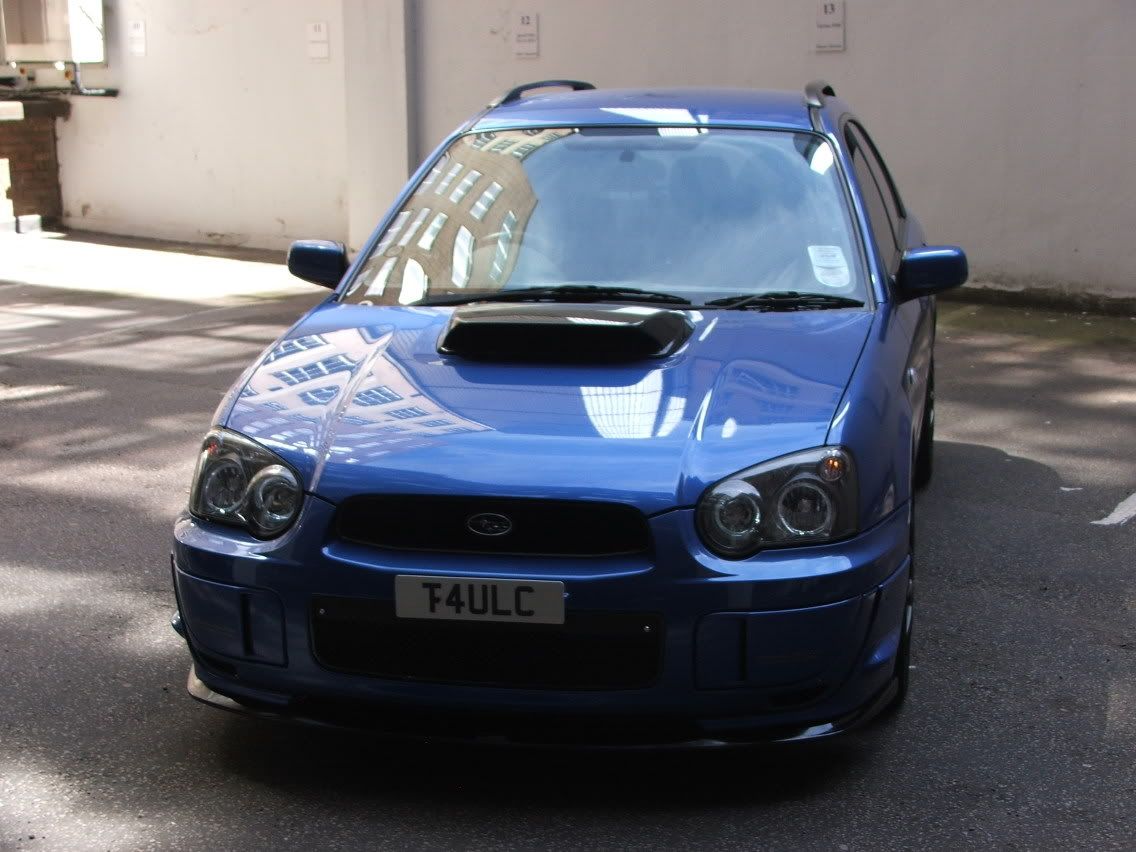
thanks guys, these pics help a lot. i have a spare pair of headlights to practise on but i like the look of mangels lights. if it ever stops raining/snowing this weekend i might just get them done.

Thread
Thread Starter
Forum
Replies
Last Post
Mattybr5@MB Developments
Full Cars Breaking For Spares
12
18 November 2015 07:03 AM