
HID Installation - walkthrough


Thread Starter
Scooby Regular
Joined: Apr 2005
Posts: 1,085
Likes: 0
From: Malta
For those of you still thinking that HIDs are too complex to install, thing again because they are simple and straight forward. When choosing, choose the Kit related to the size of the bulb currently on your car (eg. H1, H4...). You can either check this number behind the current bulb in small print or check from a website such as http://www.autolamps-online.com/application_guide/index.htm. Prices and kit vary but I found the group buy HID kit on scoobynet a real steal: https://www.scoobynet.com/group-buys-356/547390-hid-group-buy.html. As you may already stumbles on HID come in different colors, and are noted by the operating tempaerature. The best light for driving is 4300K and 6000K, the rest are not as good but you do have that cool hint of blue/purple.
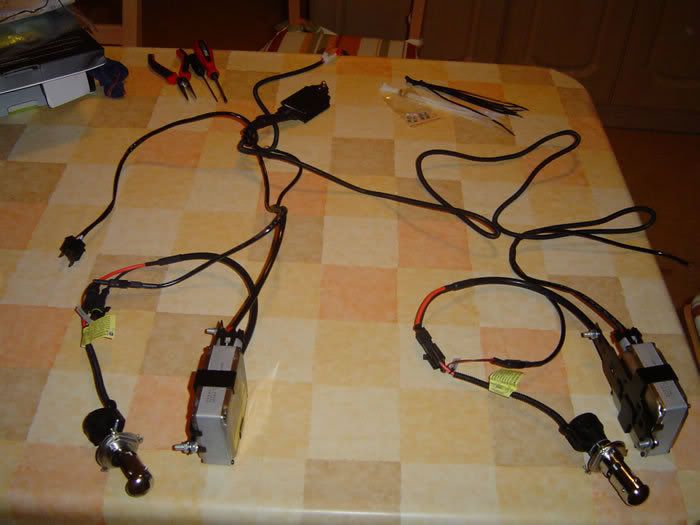
The kit I ordered was for my Classic Impreza, fitted with morrettes with H4 bulbs, meaning I had to order the bi-xenon kit. I would think that the installation process is the same for any other model, and factory headlight. the kit included:
2 x HID and holders (6000K)
2 x Ballasts (one for each HID)
1 x wire harness
- bolts, cable ties and basic installation instructions
Important: Be carefull how you handle the HID bulb, its a bit expensive so you wouldn't want to buy a new one any time soon!
Approx time: 1 hour
Tools needed: 10/12 spanner.
Step 1.
Remove all contents from the box, and layout/connect everything on your kitchen table so that you would have an idea what needs to be done.
Step2.
There 6 tiny screws included in the kit to fit 3 on each bulb to be able to adjust. During installation the bulb holder couldn't fit properly due to these screws, and at tend I didn't even need to adjust my lamps. So these basically are an option, or if you bulbs really come mis-aligned.

Step3.
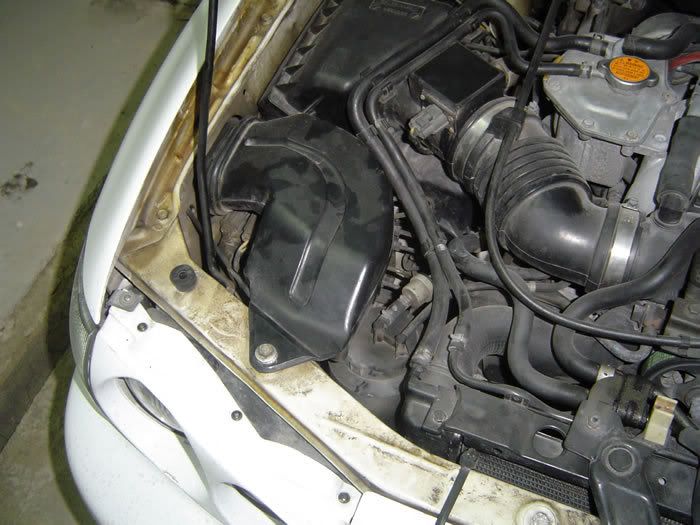
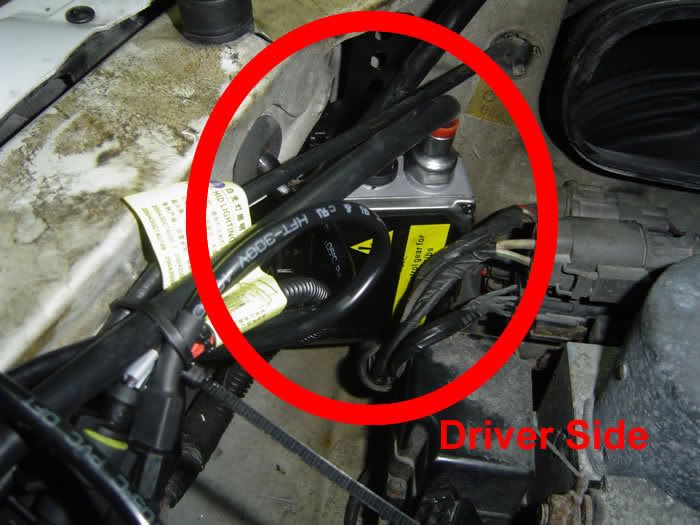
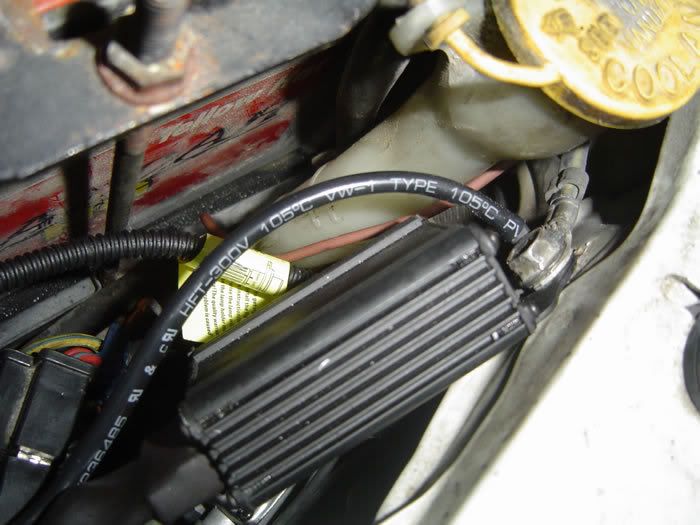
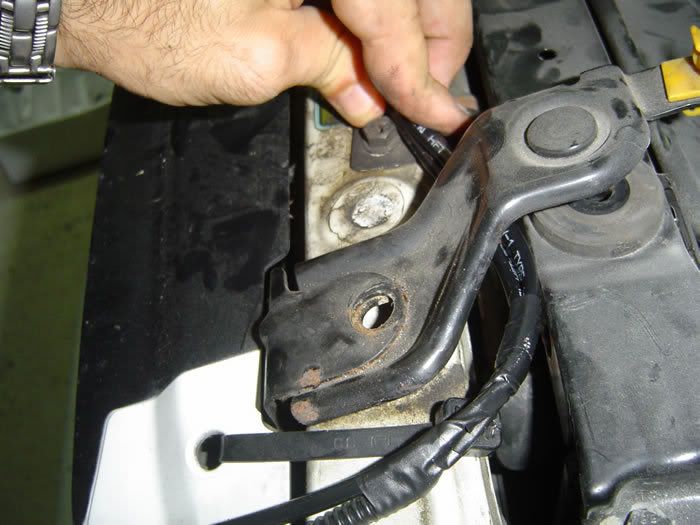
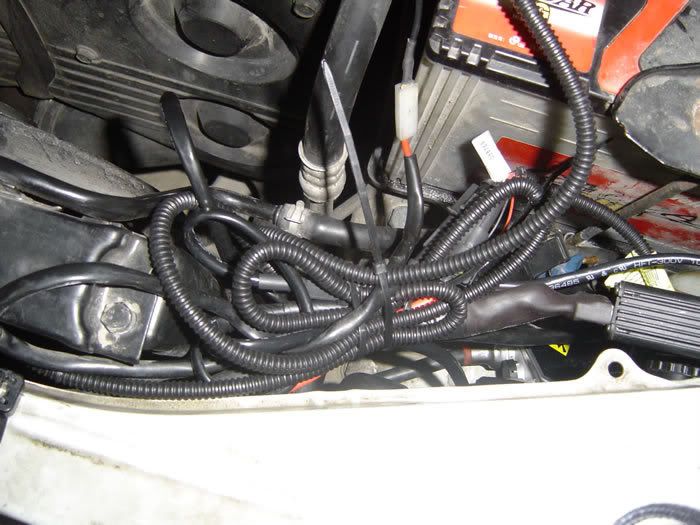
Remove the air duct located near the air filter. Locate positions for the 2 ballast (see below photos for my chosen locations). I've chosen to use double sided tap to keep them in place, however if you would like to bolt them on you would wither have to drill a couple of holes and remove the driver side fender and front bumper. Or extend the wires and re-allocate the ballast to somewhere less "cluttered".

Step4.
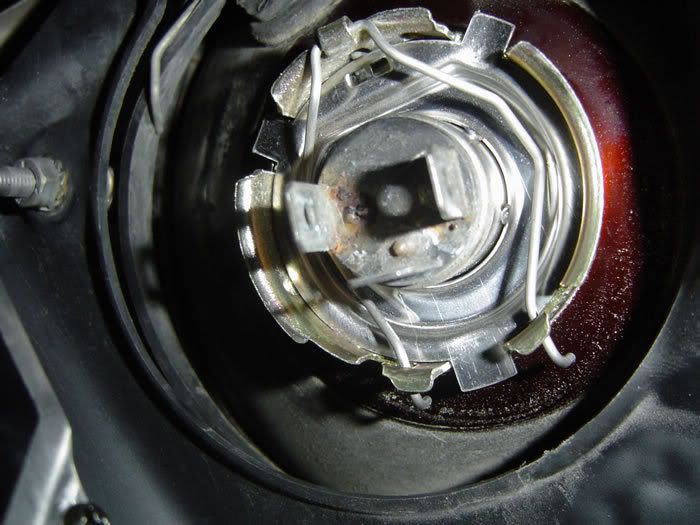
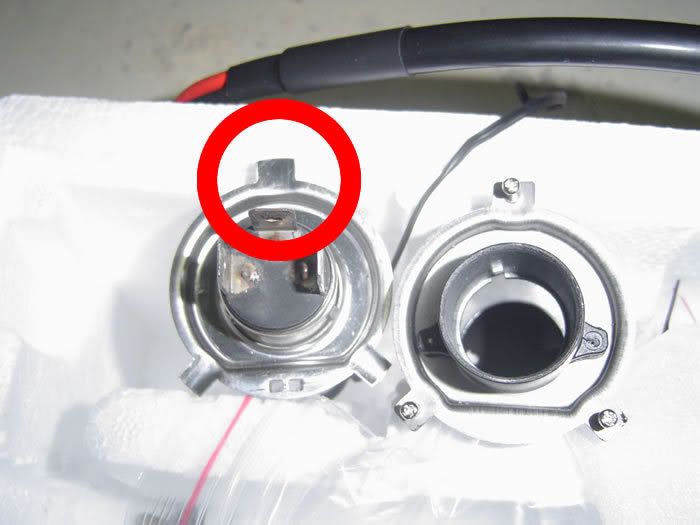
As you where going to change the bulb: Unplug the current bulb, remove the rubber weather proof protector and remove the bulb. Now remove the HID from the holder, and install the holder in place of the bulb, and put back on the weather proof protector. Carefully re-insert the HID to the holder and make sure its secure in place. *Note that the holder only fits in one position, due to one of the notches being slightly larger than the other 2, so don't worry about installing them in the wrong position.
Step5.
Install Relay into place.
Step6.
Pass wire harness across the engine bay and connect all wires to/from HID to ballast. Note that we will only be using the passenger side headlight connector as now the customized wire harness will take care of providing power/signalling to both lamps.
Step7.
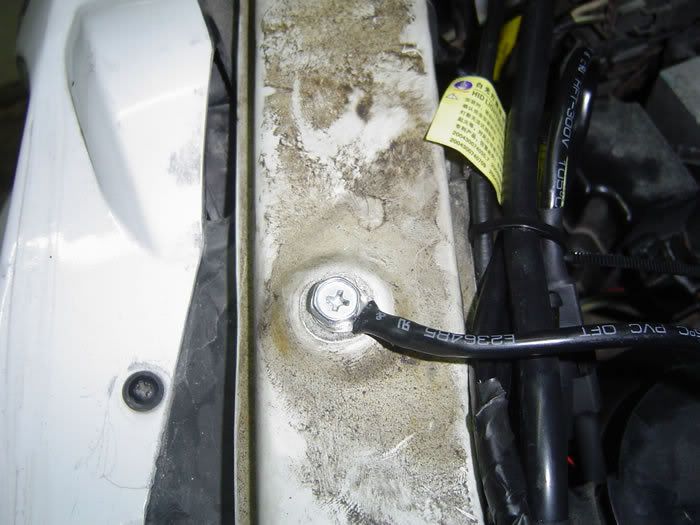
Choose your location to earth both black wires, any point will do as long its the chassis. Connect the driver side plug into the wire harness. And finally connect the red wire to the positive of the battery.
Step8.
Now its time to try on your lights. If something is wrong I recommend you double check that all connectors are connected properly. If still no go contact the supplier to see what they have to say.
Step9.
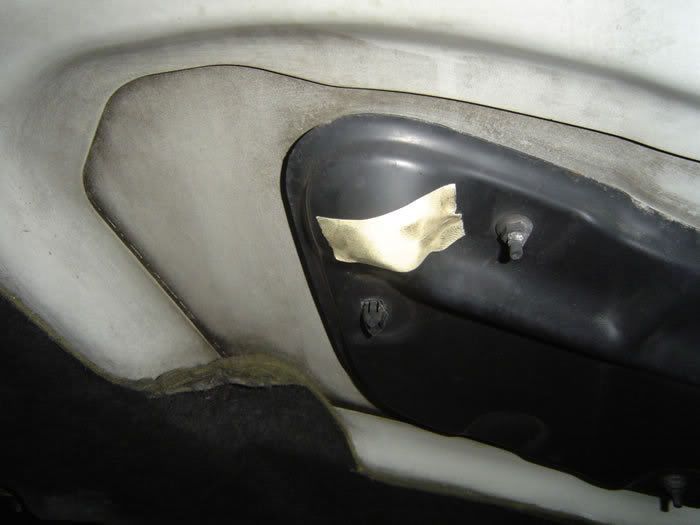
Use the cable ties provided to secure all wiring to the car. Seal the hole in the vent on the passenger side to prevent water from falling on to ballast. And don't forget to re-install your air duct in place.
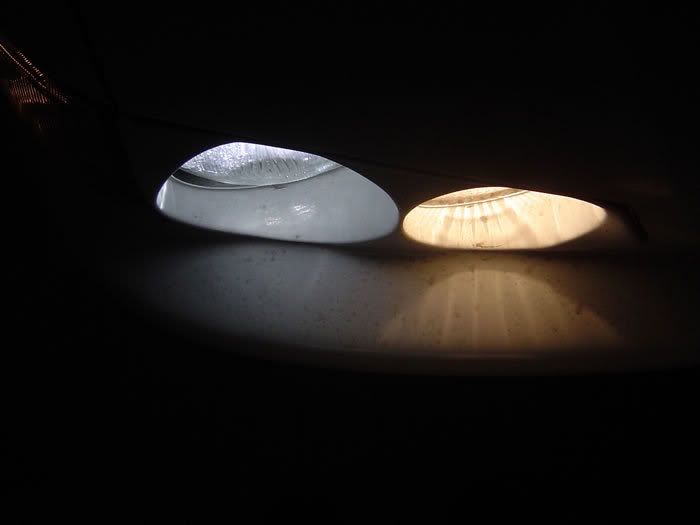
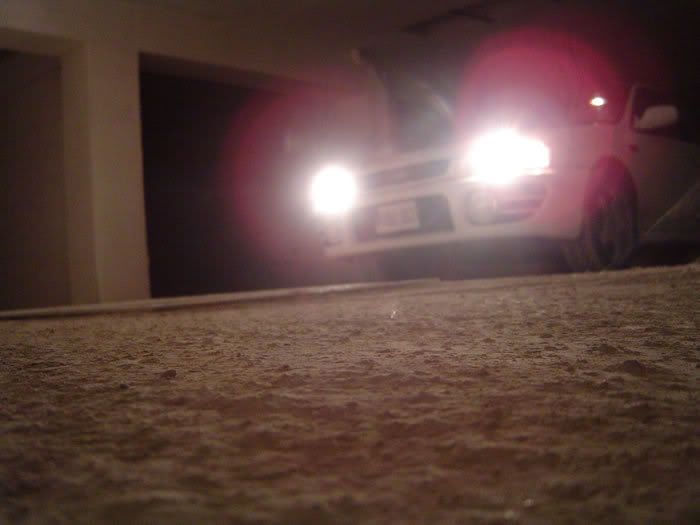
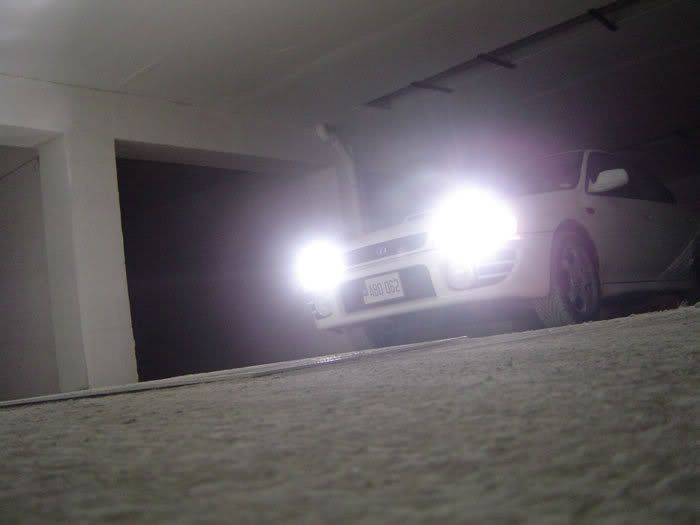
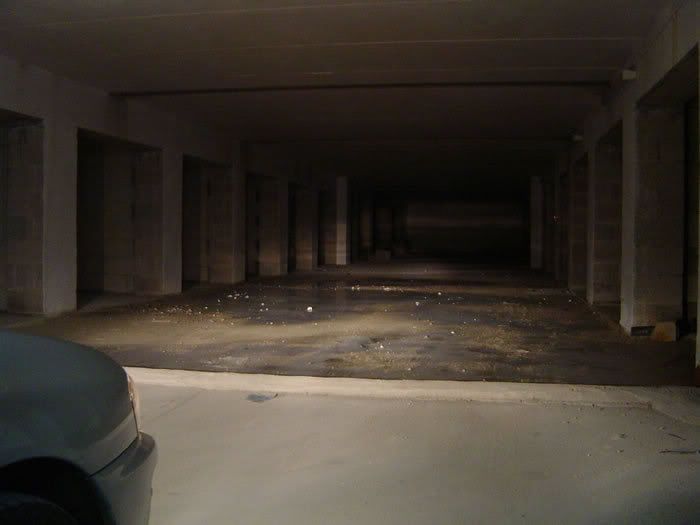
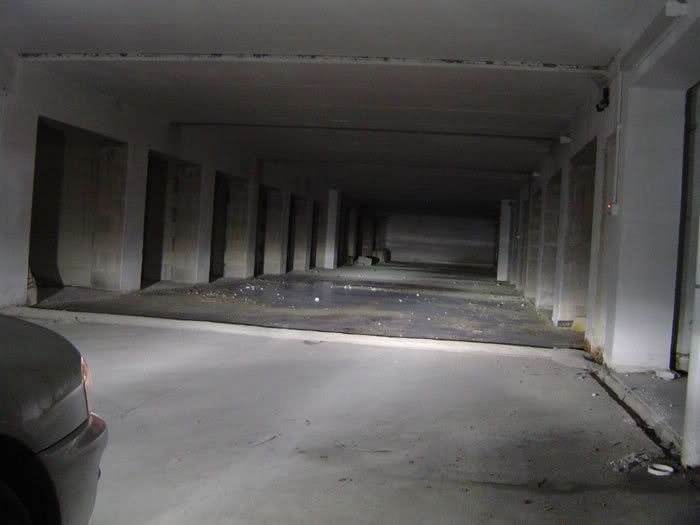
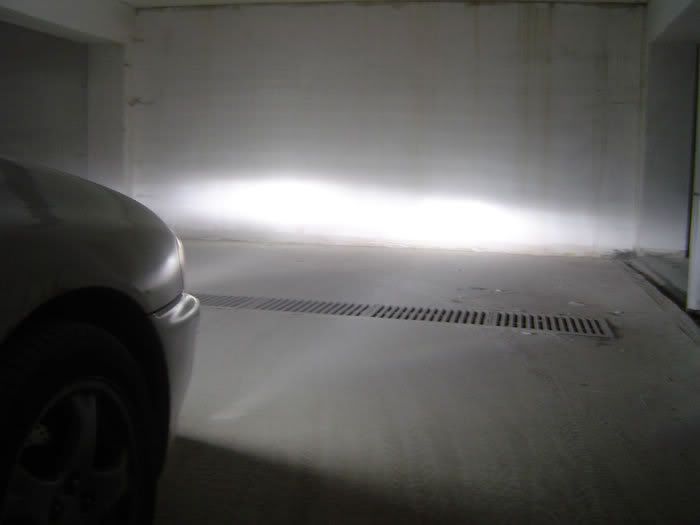
Some before and after photos:
The kit I ordered was for my Classic Impreza, fitted with morrettes with H4 bulbs, meaning I had to order the bi-xenon kit. I would think that the installation process is the same for any other model, and factory headlight. the kit included:
2 x HID and holders (6000K)
2 x Ballasts (one for each HID)
1 x wire harness
- bolts, cable ties and basic installation instructions
Important: Be carefull how you handle the HID bulb, its a bit expensive so you wouldn't want to buy a new one any time soon!
Approx time: 1 hour
Tools needed: 10/12 spanner.
Step 1.
Remove all contents from the box, and layout/connect everything on your kitchen table so that you would have an idea what needs to be done.
Step2.
There 6 tiny screws included in the kit to fit 3 on each bulb to be able to adjust. During installation the bulb holder couldn't fit properly due to these screws, and at tend I didn't even need to adjust my lamps. So these basically are an option, or if you bulbs really come mis-aligned.
Step3.
Remove the air duct located near the air filter. Locate positions for the 2 ballast (see below photos for my chosen locations). I've chosen to use double sided tap to keep them in place, however if you would like to bolt them on you would wither have to drill a couple of holes and remove the driver side fender and front bumper. Or extend the wires and re-allocate the ballast to somewhere less "cluttered".
Step4.
As you where going to change the bulb: Unplug the current bulb, remove the rubber weather proof protector and remove the bulb. Now remove the HID from the holder, and install the holder in place of the bulb, and put back on the weather proof protector. Carefully re-insert the HID to the holder and make sure its secure in place. *Note that the holder only fits in one position, due to one of the notches being slightly larger than the other 2, so don't worry about installing them in the wrong position.
Step5.
Install Relay into place.
Step6.
Pass wire harness across the engine bay and connect all wires to/from HID to ballast. Note that we will only be using the passenger side headlight connector as now the customized wire harness will take care of providing power/signalling to both lamps.
Step7.
Choose your location to earth both black wires, any point will do as long its the chassis. Connect the driver side plug into the wire harness. And finally connect the red wire to the positive of the battery.
Step8.
Now its time to try on your lights. If something is wrong I recommend you double check that all connectors are connected properly. If still no go contact the supplier to see what they have to say.
Step9.
Use the cable ties provided to secure all wiring to the car. Seal the hole in the vent on the passenger side to prevent water from falling on to ballast. And don't forget to re-install your air duct in place.
Some before and after photos:
Last edited by ryn004; Mar 3, 2010 at 03:09 PM.

Scooby Regular
Joined: Sep 2001
Posts: 1,873
Likes: 0
Main beam looks good, that's the first picture of main beam from a H4 replacement HID that I've seen. I thought it would be carp but it's pretty good.
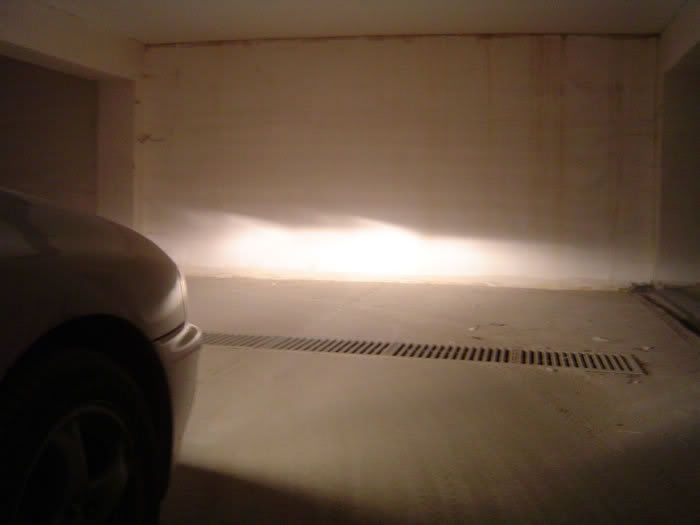
Dips got the cut off for height but not got the rising bit tapered up to the left which is meant to light up the kerbs. You may struggle to get that through the MOT, depends how awkward they are I suppose.
I guess if the HID's are that easy to fit it's not too much hardship to whip it all off and go back to conventional blubs for the MOT.
Impressed. And for the group buy price, how can you go wrong?
 Very easy to follow and pics of b4 and after couldnt be better!

You wouldn't need to whip it all off for MOT, just remove the HID bulbs (carefully), refit your normal bulb and connect to OE connectors.
These are Morettes, OE h/lamps may have a different pattern/spread. My OEs light up the kerbs OK.
Only other comment, It is a job deciding where to fit the ballasts. I jammed the driver's side, without bracket into the tight space in front of the ABS unit, held tight by the OE harness. Passenger side was easier as I have a small battery and self tappered it to inner wing, using the bracket.
Excellent description ryn004, you ought to be on commission

Former Sponsor
iTrader: (234)
Joined: Jan 2003
Posts: 14,406
Likes: 0
From: Over 500ft/lbs of torque @ just 1.1bar
Excellent write-up!
Obviously lots of time taken out to document the work to help others
If you block the hole(s) on the vent blank, rainwater will have nowhere to go?
Obviously lots of time taken out to document the work to help others
If you block the hole(s) on the vent blank, rainwater will have nowhere to go?


Scooby Regular
Joined: Dec 2000
Posts: 2,332
Likes: 0
From: In Faecorum Semper Solum Profundum Variat
Originally Posted by Chelspeed
I guess if the HID's are that easy to fit it's not too much hardship to whip it all off and go back to conventional blubs for the MOT.

T
Trending Topics
Thread Starter
Scooby Regular
Joined: Apr 2005
Posts: 1,085
Likes: 0
From: Malta
Forgot to mention, I chose the 6000K - Diamond White.
True it won't be a hassle to switch back to the original bulbs as the oem wiring is still all there - so keep you old bulbs just in case one of your HID's burns out, and you will have to wait till you source one.
About the vent. Either drain it perodically or let mother nature/ or your 280bhp engine evaparote any little water that settles in.
Thanks for the comments!!
Last edited by ryn004; Oct 20, 2006 at 12:53 PM.

Scooby Regular
Joined: Aug 2001
Posts: 2,474
Likes: 0
From: Republic Of Mancunia
Alternative ballast location:


Nice and neat, plenty of air passing through round the lights to keep it cool. If you don't mind getting the bumper off (first time I've ever done anything like this on any car, and I struggled a bit with the plastic clips) I'd recommend it. Does look almost factory once its done.
Also went for 6000k H4..
Thread Starter
Scooby Regular
Joined: Apr 2005
Posts: 1,085
Likes: 0
From: Malta
That is a good place to put the ballast! Will definately put them there next time my bumper is off.
Just bought white LEDs to replace the bulbs in the side lamps to compliment the HIDs.
Just bought white LEDs to replace the bulbs in the side lamps to compliment the HIDs.

Thread
Thread Starter
Forum
Replies
Last Post
Mattybr5@MB Developments
Full Cars Breaking For Spares
12
Nov 18, 2015 07:03 AM