
Early blob STi steering wheel refurb DIY

Thread Starter
Scooby Regular
iTrader: (2)
Joined: Mar 2014
Posts: 753
Likes: 0
From: Mancunian in Edinburgh
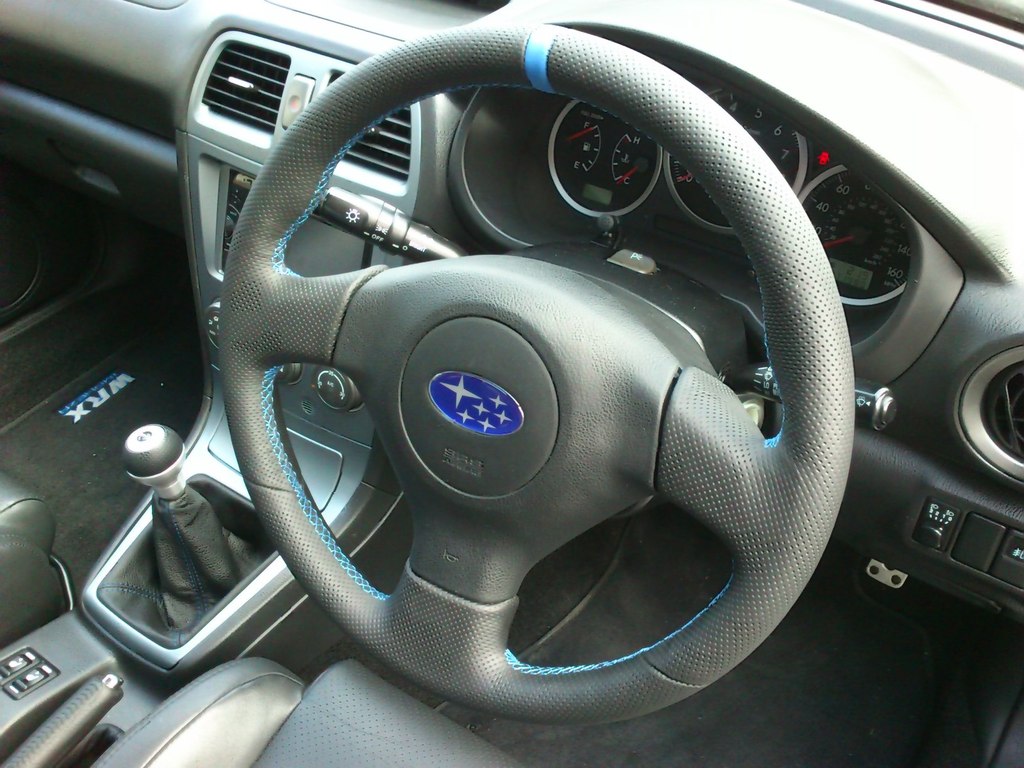
Bought an early blob STi steering wheel that needed a little TLC so thought I'd post up some pics of the how I re-furbed it. This will be going in my blob wagon as I prefer it to the plain black revised version.
This is how it used to look
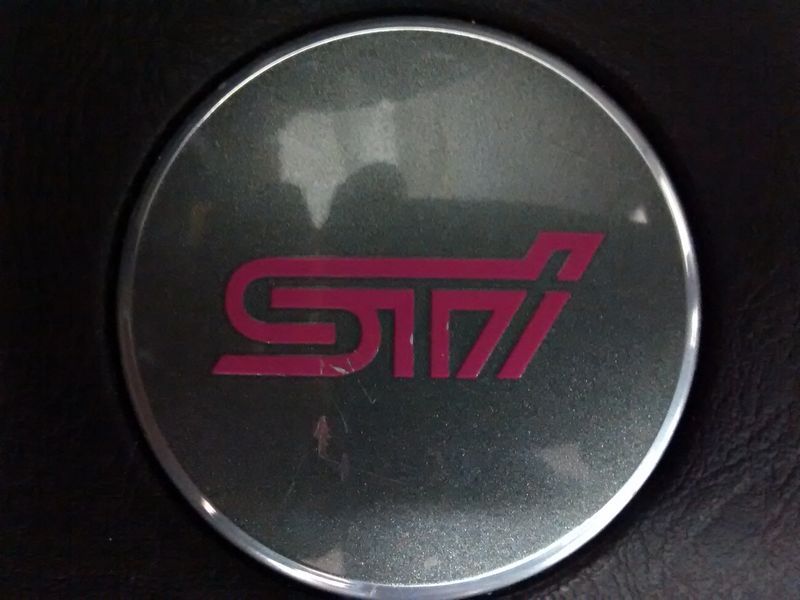
Scratches on the badge
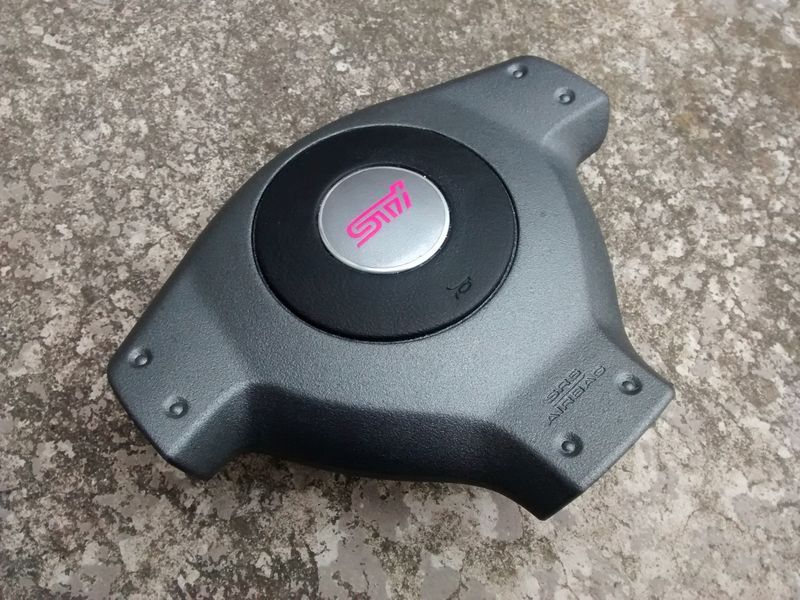
grey finish on the airbag cover well past it's best so decided to re-coat it
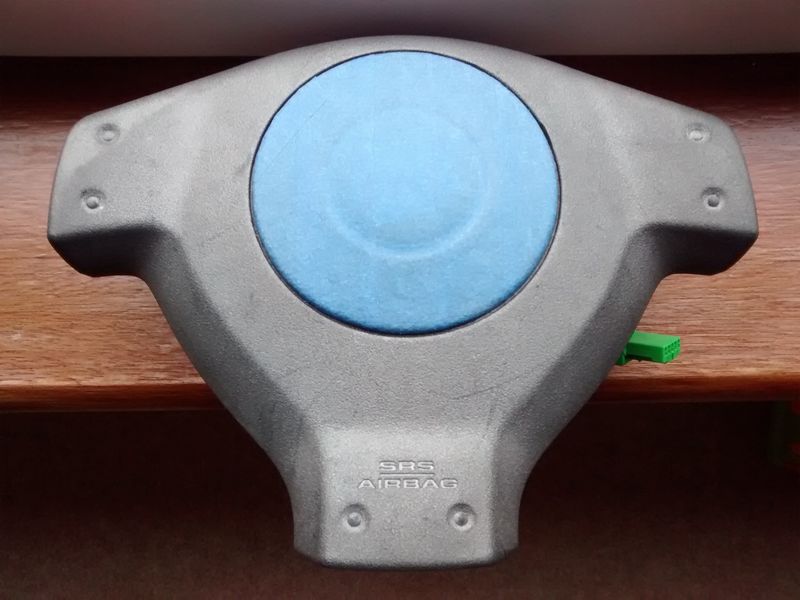
used Eastwood Plasti-wrap metallic grey rubber coating to refresh the airbag
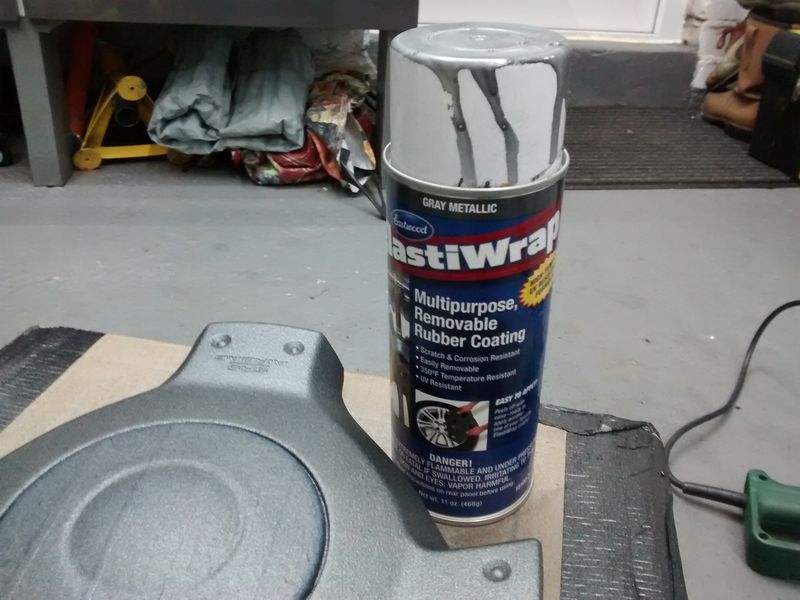
Only applied a few light coats as this makes it harder to peel off, colour is slightly darker and more metallic but still looks spot-on and there isn't much choice with these rubber coatings. Time will tell how durable it is but it feels pretty tough

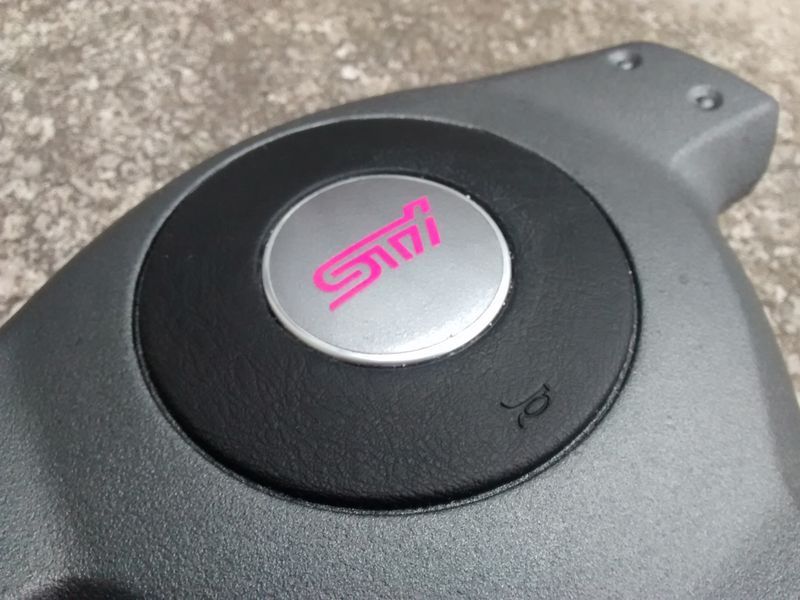
Next up was the badge, the STi logo is actually embossed in the aluminium center so had to sand it back flush...
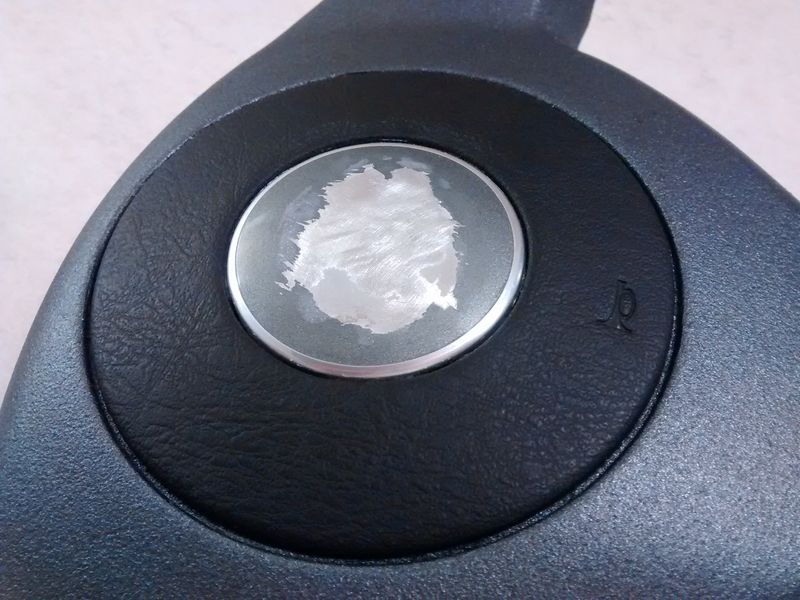
Used some BMW silver grey from my old E46 M3 which was a good match
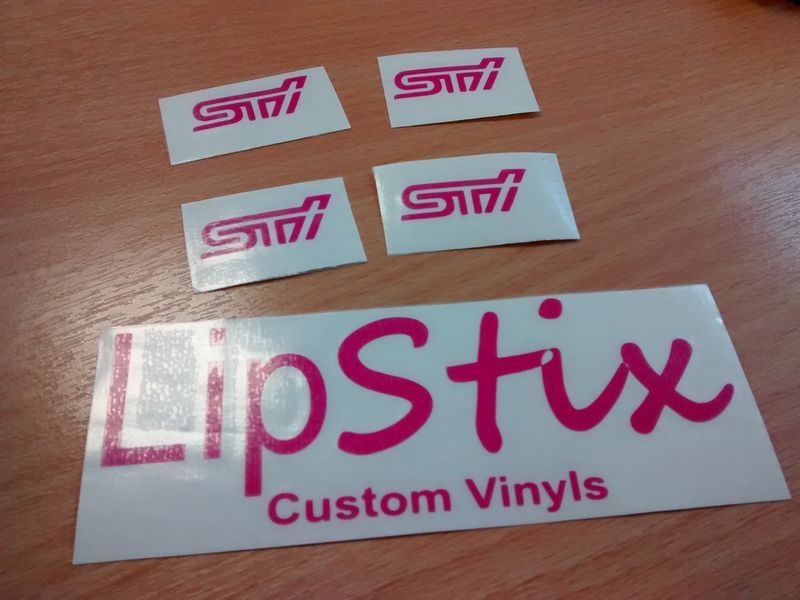
measured the STi logo and got exact size in vinyl from ebay
couple of coats of lacquer...

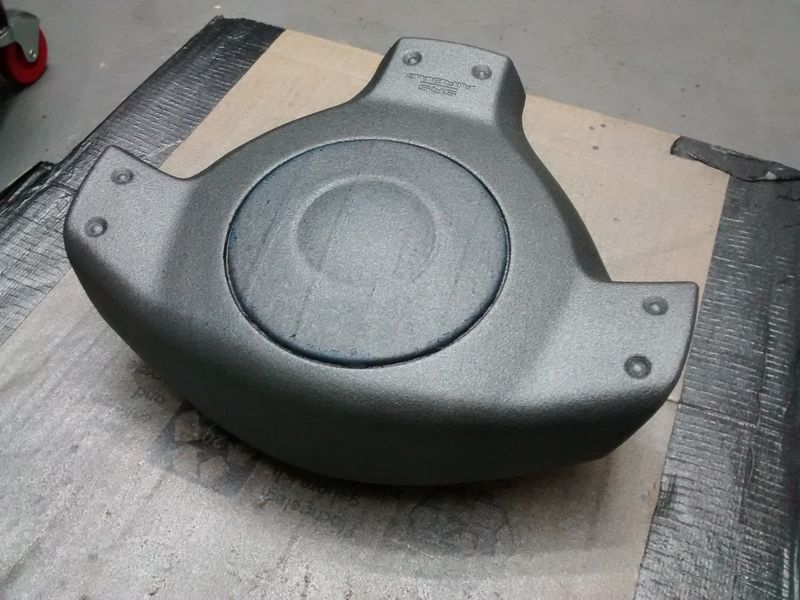
airbag done
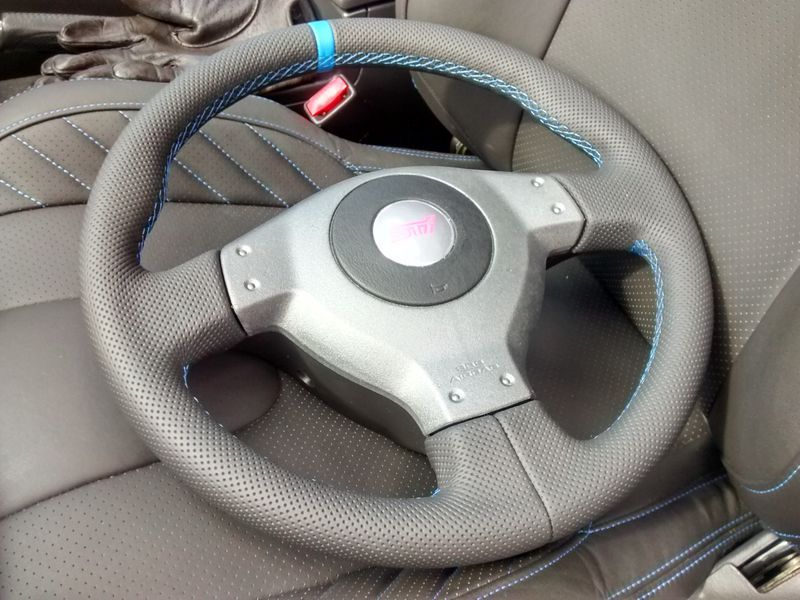
next, get the steering wheel re-trimmed at Royal steering wheels...
This is how it used to look
Scratches on the badge
grey finish on the airbag cover well past it's best so decided to re-coat it
used Eastwood Plasti-wrap metallic grey rubber coating to refresh the airbag
Only applied a few light coats as this makes it harder to peel off, colour is slightly darker and more metallic but still looks spot-on and there isn't much choice with these rubber coatings. Time will tell how durable it is but it feels pretty tough
Next up was the badge, the STi logo is actually embossed in the aluminium center so had to sand it back flush...
Used some BMW silver grey from my old E46 M3 which was a good match
measured the STi logo and got exact size in vinyl from ebay
couple of coats of lacquer...
airbag done
next, get the steering wheel re-trimmed at Royal steering wheels...


 I did my one but black instead of grey
Thread Starter
Scooby Regular
iTrader: (2)
Joined: Mar 2014
Posts: 753
Likes: 0
From: Mancunian in Edinburgh
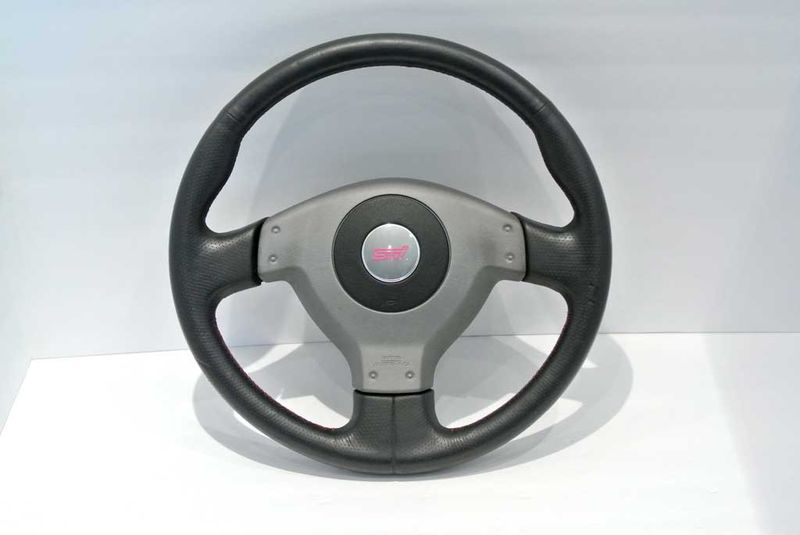
Got the steering wheel back from Royal Steering wheels, the re-trim in perforated leather is top class as always (3rd wheel I've had done by Jack now).
Seam kept at 6 o'clock as the original but no other seams apart from the 12 o'clock centre mark

current steering wheel also re-trimmed by Jack
Fitted
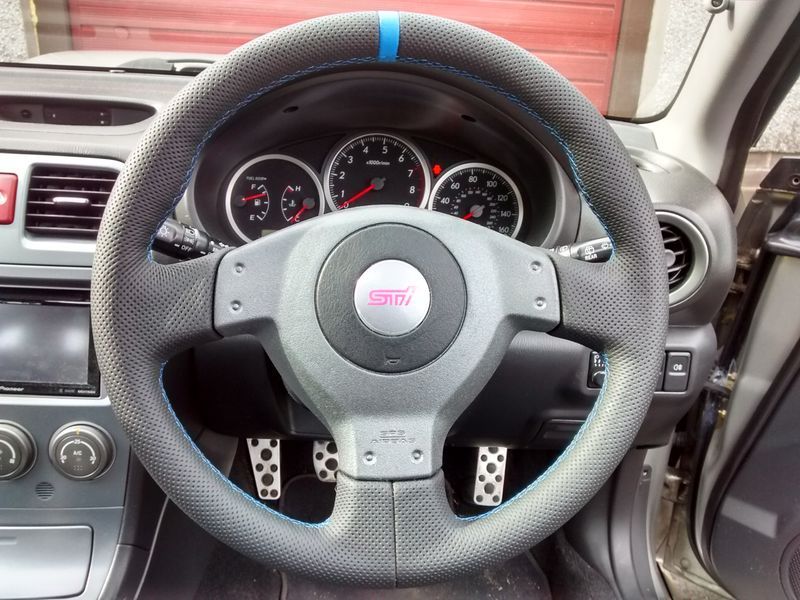
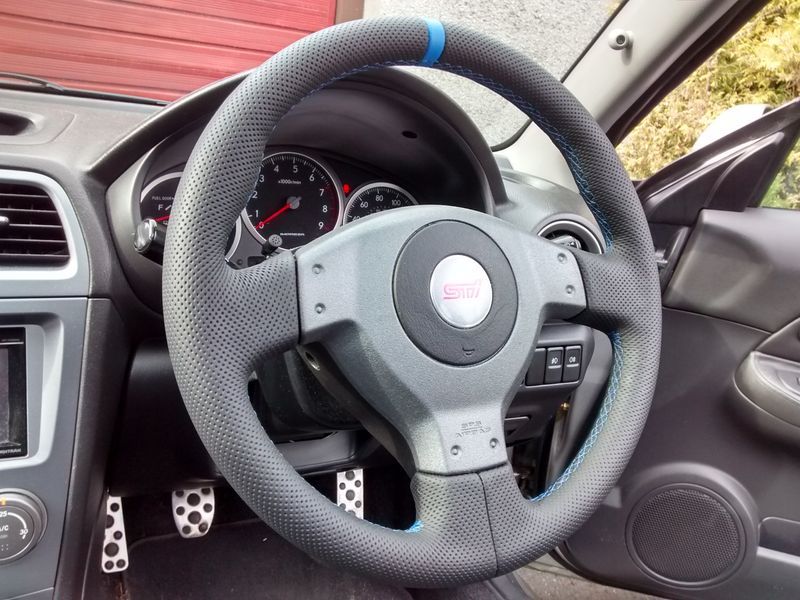
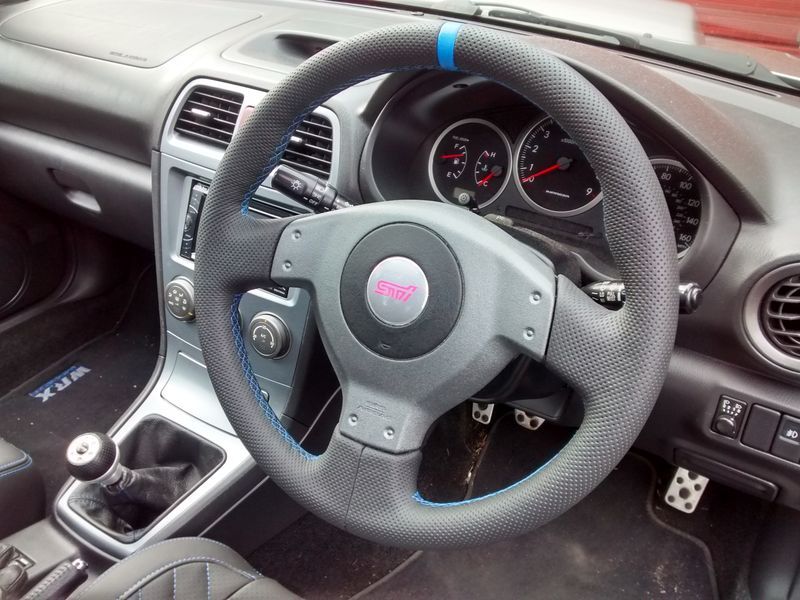
Much prefer this wheel to the plain black revised blob/hawk version and it's nice to have a brand new steering wheel again!
.
Seam kept at 6 o'clock as the original but no other seams apart from the 12 o'clock centre mark
current steering wheel also re-trimmed by Jack
Fitted
Much prefer this wheel to the plain black revised blob/hawk version and it's nice to have a brand new steering wheel again!
.
Last edited by modrich; May 11, 2016 at 09:39 PM.

As always, nice work. I must update mine someday. How hard is it to replace? I can see a couple of bolts on the steering column; is it as easy as undoing those?
Last edited by Cambs_Stuart; May 13, 2016 at 10:23 AM.
Thread Starter
Scooby Regular
iTrader: (2)
Joined: Mar 2014
Posts: 753
Likes: 0
From: Mancunian in Edinburgh
Thanks Stuart, yes very easy, disconnect battery, undo 2x torx screws each side of the steering wheel boss that hold airbag in, remove airbag and unplug 2x connectors, undo nut holding steering wheel on and remove steering wheel, simples. Only thing you need to think about is whether you need a spare wheel as it takes about 2 wks for Jack to do them. Jack may also have a spare he can loan you.
Trending Topics

Thread Starter
Scooby Regular
iTrader: (2)
Joined: Mar 2014
Posts: 753
Likes: 0
From: Mancunian in Edinburgh
Initially wasn't sure how it would stand up to normal use but no probs so far. It has a nice grippy feel to it and the best thing it looks OEM+. If you were to scrub it, it might start to wear off as it's designed to be removable but it's a doddle to re-apply anyway.
I did start to look around the cabin for other bits to paint like the centre console trim but didn't want to get carried away!
I did start to look around the cabin for other bits to paint like the centre console trim but didn't want to get carried away!
Plasti dipped my centre console over a year ago. gets wipper down and cleaned every time I wash the car, handles it very well, and not been redone.
It has been out a couple of times to replace the stereo and take out the parrot hands free kit.
You get a very OEM look and feel
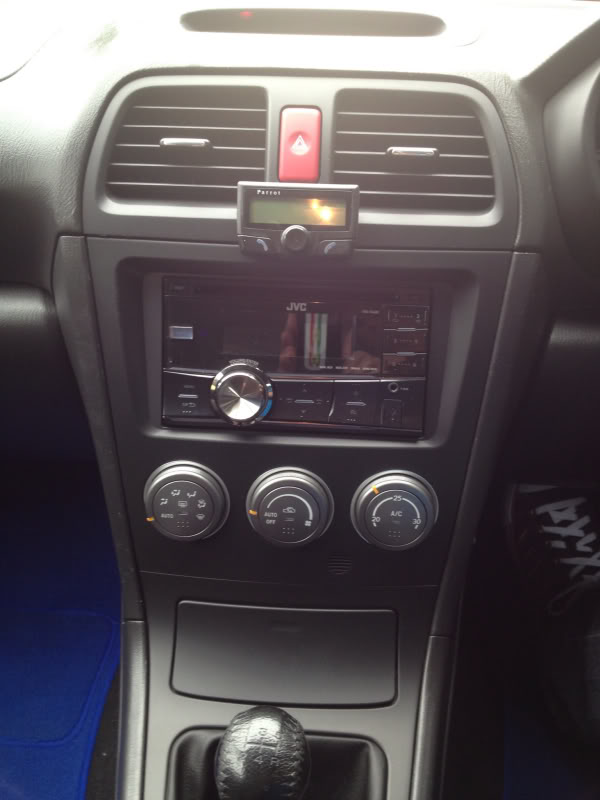
It has been out a couple of times to replace the stereo and take out the parrot hands free kit.
You get a very OEM look and feel

Out of interest, has anyone tried to fit retractable cupholders below the top vents? At a glance it looks quite straightforward but experience tells me it might be a bit more involved.
I'm really tempted to do my dash trim in plastidip now looking at the pics above.

Thread
Thread Starter
Forum
Replies
Last Post