When you click on links to various merchants on this site and make a purchase, this can result in this site earning a commission. Affiliate programs and affiliations include, but are not limited to, the eBay Partner Network.
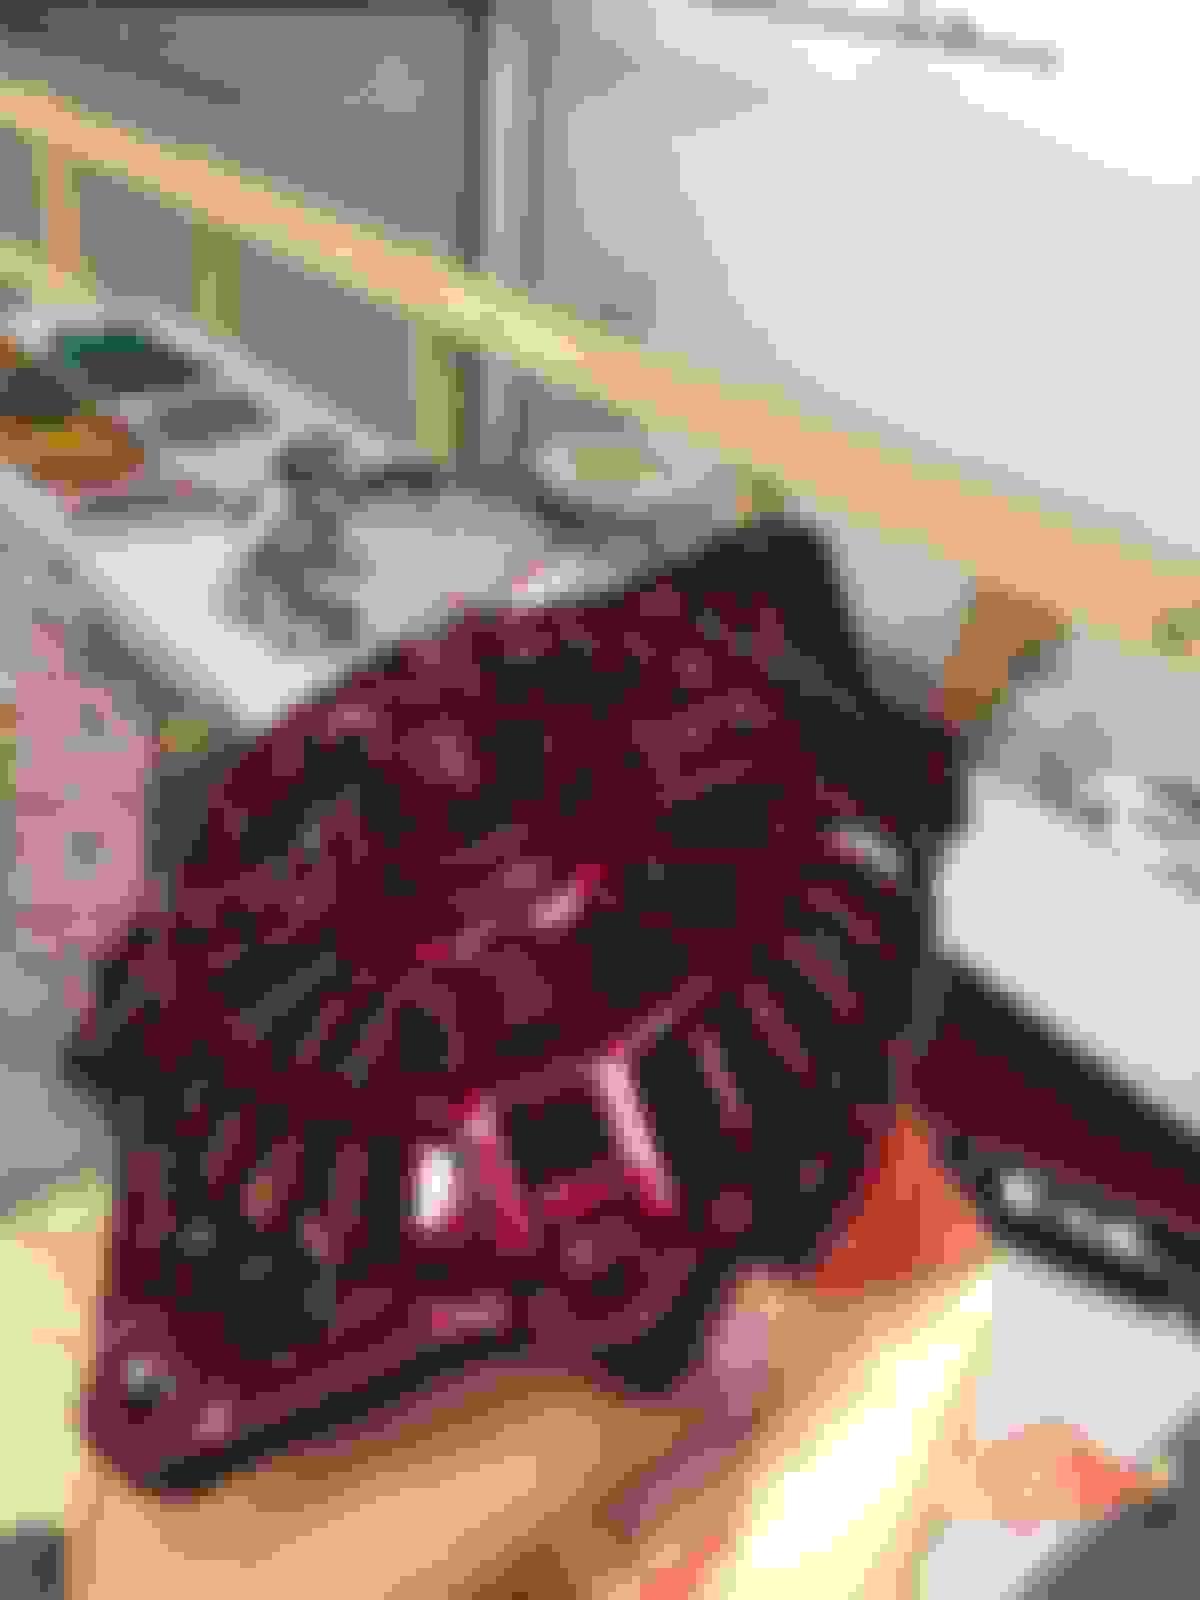
ill be be getting some bits back that I�ve had carbon dipped, and I�ve noticed on the alternator that the bolt hole faces are covered in carbon aswell.
should I clean the bolt faces before I put it on because I don�t wanna have to remove the old alternator and replace with the new one only for their to be charging issues because the bolts won�t earth on the dipped on.
Why did you get the armature & shaft dipped / threads n all ?
Don’t know if it will cause issue but I always just get the 2 cages powder coated then hand paint the front of armature so you can see through the front cage
As the 4 inner plate screws are attached looks like he wrapped the armature & drop faced the whole front to dip.... I’m not saying anything is wrong just you were asking the questions regarding contact etc .. if it doesn’t work you know where to scrape / if you don’t know how to strip the alternator send me a message it’s very easy & takes no time at all
As the 4 inner plate screws are attached looks like he wrapped the armature & drop faced the whole front to dip.... I�m not saying anything is wrong just you were asking the questions regarding contact etc .. if it doesn�t work you know where to scrape / if you don�t know how to strip the alternator send me a message it�s very easy & takes no time at all
Too be honest with you my friend I can�t disagree with you their. when I saw it I was asking myself the same questions which is why I asked the question on here. I don�t think stripping the alternator will be a problem, but by the looks of things, looks like I�ll have to get a Dremel on the bolt head holes. Is their anywhere else you recommend I can do the same ?Thanks for the help I appreciate it 👍🏻
Auto electrician had to file mine back and fit a separate earth strap as it was getting too hot and cutting out randomly
I was looking at earth straps myself today and thinking about maybe wrapping one round the mount bolt incase I can�t get any voltage after testing it when I get it back.
Yes make sure the lip on both inner cages is clean & has good contact with the metal cage ring / should be fine / I do this with mine sand the paint off as powder is quite thick & the cages wouldn’t even come close to mating if untouched
Yes make sure the lip on both inner cages is clean & has good contact with the metal cage ring / should be fine / I do this with mine sand the paint off as powder is quite thick & the cages wouldn�t even come close to mating if untouched
Once i get it back I�m gonna strip the bolts out and start cleaning out where the screws sit mate. I�ll turn them over and do the otherside aswell. anywhere they make connect I�m just gonna have to make sure that the areas clean because as like you said it�s a thick coat.Love your alternator by the way! 👍🏻
Yes make sure the lip on both inner cages is clean & has good contact with the metal cage ring / should be fine / I do this with mine sand the paint off as powder is quite thick & the cages wouldn�t even come close to mating if untouched
I�m assuming it makes grounding through the mounting ears also ?
As the "Earthing" component is carried out via the body, all bolt mating faces/threads should be clean as well as the three pivot point mating faces where they make conract with the mounting bracket.
As the "Earthing" component is carried out via the body, all bolt mating faces/threads should be clean as well as the three pivot point mating faces where they make conract with the mounting bracket.
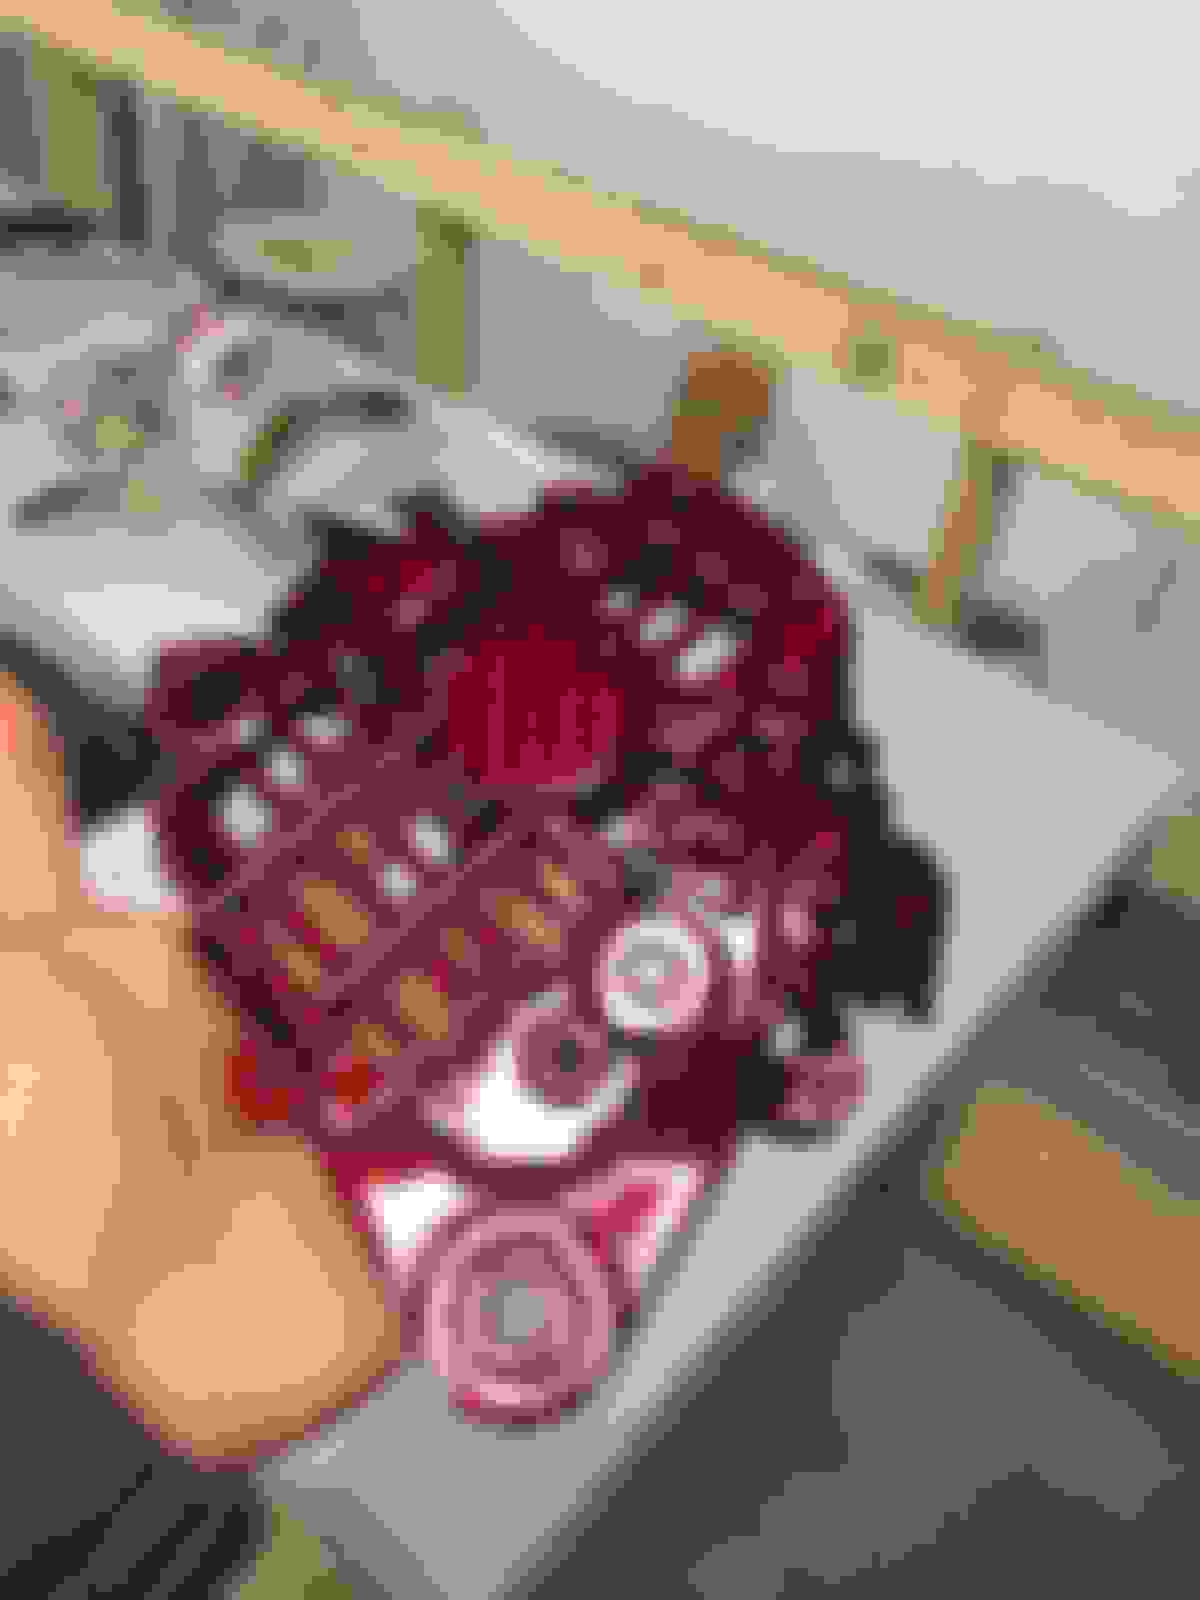
by mounting faces you mean the 3 larger holes to the side of the alternator ?. The 3 mounting holes on the pic have been dipped aswell, or should I bring them back to the metal ?
by mounting faces you mean the 3 larger holes to the side of the alternator ?. The 3 mounting holes on the pic have been dipped aswell, or should I bring them back to the metal ?
Yes bring back . & also as much from the inside mating faces as possible / takes ages if in powder , but it’s essential as don has implied, it just won’t function otherwise ,
If you want good connectivity, where those three "actually" make contact with the mount, adjuster and mounting bolts/nuts/threads should be bare metal.
The easiest way to see what needs cleaning would be to offer it up on the engine.
luckily the rear cage hasn�t been dipped. But shall I still bring back to metal the holes I�ve pointed out on the rear side of the cage coated in dip ?
I�m suspecting you put it on & it didn�t work ?
Is that what happend Matty ?
i haven�t tried it yet mate. I�m going down to my mates garage next Saturday and we are gonna fit it. I�m gonna have to take the old one out and take the bolts out of that because the guys that dipped my bits didn�t send the bolts back to me. I literally only got what�s in the pics so I may have to disassemble the old one and use the bits on this one.
Apart from the internal mating faces you need to clean
1) thread and mating face for adjuster
2) area under the heads of the 4 clamping bolts
3) face under the mounting bolt washer
4) area on other side of 3) which makes contact with the mounting bracket
5) both ends of the insert bush