Air Con condenser/radiator DIY
 06 June 2016, 04:20 PM
#1
Scooby Regular
Thread Starter
iTrader: (2)
Join Date: Mar 2014
Location: Mancunian in Edinburgh
Posts: 753
Likes: 0
Received 0 Likes
on
0 Posts
So the A/C stopped blowing cold air again and as this was only re-charged last year by David at Stable Air I got him back to do a proper check for leaks. He noticed straight away that the connections on the side of the condenser rad looked damp and also said it's common for the rad itself to become porous and leak. He checked the gas pressure and it was down to about 5PSi so evacuated the remaining gas so I could source and fit a new rad (only �66 from Advanced Radiators) and fit it myself, then re-gas later.
So going to tackle this myself as it all looks straight forward to get access to, only annoying part is that I replaced the main radiator and coolant last year and will need to move this out of the way to remove the AC rad. David said I should be able to do this by just removing the rad top hose and tilting the rad back out of the way, probably more fiddly than just removing the rad (which is a doddle anyway), but should be able to do it all from the top of the engine bay, not decided yet which way to do it.
Whilst doing this I will be replacing all the O-rings (only 6, 3 different sizes) in the system just to be sure, but looking on opposed forces parts catalogue and O-rings are not available separately and only come with the pipes, so will need to remove pipes and check the existing O-ring sizes before doing the job.
So anyone done this and have any suggestions?
 06 June 2016, 08:40 PM
#2
Scooby Regular

I had a MY00
I noticed my Aircon not working, traced it to a holed Aircon rad
I bought a 2nd one of eBay and fitted myself, from memory it was a very easy job
And I did not have to take the main coolant rad off, just the top fixings and hose so it could tilt
I even used a DIY kit to fill it again
I noticed my Aircon not working, traced it to a holed Aircon rad
I bought a 2nd one of eBay and fitted myself, from memory it was a very easy job
And I did not have to take the main coolant rad off, just the top fixings and hose so it could tilt
I even used a DIY kit to fill it again
 14 July 2016, 02:23 PM
#4
Scooby Regular
Thread Starter
iTrader: (2)
Join Date: Mar 2014
Location: Mancunian in Edinburgh
Posts: 753
Likes: 0
Received 0 Likes
on
0 Posts
So I went ahead and ordered a new A/C condenser from Advanced Radiators for �66inc del: http://www.adrad.co.uk/prices/aircon...7&rowid=534264 and went ahead and installed it.
New O ring set for the complete A/C system available here:
http://www.ebay.co.uk/itm/2530202018...84.m1555.l2649
Or just the 2 O rings for the condenser rad:
http://www.ebay.co.uk/itm/2524867913...84.m1555.l2649
It turned out to be very straight forward, easier than I thought as I wasn't convinced it could be done without removing the main radiator, but that wasn't necessary. So here's the DIY:
Before removing any part of the A/C system make sure any remaining gas is removed from the system by someone who can recover it and dispose of the gas correctly. I used Stable Air who checked and diagnosed the leak and evacuated the gas prior to my installation the new condenser.
This is on a 2005 Blob WRX, but should be the same for all Impreza's.
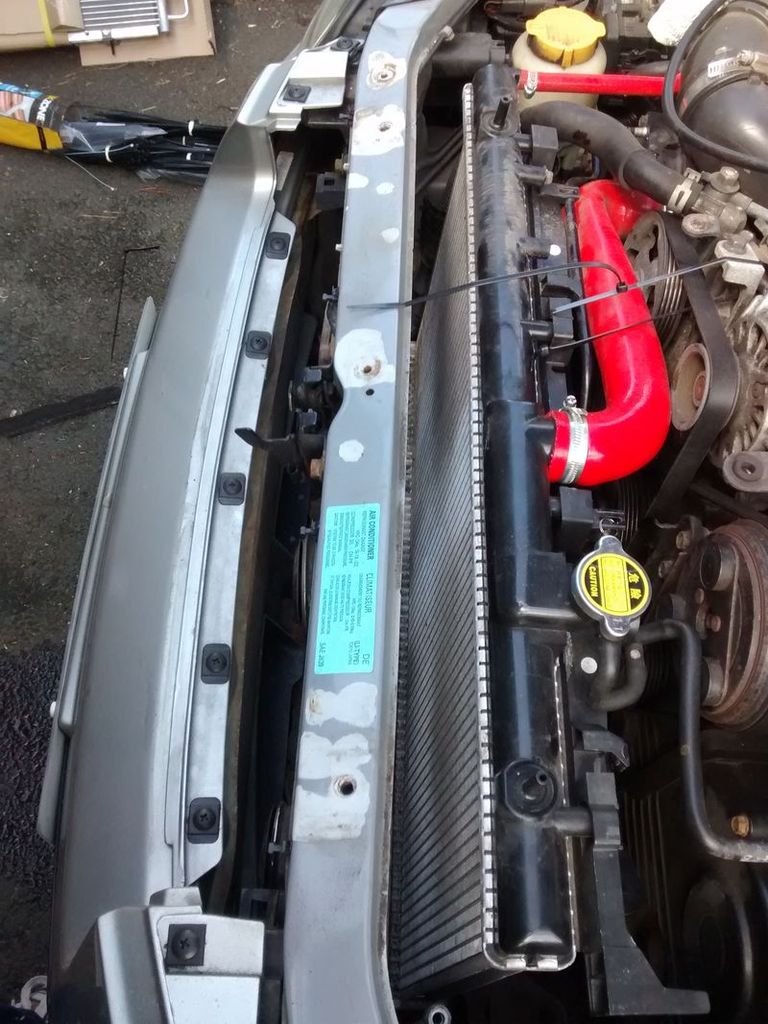
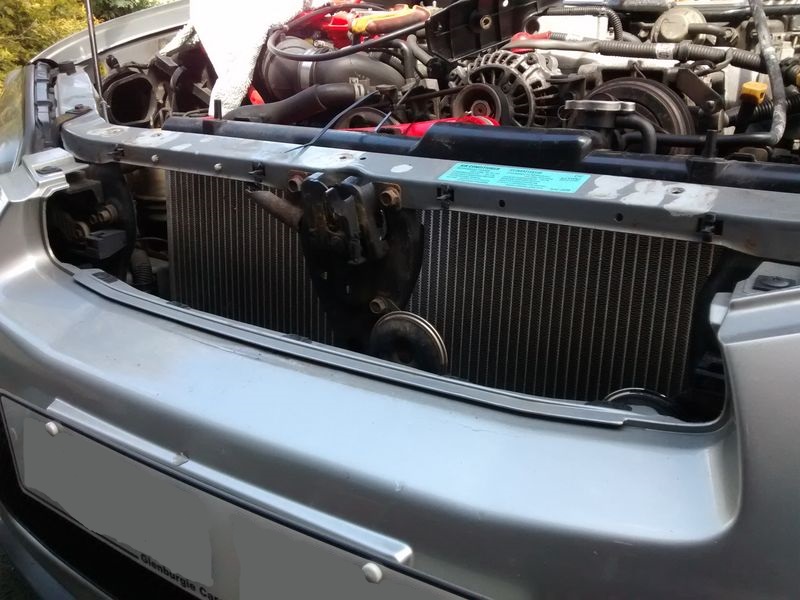
Remove front grille and remove 2x bolts holding the condenser in place.
Remove cooling system expansion tank, air inlet snorkel and top rad brackets
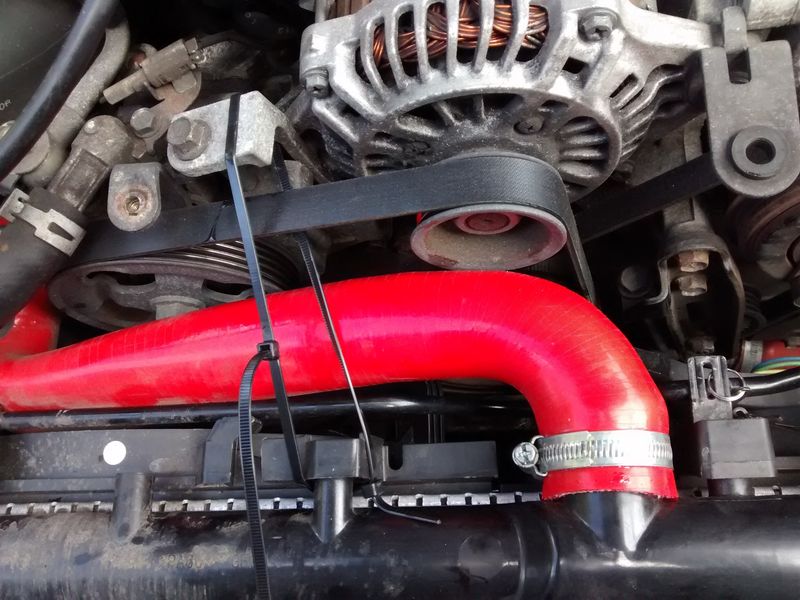
Use a cable tie to hold the main rad as close to the engine as possible leaving space for the condenser to be removed
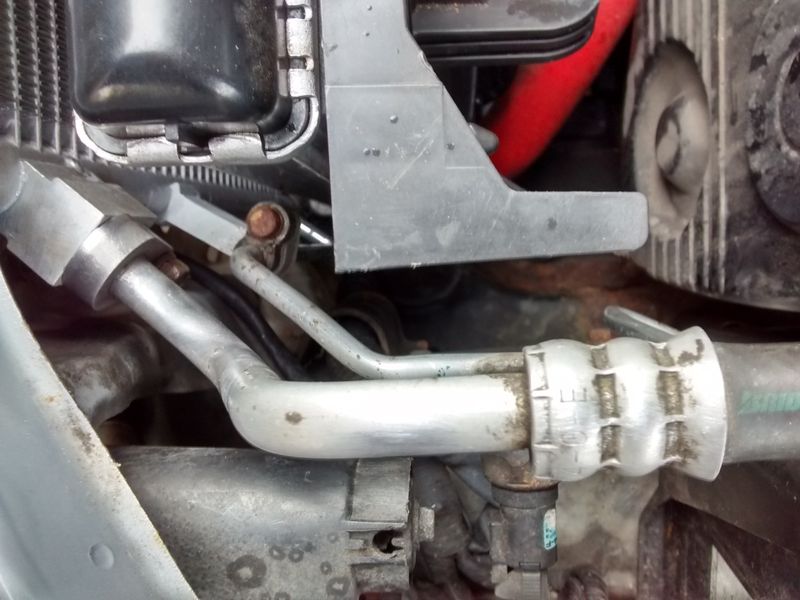
Remove the top pipe from compressor, and O ring
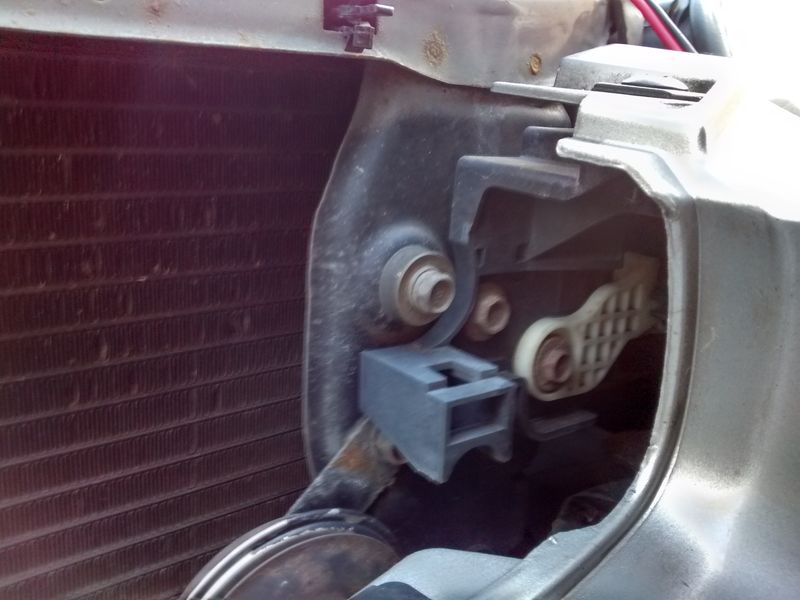
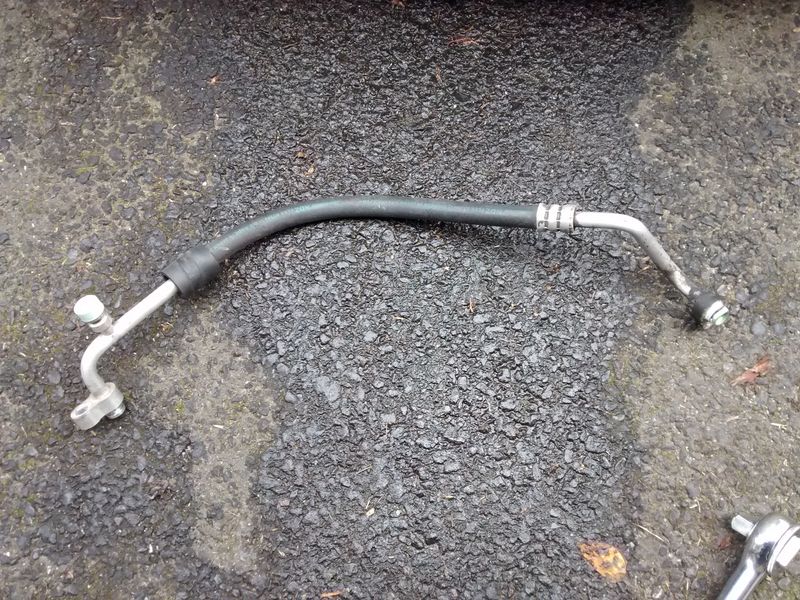
Undo bolt for lower connection onto the condenser and carefully pull pipe out, this is a solid aluminium pipe so be careful not to bend it. You don't need to remove larger top pipe as this is can be removed as one having been disconnected from the compressor at the other end. Tilt condenser toward engine at the top and slide out being careful not to damage the main rad.
Condenser removed, looks pretty shabby
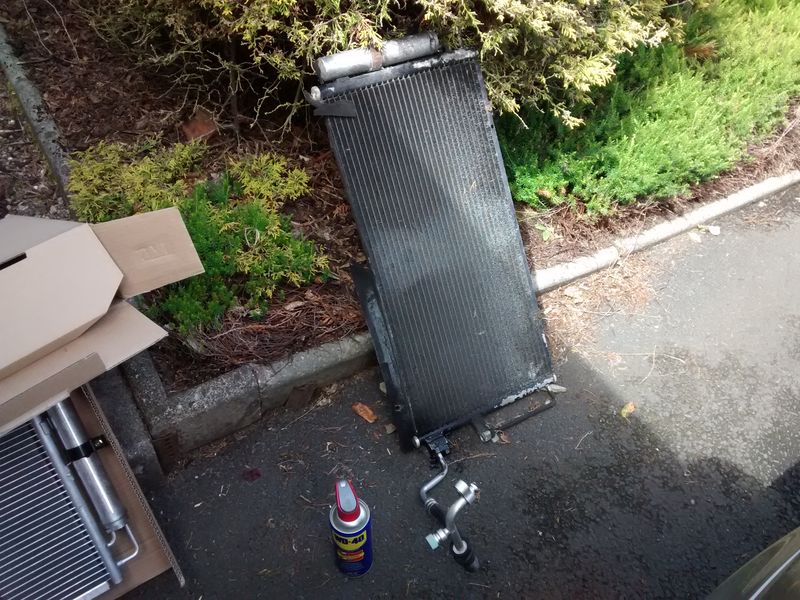
Bolt for top pipe was quite solid so soaked in WD40 before removing
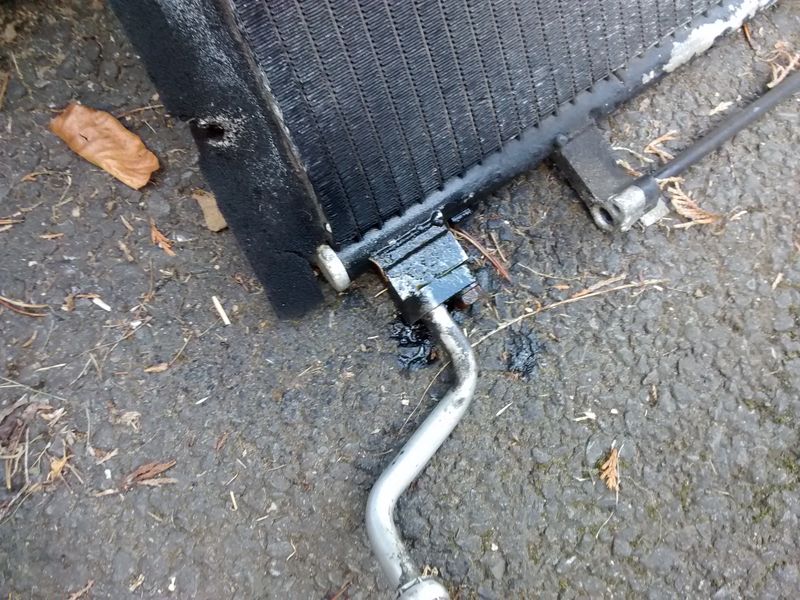
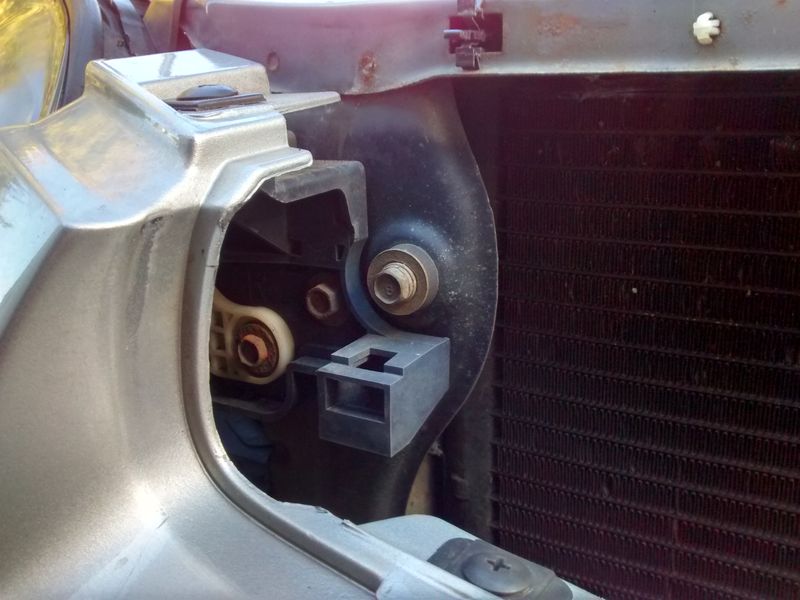
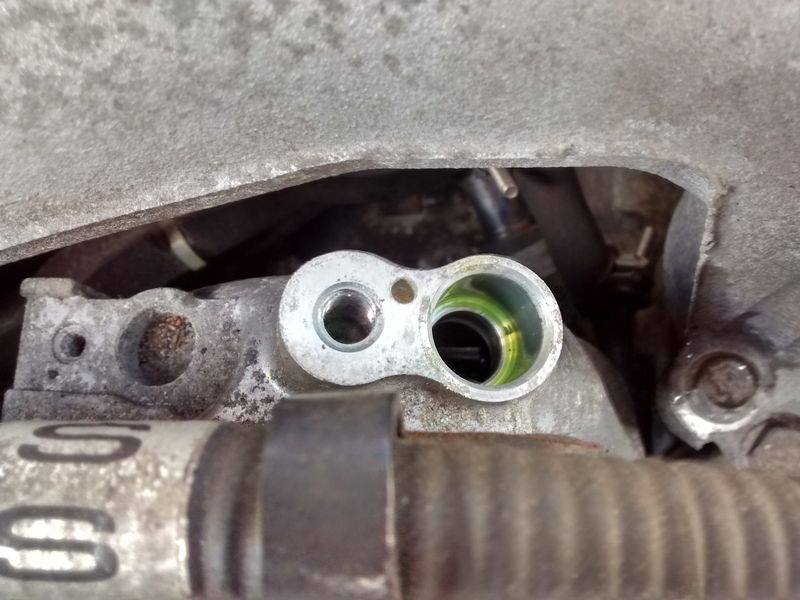
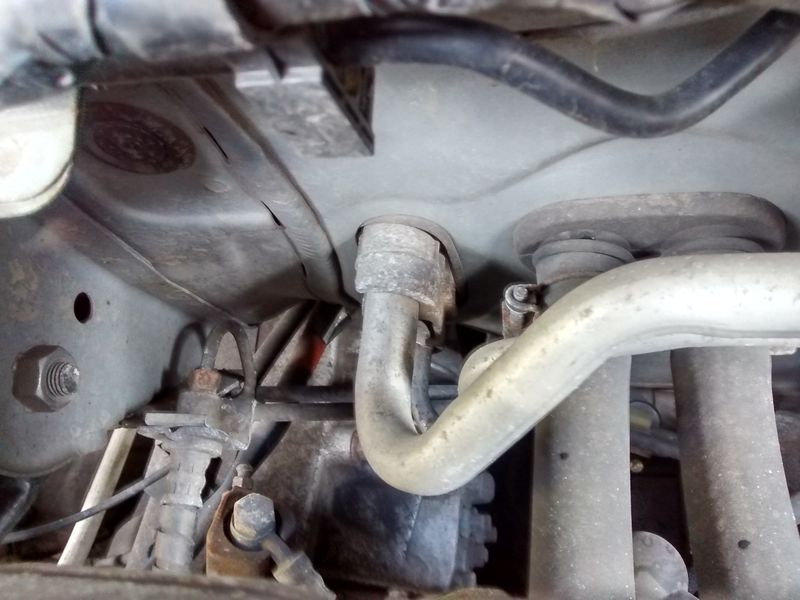
Pipe removed revealing badly corroded connection, this or a hole in the condenser was the probable cause of the leak.
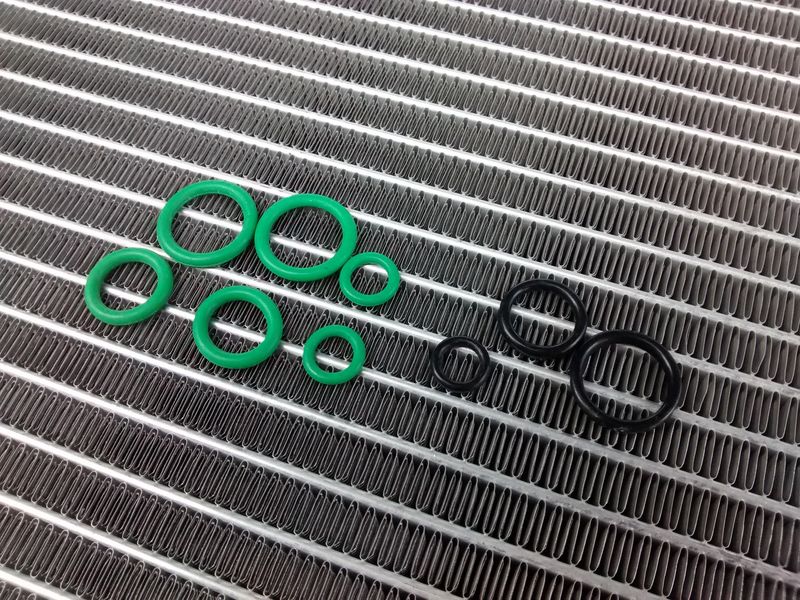
New set of O ring seals, 6 in total for complete A/C system, all accessible from the engine bay.
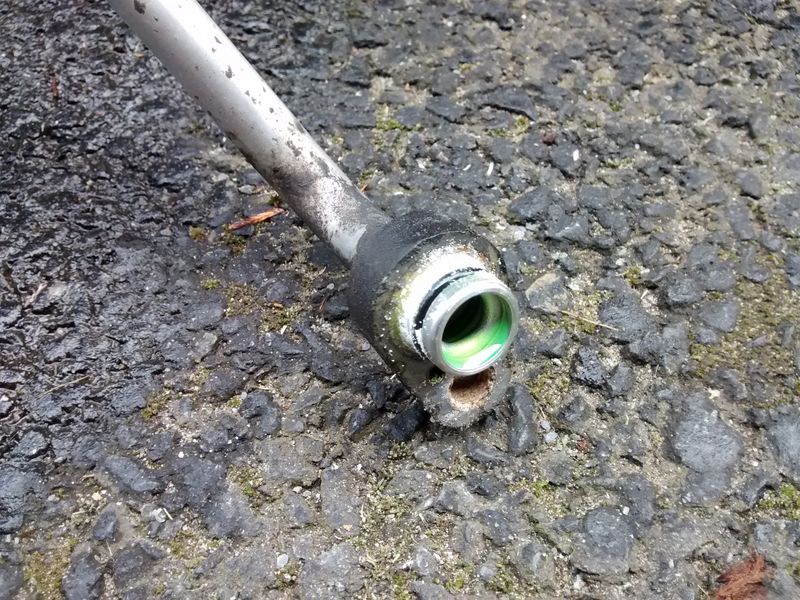
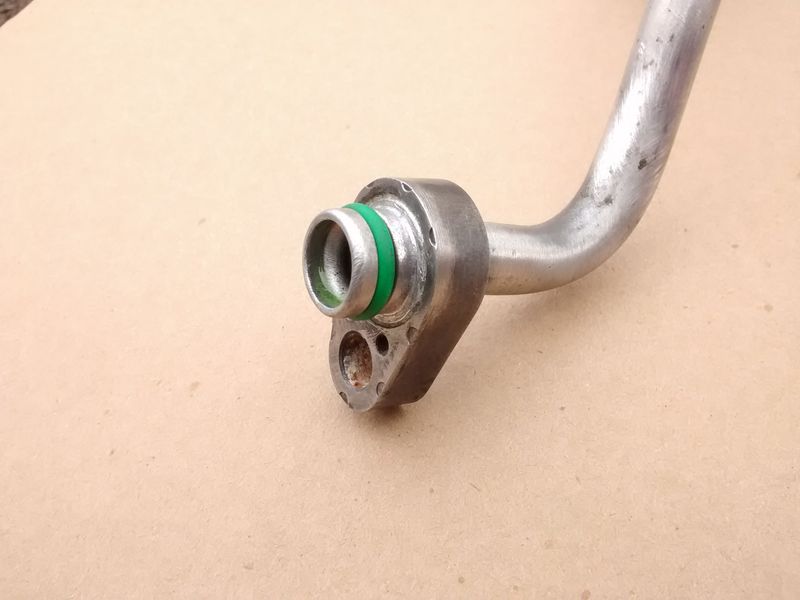
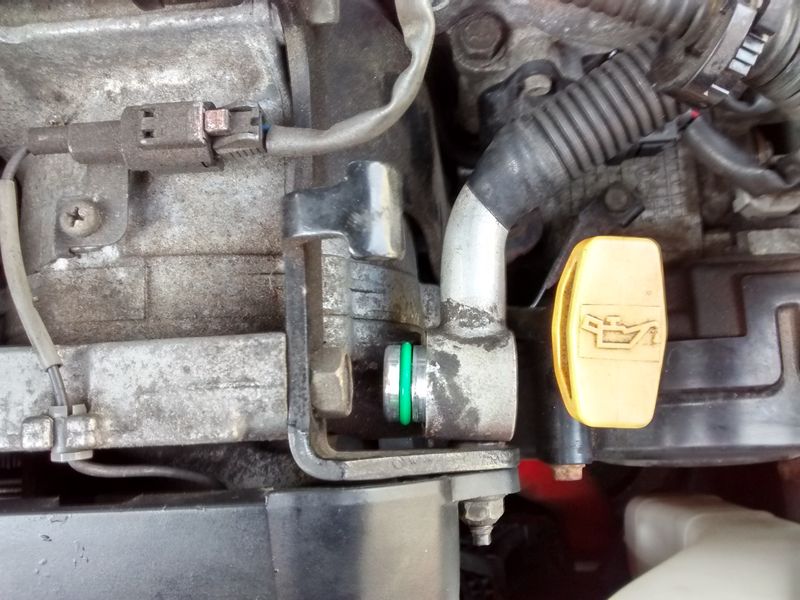
Cleaned-up and new O ring fitted
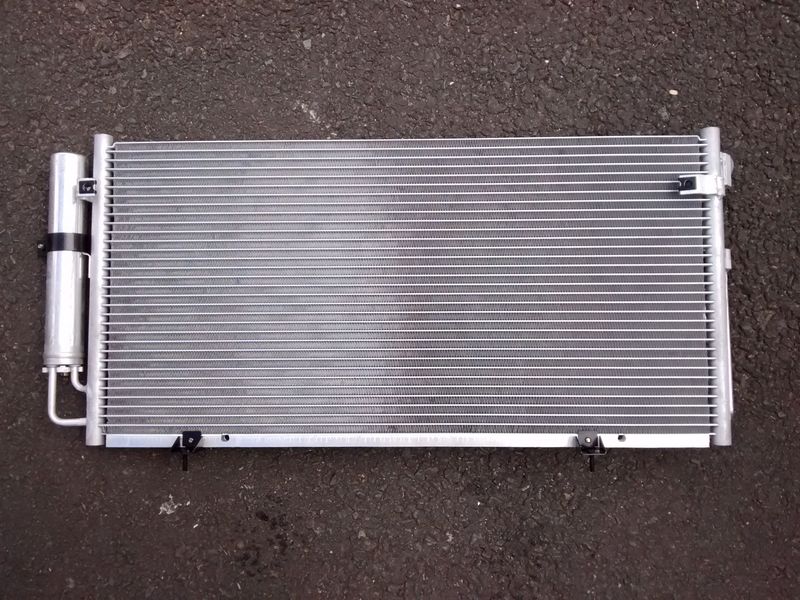
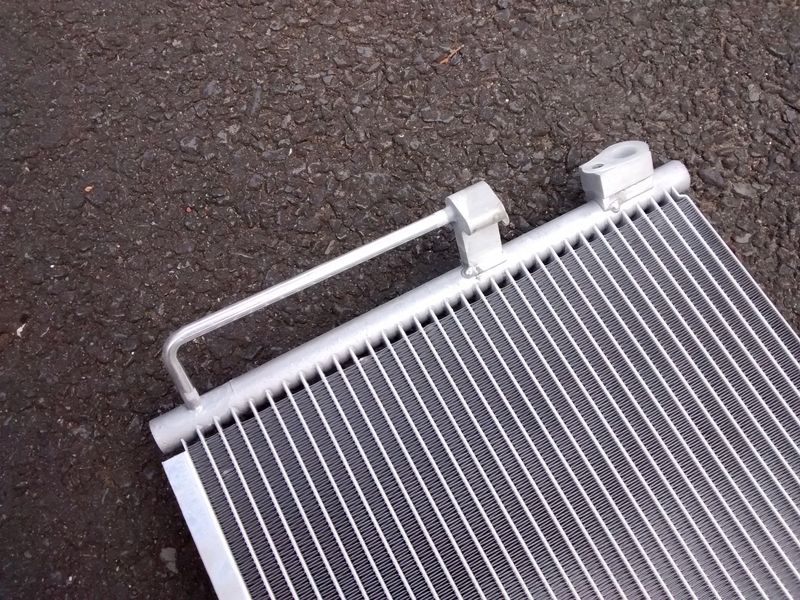
New condenser looks well made and comes with new dryer (canister on the side) which some don't apparently.
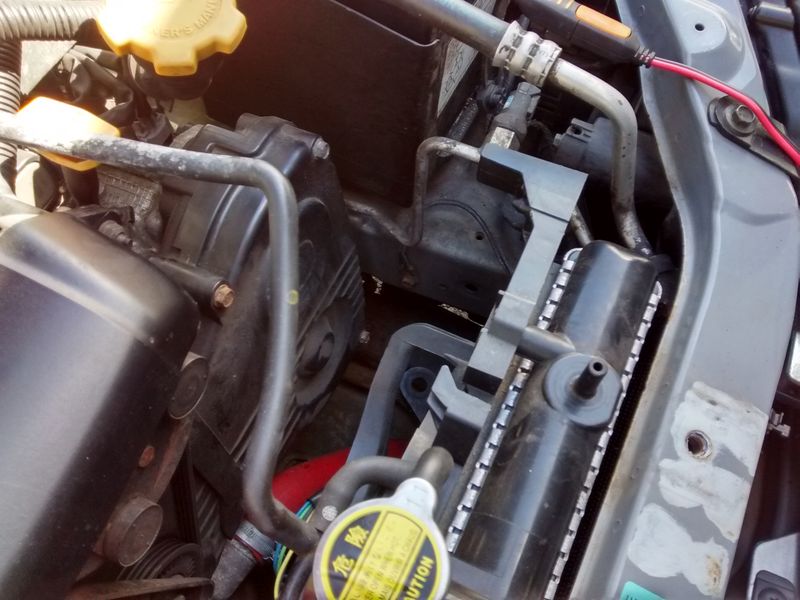
Before re-fitting it's a good idea change to clean out all the debris that has collected in front of the main rad. Clean the lower condenser pipe connection and replace the O ring. I re-fitted the larger top pipe to the condenser before sliding the condenser back in place. Re-connect the top pipe to the compressor with a new O ring.
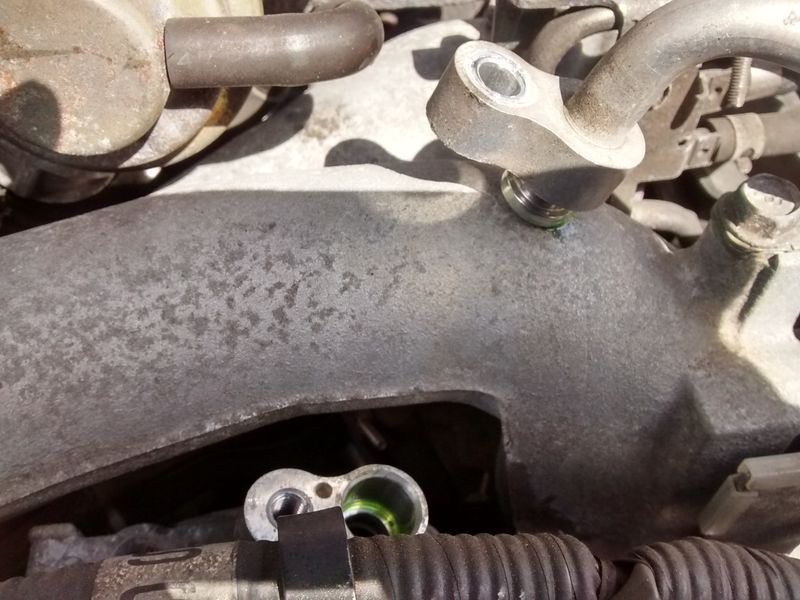
After re-fitting the condenser, replace the O rings on the pipe from the side of the compressor and the 2 pipes at the bulkhead behind the engine
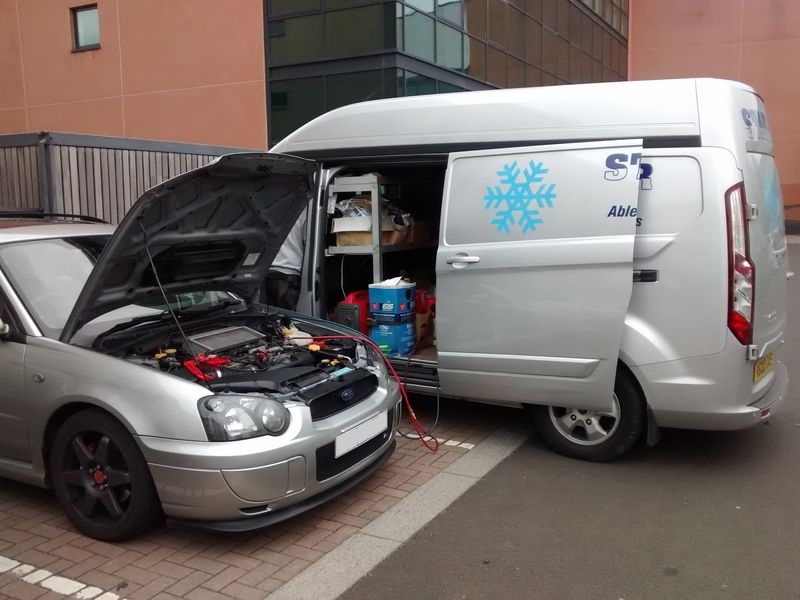
Stable Air came back to evacuate (create vacuum to remove air/moisture)/pressure test and re-gas the system, total �40 including initial diagnostic visit.
Hopefully this is the A/C system done for the next 10-15years
New O ring set for the complete A/C system available here:
http://www.ebay.co.uk/itm/2530202018...84.m1555.l2649
Or just the 2 O rings for the condenser rad:
http://www.ebay.co.uk/itm/2524867913...84.m1555.l2649
It turned out to be very straight forward, easier than I thought as I wasn't convinced it could be done without removing the main radiator, but that wasn't necessary. So here's the DIY:
Before removing any part of the A/C system make sure any remaining gas is removed from the system by someone who can recover it and dispose of the gas correctly. I used Stable Air who checked and diagnosed the leak and evacuated the gas prior to my installation the new condenser.
This is on a 2005 Blob WRX, but should be the same for all Impreza's.
Remove front grille and remove 2x bolts holding the condenser in place.
Remove cooling system expansion tank, air inlet snorkel and top rad brackets
Use a cable tie to hold the main rad as close to the engine as possible leaving space for the condenser to be removed
Remove the top pipe from compressor, and O ring
Undo bolt for lower connection onto the condenser and carefully pull pipe out, this is a solid aluminium pipe so be careful not to bend it. You don't need to remove larger top pipe as this is can be removed as one having been disconnected from the compressor at the other end. Tilt condenser toward engine at the top and slide out being careful not to damage the main rad.
Condenser removed, looks pretty shabby
Bolt for top pipe was quite solid so soaked in WD40 before removing
Pipe removed revealing badly corroded connection, this or a hole in the condenser was the probable cause of the leak.
New set of O ring seals, 6 in total for complete A/C system, all accessible from the engine bay.
Cleaned-up and new O ring fitted
New condenser looks well made and comes with new dryer (canister on the side) which some don't apparently.
Before re-fitting it's a good idea change to clean out all the debris that has collected in front of the main rad. Clean the lower condenser pipe connection and replace the O ring. I re-fitted the larger top pipe to the condenser before sliding the condenser back in place. Re-connect the top pipe to the compressor with a new O ring.
After re-fitting the condenser, replace the O rings on the pipe from the side of the compressor and the 2 pipes at the bulkhead behind the engine
Stable Air came back to evacuate (create vacuum to remove air/moisture)/pressure test and re-gas the system, total �40 including initial diagnostic visit.
Hopefully this is the A/C system done for the next 10-15years
Last edited by modrich; 14 July 2017 at 01:11 PM.
 15 July 2016, 09:07 AM
#6
Scooby Regular
Thread Starter
iTrader: (2)
Join Date: Mar 2014
Location: Mancunian in Edinburgh
Posts: 753
Likes: 0
Received 0 Likes
on
0 Posts
It's a doddle mate, only took about an hour an a half to do. I hate having anything none functional so it had to be fixed, ready for when it's needed again, early next June lol (for a day)!

Thread
Thread Starter
Forum
Replies
Last Post
imprezachris88
General Technical
6
01 April 2016 07:18 PM