When you click on links to various merchants on this site and make a purchase, this can result in this site earning a commission. Affiliate programs and affiliations include, but are not limited to, the eBay Partner Network.
I've just bought a 2003 WRX impreza! The story behind it is as follows, one of my mates bought the car a year ago for �3500 and drove it home with no problems and the next day he drove it and the engine blew up.....it had been sitting in a farm yard ever since. A few months after the engine blew up he bought a refurbed bottom end and built the top half of the engine himself with new belts etc but he never got round to fitting it, he completely lost interest.
So the cars been sitting in the yard ever since....and i managed to get the Car,engine AND get it delivered to my house for �1300. Pretty pleased with the price!
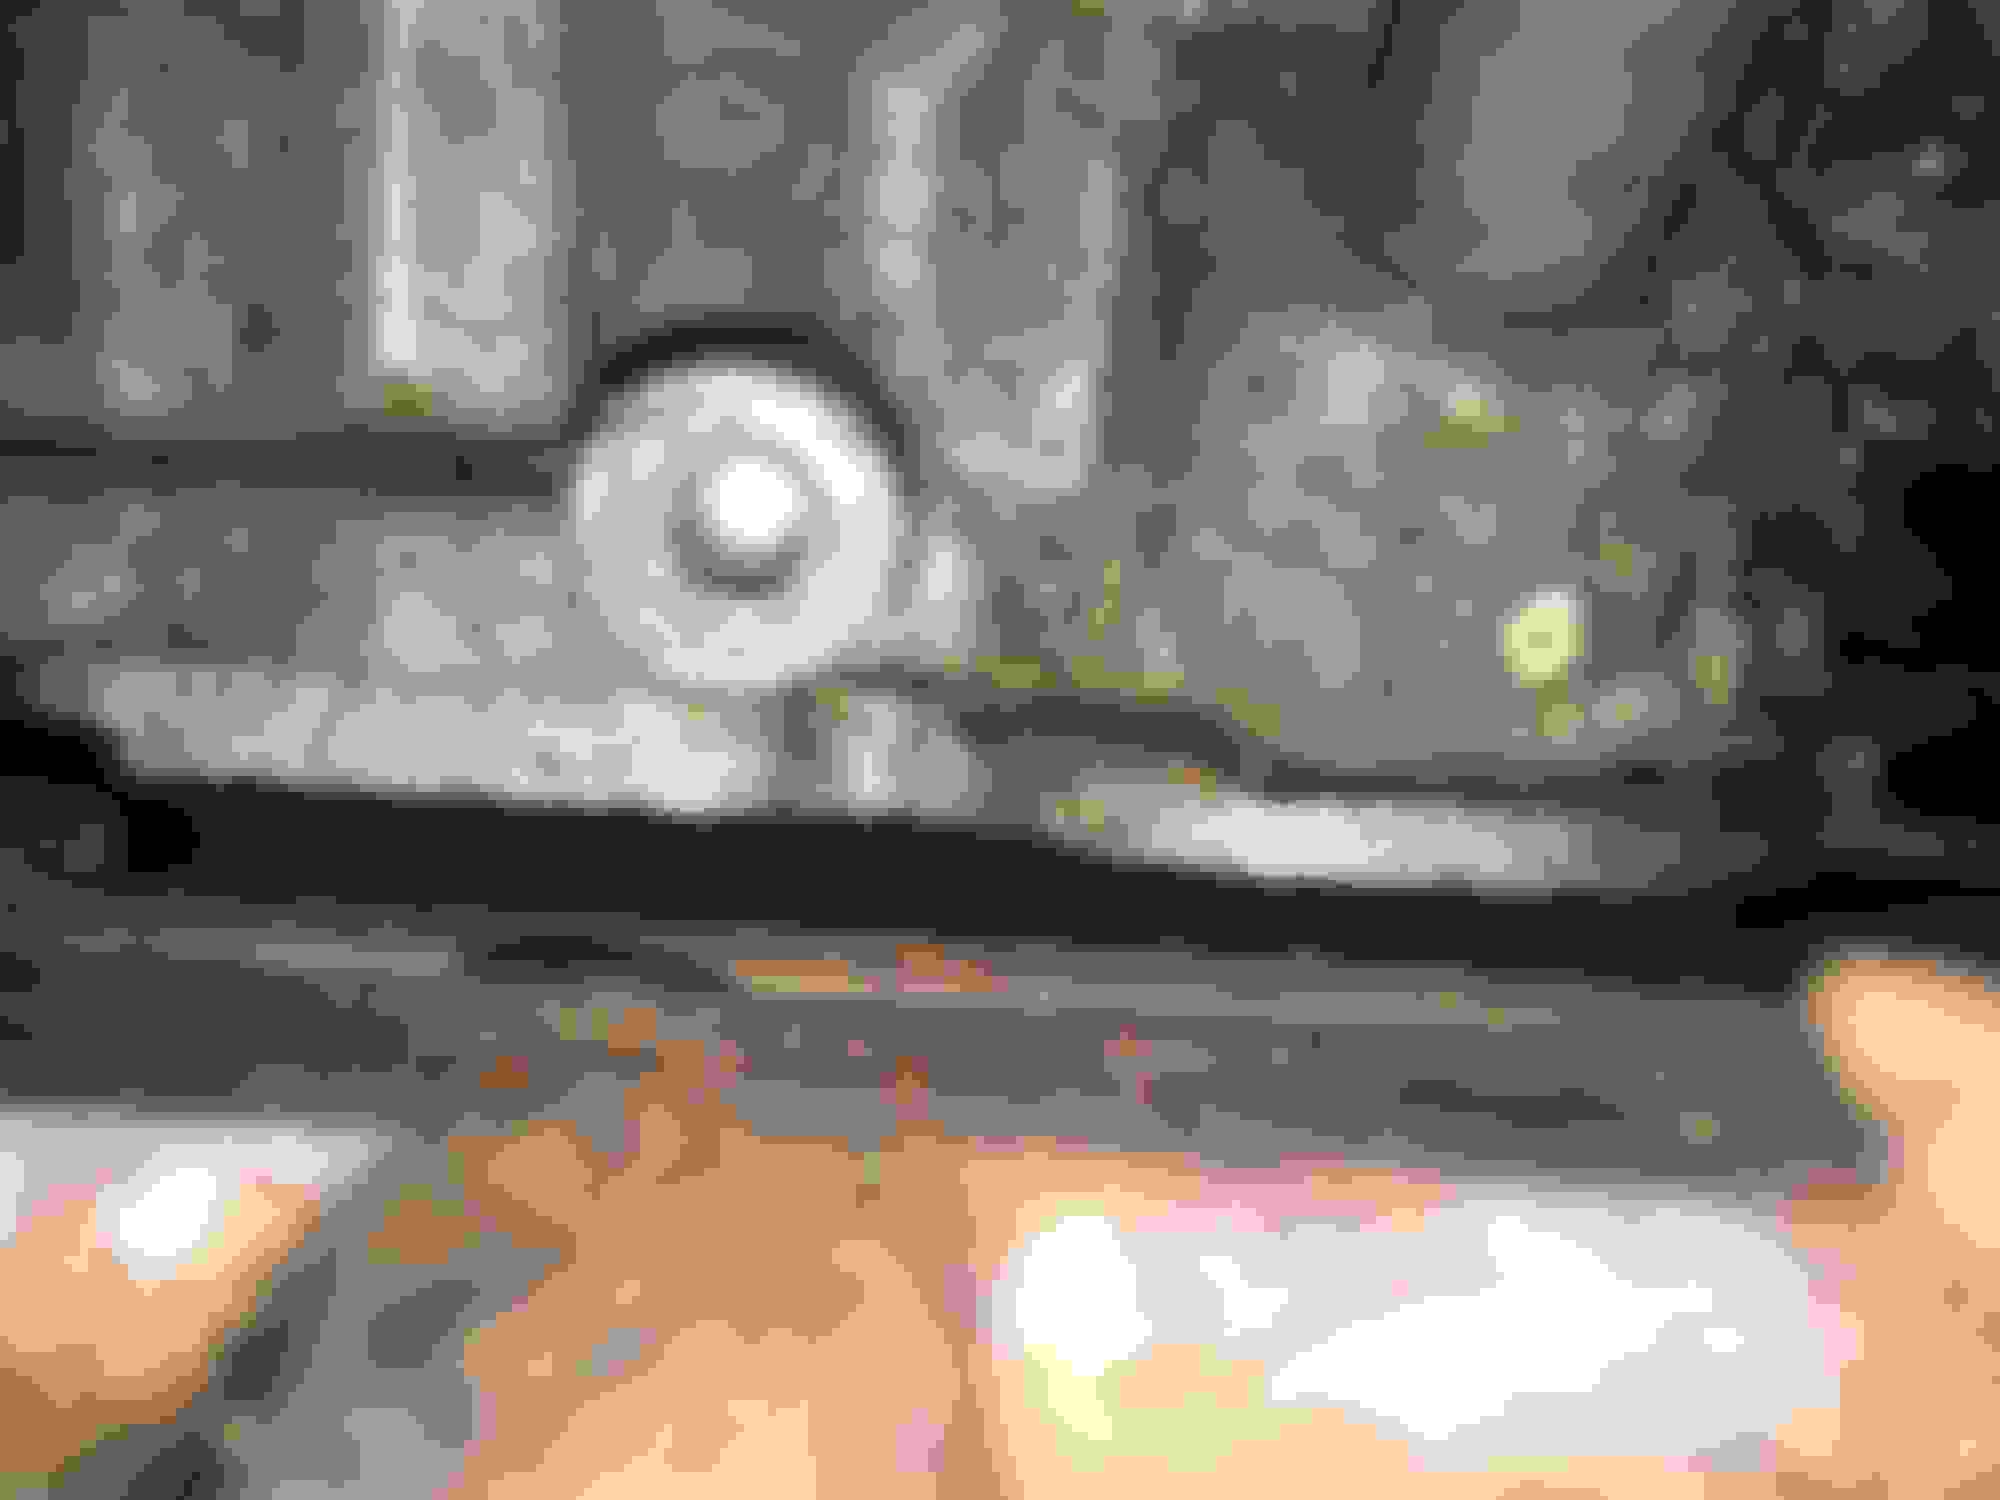
Anyway...the bottom end looks good but i can see a few rushed jobs on the top half, for example you can see where he hasnt replaced the gaskets and just used silicion gasket stuff on top of the old gaskets! Also the inlet hose to turbo looks too big for the turbo and hes over tightend the jubilee clip and its caused the inlet pipe to pinch and tear - the inlet pipe almost looks too big for the turbo??
Anyway...im just wondering if you guys could tell all the checks i can do to check the engines health whilst its still outside the vehicle? Any ways i could check the compression with the engine out of the car? I am planning on replacing the inlet gaskets etc.
I have attached some pictures of how it looked in the farm yard to how it looks after a long weekend cleaning!
Thanks.
After a clean!
Very pleased.
scratch....
no more scratch! The wonders of tcut.
Yes,.,,,,i do have a classic project on the go as well...i have a problem.
Not sure if you can see but it looks like hes kept the old gasket in place and just used the silicon gasket stuff on top of it?
over tightened jubilee clip.....the whole top half looks rushed.
timing looks good?
Crank case to PCV valve pipe....not looking good,.
Belts looook band new!
Before....
After!
not sure but im thinking the power steering is leaking? Lots of gunk around that joint.
Last edited by Muchboost555; Nov 9, 2015 at 07:57 PM.
Reason: formating
I just put mine back in a couple of months ago , so its all fresh in my head.
You should get hold of a gasket set 0.6mm for the heads, and in fact you will need a load of new gaskets so a good place to get them is Advanced motors in Bristol ( via web site ) the turbo pipe of course will have to be replaced ( Id use the original one, pick it up from a trader/vendor on here for 30-40 quid as the samco ones are no better and cost double. The inlet pipes will have to come off anyway to fit it as it cannot be re-fitted with them in situe. Other than the work, you have a bargain.
Thanks for the advice Linksfahrer! Luckily the bottom ends gaskets have all been replaced....so the plan this weekend is to replace inlet gaskets and maybe paint the inlet pipes STI red. Ohh and try and come up with a way to test the compression with the engine out of the car.....haha
i would seriously consider having that bottom end refreshed before you fit it, if that engine came with no heads attached to it i would be suspecting a previous head gasket failure and in case you havent heard, the bottom end bearings follow shortly after. for the cost of a new set of piston rings and acl bearings and some labour its surely not worth risking.
the turbo inlet looks like the original to me and they do have a tendancy to split like that when removed and fitted frequently.
Thanks for the advice gazney. The previous owner told me the bottom end was purchased as a reconditioned bottom end including new gaskets and he payed extra to have the heads put on for him......but now you've got me thinking...hmm...
Gazney has it spot on. You will kick yourself if 6 months later something blows, engine build is all about preparation and checking and measuring again.
Look the engines out , and unless you have a reciept from the reconditioner for the bottom end build, or some build pictures Id want piece of mind. Assuming the crank has not been subjected to knocking bearings it can last a very long time so just replace with new ACL bearings. Even so if the bottom end can be properly vouched for and no need to suspect it or split for measuring. Its still no big deal to take the heads off your engine for a good look around; You can take them off and just pour a bit of fuel into the cylinders , if it drops away like a stone then you have worn bores & rings or slightly oval bores and new rings, the later will sort themselves out after a decent run in period, just expect oil consumption to be high for 1 or 2k , but if you can still see the original hone (cross hatch effect) equaly all around the bore you are pretty safe but if your unsure or can feel a lip at the top of the bore you should check bore ovality with a dial gauge at a local machine shop.
See my attachments.
The heads themselves should be checked on a machined ground surface plate but if you don't have one handy use the Granit surface in your kitchen for a sight test (shine a torch from the other side) in any doubt for warp, skim the heads 10 thou. In anycase always wise to do if the headgasket was a known failure. While they are off pay attention to lateral play in the valves ( with the cams out but ensure the lifters are all kept to same positions ) you can fit new seals for oil control and check for a nice grey ring of 1-2 mm of contact on the valve seats, if not you just lap them in again with some coarse / fine valve grinding paste. If you do decide to split the engine have a good look at the piston top ring areas as these are the first to go on a WRX pistons any sign of pitting or cracks you need new ones. Use second hand Sti pistons as they are technically a bit better than WRX ones. If you have the pistons out, check the relative weights on a set of digital scales , you can always match them for better balance to +/- 0,5 gram, take a high speed dremel under the skirt and take any rough bits out till you reach the weight of the lightest. You may not even need new rings, but you can check this rings in situ with a feeler gauge for the size of the gaps ( the older the rings the wider the gap ends ) but don't forget to mark the piston direction, don't think about used components as being not as good , if you check them to print they are often more reliable as they have been stress relieved through use.
Head gaskets use the subaru ones 0.6mm thick , don't worry about the compression ratio if you only do 10 thou head skim, difference is 0.1 its not significant enough to worry about.
I forgot to mention on re-reading this , your mate only had the car for a day before it blew up. He must have been upset .
The car shows a roof vent and a high spoiler , this tells me that a previous owner might have like to do a bit of tuning, its common to put the std bits back and sell the tune items to recover more money.
As you have a picture of the inlet with a black silicon , and the turbo pipe is split we can assume that the turbo has been off and maybe even injectors out (yours are Std light blue WRX 440cc) might have been different tuned items in the past, as typical upgrade is to fit the Pink Sti injectors 550cc and re-map for more power. Trouble is unscruplous people sell the injectors before sale for 120 quid or more if they are bigger and don't tell you that the car is mapped, it will still go well , but now the air fuel mixture is too lean and you will put holes in your pistons as they predetonate on full throttle. So Im terribly worried about this , so when your done rebuilding you can fit 550's anyway as all this will do is make the mixture too rich , and then you can drive to a mapper off boost and have the engine re-mapped to about 270-280 hp without any risk. Its actually safer than the standard tune. Whatever you do once you have the engine done, do not drive on boost, and certainly at the slightest sign of a CEL yellow light, just creep about until you get the map checked.
Ironically AND to further prove your point that i should check everything.....when i removed the inlet manifold this evening i found surface rust on the inlet valves. Absolutely gutted.(yet to check exhaust valves)
Just out of curiosity, what can cause this? Off the top of my head i know this engine was in an old barn for a while, and I'm sure i remember seeing a very very small amount of water on the butterfly valve (im really not sure tho) ....so maybe over time water has slowly made its way down the inlet ports?
So yes, by the looks of things I wil be giving this engine a comlete check over. My plan is to take the heads off this weekend and do as much checks as i can before dishing out the dollar. Again thank you for the detailed reply, very much appreciated.
Here are some pictures below showing the valves. not looking good.
I would strip it all and check it out, if it's not been run and the head gaskets are new then you won't need new ones as they've not been heat cycled and are effectively still new, so that's a few quid saved.
It's really not as hard as is made out by some, you just need to be really thorough and pay attention, clean, clean and clean again, read a lot and have the laptop next to you while you're doing it so you can check and double check everything, get yourself a couple of decent torque wrenches and away you go.
Download the manuals off here, and there are lots of helpful vids on utube that just help you visualise and give you some tips.
I would strip it all and check it out, if it's not been run and the head gaskets are new then you won't need new ones as they've not been heat cycled and are effectively still new, so that's a few quid saved.
If only it were that simple , The MLS gaskets are actually designed to "crush" into place, Check thickness with a micometer before and after installation and you will see what I mean. MLS Multilayer steel have a rounded lip to the edge of the cylinder , and this point is therefore under the highest compression pressure from the headbolts. While "probably" you will get away with it not replacing them , it sort of depends on how coplanar the two mated surfaces really are, so would I not want to re-use them unless I was short of cash , and had at least checked the block deck with a engineers ruler , or preferably a surface dial gauge , and provided the heads had been skimmed following a head gasket fail.
[QUOTE=Muchboost555;11759313]when i removed the inlet manifold this evening i found surface rust on the inlet valves. Absolutely gutted.(yet to check exhaust valves)
Just out of curiosity, what can cause this?
Here are some pictures below showing the valves. not looking good. the worst one. F*********ck.[/QUOTE
Ok hold on this is not as bad as it sounds , The rust is normal on an engine that has been laying around for a while , and for one that had a head gasket fail. The picture of the last valve shows a bit of salt build up this is typical as the burn deposits react with water.
You are going to need some emery paper 240 grade /400 grade (sand paper on blue cloth )
Get the heads off place some plywood on either side and lock into a vice if you don't have a spring compressor you can keep the cams in place , you can still do the valves one at a time just turn the cams them untill you can get strips of emery paper around each of the open valves and them prentend you are drying your back with a towel, just be careful not to touch the surface of the valve seat , otherwise you will have to grind them back into condition.
While you are about it you can get your finger on the 240 grade and into the inlets/outlets from the gasket side and take the rough bits of the casting , don't bother to smooth it completely just take the worst off.
Once your done you need to get the whole head clean , you must get all metal and grit out use a high pressure hose and fairy liquid and if the wife will allow afterwards get them in the dishwasher.
(you will need to run it a couple of times afterwards before the tea cups ).
As soon as you have them out , dry off with a hairdrier then get your WD40 out and spray back in the valve ports. the whole excercise is 3 -4 hours. If its any consolation mine were coated with quite a bit of carbon coke , so your actually don't look to bad at all. Have fun.
Last edited by Linksfahrer; Nov 12, 2015 at 08:37 AM.
Reason: dropped the photos out


 not looking good.


 before the tea cups ).