Polished Bliss: Impreza 22B...
 06 August 2008, 04:26 PM
#1
Former Sponsor
Thread Starter

Join Date: Mar 2007
Location: Aberdeen
Posts: 181
Likes: 0
Received 0 Likes
on
0 Posts
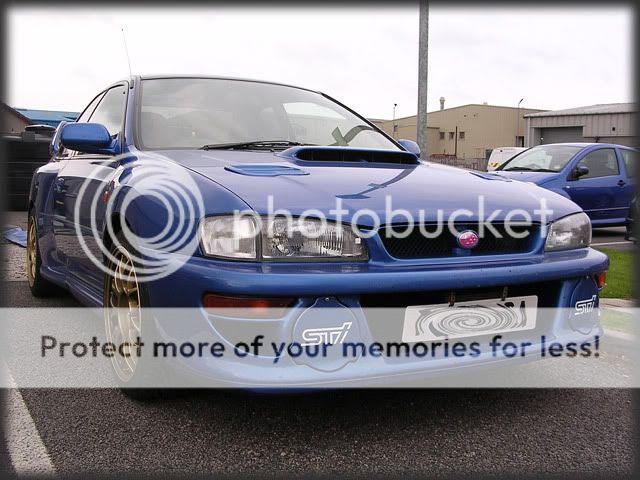
This was a detail carried out by myself and Rich this weekend and it was another detail I'd looked forward to for a good few months, this time on the Legendary Impreza 22B 
The car has just recently been imported from Japan and had sat around for a fairly long period of time in a compound previous to being shipped over to the UK. Having only covered approx 13,000 miles I was expecting a fairly tidy looking car but on arrival it looked pretty grubby and generally a bit neglected:


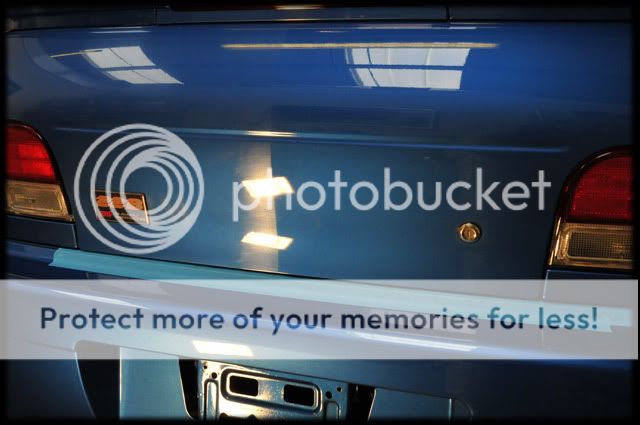
Notice the complete lack of depth or reflection in the paintwork:

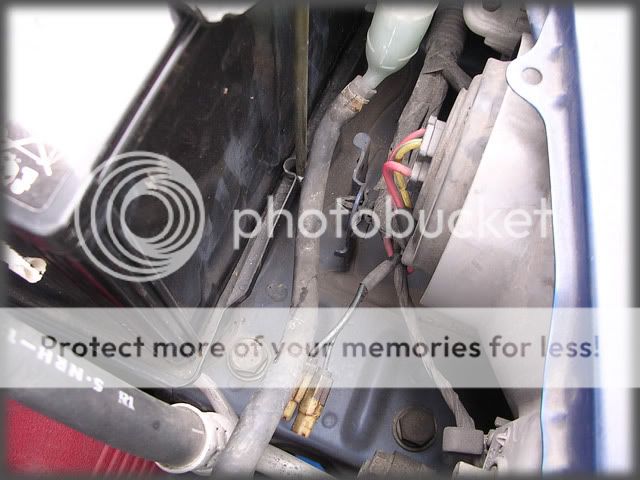
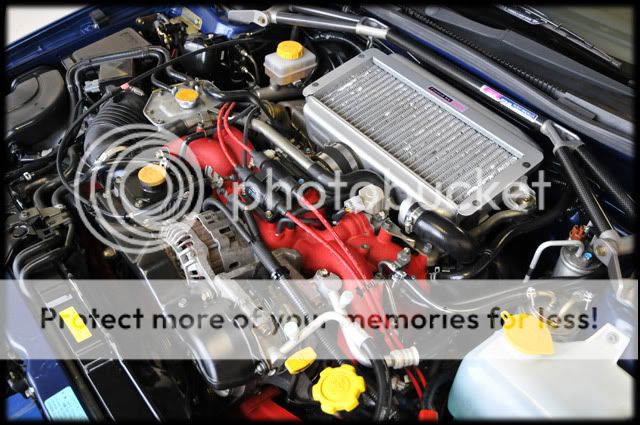
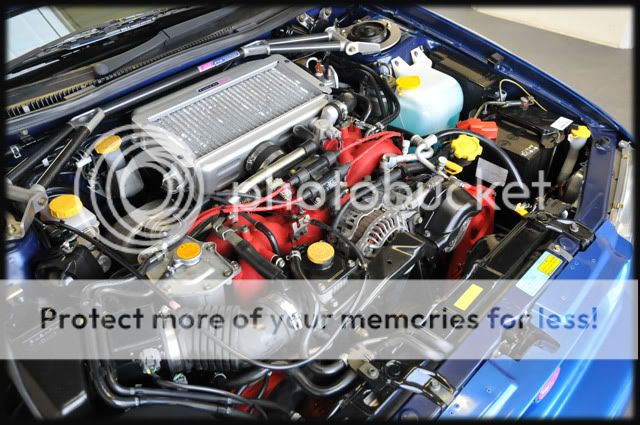
The engine was filthy too:


The owner had driven the car up from Edinburgh earlier on in the week so in between the various cars we had booked in, I did the various bits needed to have the car ready for polishing first thing on Saturday morning.
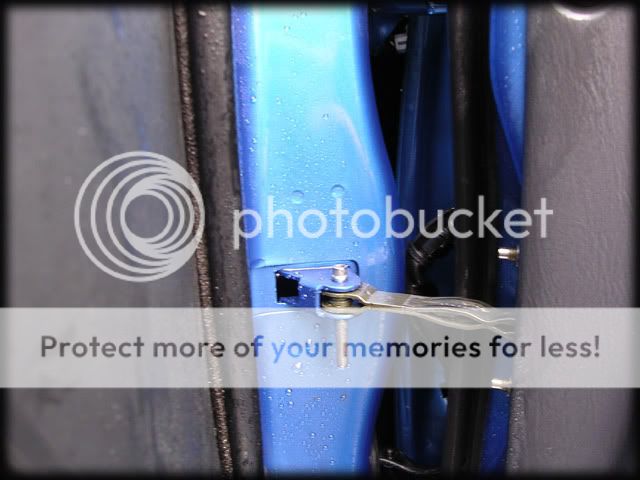
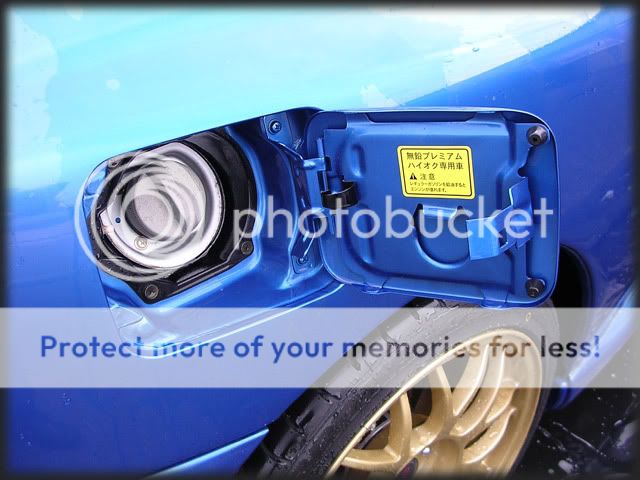
Not a great deal of pics for the wash stage as it was basically the same as every other car I do, but I mainly wanted to concentrate on getting the grime cleaned out the shuts etc/engine bay/arches etc. Meguiars SD (4:1) was used for all these bits and then power washed with the Karcher:
Menz 7.5 and Autosmart Tardis were used on the wheels, followed by Meguiars Aggressive Clay for the paintwork and glass.
When the owner had arrived with the car during the week, we had a good look at the overall condition of the paintwork and based on the rather low paint readings (85-100 microns on most panels, 120ish on the bumpers) Rich explained that they could expect around 90-95% correction at best - much better to prepare the customer for the worse rather than the best in a case such as this in our eyes.
The reason for this can be seen in the pics below, as you can see the defects weren't exactly light!


What made things worse was the fact that the paint was a nightmare to work with - pretty much like the sticky paints that can be troublesome at times but we think the reason this particular car was such a pain was due to the fact that the paint was just so dry. It appeared to absorb anything that was applied to it and in fact, when I applied some Gloss Enhancing Polish to the roof as a test and left it for 15 minutes, the paint just swallowed it up and it almost completely disappeared!
I'd initially started out with the rotary but as you can see below, the polish just clumped up and welded itself to the paint:

This was a shame as once I had scrubbed the polish off again, the paint had corrected amazingly well!:

We decided that it was going to be far easier to just work with the Meguiars G220 machines on this detail. I settled for the older US style Menzerna IP on a Menzerna Polishing Pad @ Speed 5, which removed a total of 2-3 microns after one hit. I limited myself to 2 hits on the sections that needed more than one because I could have potentially been removing up to 6 microns from what was already very thin paint in a lot of places. The paint was still acting weird though and the pic below is AFTER an attempt to buff off the residue with Menz Top Inspection and Tardis - it just appeared to sink into the paint and refuse to budge:

A quick test with a finishing polish resulted in total removal of the residue though and as we had planned on a 2-stage correction anyways this was no big deal.
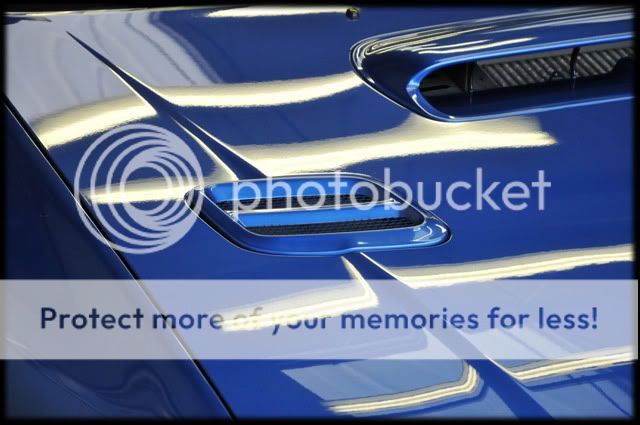
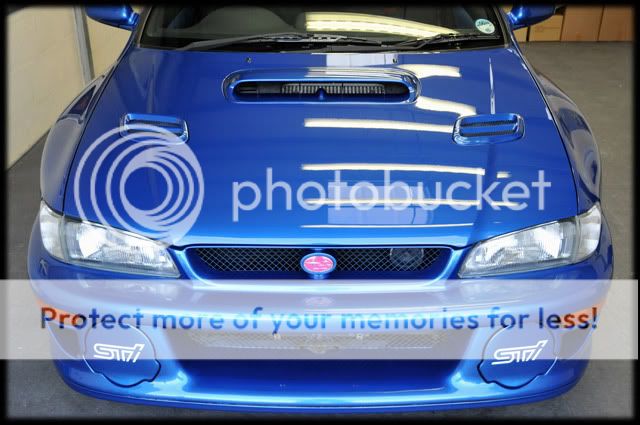
The vents and bonnet scoop were removed to make polishing easier:
The washer jets were also removed and then re-fitted once the surrounding paint had been corrected:

Round the back end of the car was Rich, (using 3.02 on the plastics) who was tackling the bumper/tailgate/bootlid/spolier etc:
We were both pretty much amazed at the level of correction we were achieving which I would say was close to 99% and even 100% on some panels.
A Couple of 50/50's from Rich:

Back with me now, where I had finished the bonnet and moved onto the passenger door:
Before:

50/50:


Rear 1/4 before:

after:

Up onto the roof now, where extreme caution was needed. Reason being that this panel was considerably thinner than any other on the car.
I was consistently getting readings of 70-72 microns and even some below:

The highest level was this:

I limited myself to 1 hit with Blackfire Finishing Polish and a Meguiars Polishing Pad as I just wasn't prepared to go any more aggressive and remove any more paint.
The result was pleasant to say the least!
before:

after:

There were a few RIDS remaining in the middle section of the roof but these obviously stayed!
Once the first stage of correction was done, we decided to put the car outside and clean the unit floor up a bit as the polishes had created a "bit" of dust

The car itself was dusted down too before we began the 2nd stage of machining. Meguiars Finishing Pads with Menzerna PO85rd and a drop of Poorboys Black Hole was used to sharpen up the finish and to remove any marring induced by the previous stage. We find a drop of glaze helps with the removal of the finishing polish when working with sticky or dry paint.
Obviously the glaze has a certain amount of filling power (although there was bugger all to fill after the first correction stage had removed all the defects anyways) so once we'd refined the finish, the car was given a wipe down with Menzerna Top Inspection to leave a perfectly clean base for LSP.
The pics below are after the TI wipe down and Before the LSP:


I speak for both Rich and myself when I say that the level of correction had completely exceeded both our expectations
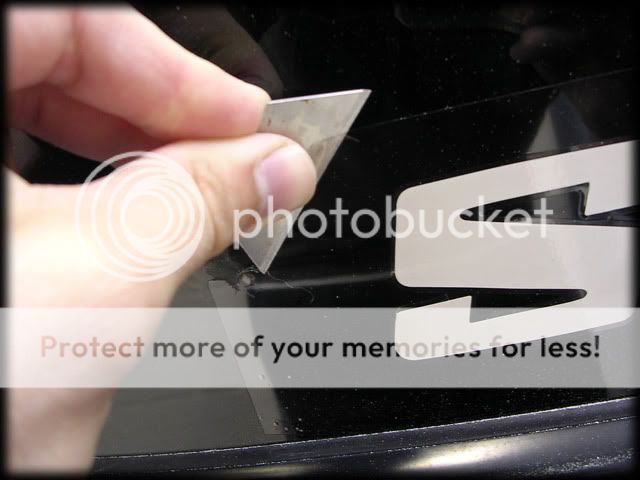
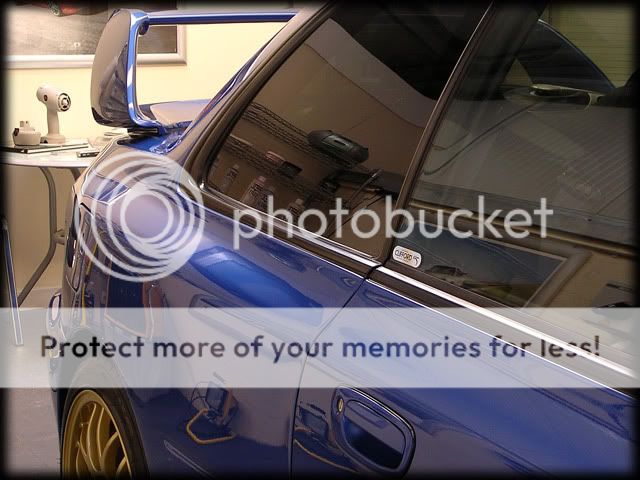
The Subaru stickers were removed from the windows at the owners request - using a stanley knife blade and then a bit of Tardis to remove any left over residue:
Vintage was LSP of choice, this was applied via German Applicator and buffed off 10 mins later.
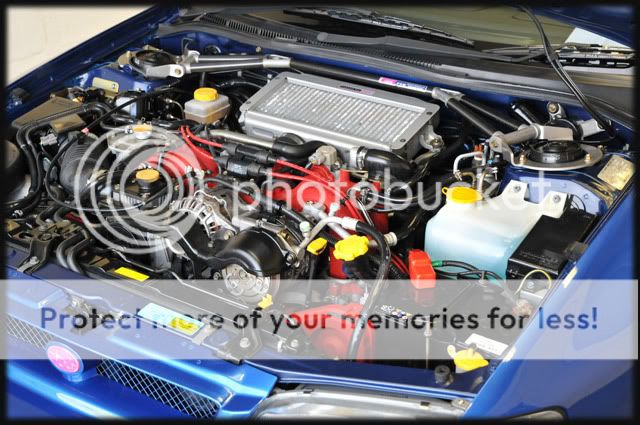
The Engine Bay was dressed with Aerospace 303 Protectant:
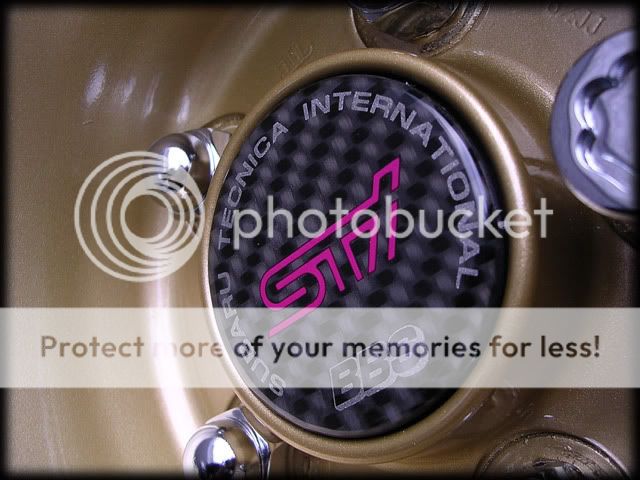
The wheels were sealed with PB Wheel Sealant, tyres dressed with Blackfire Long Lasting Tyre Gel, exhaust polished with Raceglaze and then sealed with Blackfire Metal Sealant.
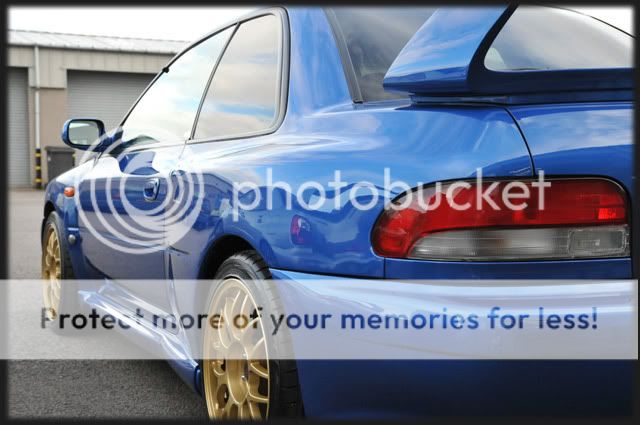
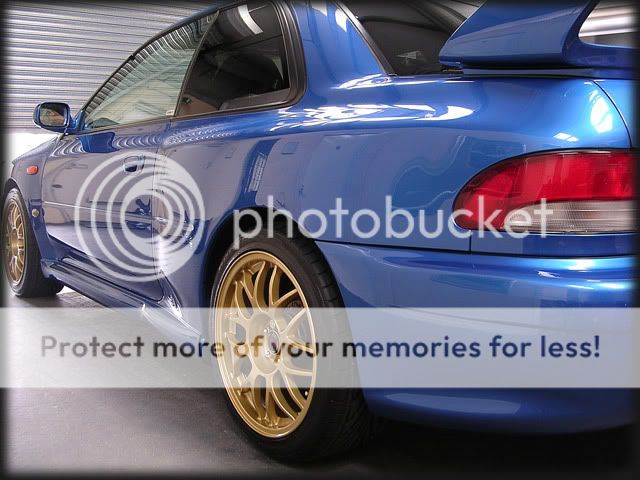
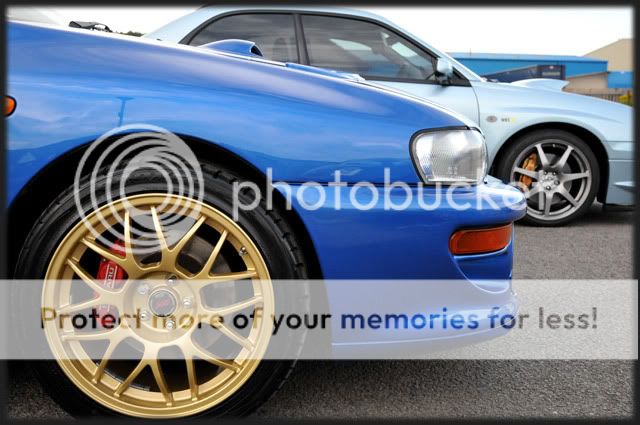
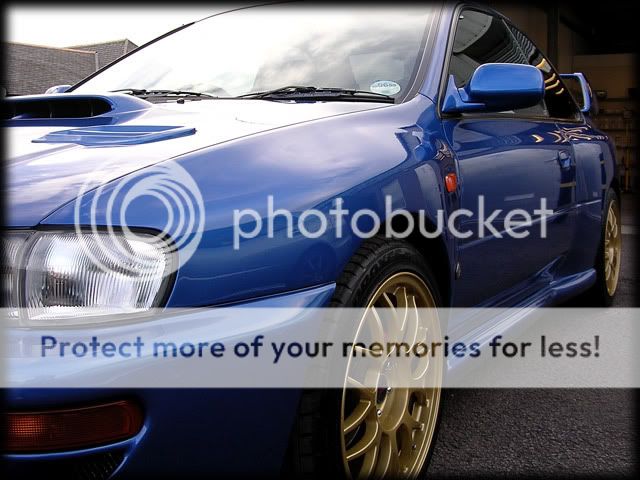
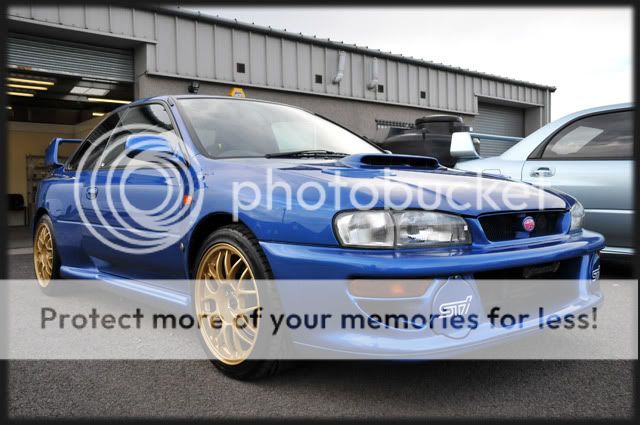
The car was given a final wipe down with Last Touch and then all that remained was to take some after pics


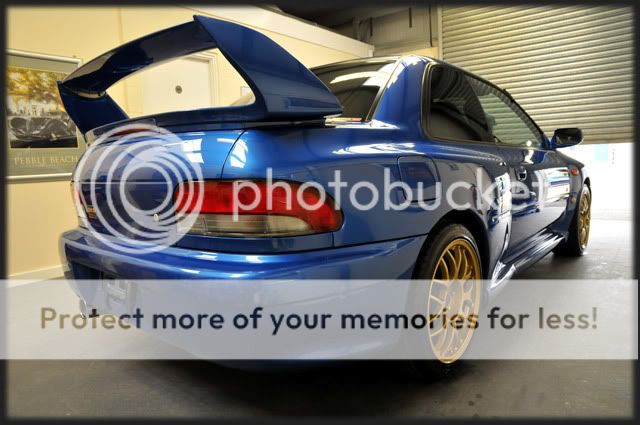


Thanks for viewing and taking the time to read my "drivel"
Clark
The car has just recently been imported from Japan and had sat around for a fairly long period of time in a compound previous to being shipped over to the UK. Having only covered approx 13,000 miles I was expecting a fairly tidy looking car but on arrival it looked pretty grubby and generally a bit neglected:
Notice the complete lack of depth or reflection in the paintwork:
The engine was filthy too:
The owner had driven the car up from Edinburgh earlier on in the week so in between the various cars we had booked in, I did the various bits needed to have the car ready for polishing first thing on Saturday morning.
Not a great deal of pics for the wash stage as it was basically the same as every other car I do, but I mainly wanted to concentrate on getting the grime cleaned out the shuts etc/engine bay/arches etc. Meguiars SD (4:1) was used for all these bits and then power washed with the Karcher:
Menz 7.5 and Autosmart Tardis were used on the wheels, followed by Meguiars Aggressive Clay for the paintwork and glass.
When the owner had arrived with the car during the week, we had a good look at the overall condition of the paintwork and based on the rather low paint readings (85-100 microns on most panels, 120ish on the bumpers) Rich explained that they could expect around 90-95% correction at best - much better to prepare the customer for the worse rather than the best in a case such as this in our eyes.
The reason for this can be seen in the pics below, as you can see the defects weren't exactly light!
What made things worse was the fact that the paint was a nightmare to work with - pretty much like the sticky paints that can be troublesome at times but we think the reason this particular car was such a pain was due to the fact that the paint was just so dry. It appeared to absorb anything that was applied to it and in fact, when I applied some Gloss Enhancing Polish to the roof as a test and left it for 15 minutes, the paint just swallowed it up and it almost completely disappeared!
I'd initially started out with the rotary but as you can see below, the polish just clumped up and welded itself to the paint:
This was a shame as once I had scrubbed the polish off again, the paint had corrected amazingly well!:
We decided that it was going to be far easier to just work with the Meguiars G220 machines on this detail. I settled for the older US style Menzerna IP on a Menzerna Polishing Pad @ Speed 5, which removed a total of 2-3 microns after one hit. I limited myself to 2 hits on the sections that needed more than one because I could have potentially been removing up to 6 microns from what was already very thin paint in a lot of places. The paint was still acting weird though and the pic below is AFTER an attempt to buff off the residue with Menz Top Inspection and Tardis - it just appeared to sink into the paint and refuse to budge:
A quick test with a finishing polish resulted in total removal of the residue though and as we had planned on a 2-stage correction anyways this was no big deal.
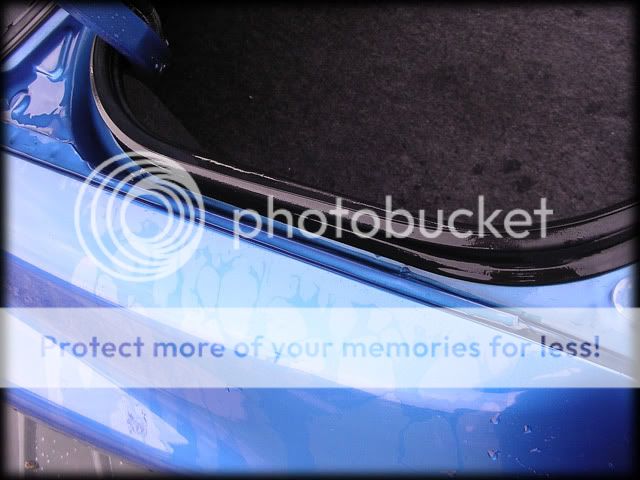
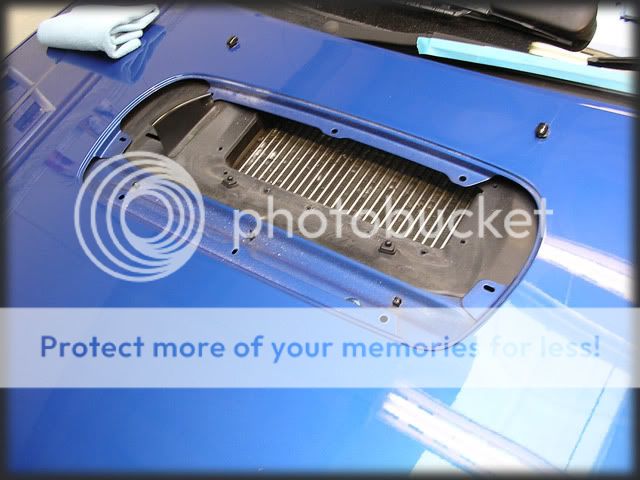
The vents and bonnet scoop were removed to make polishing easier:
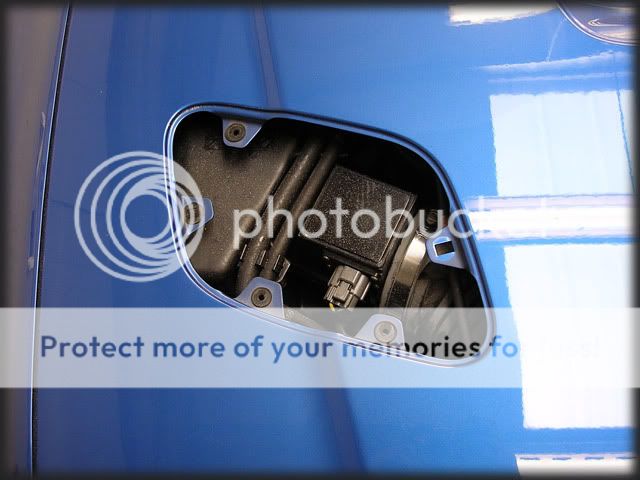
The washer jets were also removed and then re-fitted once the surrounding paint had been corrected:
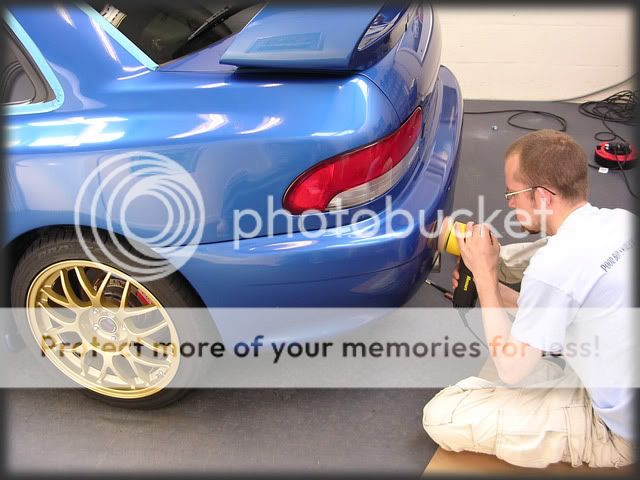
Round the back end of the car was Rich, (using 3.02 on the plastics) who was tackling the bumper/tailgate/bootlid/spolier etc:
We were both pretty much amazed at the level of correction we were achieving which I would say was close to 99% and even 100% on some panels.
A Couple of 50/50's from Rich:
Back with me now, where I had finished the bonnet and moved onto the passenger door:
Before:
50/50:
Rear 1/4 before:
after:
Up onto the roof now, where extreme caution was needed. Reason being that this panel was considerably thinner than any other on the car.
I was consistently getting readings of 70-72 microns and even some below:
The highest level was this:
I limited myself to 1 hit with Blackfire Finishing Polish and a Meguiars Polishing Pad as I just wasn't prepared to go any more aggressive and remove any more paint.
The result was pleasant to say the least!
before:
after:
There were a few RIDS remaining in the middle section of the roof but these obviously stayed!
Once the first stage of correction was done, we decided to put the car outside and clean the unit floor up a bit as the polishes had created a "bit" of dust
The car itself was dusted down too before we began the 2nd stage of machining. Meguiars Finishing Pads with Menzerna PO85rd and a drop of Poorboys Black Hole was used to sharpen up the finish and to remove any marring induced by the previous stage. We find a drop of glaze helps with the removal of the finishing polish when working with sticky or dry paint.
Obviously the glaze has a certain amount of filling power (although there was bugger all to fill after the first correction stage had removed all the defects anyways) so once we'd refined the finish, the car was given a wipe down with Menzerna Top Inspection to leave a perfectly clean base for LSP.
The pics below are after the TI wipe down and Before the LSP:
I speak for both Rich and myself when I say that the level of correction had completely exceeded both our expectations
The Subaru stickers were removed from the windows at the owners request - using a stanley knife blade and then a bit of Tardis to remove any left over residue:
Vintage was LSP of choice, this was applied via German Applicator and buffed off 10 mins later.
The Engine Bay was dressed with Aerospace 303 Protectant:
The wheels were sealed with PB Wheel Sealant, tyres dressed with Blackfire Long Lasting Tyre Gel, exhaust polished with Raceglaze and then sealed with Blackfire Metal Sealant.
The car was given a final wipe down with Last Touch and then all that remained was to take some after pics
Thanks for viewing and taking the time to read my "drivel"
Clark
 06 August 2008, 04:34 PM
#2
Scooby Regular
Join Date: Jun 2007
Location: Barnsley
Posts: 1,615
Likes: 0
Received 0 Likes
on
0 Posts
2 words.....
bloody hell
Awesome work lads, I can truly see why your always so booked up, cannot believe how well this came up, I bet the owner didn't want to drive it incase of ruining the finish
bloody hell
Awesome work lads, I can truly see why your always so booked up, cannot believe how well this came up, I bet the owner didn't want to drive it incase of ruining the finish

 07 August 2008, 01:45 PM
#6
Former Sponsor
Thread Starter
Join Date: Mar 2007
Location: Aberdeen
Posts: 181
Likes: 0
Received 0 Likes
on
0 Posts

Trending Topics
07 August 2008, 09:26 PM
#8
Scooby Regular

Join Date: Dec 2007
Location: Hertfordshire
Posts: 188
Likes: 0
Received 0 Likes
on
0 Posts
Errrrrrr........WOW!
A complete transformation.......it's only when you see the "after" you realise how bad the "before" was! First photos from a distance looks like a nice tidy car, albeit a little dull.
As always PB, amazing work. Can't wait to make that 600 mile journey to get mine done! Just need to find the time, the money, the time.......


 29 August 2008, 12:38 PM
#16
Former Sponsor
iTrader: (3)

Join Date: Feb 2006
Location: AB51 0TH
Posts: 2,562
Likes: 0
Received 0 Likes
on
0 Posts
A full guide to our services and pricing on this link chaps...
Detailing Services - Prestige Cars - Performance Cars - Supercars - Aberdeen - Scotland - UK
Detailing Services - Prestige Cars - Performance Cars - Supercars - Aberdeen - Scotland - UK


Thread
Thread Starter
Forum
Replies
Last Post
Jonny mac
ScoobyNet General
10
09 October 2015 12:25 PM