
Polished Bliss: Show Car Prep for Ultimate Dubs


Again, posted on behalf of Clark, done for a show last weekend...
---
Day 1 - 9am
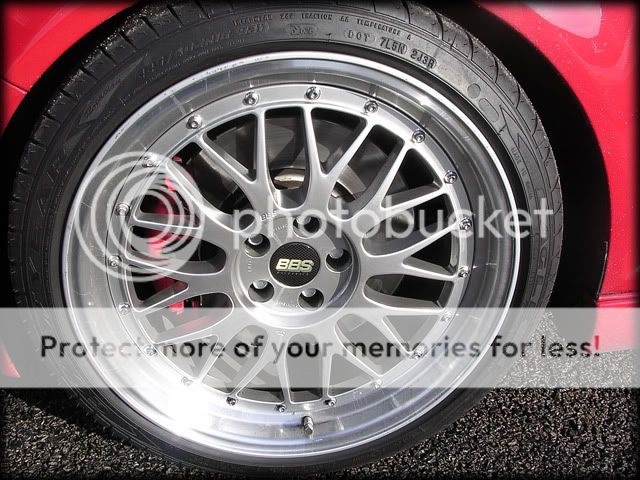
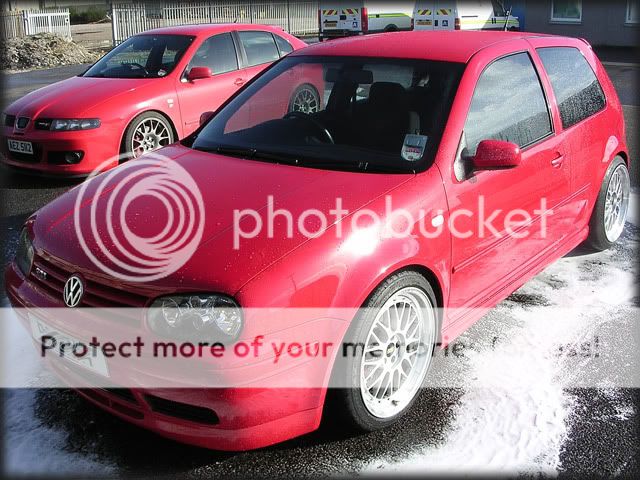
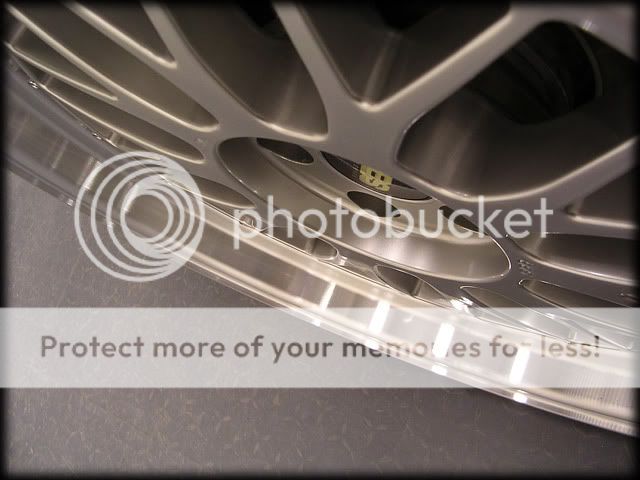
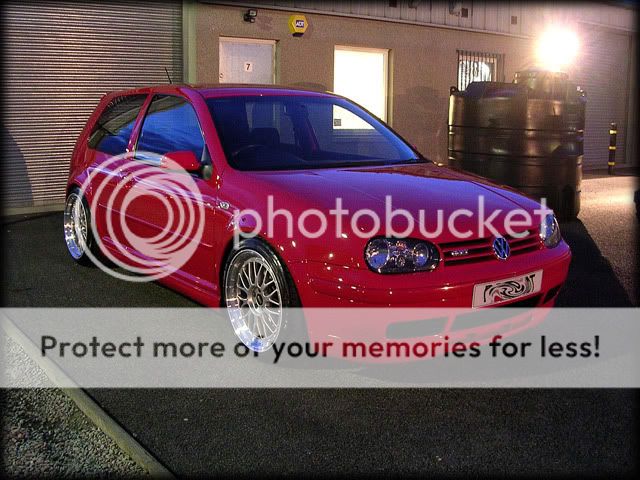
This is Martin's recently acquired Mk4 Anniversary Golf sporting its rather tasty BBS LM's

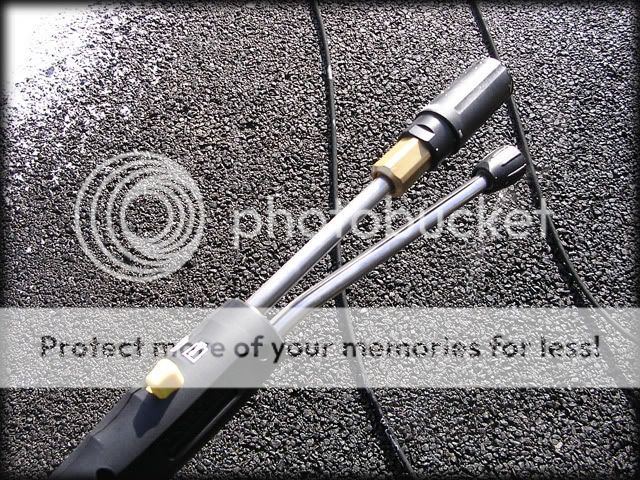
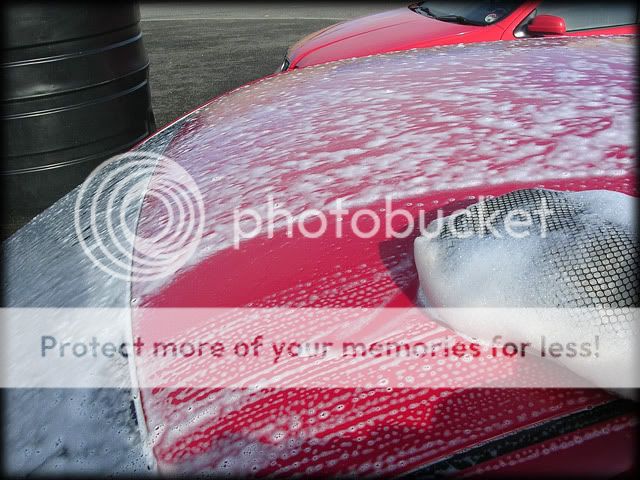
As always, up first was the wash stage and this gave me the chance to play with our latest toy, a switchable foam lance from Karcher which allows you to select either the foam mode or plain water and high pressure at the flick of a switch
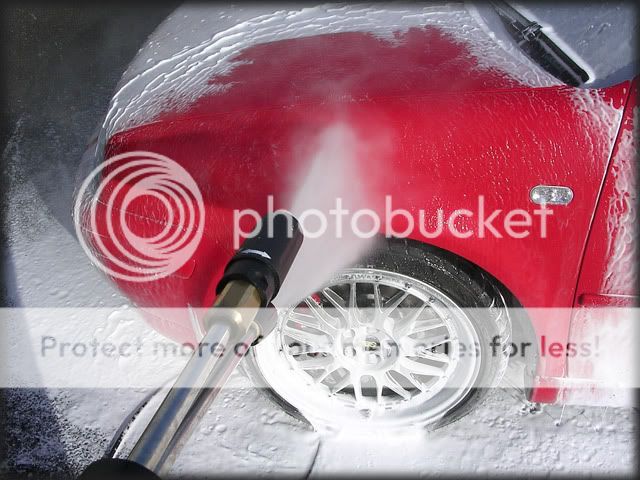
The car was foamed with Hyper Wash and level 4 (out of 6) on the lance at 60 degrees

This was left to dwell for 5 or ten minutes...

...then rinsed off at high pressure:
The hot foam seemed to do that bit extra in removing the layer of road film on the paintwork and the car was pretty much dirt free after this stage alone:
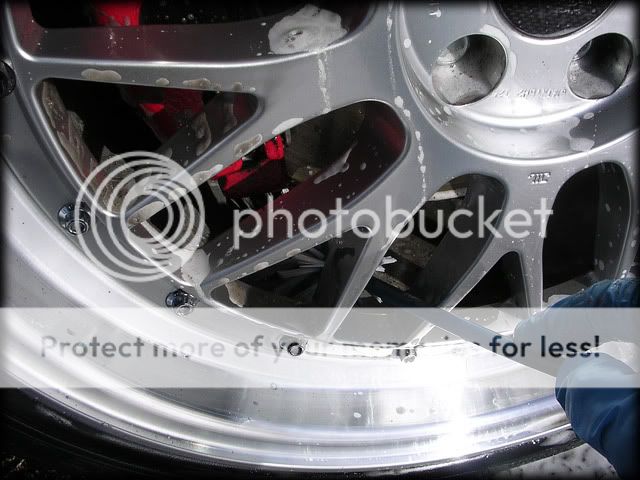
Wheels were next - i used Menzerna 7.5 Tyre and Wheel Gel:

A MF mitt was used for the faces and our new wheel brush was used for the inner rims...
The odd tar spot was removed with Autosmart Tardis and the arches were cleaned with Meguiars Superdegreaser.
The engine bay was then cleaned, although it wasnt overly dirty to begin with in all honesty:

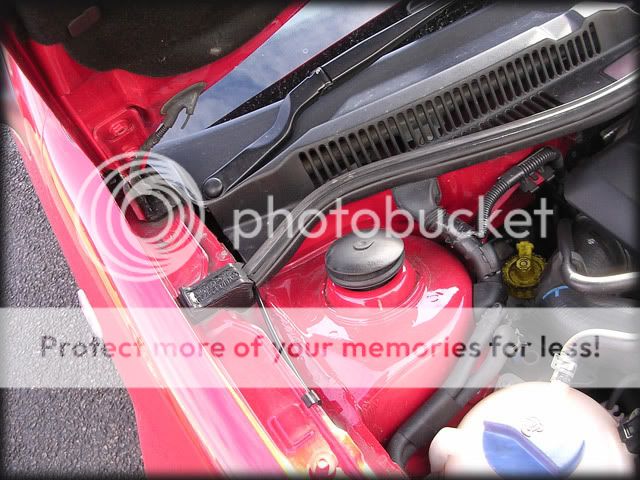
I soaked the engine with Meguiars Super Degreaser and left for a minute...
...before rinsing at medium pressure @ 40 degrees.
Back to the paintwork now and i firstly foamed the whole car again (including shuts) before washing with the 2BM and Meguiars Shampoo Plus...
I then rinsed off at high pressure before removing any tar spots with a MF towel and Autosmart Tardis. There was only the odd spot or two though so nothing too bad:

I then put the car inside and clayed with Meguiars Aggressive Detailing Clay before giving it one final rinse off before drying with a waffle weave towel and the leaf blower
Total Wash time: 4 hours.
Polish:
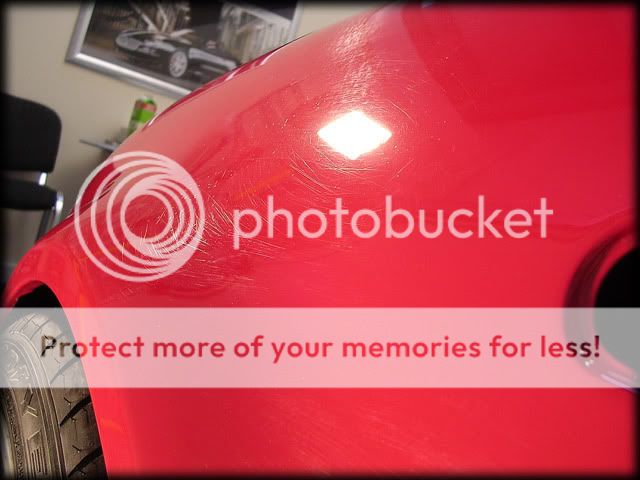
Defects wise - the car was pretty bad, not so much in terms of swirls but for some pretty hefty random scratches, including some really bad ones across the bonnet.
I did my best to capture them on camera but the pics dont really show the true extent of how bad some of the panels were - my camera kept focusing on the light reflectors on the roof instead of the paint")


The car was then taped up and side repeaters removed ready for polishing...

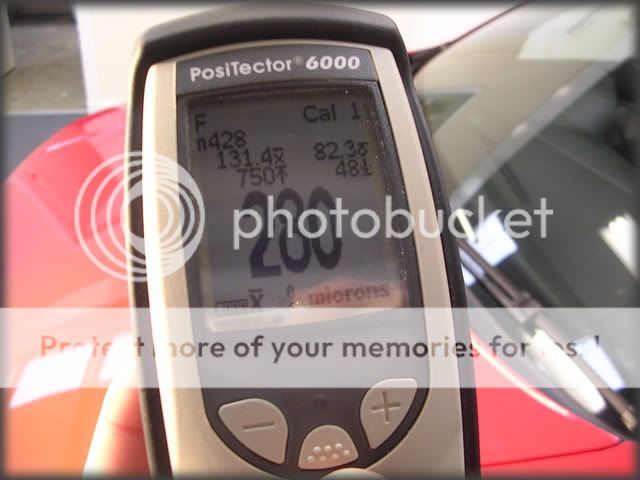
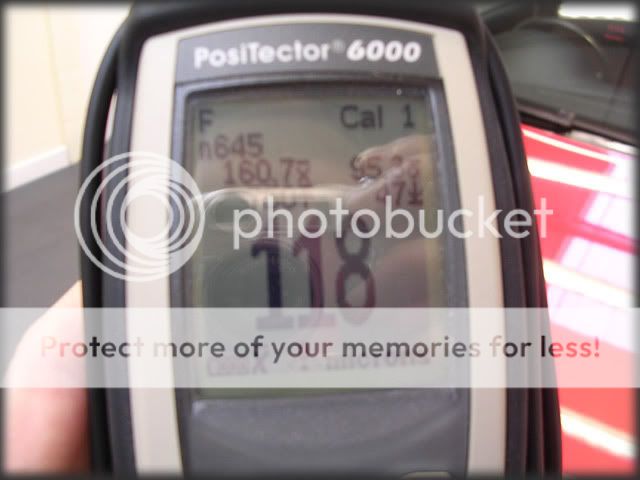
...and then i took detailed paint readings...

The gauge revealed that the entire car bar the roof and rear end had been painted (to a very high standard i should add), these areas were around the 280 micron mark:
The original areas were a healthy level, no scary low bits anywhere on the car:
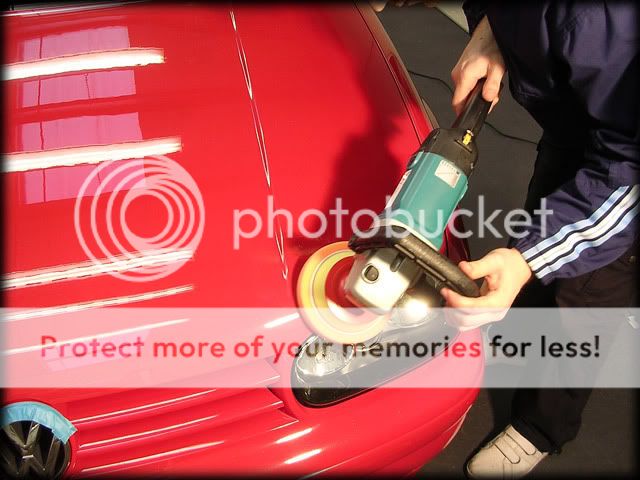
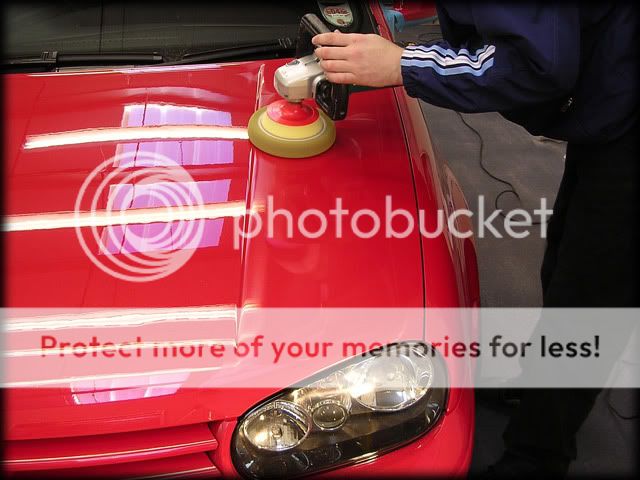
Given the defects and healthy level of paint all round, plus the fact that i wanted as perfect correction as possible i went for an aggressive approach using 3M Fast Cut Plus (with a mix of Ultrafina) and a new Compound Pad Rich had given me to try - this pad is near identical to the 3M one but seems to be slightly more robust, plus its cheaper
Each section got at least 2 hits (some got 3) @ 2000rpm's to get a high level of correction, again alot of patience was needed but its always worth it in the end:


Some areas still showed signs of the deeper scratches but i decided to correct the whole car and then hopefully with any time remaining i could attend to these via wetsanding later on - bare in mind this was me being stupidly fussy and most people would never even notice them
So, i carried on round the car:
I stopped for day 1 at around 6pm.
Day 2:
The correction work continued:


N/S rear 1/4 before:

after:

C-Pillar before:

after:

N/S front wing before:
After:

Top of front bumper before:

After:

Lower half before:

After:

Top of rear bumper before:
After:
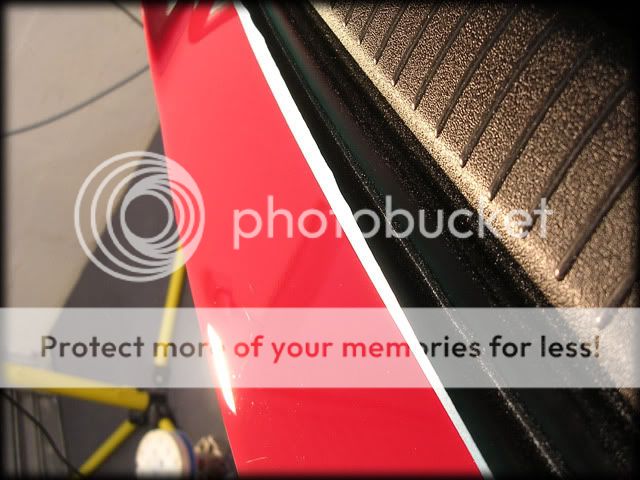
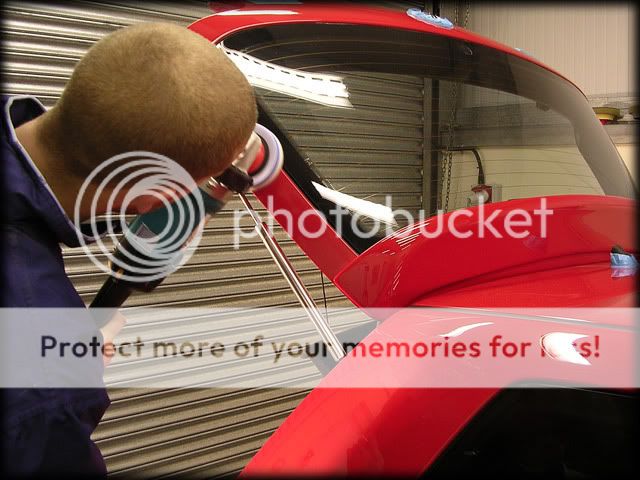
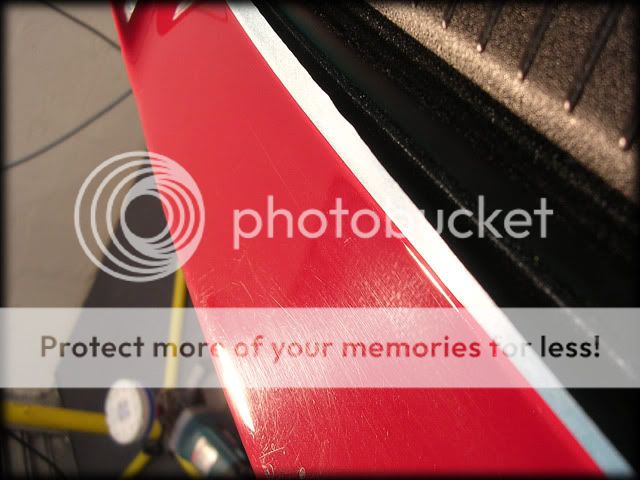
The tailgate was quite bad for scuffs/nicks etc, particularly around the VW badge and handle:


Correction was good but not great after machine polishing, so i went a step further - using a combination of a mirka 2000 pad by hand...
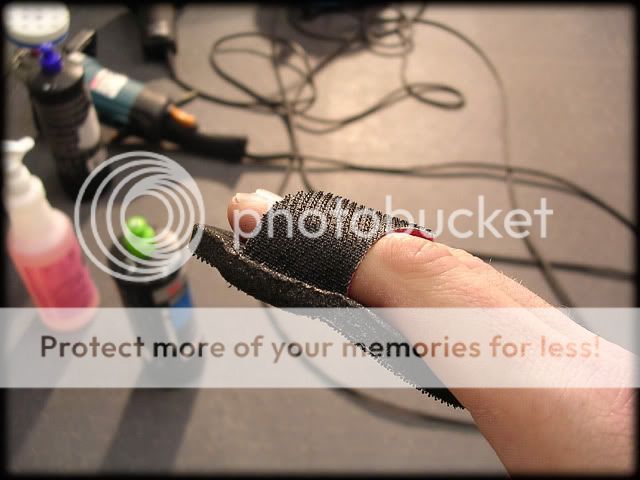
...and by machine...

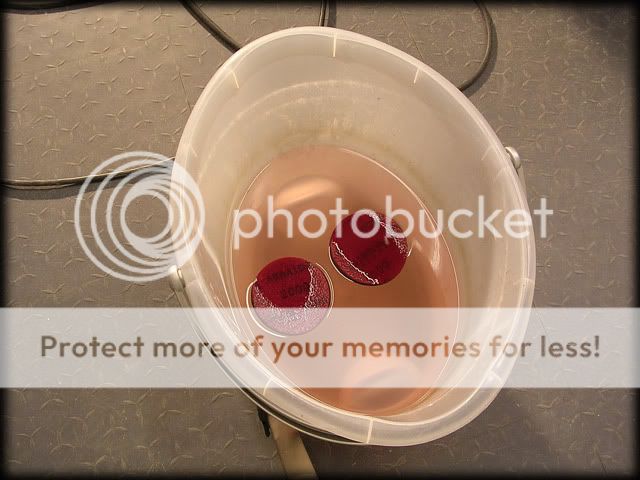
which had been soaking in Hyper Wash for 24 hours+:
After sanding:


And then after polishing (4" pad and Fast Cut Plus @1800rpms):


Much better
A few of the other areas that were still affected by heavier scratches were sanded back aswell but some parts were just too deep to fix, most noticeably the bonnet where there were a couple of long scratches. Those of you who may have been at the show and are now reading this after looking at the car may have seen these scratches in question and will know what i'm talking about - there's only so much you can do in a given space of time and even then its not always possible to completely fix them
It was around 10:30pm now so i left it at that for another day.
Day 3:
With the majority of the correction work left, i only had a few bits left to do, mainly an area on the O/S rear arch that was heavily swirled:
Before:

After:

Pretty happy with the correction work, i now set about refining the finish.
For this i used Menzerna 106FF and a Meguiars Polishing Pad. I used this combination instead of a finer polish and softer finishing pad purely due to the level of aggressiveness i had gone at the car for the correction stage, the chances of any compounding marks etc were slim to none (as you can see from the correction pics above) but when the car was going to be on display at a show i wasnt about to take any chances - especially as even Halogen & LED lights can be pretty forgiving when it comes to spotting defects
I worked the polish @ 1800rpm's making sure i throughly worked it to get the maximum results:
This method takes slightly longer than the likes of Ultrafina on a finishing pad so i finished the final polishing at around tea time.
There was a fair bit left to do though so no time to rest!
The car was dusted down:

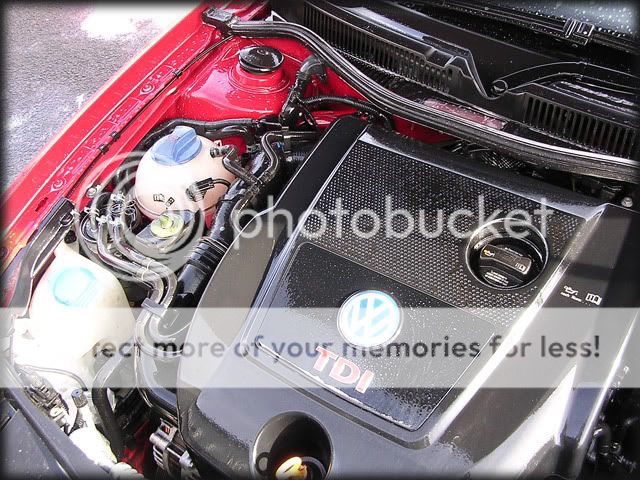
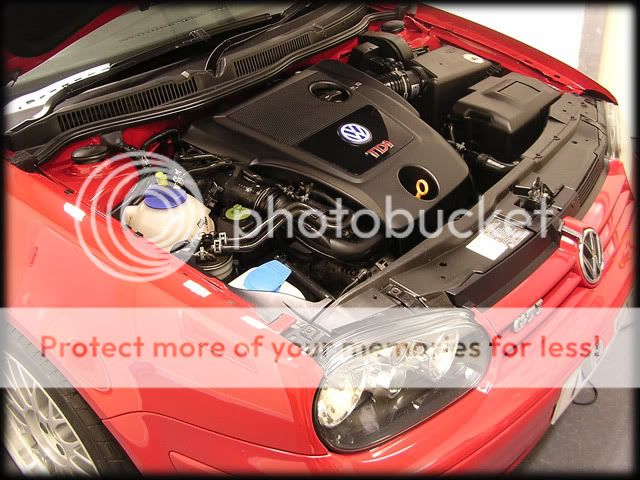
I then dressed the engine bay with 303 Aerospace Protectant:


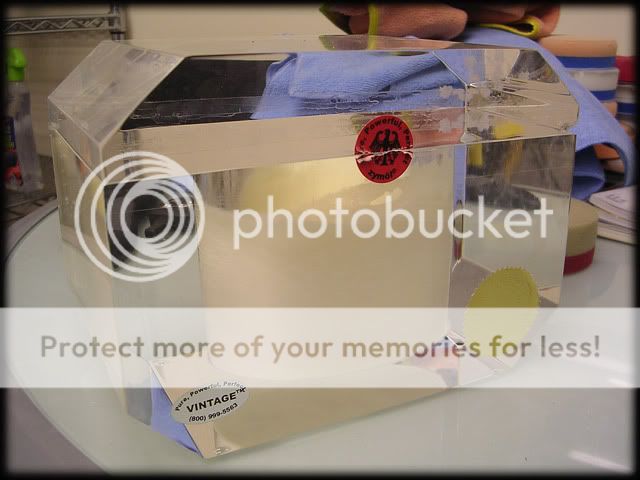
A blinging show car deserves a blinging wax
This was applied to the whole car and left to cure while i attended to the wheels/tyres.
The wheels were firstly polished with Jeffs Prime Strong:

They were then sealed with PB wheel sealant before i dressed the tyres with Blackfire Long Lasting Tyre Gel. The arches werent dressed as 1) You could hardly see any of them as the car is so low and 2) it was getting late and i couldnt be bothered to jack the thing up
It was now approaching 11:30pm so i had a quick coffee to keep me awake before finally buffing off the Vintage. I then gave the car a final wipe down with Field Glaze as i wasnt going to get much of a chance in the morning as the next car in the diary had already arrived for the following day.
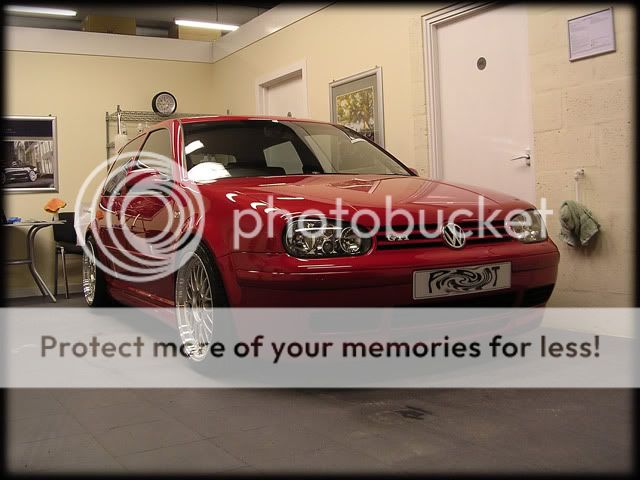
So here's the final results


And finally moved over a bit to get the other car inside overnight (yes, we can actually get 2 cars inside!)
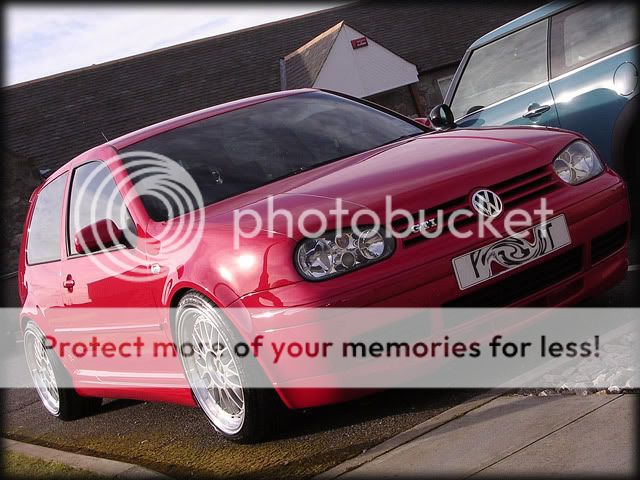
As it was such a nice day the next morning, i couldnt resist taking a few more pics to try and capture the finish of the car!


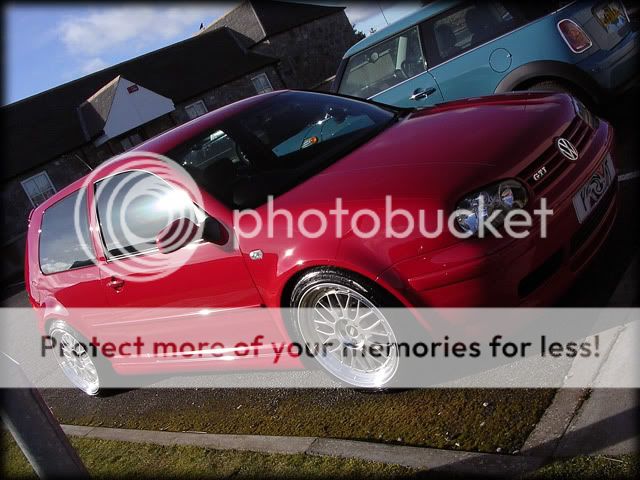
Even better, as when i moved the car to let me get the next one washed - the sun made a full appearance


Martin couldnt pick the car up untill night time so i got a couple as the sun disapeared again...

Total Work Time: 35 hours+
Hopefully anyone that may have seen the car in the metal over the weekend will appreciate that you dont always see quite the true finish in the pics
Thanks for looking
Clark
---
Day 1 - 9am
This is Martin's recently acquired Mk4 Anniversary Golf sporting its rather tasty BBS LM's
As always, up first was the wash stage and this gave me the chance to play with our latest toy, a switchable foam lance from Karcher which allows you to select either the foam mode or plain water and high pressure at the flick of a switch
The car was foamed with Hyper Wash and level 4 (out of 6) on the lance at 60 degrees
This was left to dwell for 5 or ten minutes...
...then rinsed off at high pressure:
The hot foam seemed to do that bit extra in removing the layer of road film on the paintwork and the car was pretty much dirt free after this stage alone:
Wheels were next - i used Menzerna 7.5 Tyre and Wheel Gel:
A MF mitt was used for the faces and our new wheel brush was used for the inner rims...
The odd tar spot was removed with Autosmart Tardis and the arches were cleaned with Meguiars Superdegreaser.
The engine bay was then cleaned, although it wasnt overly dirty to begin with in all honesty:
I soaked the engine with Meguiars Super Degreaser and left for a minute...
...before rinsing at medium pressure @ 40 degrees.
Back to the paintwork now and i firstly foamed the whole car again (including shuts) before washing with the 2BM and Meguiars Shampoo Plus...
I then rinsed off at high pressure before removing any tar spots with a MF towel and Autosmart Tardis. There was only the odd spot or two though so nothing too bad:
I then put the car inside and clayed with Meguiars Aggressive Detailing Clay before giving it one final rinse off before drying with a waffle weave towel and the leaf blower
Total Wash time: 4 hours.
Polish:
Defects wise - the car was pretty bad, not so much in terms of swirls but for some pretty hefty random scratches, including some really bad ones across the bonnet.
I did my best to capture them on camera but the pics dont really show the true extent of how bad some of the panels were - my camera kept focusing on the light reflectors on the roof instead of the paint
The car was then taped up and side repeaters removed ready for polishing...
...and then i took detailed paint readings...
The gauge revealed that the entire car bar the roof and rear end had been painted (to a very high standard i should add), these areas were around the 280 micron mark:
The original areas were a healthy level, no scary low bits anywhere on the car:
Given the defects and healthy level of paint all round, plus the fact that i wanted as perfect correction as possible i went for an aggressive approach using 3M Fast Cut Plus (with a mix of Ultrafina) and a new Compound Pad Rich had given me to try - this pad is near identical to the 3M one but seems to be slightly more robust, plus its cheaper
Each section got at least 2 hits (some got 3) @ 2000rpm's to get a high level of correction, again alot of patience was needed but its always worth it in the end:
Some areas still showed signs of the deeper scratches but i decided to correct the whole car and then hopefully with any time remaining i could attend to these via wetsanding later on - bare in mind this was me being stupidly fussy and most people would never even notice them
So, i carried on round the car:
I stopped for day 1 at around 6pm.
Day 2:
The correction work continued:
N/S rear 1/4 before:
after:
C-Pillar before:
after:
N/S front wing before:
After:
Top of front bumper before:
After:
Lower half before:
After:
Top of rear bumper before:
After:
The tailgate was quite bad for scuffs/nicks etc, particularly around the VW badge and handle:
Correction was good but not great after machine polishing, so i went a step further - using a combination of a mirka 2000 pad by hand...
...and by machine...
which had been soaking in Hyper Wash for 24 hours+:
After sanding:
And then after polishing (4" pad and Fast Cut Plus @1800rpms):
Much better
A few of the other areas that were still affected by heavier scratches were sanded back aswell but some parts were just too deep to fix, most noticeably the bonnet where there were a couple of long scratches. Those of you who may have been at the show and are now reading this after looking at the car may have seen these scratches in question and will know what i'm talking about - there's only so much you can do in a given space of time and even then its not always possible to completely fix them
It was around 10:30pm now so i left it at that for another day.
Day 3:
With the majority of the correction work left, i only had a few bits left to do, mainly an area on the O/S rear arch that was heavily swirled:
Before:
After:
Pretty happy with the correction work, i now set about refining the finish.
For this i used Menzerna 106FF and a Meguiars Polishing Pad. I used this combination instead of a finer polish and softer finishing pad purely due to the level of aggressiveness i had gone at the car for the correction stage, the chances of any compounding marks etc were slim to none (as you can see from the correction pics above) but when the car was going to be on display at a show i wasnt about to take any chances - especially as even Halogen & LED lights can be pretty forgiving when it comes to spotting defects
I worked the polish @ 1800rpm's making sure i throughly worked it to get the maximum results:
This method takes slightly longer than the likes of Ultrafina on a finishing pad so i finished the final polishing at around tea time.
There was a fair bit left to do though so no time to rest!
The car was dusted down:
I then dressed the engine bay with 303 Aerospace Protectant:
A blinging show car deserves a blinging wax
This was applied to the whole car and left to cure while i attended to the wheels/tyres.
The wheels were firstly polished with Jeffs Prime Strong:
They were then sealed with PB wheel sealant before i dressed the tyres with Blackfire Long Lasting Tyre Gel. The arches werent dressed as 1) You could hardly see any of them as the car is so low and 2) it was getting late and i couldnt be bothered to jack the thing up
It was now approaching 11:30pm so i had a quick coffee to keep me awake before finally buffing off the Vintage. I then gave the car a final wipe down with Field Glaze as i wasnt going to get much of a chance in the morning as the next car in the diary had already arrived for the following day.
So here's the final results
And finally moved over a bit to get the other car inside overnight (yes, we can actually get 2 cars inside!)
As it was such a nice day the next morning, i couldnt resist taking a few more pics to try and capture the finish of the car!
Even better, as when i moved the car to let me get the next one washed - the sun made a full appearance
Martin couldnt pick the car up untill night time so i got a couple as the sun disapeared again...
Total Work Time: 35 hours+
Hopefully anyone that may have seen the car in the metal over the weekend will appreciate that you dont always see quite the true finish in the pics
Thanks for looking
Clark


Trending Topics
Iv seen many detailing threads, but u r a true perfectionist mate!! Well done!
I always wondered, u see all these swirl marks & circular type scrathes on detailing pics before, but how do they happen in the first place?? Do these only happen by going car machine washes or something??
I always wondered, u see all these swirl marks & circular type scrathes on detailing pics before, but how do they happen in the first place?? Do these only happen by going car machine washes or something??
Car Care Advice - How to wash and dry your car safely and effectively
Car Care Advice - How to safely polish your paint by hand or machine

Former Sponsor
Joined: Mar 2007
Posts: 181
Likes: 0
From: Aberdeen
Iv seen many detailing threads, but u r a true perfectionist mate!! Well done!
I always wondered, u see all these swirl marks & circular type scrathes on detailing pics before, but how do they happen in the first place?? Do these only happen by going car machine washes or something??
I always wondered, u see all these swirl marks & circular type scrathes on detailing pics before, but how do they happen in the first place?? Do these only happen by going car machine washes or something??
Even though the swirls look circular, they are infact straight line scratches but because you often see them under a single light source (such as the sun for example) this is what gives them the circular appearance. Take the car to a petrol station or shine a halogen light on it and look at the paint and you will see they are all in fact straight instead of curved

Thread
Thread Starter
Forum
Replies
Last Post
ossett2k2
Engine Management and ECU Remapping
15
Sep 23, 2015 09:11 AM