
my white spec d thread


Cheers. Just not a fan of leather. Looks tired quickly lol.
Hopefully have some thing special in the plans nothing major but will look cool.
The LEDs etc will be here mid week so can get soldering.
Hopefully have some thing special in the plans nothing major but will look cool.
The LEDs etc will be here mid week so can get soldering.
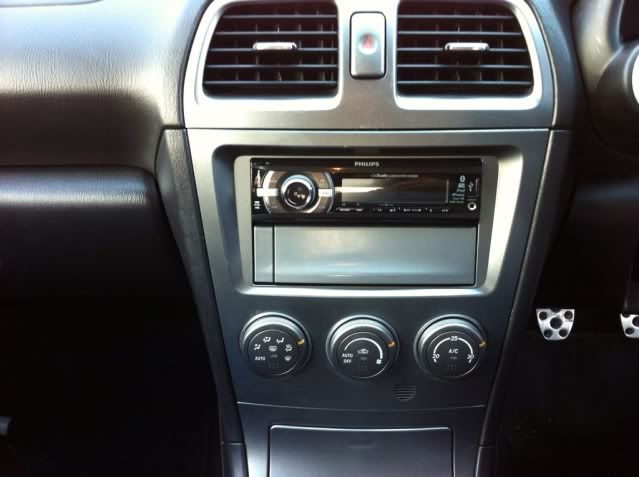
Got on to the hardest part of the mod, the hvac unit.
There are a number of guide on how to do this, so ill just show the results.
Then I moved on to a bit alot of people don't do, the door switch.

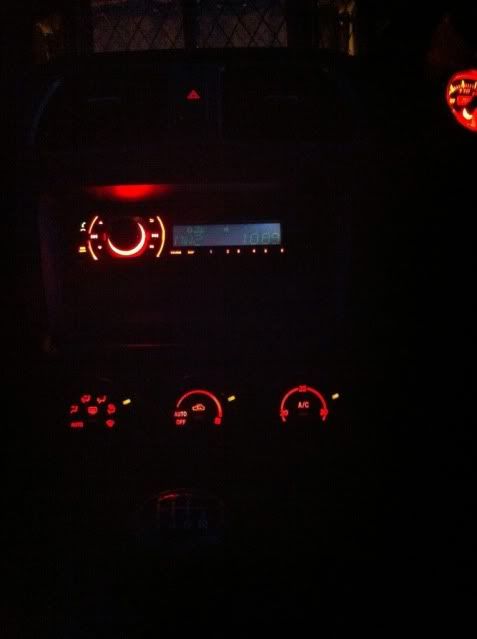
And here's the buttons with fresh bulbs
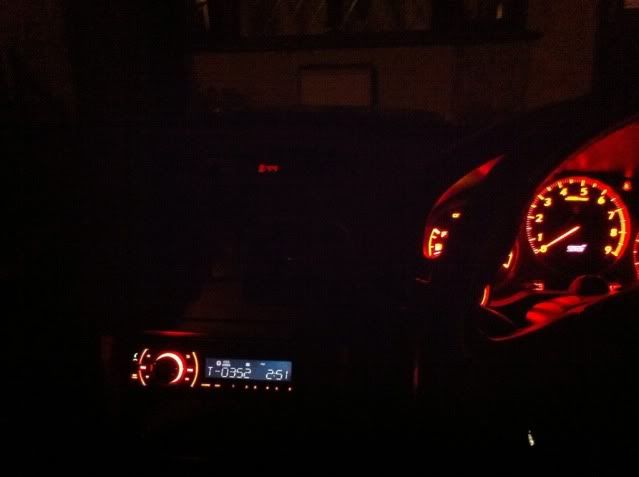
I'm still waiting on the LEDs for the ignition ring a *** lighter, they should be here tomorrow along with my new camera.
On a side note the new hu auto bluetooths every time
There are a number of guide on how to do this, so ill just show the results.
Then I moved on to a bit alot of people don't do, the door switch.
And here's the buttons with fresh bulbs
I'm still waiting on the LEDs for the ignition ring a *** lighter, they should be here tomorrow along with my new camera.
On a side note the new hu auto bluetooths every time

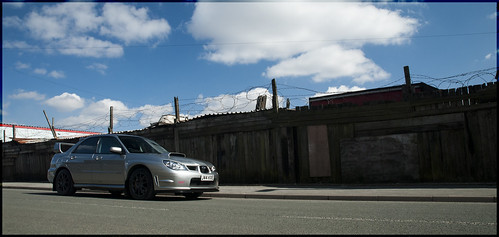

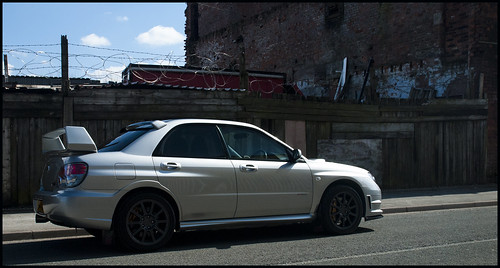

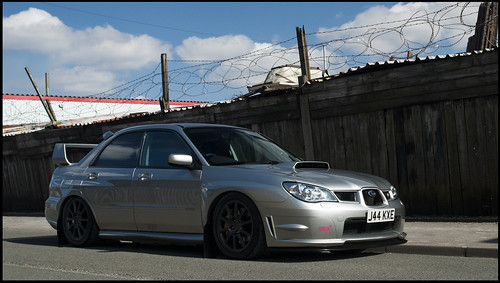
 does look good low!


Scooby Regular
iTrader: (2)
Joined: Jan 2008
Posts: 837
Likes: 0
From: Lancashire (Not Dundee Anymore)
Bloody hell! Jake at Panel Care in rochdale? I thought it might have been you! We dont know each other but Ive followed a couple of your threads on UK-MKIVs and enquired a couple of times about paintwork.
Can I PM re bodywork?
Can I PM re bodywork?
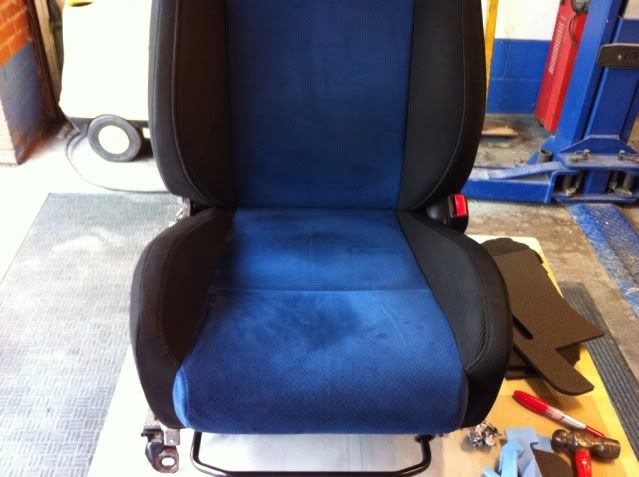
Today did something about my seats, anyone who's been I a hawk knows that the seats are no longer the nice tight supportive seat they used to be, now I could and nearly did buy jdm version 9 seats, but there wrong for the car and also have no airbags.
So what to do.
Unzip the back of the seat
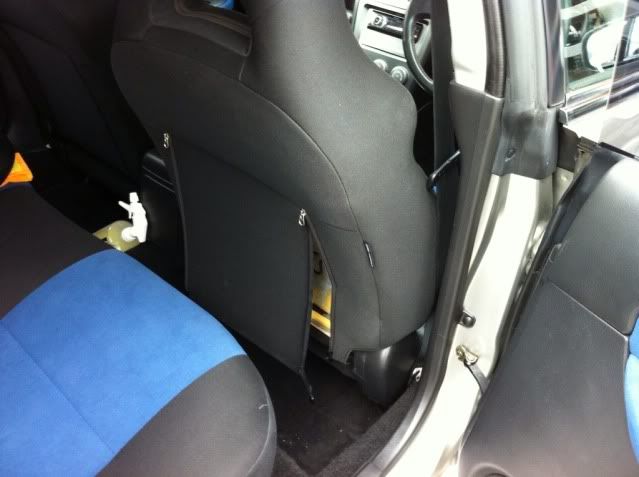
Then decided to remove it altogether, battery off and unclipped, and put on my bench
You need to take the side plastics off, couple of screws and a bolt
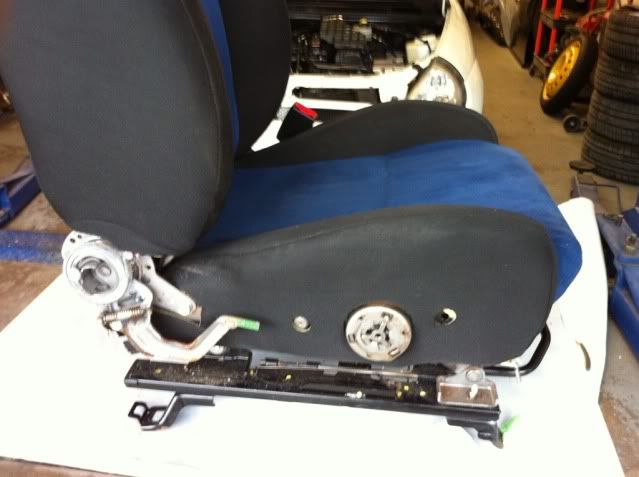
The seat covers use the normal plastic snaps so come off easy
Now my right lower bolster was starting to compress due to getting in/out etc so looked at that too
Once you have bit off the foam can lift off, this is the bit that rubs through
So I used a low density foam to cover it.
Then set about making new bolsters
The foam layout is hd and ld foams once I was happy I permanently attached them with duct tape.
Left side done right oem
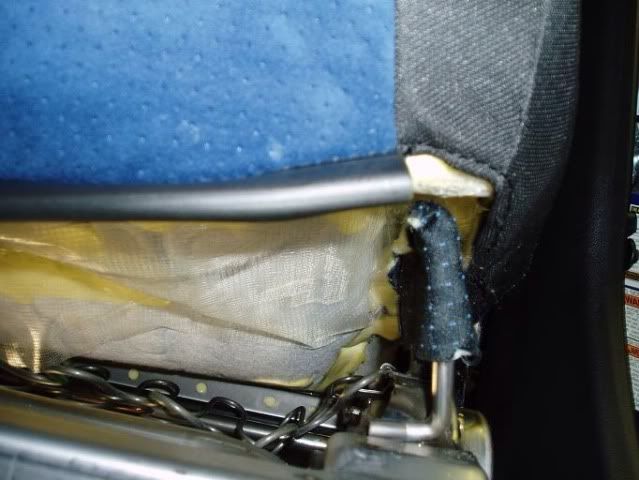
Once the bottom had been done I moved to the upper back,
This has three springs along it. You can pulley these back and stretch them, this takes the push effect out of the seat. I also did this to the base.

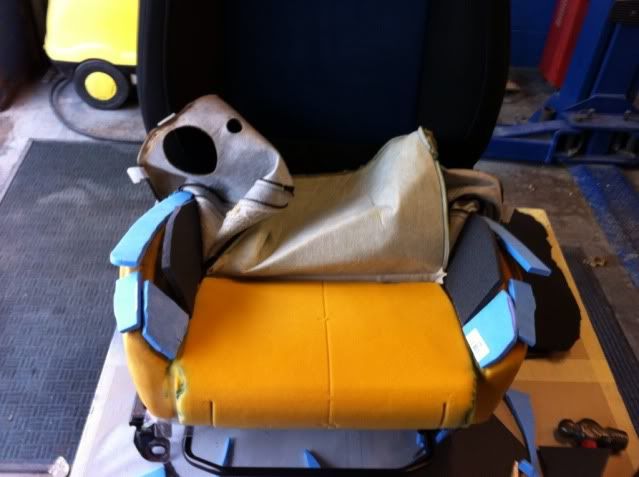
I ran out of big pieces of foam so got a bit of new carpet underlay for the bolster.
I traced the black parts if the seats a d installed the foam
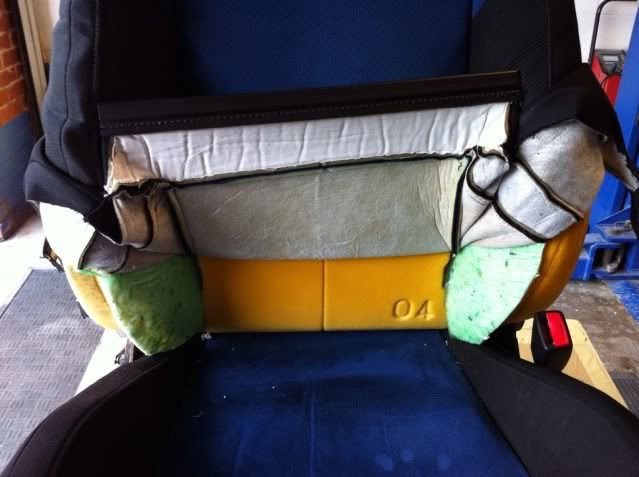
Then from the back of the seat I added son smaller hd packing around the rib area. I also took out the middle spring
Once you've sat in it and are happy build it back up and your done
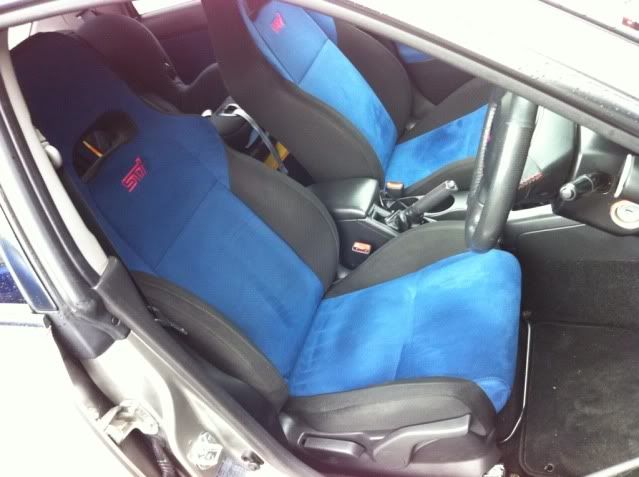
The seat feels 100 times better.
So what to do.
Unzip the back of the seat
Then decided to remove it altogether, battery off and unclipped, and put on my bench
You need to take the side plastics off, couple of screws and a bolt
The seat covers use the normal plastic snaps so come off easy
Now my right lower bolster was starting to compress due to getting in/out etc so looked at that too
Once you have bit off the foam can lift off, this is the bit that rubs through
So I used a low density foam to cover it.
Then set about making new bolsters
The foam layout is hd and ld foams once I was happy I permanently attached them with duct tape.
Left side done right oem
Once the bottom had been done I moved to the upper back,
This has three springs along it. You can pulley these back and stretch them, this takes the push effect out of the seat. I also did this to the base.
I ran out of big pieces of foam so got a bit of new carpet underlay for the bolster.
I traced the black parts if the seats a d installed the foam
Then from the back of the seat I added son smaller hd packing around the rib area. I also took out the middle spring
Once you've sat in it and are happy build it back up and your done
The seat feels 100 times better.


Scooby Regular
iTrader: (5)
Joined: Oct 2012
Posts: 1,907
Likes: 1
From: North Yorkshire / Boston, MA
How's the LED arrangement in the door controls Jake? Bulb swap or recolouring tints?
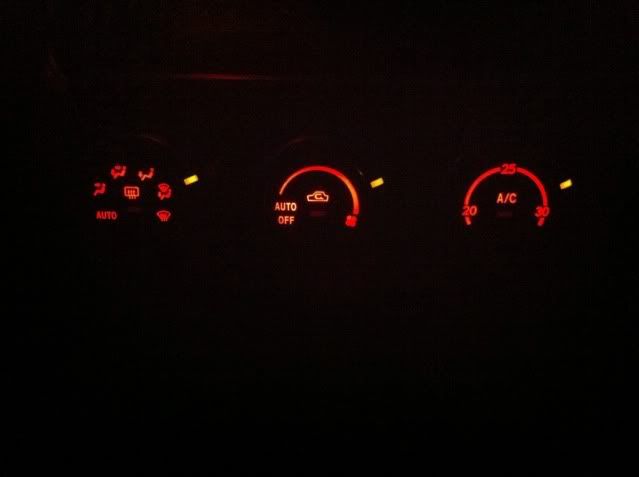
I've been playing with my HVAC bulbs loads over the past 48hours as the light distribution wasn't quite right. I ended up removing the clear plastic lense type thing which is moonshaped and runs the depth of the ****. This allowed my wide angle LEDs to work properly and it looks tonnes better.
Your brightspots don't look too bad though, so probably not worth the effort
I removed the plastic bit your talking of already that's why 
It's the camera that makes then look wierd to the normal eye there even.
The does you need to run 5 LEDs the tap into the door wiring.
It's the camera that makes then look wierd to the normal eye there even.
The does you need to run 5 LEDs the tap into the door wiring.
Today some more goodies arrived.

Spec c roof vent aswell as the little sun visor that goes inbetweeners the mirror and the windscreen.
I also got some stronger boot springs not pictures. But they make the boot work how it's actually meant to.
I also find myself having dirty thoughts about wheels but we'll see what comes of that, seen as I may have secured a set of tein springs
Today some more goodies arrived.
Spec c roof vent aswell as the little sun visor that goes inbetweeners the mirror and the windscreen.
I also got some stronger boot springs not pictures. But they make the boot work how it's actually meant to.
I also find myself having dirty thoughts about wheels but we'll see what comes of that, seen as I may have secured a set of tein springs
full kit shown here mate
http://forums.nasioc.com/forums/show...&highlight=DIY
Last edited by stevep360; Apr 17, 2013 at 06:49 PM.