
1994 Version Sti RA.... Restoration Project.

Has anyone used any of the POR15 range ?
I'm looking at maybe using the Prep & Ready (metal ready) product, it treats and etch primes in one ready for over painting.
I'm looking at maybe using the Prep & Ready (metal ready) product, it treats and etch primes in one ready for over painting.

Joined: Sep 2005
Posts: 19,945
Likes: 2
From: "Engineering Perfection in Essex"
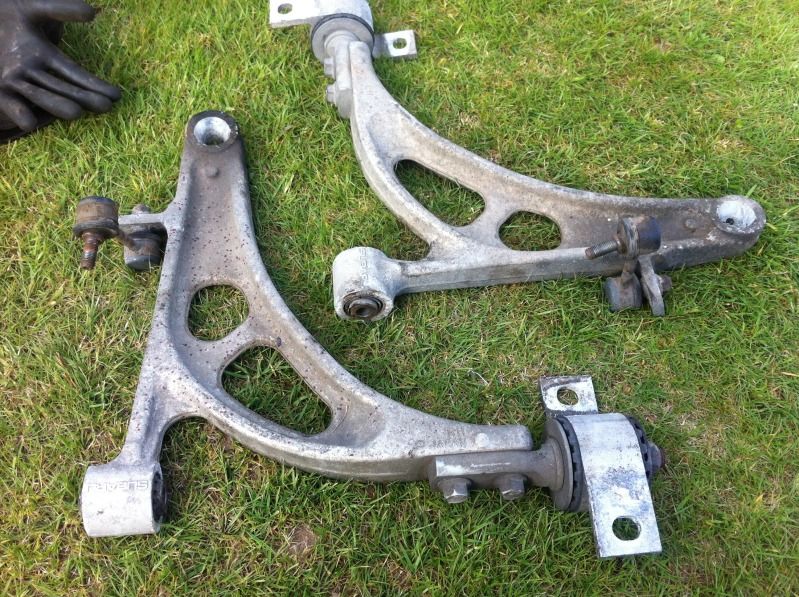
Looking at the pics Si, all looks good. As discussed earlier on the phone. I'd deffo be replacing all the bushes with poly upon her rebuild. You won't regret spending the money in that area.
It will look amazing once refinished.
It will look amazing once refinished.

Now this is an area I know little about, but an area I wish to educate myself on for a better understanding
firstly has anyone out there got some good links or drawings saved to show all suspension components and bushes fitted with names attached? Suspension wise I have a new Whiteline rear ARB along with solid rear drop links plus Group N engine and gearbox mounts. The RA as standard has solid front drop links so I'm going on an assumption these remove one or two items from a full kit.... Also looking at what I have in pieces do I go on an assumption that the full kit replaces every bush I see from the bars and the sub frames etc?
Just for reference it looks like the full kit Includes:
Front Gearbox Cross Member Isolator Mount Bush Kit
Steering rack and pinion mount (30mm Bracket)
Front Anti Roll Bar Link Bush Kit
Anti Roll Bar to Chassis Bush Kit
Rear Control Arm Lower, Inner and Outer Bush Kit
Rear Cross Member Supplement washers
Rear Anti Roll Bar Link Bush Kit
Anti Roll Bar to Chassis Bush Kit
Rear Trailing Arm Front Bush Kit
Rear Trailing Arm Rear Bush Kit
Back on the rust subject POR15 prep and ready on order so hope to make some progress on the hubs for one on the weekend

It's a testament to Subaru that the bushes and suspension have lasted as long as they have, many a car would have rotted away by now but this one is remarkably good.
Your heading the on the right path bud
Your heading the on the right path bud
18 June 1815 - Waterloo
iTrader: (31)
Joined: Dec 2004
Posts: 19,156
Likes: 15
From: To the valley men!
Last edited by The Trooper 1815; Apr 30, 2013 at 11:09 PM.
You can say that again Kev
Thanks Ian that's good reading.... I've had a good look today and will be sending a few pictures to Alyn at ASP for him to have a look over and give me some guidance and some prices of what I require.
Also back on the strut conversation I have some low mileage red Sti struts and OEM springs off a type r on the way they have around 38k on them and were removed for a big build so they will suit my purpose nicely I think.
Also took a few bits into work today and used the hand press to remove a few bushes, I will do a couple more first thing in the morning before anyone is around I need to decide what to remove altogether before I arrange any sandblasting.
Thanks for the help chaps
Thanks Ian that's good reading.... I've had a good look today and will be sending a few pictures to Alyn at ASP for him to have a look over and give me some guidance and some prices of what I require.
Also back on the strut conversation I have some low mileage red Sti struts and OEM springs off a type r on the way they have around 38k on them and were removed for a big build so they will suit my purpose nicely I think.
Also took a few bits into work today and used the hand press to remove a few bushes, I will do a couple more first thing in the morning before anyone is around
I need to decide what to remove altogether before I arrange any sandblasting. Thanks for the help chaps
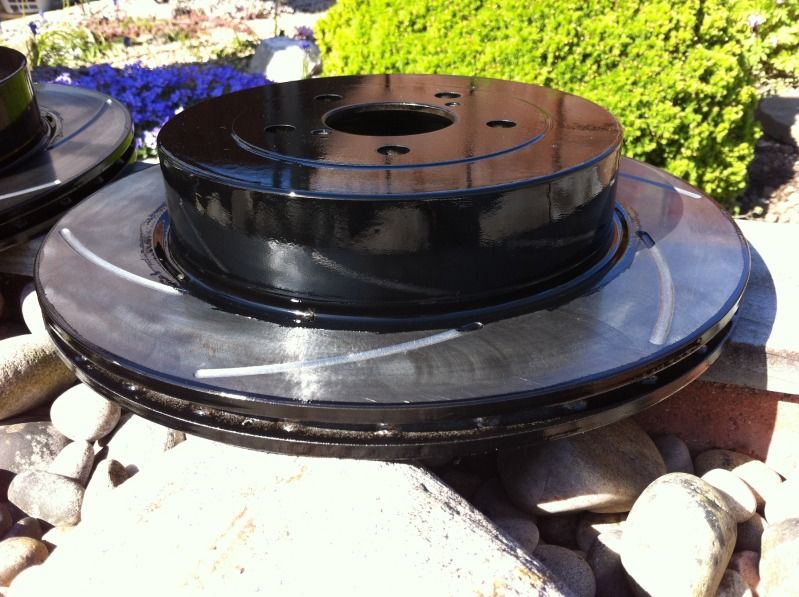
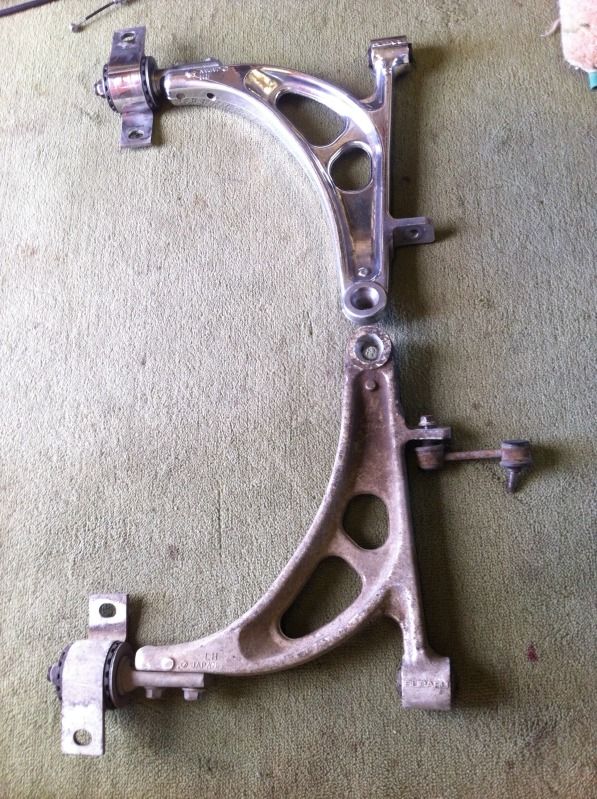
At long last I feel I'm coming forwards again... You rip the heart out of everything and it really feels like quicksand as there's no real forward movement but today I've redone the discs black and I'm very pleased with the finish... And so were the flies ! Arghhh 
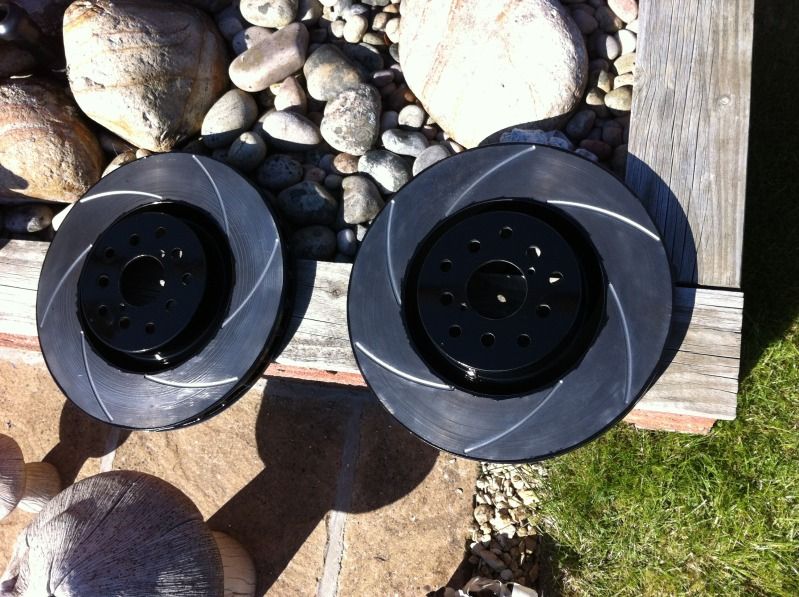

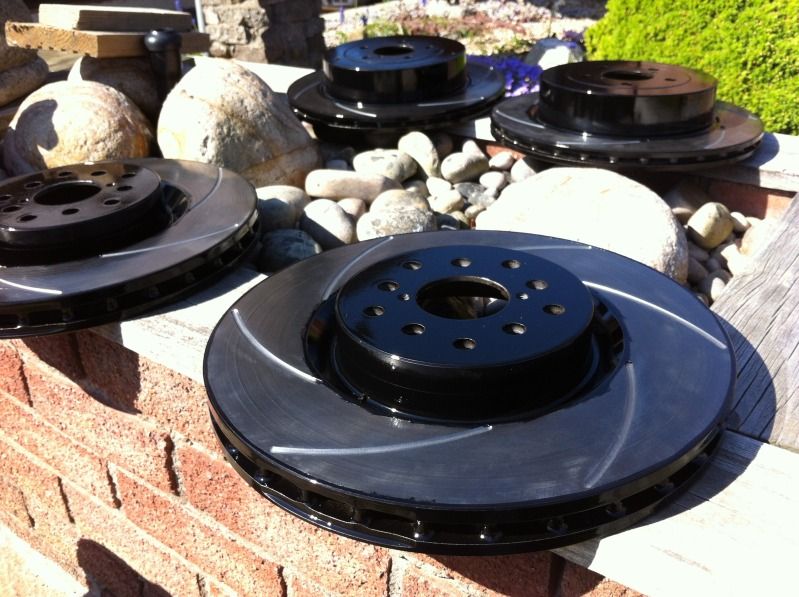
These can no be packed away safely ready for rebuild.
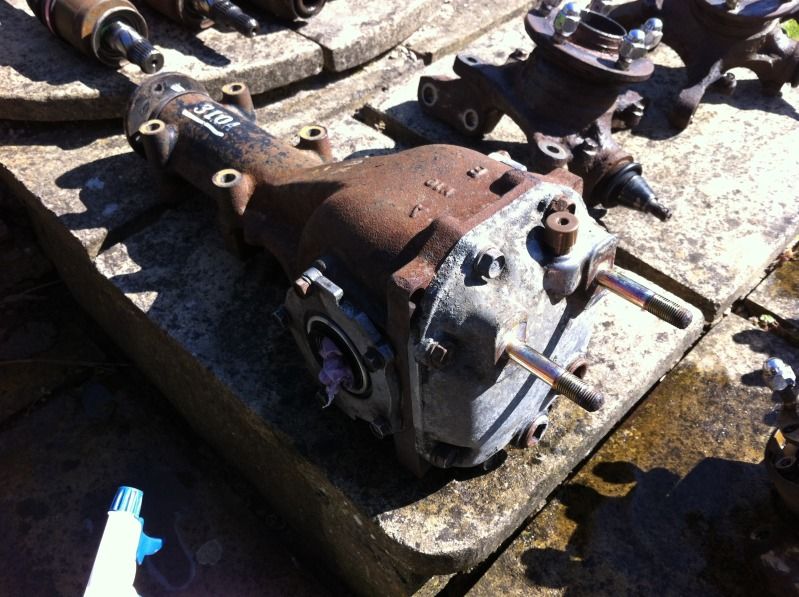
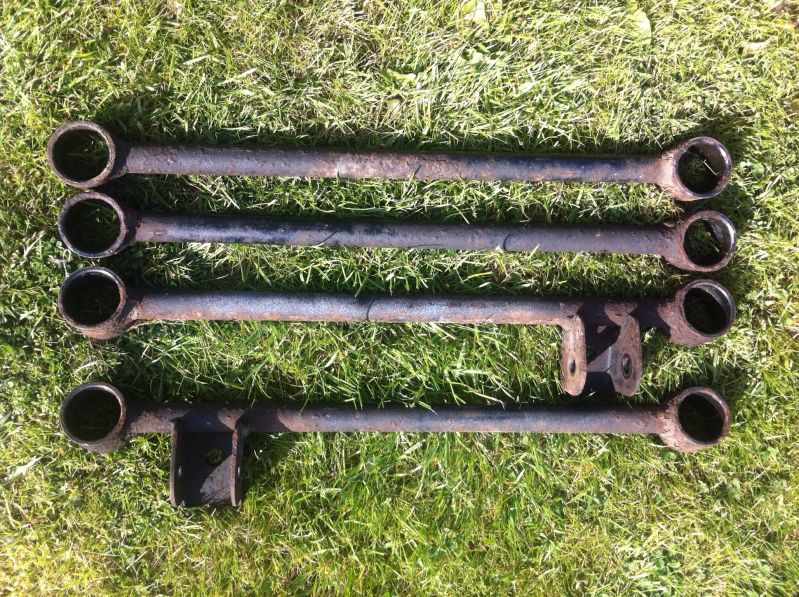
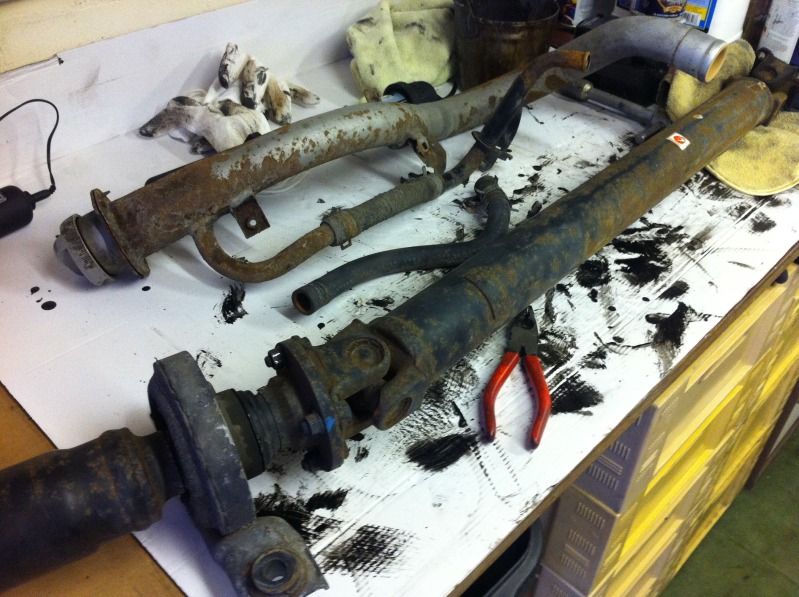
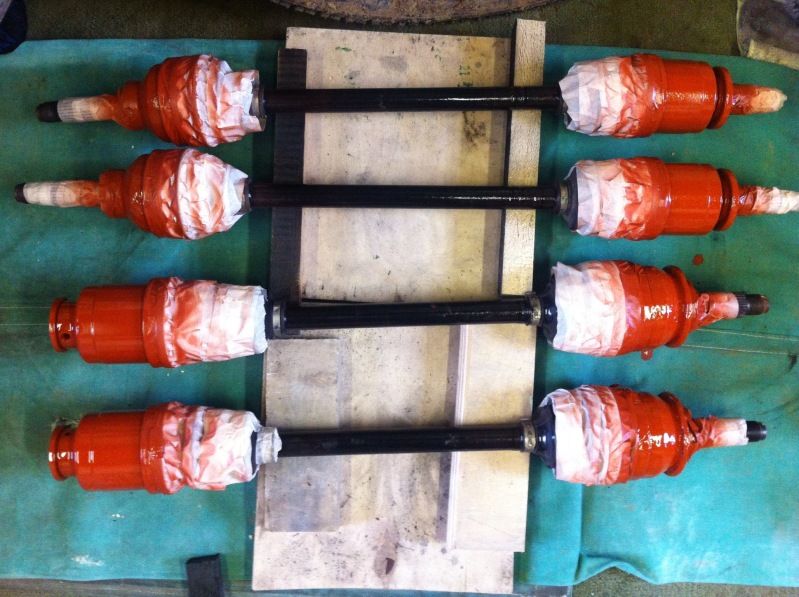
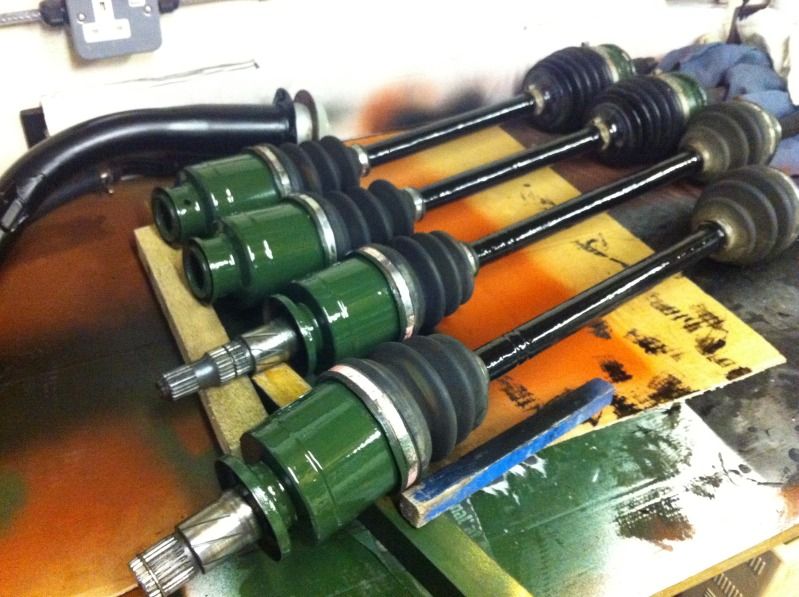
Then I worked on this lot.....
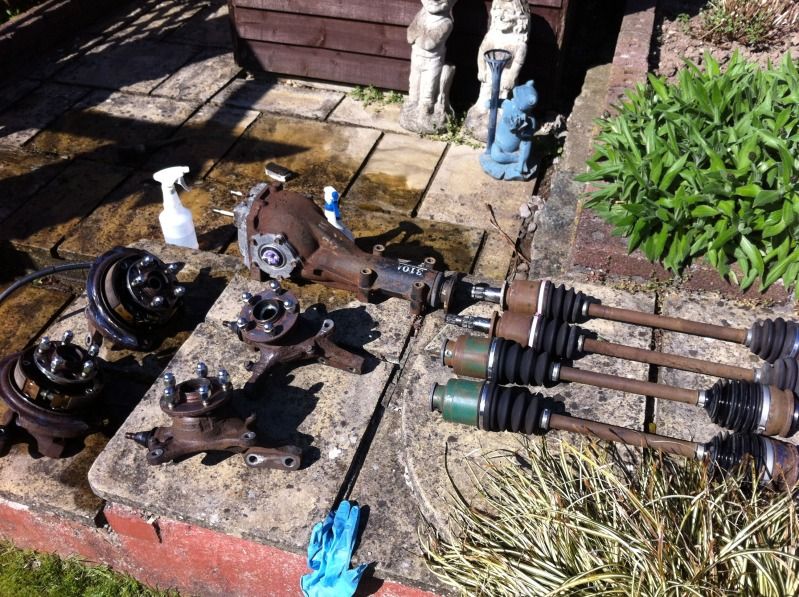
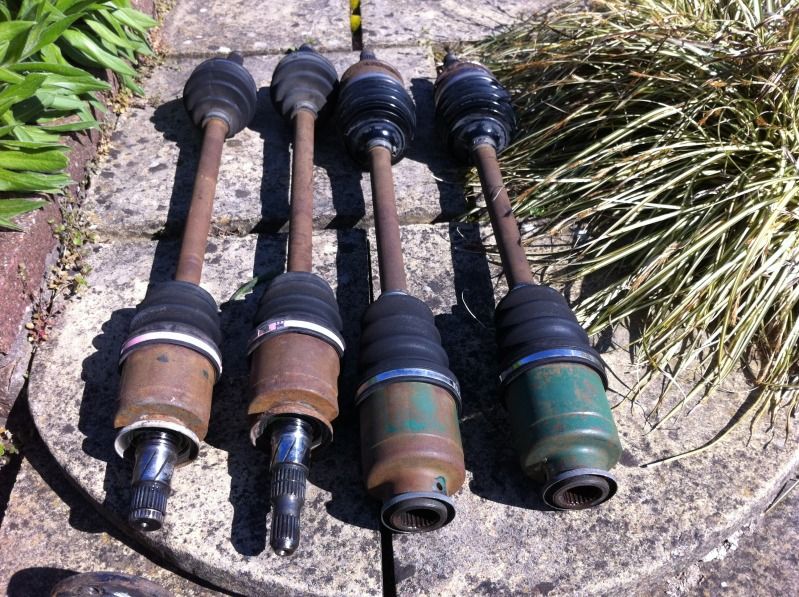
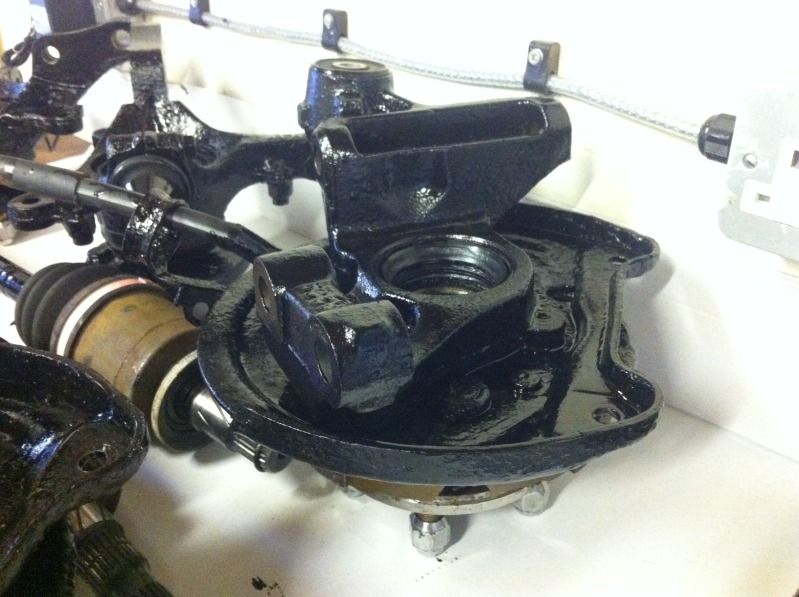
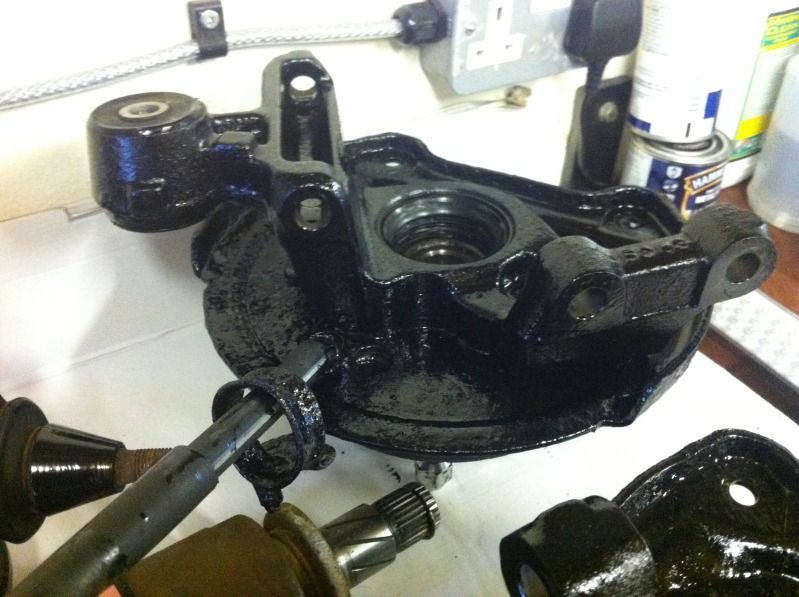
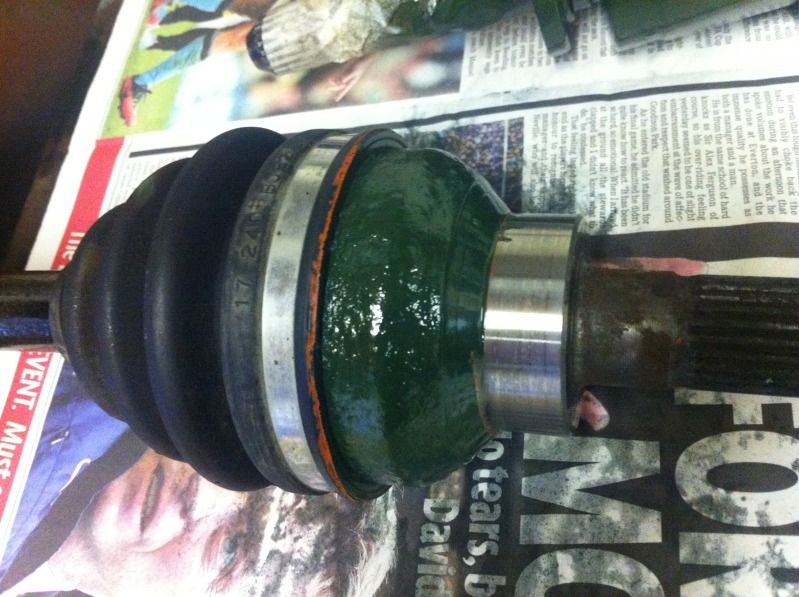
All wire brushed both with machine and by hand, I chipped the worse off the cast with a screwdriver first..... Then degreased and hosed down to remove all the dust and grease, next step will be to POR15 rust proof and etch prime in one coat then red oxide and sheen black. I'll be repainting the OEM green back on the drive shafts, I'll have to take a stab at the shade.
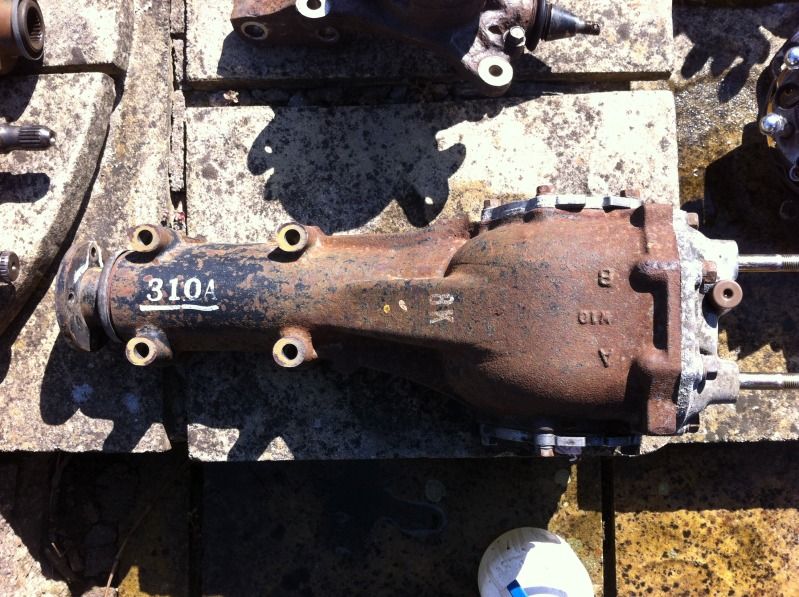
I'll have a look at either polishing the alloy diff cover or I may paint it silver, the cast will be black the same as the hubs.
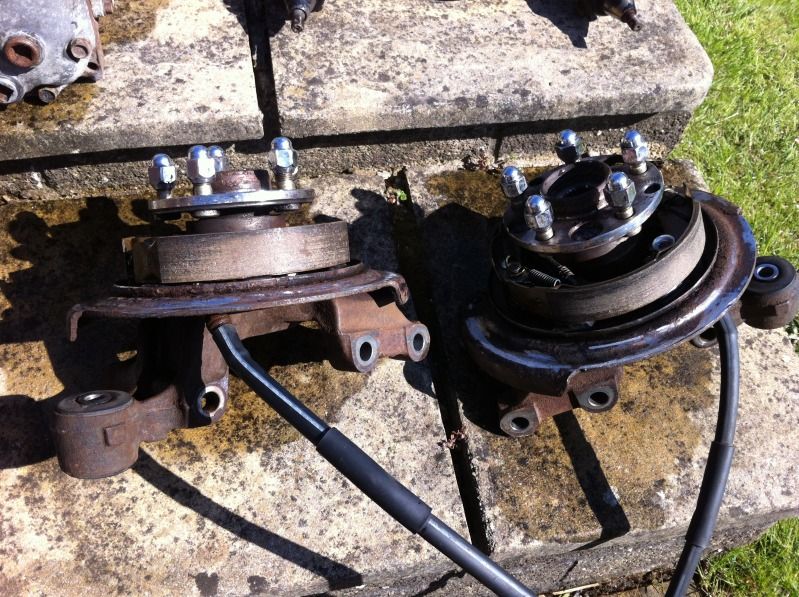
Dust covers all removed front and rear on the hubs to make space for the Brembo Calipers and discs, plus the front virtually came off in my hands from the one as it had rusted to nothing.

These can no be packed away safely ready for rebuild.
Then I worked on this lot.....
All wire brushed both with machine and by hand, I chipped the worse off the cast with a screwdriver first..... Then degreased and hosed down to remove all the dust and grease, next step will be to POR15 rust proof and etch prime in one coat then red oxide and sheen black. I'll be repainting the OEM green back on the drive shafts, I'll have to take a stab at the shade.
I'll have a look at either polishing the alloy diff cover or I may paint it silver, the cast will be black the same as the hubs.
Dust covers all removed front and rear on the hubs to make space for the Brembo Calipers and discs, plus the front virtually came off in my hands from the one as it had rusted to nothing.
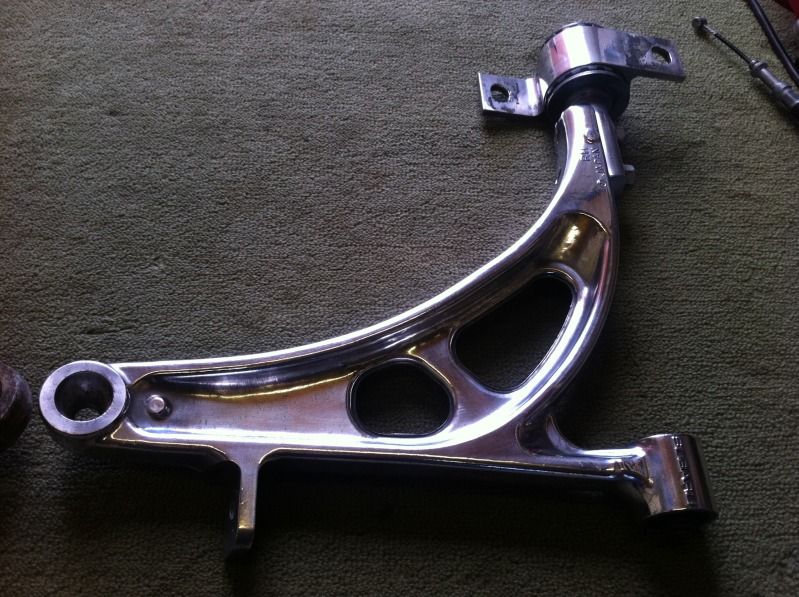
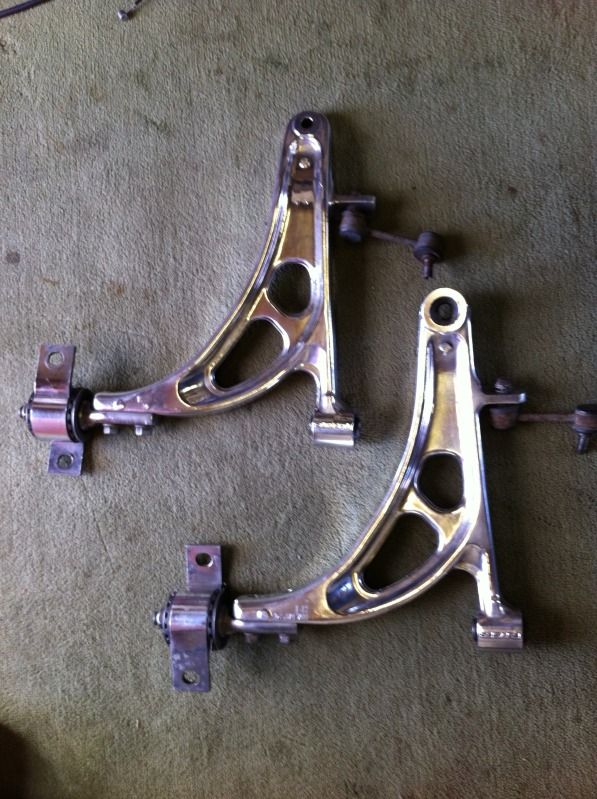
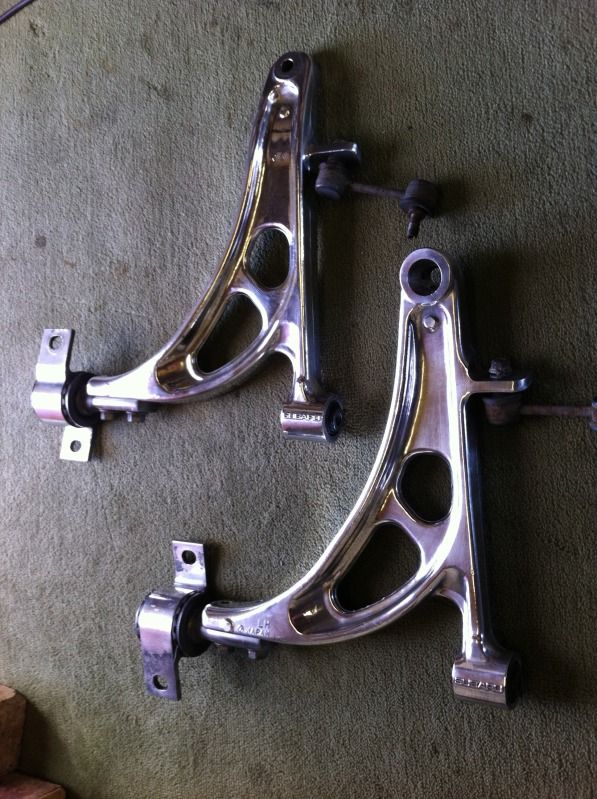
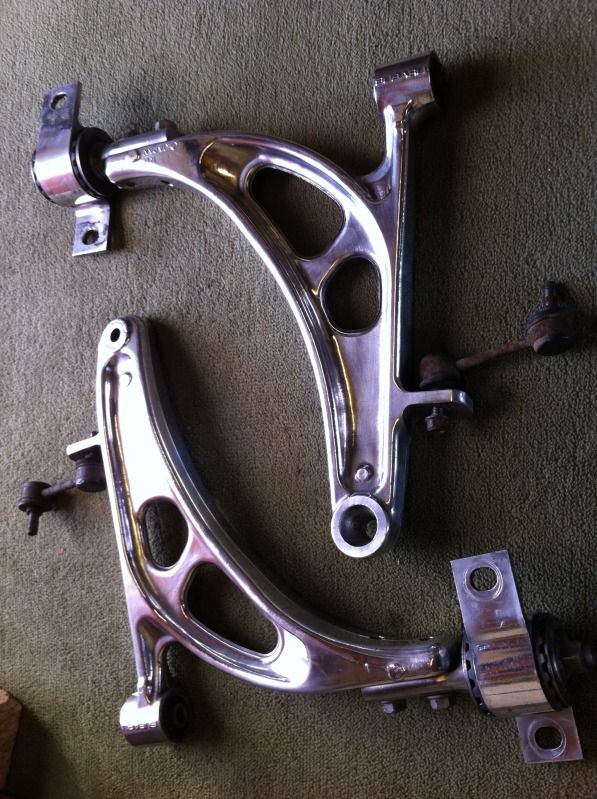
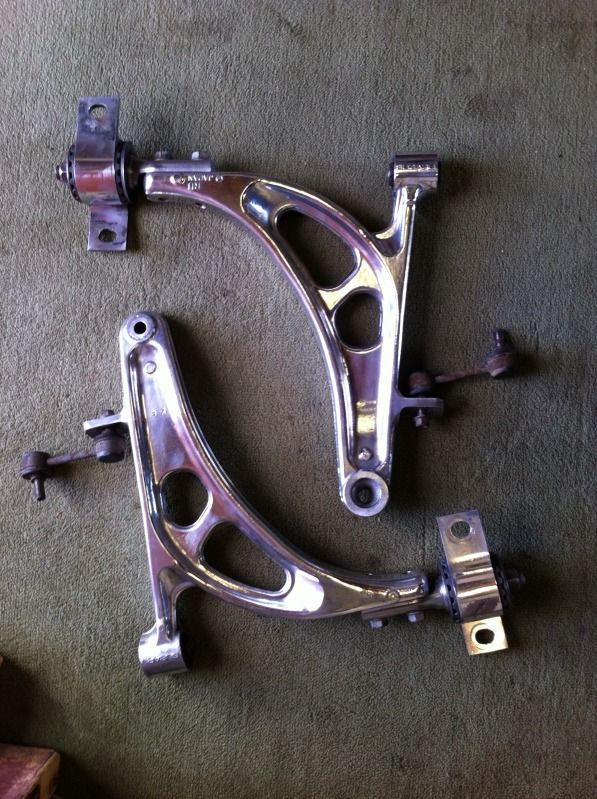
Another job will be to polish these chaps up...
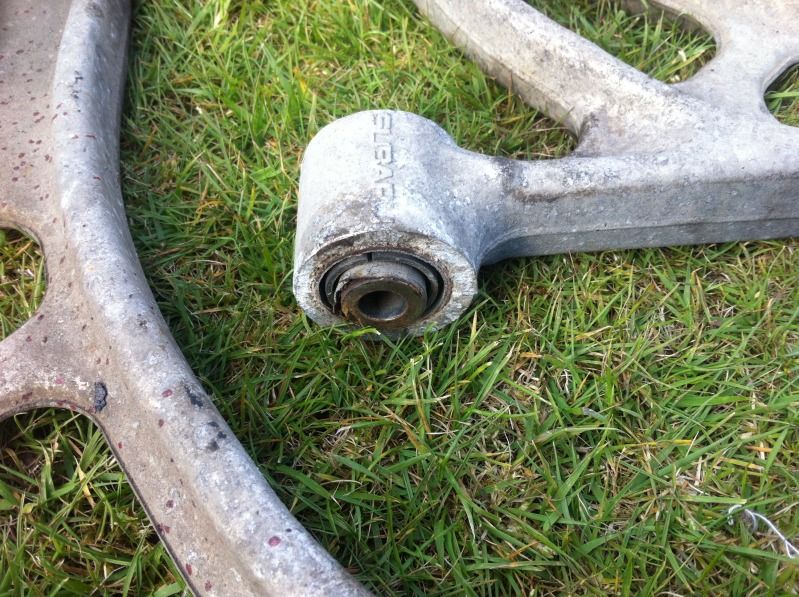
Just a few close ups of the bushes in the rear cross member for reference.
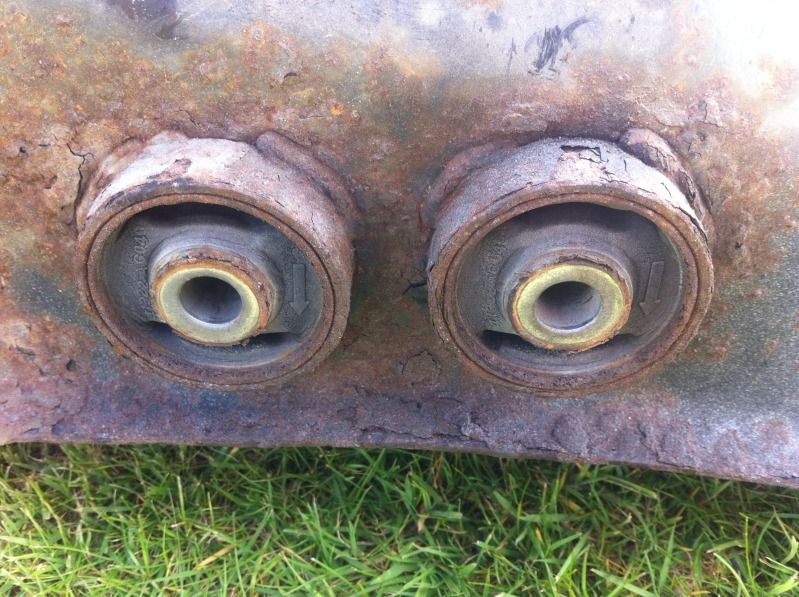
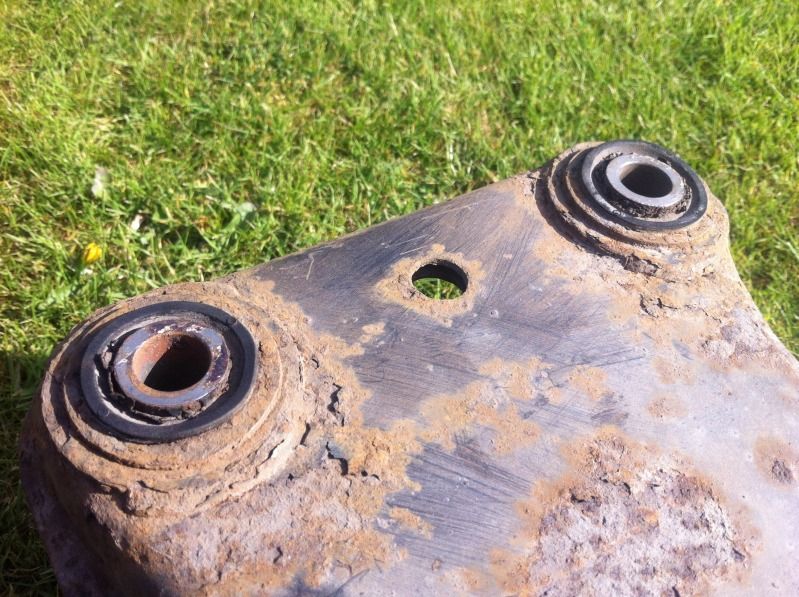

Rust city but still structurally strong.
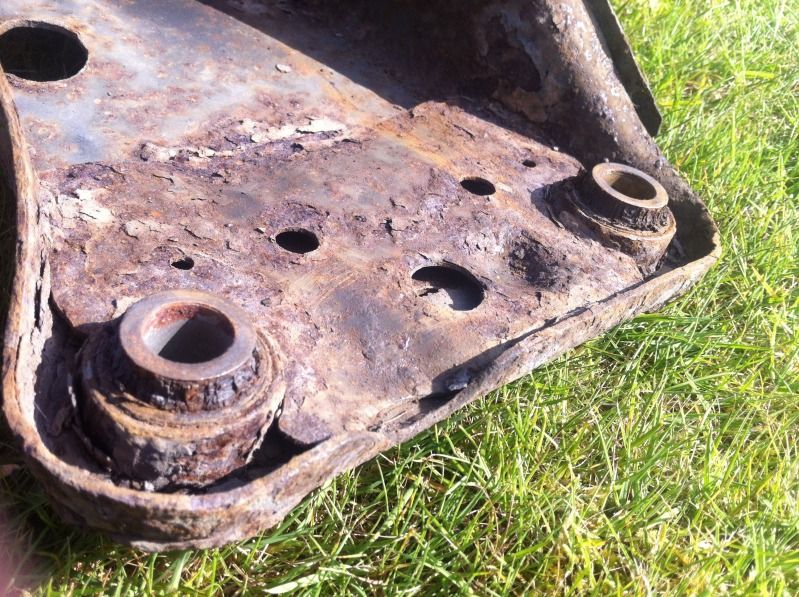
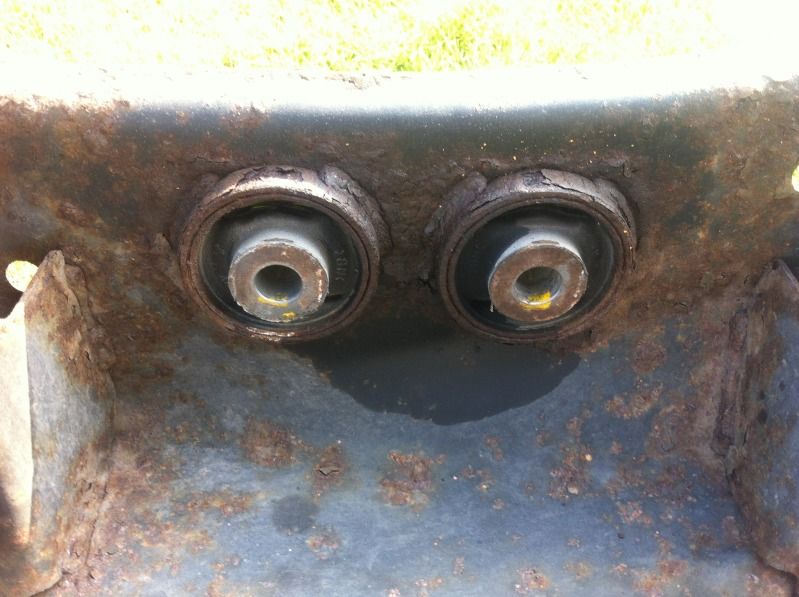

In the T bar shall I call it.
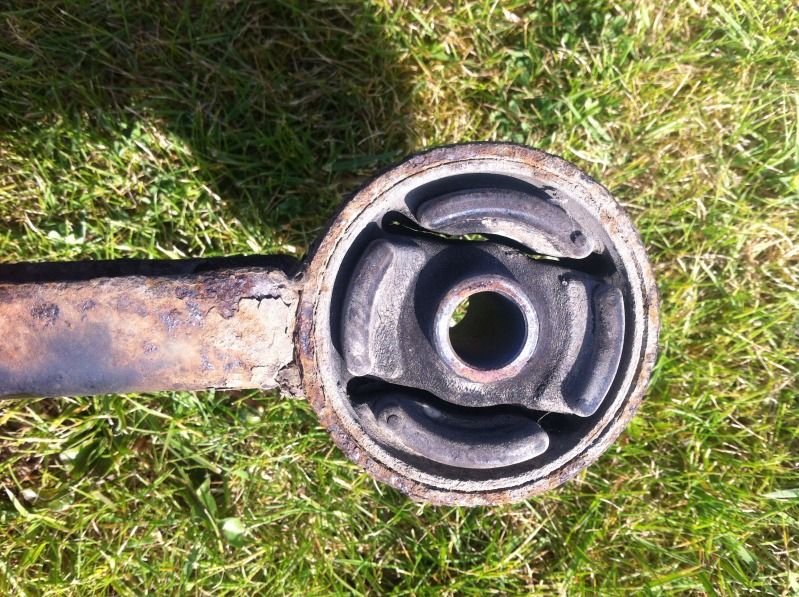

I've pressed these out below for new to be fitted.

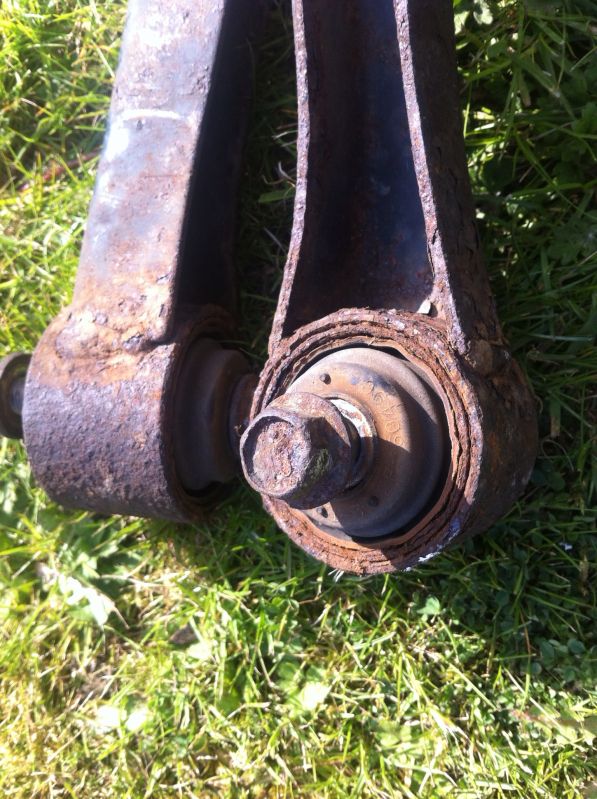
All removed ready for sandblasting.
99% sorted now for sandblasting, one more small job to do then I can phone them up and arrange that task.
Just a few close ups of the bushes in the rear cross member for reference.
Rust city but still structurally strong.
In the T bar shall I call it.
I've pressed these out below for new to be fitted.
All removed ready for sandblasting.
99% sorted now for sandblasting, one more small job to do then I can phone them up and arrange that task.
Cheers guys
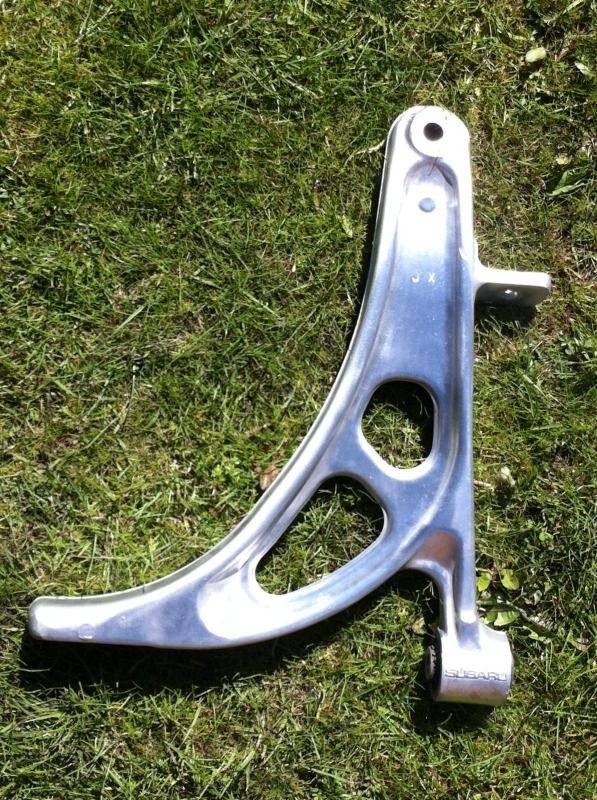
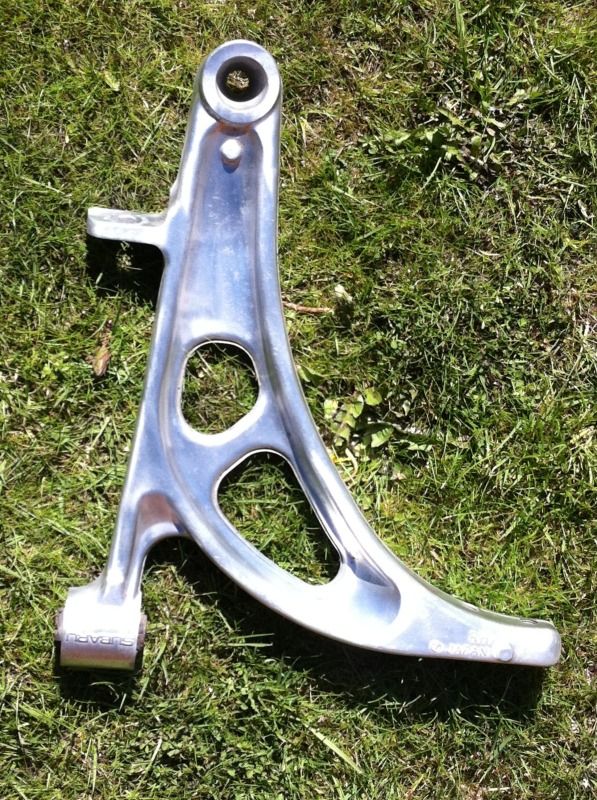
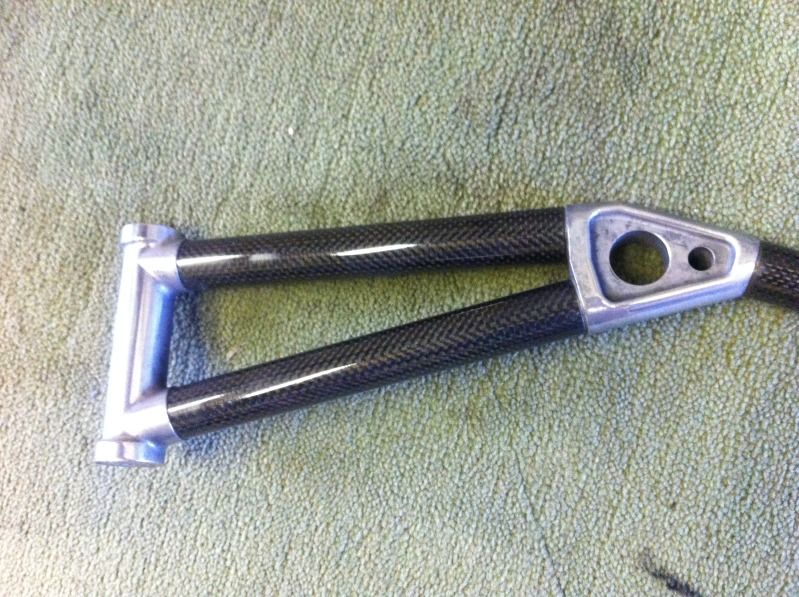
I had a little go on the strut brace, this is enough for me I don't want it polished just cleaned back.
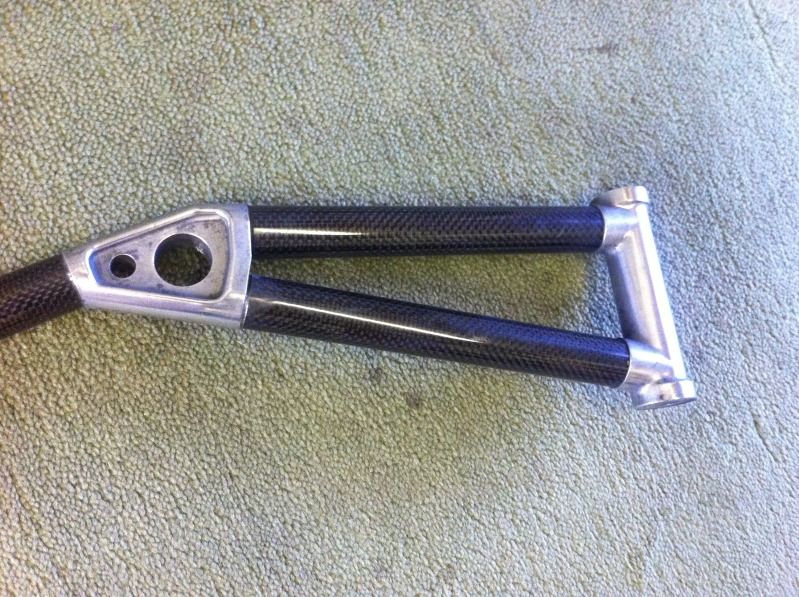

Also had another couple of hours this evening on the hubs, I changed my mind on the paint as I was initially going to rattle can them but after seeing just how scabby they are and the ingrained rust I decided it had to be Hammerite as it is designed to be painted directly onto rust and seal it.
First coat tonight second one will follow soon.

There's not much more I can do with them really, the cast is rough and scabby the rust chews in and flakes the surface... Ok stepping back you could replace with newer one's, you could completely dismantle and sand blast but where do you stop so I decided I would clean back degrease and paint them as it's the most cost effective way plus keeping to original ones helps keep with the integrity of the car.
I had a little go on the strut brace, this is enough for me I don't want it polished just cleaned back.
Also had another couple of hours this evening on the hubs, I changed my mind on the paint as I was initially going to rattle can them but after seeing just how scabby they are and the ingrained rust I decided it had to be Hammerite as it is designed to be painted directly onto rust and seal it.
First coat tonight second one will follow soon.
There's not much more I can do with them really, the cast is rough and scabby the rust chews in and flakes the surface... Ok stepping back you could replace with newer one's, you could completely dismantle and sand blast but where do you stop so I decided I would clean back degrease and paint them as it's the most cost effective way plus keeping to original ones helps keep with the integrity of the car.
it's nice to pick a part up and not get covered in oil what's good now is I can start to pack the prepped work away and get my teeth into the bits left, the mountain my friend is getting smaller I have one small job to do to the gear box frame in the morning in work then I shall be ready with my pile for sandblasting so I will be calling him tomorrow.
https://www.scoobynet.com/960066-v2-...project-5.html
It's a dirty rotten job trust me !
Hey up Si, those braces are a total cow to clean up arnt they? I was in the same position as you, wanted to clean it more than polish it.
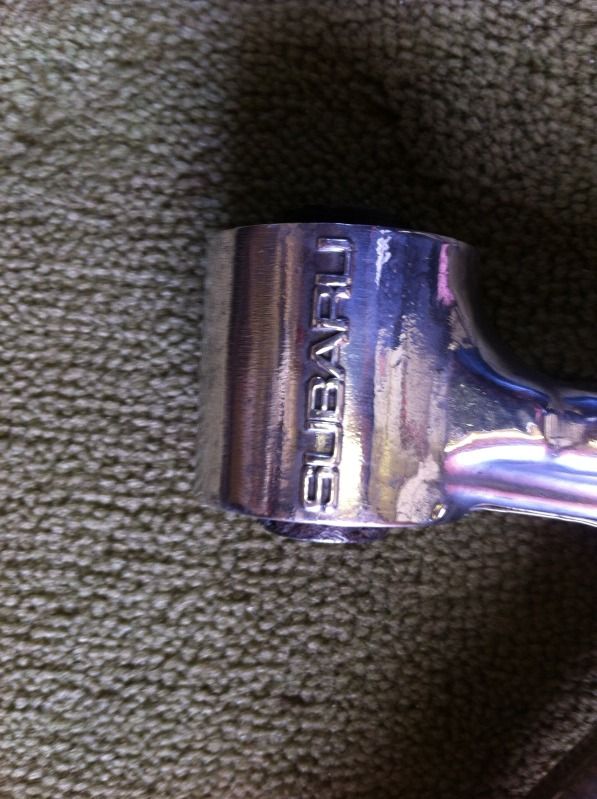
You got yourself a replacement sticker for it?
Joe
You got yourself a replacement sticker for it?
Joe
They are hard going Joe, it was the same on my old one, they are arkward even with a mop. I will be getting stickers, I want a couple so I'll have a look and get them in one hit.

Cheers Darren
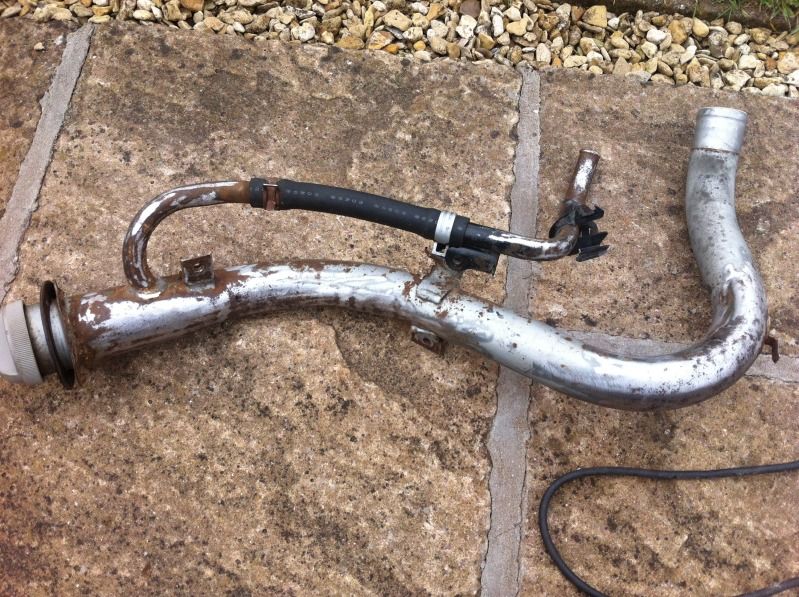
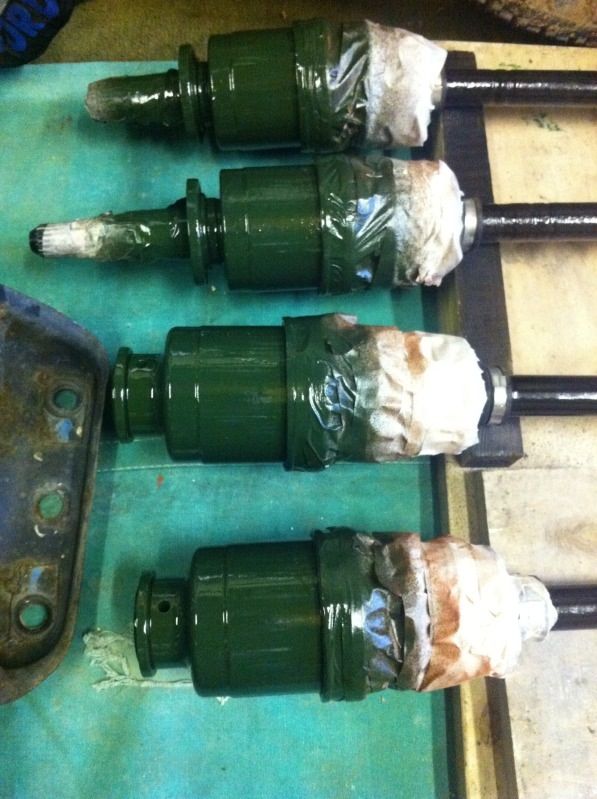
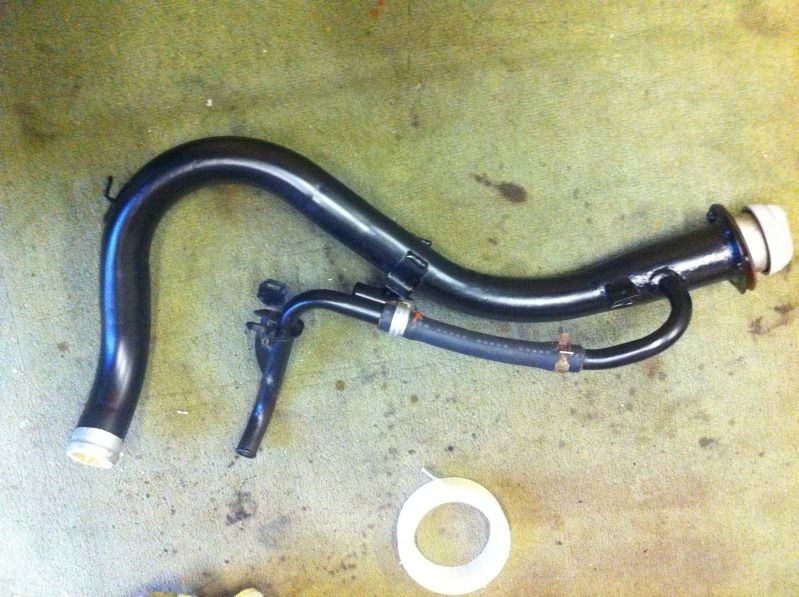
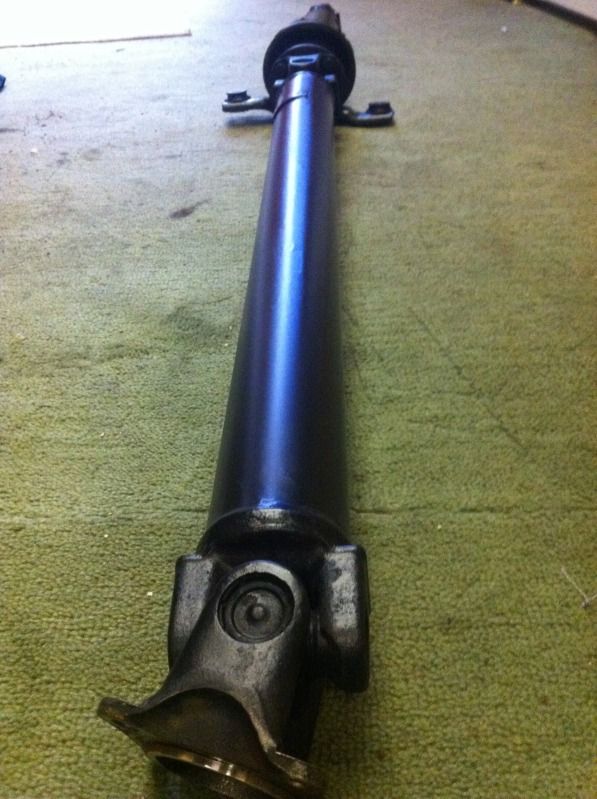
A few more small steps today by prepping and priming the fuel filler along with the prop shaft..... Also dropped a few coats of primer on the caps on the drive shafts ready now to paint green when it arrives.
Starting point this morning...
Cleaned all this back with a flapped sanding wheel.
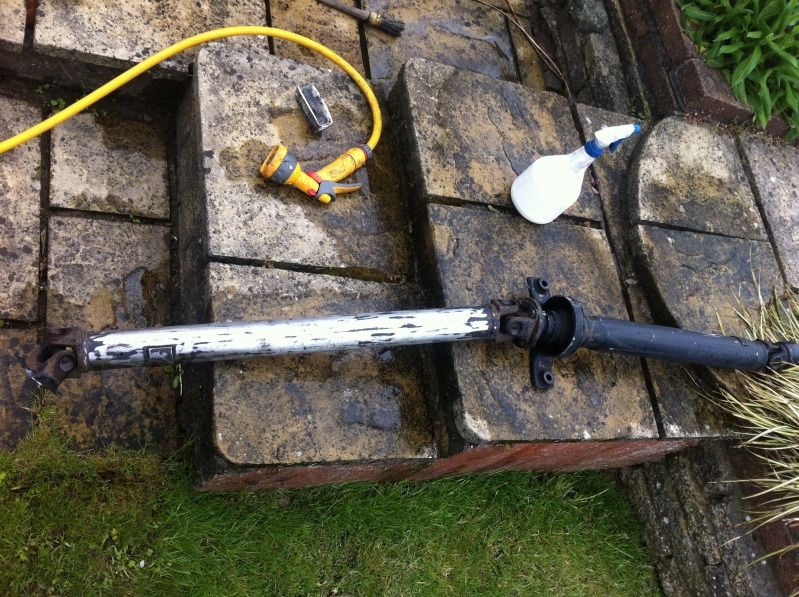
Then a coat of prep and ready.
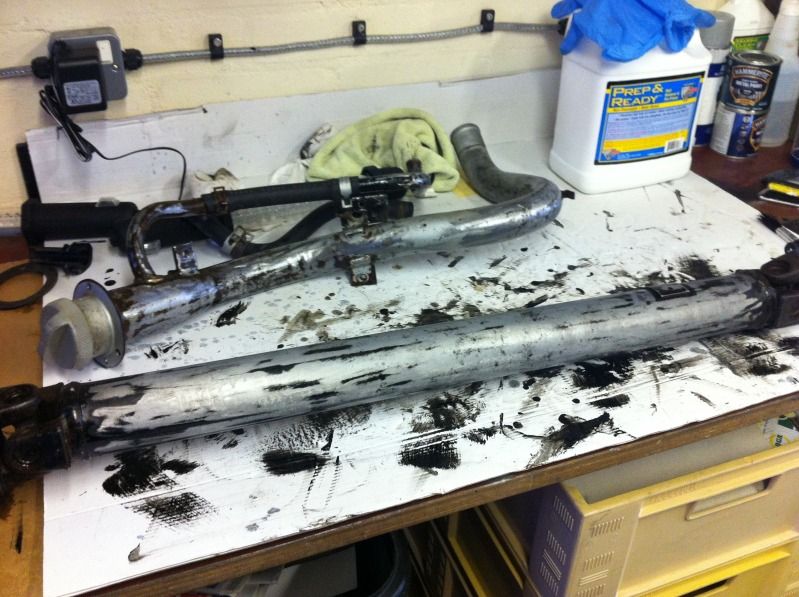
Followed by primer from a rattle can.
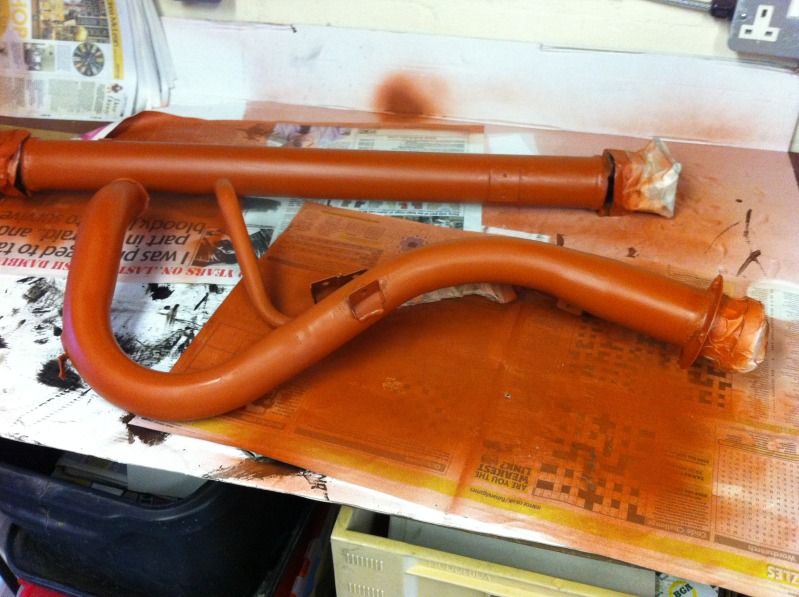

A few more small steps today by prepping and priming the fuel filler along with the prop shaft..... Also dropped a few coats of primer on the caps on the drive shafts ready now to paint green when it arrives.
Starting point this morning...
Cleaned all this back with a flapped sanding wheel.
Then a coat of prep and ready.
Followed by primer from a rattle can.
There's so much rust treatment products about it makes your head spin lol
Last edited by Silver Scooby Sport; May 12, 2013 at 08:00 PM.


Productive few hours again today.. Firstly dropped everything off with the sandblaster, all sounds good and he's looking to media blast it all and a coat of Zinc Phosphate Primer will be applied to finish to seal the bare metal. Looking at a week turn around time on this which is great, I'm looking forward to seeing the results.
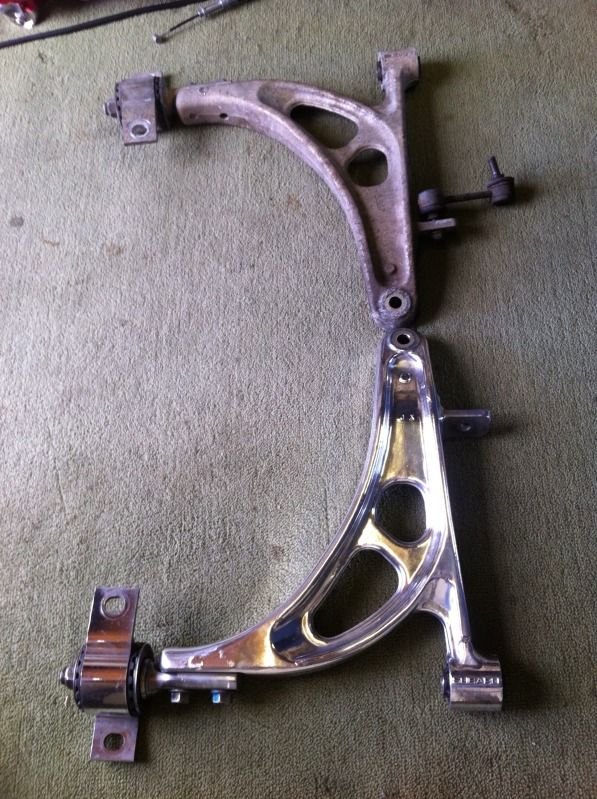
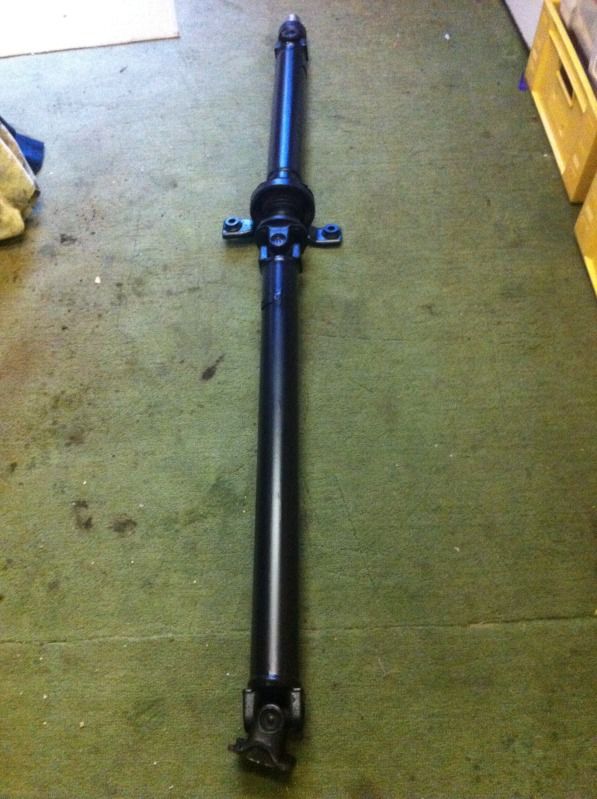
Secondly managed to finish off the other items I had on the go...
I was surprised when I looked at the before and after shots.
And the prop is all finished....

Also found some wheels today to get me set up and running, I will be getting some new ones in the future but they are not needed as yet, during to rebuild and set up brand new wheels would make me uneasy constantly on and off so a set of used is perfect plus they will be my winter wheels in the future.
Used parts left to find.
Drivers Seat.
Rear Parcel Shelf. (With the speaker covers inset)
Happy days
Secondly managed to finish off the other items I had on the go...
I was surprised when I looked at the before and after shots.
And the prop is all finished....
Also found some wheels today to get me set up and running, I will be getting some new ones in the future but they are not needed as yet, during to rebuild and set up brand new wheels would make me uneasy constantly on and off so a set of used is perfect plus they will be my winter wheels in the future.
Used parts left to find.
Drivers Seat.
Rear Parcel Shelf. (With the speaker covers inset)
Happy days