
The Prodrive makeover!!


Thread Starter
Scooby Regular
iTrader: (52)
Joined: Jun 2010
Posts: 11,769
Likes: 1
From: C+K MOTORS


 I assume you have connectors/terminals?
Thread Starter
Scooby Regular
iTrader: (52)
Joined: Jun 2010
Posts: 11,769
Likes: 1
From: C+K MOTORS

Got the plugs for the side light in the light but the main bulb has no terminal or relays,the bulb is a H7 twin terminal bulb but I can get a plug if you don't have any.


Thread Starter
Scooby Regular
iTrader: (52)
Joined: Jun 2010
Posts: 11,769
Likes: 1
From: C+K MOTORS
So today was my final day before 'the big wire job' begins and I had one final job I needed to do before Tim's arrival which was to start the custom mount for the Toucan in the centre console.
As usual with my man Jeff who is known as the wizard of filler,he has done a great job in customizing the centre console to except the Toucan which is slanted towards the drivers side making visability much easier for monitoring the readings at a quick glance.
Once the wiring is all done I will send it off for flocking.
Just after 7 I recieved a txt from Tim to say he landed safely at the hotel so I went on down to have a couple of beers and a chat about the task in hand,to say I'm excited given Tim's explanation of the planned loom is a massive understatment!
Roll on tomorrow!!!
[IMG]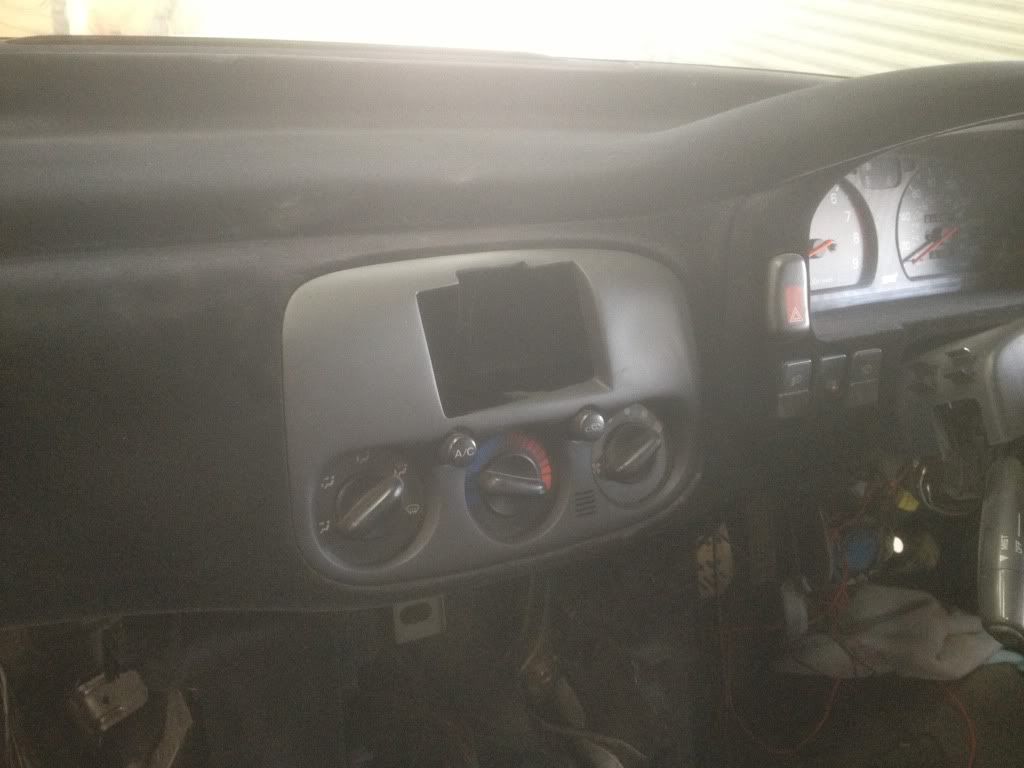 [/IMG]
[IMG]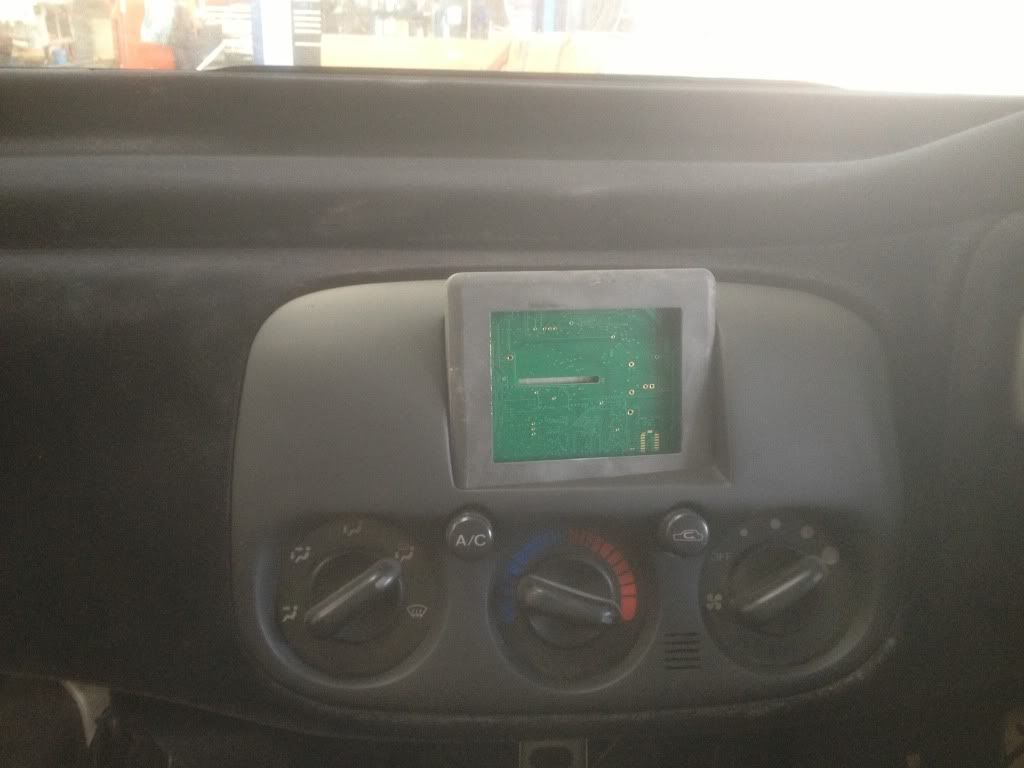 [/IMG]
[IMG] [/IMG]
[IMG]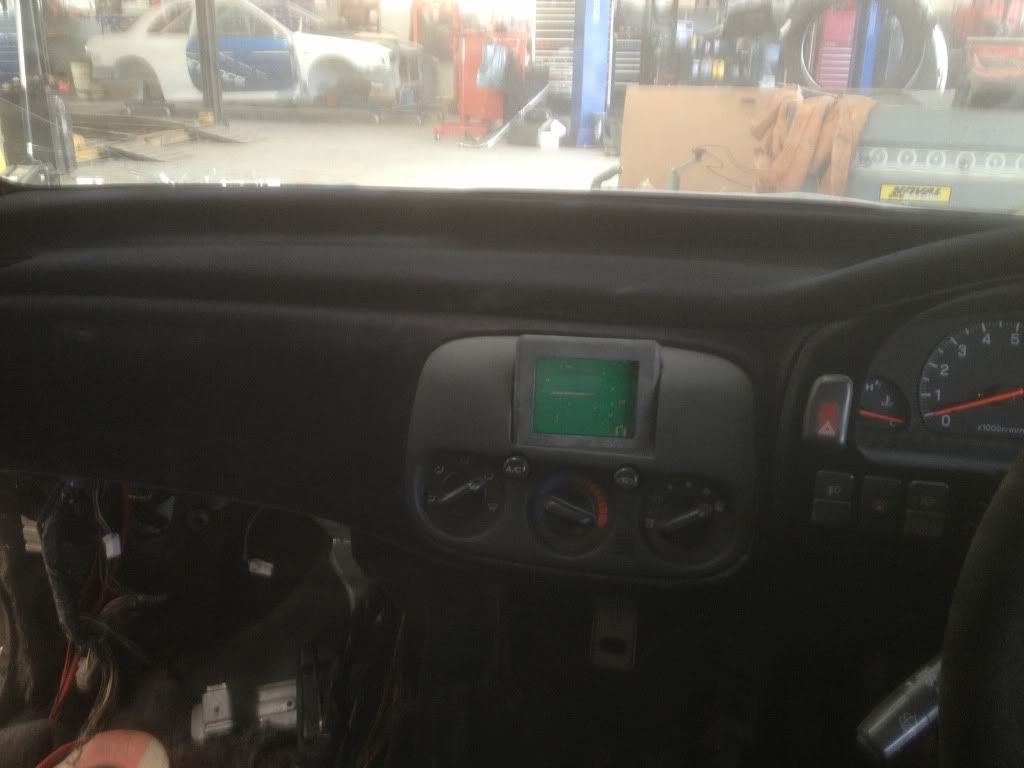 [/IMG]
As usual with my man Jeff who is known as the wizard of filler,he has done a great job in customizing the centre console to except the Toucan which is slanted towards the drivers side making visability much easier for monitoring the readings at a quick glance.
Once the wiring is all done I will send it off for flocking.
Just after 7 I recieved a txt from Tim to say he landed safely at the hotel so I went on down to have a couple of beers and a chat about the task in hand,to say I'm excited given Tim's explanation of the planned loom is a massive understatment!
Roll on tomorrow!!!
[IMG]
 [/IMG]
[IMG]
 [/IMG]
[IMG]
 [/IMG]
[IMG]
 [/IMG]

Thread Starter
Scooby Regular
iTrader: (52)
Joined: Jun 2010
Posts: 11,769
Likes: 1
From: C+K MOTORS
First off I would like to thank Tim of JTInnovations for his hard work today,we hit it hard today doing a 12 hour stint and progress went well,the loom is coming together very well.
Tim got all the plugs in place with wire tails coming back to the mil spec connector location,final laying of the loom and heat shrink holders will be added before Tim cuts the wire's to length and fits the engine bay side connector and will then move inside and do the connector to syvecs loom.
He also run the wires for the wiper motor,low brake fluid,neutral position,speed sensor and wide band lambda through an exsisting loom hole over by the clutch master cylinder.
To finish the day he moved over to O/S inner wing to route the wires for oil pressure/map sensor and boost solenoid through the A-pillar,once in the area we noticed a I had made a boo boo when I was cutting/drilling the box section to install the sensors,basically I had punctured a hole into the loom for the headlights which had cut a bunch of the wires so Tim set about repairing it.
I was very impressed with Tim's little touch of printing off wire markers which are heat shrinks plus he has put new connectors on virtually all of the sensors etc,his workmanship and attention to detail are right up my street and why I wanted him on board to do the loom!!
While Tim was wiring I got the accusump rivnuts set into the boot floor,still need a 4 bobins to mount it on so it soft mounted but also it needs to raised to bring the connection point level with the bulkhead dry break which I also mounted.
I also started to route the pressure gauge pipe towards the dash area.
All in all a very productive day,massive thanks Tim
[IMG]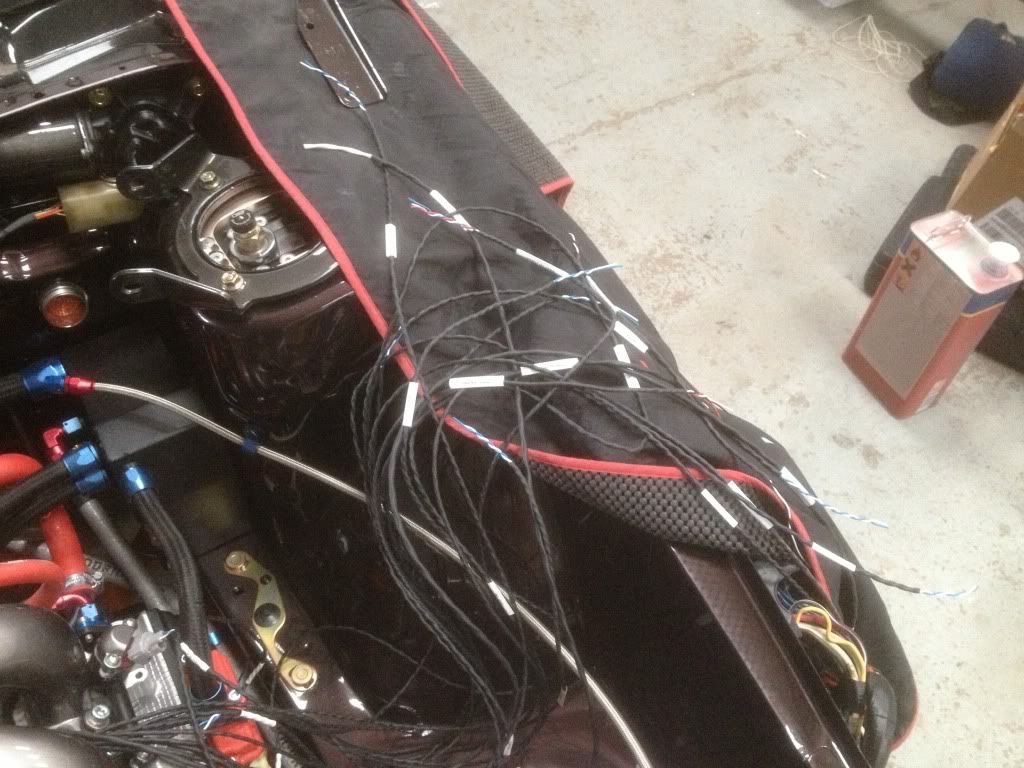 [/IMG]
[IMG] [/IMG]
[IMG]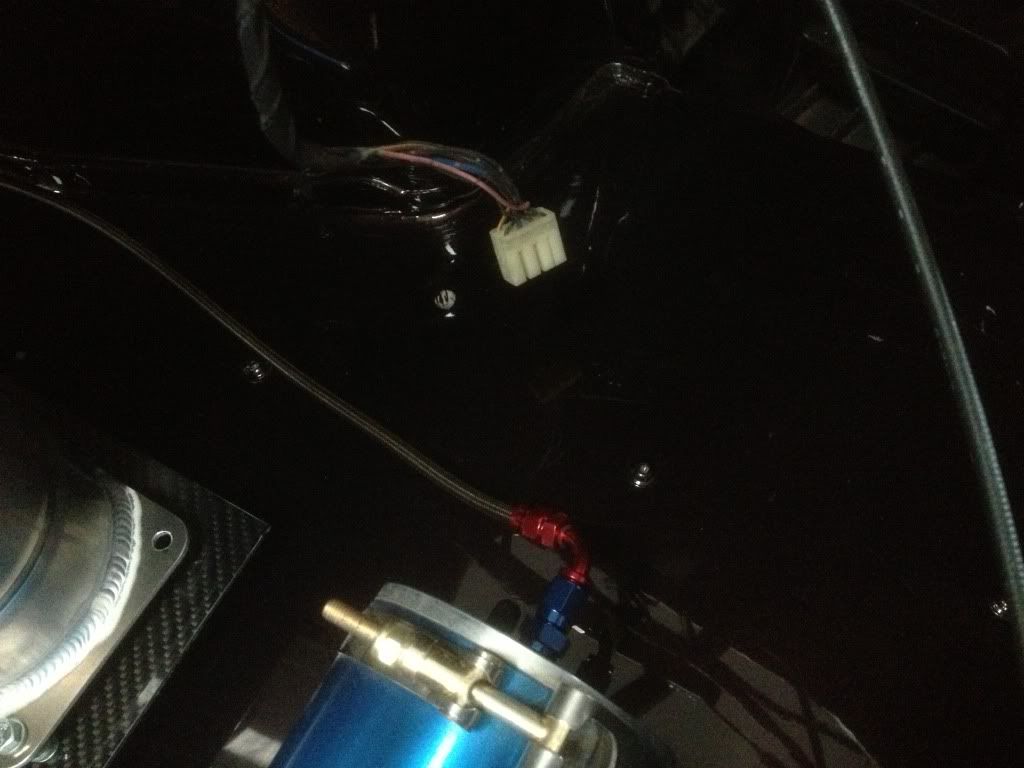 [/IMG]
[IMG] [/IMG]
[IMG] [/IMG]
[IMG]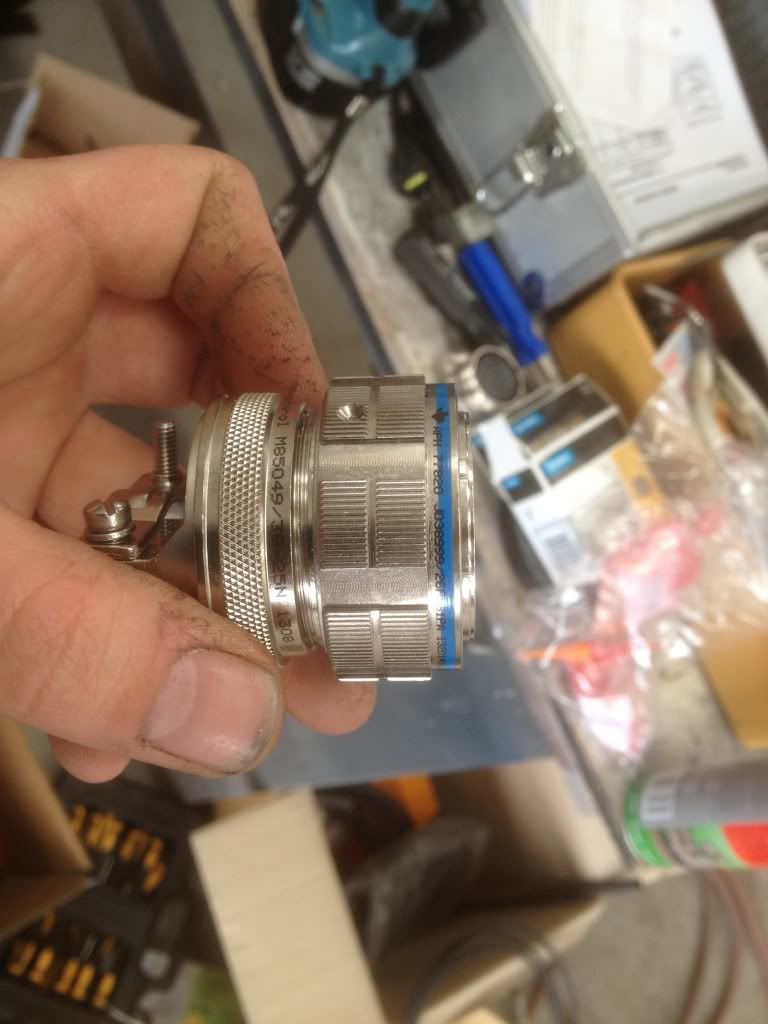 [/IMG]
[IMG] [/IMG]
[IMG] [/IMG]
[IMG]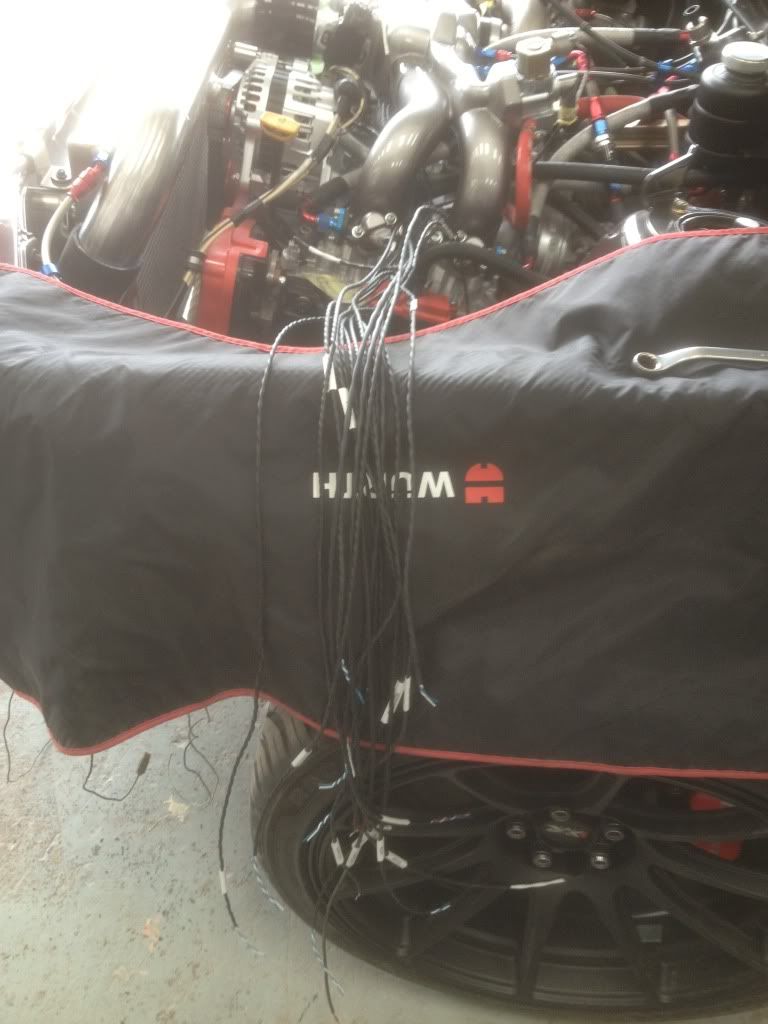 [/IMG]
Tim got all the plugs in place with wire tails coming back to the mil spec connector location,final laying of the loom and heat shrink holders will be added before Tim cuts the wire's to length and fits the engine bay side connector and will then move inside and do the connector to syvecs loom.
He also run the wires for the wiper motor,low brake fluid,neutral position,speed sensor and wide band lambda through an exsisting loom hole over by the clutch master cylinder.
To finish the day he moved over to O/S inner wing to route the wires for oil pressure/map sensor and boost solenoid through the A-pillar,once in the area we noticed a I had made a boo boo when I was cutting/drilling the box section to install the sensors,basically I had punctured a hole into the loom for the headlights which had cut a bunch of the wires so Tim set about repairing it.
I was very impressed with Tim's little touch of printing off wire markers which are heat shrinks plus he has put new connectors on virtually all of the sensors etc,his workmanship and attention to detail are right up my street and why I wanted him on board to do the loom!!
While Tim was wiring I got the accusump rivnuts set into the boot floor,still need a 4 bobins to mount it on so it soft mounted but also it needs to raised to bring the connection point level with the bulkhead dry break which I also mounted.
I also started to route the pressure gauge pipe towards the dash area.
All in all a very productive day,massive thanks Tim
[IMG]
 [/IMG]
[IMG]
 [/IMG]
[IMG]
 [/IMG]
[IMG]
 [/IMG]
[IMG]
 [/IMG]
[IMG]
 [/IMG]
[IMG]
 [/IMG]
[IMG]
 [/IMG]
[IMG]
 [/IMG]


Thread Starter
Scooby Regular
iTrader: (52)
Joined: Jun 2010
Posts: 11,769
Likes: 1
From: C+K MOTORS
LOL,give me a chance Dave,it's been a long one today!!
Me and Tim have been slogging it out for another 12 hours today which involved Tim getting the engine bay connector all pinned and coulped together using gold plated pins as is standard with miltary grade connectors.
That went pretty straight forward and I am very very happy with how neat it looks and tbho par the main bunch of wiring going into the connector you are hard pressed to see it under the manifold,quite simply excellent!!
Then it was time to move inside and start the connector to syvecs wiring which came with a fair bit of head scratching given Tim is dealing with custom loom/exsisting loom connecting so it wasn't quite straight forward.
I have to say at this point that Tim really does have an incredible ability for thinking over a problem and coming up with a good solution!
Anyway we now have a plan of attack to hopefully finish things up tomorrow but it will be another long one!
While Tim was busy I got the custom mount for the accusump gauge made into the drivers side air vent which like the custom Toucan centre vent needs flocking along with mounting the toggle switch for the electric valve down by the brake bias.
Next I got the genome defi controller mounted in position ready for Tim to run the power feeds and lighting power feed etc and I also mounted the gauge on the cowl.
Once again,all in all a productive day
[IMG] [/IMG]
[IMG]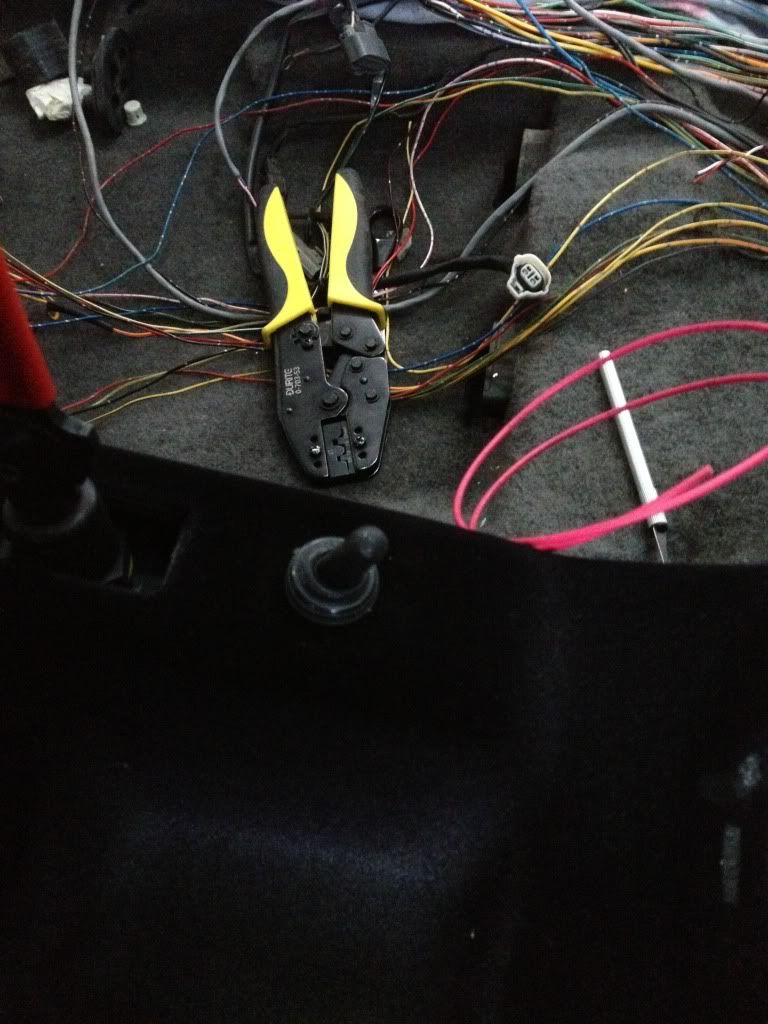 [/IMG]
[IMG] [/IMG]
[IMG]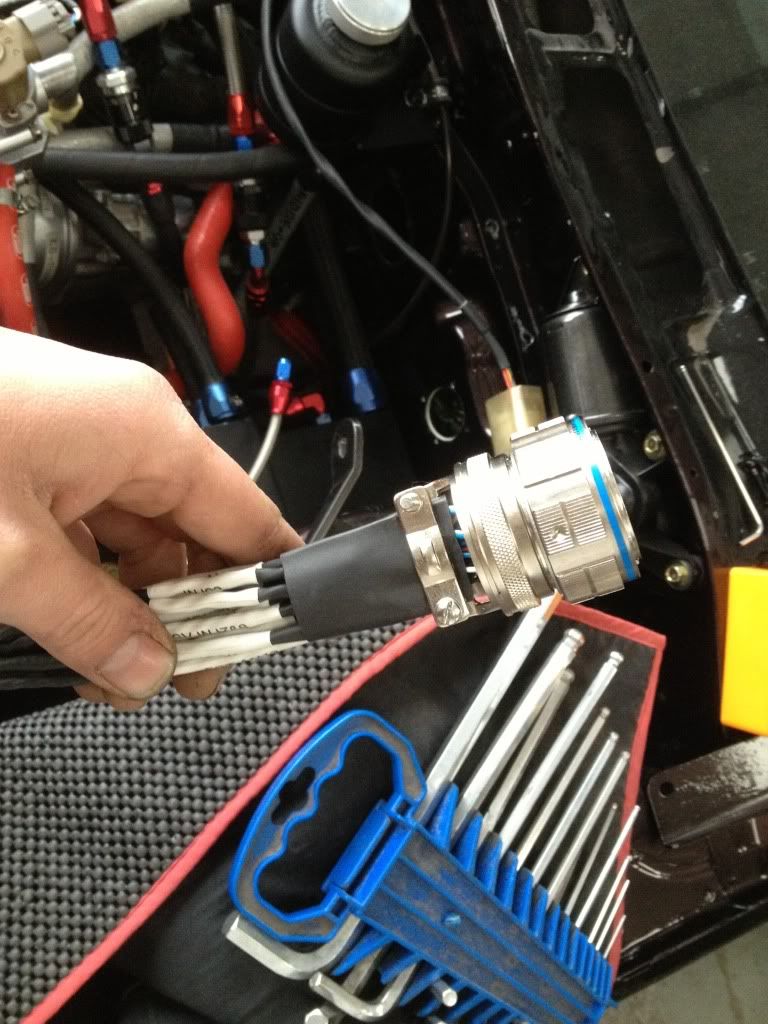 [/IMG]
[IMG] [/IMG]
[IMG]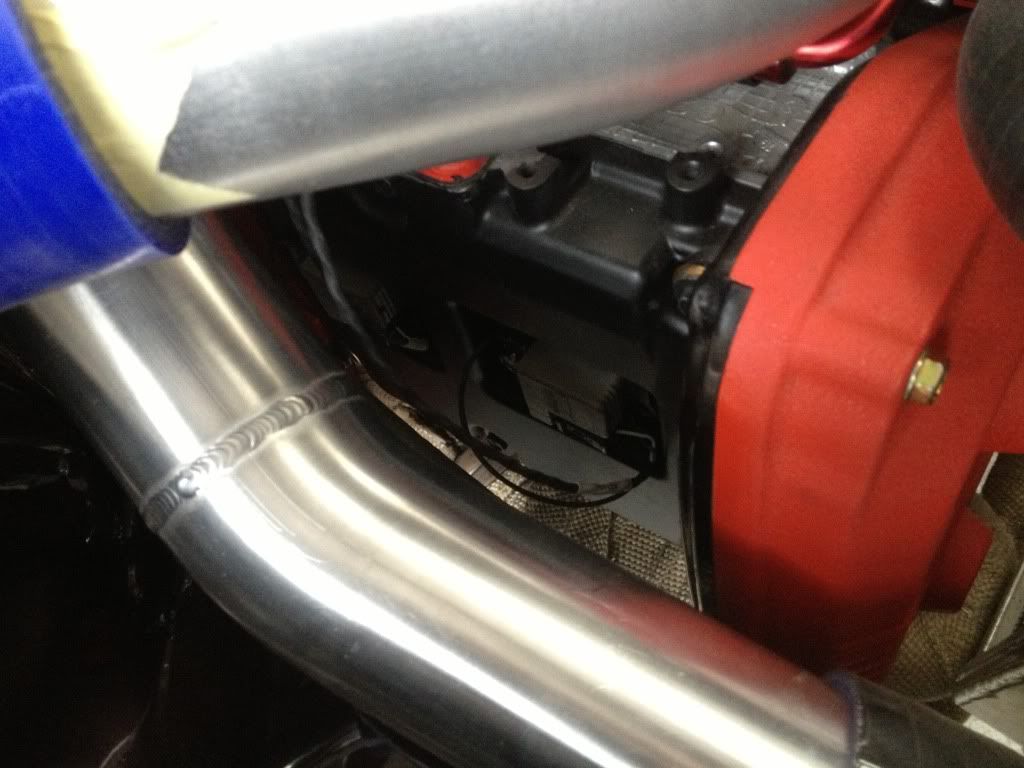 [/IMG]
[IMG] [/IMG]
[IMG] [/IMG]
[IMG]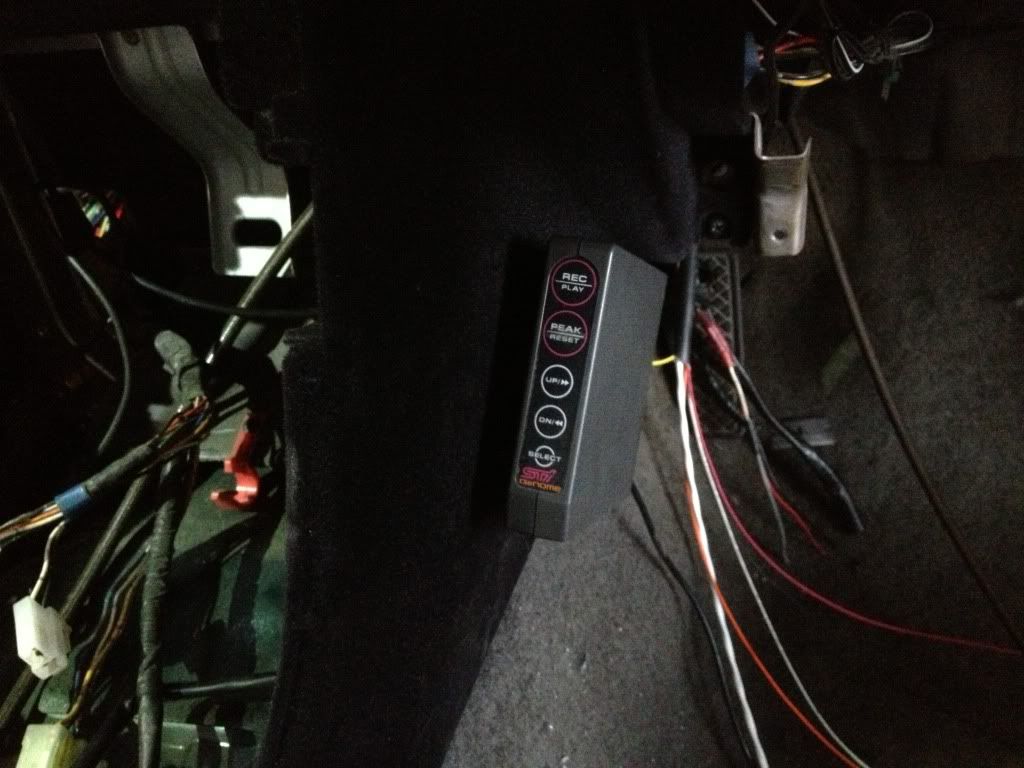 [/IMG]
[IMG]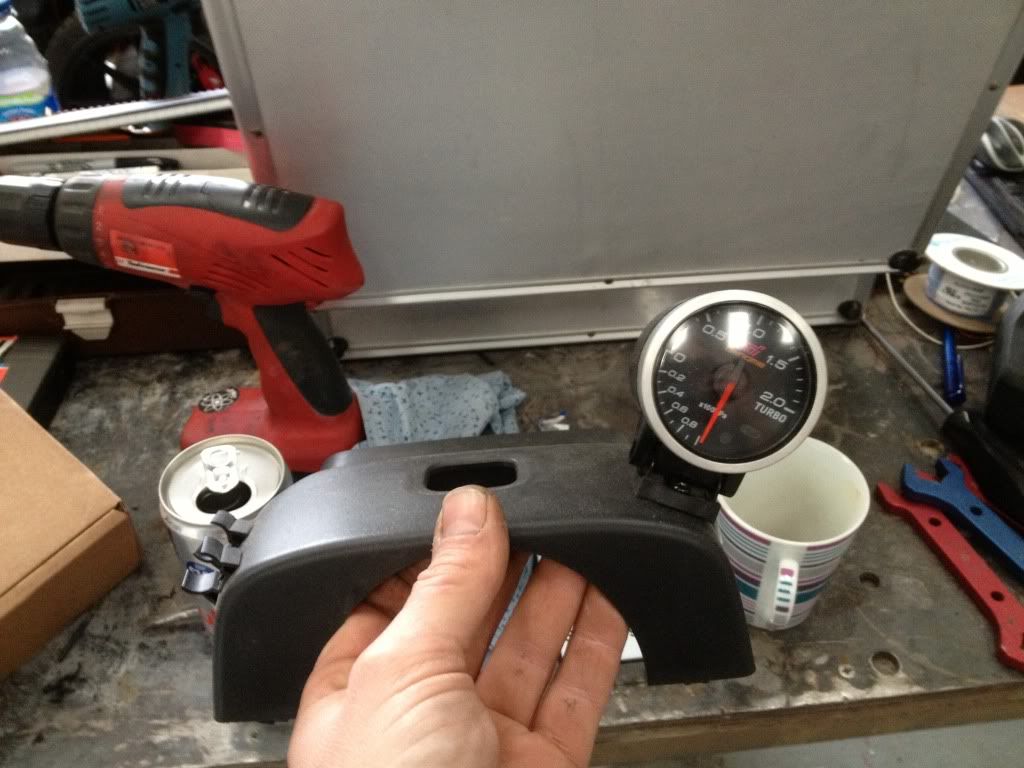 [/IMG]
[IMG]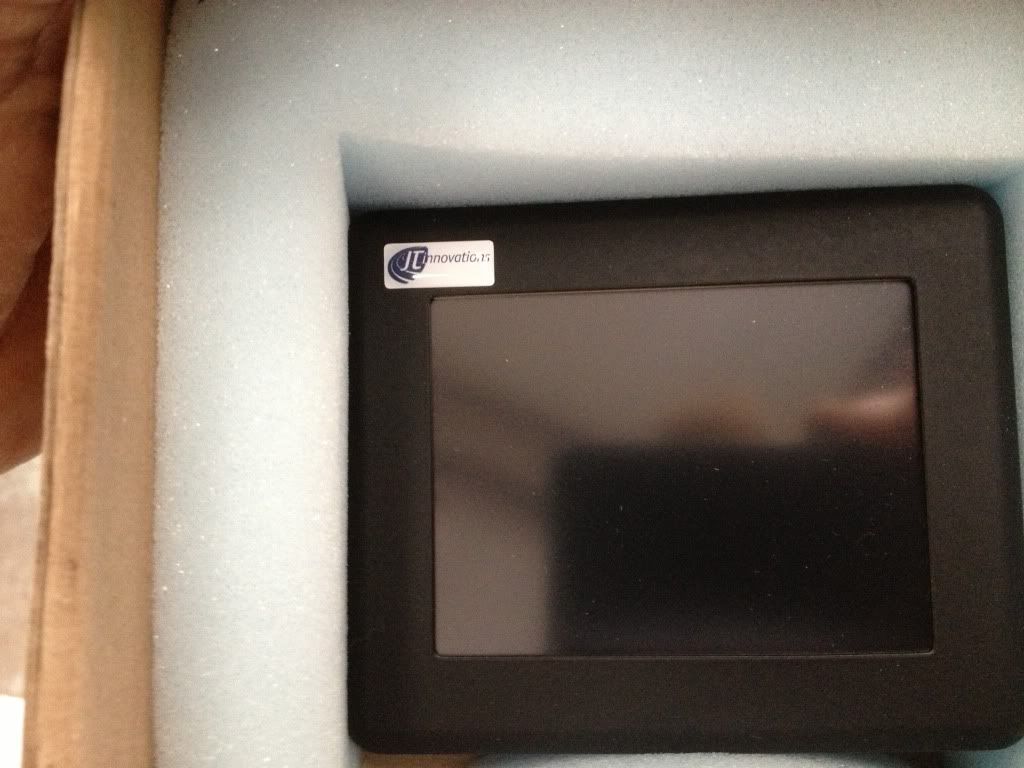 [/IMG]
Me and Tim have been slogging it out for another 12 hours today which involved Tim getting the engine bay connector all pinned and coulped together using gold plated pins as is standard with miltary grade connectors.
That went pretty straight forward and I am very very happy with how neat it looks and tbho par the main bunch of wiring going into the connector you are hard pressed to see it under the manifold,quite simply excellent!!
Then it was time to move inside and start the connector to syvecs wiring which came with a fair bit of head scratching given Tim is dealing with custom loom/exsisting loom connecting so it wasn't quite straight forward.
I have to say at this point that Tim really does have an incredible ability for thinking over a problem and coming up with a good solution!
Anyway we now have a plan of attack to hopefully finish things up tomorrow but it will be another long one!
While Tim was busy I got the custom mount for the accusump gauge made into the drivers side air vent which like the custom Toucan centre vent needs flocking along with mounting the toggle switch for the electric valve down by the brake bias.
Next I got the genome defi controller mounted in position ready for Tim to run the power feeds and lighting power feed etc and I also mounted the gauge on the cowl.
Once again,all in all a productive day
[IMG]
 [/IMG]
[IMG]
 [/IMG]
[IMG]
 [/IMG]
[IMG]
 [/IMG]
[IMG]
 [/IMG]
[IMG]
 [/IMG]
[IMG]
 [/IMG]
[IMG]
 [/IMG]
[IMG]
 [/IMG]
[IMG]
 [/IMG]
[IMG]
 [/IMG]

Looking good, it's nice to see good progress over the weekend.
And I'd of mounted the Genome boost gauge on the other side of the cowling, it doesn't look right on that side.
And I'd of mounted the Genome boost gauge on the other side of the cowling, it doesn't look right on that side.
Thread Starter
Scooby Regular
iTrader: (52)
Joined: Jun 2010
Posts: 11,769
Likes: 1
From: C+K MOTORS
So after getting hold of the genuine driving light covers and hella driving lights I got on the phone to my local stealers and ordered up the little bracket that retains the cover along with back plate and reataining screw,can't beat genuine as it just fits right.
Only thing missing now was the bracket to hold the hella driving light itself so a visit to the metal master was in order,luckily I have another classic in with the same lights fitted so I took one over and as per he delivered me back an exact replica[pair of] of the brackets and whats better,unlike the normal one's they are alu and will not go rusty
I also took a trip over to see Alex again to deliver his Type R engined Peugeot 309 back after painting and again as per we got talking and I ended up getting some more dry breakn action,this time and to match the fueling it's an inline type so I can now put it coming off the sandwich plate for the accusump and not only remove the tank in the boot without spilling oil but straight off the engine as well.
[IMG]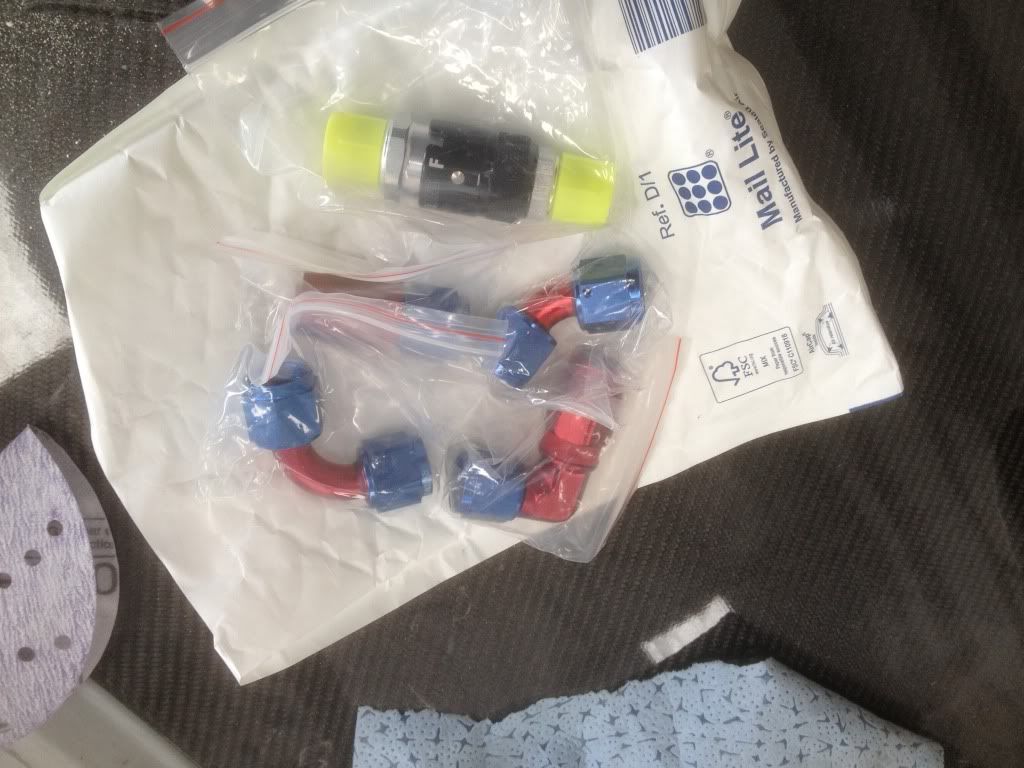 [/IMG]
[IMG]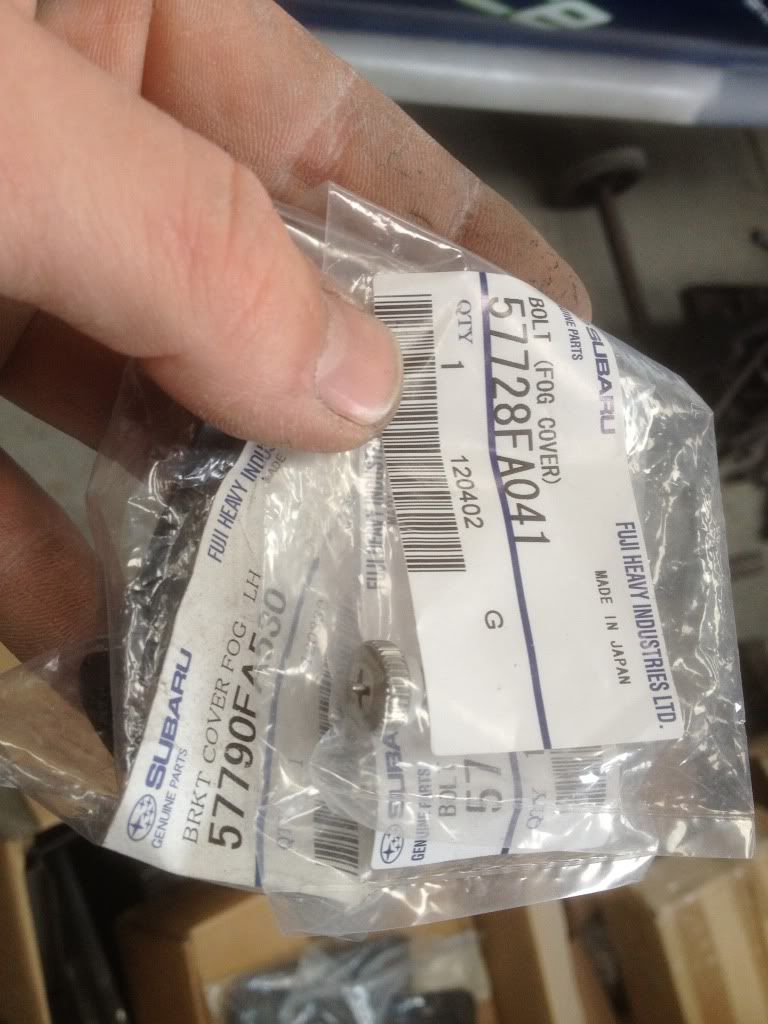 [/IMG]
[IMG]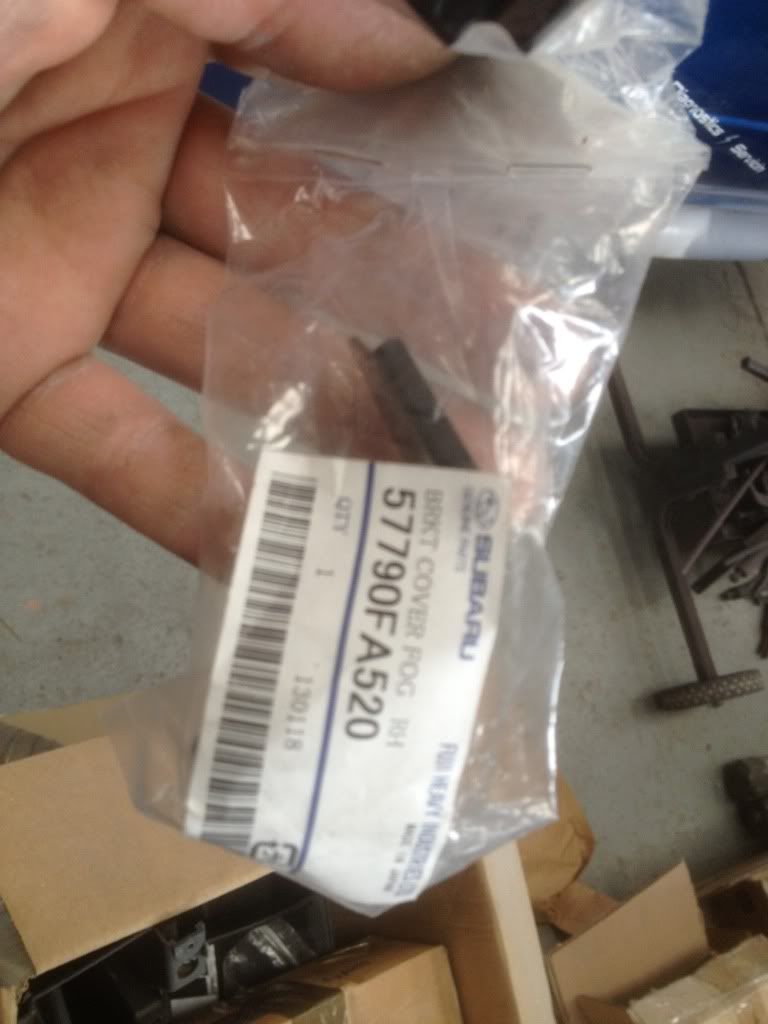 [/IMG]
[IMG] [/IMG]
[IMG]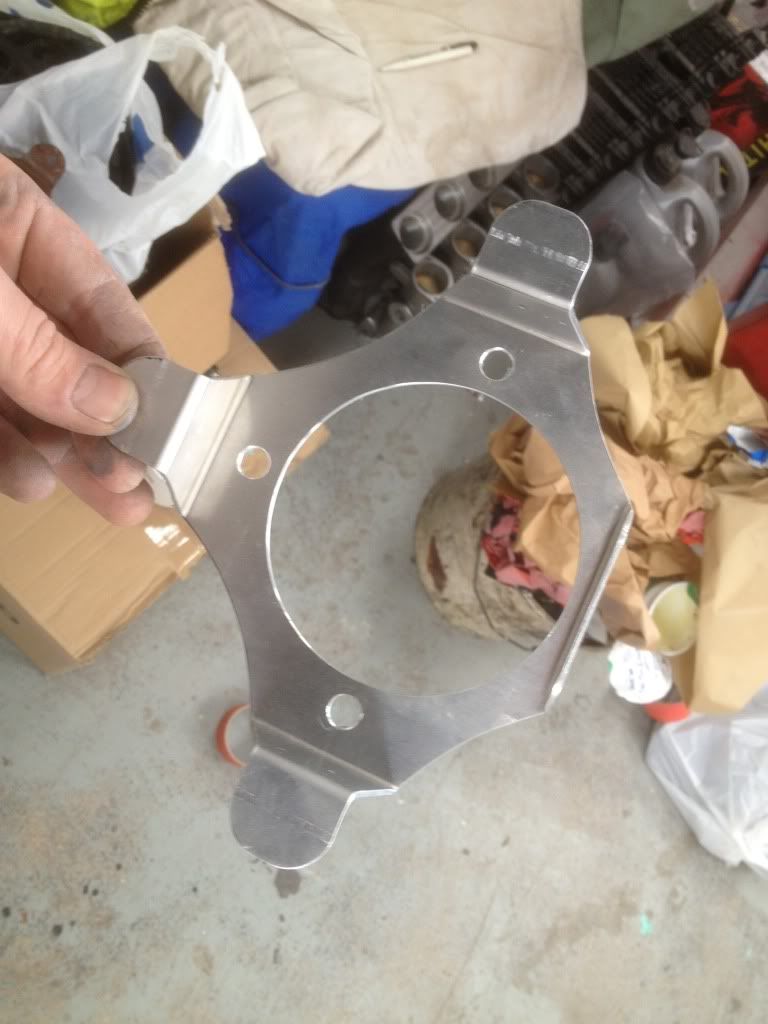 [/IMG]
[IMG]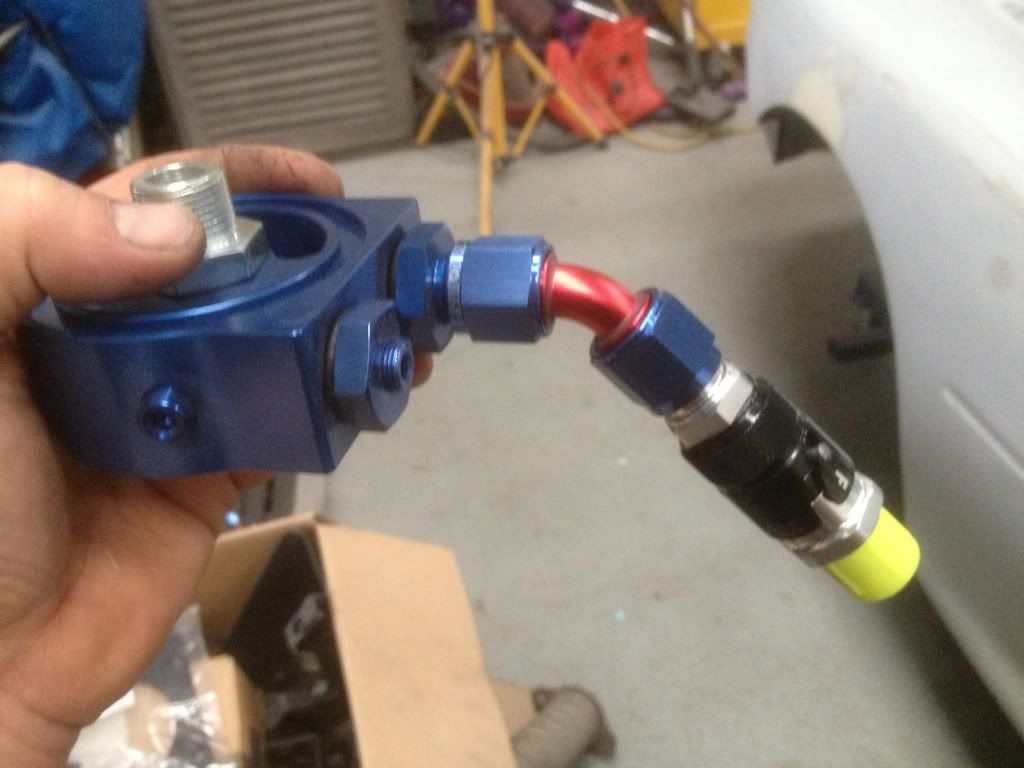 [/IMG]
Only thing missing now was the bracket to hold the hella driving light itself so a visit to the metal master was in order,luckily I have another classic in with the same lights fitted so I took one over and as per he delivered me back an exact replica[pair of] of the brackets and whats better,unlike the normal one's they are alu and will not go rusty
I also took a trip over to see Alex again to deliver his Type R engined Peugeot 309 back after painting and again as per we got talking and I ended up getting some more dry breakn action,this time and to match the fueling it's an inline type so I can now put it coming off the sandwich plate for the accusump and not only remove the tank in the boot without spilling oil but straight off the engine as well.
[IMG]
 [/IMG]
[IMG]
 [/IMG]
[IMG]
 [/IMG]
[IMG]
 [/IMG]
[IMG]
 [/IMG]
[IMG]
 [/IMG]

