
Wide arch, 400+bhp Newage rebuild...For the road :)


Managed to get some more done this week, mainly to do with front bumper and fittings...
OK, so I have an oil cooler to fit, and I was initially going to have it on the offside of the car somewhere.
However, due to space constaints, and past experiences with oil pipes near the exhaust area, I decided to put it over on the nearside, and route the oil pipes along the steering cross member.
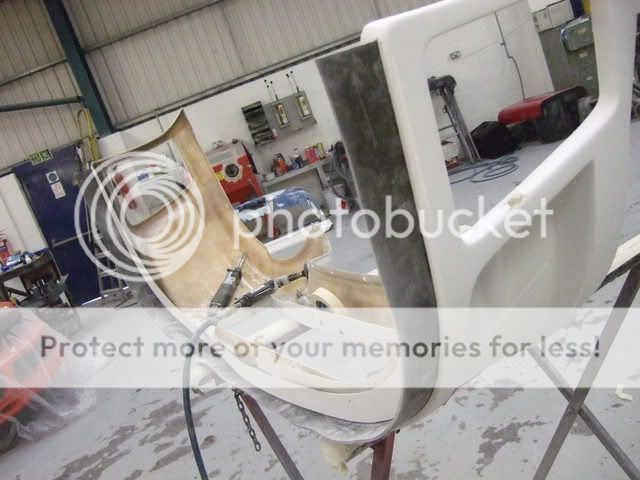
I also wanted it to look part of the car, so I started to make a duct for it to fit in the front bumper..
First, cut new bumper, and find a spot for oil cooler, using plenty of cable ties..
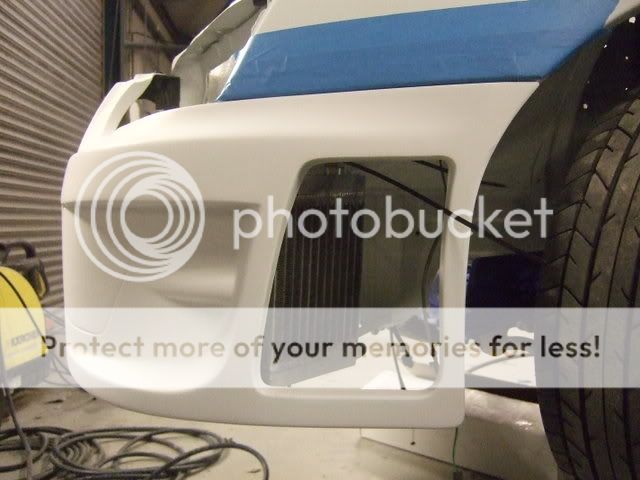
Then make up a duct, using fibreglass..
Waft a bit of satin black on it..
And I have also made a bit of mesh to fit into the area, to stop small creatures form nesting in there at night..
Here in alloy finish..

And painted (although not very clear, you can see it looks a zillion times better in black)..
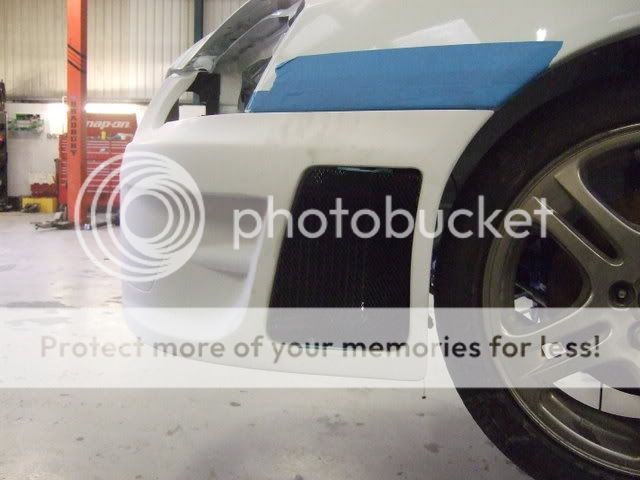
Took me about 8 hours so far to fabricate, and get to this point..")
Once the bumper is painted, and I get to final fitment, I shall be sealing the oil cooler to the duct using some foam tape for a neat finish.
So that was the ducting to get the air out of the oil cooler, all I need to do now, is to duct some air into it, for which I will be using a brake duct which will be fitted at the side of the Front mount.
Also, my brakes have turned up, and mighty impressive they are too, although the rears were for a WRX, not STi, so I am awaiting some more which are on express delivery from the land of japan, which is nice.
I would have took some pics of them, but they are undergoing some pretty nifty modifications at the moment
OK, so I have an oil cooler to fit, and I was initially going to have it on the offside of the car somewhere.
However, due to space constaints, and past experiences with oil pipes near the exhaust area, I decided to put it over on the nearside, and route the oil pipes along the steering cross member.
I also wanted it to look part of the car, so I started to make a duct for it to fit in the front bumper..
First, cut new bumper, and find a spot for oil cooler, using plenty of cable ties..
Then make up a duct, using fibreglass..
Waft a bit of satin black on it..
And I have also made a bit of mesh to fit into the area, to stop small creatures form nesting in there at night..
Here in alloy finish..
And painted (although not very clear, you can see it looks a zillion times better in black)..
Took me about 8 hours so far to fabricate, and get to this point..
Once the bumper is painted, and I get to final fitment, I shall be sealing the oil cooler to the duct using some foam tape for a neat finish.
So that was the ducting to get the air out of the oil cooler, all I need to do now, is to duct some air into it, for which I will be using a brake duct which will be fitted at the side of the Front mount.
Also, my brakes have turned up, and mighty impressive they are too, although the rears were for a WRX, not STi, so I am awaiting some more which are on express delivery from the land of japan, which is nice.
I would have took some pics of them, but they are undergoing some pretty nifty modifications at the moment


Yeah, getting there Darren, slowly...
Anyway, finally managed to get my rear R180 diff stripped, blasted and painted, and re-assembled using freshly plated bolts...
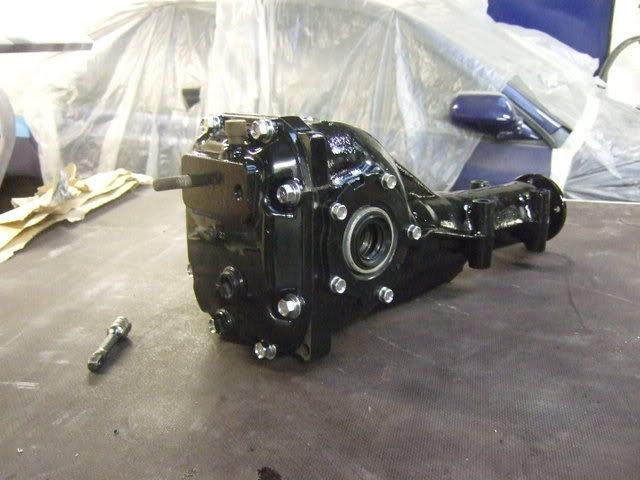
And fitted to the car, along with the rear hub assemblies.
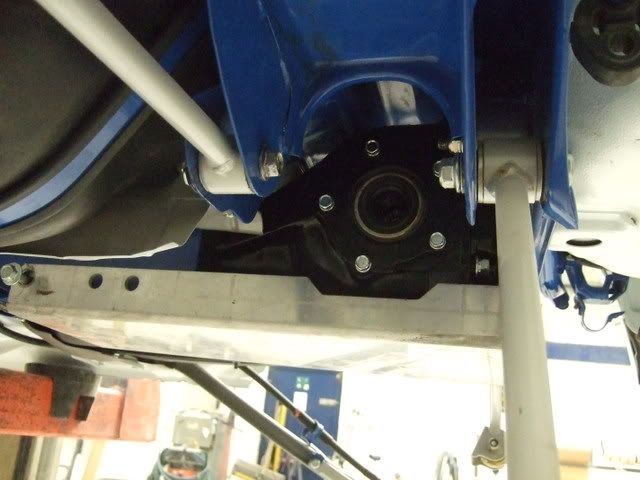
Rear anti roll bar should be here next week, so at last the suspension is nearing completion.
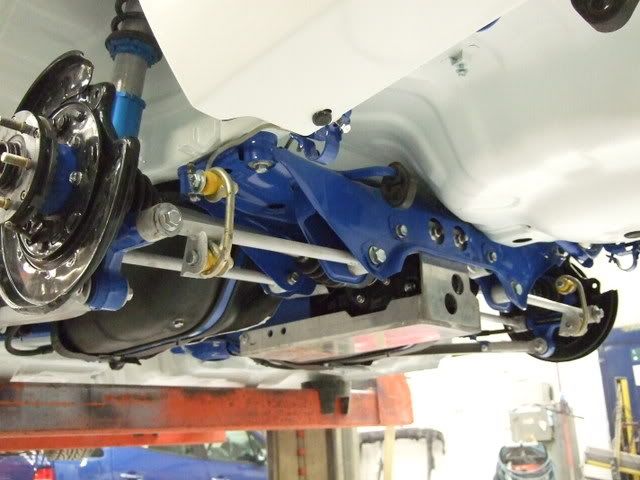
Anyway, finally managed to get my rear R180 diff stripped, blasted and painted, and re-assembled using freshly plated bolts...
And fitted to the car, along with the rear hub assemblies.
Rear anti roll bar should be here next week, so at last the suspension is nearing completion.


 keep it up
Graham, just used the standard rubber bushes, it is a road car don't forget..
Loonytune, FMIC pipe work will be specifically fabricated for this car, so I can't comment as to the fitment on a standard car...
Loonytune, FMIC pipe work will be specifically fabricated for this car, so I can't comment as to the fitment on a standard car...


OK, now that I have all the suspension in place, I have finally managed to work out what size wheels I need, which is either.
1; 9" x 18" ET 25
2; 8.5" x 18" ET 15
I have 2 options available as stated earlier in the thread, but hopefully should make a decision within the next week or so, and get the things ordered..
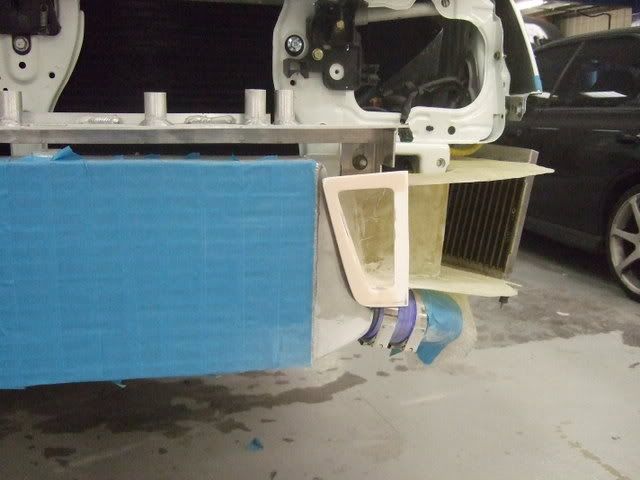
Also, the oil cooler has a home, along with the duct for the removal of air flow, now all I needed to do was to create some air going into the cooler.
I wasn't looking forward to this, as I knew it would be a lot of work, for something that would never get seen, but an essential none the less..
Here goes..
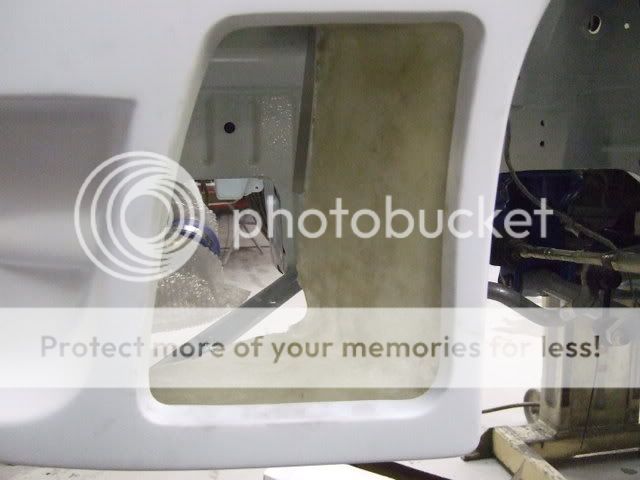
No front bumper, showing the cooler in place-ish..
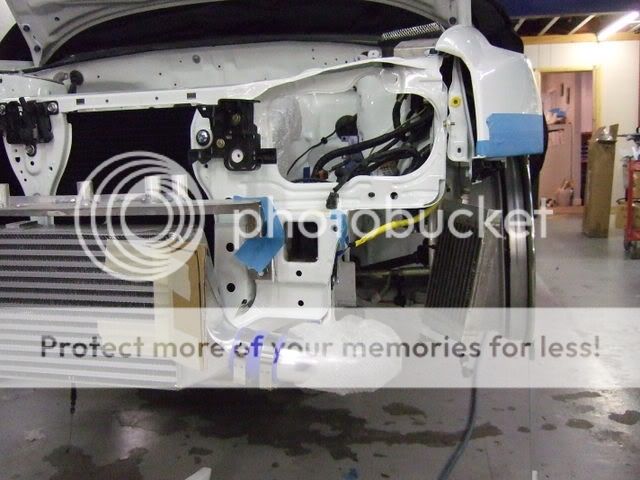
Next step, make a dummy duct out of cardboard and tape in true blue peter fashion..

I then used this as my mould..
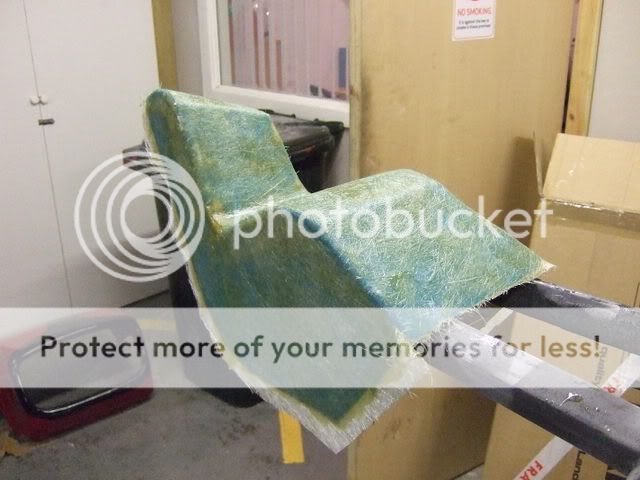
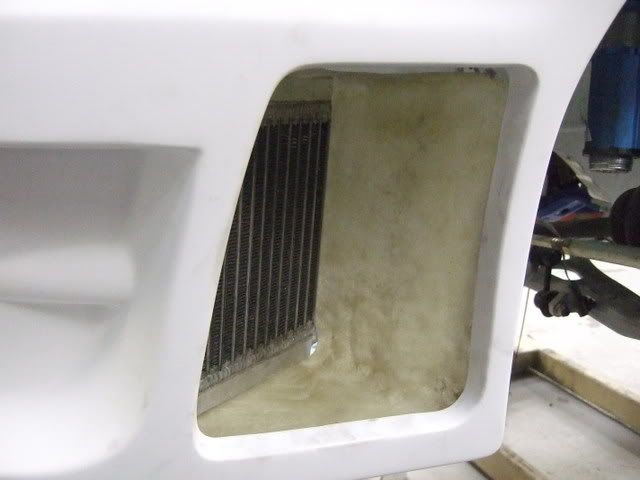
A bit of trimming, and it goes here..

Once the front bumper is on, the duct actually fits up to the inside of it, creating quite a good seal.
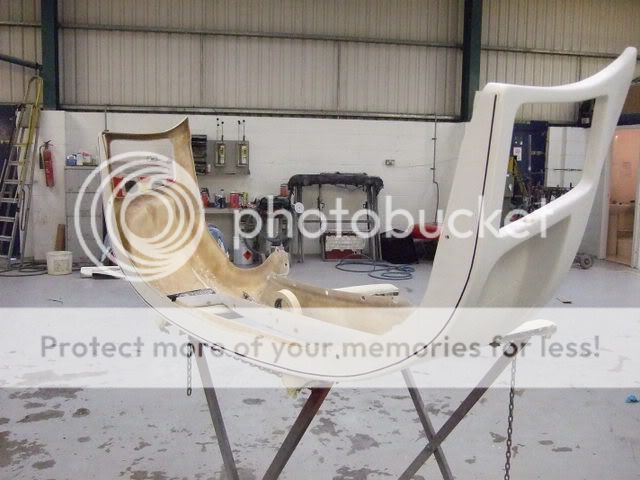
Here is the opening to the duct, which I have already altered since the pics were taken.
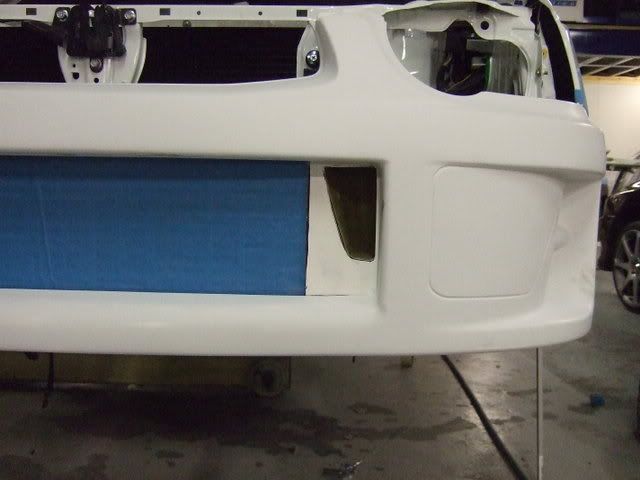
I have lowered the intercooler by 30mm using some alloy spacer blocks, making the opening that little bit larger..
With that job out of the way, I thought I would make a mini-list for the next bit of progress..
1) Finalise mounting of the ducts and oil cooler.
2) Create mountings for the lower skirt on the bumper (next instalment hopefully)
3) Paint front bumper
4) Remove intercooler-anodise black
5) Re-fit bumper for the final time, with all ducting and oil cooler in place hopefully..
6) Headlights doctored to take H4 dim/dip bulbs, and installed.
That little lot should keep me busy for the next week or so until my engine returns, which is when things get interesting..
1; 9" x 18" ET 25
2; 8.5" x 18" ET 15
I have 2 options available as stated earlier in the thread, but hopefully should make a decision within the next week or so, and get the things ordered..
Also, the oil cooler has a home, along with the duct for the removal of air flow, now all I needed to do was to create some air going into the cooler.
I wasn't looking forward to this, as I knew it would be a lot of work, for something that would never get seen, but an essential none the less..
Here goes..
No front bumper, showing the cooler in place-ish..
Next step, make a dummy duct out of cardboard and tape in true blue peter fashion..
I then used this as my mould..
A bit of trimming, and it goes here..
Once the front bumper is on, the duct actually fits up to the inside of it, creating quite a good seal.
Here is the opening to the duct, which I have already altered since the pics were taken.
I have lowered the intercooler by 30mm using some alloy spacer blocks, making the opening that little bit larger..
With that job out of the way, I thought I would make a mini-list for the next bit of progress..
1) Finalise mounting of the ducts and oil cooler.
2) Create mountings for the lower skirt on the bumper (next instalment hopefully
)3) Paint front bumper
4) Remove intercooler-anodise black
5) Re-fit bumper for the final time, with all ducting and oil cooler in place hopefully..
6) Headlights doctored to take H4 dim/dip bulbs, and installed.
That little lot should keep me busy for the next week or so until my engine returns, which is when things get interesting..
Joined: Sep 2005
Posts: 19,945
Likes: 2
From: "Engineering Perfection in Essex"
Neil,
That is without doubt... funking awesome.
Loving the amount of detail work mate, really really is inspiring to see someone do things with some thought.
Very well done mate, really impressed
That is without doubt... funking awesome.
Loving the amount of detail work mate, really really is inspiring to see someone do things with some thought.
Very well done mate, really impressed

 amazing
Got some more done today..
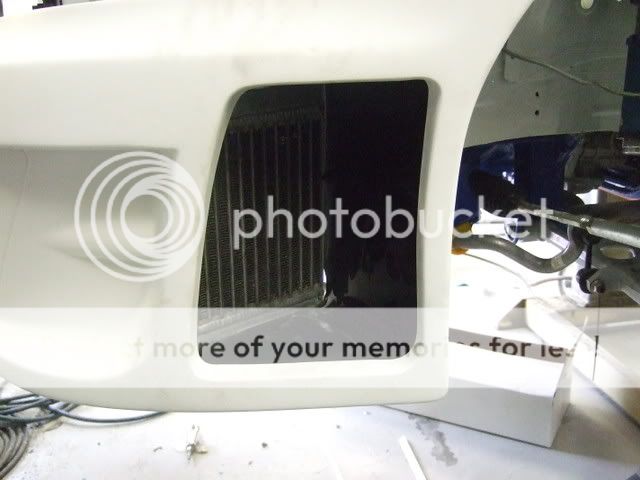
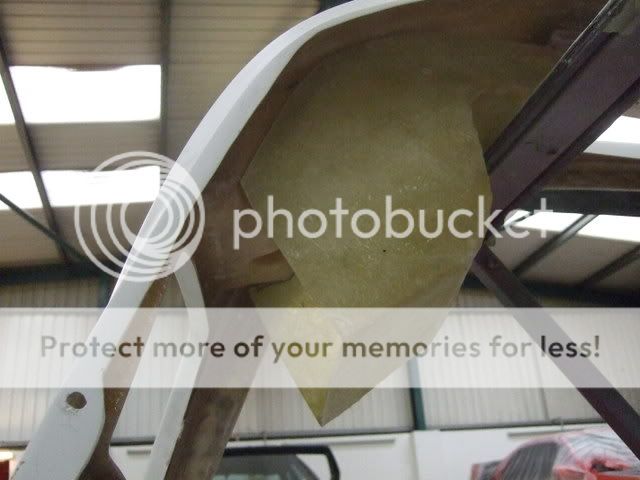
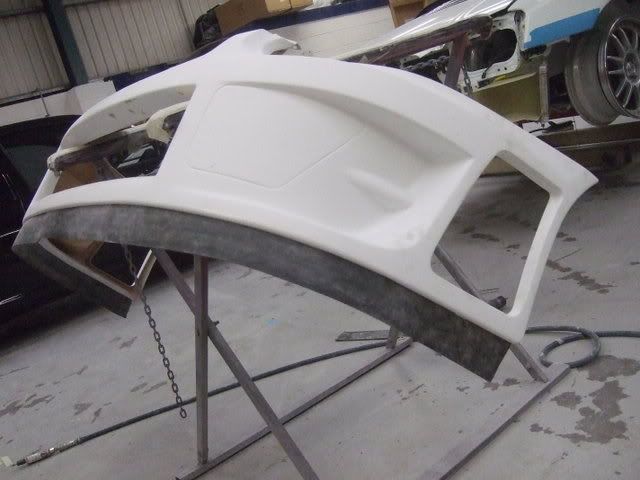
First, a few more shots of the oil cooler duct..
And a quick shot showing how it meets up to the inside of the bumper..
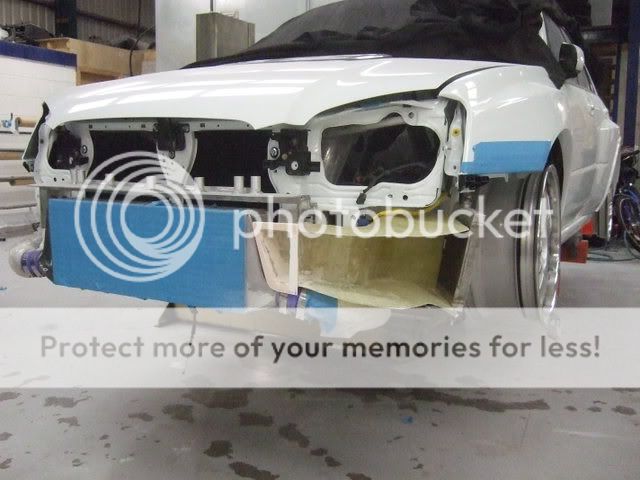
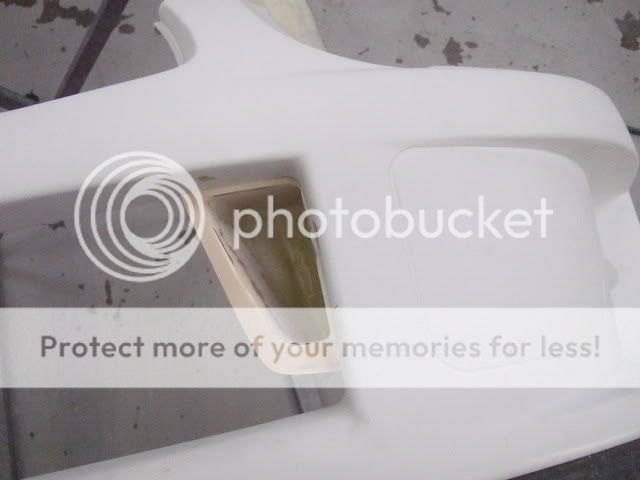
So today was spent with the lower skirt on the front bumper.
Normally, I have seen these fitted to the bumper with either a series of rivets, or self tapper screws along the top edge of the skirt.
I didn't want that, so devised a method of hiding the fixings....
Basically I needed to create a slot in the underside of the front bumper, as seen here marked out with a pen line...
I then cut this out, and fabricated a return edge on the inside of the bumper, to which the skirt fixes to..
Sounds simple eh..?
Errr, not quite, but I managed it in the end after about 5 hours graft, although no 'in progress pics', as I was too damn busy doing it..
Anyway, ended up with this result..
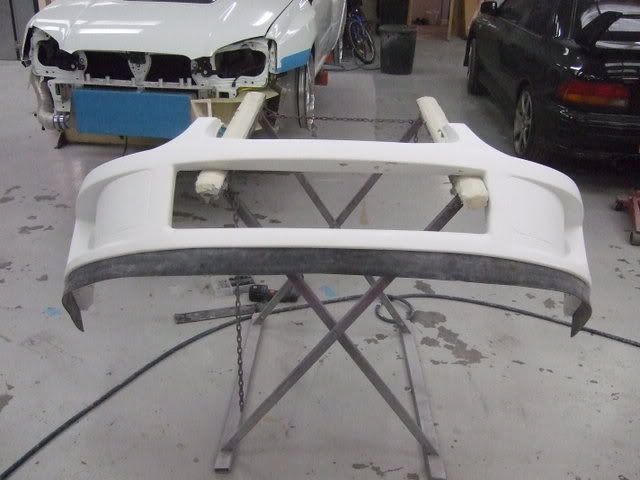
It looks a bit wobbly, but this is due to the skirt being a touch too long enough, so I think once the ends are trimmed off neatly and to the correct size, it should look OK...
Todays work done, and another item crossed of my mini-list....
First, a few more shots of the oil cooler duct..
And a quick shot showing how it meets up to the inside of the bumper..
So today was spent with the lower skirt on the front bumper.
Normally, I have seen these fitted to the bumper with either a series of rivets, or self tapper screws along the top edge of the skirt.
I didn't want that, so devised a method of hiding the fixings....
Basically I needed to create a slot in the underside of the front bumper, as seen here marked out with a pen line...
I then cut this out, and fabricated a return edge on the inside of the bumper, to which the skirt fixes to..
Sounds simple eh..?
Errr, not quite, but I managed it in the end after about 5 hours graft, although no 'in progress pics', as I was too damn busy doing it..
Anyway, ended up with this result..
It looks a bit wobbly, but this is due to the skirt being a touch too long enough, so I think once the ends are trimmed off neatly and to the correct size, it should look OK...
Todays work done, and another item crossed of my mini-list....
Last edited by Neil..; Mar 26, 2008 at 07:10 PM.


