
Prodrive Grp.N. chassis street build


Thread Starter
Scooby Regular
Joined: Dec 2002
Posts: 458
Likes: 0
Another update.
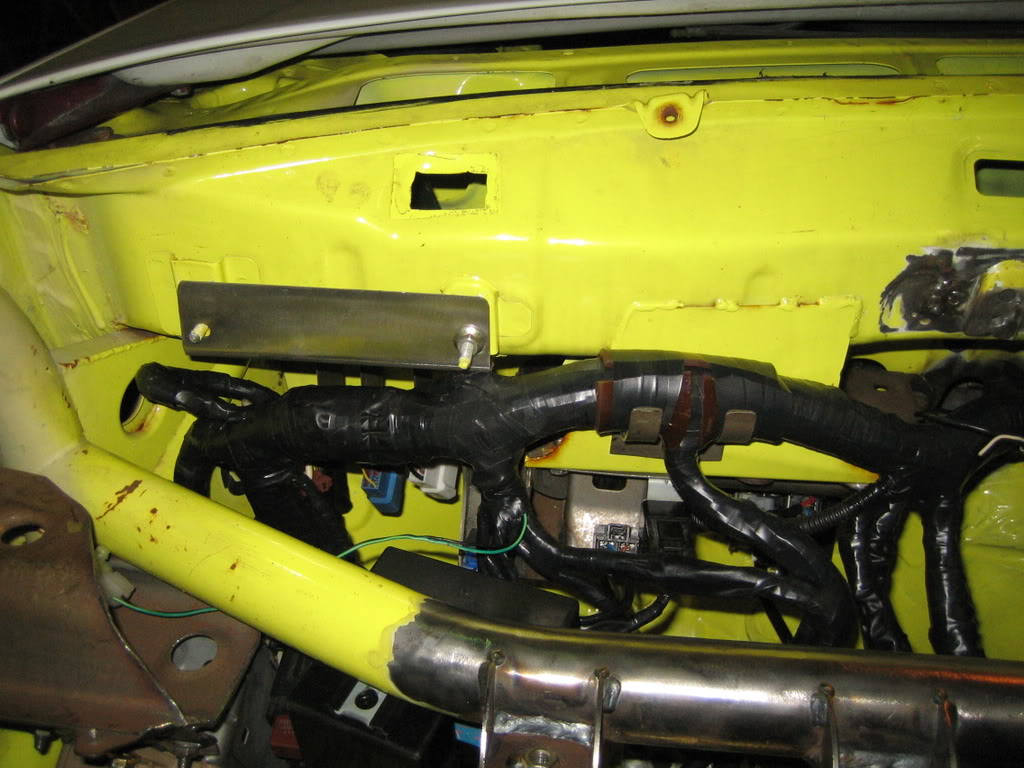
Last work on the loom on the driver side, 2 more boxes had to have a place to sit.
Of course it had to be out of the way of everything and the cable had to run to the boxes without stress.
In the end I put them on the dash bar.
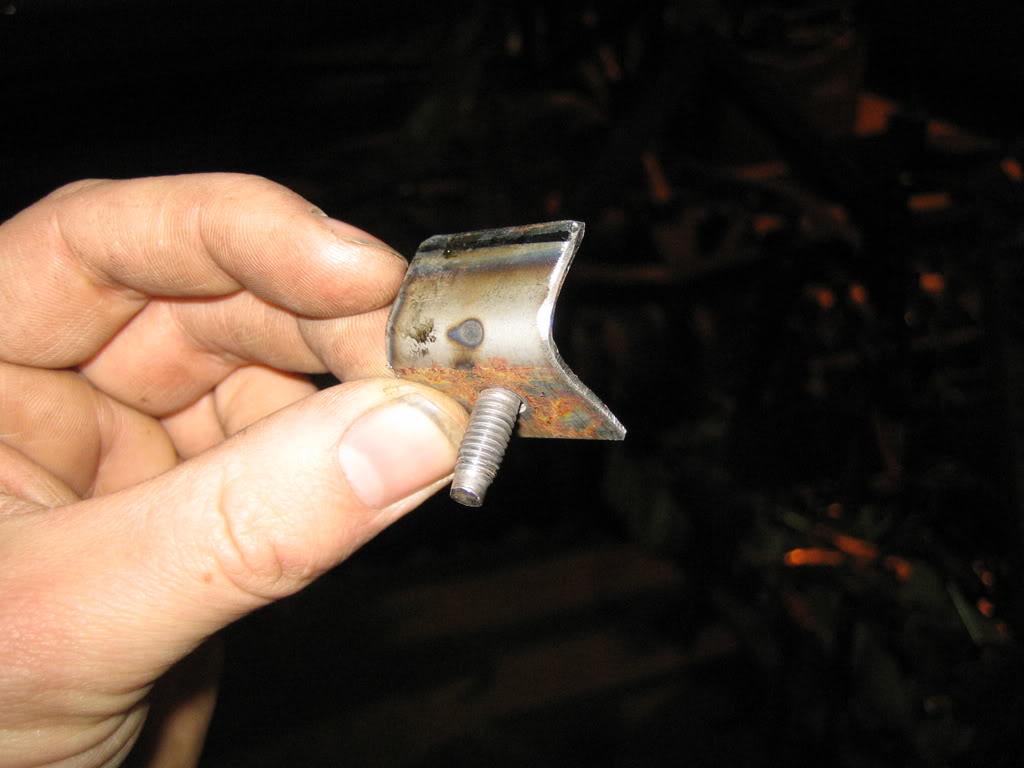
Bracket to fit the boxes on:
Welded in place:
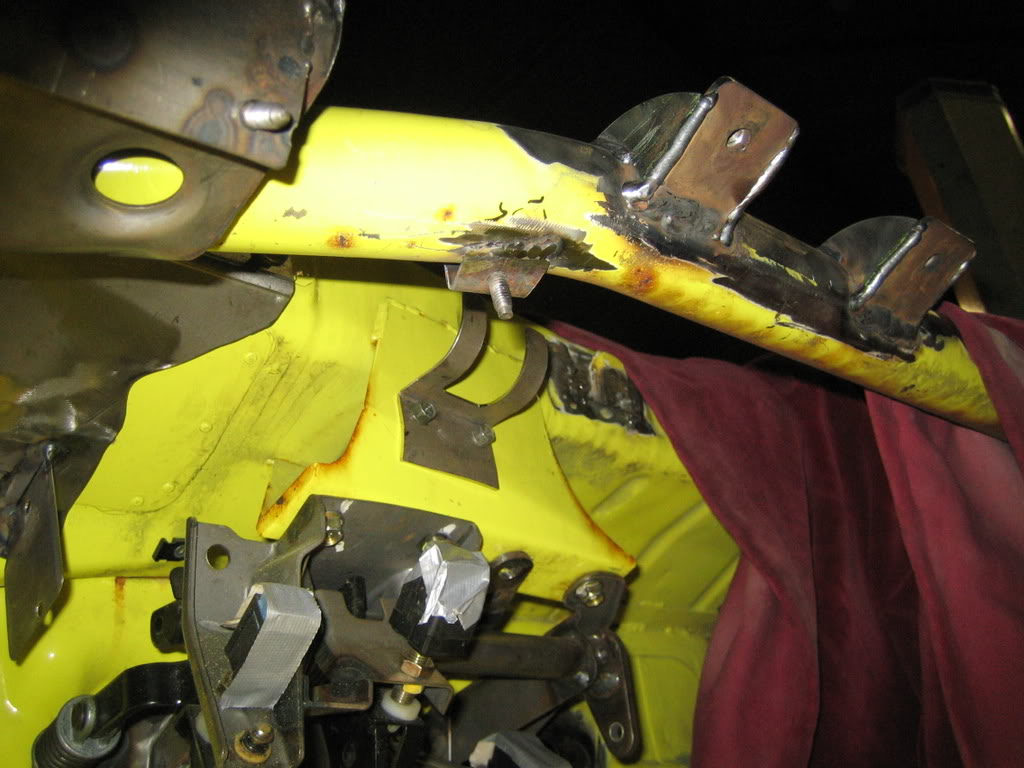
And they are on!:
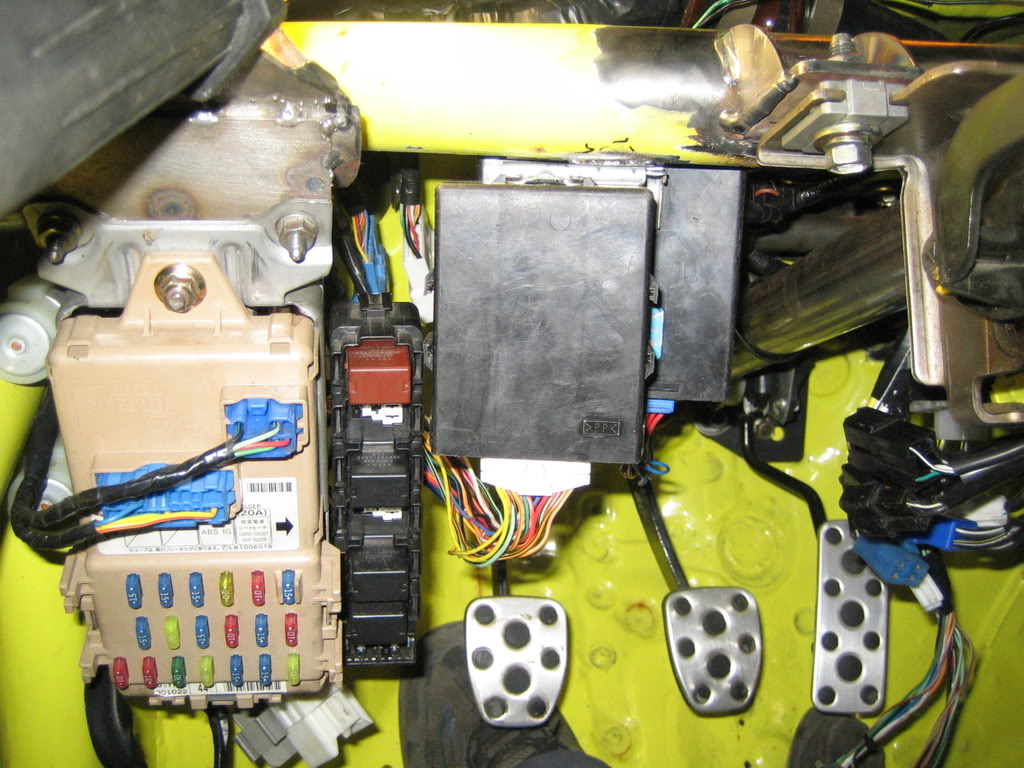
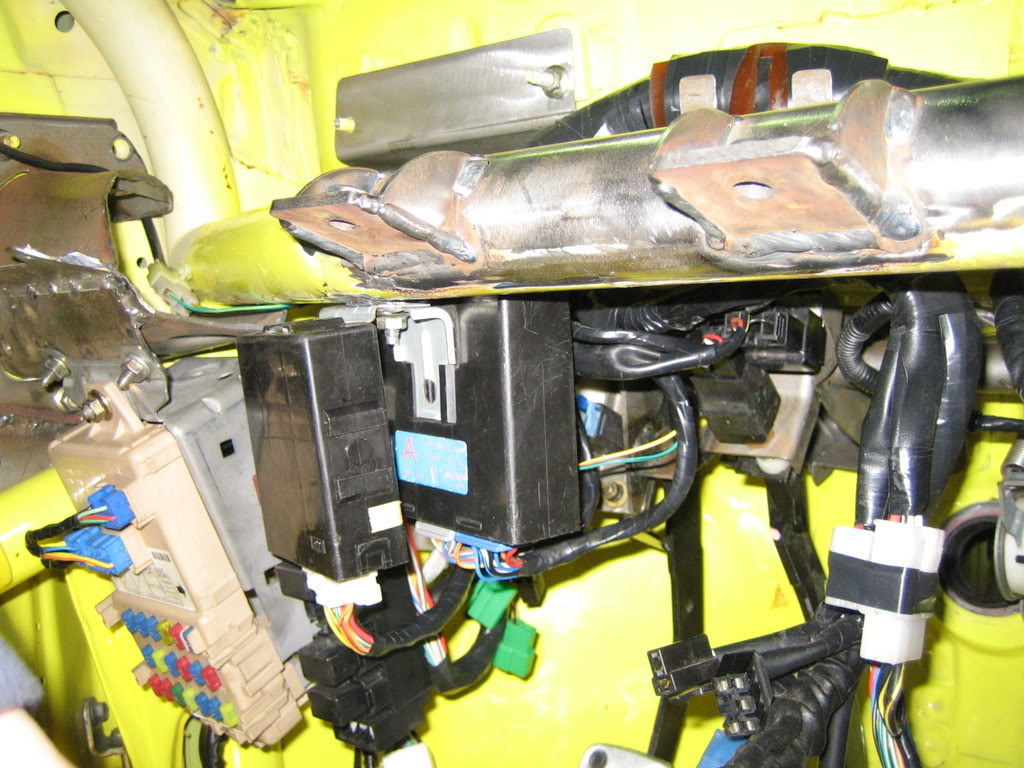
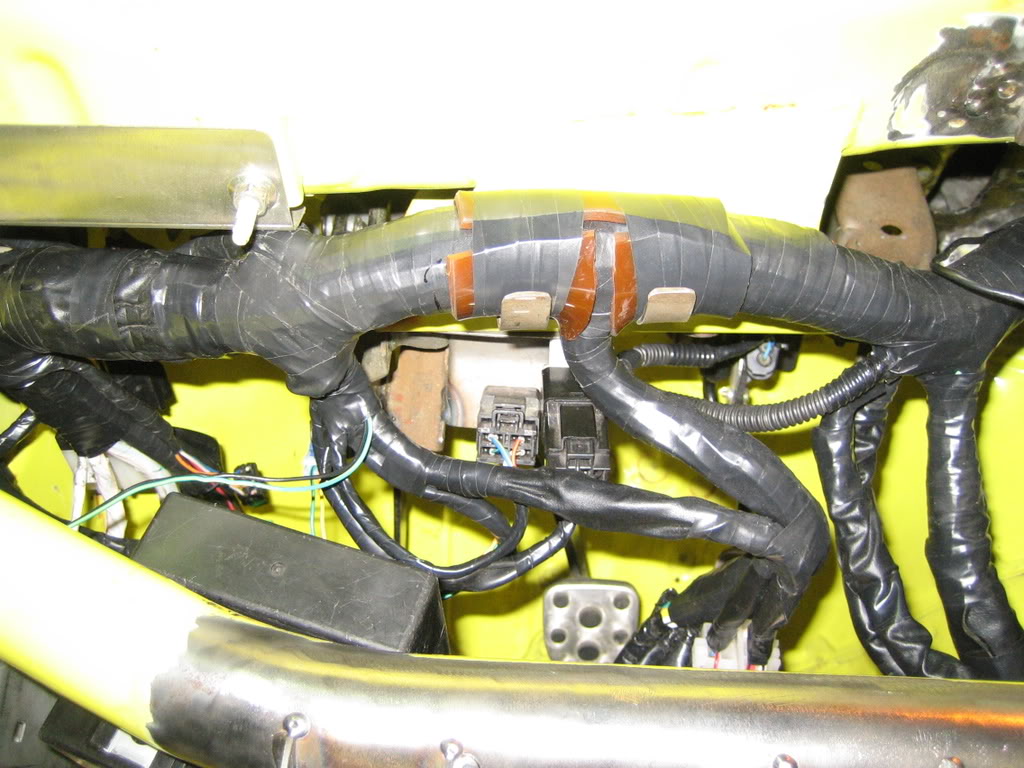
After that everything could be taped in.
Driverside finished:
Last work on the loom on the driver side, 2 more boxes had to have a place to sit.
Of course it had to be out of the way of everything and the cable had to run to the boxes without stress.
In the end I put them on the dash bar.
Bracket to fit the boxes on:
Welded in place:
And they are on!:
After that everything could be taped in.
Driverside finished:
Thread Starter
Scooby Regular
Joined: Dec 2002
Posts: 458
Likes: 0
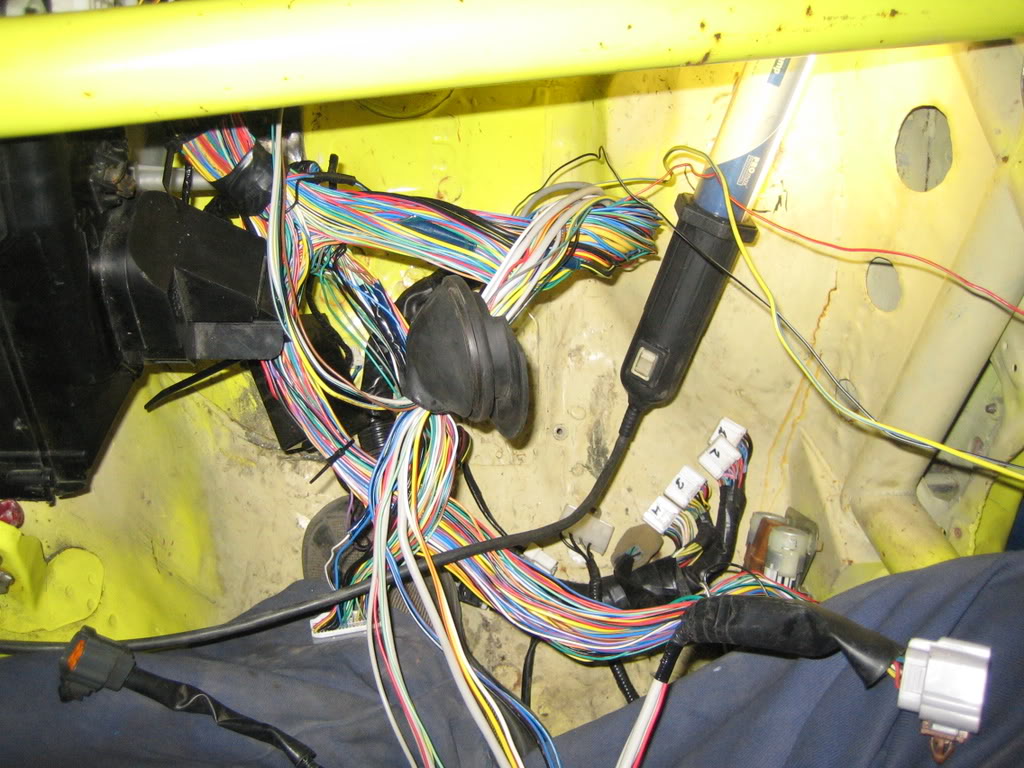
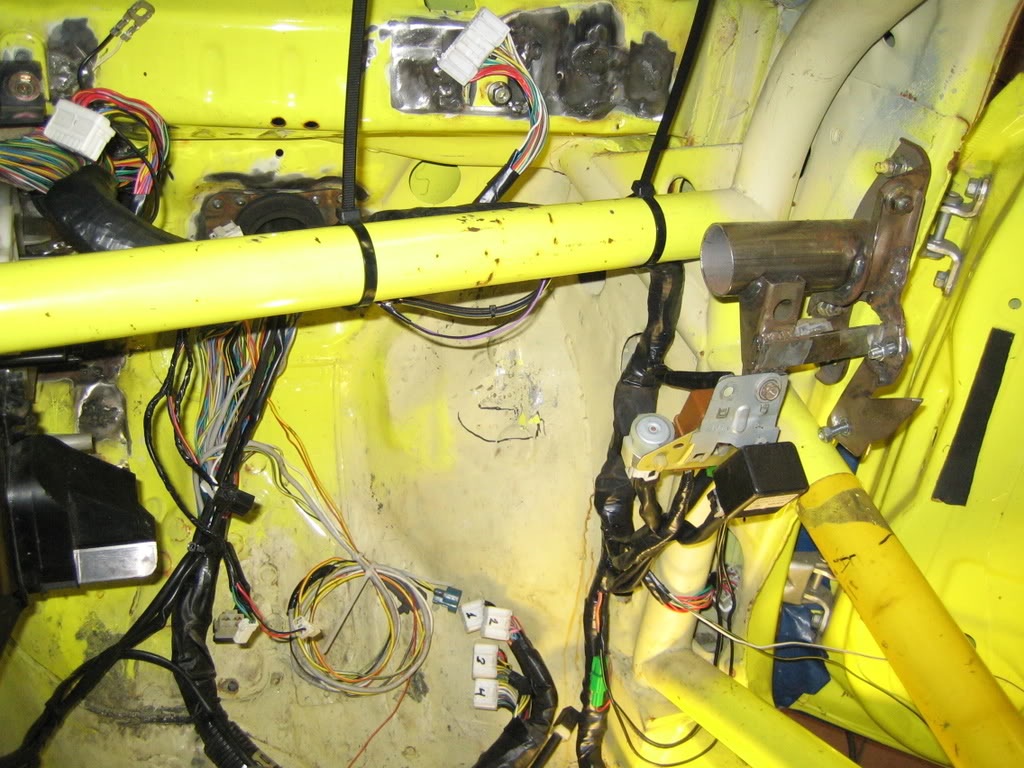
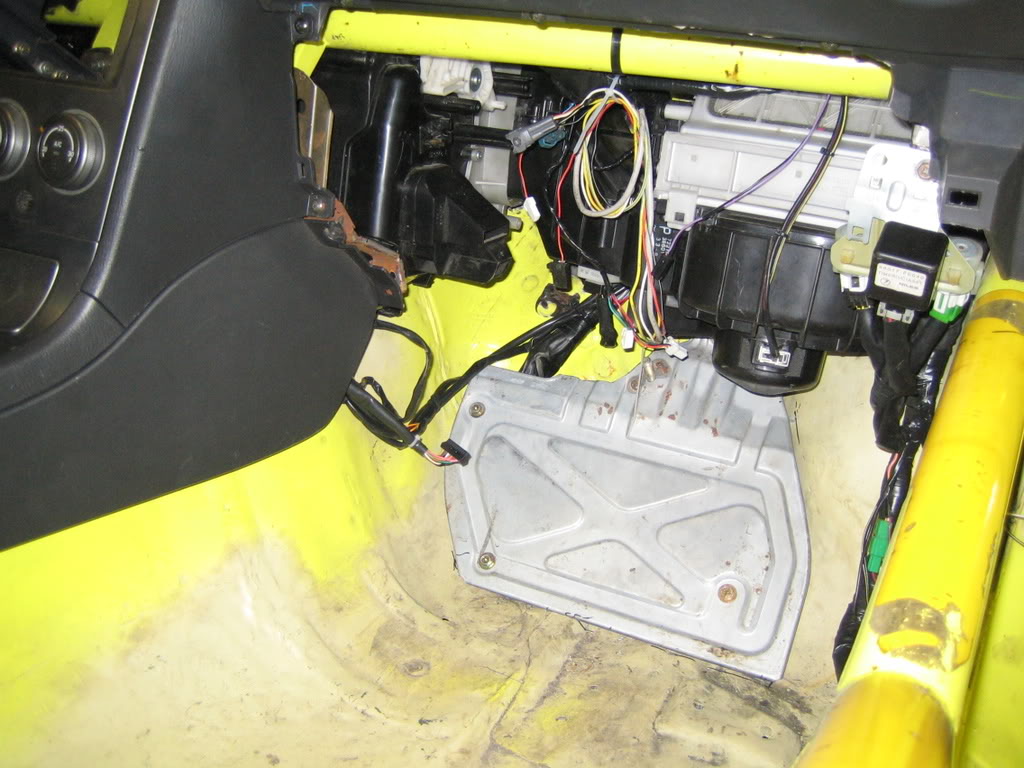
After that I went on with the passenger side.
A mess:
I pulled 2 obsolete connectors from the enginebay, this because I use an Apexi AVC-R boostcontroller:
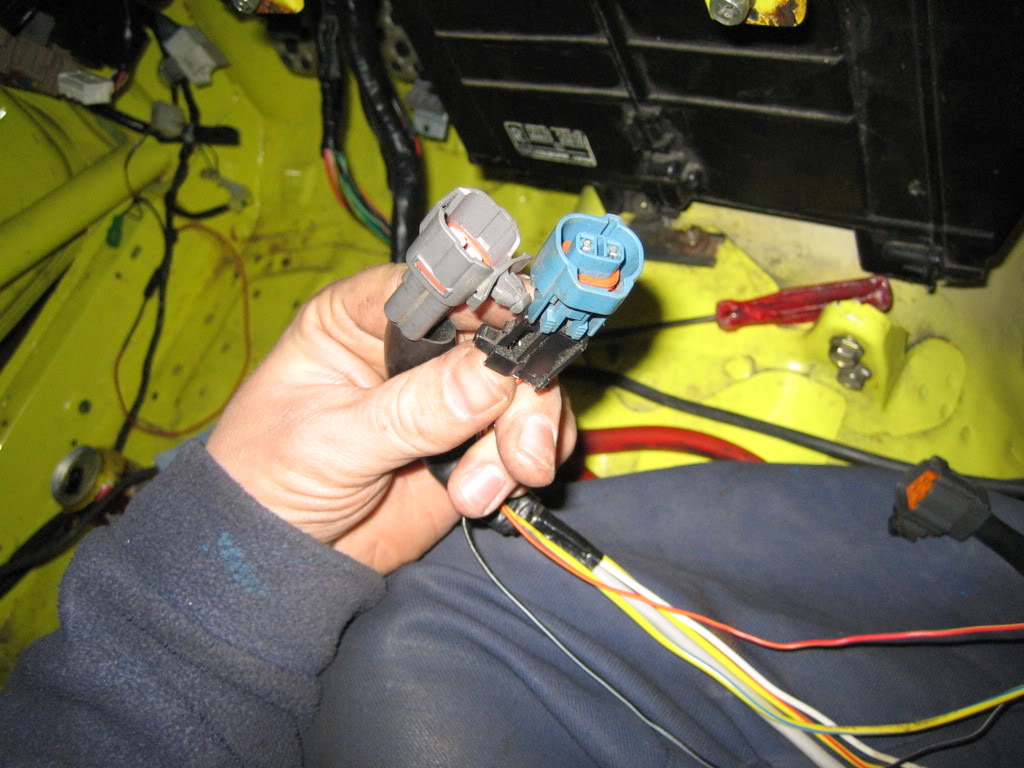
AVC-R cables into the enginebay through the original rubber:
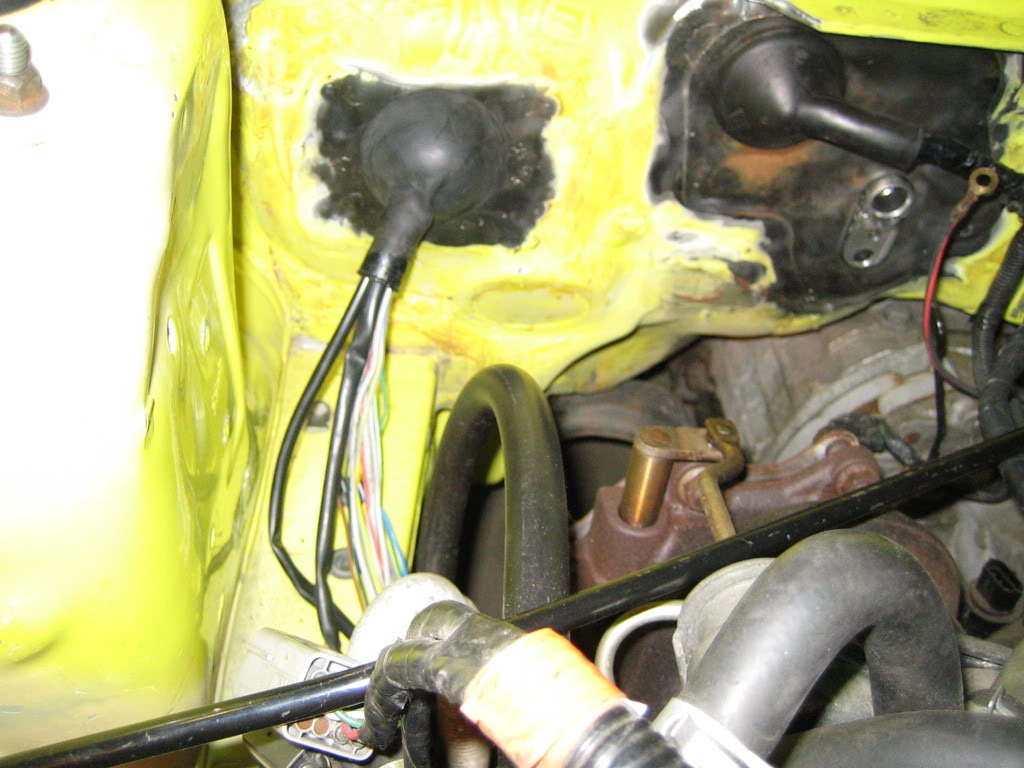
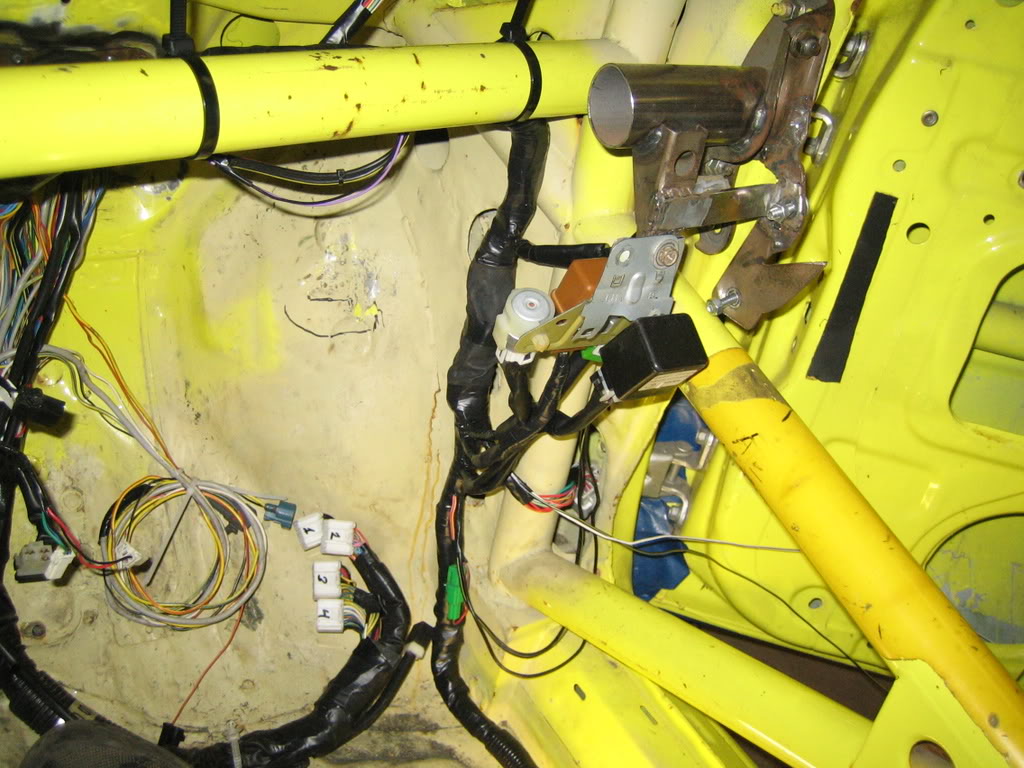
All cables had to be routed with the heater in place.
The result:
A mess:
I pulled 2 obsolete connectors from the enginebay, this because I use an Apexi AVC-R boostcontroller:
AVC-R cables into the enginebay through the original rubber:
All cables had to be routed with the heater in place.
The result:
Thread Starter
Scooby Regular
Joined: Dec 2002
Posts: 458
Likes: 0
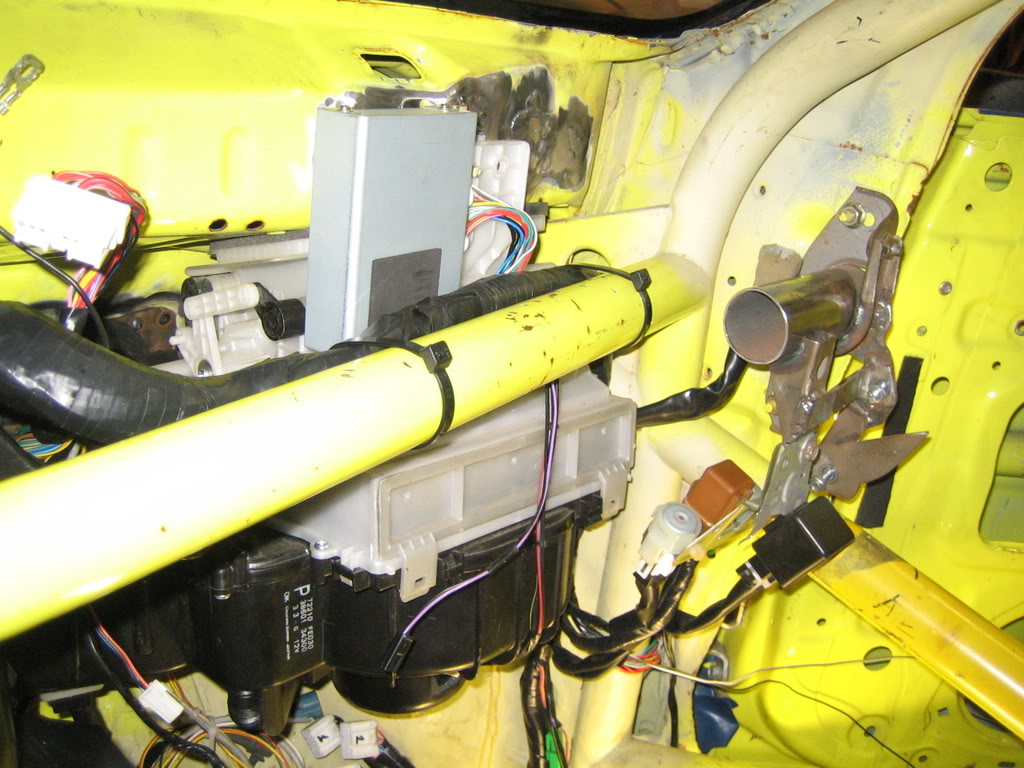
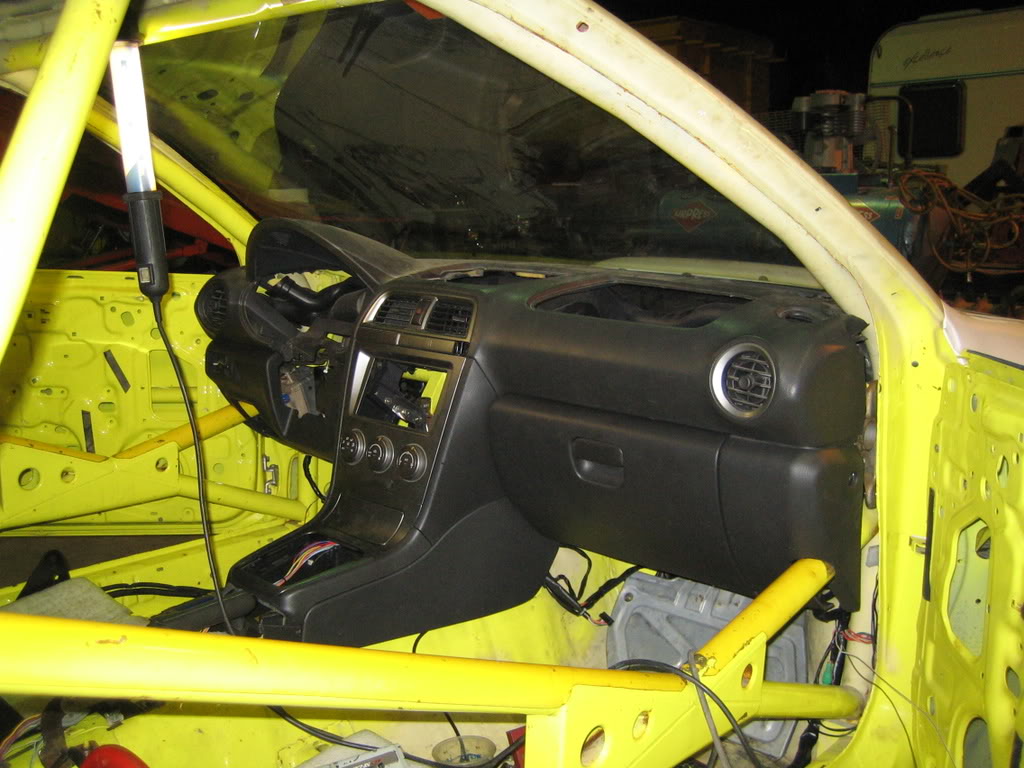
I put the ECU casing in, but I still need to fabricate the fixation points:
A few weeks ago I had cut a hole in the bottom part of the dash on the drivers side to make it fit around the cage:
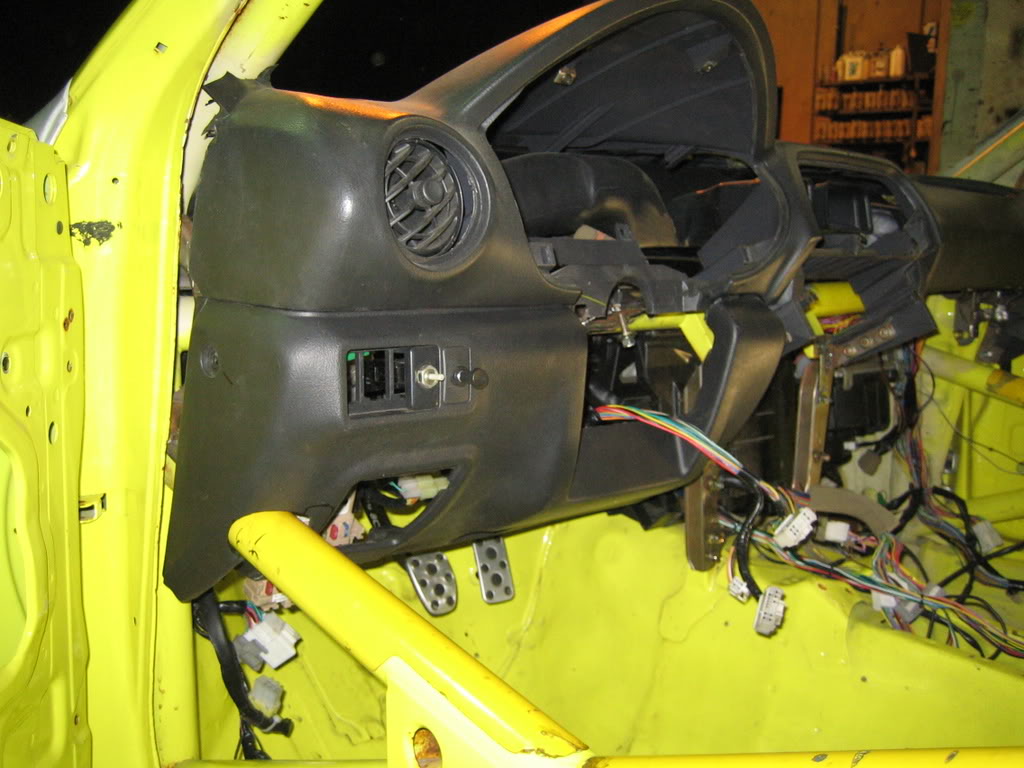
So now the passenger side had to be done, to prevent cutting it up wrong I made a mould:
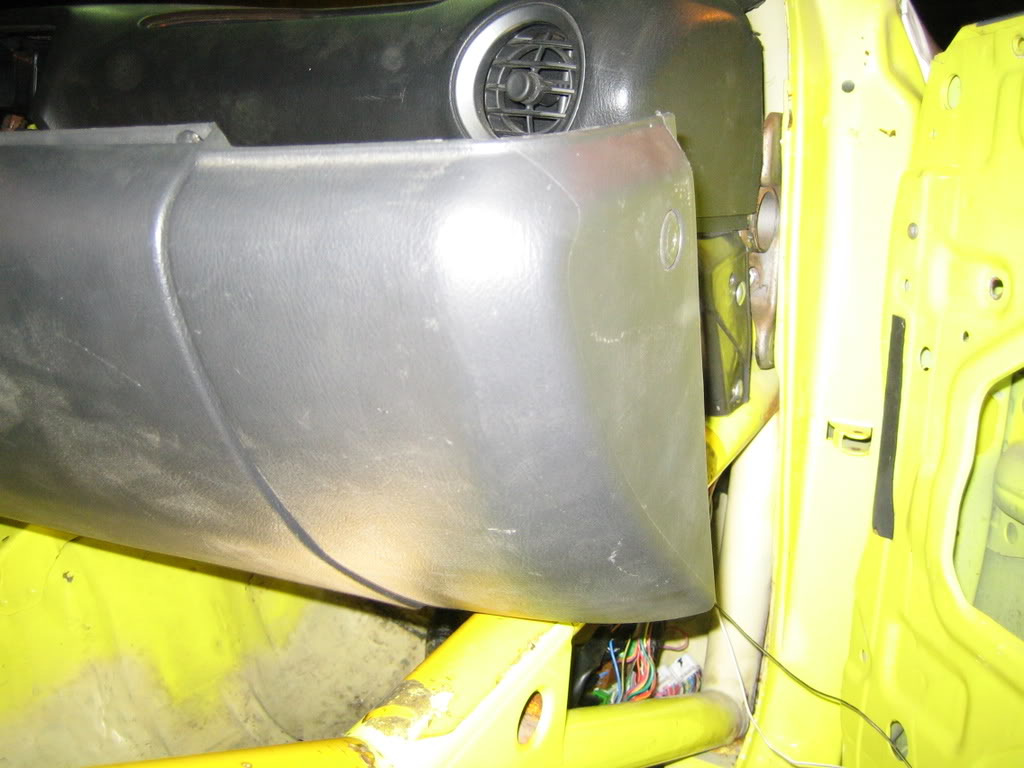
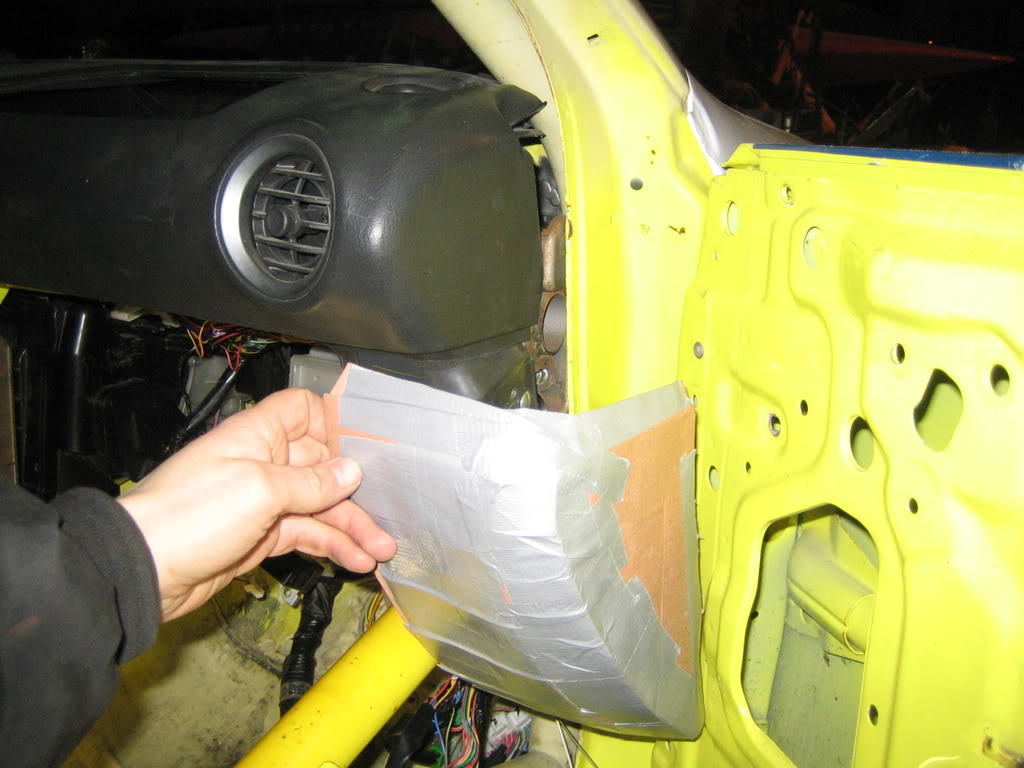
And with the hole cut in:

Result:
A few weeks ago I had cut a hole in the bottom part of the dash on the drivers side to make it fit around the cage:
So now the passenger side had to be done, to prevent cutting it up wrong I made a mould:
And with the hole cut in:
Result:
Thread Starter
Scooby Regular
Joined: Dec 2002
Posts: 458
Likes: 0
New goodies!
I finaly know how I'm going to make my brake set-up.
I will be putting in stainless steel piping, this better than copper which does extend under presure.
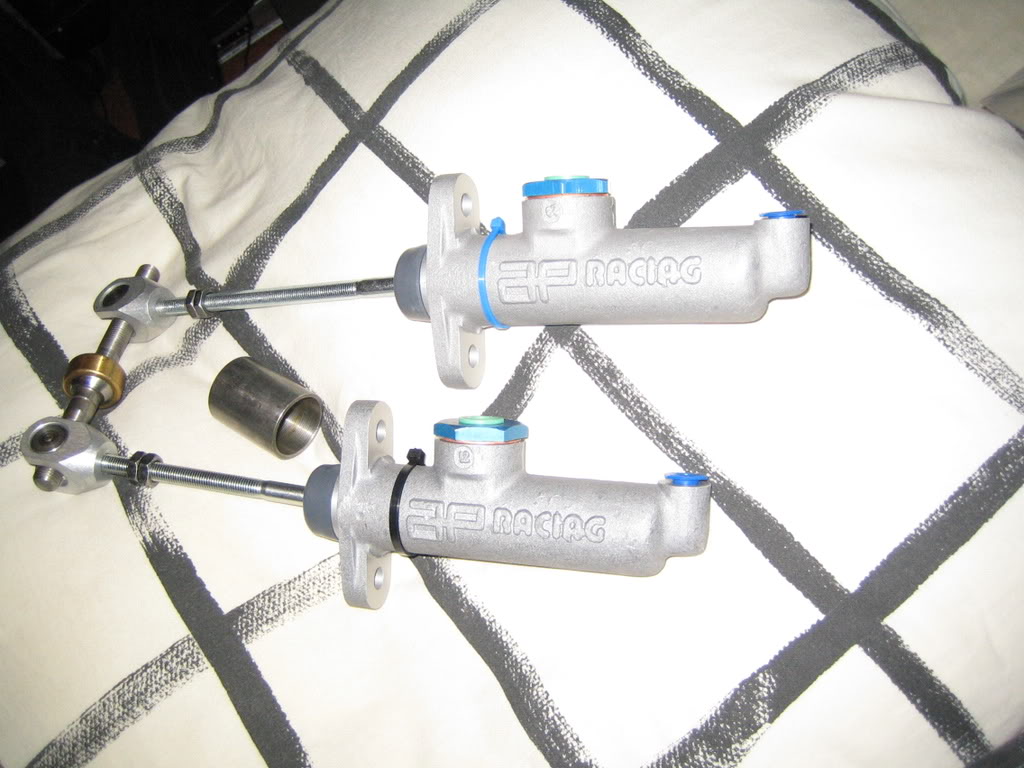
I always felt the brakes were a bit vague in the Impreza, so in a new quest for better feel I wil delete the brake booster and will only use a master cilinder.
To compensate the loss of the brake booster and to have a legaly needed separated brake system and to have a way to change the brake balance of the car I will use 2 Master Cilinders, one for the front and one for the rear i.c.w. a balance bar.
To finish things up there will be hydraulic parking brake also.
To get the best, the 2 master cilinders are by AP Racing:
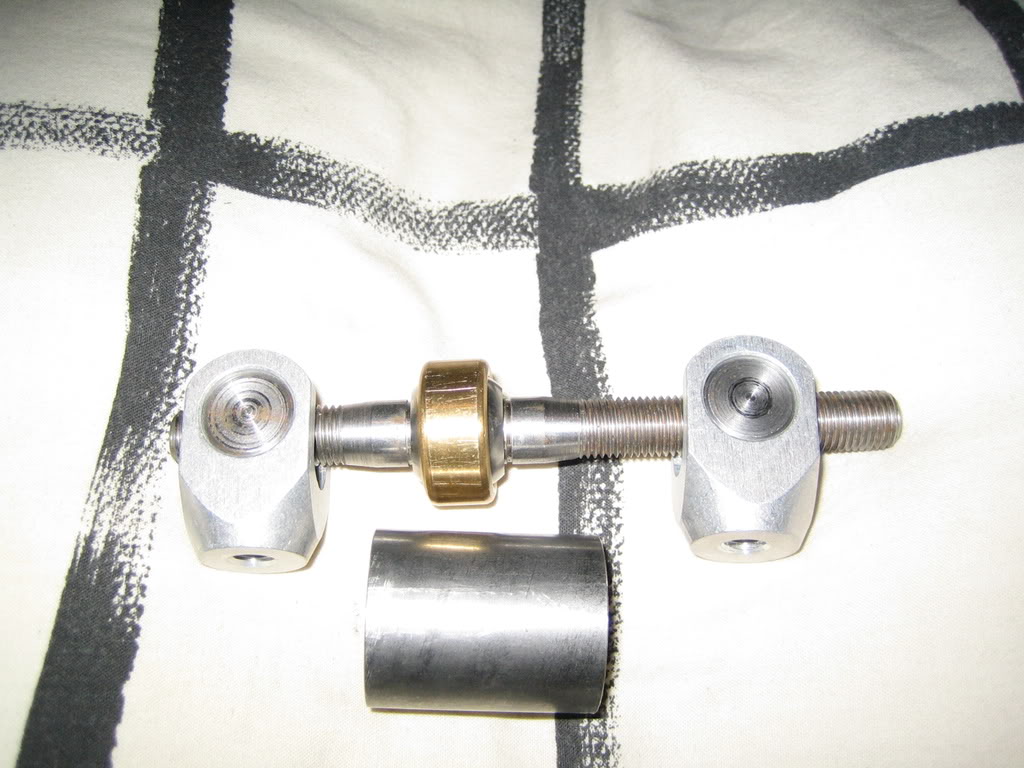
The balance bar is by Wilwood:
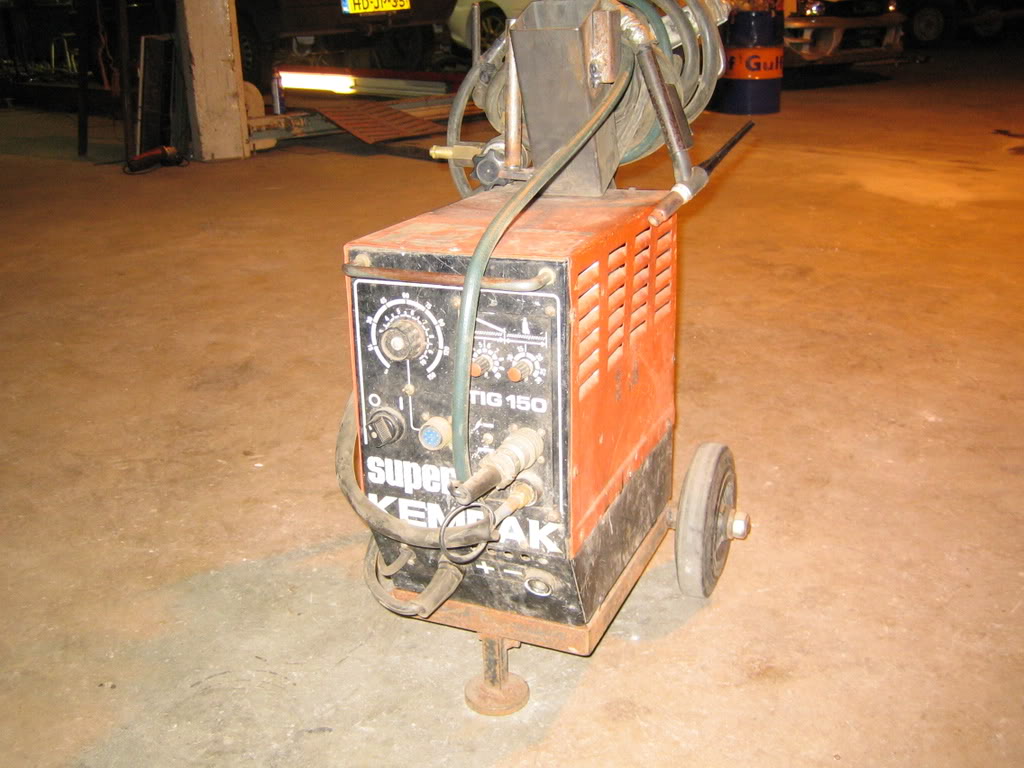
And I collected a "new" TIG welder, this is so much better than a MIG imo, especialy with the loom in the car, there is no sparks flying around or anything!
I finaly know how I'm going to make my brake set-up.
I will be putting in stainless steel piping, this better than copper which does extend under presure.
I always felt the brakes were a bit vague in the Impreza, so in a new quest for better feel I wil delete the brake booster and will only use a master cilinder.
To compensate the loss of the brake booster and to have a legaly needed separated brake system and to have a way to change the brake balance of the car I will use 2 Master Cilinders, one for the front and one for the rear i.c.w. a balance bar.
To finish things up there will be hydraulic parking brake also.
To get the best, the 2 master cilinders are by AP Racing:
The balance bar is by Wilwood:
And I collected a "new" TIG welder, this is so much better than a MIG imo, especialy with the loom in the car, there is no sparks flying around or anything!
Thread Starter
Scooby Regular
Joined: Dec 2002
Posts: 458
Likes: 0
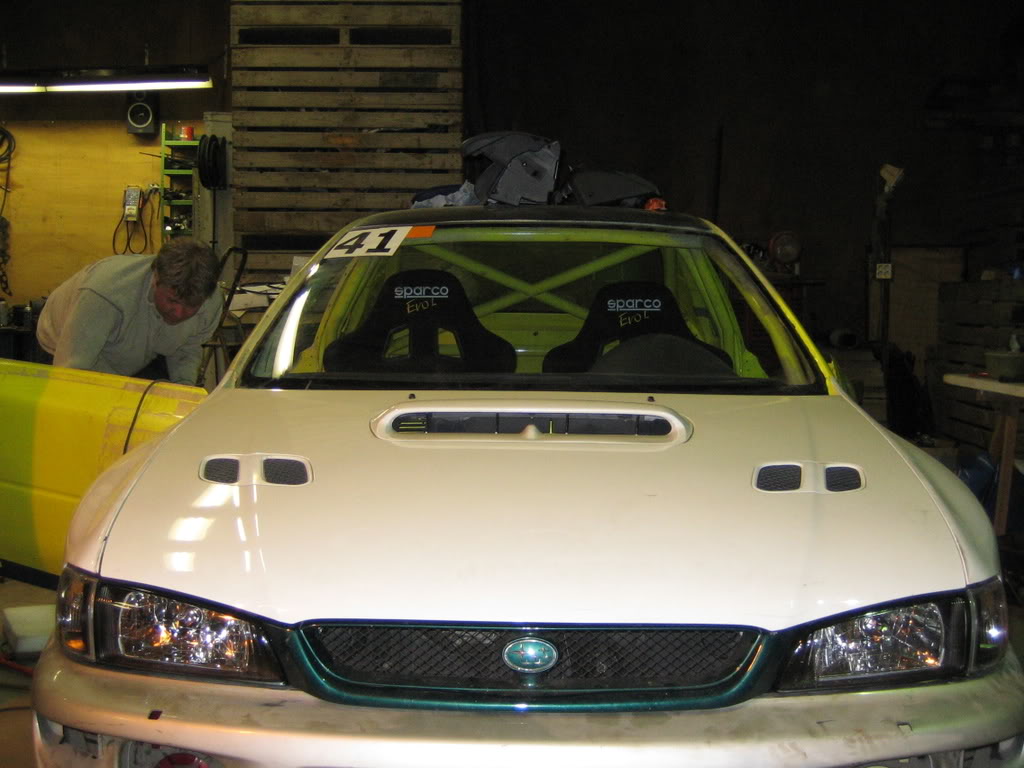
A friend of mine was coming by to see how the project was coming along, so I put him to work of course.
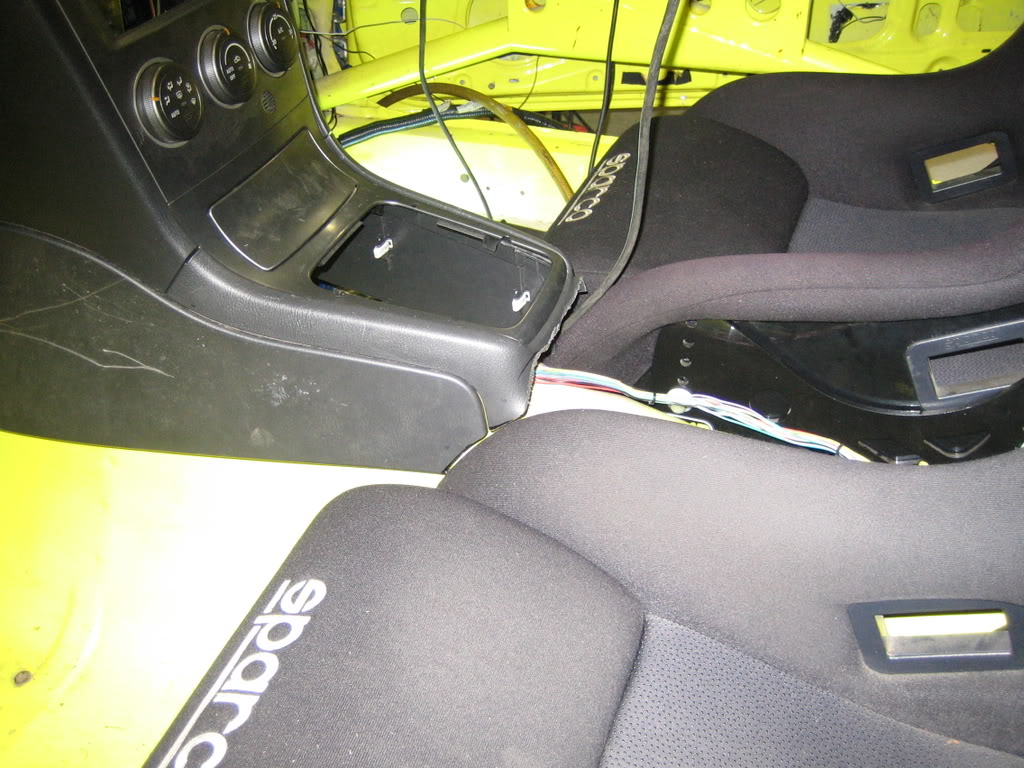
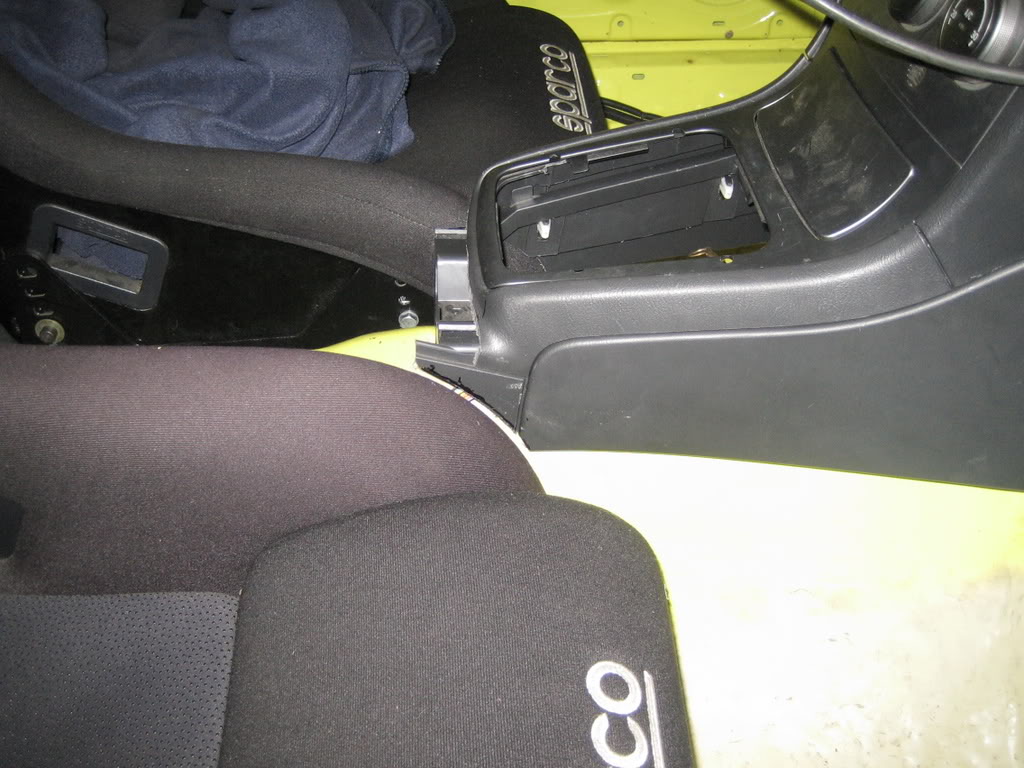
I was working on the centre console before so that's where we started.
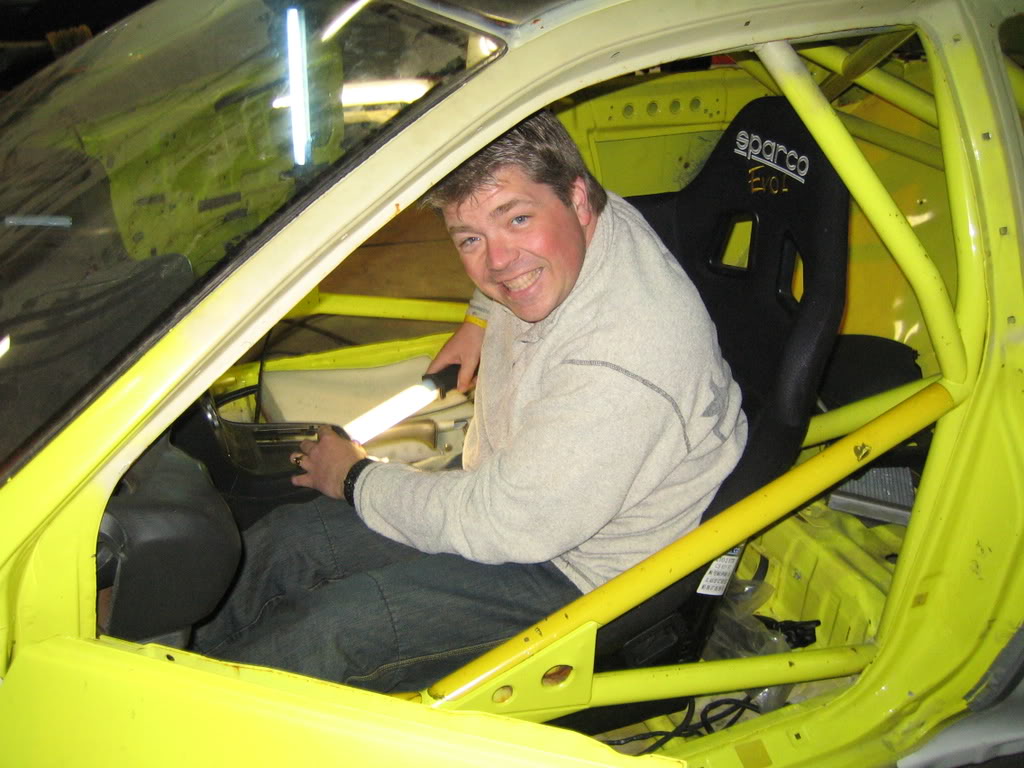
To see what had to be cut away the seats had to go in, the driver seat had already been in the car so it fitted very nicely.
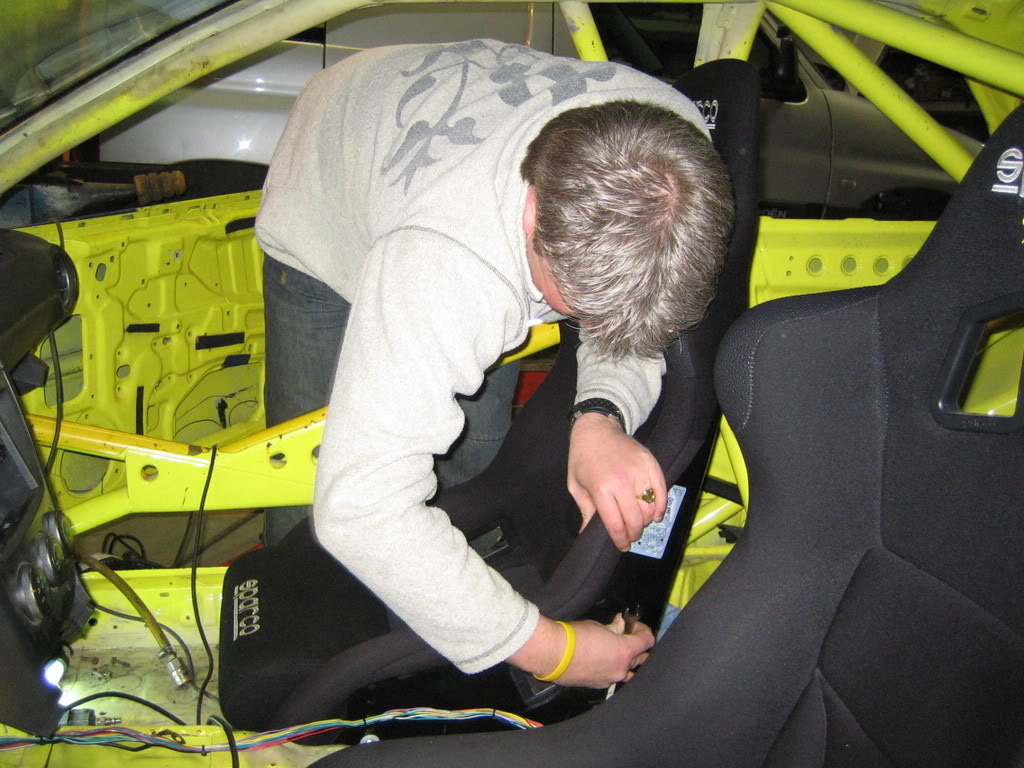
The passenger seat had some work on it, it did not fit very well probably because the side plates were by OMP instead of Sparco, I will adres this later.
The seat did fit in the end so cutting could begin.
Danny, in the driver seat:
Placing the passenger seat:
Oh yeah...:
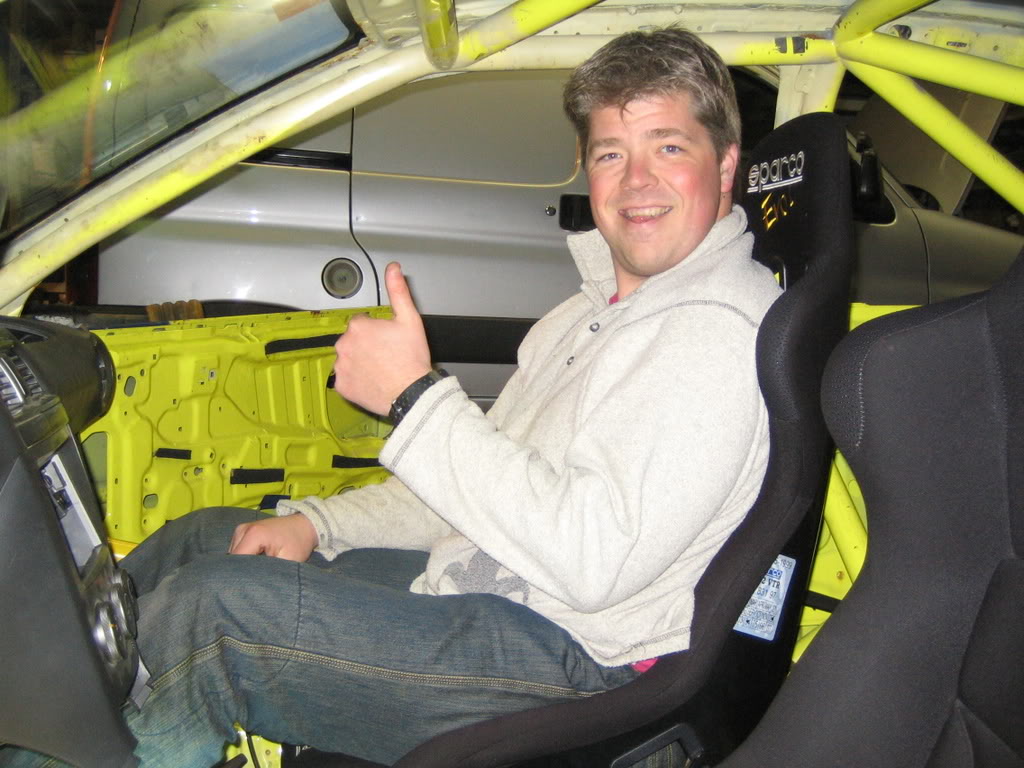
Height difference, this chair is sitting back a bit and also higher than the driver seat, probalbly custom in rally cars:
I was working on the centre console before so that's where we started.
To see what had to be cut away the seats had to go in, the driver seat had already been in the car so it fitted very nicely.
The passenger seat had some work on it, it did not fit very well probably because the side plates were by OMP instead of Sparco, I will adres this later.
The seat did fit in the end so cutting could begin.
Danny, in the driver seat:
Placing the passenger seat:
Oh yeah...:
Height difference, this chair is sitting back a bit and also higher than the driver seat, probalbly custom in rally cars:
Thread Starter
Scooby Regular
Joined: Dec 2002
Posts: 458
Likes: 0
Cutting away the console in line with the seats, the gaps will increase a bit when putting the new sides in:
Ehm, I bought these aswell....
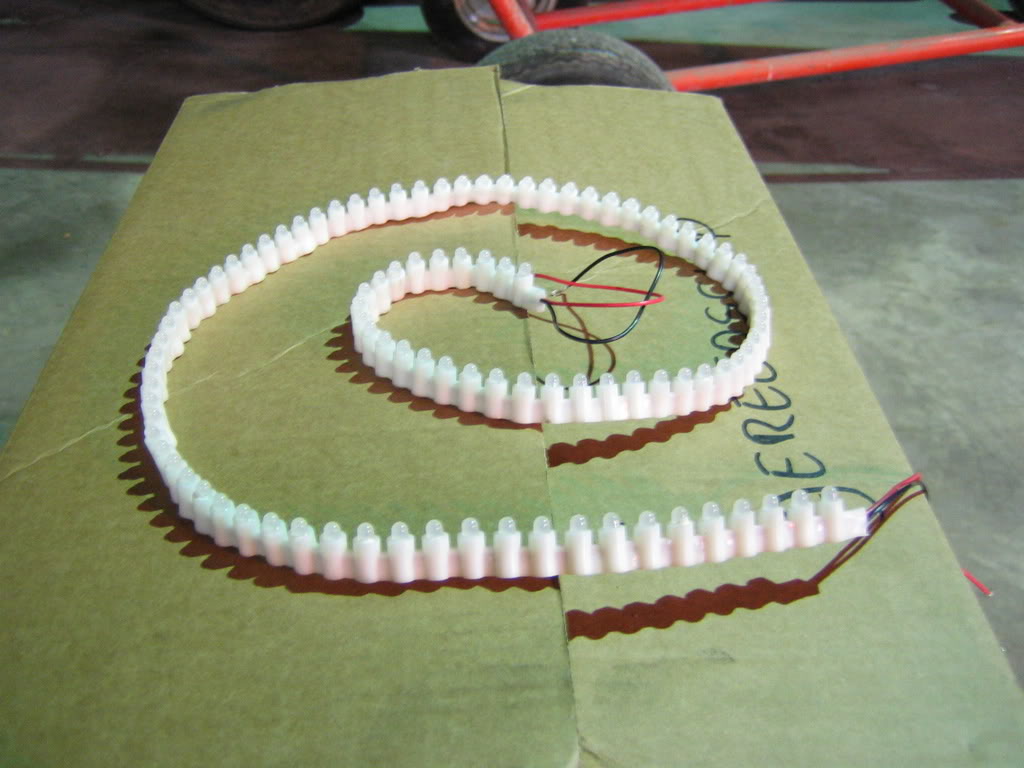
Oh, if your wondering where they will be placed....in the footwell, lighting up when opening the door, just like the new 2008 STI.
Ehm, I bought these aswell....
Oh, if your wondering where they will be placed....in the footwell, lighting up when opening the door, just like the new 2008 STI.

The Passenger seat (Co-Driver) should be alot lower and as far back as possible to get the centre of gravity as low as possible.
As this is an ex prodrive shell this should be so.
This shell was right habd drive once was it or have i got that wrong.
As this is an ex prodrive shell this should be so.
This shell was right habd drive once was it or have i got that wrong.
Thread Starter
Scooby Regular
Joined: Dec 2002
Posts: 458
Likes: 0
Was talking to a guy yesterday who works freelance for Prodrive.
2 things came out, one of them is switching the master cilinders to the shorter versions and then moving them from the engine bay into the cabin, just behind the firewall.
This has 3 advantages, first the heat, it's cooler inside the cabin, second the distance is shorter so the loss of feel by bending material is reduced and third, the firewall on the Impreza is pretty weak, now I have the chance of making a very rigid mount increasing pedal feel again.
Then I have decided to try something that I have not seen before, at least, not in Holland.
According to this guy it is possible to move the engine 25mm back and 15mm lower in the car with the standard subframe too.
So this week I want to put the car the carlift and see if it is possible, of course from some things I already know that they will nee to change.
The gearlever and propshaft need to be shortened, maybe the exhaust will touch the subframe, and the gearbox subframe will need to be adjusted.
All of this is pretty easily done.
My biggest question is if the wheels axels will fit, they also move back so there is the risk of them getting to short.
I have the GC8 chassis with the 5mm wider GDB lower wishbones and GDB Spec-C axels, anybody have any ideas about this?
The advantages are clear of course, lower centre of gravity, weight moving further back in between the wheels, equals better handling.
Small extra advantage is more space for my radpack shroud.
He is right in what he said.
I have done 2 but with out looking at my notes i carnt really remember.
Dont hold your hopes up but i might have a prodrive build manual for your car.
Not sure if its a WRC or a GPN maunal.
Ill have a look next time im back home.
If i have the GPN, i can photo copy it and post it to you if you want.
Keep up the good work
Andy
Last edited by TurboAndy; Mar 3, 2008 at 08:31 PM. Reason: .
Thread Starter
Scooby Regular
Joined: Dec 2002
Posts: 458
Likes: 0
Hi Andy!
So you think my Spec-C drive shafts won't be a problem concerning length and angle?
All info is welcome, anything helps.
And do you think moving the engine is a big difference in the handling of the car?
Sometimes you hear manufacterers beeing very happy lowering an engine with just a few mm for a new model, but I'm not sure how much you can really feel the difference.
Thread Starter
Scooby Regular
Joined: Dec 2002
Posts: 458
Likes: 0
Lowering the engine and moving it back will make a difference.
All your doing is moving the weight around.
Your drive shafts should be fine. there is a job to do on your TCA's.
Where your caster block goes on to the tca, you machine the TCA so the caster block goes futher on. about 25mm if i think right
And then you have to do the same where the TCA mounts to the front sub frame, remember to remove the bush first.
then re-fit the bush and you will have part of the bush patruding out the front of the TCA if you follow me.
By doing this your TCA sits further back.
Thread Starter
Scooby Regular
Joined: Dec 2002
Posts: 458
Likes: 0
Andy,
Do you think the changes will be clearly noteable when driving or is this peanuts compared to the work that has to be done moving back the engine?
Why should the TCA (that's the lower wishbone?) be changed, I'm not moving the subframe.
I think I'm a bit confused.
Do you think the changes will be clearly noteable when driving or is this peanuts compared to the work that has to be done moving back the engine?
Why should the TCA (that's the lower wishbone?) be changed, I'm not moving the subframe.
I think I'm a bit confused.
Your moving the TCA's (wishbones) back because you will of moved the engine back.
Thats what we had to do when we replaced them on Ex prodrive GPN cars. and thats what we had found they had done.
As for whether its worth doing all this is dependent on what you intend on using the car for.
Thats what we had to do when we replaced them on Ex prodrive GPN cars. and thats what we had found they had done.
As for whether its worth doing all this is dependent on what you intend on using the car for.
Thread Starter
Scooby Regular
Joined: Dec 2002
Posts: 458
Likes: 0
I will drive it mainly on the road and a few trackdays per year.
I have asked other people and sites and what I learned is that the drive shafts are the main problem.
And moving the engine back will increase wear in such a rate that it will eat drive shafts.
No problem for a racecar as they will be swapped everytime when necessary, I'm a privateer and these shafts are not cheap so I must take this in concideration.
As much as I hate to do this I fear I have to let this idea go.
thats why you move the TCAs back so the driveshafts run at the correct angle again.
We used to rebuild the drive shafts about 3 or 4 times a year.
that was taking them apart, cleaning and re greecing them again.
Unless they went bang we never had to replace the cv joints.
At the end of the day m8 its your time and money and is up to you how far you want to take it.
We used to rebuild the drive shafts about 3 or 4 times a year.
that was taking them apart, cleaning and re greecing them again.
Unless they went bang we never had to replace the cv joints.
At the end of the day m8 its your time and money and is up to you how far you want to take it.
Thread Starter
Scooby Regular
Joined: Dec 2002
Posts: 458
Likes: 0
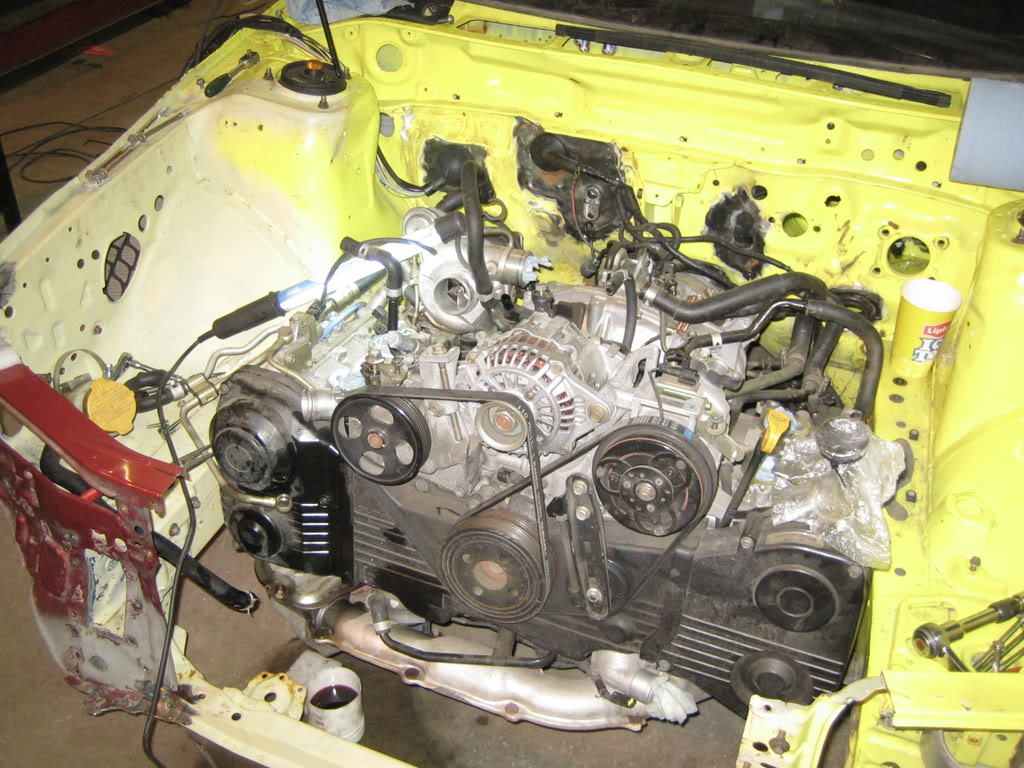
Last week I removed the inlet manifold so I can rebuild it to my taste:
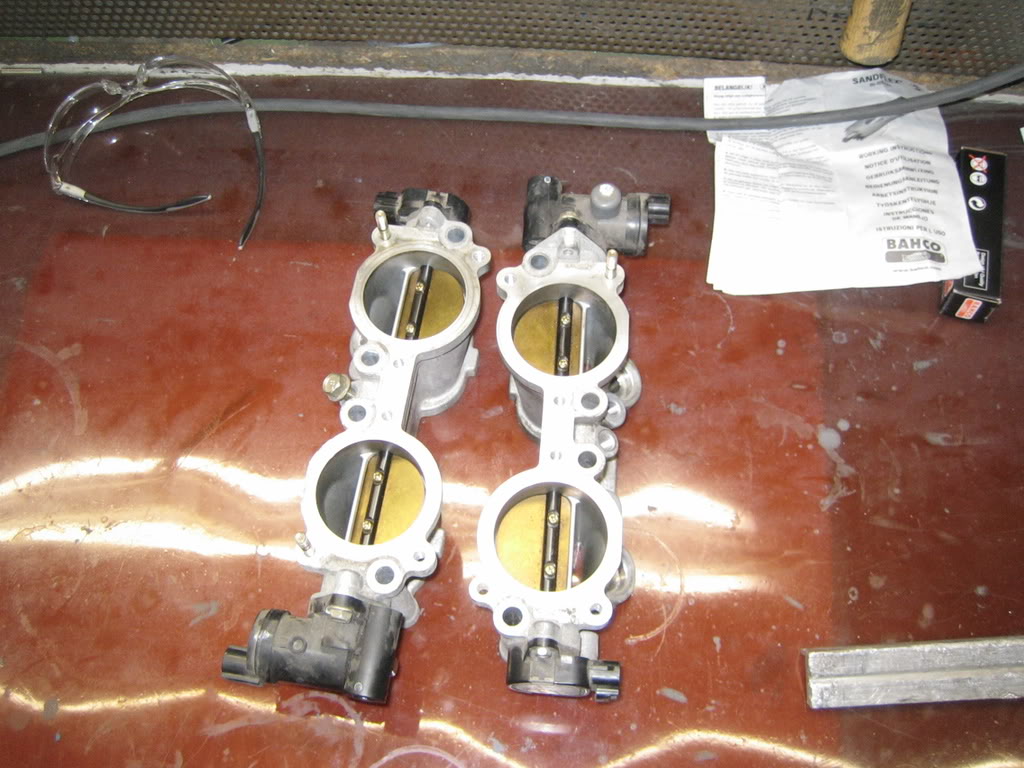
Throttle body's ready to have the valves removed:
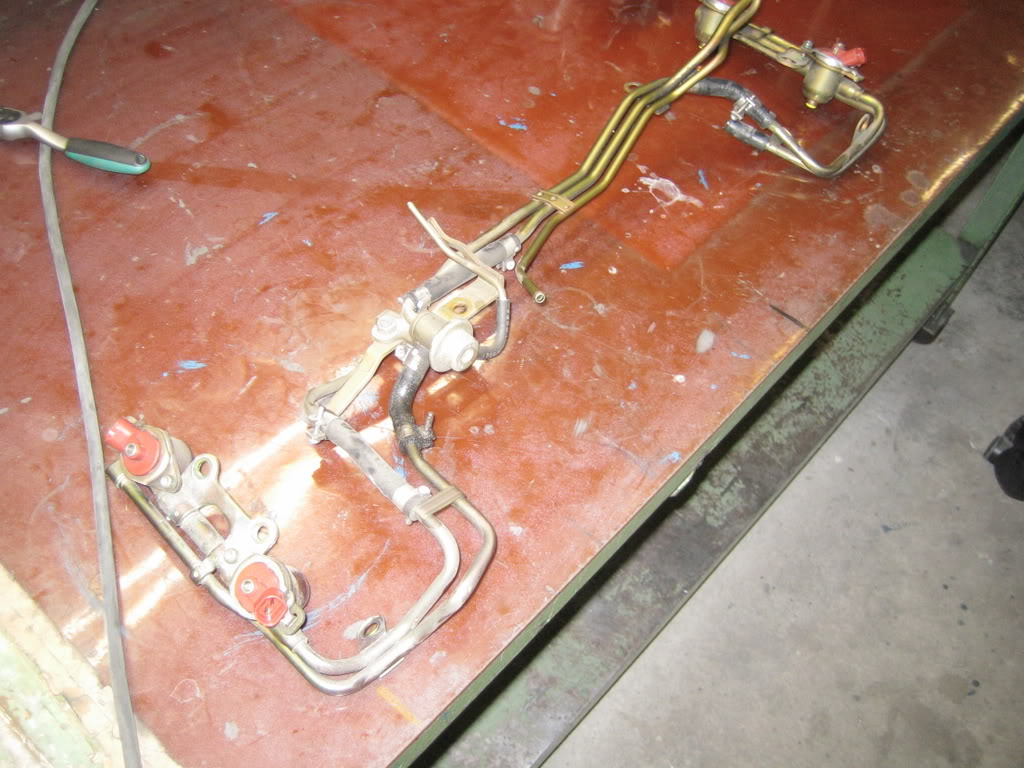
Feul rail:
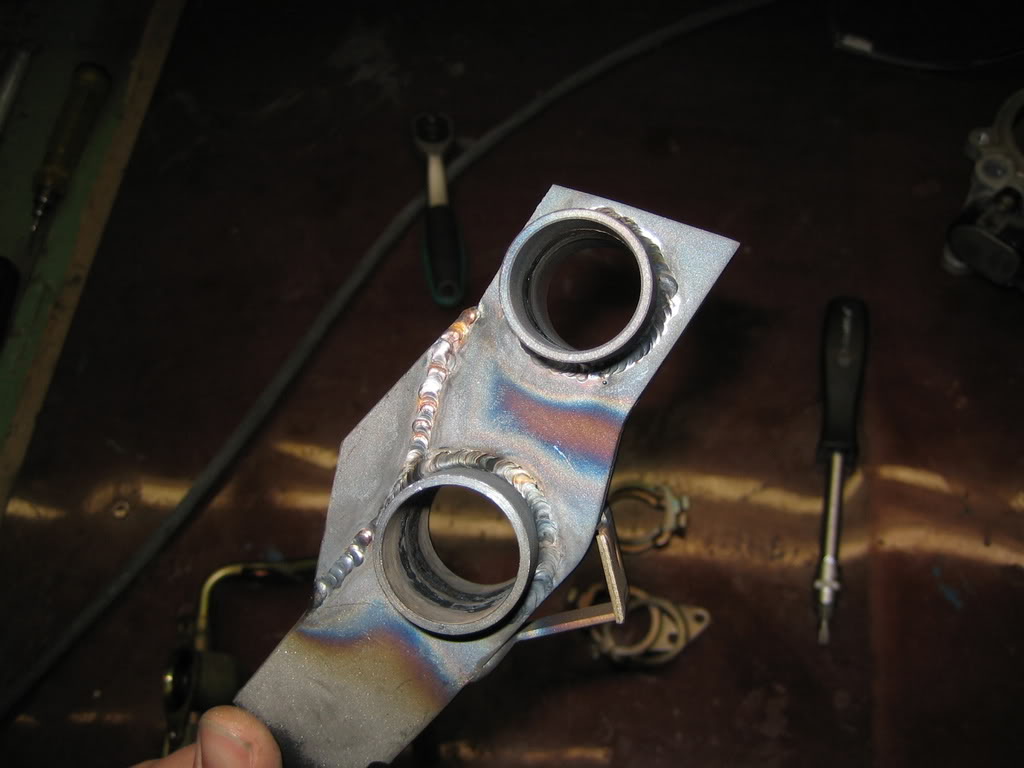
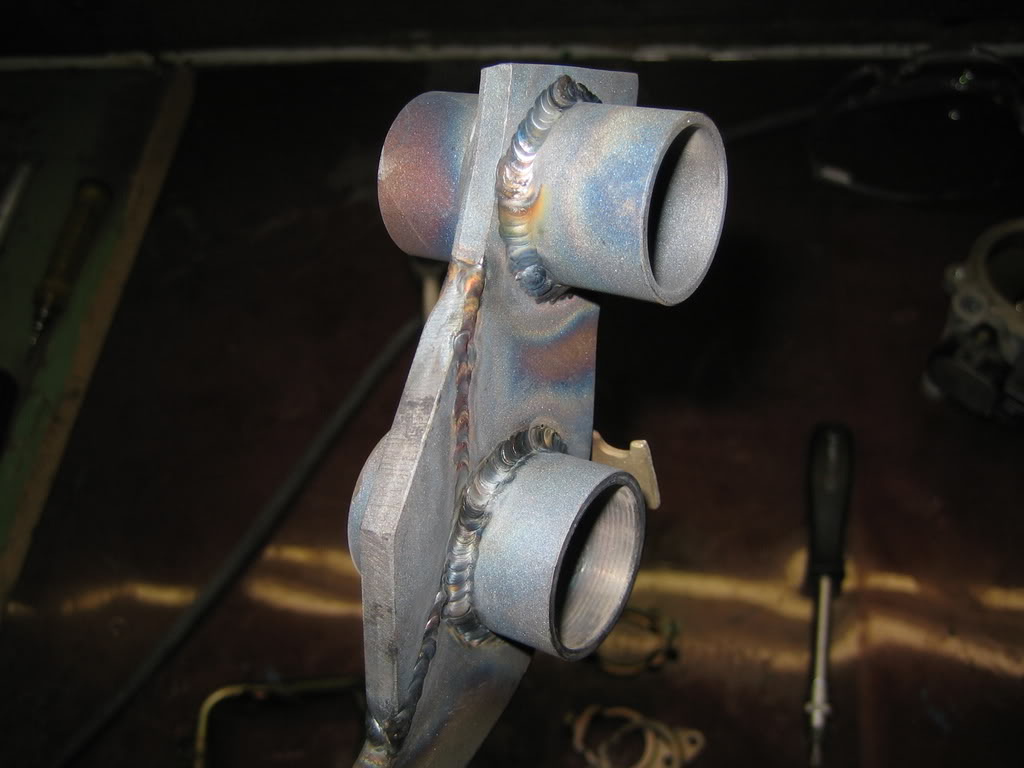
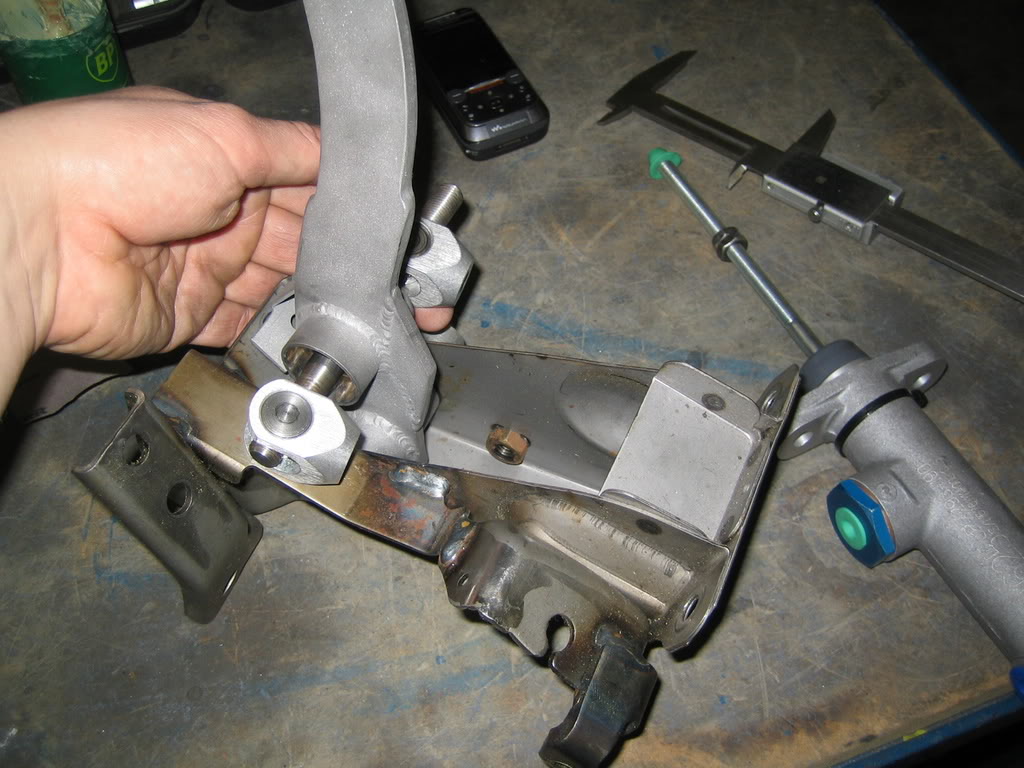
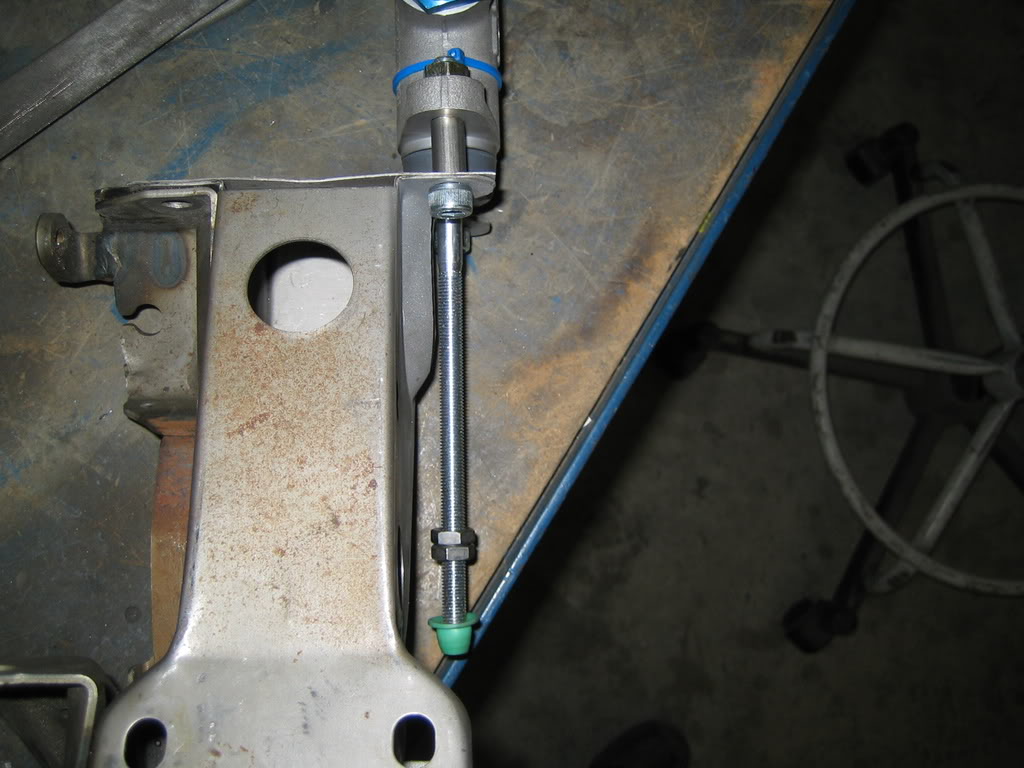
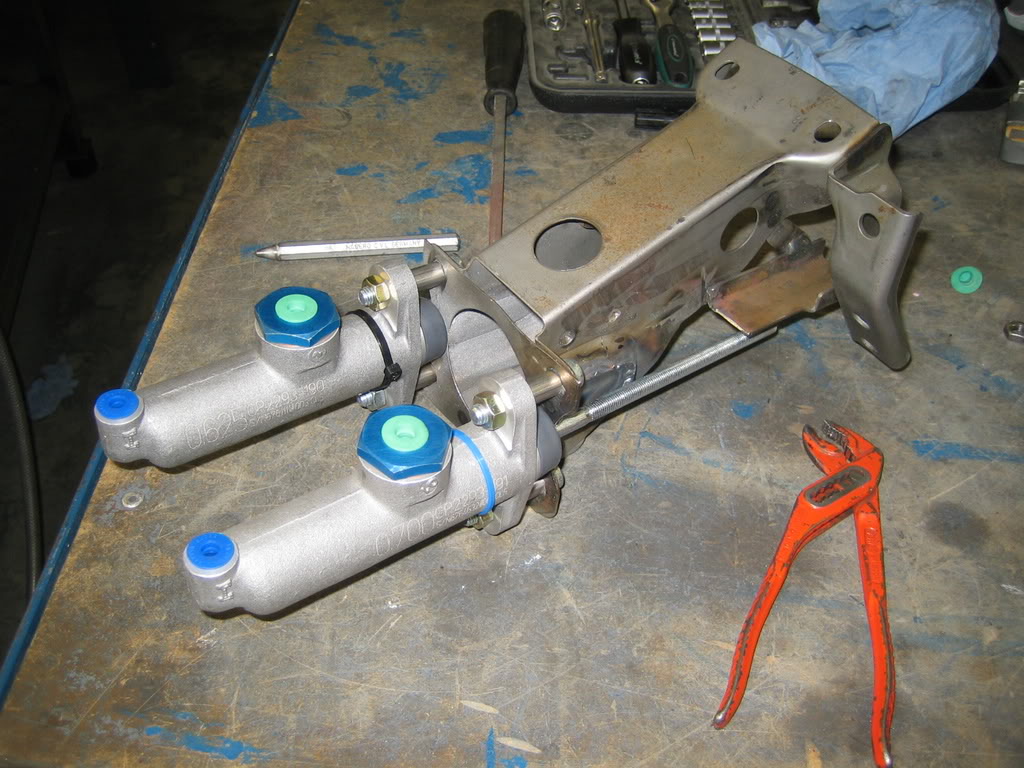
Today I started with the pedalbox, it needs to altered to make the 2 master cilinders fit.
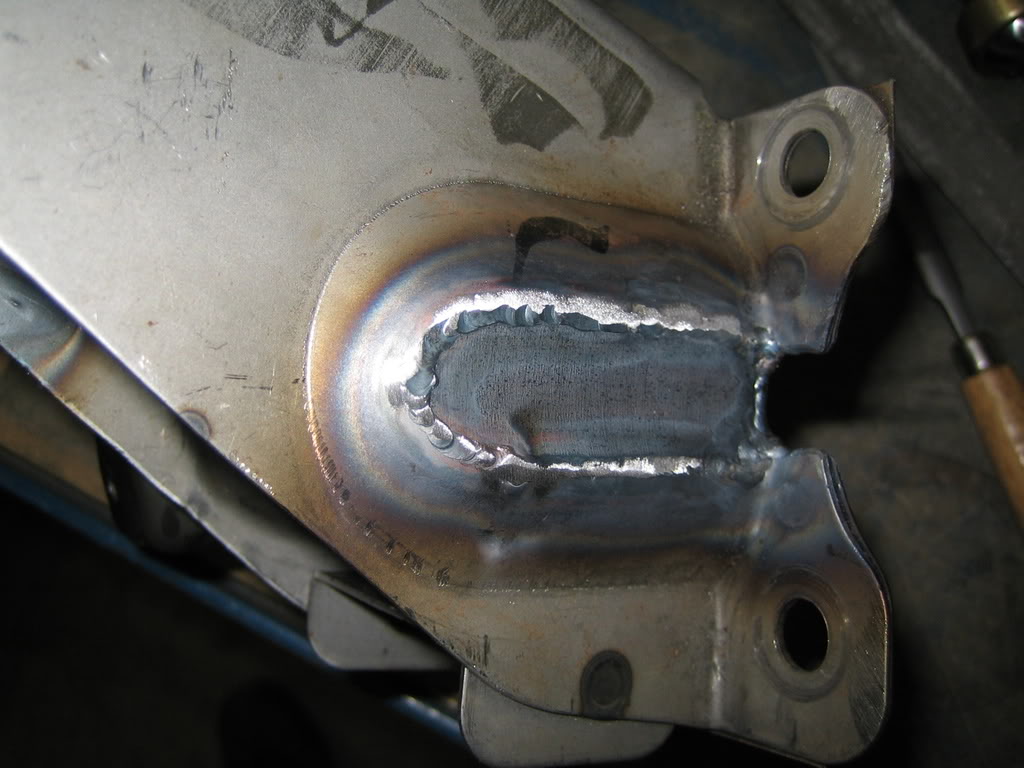
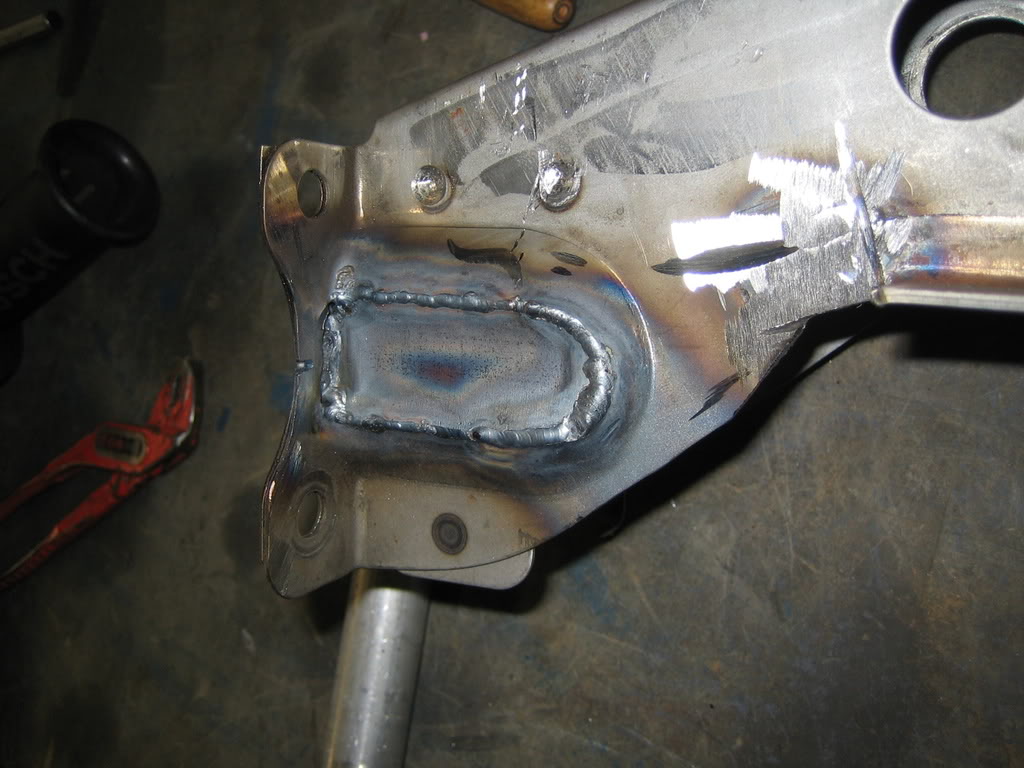
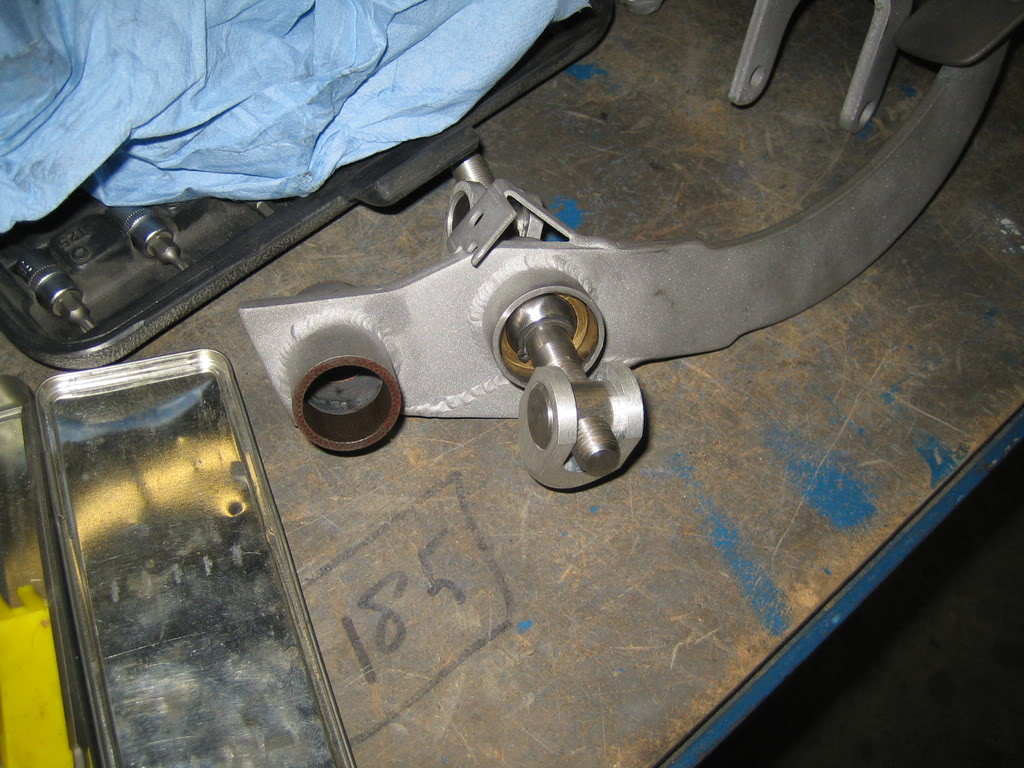
First up is the brake pedal, I had to weld in the tube that will house the baering from the brake balance divider:
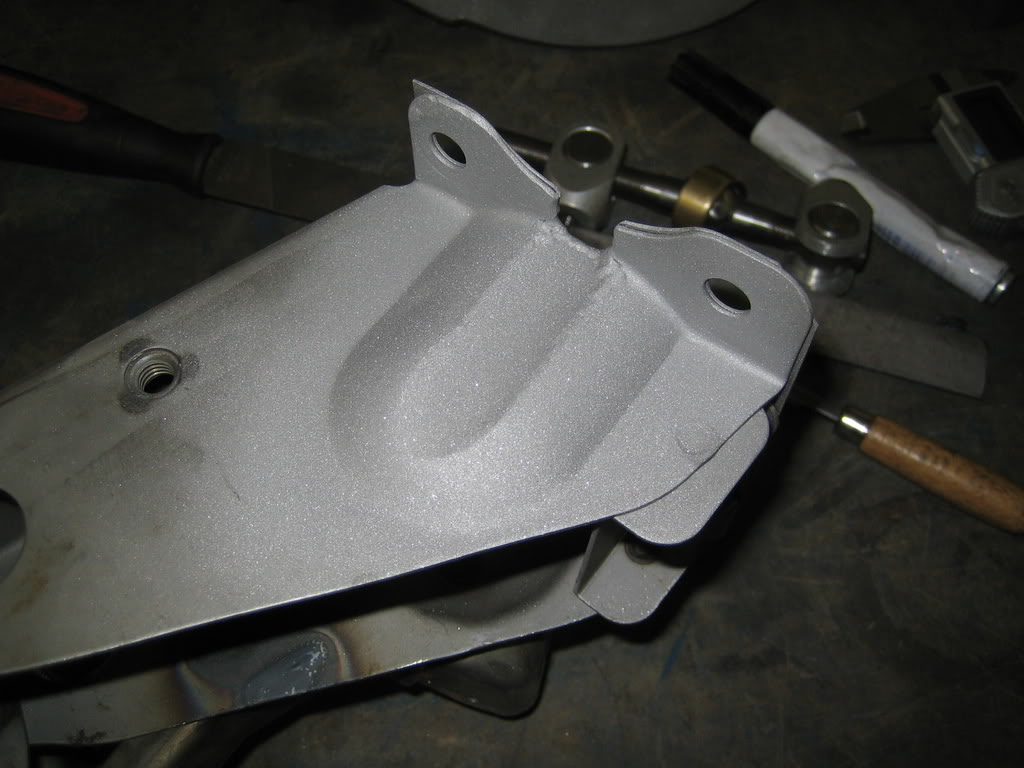
Sandblasted:
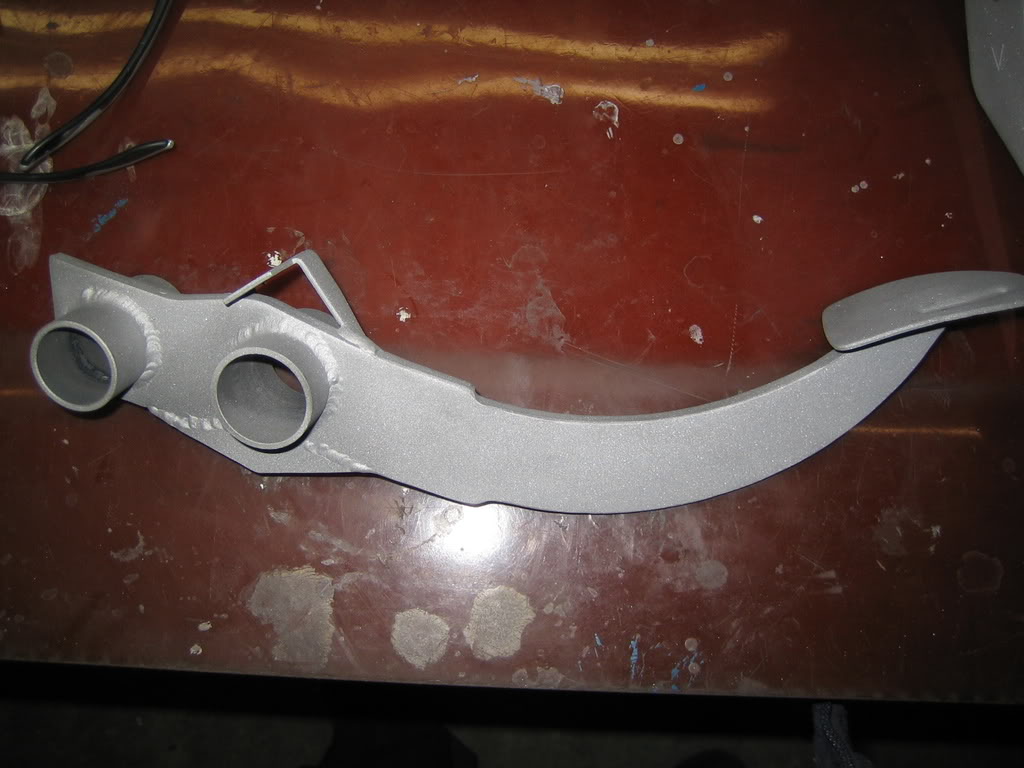
This is how it looks standard:
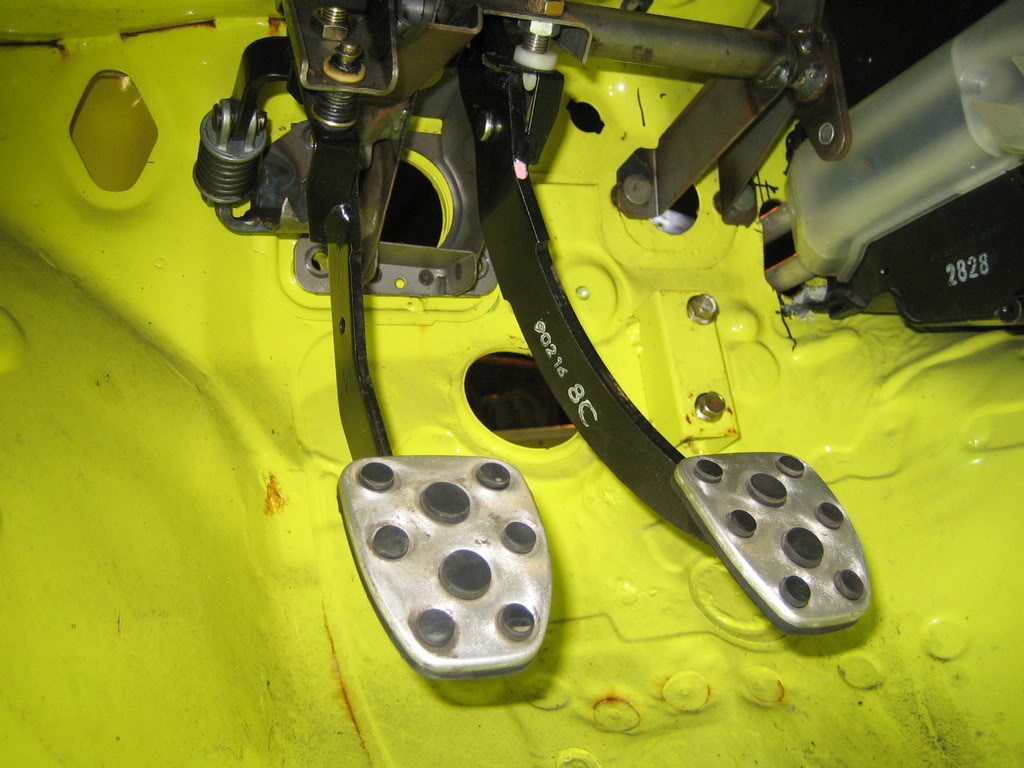
Trail fitting:
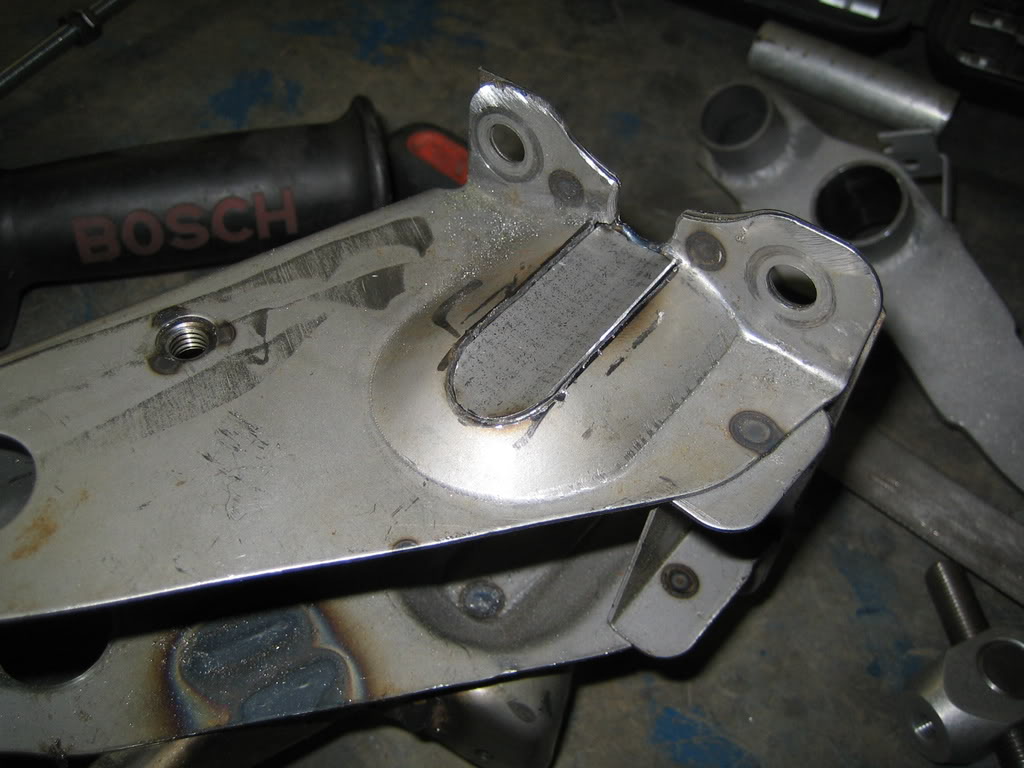
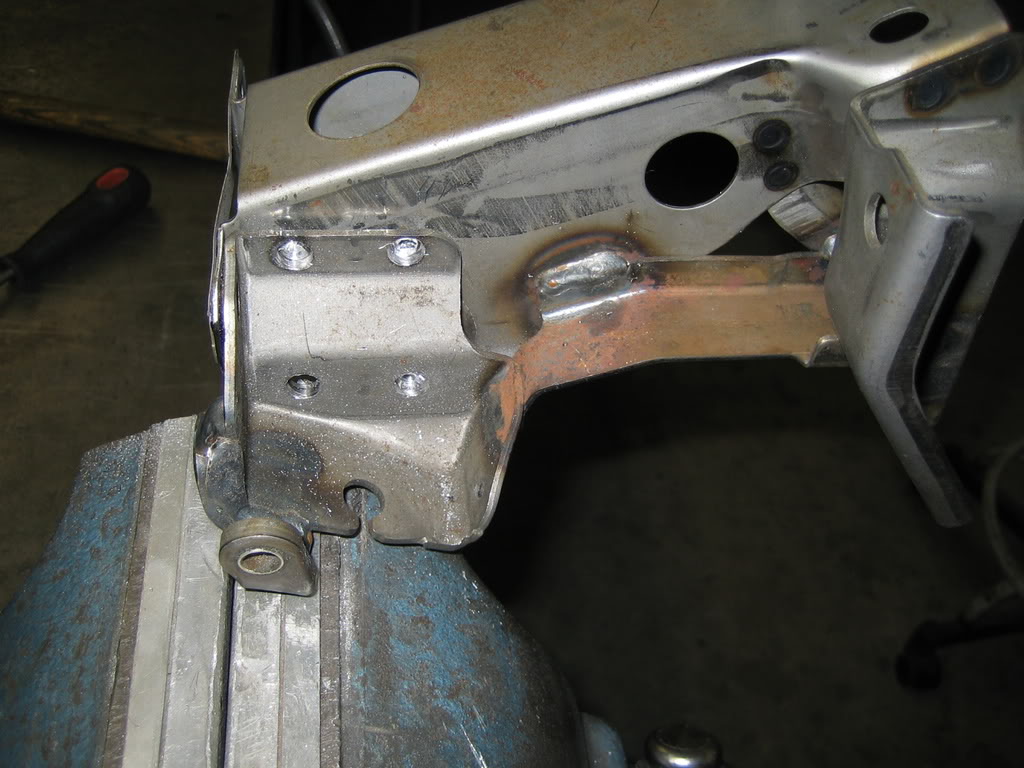
After that the box itself needed some attention, I needed to make some space:
Trail fitting:

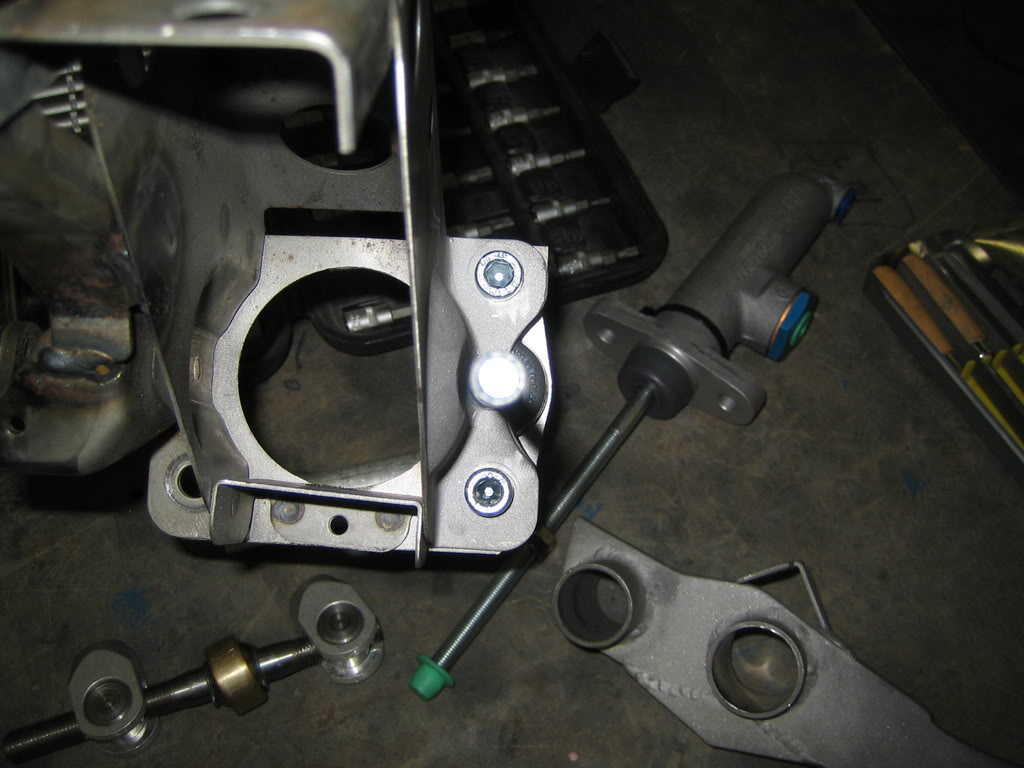
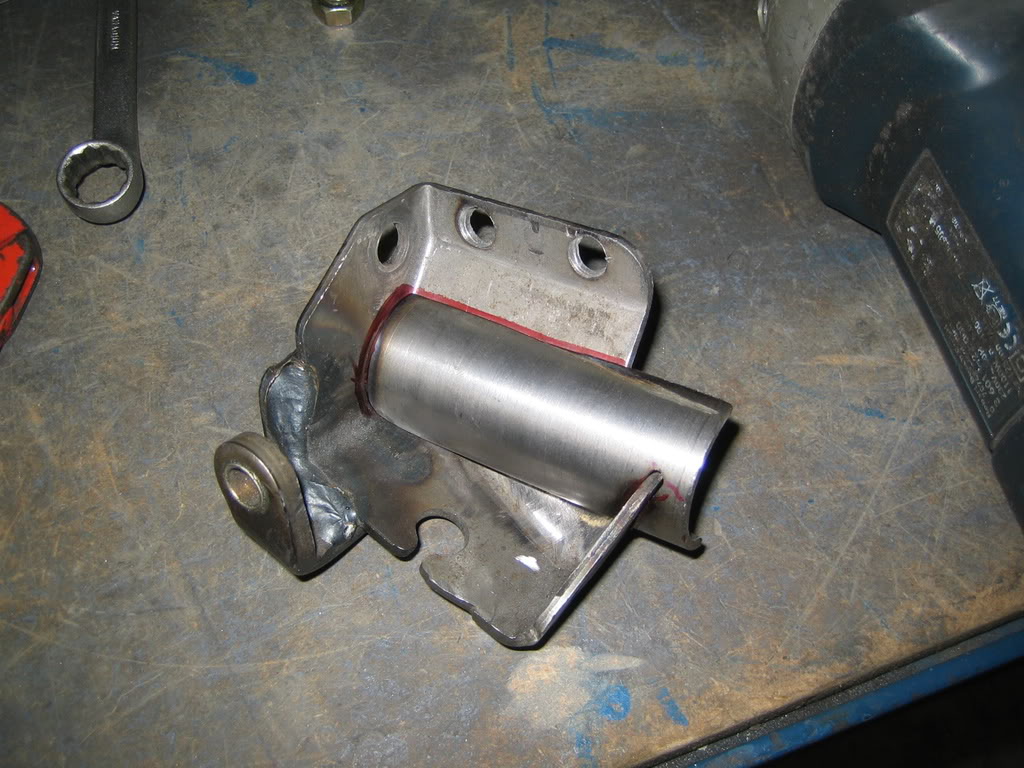
On the other side there is a bracket that holds the clutch pedal, the cilinder extension needs to go in between them, so I had to remove the bracket first:
Repeat from the other side:
Trail fitting with both cilinders:
Here is the brake pedal with the balance divider:
Finaly I made a start with the bracket, hopefully I have time to finish this up soon.
Throttle body's ready to have the valves removed:
Feul rail:
Today I started with the pedalbox, it needs to altered to make the 2 master cilinders fit.
First up is the brake pedal, I had to weld in the tube that will house the baering from the brake balance divider:
Sandblasted:
This is how it looks standard:
Trail fitting:
After that the box itself needed some attention, I needed to make some space:
Trail fitting:
On the other side there is a bracket that holds the clutch pedal, the cilinder extension needs to go in between them, so I had to remove the bracket first:
Repeat from the other side:
Trail fitting with both cilinders:
Here is the brake pedal with the balance divider:
Finaly I made a start with the bracket, hopefully I have time to finish this up soon.
Thread Starter
Scooby Regular
Joined: Dec 2002
Posts: 458
Likes: 0
Thanks.
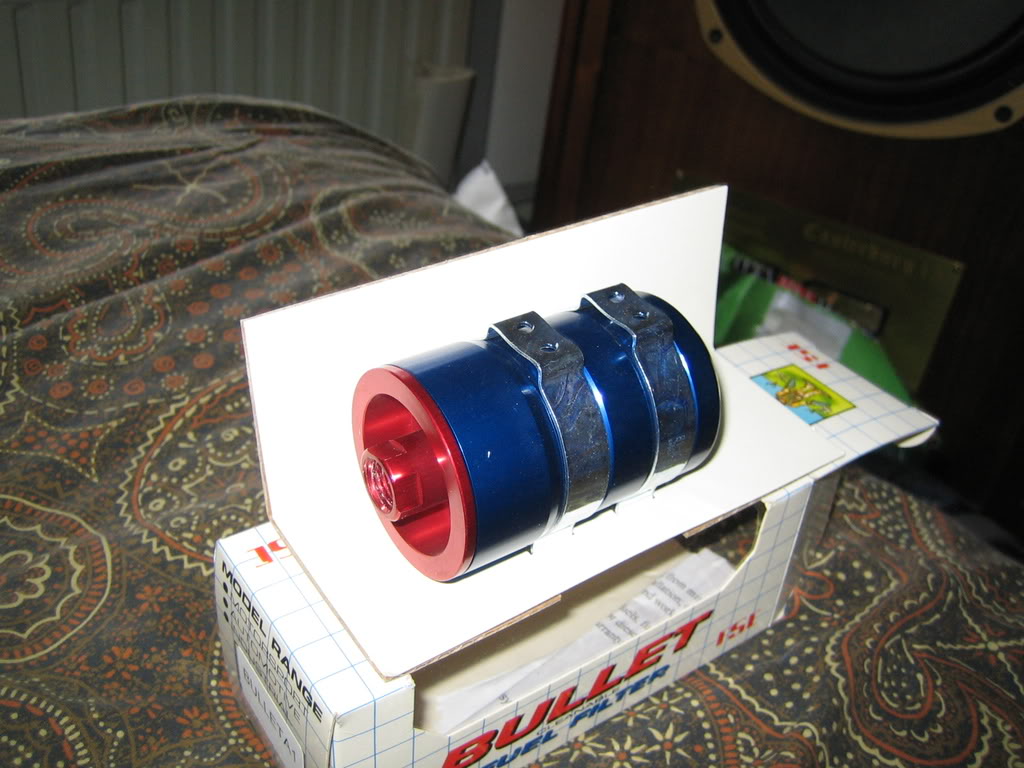
Got me a fuel filter and a hydraulic parking brake today.
Fuel filter:
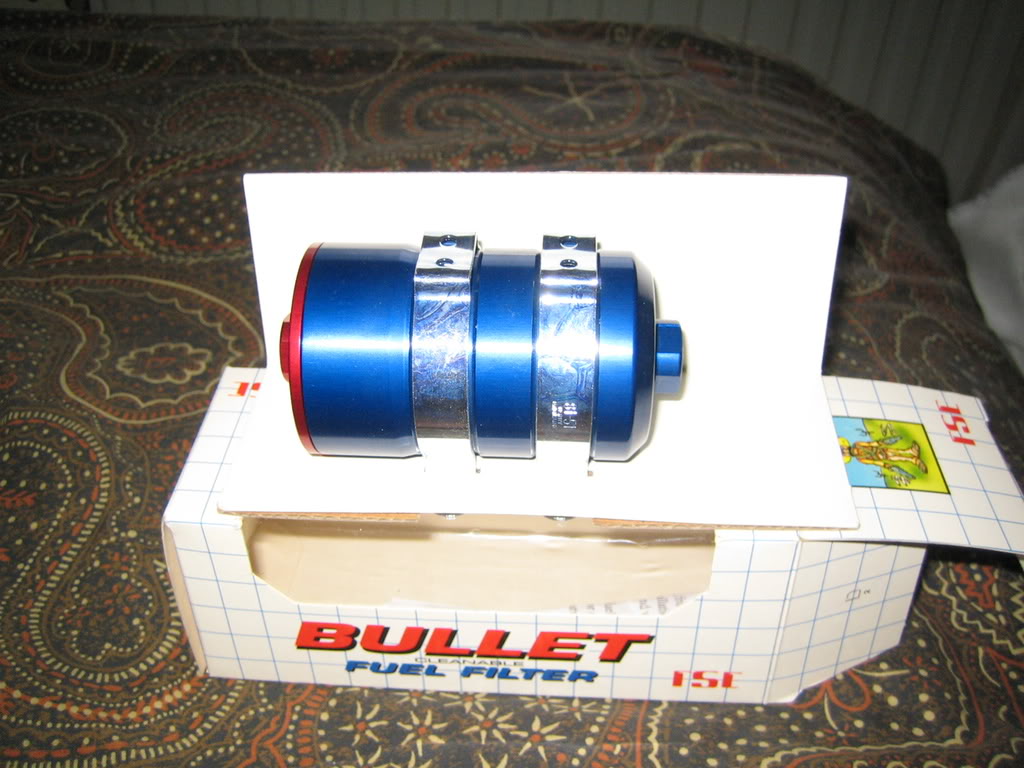
The hydraulic brake usually comes with a no-name cilinder, but I really wanted all my stuff from AP Racing, so the guy at the shop exchanged it for free, great guy!
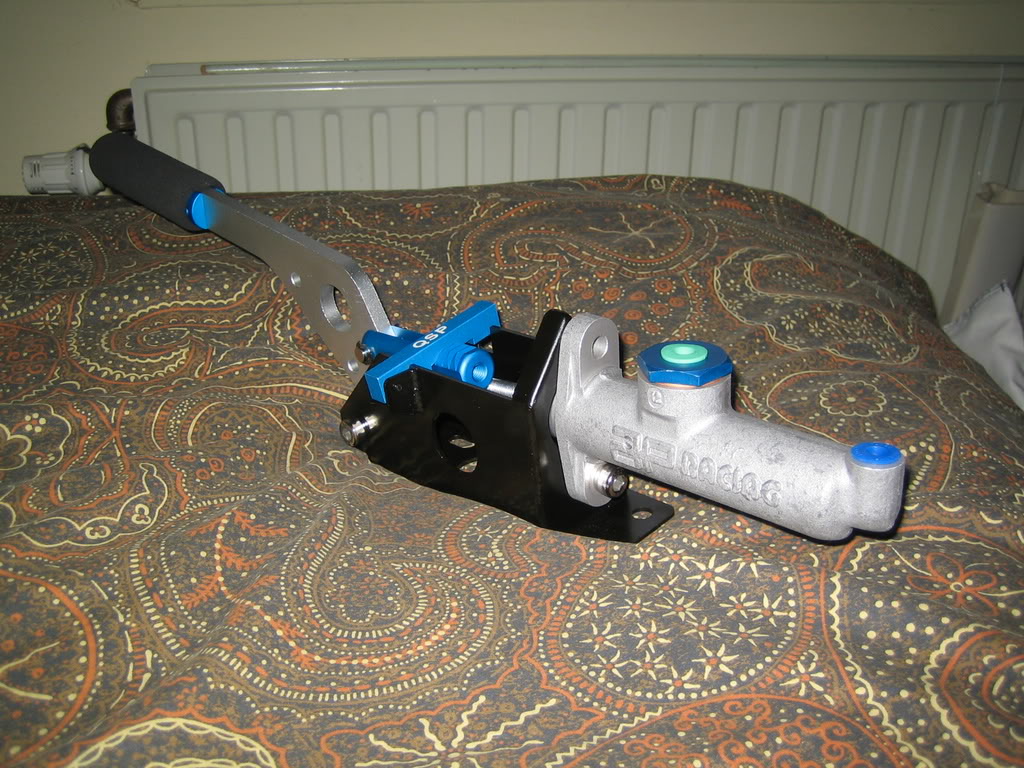
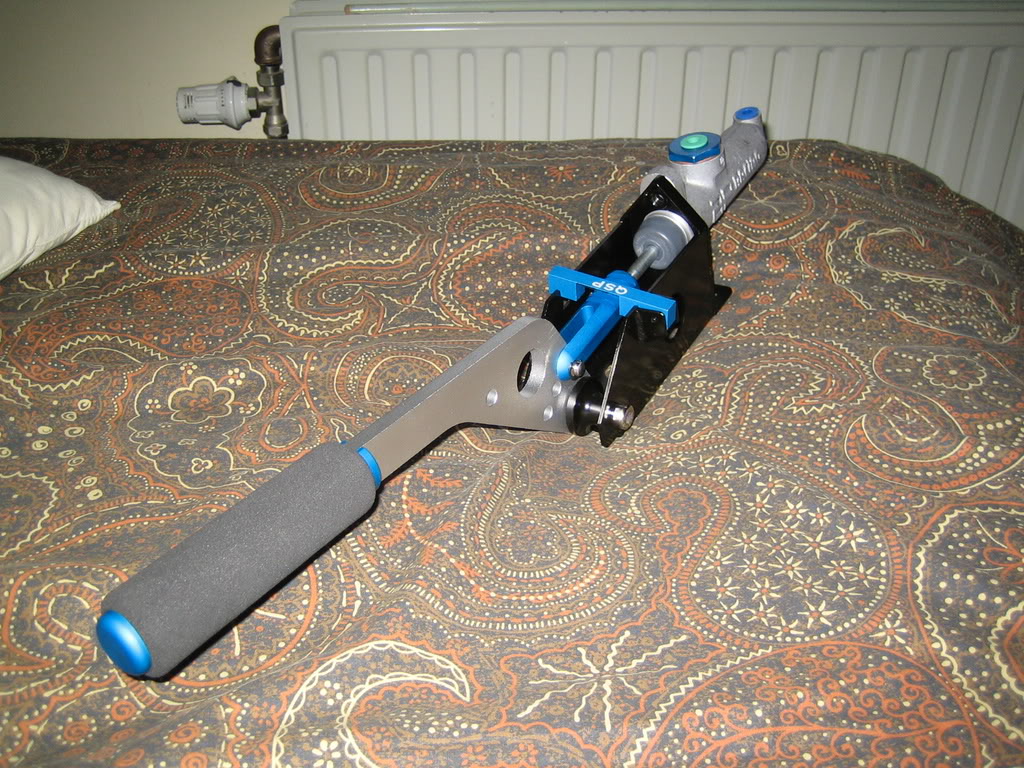
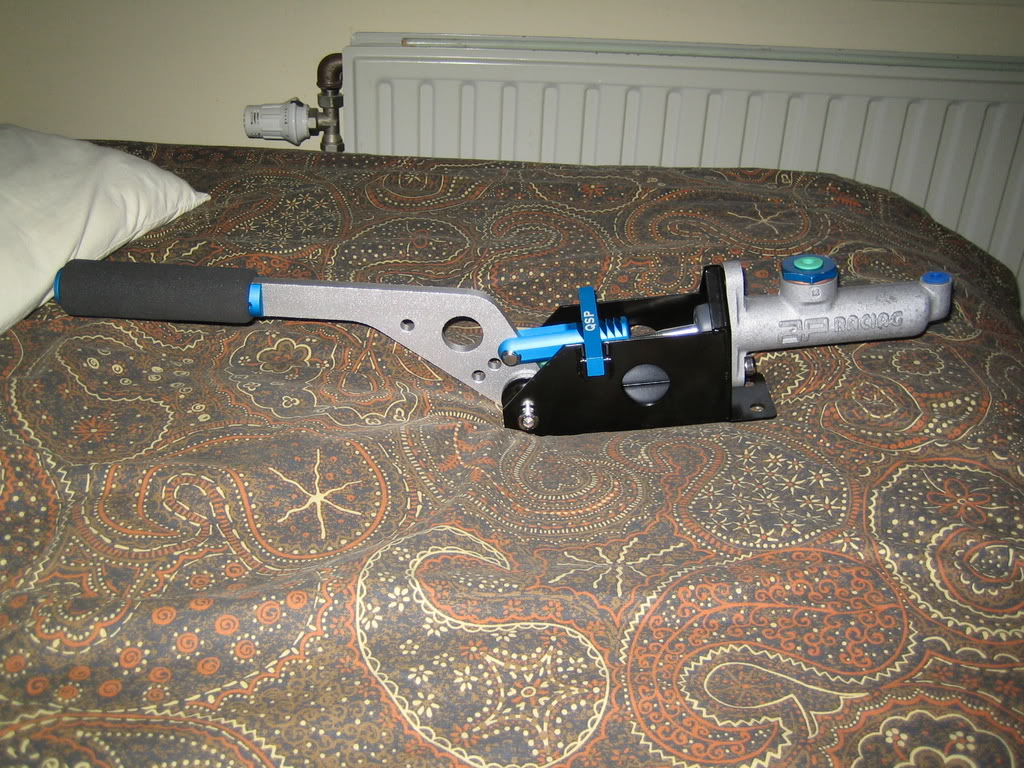
Got me a fuel filter and a hydraulic parking brake today.
Fuel filter:
The hydraulic brake usually comes with a no-name cilinder, but I really wanted all my stuff from AP Racing, so the guy at the shop exchanged it for free, great guy!

Hi,
great project, I'm reading this thread for more than half an hour and I've just registered today^^
Awesome idea and great work!
greets from Germany
Nico
//edit: I just thought of this car ( *klick* ) when I saw your scoob
great project, I'm reading this thread for more than half an hour and I've just registered today^^
Awesome idea and great work!
greets from Germany
Nico
//edit: I just thought of this car ( *klick* ) when I saw your scoob
Last edited by n8i; Mar 23, 2008 at 01:18 AM. Reason: humour added
Thread Starter
Scooby Regular
Joined: Dec 2002
Posts: 458
Likes: 0
-Thanks Schumi.
-Stoneface, I'm not sure actualy I will have look next week.
It is a bit to rough for my liking though.
-Nico, thanks for showing me this, they stole my paintscheme!!!!
I will take action!!
-Stoneface, I'm not sure actualy I will have look next week.
It is a bit to rough for my liking though.
-Nico, thanks for showing me this, they stole my paintscheme!!!!
I will take action!!