When you click on links to various merchants on this site and make a purchase, this can result in this site earning a commission. Affiliate programs and affiliations include, but are not limited to, the eBay Partner Network.
Is there silicone on the plastics? i.e. from dashboard spray dressing such as FlashDash or Cockpit Shine etc? That would cause poor bonding / delamination
The thought had crossed my mind but not many would bother doing it to the boot trim which had the same problem.
Not even Prodrive could get it right thats why the P2 was covered in their factory on a visit in 2018
It�ll just be a matter of finding the right adhesive/epoxy. If I can�t get it to work (I�ll be annoyed if that�s the case after buying the flocking machine) I�ll trim the pieces in alcantara.
Fingers crossed the DA will have got rid of the surface if there was indeed some silicone shine on there. Funny how some want these bits as shiny as possible but I’m wanting to make them as dull as possible.
This paint is surprisingly hard to achieve a nice finish with. The instructions say to do thick coats but then it can build up on contours and the wrinkle turns out uneven. There's a little unevenness around the spark plug holes but it won't be noticeable in the car. Only done the one side so far as I was testing how the paint would react with the etch primer I was using. Other side and inlet manifold will be done to match now I know the primer is ok with the wrinkling. VHT say you don't need a primer but I feel better using one when the parts are aluminium.
Bit of a change of plan with the speedo thanks to a package that arrived from Taiwan earlier:
Going to try and integrate them into the original speedo possibly with a couple of other smaller gauges. It'll be a while before I can tell if the speed is going to read off the ECU accurately but I can buy a GPS module for it if not.
This paint is surprisingly hard to achieve a nice finish with. The instructions say to do thick coats but then it can build up on contours and the wrinkle turns out uneven. There's a little unevenness around the spark plug holes but it won't be noticeable in the car. Only done the one side so far as I was testing how the paint would react with the etch primer I was using. Other side and inlet manifold will be done to match now I know the primer is ok with the wrinkling. VHT say you don't need a primer but I feel better using one when the parts are aluminium.
Well that looks very good, it could be that the paint is self etching.
Well that looks very good, it could be that the paint is self etching.
It's supposed to be self priming but I always prefer using a proper primer, especially on aluminium. I have read of others preferring to use an etch primer underneath too. I tried the radiator brackets before doing the rocker cover without any primer and they turned out terribly. I'll be redoing them for sure.
Given the Spec C manifold a bit of attention today before prepping it for paint. Gave the worst castings a going over with the grinder and file, ground off a few unnecessary lugs and used some epoxy putty to smooth out areas and fill a few holes/indents.
Before:
And now:
Didn�t really need to do any of it but I knew I�d be annoyed with myself if I didn�t. Next up a coat of etch primer then some wrinkles.
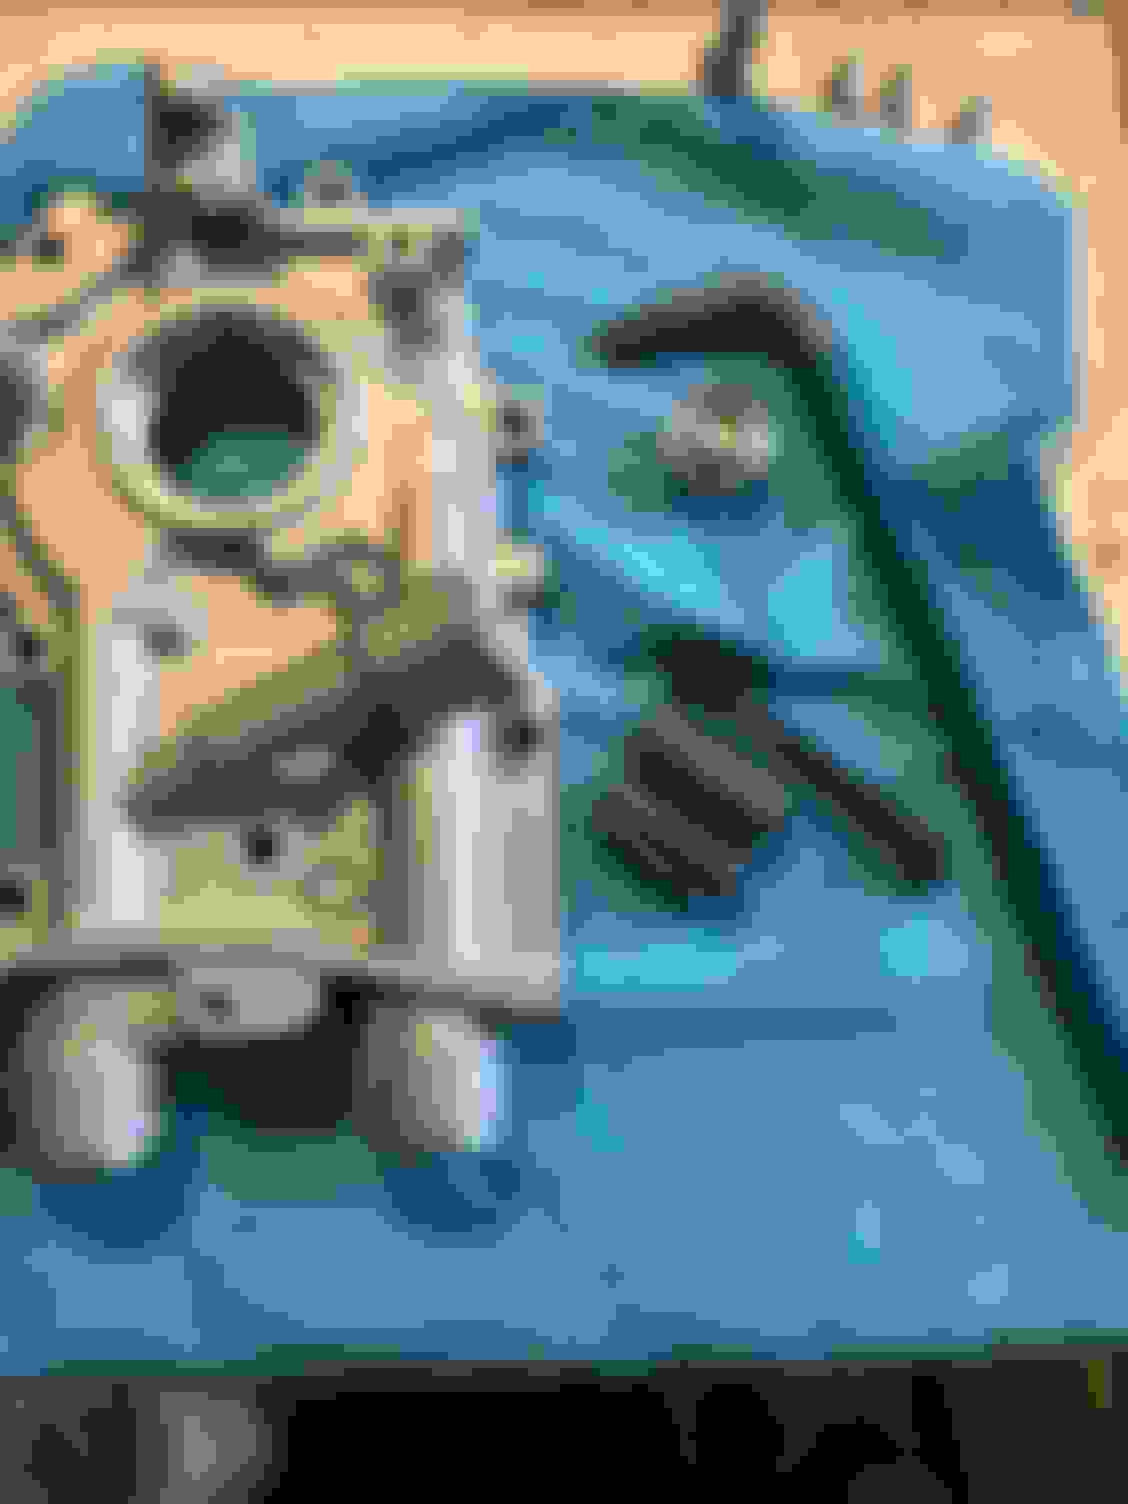
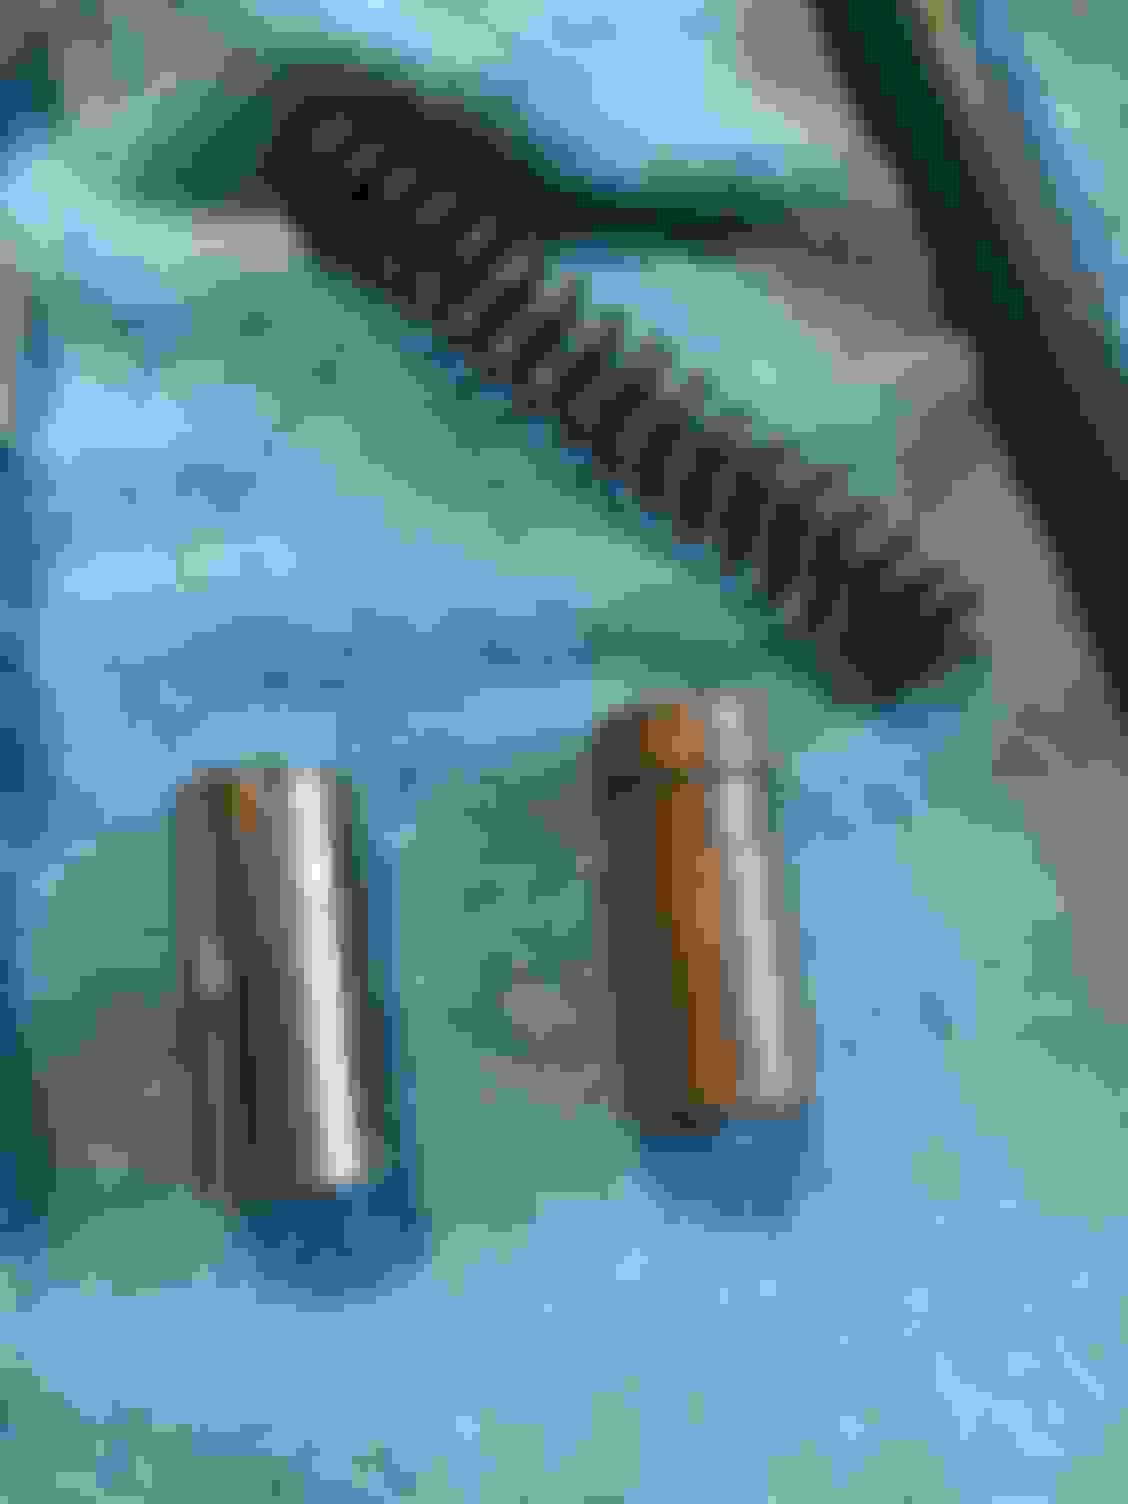
While I�m waiting for the primer to cure on the manifold i got the oil pump out to fit the modified plunger from Fuji Racing, Loctite the rear screws that are known to come loose and prime the pump with a little assembly lube. Might regret that last one as it�s probably going to all come out and make a mess inside the box.
I�ve heard it can happen occasionally. For the cost of the plunger I�d rather switch it out just to be safe. As far as I can tell this is all the modified pumps from RCM etc have done to them only for a much higher cost. I suppose at least they�re ready to bolt on but it really does only take a few minutes to fit to a new pump and Loctite the bolts.
There�s definitely some unevenness in the wrinkles for now but I�m hoping it�ll get better leaving the heater on full whack all afternoon. Thermometer is off the 50 degree scale so it�s certainly toasty in the shed today. Obviously there�s tape on all the bolt holes that needs to come off. I�ll probably just scrape a Stanley blade underneath to get a nice edge to the paint.
RCM modified oil pumps are fully stripped, checked and lubricated / re-assembled so not really as simple as chucking a plunger in there
Fair enough if they�re measuring tolerances or whatever that takes time and time is money but if it�s just a visual inspection of the rotors that can be done when redoing the rear bolts. I�ve got nothing against the RCM pumps, having that peace of mind it�s been checked over and reassembled by an expert can be worth a lot to some people. Hell if I had just spent a lot on a new engine build I might even be tempted by them myself.
Been a long day in the sun but I�ve finally got all the seams stitched from the firewall to the back seats. Still have a little to do at the rear of the car then the wheel arches.
Front arches need tidying up and redoing and the rears need done after I�ve done some work on the strut towers. I�m also going to try tidying up some of the welds inside to make them neater and make sure they�ve penetrated properly. Also need to figure out what I�m doing with the floor harness mounts. The frame rail is right in the way of where they want to go so I either need to spread them out wider or weld at least one on the inside. Neither option is ideal.
The inlet looks alright with the bolt holes revealed:
And last for today the water crossover pipe has had some colour matching:
Sorry for dragging up an old post.. but please be careful with Power Strip, it's nasty stuff. It was me you bought it from.
If anyone else is wanting to use it, being a gel it spreads quite easily so doesn't take a great deal to cover a piece. Coverage is 3sq meters per litre. The get the best results this time of year, apply the stripper then cover with poly masking roll or cling film, pallet wrap or what ever plastic sheeting you have to hand as this will stop the solvent evaporating as quick giving the stripper much longer to work.
I bought some too from your ebay store (small world, didn't realise you were on here). Any other helpful recommendations on keeping safe. Don't want to be getting cancer from it. I'm normally masked up and have the air purifier on when using it along with gloves. Rather be safe than sorry.
The research says the risk of cancer is from contact but it's never been proven. Vinyl gloves are the best for hand protection as they don't seem the be effected like nitrile and latex. I'll wear a pair of work gloves and stick an XL vinyl glove over the top to be safe. Goggles are a given as you only get one set of eyes, being a gel it's extremely unlikely to splash but again, not worth the risk and work in fresh air. Its quite low odour with a mild sweet smell so it can seem like there's not much in the way of fumes but it's the reaction it has with the paint that is the issue here.
Dichloromethane or DMC as its often called breaks down the lipid layers in skin, it can effect nerves so many people don't realise they have it on their skin as there no longer the pain sensation. Last but not least, if you want 1 litre, buy it from eBay, 2.5, 5L and multiples are cheaper on the website. I have to offer free postage on eBay which just means the cost is added into the price, on the website it's a fixed delivery of �5. I use FedEx next day which actually costs me �6 so I'm not trying to rob people with delivery.
Thanks for that mate very informative
Excellent service when I ordered, left you good feedback too.
Got the header tank mounted up to the inlet with some thermal spacers made from some 10mm delrin sheet and a small bracket from some 3mm steel. I had actually made up a bracket aaaages ago before adding the thermal spacers but it didn�t clear the new fuel rails anyway so I had to do it again so decided to add the spacers. Do I think they�ll actually make a difference? No idea but they weren�t much hassle or expensive to make.