When you click on links to various merchants on this site and make a purchase, this can result in this site earning a commission. Affiliate programs and affiliations include, but are not limited to, the eBay Partner Network.
For the last almost 3 years I've driven an NA Hawk Wagon. Always fancied a Bug though so last week I scored a WRX Wagon for an ok price. It's a bit ropey but first impressions are it's fairly free of rust which is what I was after. That remains to be seen if all the hidden parts are in as good condition. Plan is to strip the car back to the shell underneath and do a proper paint and undercoat job on it as well as do a few mods while the car is sat doing nothing. Yes, this is all being done on the driveway.
First two jobs before I could even drive it were to replace the god awful chinese light kit that had been installed (and melted the bulb connecters) and replace the dodgy front O2 sensor.
It still drives pretty nicely for a car with 130000 miles on it after those problems had been sorted. Driven it about 300 miles in the last week just to try and find any big faults but so far it doesn't seem to have any. Just lots and lots of little niggles which I'll work on fixing over the next few months. Car is getting sorned soon then the project can begin. First up will be to fully inspect the car for rot both inside and out.
Last edited by RockyRoad; Nov 8, 2020 at 10:06 PM.
I know the feeling mate, I had my blob wagon off the road for 3 years did all the work myself and all done in the driveway as well, always at the mercy of the weather (and motivation)
Glad to say I got the car back on the road in august of last year, its been great ever since but as always, still a work in progress (aint all scoobys?)
Haven't actually touched the car since parking it last but I did get my diy spray/blasting booth setup.
�50 "greenhouse" from Argos, �7.50 of timber from B&Q and some random piping I had lying around made a place safe from the weather and something to hang parts from. There's a tarp on the ground now too to save the slabs from the paint and sandblasting that will be happening.
That's exactly the idea Henrik! All this is being done at my (very understanding) parents so I don't want anything too permanent.
Here's a sneak peak of the first thing I've been spraying. Very out of practice so I'm probably going to have to redo them to be happy with them but at least I can see how close the colour matches the rest of the car.
This morning I've been messing about with the headlights. Decided I wanted to get the wiring sorted for the new Morette's before taking the car apart. I struggled to find any diagrams/pictures that hadn't been Photobucketed so here is what I figured out myself. No claims about wether it's the correct way to do things or not so if you set yourself on fire following what I've done you can't blame me!
White crocs are the grounds. That extra green croc was only a grounding point for messing about with the multimeter so can be ignored. Outer light is the dipped beam and both lights stay on with the high beam. I also got the indicator and side light sorted but didn't take any good pics of that but if anybody wants some I could try get some. Just waiting on some new waterproof connectors to arrive then everything will be wired in permanently.
And just as a bonus here's the original connector after being subjected to a dodgy chinese conversion by the previous owner:
Started the strip down of the interior a few days ago. Just have the passenger side of the boot and carpet to remove now although I am tempted to remove the dash to get it flocked. Thankfully no rot found yet.
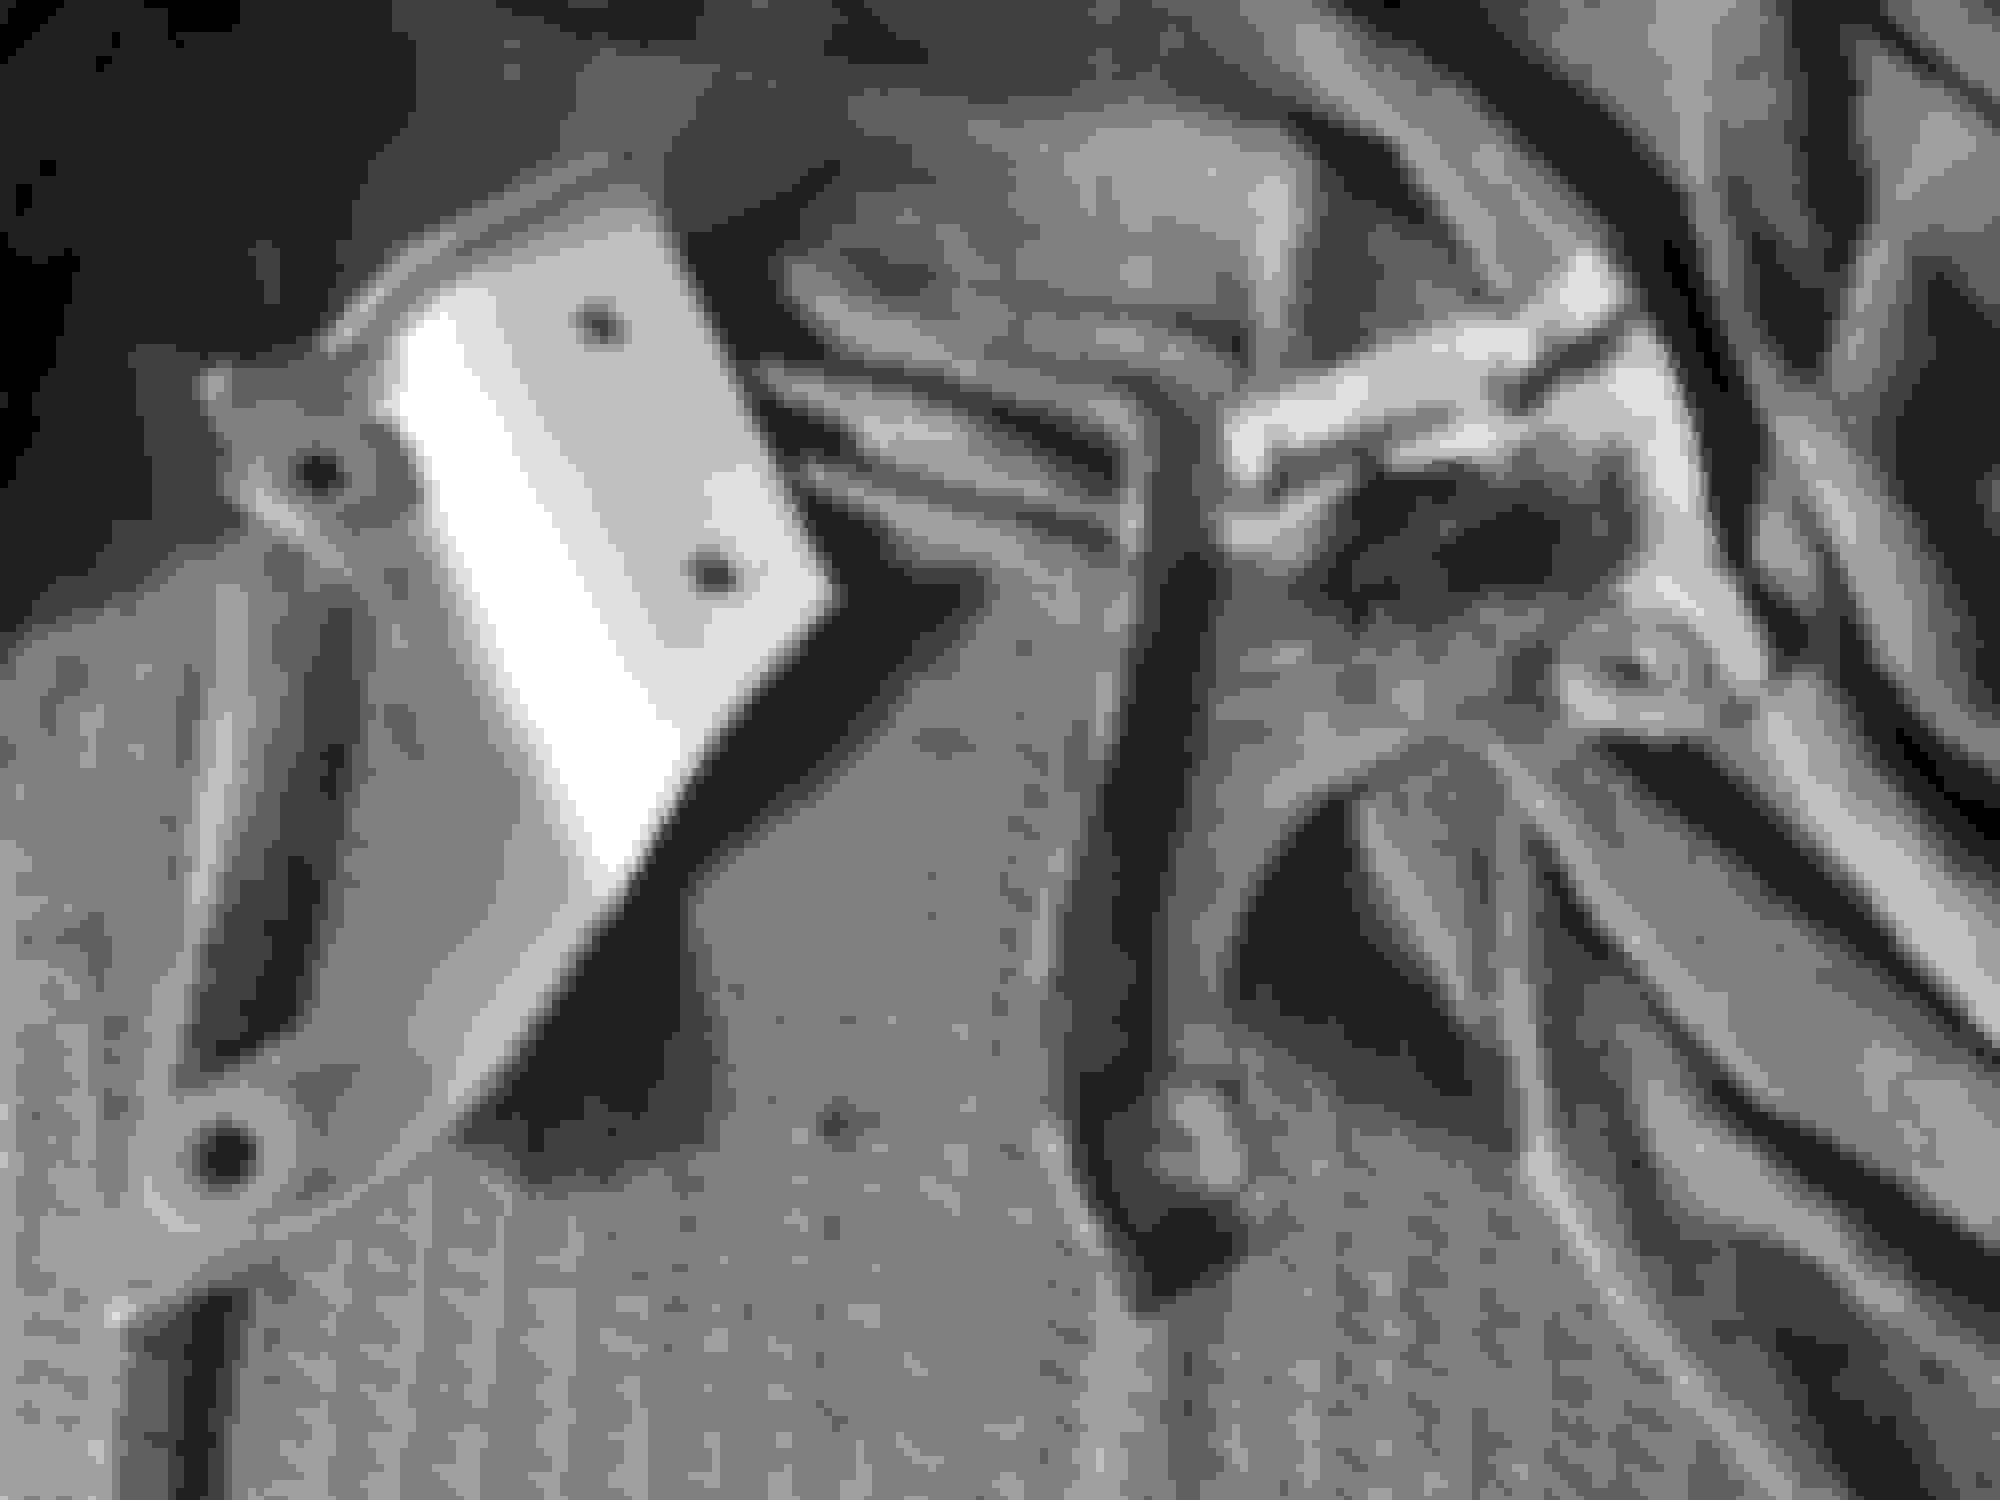
Did find this random spliced in wire off the handbrake switch that went to nothing up past the gear stick. Anybody any ideas what it�s meant for?
Well I have no idea how that wiring worked when it did but once I had wired it up using proper terminals the lights just refused to work. Much swearing and a couple of day’s later I’ve finally got them sussed. Now I can get on with some slightly more fun stuff.
Got the rest of the interior stripped yesterday. Found a massive coin haul of 3p under the carpet! Oh and half a green crayon.
Drivers seat is still in just so I can drive the car up and down the drive if need be.
Also got to try out my new sandblaster. Works surprisingly well even if it does make a massive mess everywhere. Glad I've got an enclosed space to use it.
And after a fresh coat of silver paint.
Whoever had the strut brace previously had done a horrible black paint job on the steel and aluminium parts that was all flaking off. Google appeared to show it was originally raw/silver so I've tried to replicate that. Just need to do something about the bolts now as they look nasty against the fresh paint.
Looking good, sandblaster sounds like fun. Did you paint the brackets with Hammerite?
Couple of coats of etch primer then a few of metallic silver both from Halfords. Supposed to clear coat the silver but I�m not because it gives the finish I�m after without doing it. If the paint doesn�t last I�ll redo it with a satin clear coat.
Well today has been eventful. Decided to do a compression test on the engine just for a bit of peace of mind. All good there. Then I somehow managed to lock the car with the only key in the ignition! Took a while but I eventually managed to get the car unlocked without anything being smashed. Won�t be becoming a master car thief any time soon though. Plan to stop by Timpson�s tomorrow to try get another key cut.
By the time I got back in the car it was dark so last job for the day was to make the mirror switch fit the new centre console.
I�m never going to fit heated seats to this car so the place for those switches was the perfect place for the mirror switch to go. Just had to do a little surgery with a dremel and a file. Just have to remember the switch is sideways when I use it. Might tidy it up a bit more in the future but it�ll do for now.
Got the bumpers, wings and side skirts off a few days ago.
So far no bad rust spots. Except for one of the rear arch lips which has partially disintegrated. Going to take it back to good metal at some point and make the decision if it needs some new metal welded in or if some fibre glass will do a good enough job for a while. I know the proper thing to do is to weld it but I don't have a welder and have no welding experience so if I think I can get away with fibre glassing it that's what I'll do.
Found the source of the leak into the boot which was the spoiler being badly fitted and unsealed. Had to come off anyway as the clear coat has failed so needs a respray.
Just need to get motivated enough to get the car up on some stands to take a proper good look underneath now.
Spent this afternoon fitting one of those intercooler spray bottles in the boot. Sadly the Wagon isn't quite similar enough to the saloon to make it a simple job. Bit of trimming of the mounting bracket, boot floor piece ,a rivnut in behind the light and several hours resulted in something I'm happy with. It's a tight squeeze but it did eventually fit.
Still need to make up a spacer to replace the socket holding up the bottle and I'm in the process of trimming the side carpet piece and adding some extra to cover the bottle but I'm too tired to bother finishing it tonight. Progress so far on the side carpet:
I've got the saloon covering that I'm chopping up and I'll add it to the existing carpeting with some fibre glass. It's never going to look perfect but it's better than leaving the bottle uncovered and constantly getting asked "what's that for" by people.
Hi, looks like your making some good progress, why the IC spray, are you thinking of putting it on the track? what blaster are you using, are you running it off a compressor?
Hi, looks like your making some good progress, why the IC spray, are you thinking of putting it on the track? what blaster are you using, are you running it off a compressor?
Honestly don�t have any good reason for the spray other than why not. The blaster is one of these: https://www.sealey.co.uk/product/563...-22kg-capacity running off a 50 litre compressor. Doesn�t quite keep up with it but it does the job well enough. Just have to stop spraying occasionally to let the pressure build up again.
Bookmarked and watching with interest. I attacked the boot and carpeted area in my 03 Wagon for a sanity check as I have a few bubbles appearing on my rear arches. Thankfully it's all OK and with no signs of rot internally. Credit to you, and I will be taking notes
Thanks all. Not done much more of note since the last update. Got a few more parts stripped and repainted and removed most of the exhaust earlier today. Missing one gasket and the other was in many pieces so that probably explains why it was so damn loud. I've got a full 2.5" Scorpion/Pro R/Prodrive (all made by Scorpion) turbo back system to replace the 3" Japspeed system that was on there. Being nice to the planet with a sports cat in the down pipe unlike the current system.
Don't see this getting finished any time soon but I don't mind that. Would rather take my time and do it right than rush it and regret it further down the line.
Not the most exhilarating update but an update none the less.
Finished wiring in the intercooler spray. Got two options on two switches, an adjustable timer and an always on. Power is taken from the cigarette lighter so will only draw power with the ignition on.
Second switch will get a cover to match the other once I figure out something to fill the hole. Timer is currently set to 5 seconds on 30 seconds off but that�s easily adjusted to basically anything.
Woke up this morning with a sudden urge to rip the dash out. Still undecided if I'm going to get it flocked but it's going to make some of the elctrical work a little easier not having the dash in the way. Car is looking very bare inside now.
Should probably store the airbag away somewhere safe rather than leave it where it is.
I've been a busy bee the last few days making the most of the nice weather. All the front suspension is gone, brakes and ABS pump are off, radiator is out, A/C (gas had already all leaked out!) is gone, turbo eventually came off after a fight all afternoon with one of the nuts and the engine and gearbox are ready to come out next.
Quite a collection of parts in the garden:
Had to laugh when I discovered this. Top marks for ingenuity but I think I'd rather the correct nut.