When you click on links to various merchants on this site and make a purchase, this can result in this site earning a commission. Affiliate programs and affiliations include, but are not limited to, the eBay Partner Network.
Yep I decided the other week I wanted to do the saloon arch conversion. Got the half cut and the rear doors delivered yesterday so I guess I'm committed now. Need to try and get the rear screen out whole so I can recoup some of the costs and it'll be good practice before I decide whether to remove the windscreen and side windows for respraying the car.
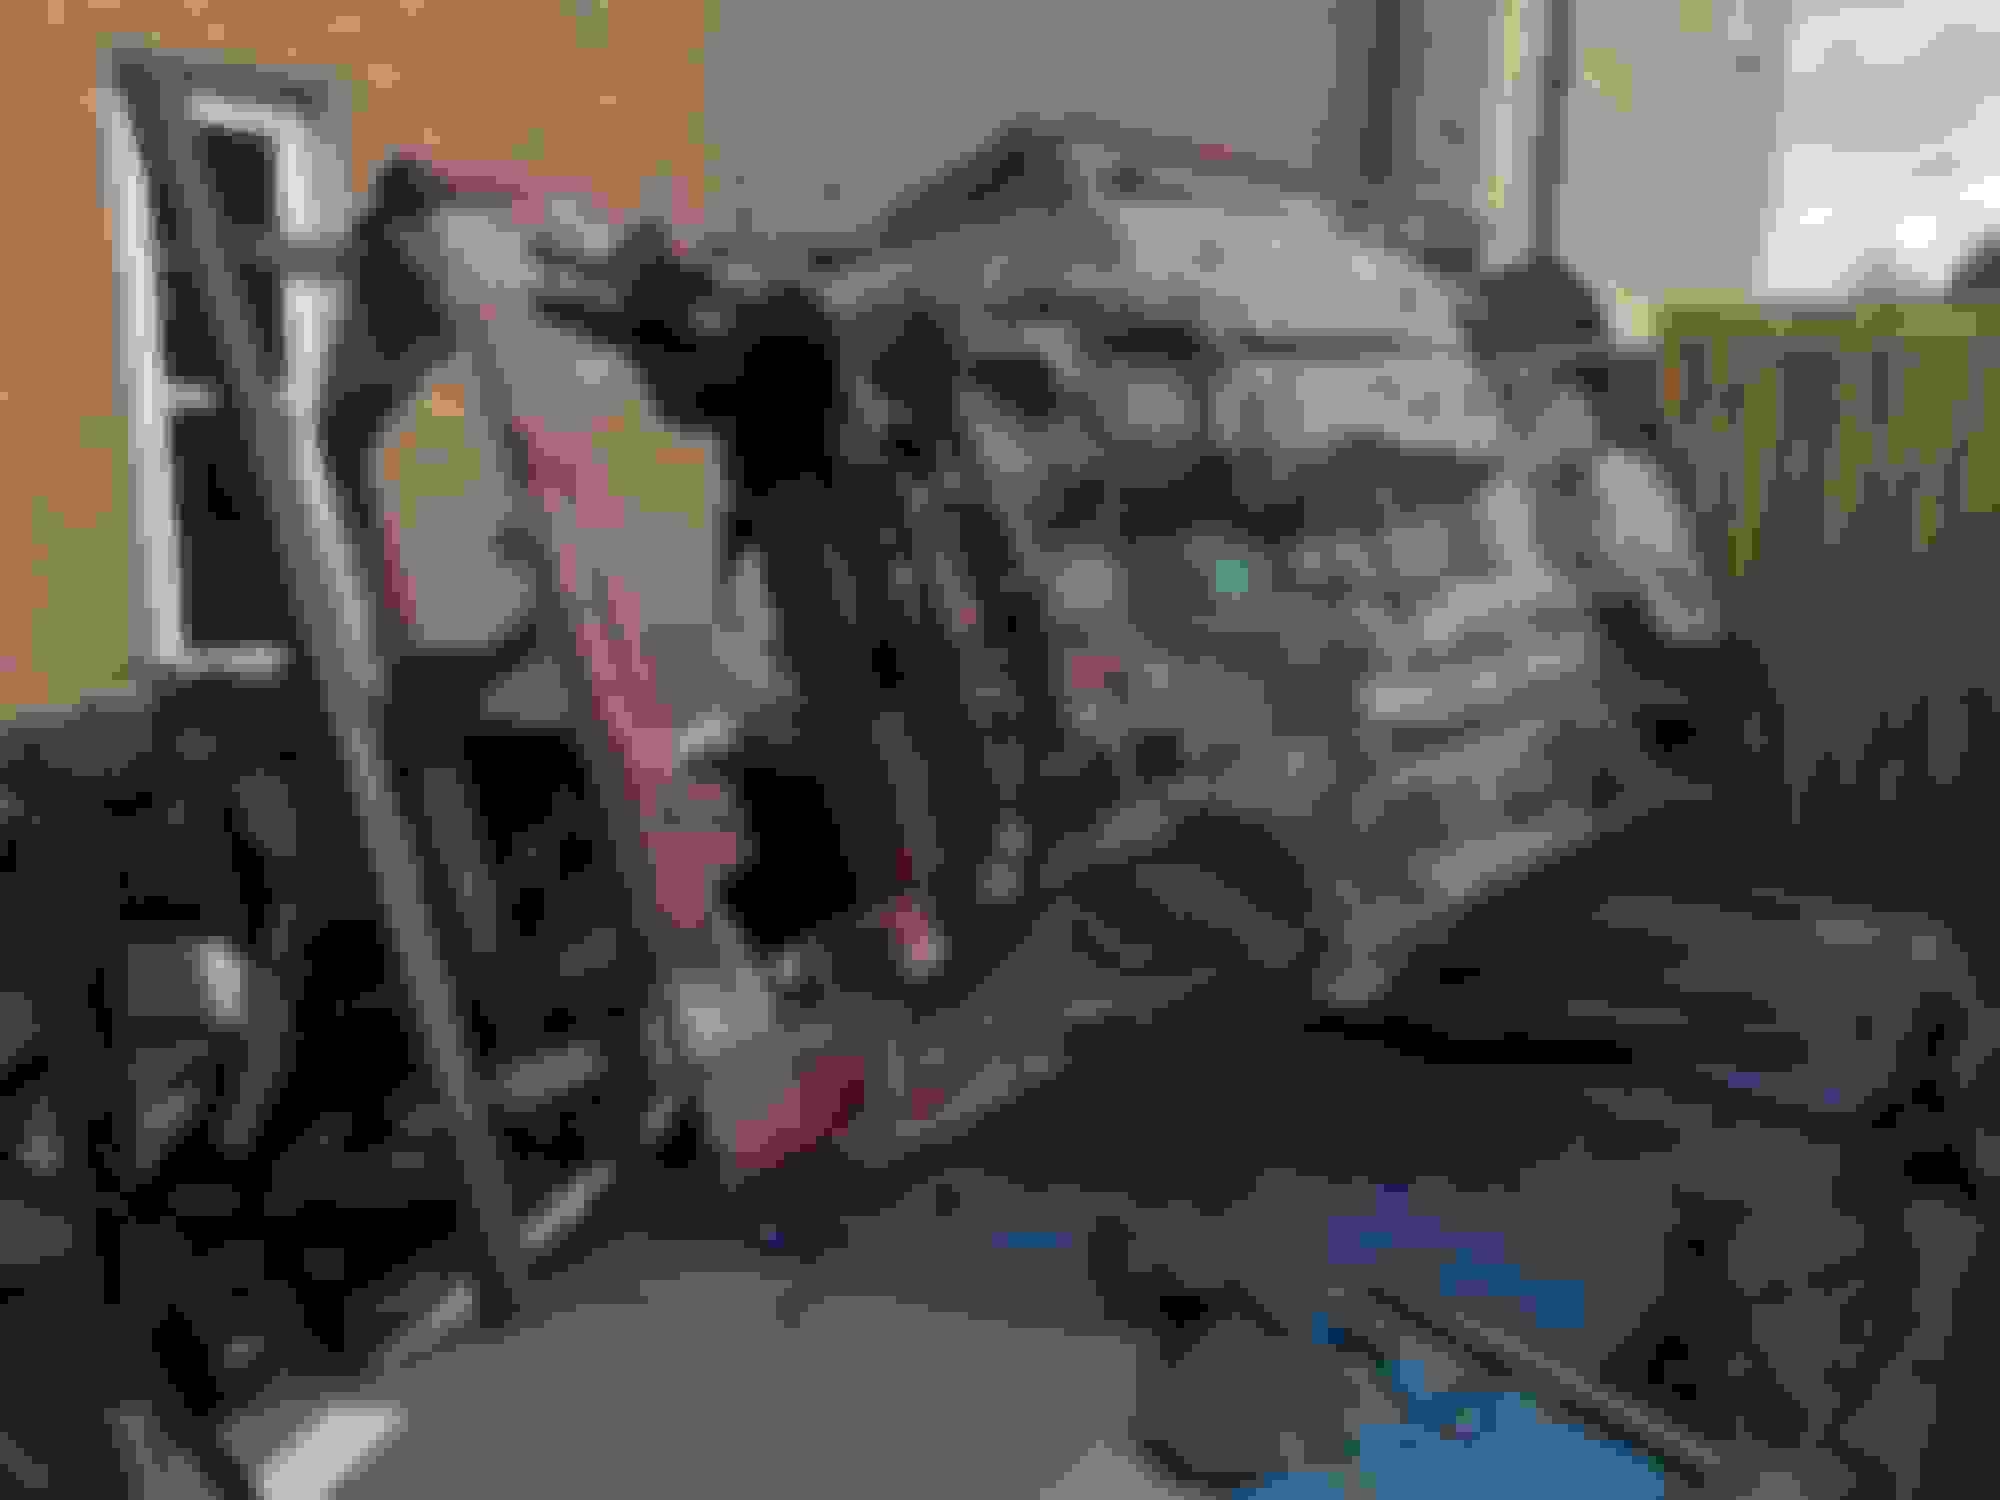
I did think about sticking it in the front garden as a modern art piece for a second.
Part of me was thinking you were going to cut the wagon and turn the shell into a saloon lol. I didn't think you were doing the arch conversion because you just painted the front wings. Will you be changing them too.
Ah if you had looked closely at the front wings you would have spotted they're actually saloon wings. I had always planned for the saloon front end conversion but it's only recently I talked myself into doing the rear. It'll look epic so long as I don't **** it up
Given that Deox C stuff a go the last few days. It's not quite managed to clear up the rear hubs even after a few days and a couple of dunkings but it still does a pretty good job.
There's a very obvious difference where the part was above the water line in the barrel. I was surprised how much paint has actually survived.
I wonder how electrolytic rust removal would work on those hubs? It works really well for rusty bits on old vices / lathes / other random bits, so might be worth a go.
All you need, really, is an old battery charger or other dc current source, so something to think/read up about
I might try a bit of electrolytic removal or I could try a stronger concentration of the Deox but I’ll probably just use the sandblaster on them. I bought a small cabinet recently for smaller bits to save getting covered in all the sand. It does give a perfect key for paint too.
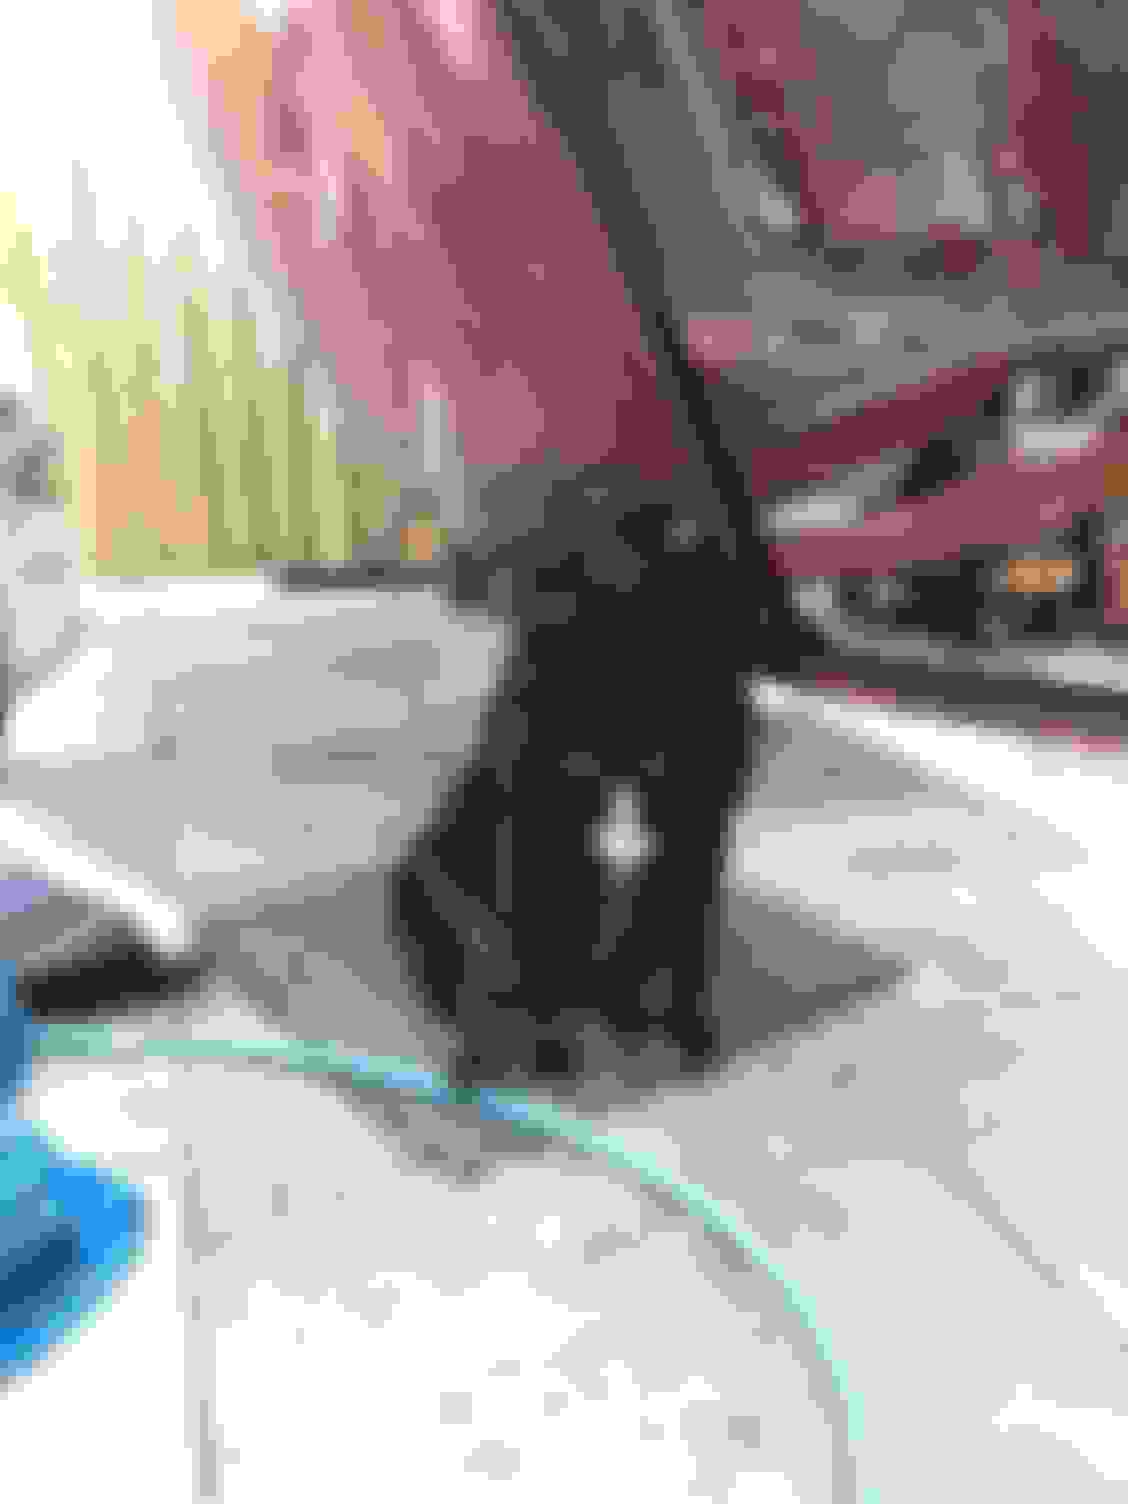
Surprisingly I got the saloon rear window out without breaking it so if anybody's after one in the south east of Scotland let me know.
Still haven't decided if I'm going to take the windscreen out yet. It was a lot of effort to get that one out in one piece and I'd rather not force myself to have to buy a new windscreen no matter how much I want one of those heated ones.
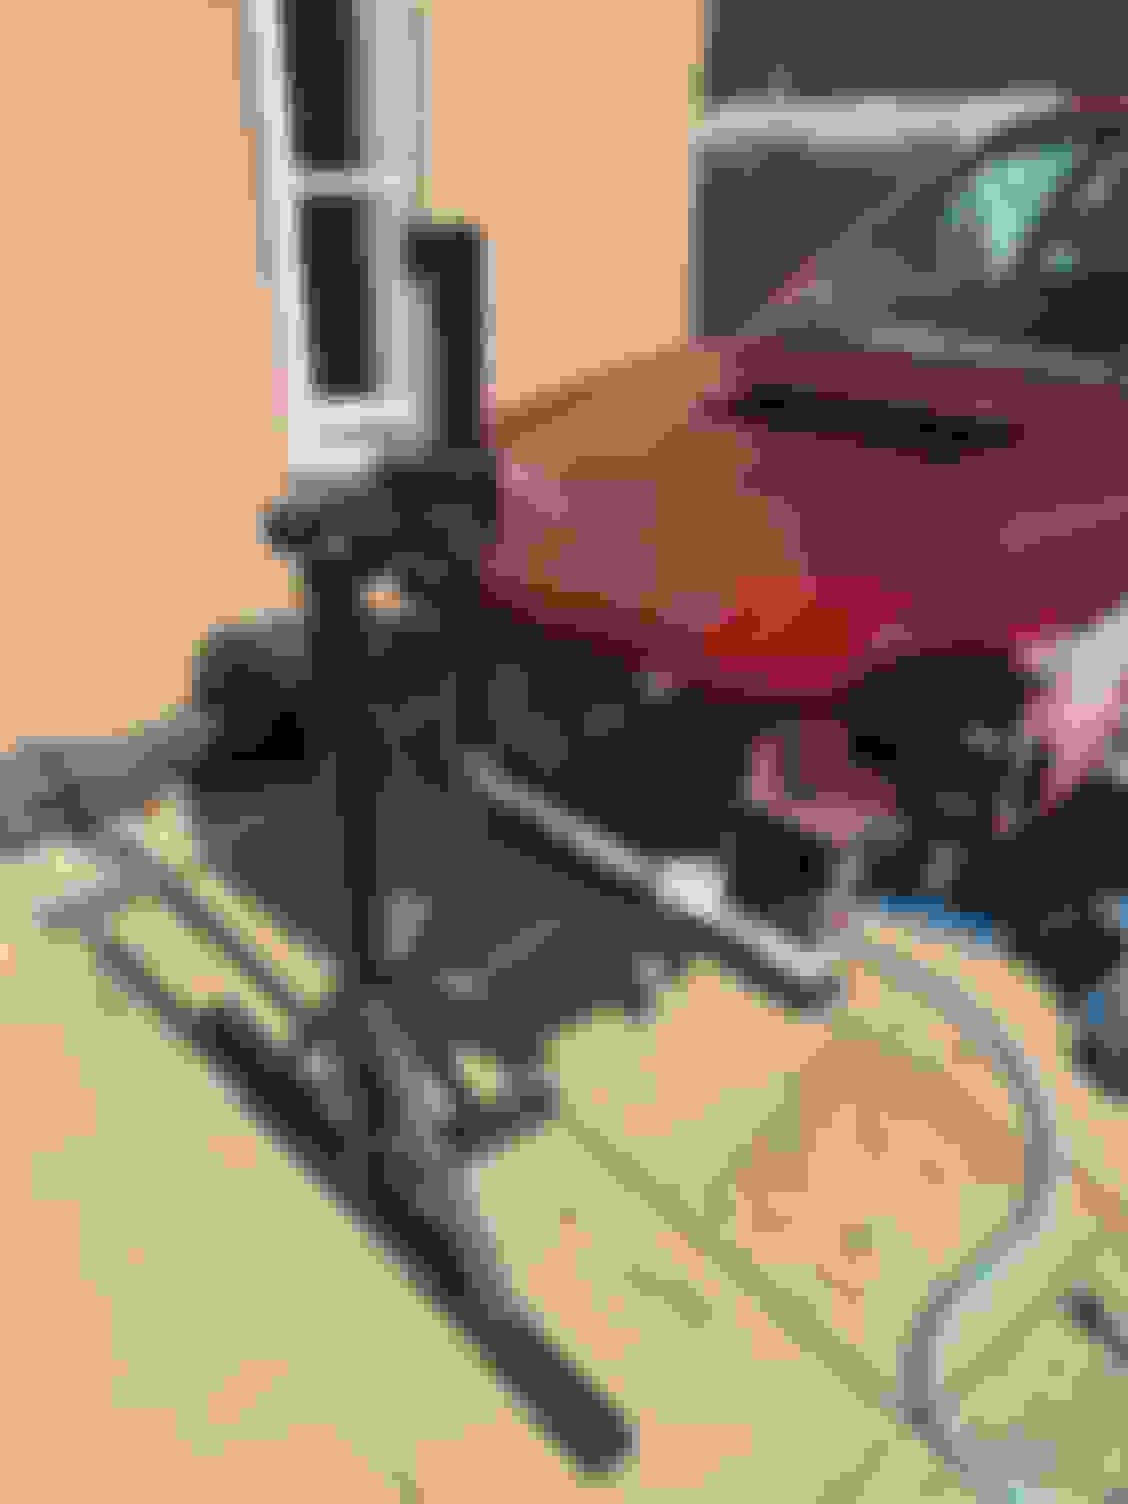
In reality I've had it for a while but I've been procrastinating too much to get it painted and setup. Just want to finish welding in the feet for the cage then it'll get some use.
That's the cage feet tacked in. I got distracted before fully welding them but I'll do that next. Haven't done the strut tower plates yet as I have some repairs to make on the driver side.
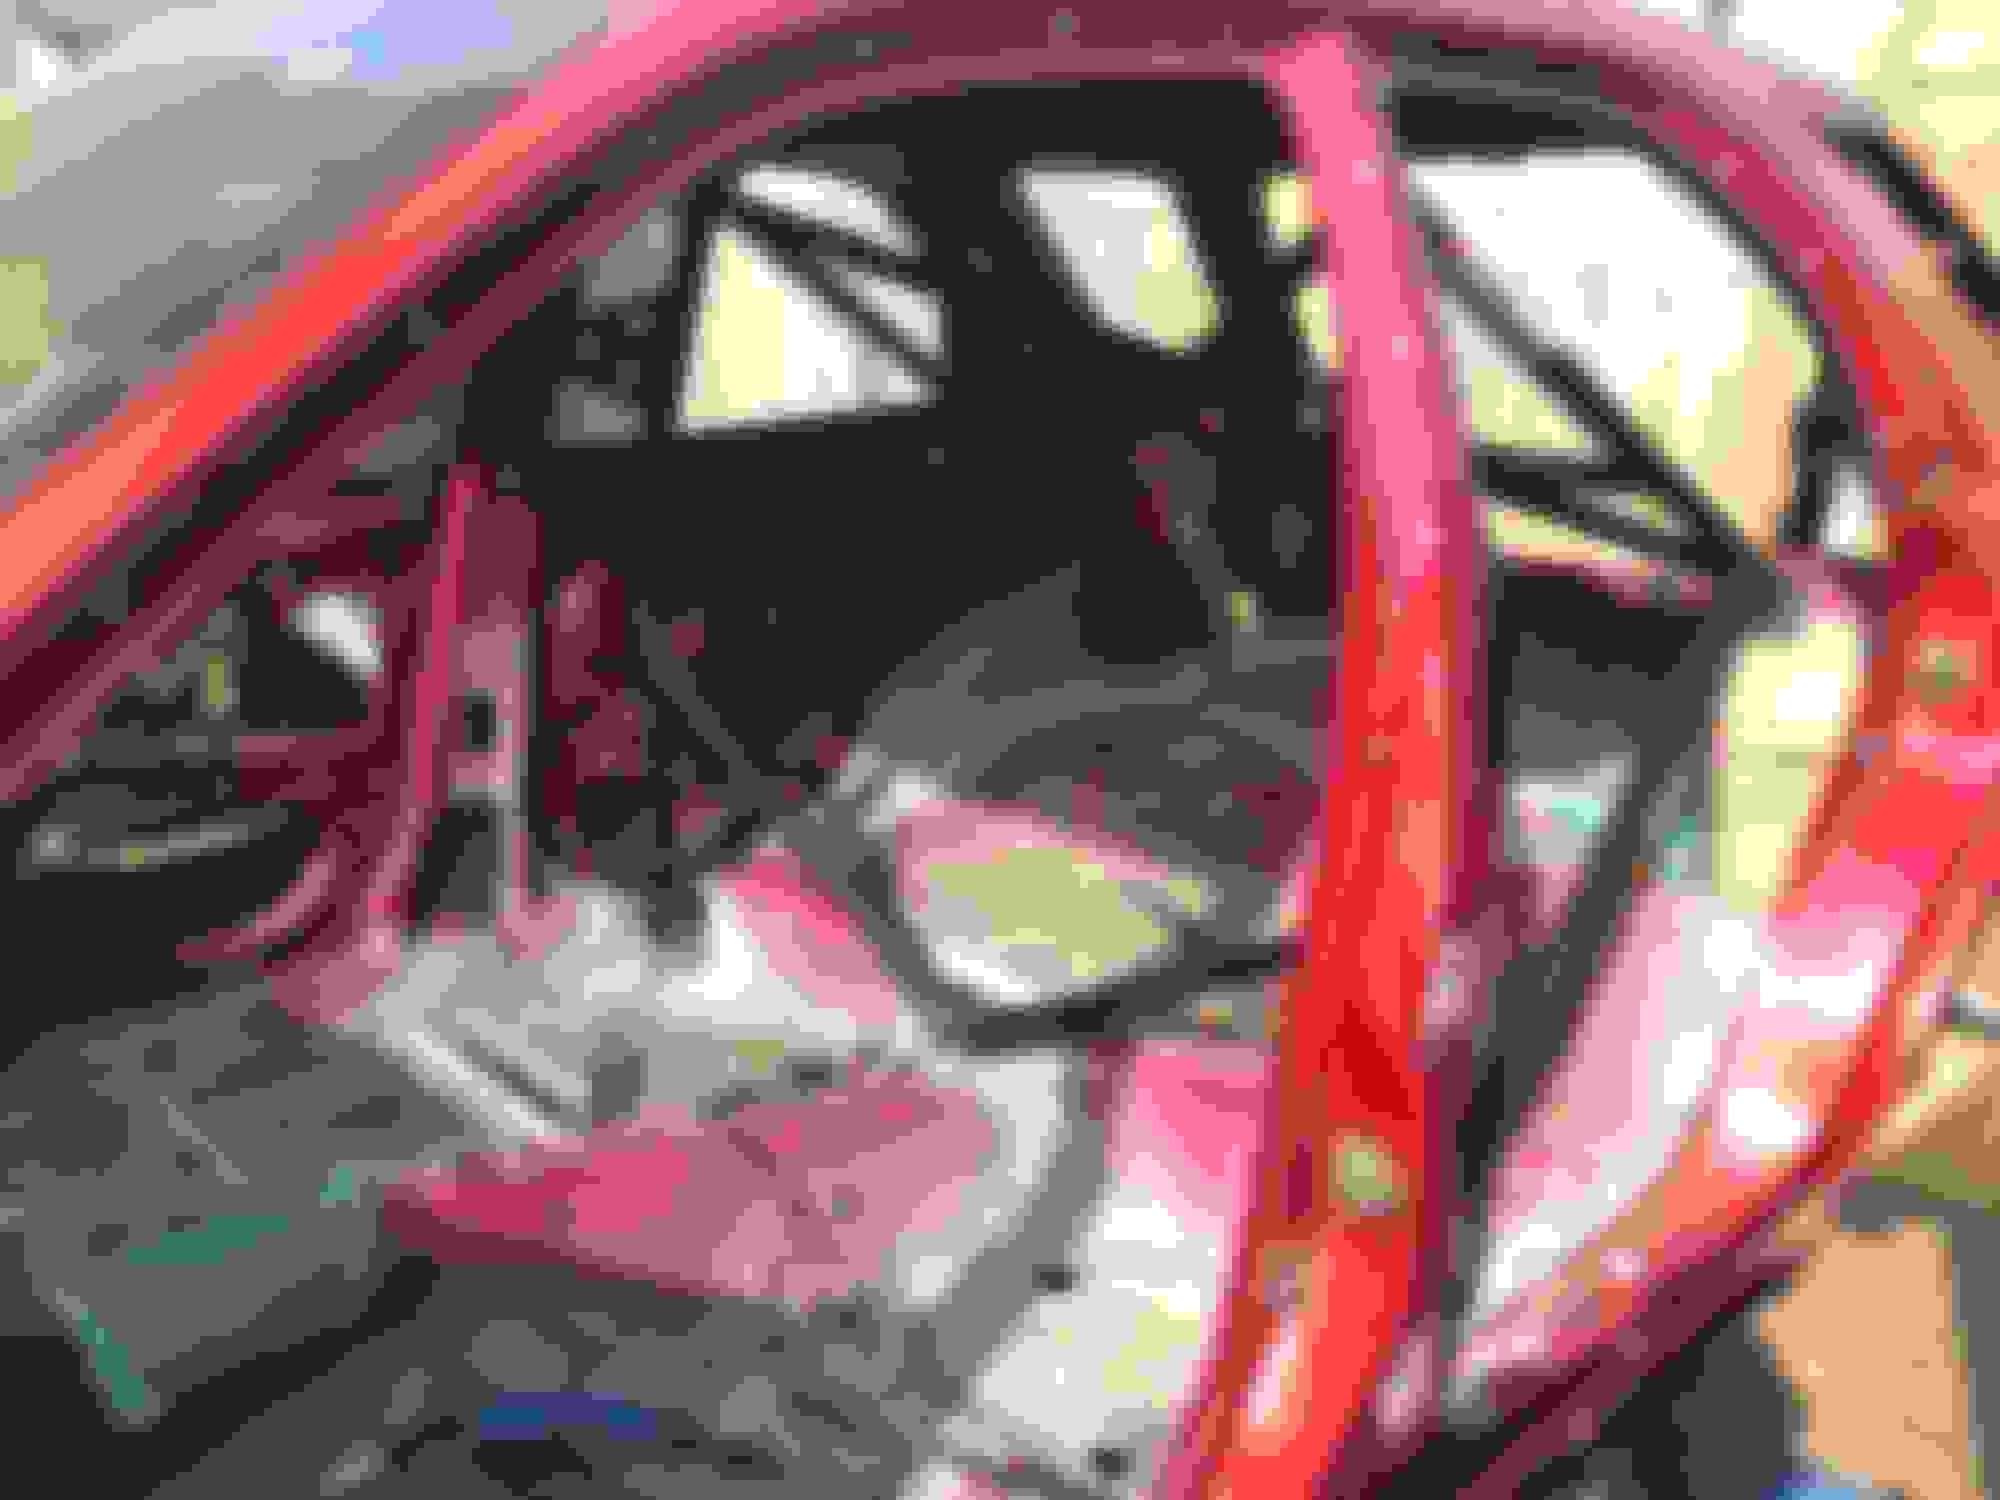
No doors means the car needs tucked into bed in case it rains.
Your welding is improving, neater more penetrating.
How do intend to protect inside the box sections from rust because the welding will have burnt off the paint.
Yeah I was pretty happy with how those welds turned out. At a minimum every crevice is going to get a good coating of cavity wax but I’m considering some sort of zinc or epoxy primer inside first. I’ve also thought of capping off the frame rails and sills etc then filling them with Deox-C but I’m not sure I trust I could get them dried out properly.
Looks like the rear wheel arch where the hole is? Check up in the rear turrets especially right at the top, on the wheel arch side rather than the boot side. hard to see (unless its on a rotisserie ) Its a common weak spot usually hidden out of sight and causes all manner of trauma. Once that underseal is off hopefully you will find metal rather than fresh air!
Looks like the rear wheel arch where the hole is? Check up in the rear turrets especially right at the top, on the wheel arch side rather than the boot side. hard to see (unless its on a rotisserie ) Its a common weak spot usually hidden out of sight and causes all manner of trauma. Once that underseal is off hopefully you will find metal rather than fresh air!
What you've described is exactly where it is. I wasn't surprised to find problems here. Not too much of a worry as the whole area needs work for the arch conversion and roll cage plates. I'll probably cut it right out and weld in some 2mm plate to get rid of the double skin which is what causes the problem when the seam sealer fails.
What you've described is exactly where it is. I wasn't surprised to find problems here. Not too much of a worry as the whole area needs work for the arch conversion and roll cage plates. I'll probably cut it right out and weld in some 2mm plate to get rid of the double skin which is what causes the problem when the seam sealer fails.
Great stuff, I knew you'd be on the ball. This area kills many Wagons sadly. Despite being shiny looking and nice paintwork those rear arch tubs are a proper pain in the ****. Also, check the inner arch where the rear seat back clicks into place, they seem to rot just below but on the inside under the trim/soundproofing weirdly.
Good luck though, following with interest, great work so far
Finished getting the HVAC controls from a Hawkeye colour changed thanks to some incredibly fiddly PLCC-4 LED's and some soldering. None of this nonsense drilling with extra cabling and LED's that I've seen others do which never looks as good with bright spots.
And in bigger news the quarter panels are off the half cut. Managed to put a small cut in one of them going too far with the grinder underneath but that'll weld back up. Cut through the inner arch to separate the panels from the remains of the shell so I need to remove the remains of the inner arches from the outer arches still. Drilled the spot welds around the door so hopefully it don't be too difficult to line up the panels.
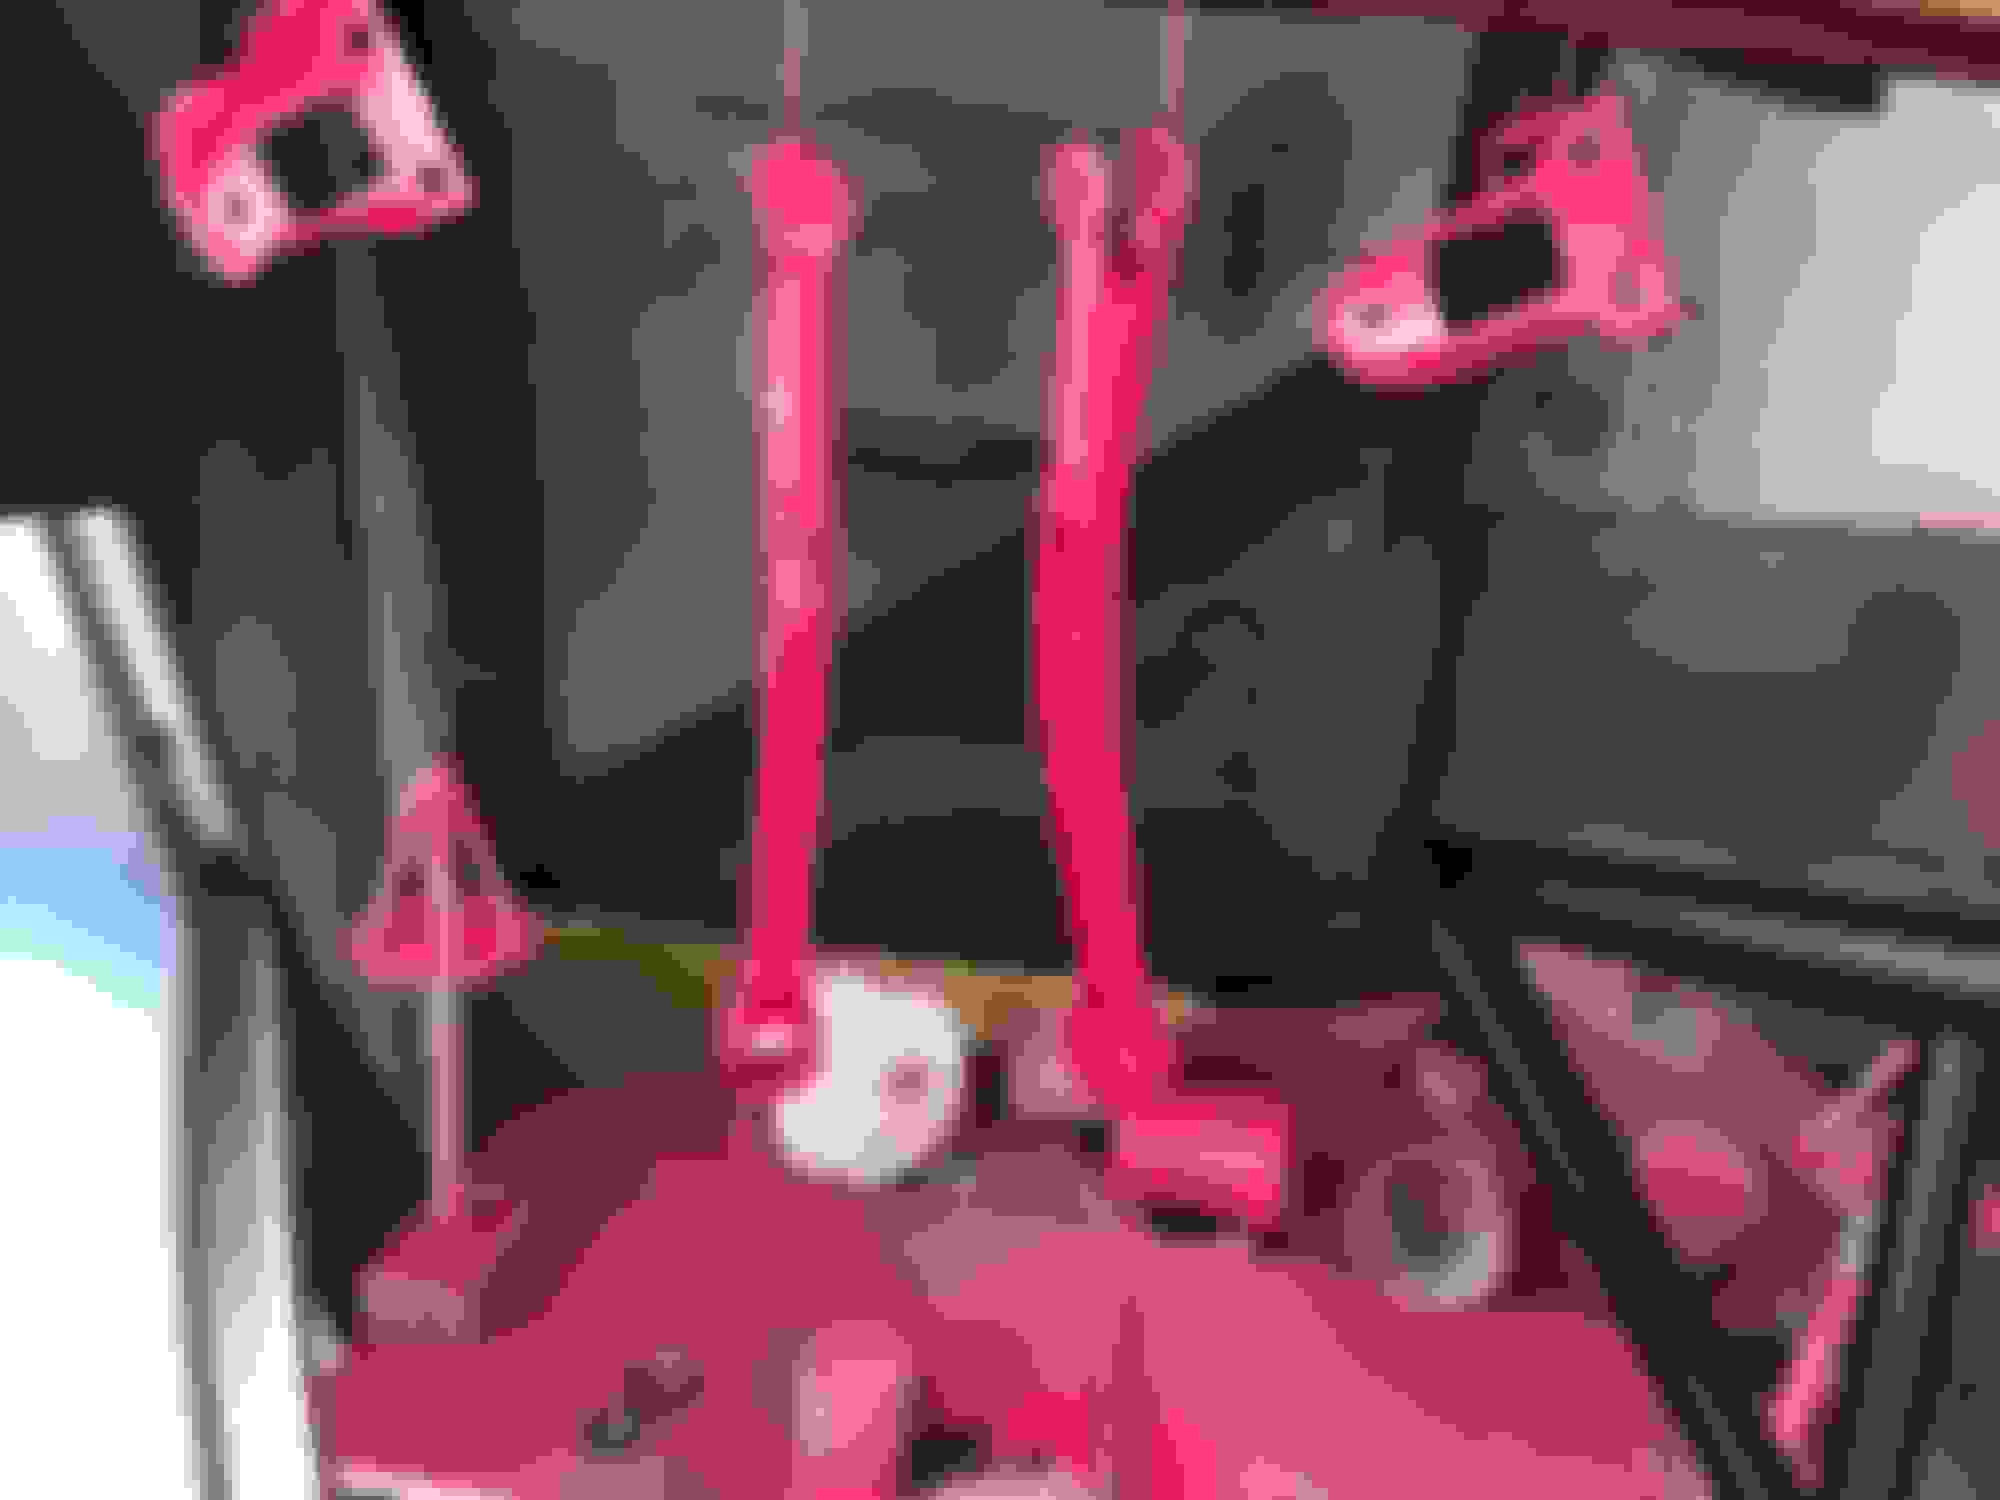
You also painted your table, those cups & that weird pointy TV aerial looking thing pink too...?
That's just overspray from when I painted the wheels for my Hawk. I didn't even spray the arms there. The pointy thing is actually a spinny stand for the wheels to make spraying them easier. Don't have any pictures of them annoyingly but they are useful.
That's just overspray from when I painted the wheels for my Hawk. I didn't even spray the arms there. The pointy thing is actually a spinny stand for the wheels to make spraying them easier. Don't have any pictures of them annoyingly but they are useful.
Rather disappointingly the epoxy failed after a few months on the shelf. While the flocking still looked good, the epoxy just came away from the plastic trim in sheets despite proper cleaning and a decent key. I�ve used a 40 grit disc on a DA to give the plastic an even more aggressive key this time and also used some plastic primer to hopefully stop the epoxy lifting off the plastic. We shall see how that�s worked out in a few months. If it fails this time I�ll need to find a different adhesive but this one is already the proper flocking epoxy so it shouldn�t be having these problems.
Is there silicone on the plastics? i.e. from dashboard spray dressing such as FlashDash or Cockpit Shine etc? That would cause poor bonding / delamination
Rather disappointingly the epoxy failed after a few months on the shelf. While the flocking still looked good, the epoxy just came away from the plastic trim in sheets despite proper cleaning and a decent key. I�ve used a 40 grit disc on a DA to give the plastic an even more aggressive key this time and also used some plastic primer to hopefully stop the epoxy lifting off the plastic. We shall see how that�s worked out in a few months. If it fails this time I�ll need to find a different adhesive but this one is already the proper flocking epoxy so it shouldn�t be having these problems.
Hope your home flocking lasts.
Not even Prodrive could get it right thats why the P2 was covered in their factory on a visit in 2018


 ) Its a common weak spot usually hidden out of sight and causes all manner of trauma. Once that underseal is off hopefully you will find metal rather than fresh air!