HOW TO: Change Discs/Pads and Fluid on 2008 Hatch
 23 April 2012, 10:19 AM
#1
Scooby Regular
Thread Starter

Join Date: Oct 2011
Location: Cambridge
Posts: 447
Likes: 0
Received 0 Likes
on
0 Posts
I have just changed the Brakes on my neighbours 2008 STi Prodrive Hatch and I thought I would do a write up on how to do it.
I split the process down into 2 spereate jobs. 1) Change Discs and Pads 2) Change Fluid
We were changing the brakes all round as the pads were getting low and the discs had a lip on them, front and rear. The calipers were standard black brembo fitment.
1)CHANGE DISCS AND PADS
Step 1:
Remove Brake fluid cap and Loosen wheel nut on first wheel (We are starting with the front wheels)
Step 2:
Jack up the front wheel either side does not matter just whichever you prefer to start with.
Step 3:
Remove Wheel
Step 4:
Looking at the caliper at the back top you will see two clips going through the pins. These pins hold the pads into the caliper. Remove the clips by using a screwdriver to prise up or use a pay of pliers. On one wheel we had a stubborn clip but after a bit of wiggling it came out. Put the 2 clips somewhere safe so you dont loose them.
Step 5:
With the clips removed the pins came be removed. To do this find a suitablle drift, we used a small 6mm drill bit and place it on the front of the pin (The bit you can see on the outside of the caliper facing the road) Gently tap the drift to push the pin through the hole. When it is out one side get some pliers on the back end of the pin and wiggle it out. Pushing down on the spring will also help to remove it with ease. With one pin out the spring can be removed. With the spring removed do the same on the other pin. Put the pins & spring to one side and dont loose them. Maybe a good idea to give them a clean up as all the crap and brake dust on the caliper can crud them up.
Step 6:
As we were changing the discs as well we were a bit heavier handed in getting the old pads out. Stick a flat screwdriver in between the pad and disc and push the pads back. When there is a gap the pad should slide upwards and out of the caliper. With one pad out remove the metal plate from the rear of it and clean it and put it to one side. Place the old pad back in the caliper but longways and pull against the discs so it leverages the pistons back in. Do the same with the other pad. Discard old pads (But remember to keep the 2 metal plates, they have arrows on them)
Step 7:
By now we should have a caliper ready for reinstall of brake pads but as we are changing the discs the caliper has to be disconnected. At the rea of the backing plate there are 2 19mm bolts which hold the caliper on. Nothing in this whole process is reverse threaded so its all lefty loosely, righty tighty. With these 2 bolts removed have something handy like a small bucket to rest the caliper on under the wheel arch so the brake line doesn't get stretched/stressed.
Step 8:
With the caliper out of the way the discs should just slide off, if not hit it lightl with a hammer and it will come off, there is nothing else holding it on.
Step 9:
Thats everything done now to disassemble. To reassemble:
Put new disc on.
Step 10:
Put caliper back on and tighten up the 2 19mm bolts. As we were going to be changing the brake fluid we sprayed all the bleed nipples lightly with plusgas ready for the next job.
Step 11:
So now we have the disc on and the caliper reconnected. Get the new pads and the metal plates you removed from the old pads. Put these on the new pads. You will notice that the metal plates have an arrow on them. This means when you install the pad the arrow should be pointing up. As we pushed the pistons back with the old discs and pads then this new ones should slide straight in.
Step 12:
Put one of the pins into the caliper but make sure the hole in the pin is facing out so you can put the clip back in shortly.
Step 13:
With one pin in place slide the spring plate under it and then reinstall the second pin.
Step 14:
With the pins in and the plate in put the 2 clips through the pins.
Step 15:
Put Wheel Back on and lower the car
Step 16: Repeat the other side.
Now the rears!!
 23 April 2012, 10:29 AM
#2
Scooby Regular
Thread Starter
Join Date: Oct 2011
Location: Cambridge
Posts: 447
Likes: 0
Received 0 Likes
on
0 Posts
Step 1:
Chock front wheels and then Loosen wheel nut on first rear wheel
Step 2:
Jack up the rear end so both wheels are off the ground. Do not rely on jacks, please use axle stands for you own safety.
Step 3:
Remove Wheel
Step 4:
Looking at the caliper at the back top you will see two clips going through the pins. These pins hold the pads into the caliper. Remove the clips by using a screwdriver to prise up or use a pay of pliers. Put the 2 clips somewhere safe so you dont loose them.
Step 5:
With the clips removed the pins came be removed. To do this find a suitablle drift, we used a small 6mm drill bit and place it on the front of the pin (The bit you can see on the outside of the caliper facing the road) Gently tap the drift to push the pin through the hole. When it is out one side get some pliers on the back end of the pin and wiggle it out. Pushing down on the spring will also help to remove it with ease. With one pin out the spring can be removed. With the spring removed do the same on the other pin. Put the pins & spring to one side and dont loose them. Maybe a good idea to give them a clean up as all the crap and brake dust on the caliper can crud them up.
Step 6:
As we were changing the discs as well we were a bit heavier handed in getting the old pads out. Stick a flat screwdriver in between the pad and disc and push the pads back. When there is a gap the pad should slide upwards and out of the caliper. With one pad out remove the metal plate from the rear of it and clean it and put it to one side. Place the old pad back in the caliper but longways and pull against the discs so it leverages the pistons back in. Do the same with the other pad. Discard old pads (But remember to keep the 2 metal plates, they have arrows on them)
Step 7:
By now we should have a caliper ready for reinstall of brake pads but as we are changing the discs the caliper has to be disconnected. At the rea of the backing plate there are 2 17mm bolts which hold the caliper on. Nothing in this whole process is reverse threaded so its all lefty loosely, righty tighty. With these 2 bolts removed have something handy like a small bucket to rest the caliper on under the wheel arch so the brake line doesn't get stretched/stressed.
Step 8:
With the caliper out of the way the discs are almost ready to be removed. Rotate the opposite wheel until the dust boot in the centre of the disc is at the very bottom.
Step 9:
Remove dust boot and look through. You should see a metal cog type thing. Using a flat screwdriver we flicked the cog up 4 times. This frees off the handbrake shoes. The disc can now be removed.
Step 10:
Thats everything done now to disassemble. To reassemble:
Put new disc on and rotate the opposite wheel until the hole is at the bottom. Flick the metal cog down 4 times to put the handrake back to were it was. Put rubber dust boot back in.
Step 11:
Put caliper back on and tighten up the 2 17mm bolts. As we were going to be changing the brake fluid we sprayed all the bleed nipples lightly with plusgas ready for the next job.
Step 12:
So now we have the disc on and the caliper reconnected. Get the new pads and the metal plates you removed from the old pads. Put these on the new pads. You will notice that the metal plates have an arrow on them. This means when you install the pad the arrow should be pointing up. As we pushed the pistons back with the old discs and pads then this new ones should slide straight in.
Step 13:
Put one of the pins into the caliper but make sure the hole in the pin is facing out so you can put the clip back in shortly.
Step 14:
With one pin in place slide the spring plate under it and then reinstall the second pin.
Step 15:
With the pins in and the plate in put the 2 clips through the pins.
Step 16:
Put Wheel Back on and move onto the other side
Step 17:
Repeat the other side then lower the car.
Step 18:
Put the brake resevoir cap back on and follow the bedding in procedure for your new pads/discs. Ours came with a very comprehensive bedding in procedure which was follwed to the letter as the pads and discs were quite expensive and we did not want to skimp at this stage.
Now the fluid!!!
23 April 2012, 11:19 AM
#3
Scooby Regular
Thread Starter
Join Date: Oct 2011
Location: Cambridge
Posts: 447
Likes: 0
Received 0 Likes
on
0 Posts
FLUID CHANGE:
Items required:
1l Brake fluid (We used Silkolene Race Pro)
11mm Ring spanner
Length clear rubber pipe
Bottle of some sort to catch old fluid
Turkey Baster
Squirty bottle with soapy water
1 x Willing helper
We did this the old fashioned way without using pressure bleeders or one man kits just to ensure we got it all right.
The 2008 hatch has 2 seperate brake circuits which are diagonal so the bleed sequence is a bit odd and not like the old way of furthest to closest.
Our sequence was Passenger Front - Driver Rear - Driver Front - Passenger Rear.
Step 1:
Remove brake fluid resevoir cap and filter.
Step 2:
Using turkey baster suck out as much as possible from the resevoir of the old fluid.
Step 3:
Fill up the resevoir with new fluid.
Step 4:
Jack up first wheel in the sequence and remove the wheel.
Step 5:
Looking at the caliper you will see 2 bleed nipples. Start with the inner one.
Lift off the dust boot from the nipple. Place 11mm ring spanner over the nipple and give it a little twist to lossesn then close again.
Step 6:
With the spanner still on the nipple place you rubber tube into a bottle and place the other end onto the nipple.
Step 7:
With the willing helper in the car ask them to apply pressure to the brake pedal. With pressure applied open the nipple and the fluid will come out and the brake pedal will drop to the floor.
Step 8:
With the pedal on the floor close the nipple and ask the helper to take there foot off the pedal.
Step 9:
Repeat steps 7&8 until new fluid comes through. (Ours was the same colour but did quite a few until we thought new stuff had come through.
Step 10:
With the inner nipple done repeat the same process for the outer nipple. Remember to keep checking the resevoir and top it up when it gets low.
Step 11:
Once both nipples have been done spray some soapy water on the nipples and dry off.
Step 12:
Put the wheel back on and repeat the process following the wheel order at the beginning.
Step 13:
Once all 4 wheels are done mak sure the fluid is at the max mark in the resevoir and put the filter back in and put the cap back on.
Step 14: Take the car out for a slow drive and check the brakes, if they feel spongy then you have likely got air into the system. Rpeat process again if this has happened.
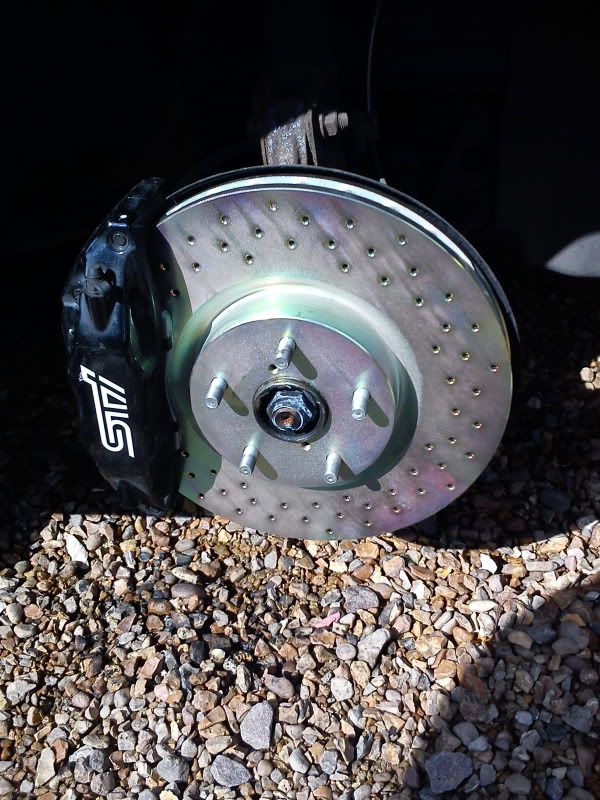
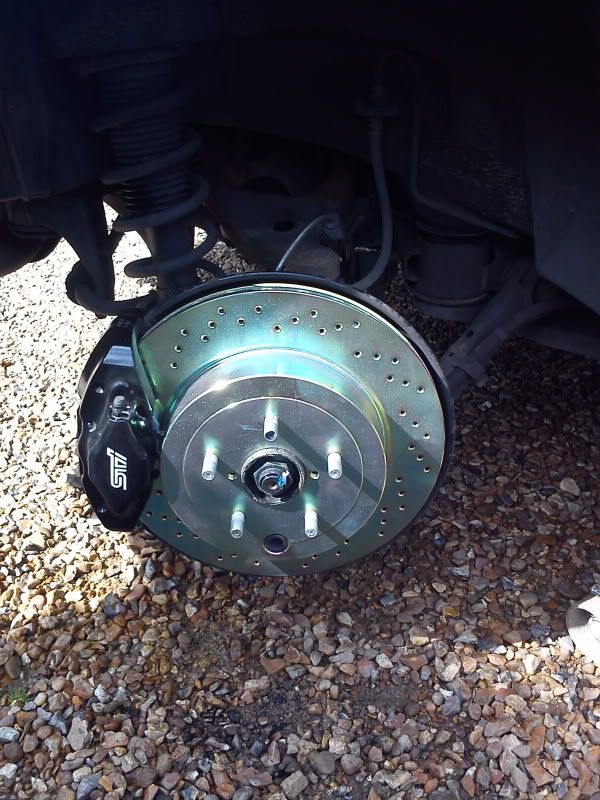
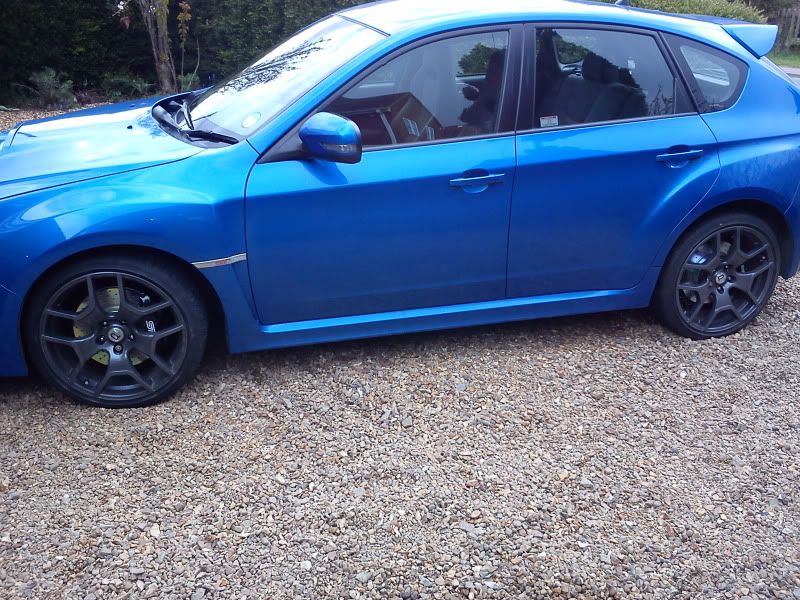
I hope this has helped someone. Here are a few pics of the work done:
Old Brakes:
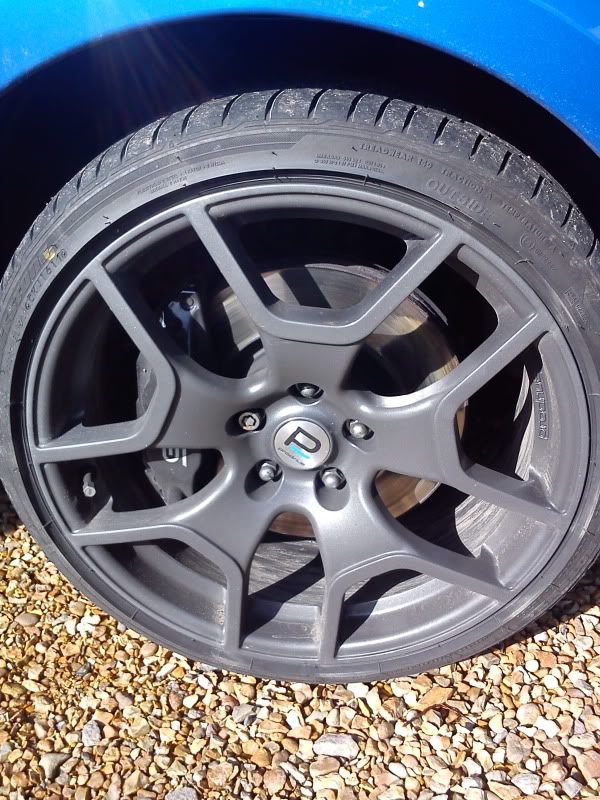
New Brakes:
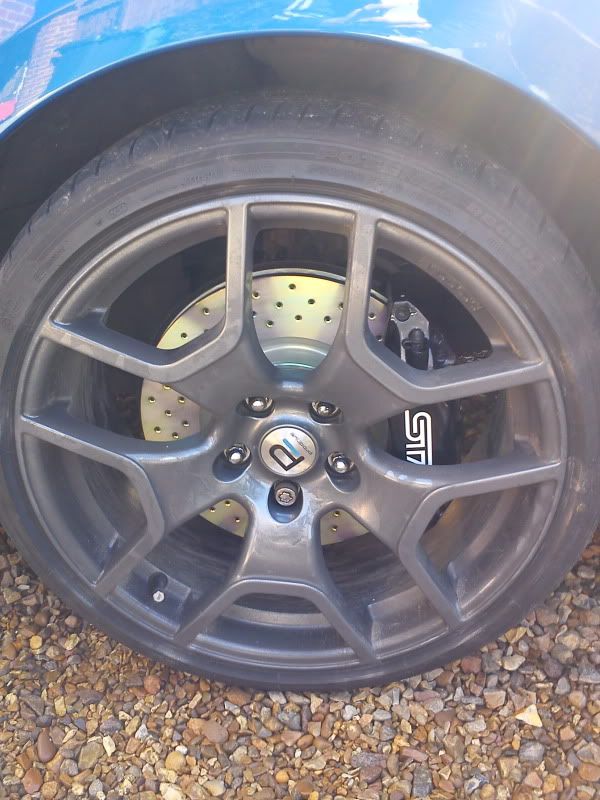
Brake Pics:
Items required:
1l Brake fluid (We used Silkolene Race Pro)
11mm Ring spanner
Length clear rubber pipe
Bottle of some sort to catch old fluid
Turkey Baster
Squirty bottle with soapy water
1 x Willing helper
We did this the old fashioned way without using pressure bleeders or one man kits just to ensure we got it all right.
The 2008 hatch has 2 seperate brake circuits which are diagonal so the bleed sequence is a bit odd and not like the old way of furthest to closest.
Our sequence was Passenger Front - Driver Rear - Driver Front - Passenger Rear.
Step 1:
Remove brake fluid resevoir cap and filter.
Step 2:
Using turkey baster suck out as much as possible from the resevoir of the old fluid.
Step 3:
Fill up the resevoir with new fluid.
Step 4:
Jack up first wheel in the sequence and remove the wheel.
Step 5:
Looking at the caliper you will see 2 bleed nipples. Start with the inner one.
Lift off the dust boot from the nipple. Place 11mm ring spanner over the nipple and give it a little twist to lossesn then close again.
Step 6:
With the spanner still on the nipple place you rubber tube into a bottle and place the other end onto the nipple.
Step 7:
With the willing helper in the car ask them to apply pressure to the brake pedal. With pressure applied open the nipple and the fluid will come out and the brake pedal will drop to the floor.
Step 8:
With the pedal on the floor close the nipple and ask the helper to take there foot off the pedal.
Step 9:
Repeat steps 7&8 until new fluid comes through. (Ours was the same colour but did quite a few until we thought new stuff had come through.
Step 10:
With the inner nipple done repeat the same process for the outer nipple. Remember to keep checking the resevoir and top it up when it gets low.
Step 11:
Once both nipples have been done spray some soapy water on the nipples and dry off.
Step 12:
Put the wheel back on and repeat the process following the wheel order at the beginning.
Step 13:
Once all 4 wheels are done mak sure the fluid is at the max mark in the resevoir and put the filter back in and put the cap back on.
Step 14: Take the car out for a slow drive and check the brakes, if they feel spongy then you have likely got air into the system. Rpeat process again if this has happened.
I hope this has helped someone. Here are a few pics of the work done:
Old Brakes:
New Brakes:
Brake Pics:

Thread
Thread Starter
Forum
Replies
Last Post
fatboy_coach
General Technical
15
18 June 2016 03:48 PM
Sam Witwicky
Engine Management and ECU Remapping
17
13 November 2015 10:49 AM