
Fitting my own BC coilovers


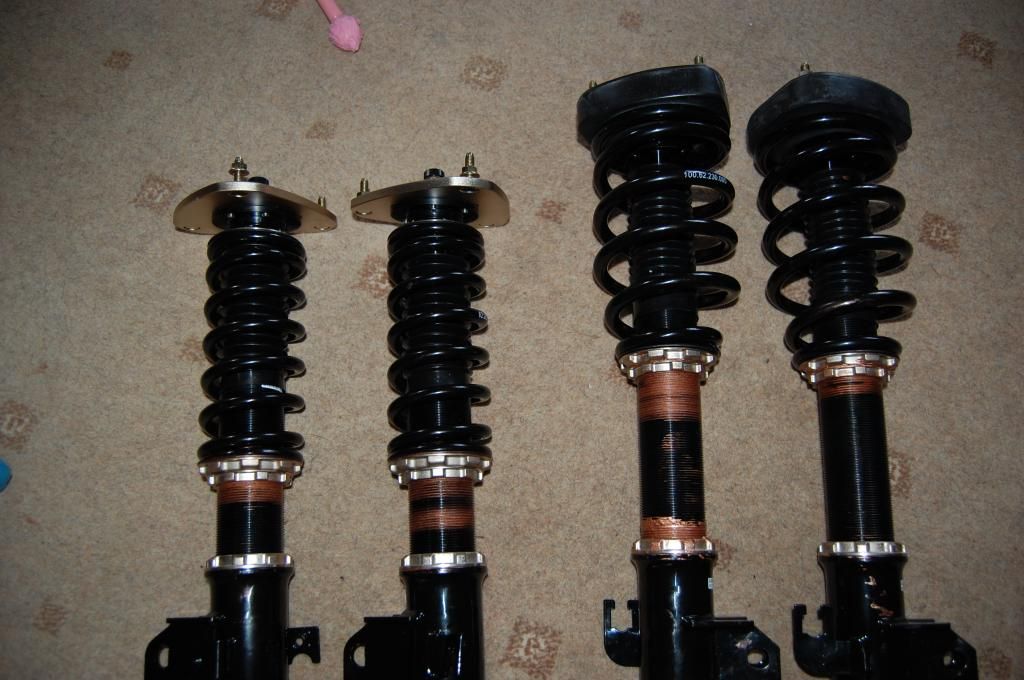
Received my BC coilovers preset by scoobyworld last week. Managed to fit them myself in about 5 hours, I'm not the quickest lol. So I'm going to post some images of before and after and what I set the ride height to.
This isn't a guide, just what I set them up to. Previously on the car was standard shocks and prodrive springs.
First I copper greased the coil
Following that I set the preload to 5mm
Then I set the ride height 10mm lower than the scoobyworld preset
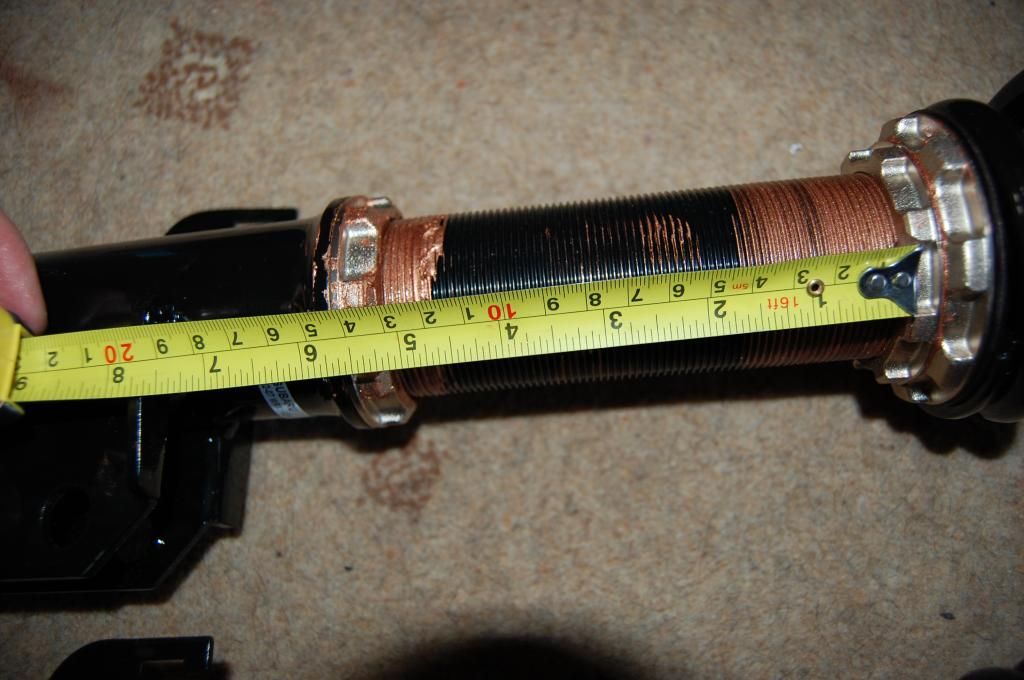
Scoobyworld front Gap between collars was 65mm, rear was 143mm so mine are shown below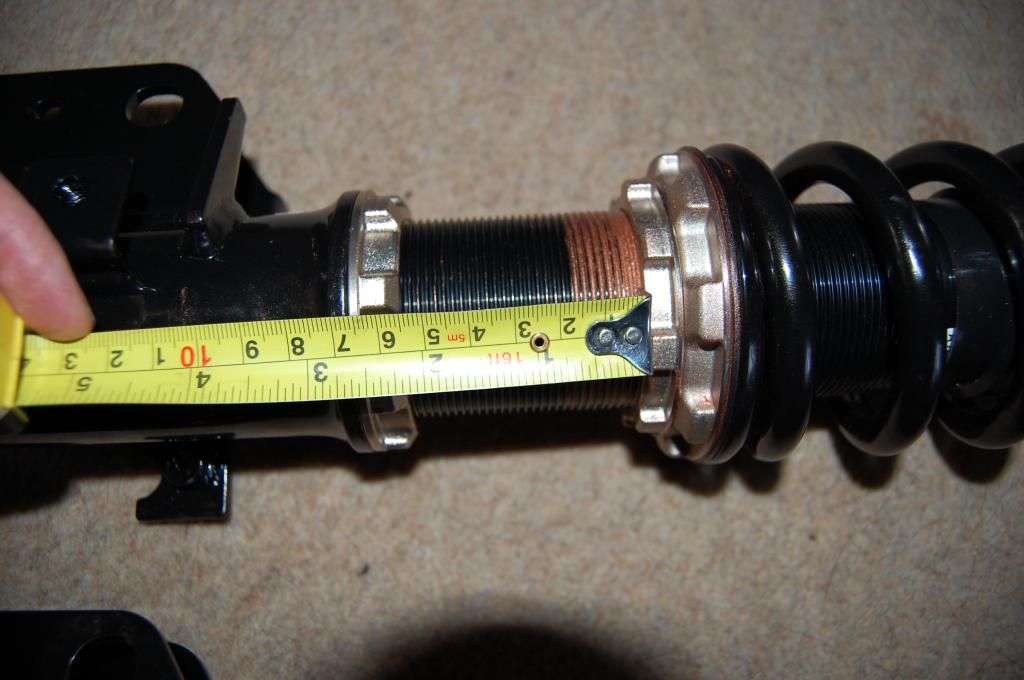
Rear
Next I measured the shocks to make sure the front were exactly the same and the same with the rears.
Then it was time to fit them, the rear seats were simple to remove. The rear top mount bolts were the biggest pain in the butt as I didn't have a Ratchet spanner. It was really simple to remove the shocks. I used spring clamps on the first one but I found these weren't required as it was prodrive springs that were on.
Fitting the rears, I located the top mount and loosely fitted the 3 bolts. I then put a jack under the rear disc(with sponge on the jack plate) and slowly raised it and lined the 2 holes up. Then I slotted the bolts in.
Settings I used, they may not be correct....rear two hub to strut bolts 145ft.lb........top plate bolts 14.5ft.lb.......front two hub to strut bolts 129ft.lb......top plate bolts 14.5ft.lb.
I used the same process for the front and set the camber bolt to the maximum negative camber.
Following that I got the 4 wheel alignment done for �55
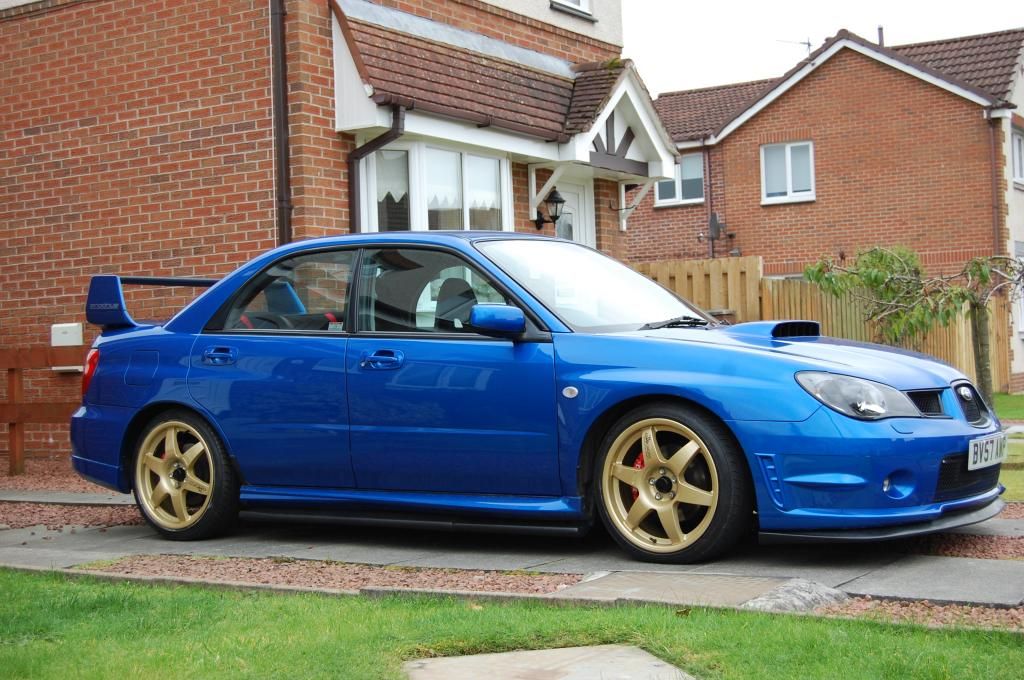
Before
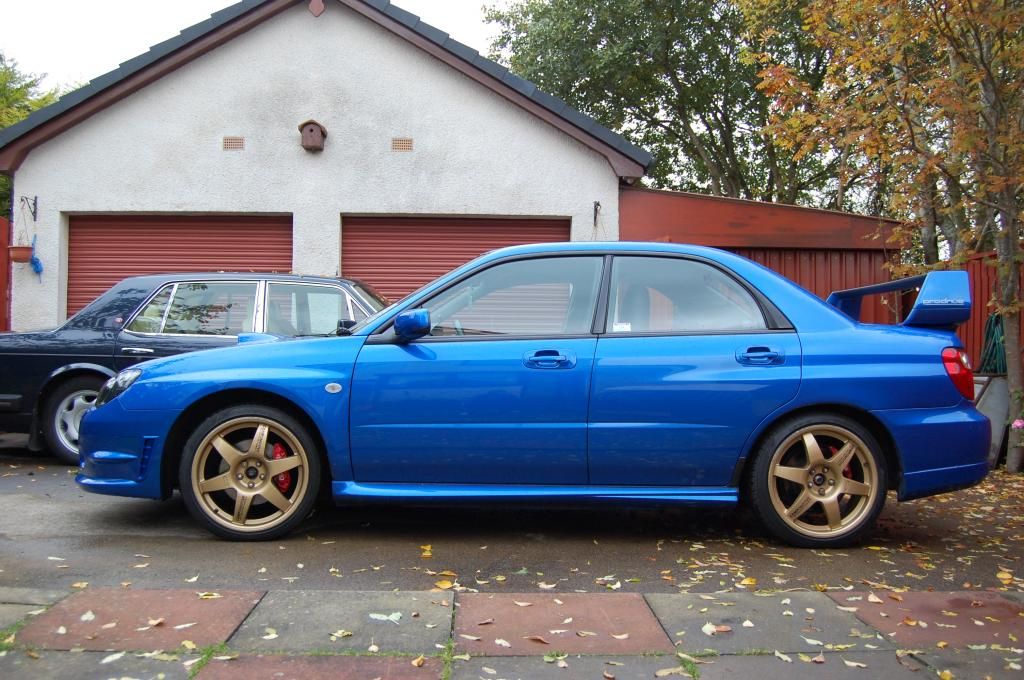
After
Please adjust wrong settings in this thread so that it helps others as I have only described my process.
Thought I'd add this thread in here as I know searching the forum helped me.
This isn't a guide, just what I set them up to. Previously on the car was standard shocks and prodrive springs.
First I copper greased the coil
Following that I set the preload to 5mm
Then I set the ride height 10mm lower than the scoobyworld preset
Scoobyworld front Gap between collars was 65mm, rear was 143mm so mine are shown below
Rear
Next I measured the shocks to make sure the front were exactly the same and the same with the rears.
Then it was time to fit them, the rear seats were simple to remove. The rear top mount bolts were the biggest pain in the butt as I didn't have a Ratchet spanner. It was really simple to remove the shocks. I used spring clamps on the first one but I found these weren't required as it was prodrive springs that were on.
Fitting the rears, I located the top mount and loosely fitted the 3 bolts. I then put a jack under the rear disc(with sponge on the jack plate) and slowly raised it and lined the 2 holes up. Then I slotted the bolts in.
Settings I used, they may not be correct....rear two hub to strut bolts 145ft.lb........top plate bolts 14.5ft.lb.......front two hub to strut bolts 129ft.lb......top plate bolts 14.5ft.lb.
I used the same process for the front and set the camber bolt to the maximum negative camber.
Following that I got the 4 wheel alignment done for �55
Before
After
Please adjust wrong settings in this thread so that it helps others as I have only described my process.
Thought I'd add this thread in here as I know searching the forum helped me.
Scooby Regular
iTrader: (2)
Joined: Feb 2003
Posts: 2,726
Likes: 0
From: 2.1 Spec-C .......Pimms O'clock!!
Nice guide and good effort! A few years ago I fitted some BC's to my Bugeye, I done virtually exactly the same as yourself, only thing I forgot to do was measure them before fitting so ended up with this....
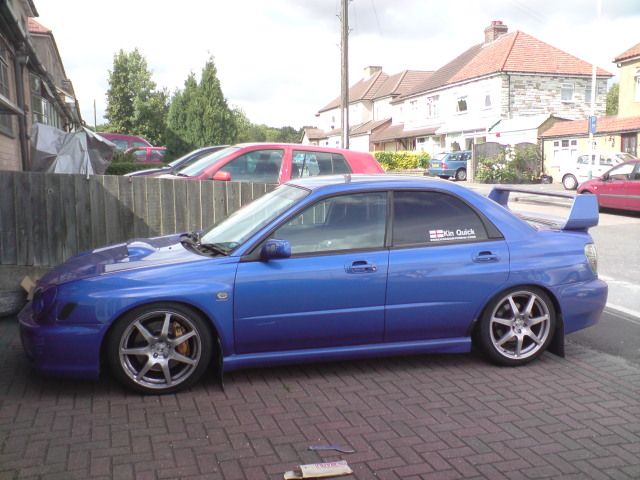
Looked awesome but I had trouble driving off a very shallow dropped kerb and I lost a few teeth on the journey to get them set up properly
First time I had ever fitted coil-overs and it was much easier than I was expecting!
For the money, I found them really good, there are much better coil-overs out there if you have the cash for them but they served me well and were compliant on road and really good on track with easy adjustment for both
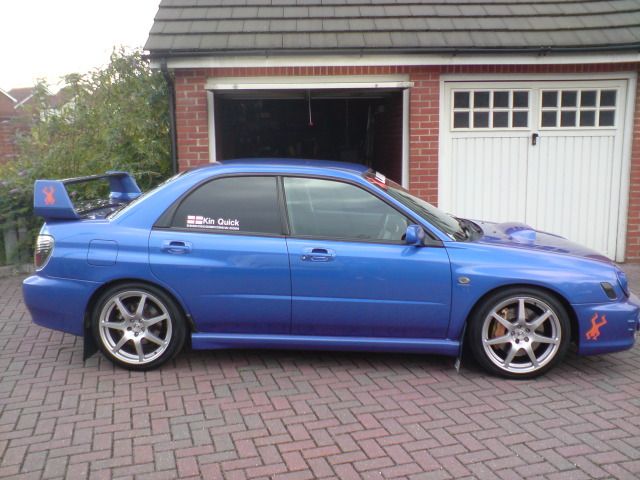
After they were setup by someone who actually knew what they were doing (excuse the silly stickers, was about to leave for the Germany WRC)......
Looked awesome but I had trouble driving off a very shallow dropped kerb and I lost a few teeth on the journey to get them set up properly
First time I had ever fitted coil-overs and it was much easier than I was expecting!
For the money, I found them really good, there are much better coil-overs out there if you have the cash for them but they served me well and were compliant on road and really good on track with easy adjustment for both
After they were setup by someone who actually knew what they were doing (excuse the silly stickers, was about to leave for the Germany WRC)......
Last edited by kin quick; Oct 27, 2012 at 12:27 AM.

Good write up mate.
Hope you didn't forget to remove the excess of the grease from the coilovers tubes... Otherwise it will attract grid and will cause trouble in future adjustments.
Hope you didn't forget to remove the excess of the grease from the coilovers tubes... Otherwise it will attract grid and will cause trouble in future adjustments.

Thread
Thread Starter
Forum
Replies
Last Post
Mattybr5@MB Developments
Full Cars Breaking For Spares
34
Nov 7, 2024 04:10 PM