
light mods on bug


Thread Starter
Scooby Regular
Joined: Jul 2009
Posts: 384
Likes: 0
From: kings lynn
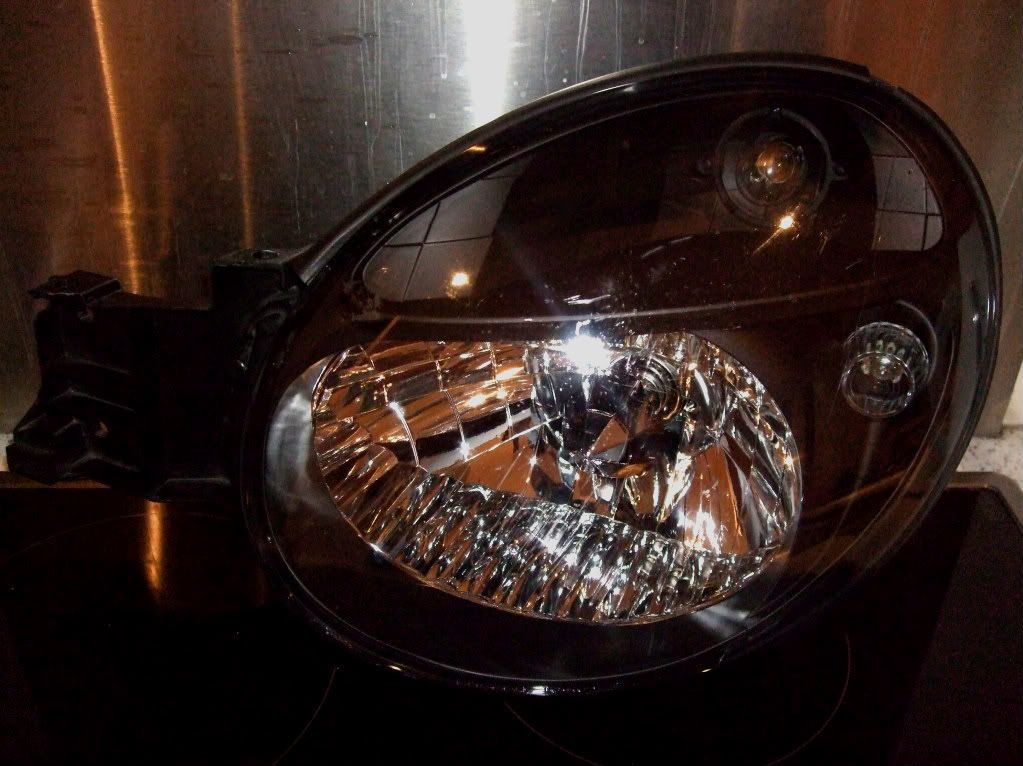
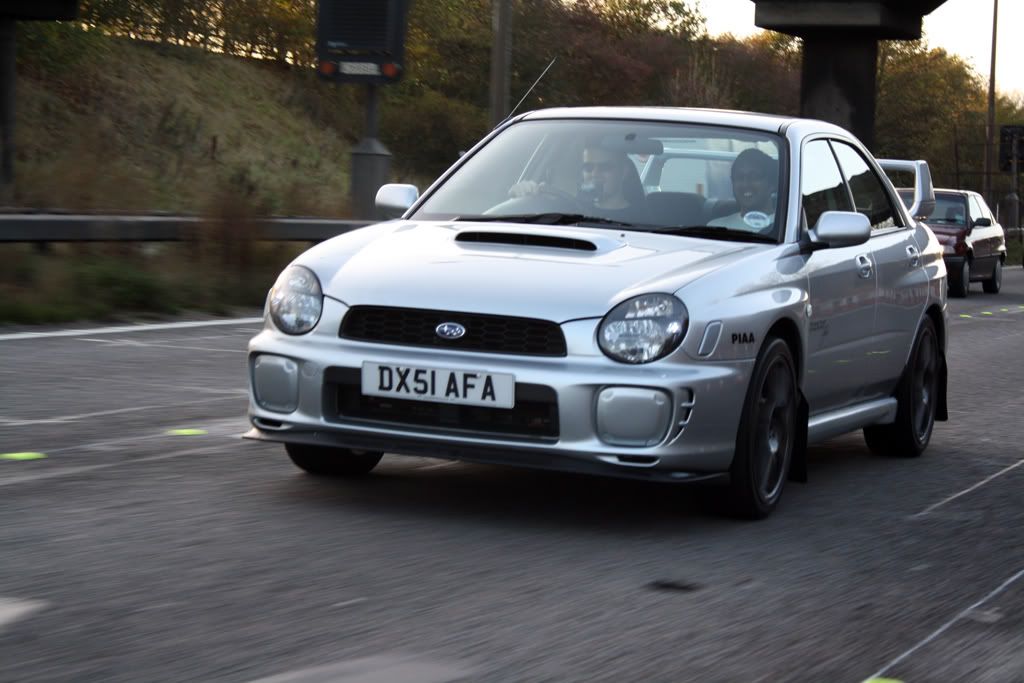
after reading a thread on here i de-tangoed my bug's 'eyes'.it looks much better but i was wondering wether anybody has tried to blacken the silver walls of the light unit (not the main reflector)by paint or whatever.reason being i saw a blob eye at silverstone jap day in the summer with this mod and it looked cool.i dont want too bugger my lights up although i could get a spare set to practice.anyone with any pics?cheers guys/gals
Trending Topics

Here's how I did my bugeye lights: (going from memory here)
Hope I've explained it well enough and haven't missed any parts out.
Tom
- Remove 2 screws from back of light
- Put light into oven for around 10 mins at around 80 degrees
- Get out of oven and use a large flat-head screwdriver (or 2) to slot between the lens and the headlight unit and seperate them
- Once apart, undo the 2 screws holding the reflectors into place and remove them
- Now put the headlight unit and lens to one side
- Seperate the main headlight reflector and the rest of the reflectors/background
- Unclip the orange blob on the lens (indicator) and throw over a hedge
- Unclip clear plastic dome on the lens (sidelight) remember to put back on
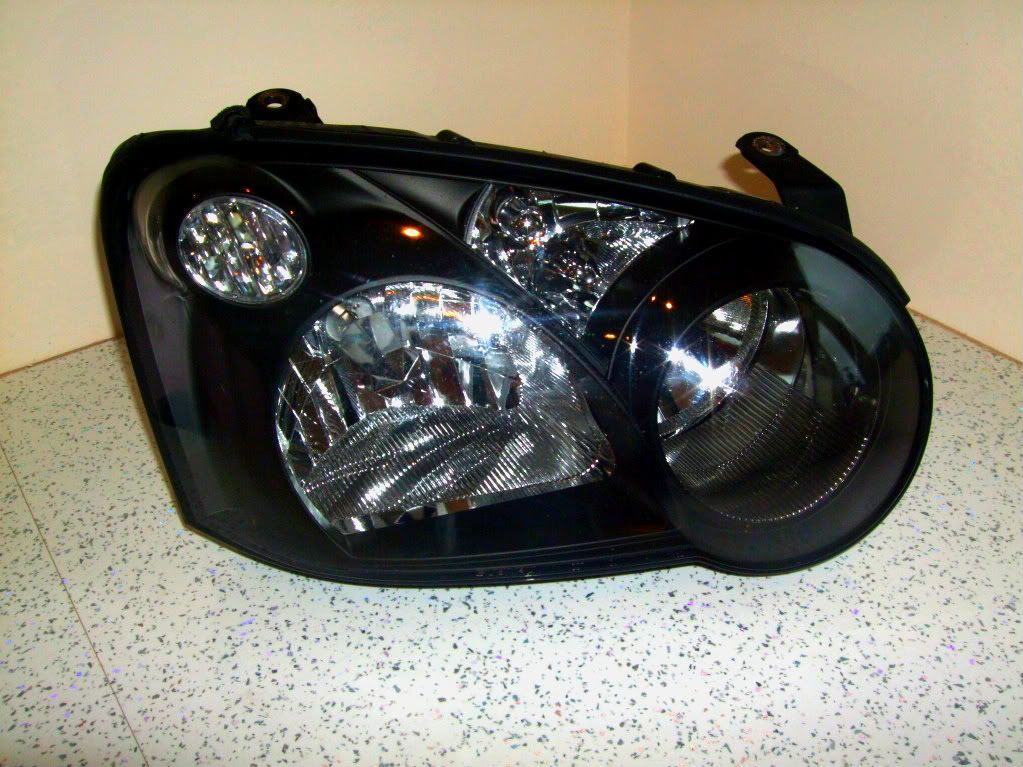
- Mask the indicator area of the lens
- Rub down all the shiny bits you want paitning with some wet and dry paper to give the paint a good key (600 should do the trick)
- Spray 2 or 3 light coats of Halfords Grey Plastic Primer
- Leave to dry for an hour or 2
- Spray 2 or 3 light coats of Halfords Satin Black
- Leave to dry overnight
- Put the reflectors back together, re-fixing the sidelight dome, and re-screw to lens
- Use black silicone (I used Loctite stuff from Halfords) to line to whole recess of the headlight unit - there will still be a fair bit of the old glue left in here too, but it will need heating up again to work so...
- Put headlight unit in oven for 10 minutes again on 80 degrees
- Remove from oven and place back together with the other half of light (reflector and lens)
- Re-place 2 small screws in the back of the headlight unit
- Now put a seal of black silicone around the whole of the mating edge of the headlight to prevent anything getting in or out (water and condensation!!!). Smooth this over with your finger to make it look smarter.
- Leave overnight for everything to dry properly.
- Now put your home-made STI look-a-like headlights back on your Scooby.
Hope I've explained it well enough and haven't missed any parts out.
Tom
Last edited by Tom87; Nov 7, 2009 at 05:10 PM.


Thread
Thread Starter
Forum
Replies
Last Post