
JDM blob STi project

Hi guys,
Only had my new Subaru a couple of weeks, started the modding already so thought i'd start a project thread. I'm also a bit of a clean freak and plan on making it �ber clean, although not 'mint' / concours etc as I fully intend on driving the car. Luckily it's only a weekend car so during the week will be when it gets its TLC.
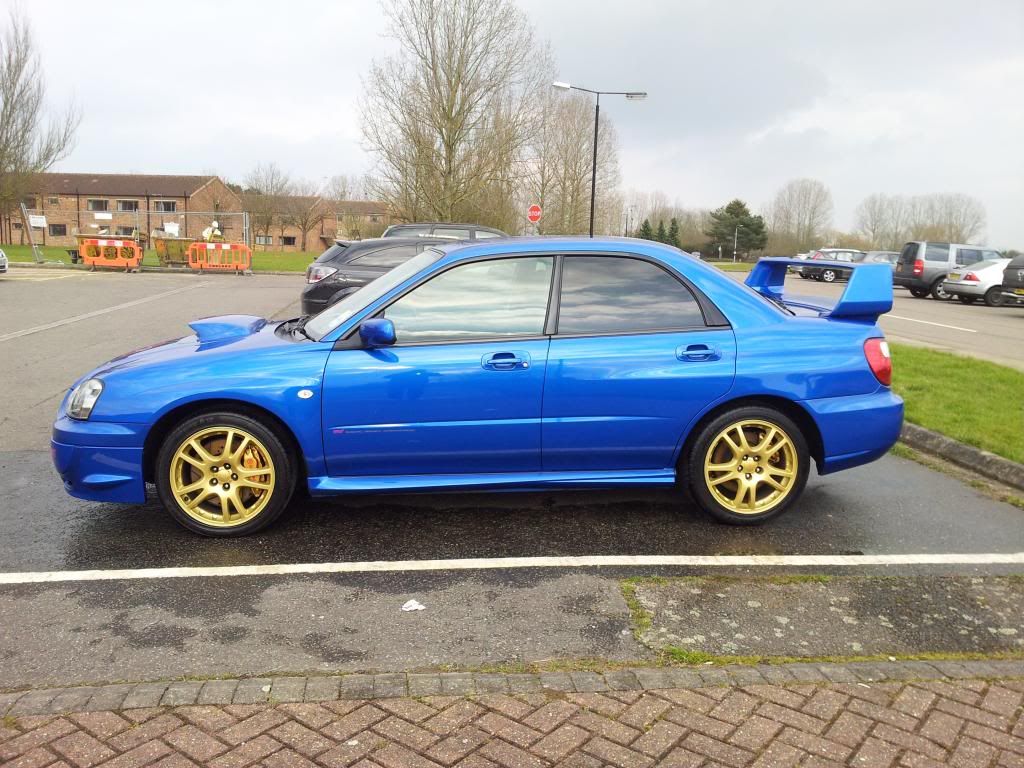
2003 JDM STi
46,000
Usual JDM spec. For those not in know about the differences between jap / uk models of the blob sti (as I didn't).........
Forged internals,
Twin Scroll turbo,
DCCD,
Shorter ratio 5th and 6th gears,
Quicker steering rack,
IC spray,
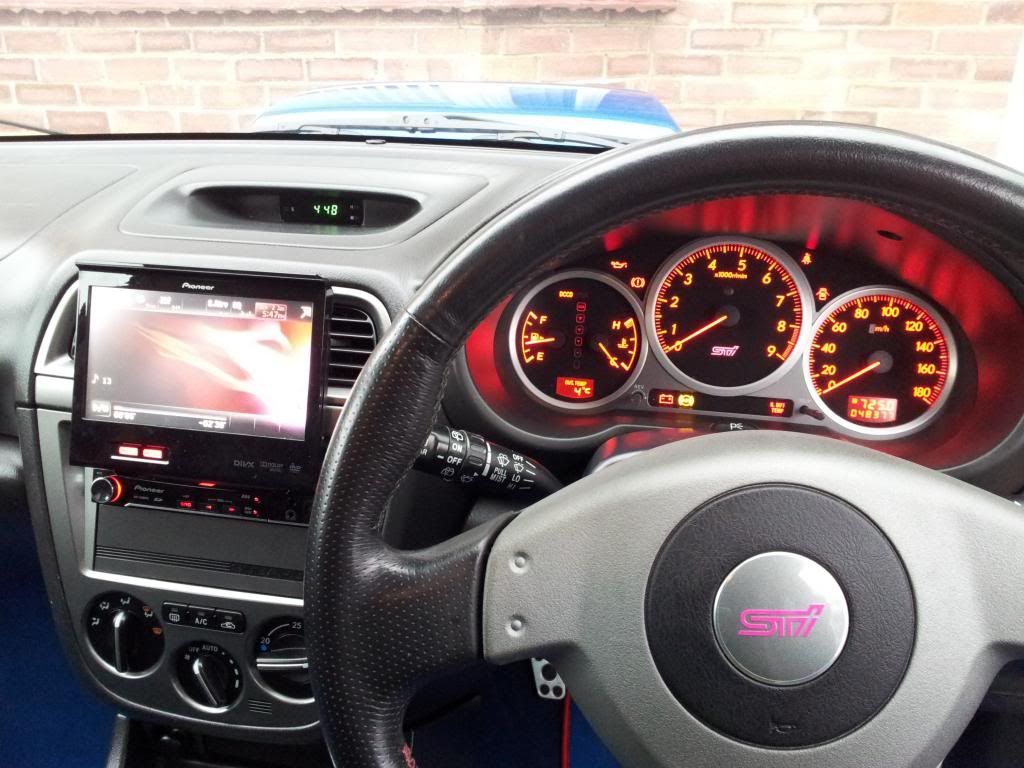
Red glow dials with shift indicator and start up dial sweep
Remap by Rich at Powerstation......352 / 339lb/ft
K + N panel filter
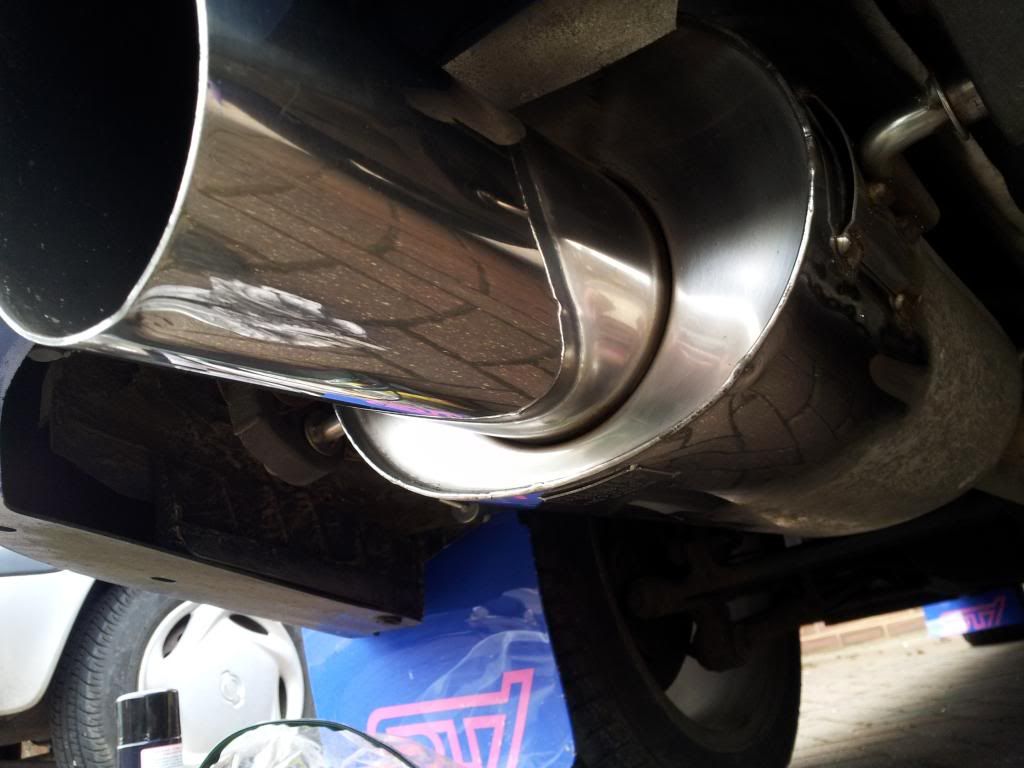
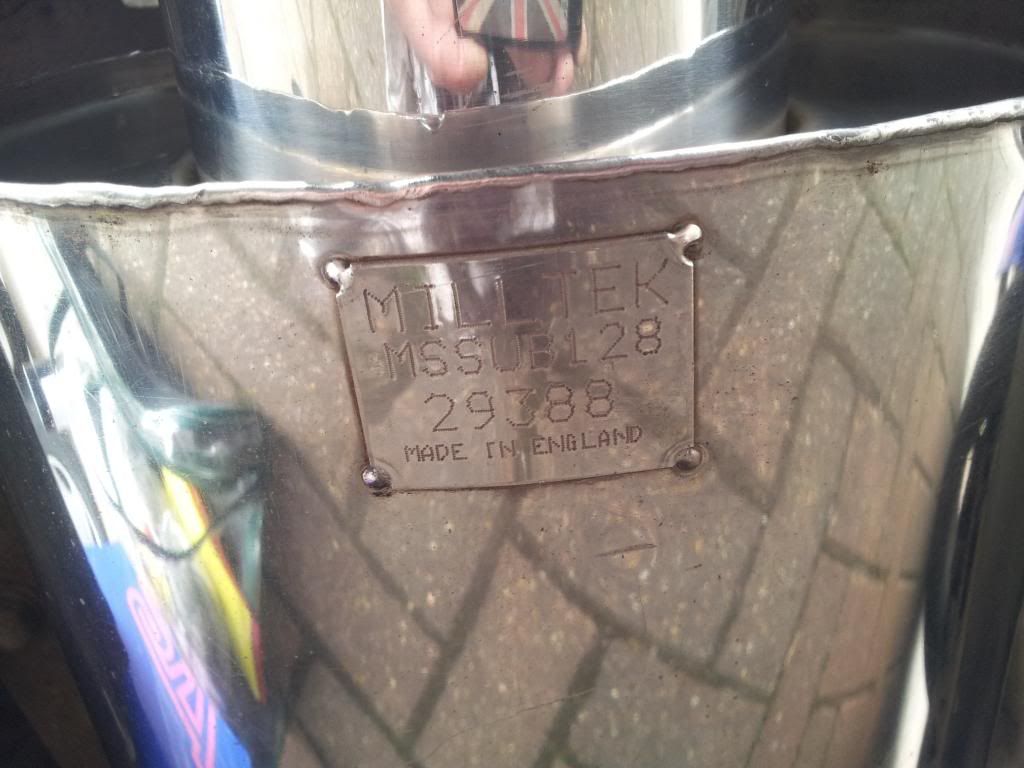
Full Miltek system with Miltek sports cat
These are the only engine mods. The only other engine mod that ill be doing is an HKS SSQV (on its way!!)
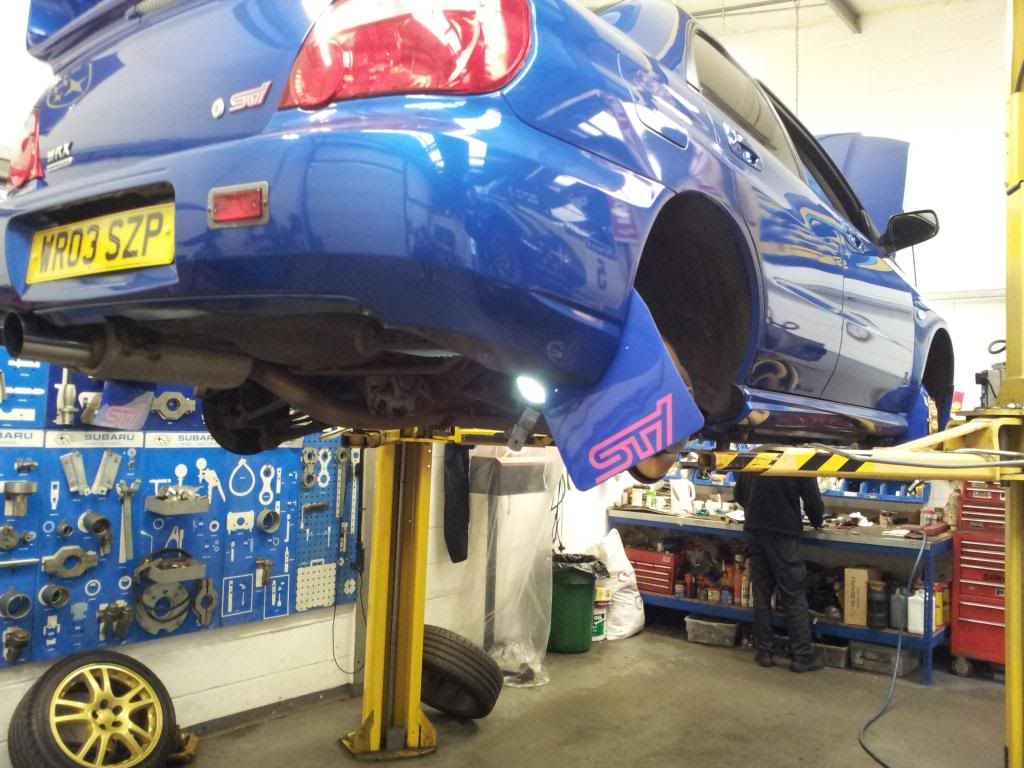
The car was in at Extreme Scoobies yesterday. Had a full service and check up, stereo put in, mudflaps put on, set of locking wheel nuts and new front wiper blades.
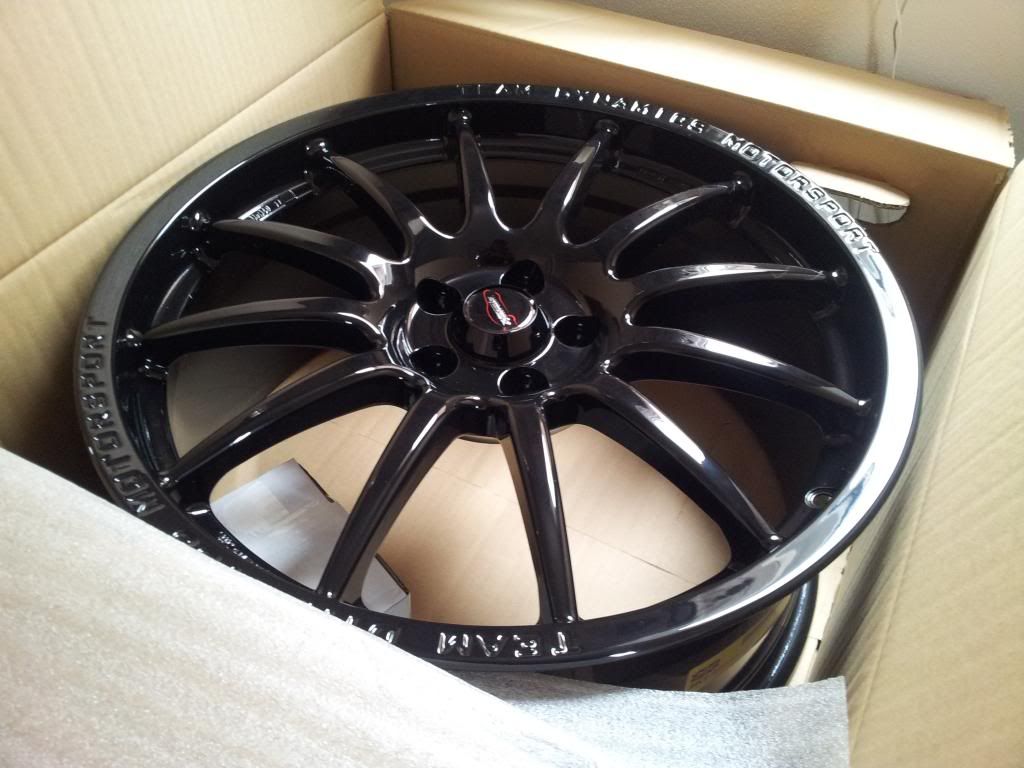
I have a brand new set of pro race 1.2's in gloss black on their way in 18x8 fitment. These will hopefully be here late next week. Pics will be up as soon as they're fitted.
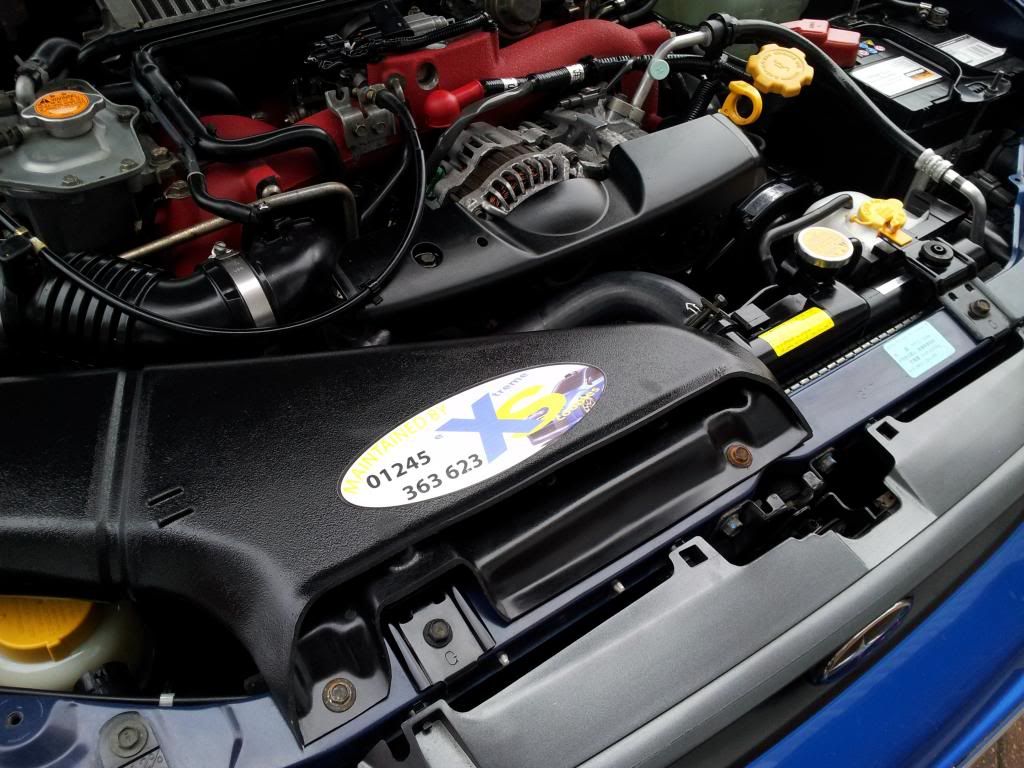
Currently in the process of blitzing the engine bay. Will be replacing any rusty nuts and bolts etc. cleaned the exhaust today too. Also clean around all the door / boot seals.
More pics and stuff to come over the coming days. Cheers for looking guys. ALL comments welcome, suggestions / questions etc also welcome!!
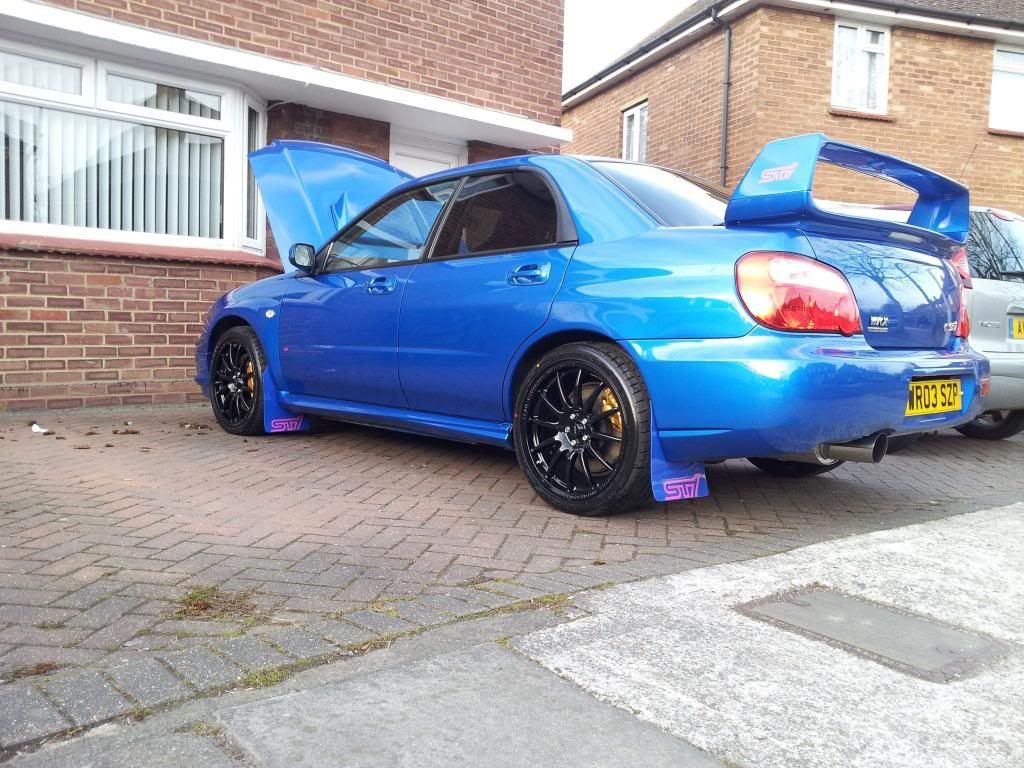
Just after I bought it
At extreme scoobies having the mudflaps done
Exhaust half-done
Before a clean
After the clean
Pioneer head unit in
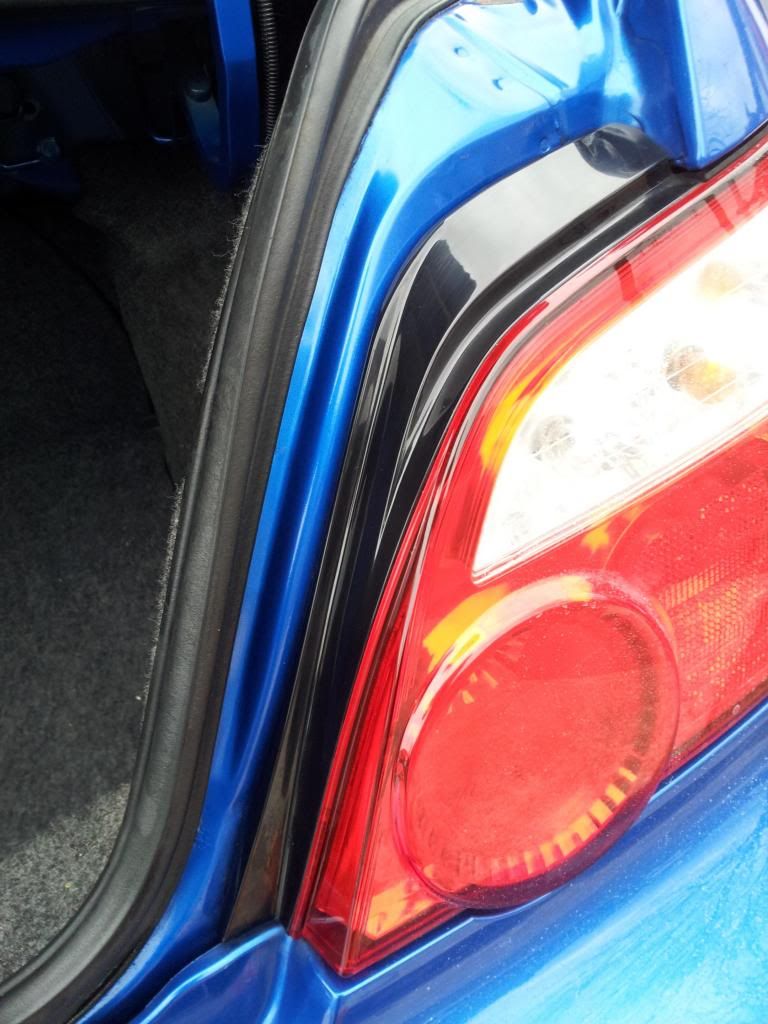
Boot trim all cleaned up
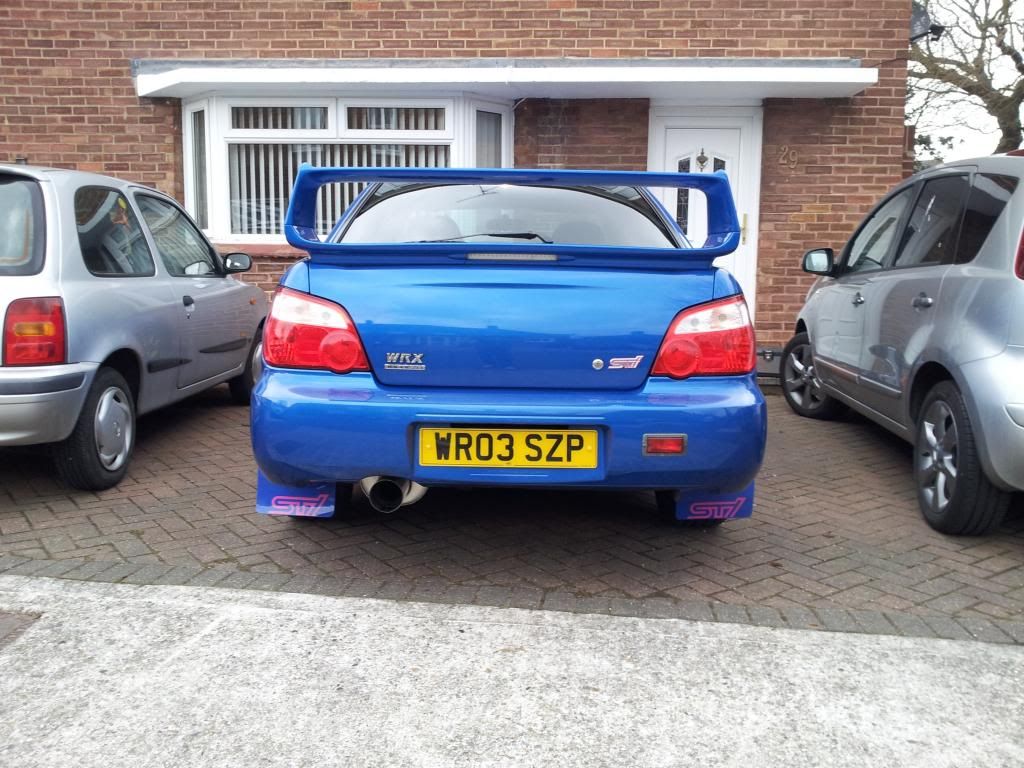
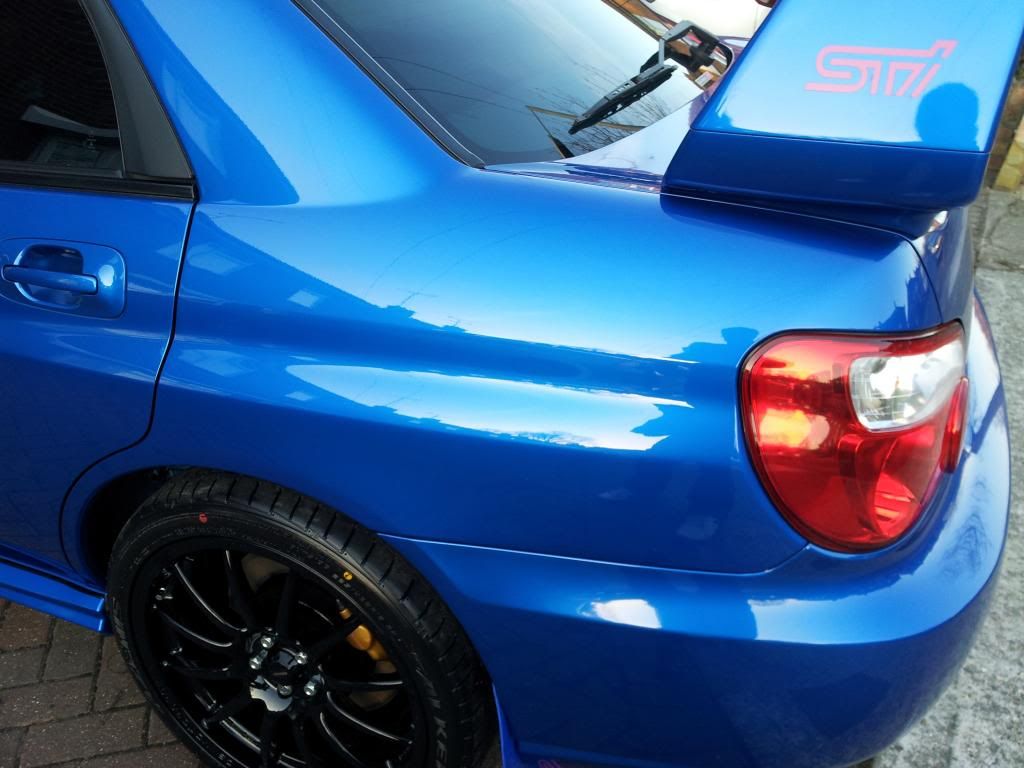
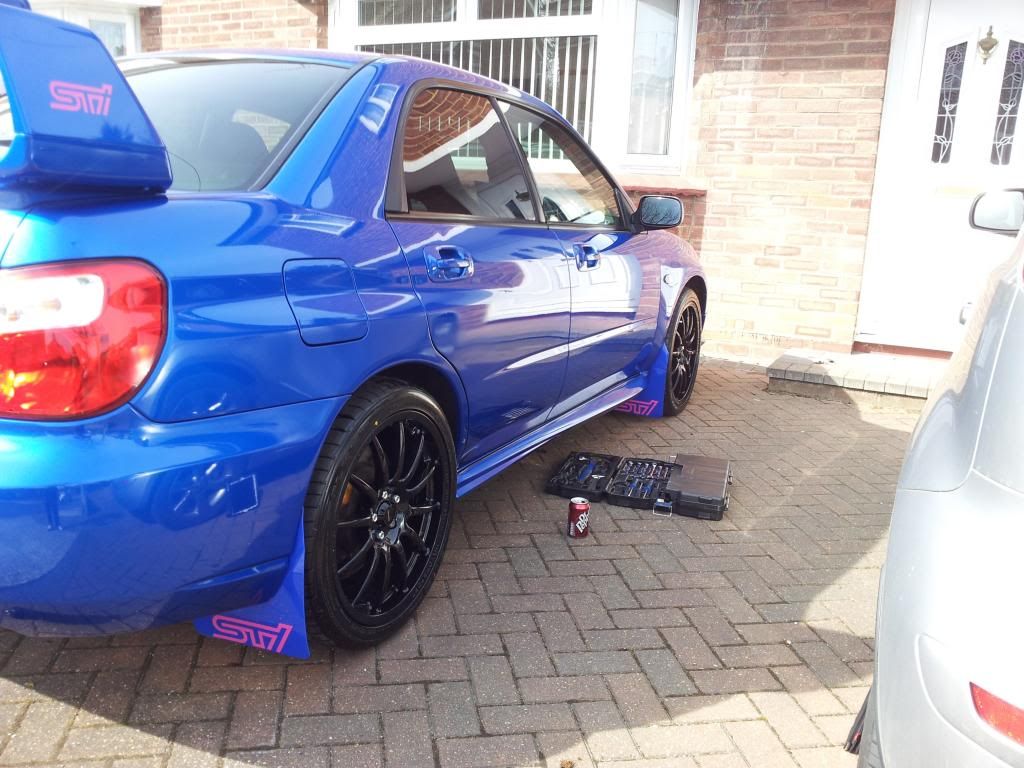
Random pic of the back end. Car will be fully detailed outside when the new wheels are on! It's minging at the mo!!
Only had my new Subaru a couple of weeks, started the modding already so thought i'd start a project thread. I'm also a bit of a clean freak and plan on making it �ber clean, although not 'mint' / concours etc as I fully intend on driving the car. Luckily it's only a weekend car so during the week will be when it gets its TLC.
2003 JDM STi
46,000
Usual JDM spec. For those not in know about the differences between jap / uk models of the blob sti (as I didn't).........
Forged internals,
Twin Scroll turbo,
DCCD,
Shorter ratio 5th and 6th gears,
Quicker steering rack,
IC spray,
Red glow dials with shift indicator and start up dial sweep
Remap by Rich at Powerstation......352 / 339lb/ft
K + N panel filter
Full Miltek system with Miltek sports cat
These are the only engine mods. The only other engine mod that ill be doing is an HKS SSQV (on its way!!)
The car was in at Extreme Scoobies yesterday. Had a full service and check up, stereo put in, mudflaps put on, set of locking wheel nuts and new front wiper blades.
I have a brand new set of pro race 1.2's in gloss black on their way in 18x8 fitment. These will hopefully be here late next week. Pics will be up as soon as they're fitted.
Currently in the process of blitzing the engine bay. Will be replacing any rusty nuts and bolts etc. cleaned the exhaust today too. Also clean around all the door / boot seals.
More pics and stuff to come over the coming days. Cheers for looking guys. ALL comments welcome, suggestions / questions etc also welcome!!
Just after I bought it
At extreme scoobies having the mudflaps done
Exhaust half-done
Before a clean
After the clean
Pioneer head unit in
Boot trim all cleaned up
Random pic of the back end. Car will be fully detailed outside when the new wheels are on! It's minging at the mo!!
Last edited by Peedee; Apr 1, 2013 at 02:28 PM.

Quick update......
Got these delivered today! 18x8. Having them fitted with Falkens. Absolutely no point in going for a top notch tyres. The car only gets used at weekends and covers small mileage. No track days or anything. Didn't want to get anything really low budget though.
Fitted pics tomorrow!
Got these delivered today! 18x8. Having them fitted with Falkens. Absolutely no point in going for a top notch tyres. The car only gets used at weekends and covers small mileage. No track days or anything. Didn't want to get anything really low budget though.
Fitted pics tomorrow!

Woke up this morning and one of my brand new, only fitted yesterday, tyres was flat. Took it down to the garage, couldn't find a leak, pumped it up, seemed to be ok. It was decided that there may have been an air leak because it was a brand new rim and tyre. However, because it was driven down almost flat, this may have heated it up and sealed it. Fair enough!!
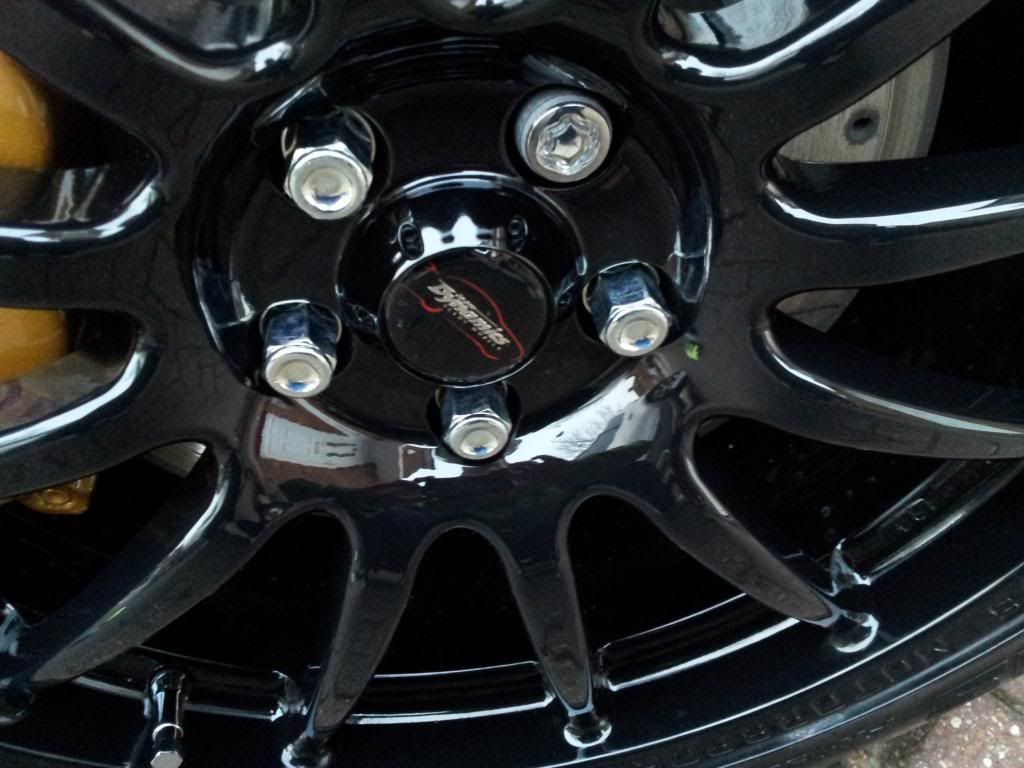
Got back from the garage, started cleaning it. Put some water /shampoo solution on the wheels, noticed there was a small amount of bubbling coming from somewhere, upon closer inspection, found this!! Tiny pin-***** hole that goes through the wheel, allowing air to escape!

Currently sorting it out as we speak! Gutted to be honest!

Joined: Sep 2005
Posts: 19,945
Likes: 2
From: "Engineering Perfection in Essex"
Love the JDM STIs and liking your wheel choice mate. Pisser about the porosity but at least they're sorting I for you.
Nice wheel choice, they suit it well and a tasteful design. Good luck with your project and hope to see you at an Essex meet soon
Nice wheel choice, they suit it well and a tasteful design. Good luck with your project and hope to see you at an Essex meet soon
Trending Topics
I was going to come to the monthly meet tomorrow, but that's off the cards now because of the wheel situation. This is what's annoyed me the most to be honest, not bein able to go to the monthly meet!
Joined: Sep 2005
Posts: 19,945
Likes: 2
From: "Engineering Perfection in Essex"
Well it's only he Southend Run that occurs on the first Saturday of the month. Our main monthly meet is our pub meet which usually works out the last Saturday of the month but sometimes changes.
Hopefully I out weather ever sorts itself out and warms up I'd like to get some more meets occurring. So there will be plenty for you to attend
Hopefully I out weather ever sorts itself out and warms up I'd like to get some more meets occurring. So there will be plenty for you to attend
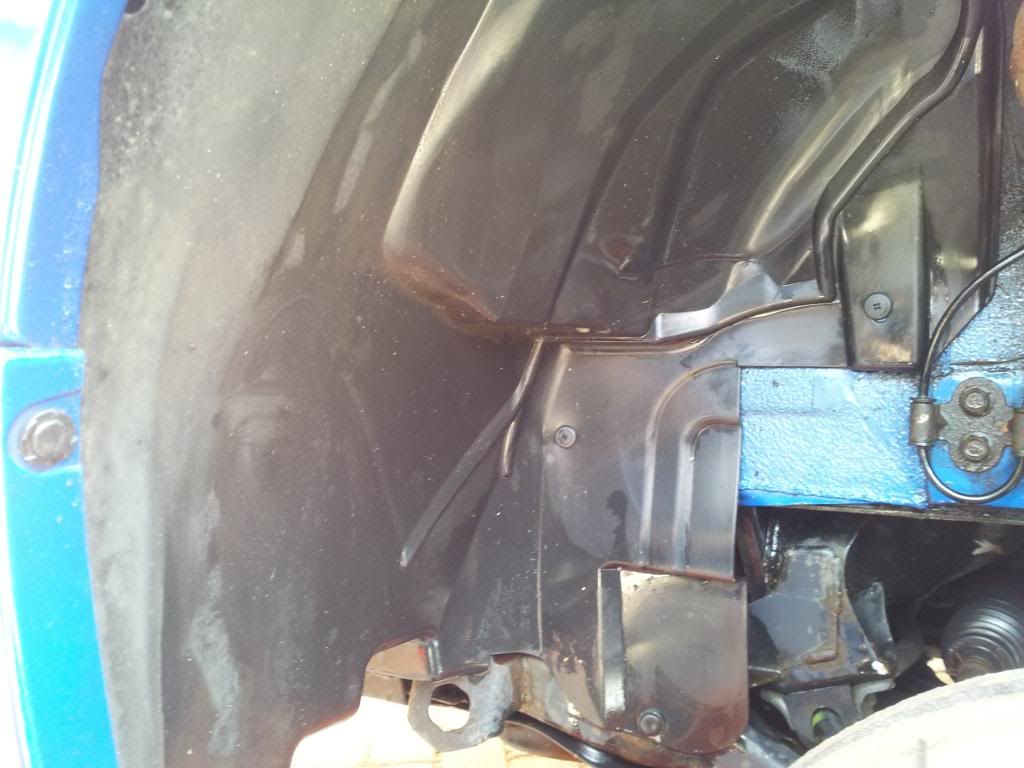
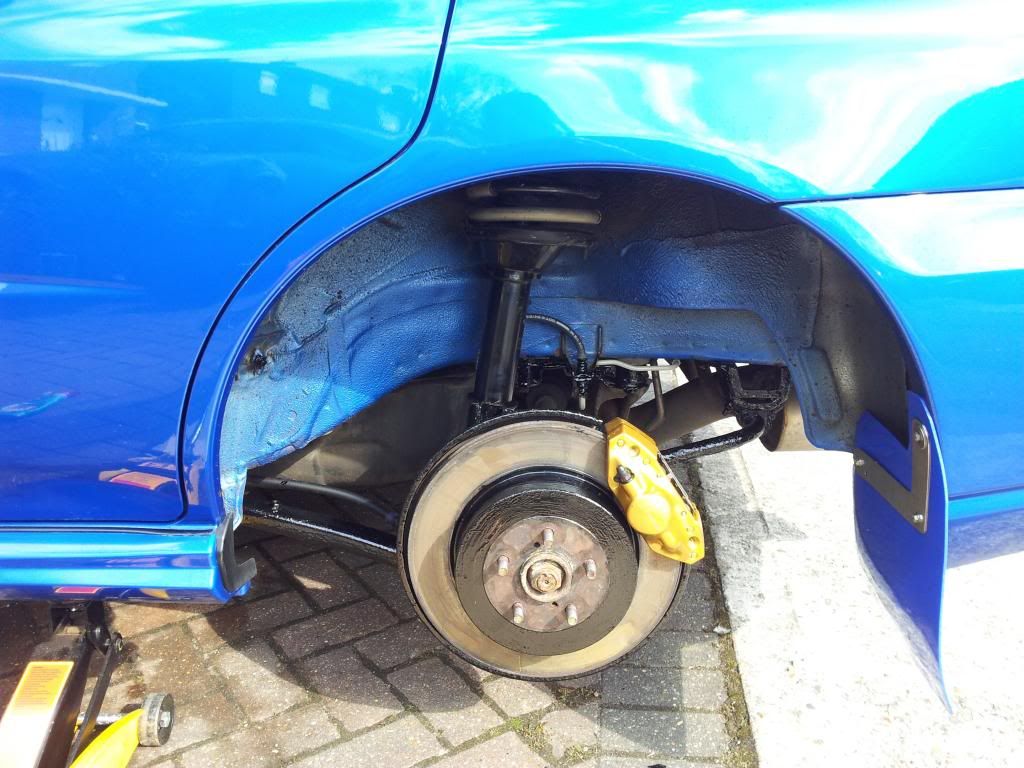
Been a beautiful day today, so decided to crack on with the scoob! Wheel arches were 'interesting' to clean to say the least!!
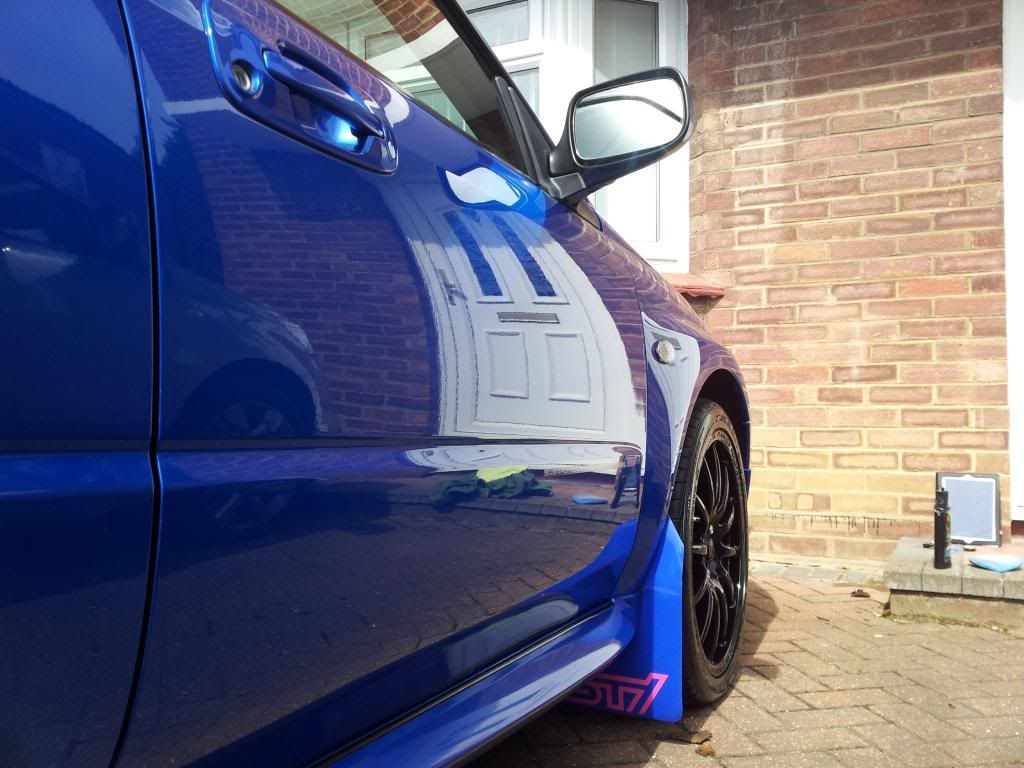
Also t-cut a few bits, then started on the polish / wax. Will be doing this over the next few days so long as the weather holds out!
Reflection shot:

Also t-cut a few bits, then started on the polish / wax. Will be doing this over the next few days so long as the weather holds out!
Reflection shot:
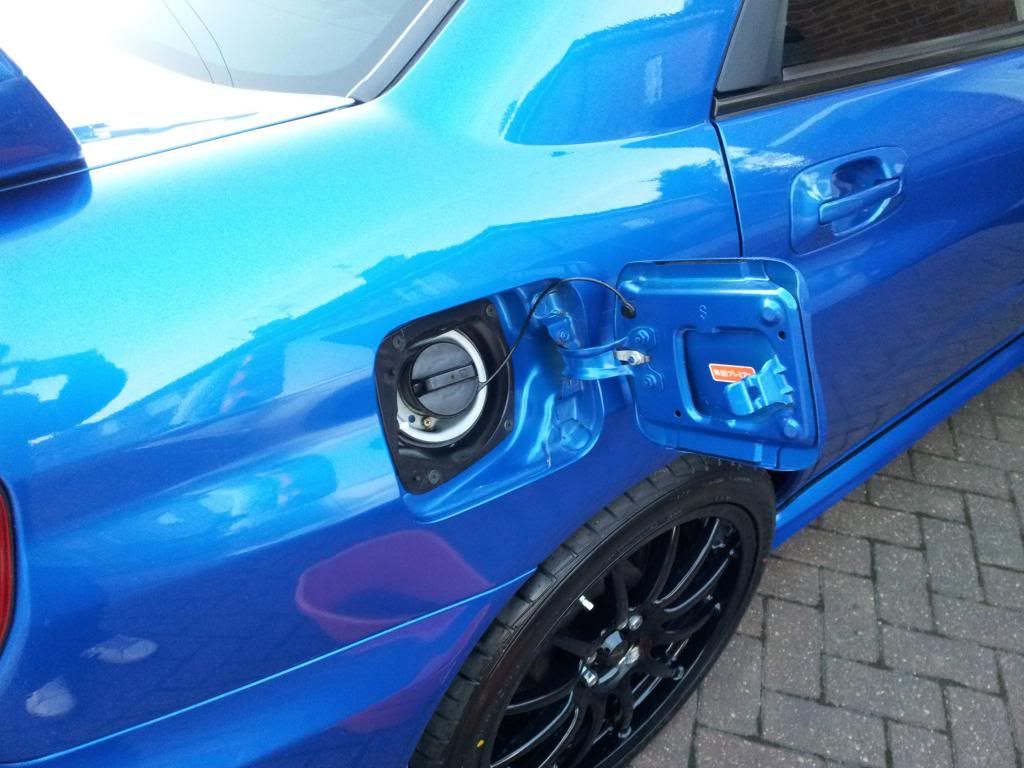
Carried on cleaning after dinner, pretty much until it got dark. The petrol cap has been properly annoying me, especially as it gets opened so often, so I de-gunged that!
Last reflection shot of the day!
Last reflection shot of the day!
Last edited by Peedee; Apr 6, 2013 at 10:49 PM.

So, been carrying on the cleaning again today guys. Also sorted out a stereo problem. Basically, I had a new stereo put in, but the radio signal was extremely weak, so, following some advice from members on here, it seems it was a simple case of connecting these 2 together.....
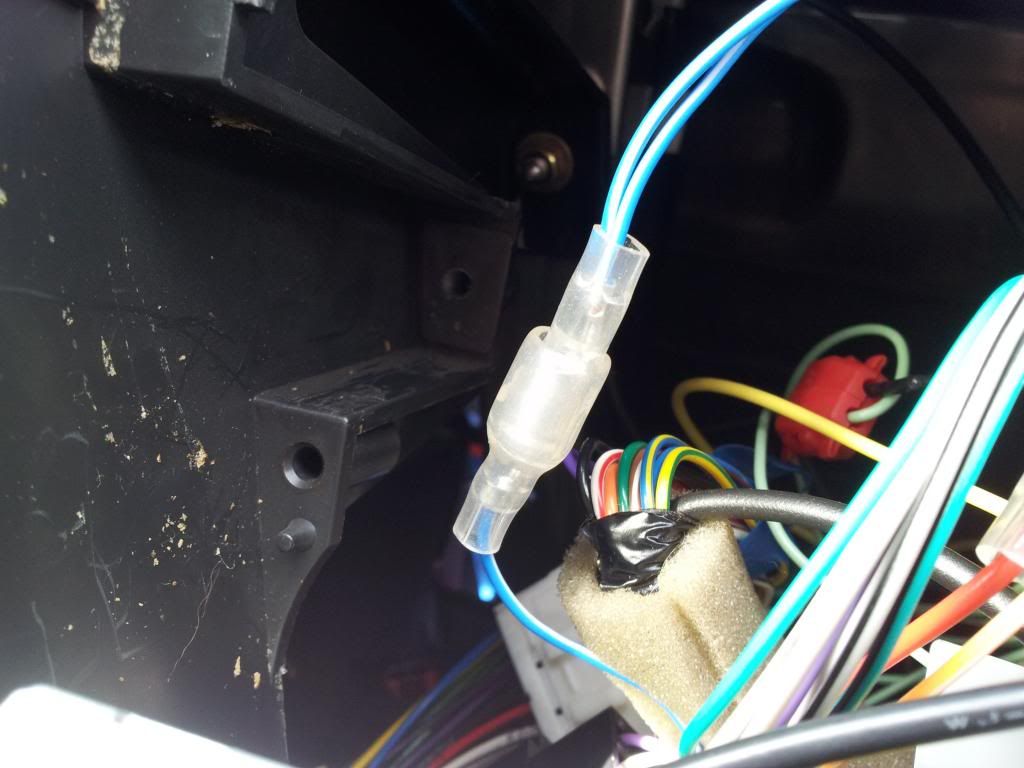
5 min job, perfect radio signal. You learn something new every day lol!
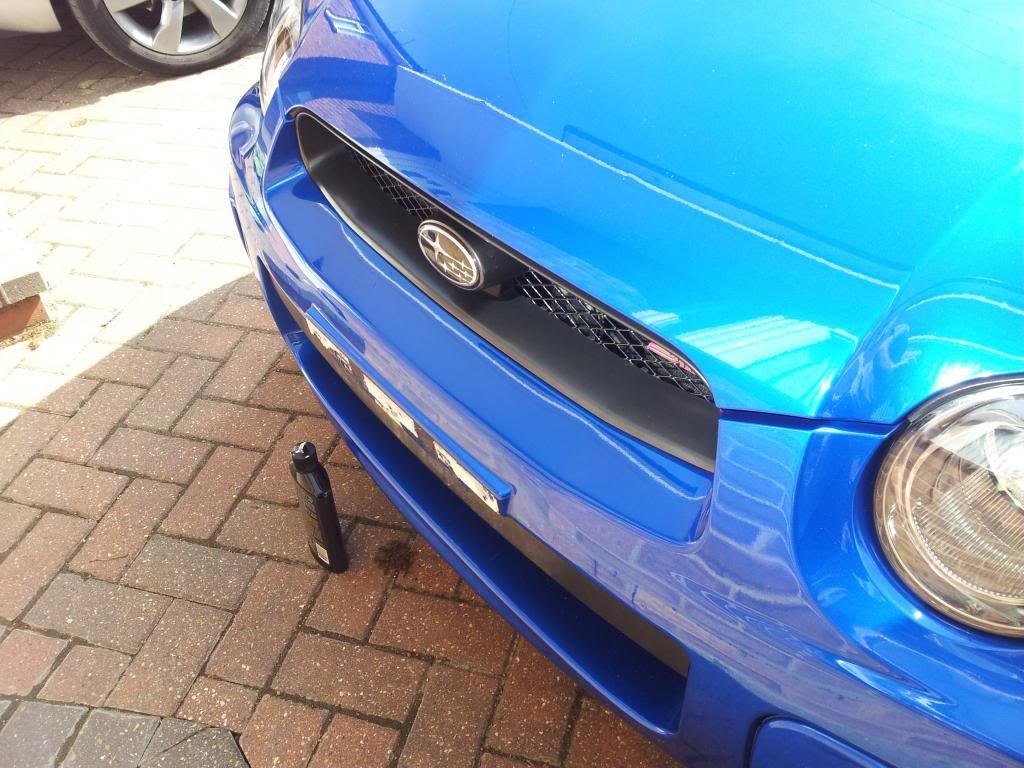
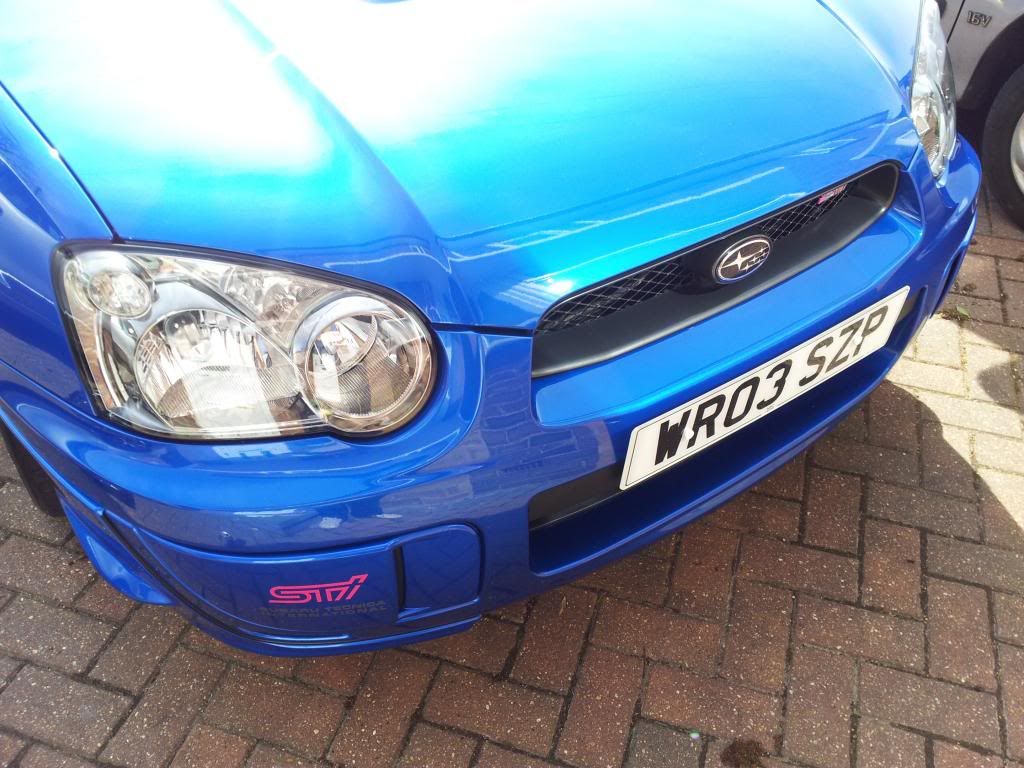
Some more reflection shots. Removed the front number plate to gain access to the paint around it, just a bit easier than trying to polish it with the number plate still on!

5 min job, perfect radio signal. You learn something new every day lol!
Some more reflection shots. Removed the front number plate to gain access to the paint around it, just a bit easier than trying to polish it with the number plate still on!
Last edited by Peedee; Apr 9, 2013 at 01:26 AM.
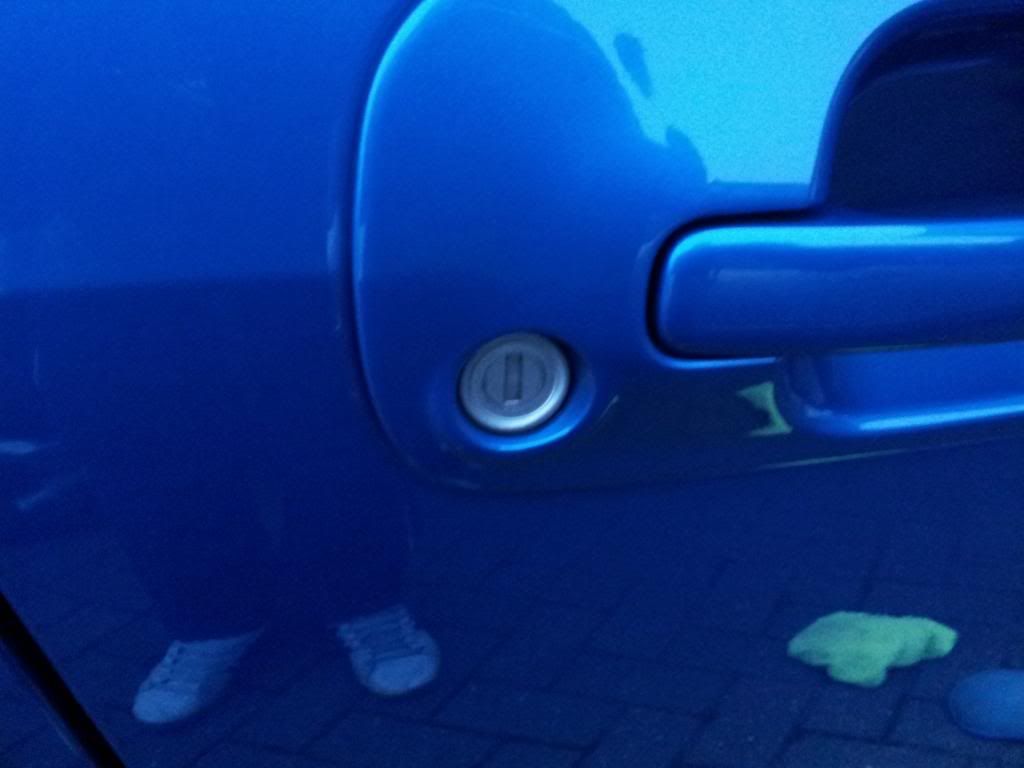
So, carried on again until the light was no more this evening. Cleaned out all the gunk that builds up between the panels, plus I gave the locks a good clean.
Also got a layer of rim-wax on the wheels, keep them protected from all the cak on our roads!
Also got a layer of rim-wax on the wheels, keep them protected from all the cak on our roads!
Last edited by Peedee; Apr 7, 2013 at 09:54 PM.

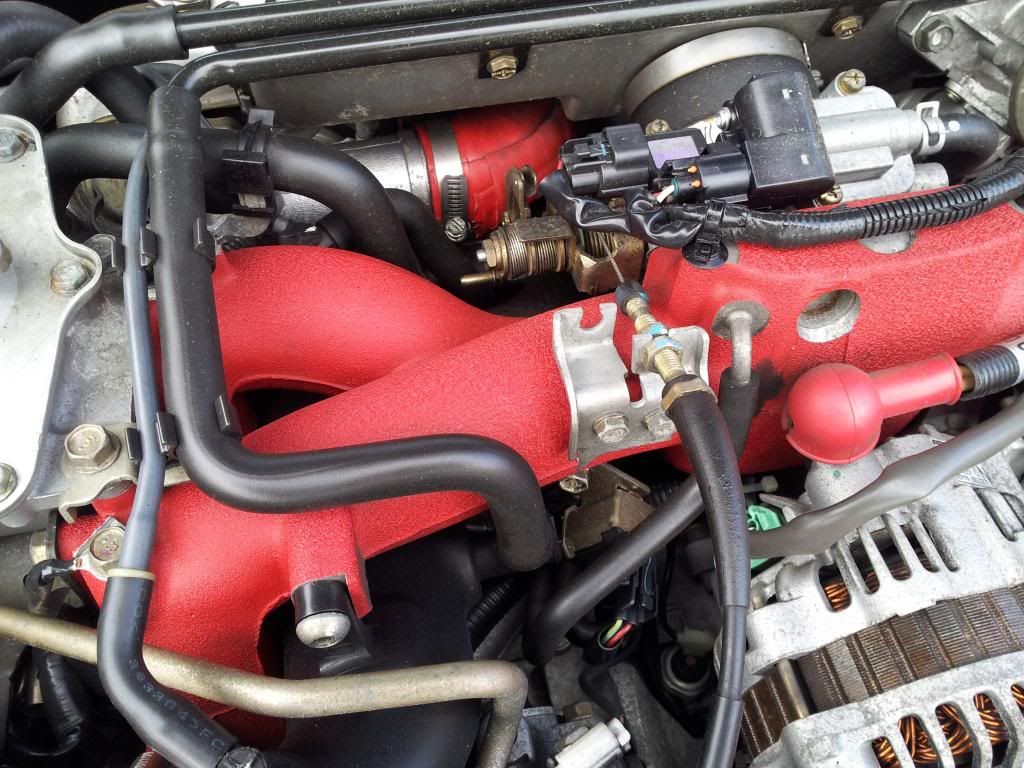
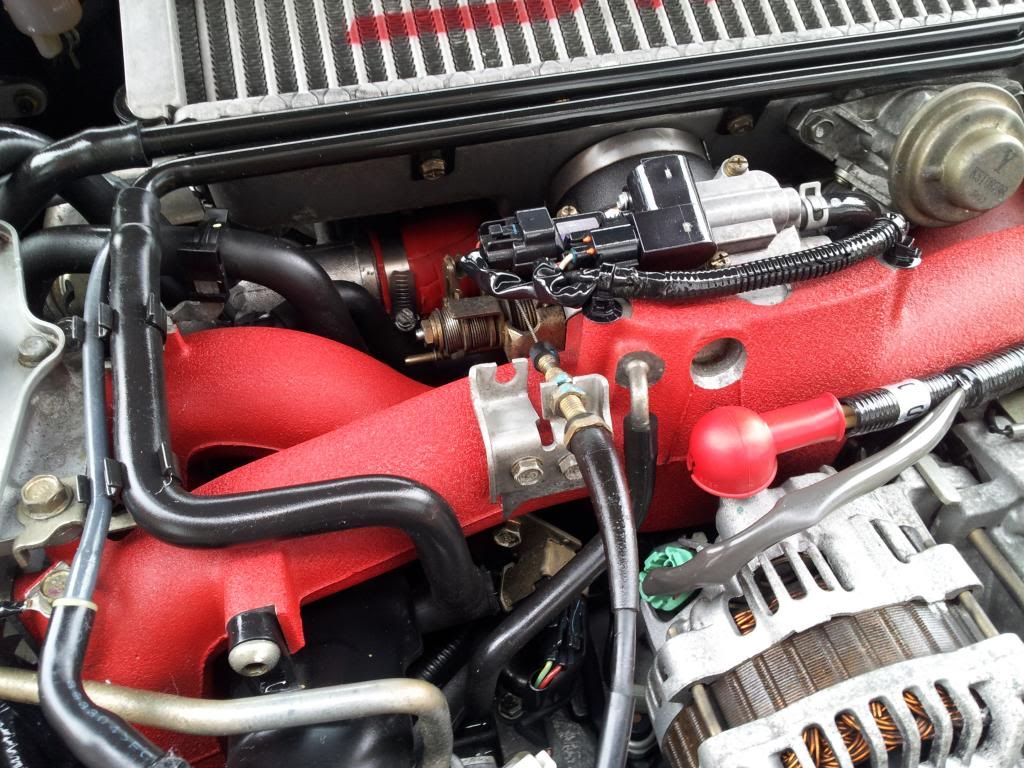
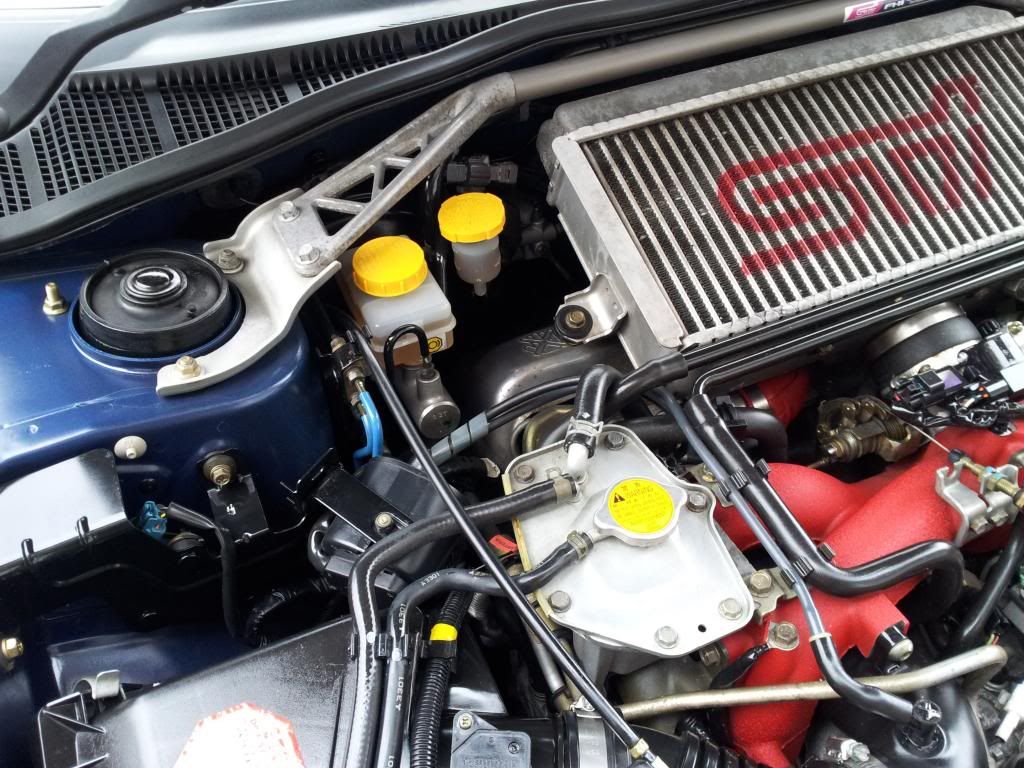
Another nice day today, so I decided to crack on and give my inter cooler and strut brace a bit of a re-furb!
Started by removing the brace and ic / y-pipe.
Gave everything a serious clean using autoglym machine cleaner and then a good rinse. Didn't seem to make much difference, but all the surface rubbish had been removed so all good.
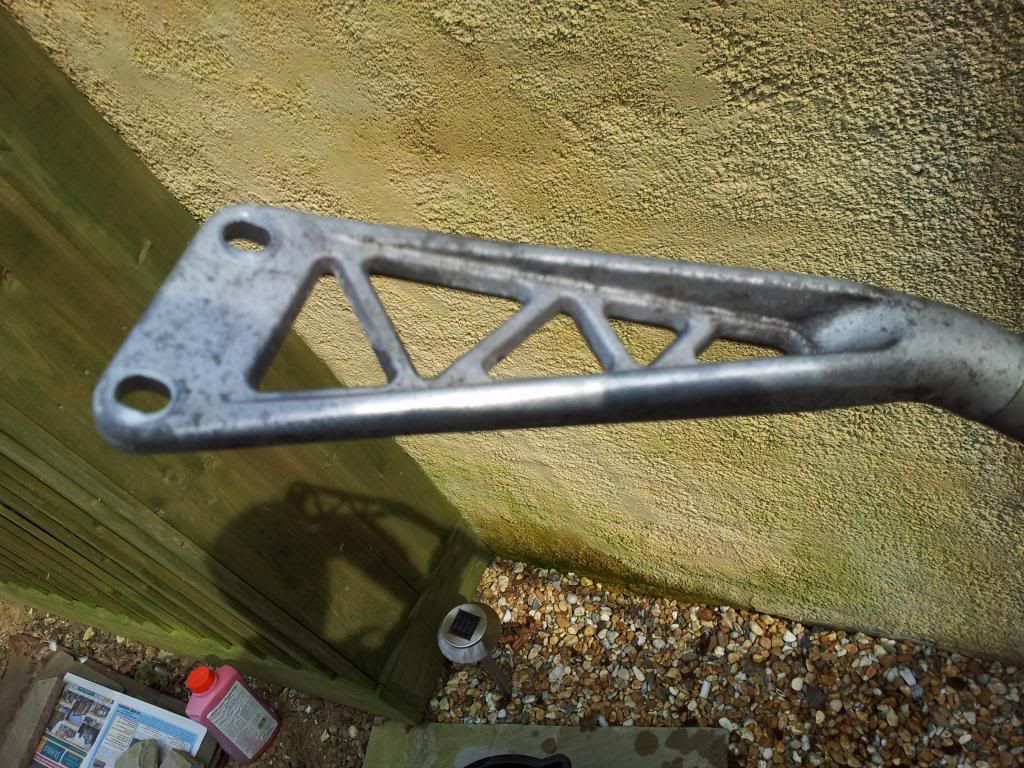
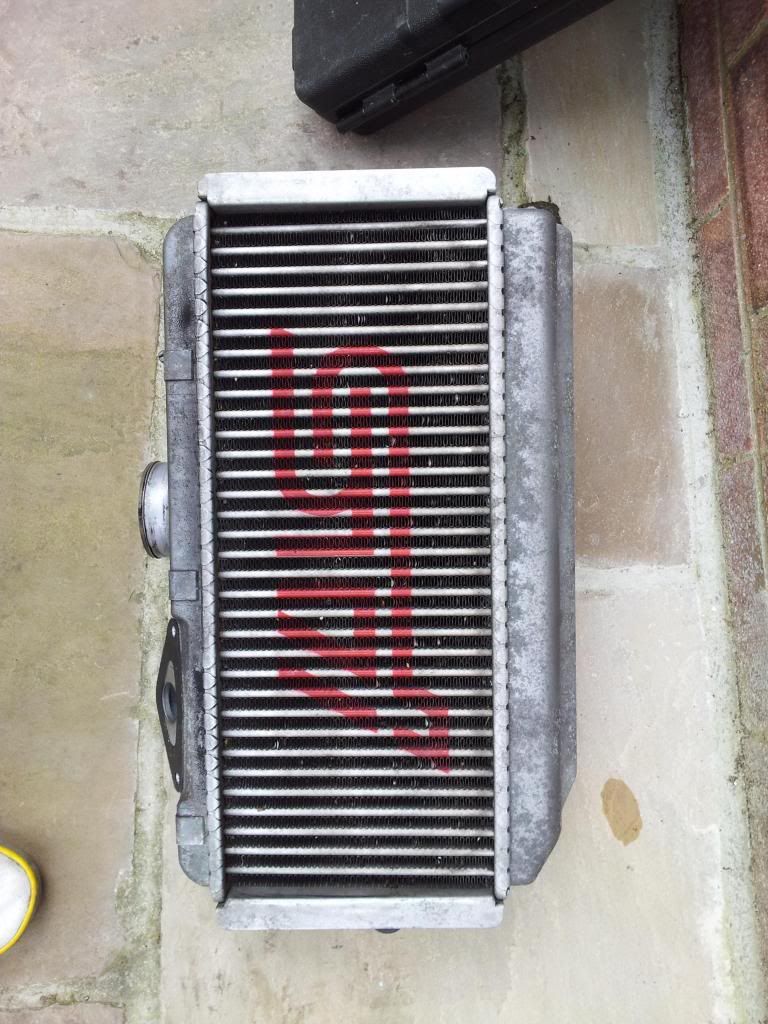
Masked everything up.
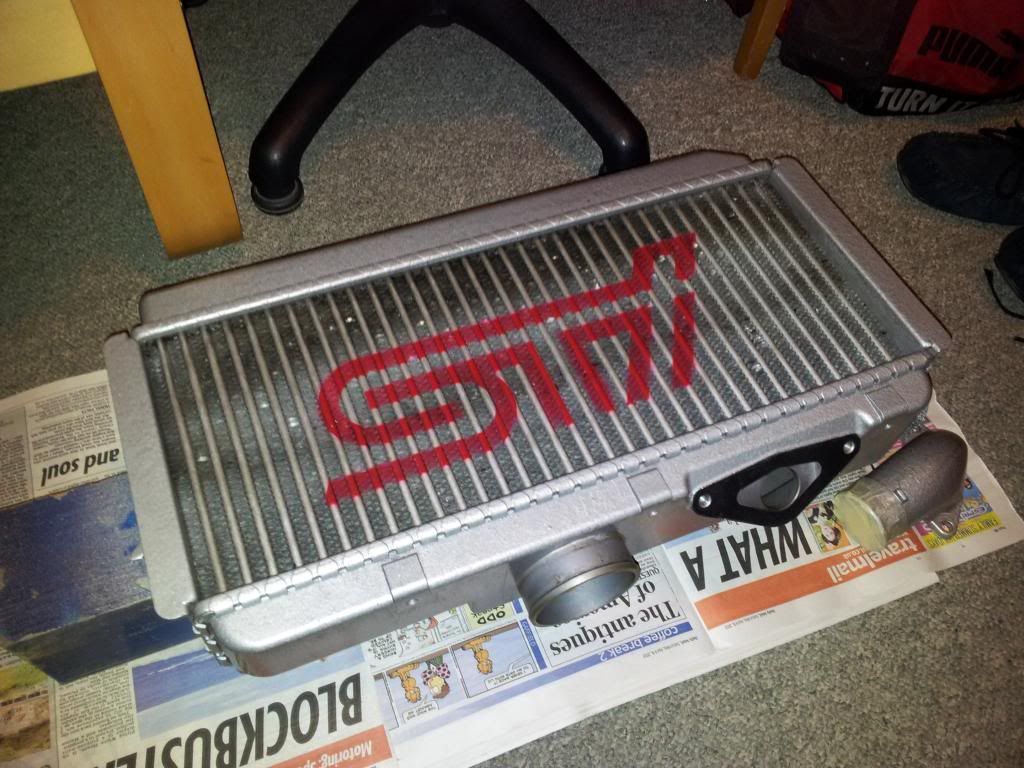
Sprayed away basically lol! Did a number of light coats, letting each coat dry and then applying the next until everything had a decent, equal covering. I bought the closest shade of silver to the OEM metal color that i could as I want to keep it looking standard!
Started by removing the brace and ic / y-pipe.
Gave everything a serious clean using autoglym machine cleaner and then a good rinse. Didn't seem to make much difference, but all the surface rubbish had been removed so all good.
Masked everything up.
Sprayed away basically lol! Did a number of light coats, letting each coat dry and then applying the next until everything had a decent, equal covering. I bought the closest shade of silver to the OEM metal color that i could as I want to keep it looking standard!
Joined: Sep 2005
Posts: 19,945
Likes: 2
From: "Engineering Perfection in Essex"
That's pretty much the only way to do it.
Straighten any bent fins, then blow through with an airline. Then degrease and dust over with silver and stencil.
Straighten any bent fins, then blow through with an airline. Then degrease and dust over with silver and stencil.
Joined: Sep 2005
Posts: 19,945
Likes: 2
From: "Engineering Perfection in Essex"
Could be DIY. But I'd be tempted to get a vinyl sticker cut to used as a stencil. Dust your red on first. Let that dry, and add the stencil and coat with silver.
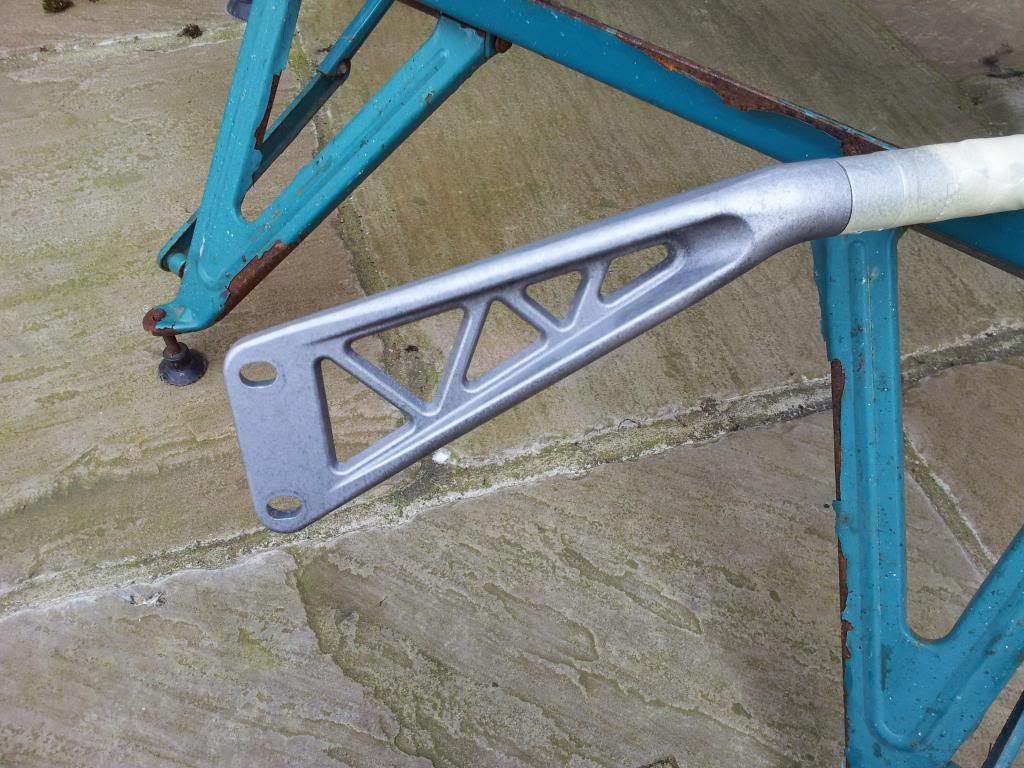
Got my new alloy today, so first job was to fit that....2 min job.
About 10 secs after the alloy was delivered, another van turned up with my front splitter!! Purchased from HT Autos, took about 30 mins to fit, pretty simple but I decided to use my own bolts as I felt the ones that came with the kit looked a bit feeble.
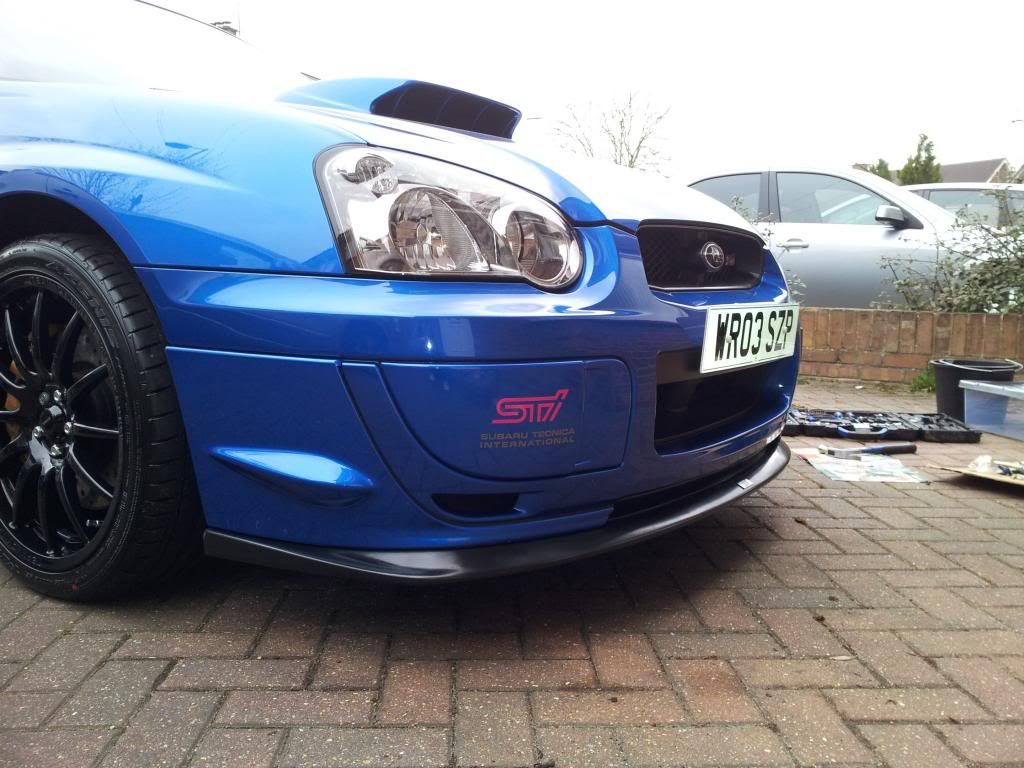
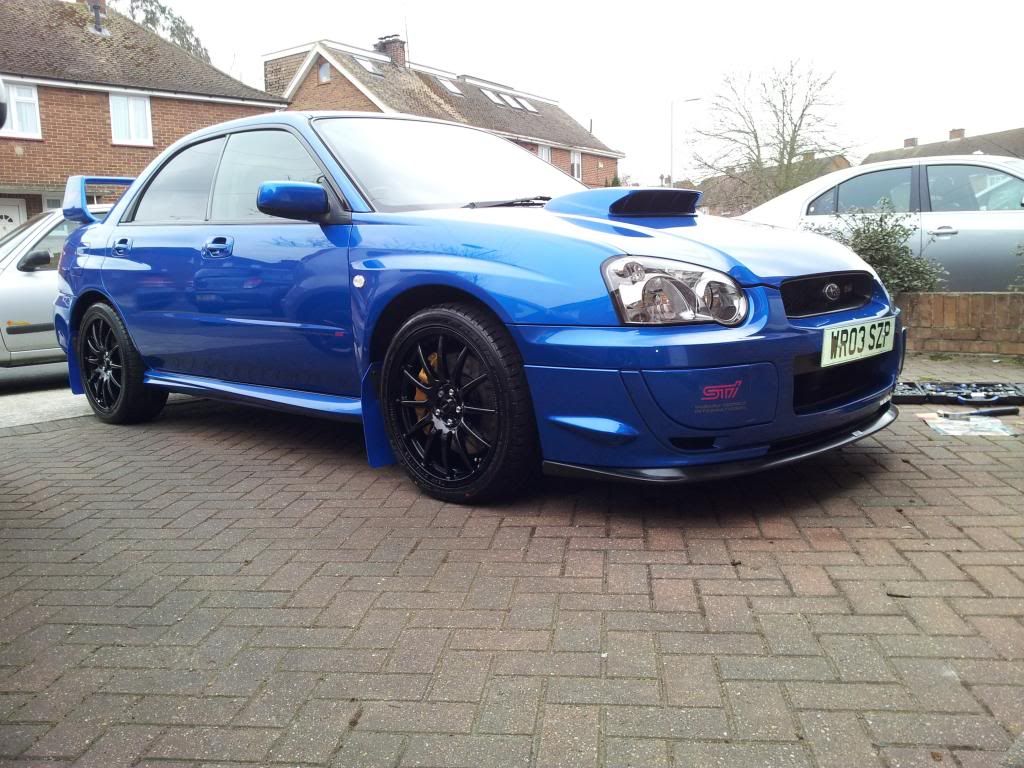
About 10 secs after the alloy was delivered, another van turned up with my front splitter!! Purchased from HT Autos, took about 30 mins to fit, pretty simple but I decided to use my own bolts as I felt the ones that came with the kit looked a bit feeble.
Cheers again for the compliments guys, makes it worthwhile!
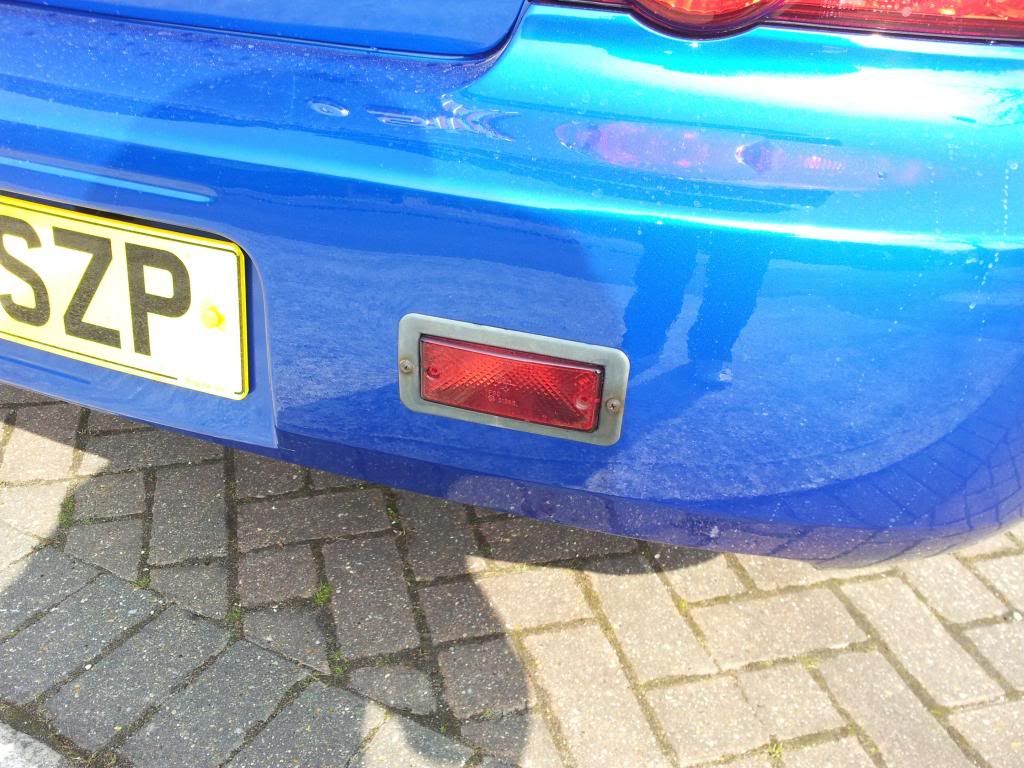
Beautiful day again today so decided to sort the rear foglight out. Unlike usually on the JDM's where the foglight hangs down, mine has been built into the rear bumper by one of the previous owners. Not a problem with this, but it did need a clean up as I felt the standard of it was letting the rear own!
Before:
Faded grey with rusty screws
So, I removed it and stripped it down,
Primered in grey (2 coats),
Sprayed in satin black (3 light coats)
Lacquered (2 lacquer coats)
Allowed to dry for a few hours and put back together,
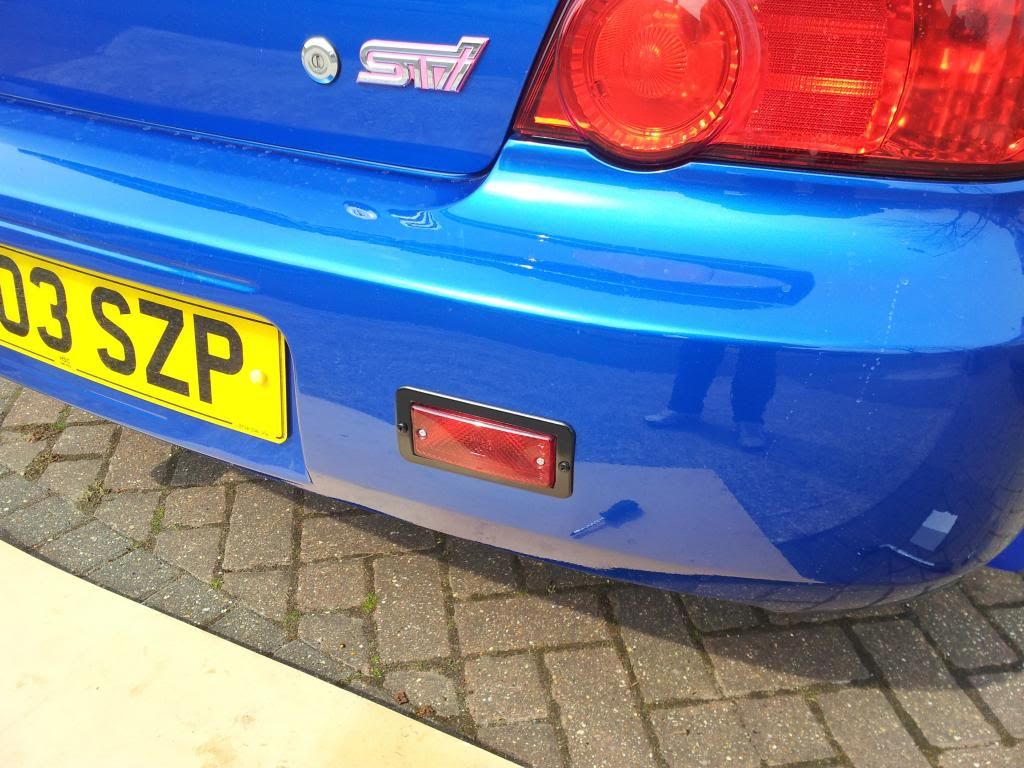
After:
Gloss black, black / silver screws
Beautiful day again today so decided to sort the rear foglight out. Unlike usually on the JDM's where the foglight hangs down, mine has been built into the rear bumper by one of the previous owners. Not a problem with this, but it did need a clean up as I felt the standard of it was letting the rear own!
Before:
Faded grey with rusty screws
So, I removed it and stripped it down,
Primered in grey (2 coats),
Sprayed in satin black (3 light coats)
Lacquered (2 lacquer coats)
Allowed to dry for a few hours and put back together,
After:
Gloss black, black / silver screws

Scooby Regular
Joined: Dec 2012
Posts: 1,100
Likes: 1
From: Newcastle upon tyne

This looks awesome now! It's making me feel bad for neglecting mine ( identical to yours apart from wheels and loads of muck, scratches and little bits and bobs which need fettling )
Keep up the good work
Mick