
The complete rebuild...build.

Thread Starter
Scooby Regular
Joined: Jul 2012
Posts: 252
Likes: 0
From: north west
So a couple of month ago i bought my subaru with the knowledge that it would be atleast 2-3 years before i could afford to insure it. I'm only 20... so no chance of a quote unfortunately.
plus the car needs a bit of TLC so im going to rebuild it

Build it to the spec i want and finish it to the standard i like.
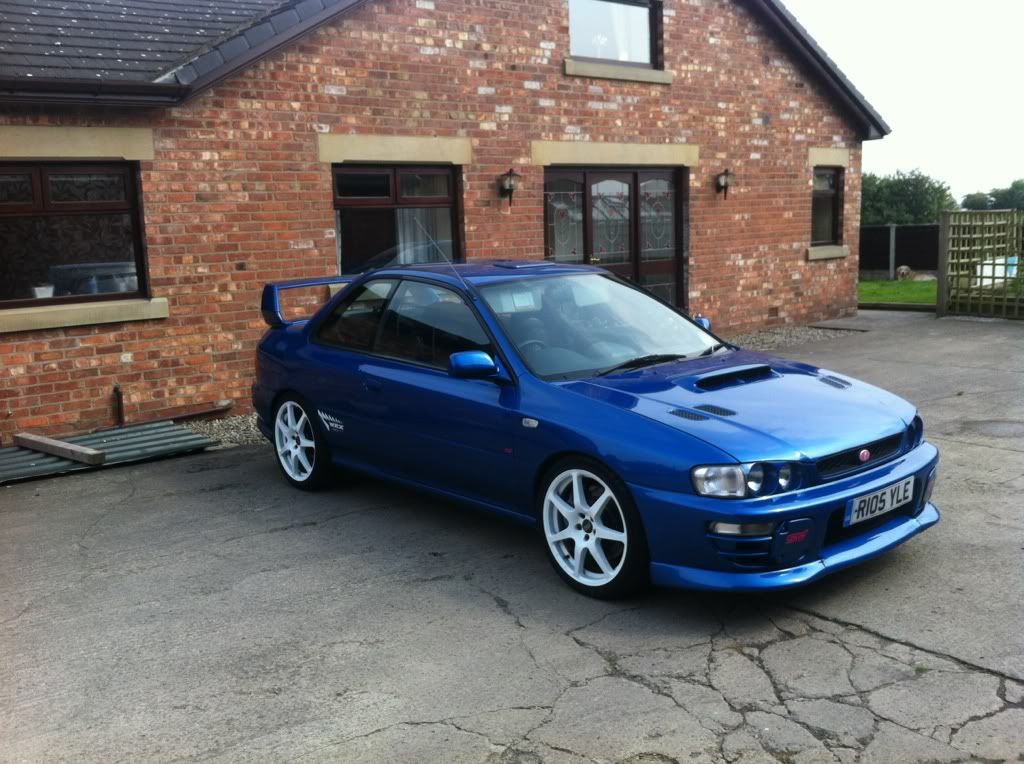
thought i'd wait to start the thread so i had some pictures so here goes.
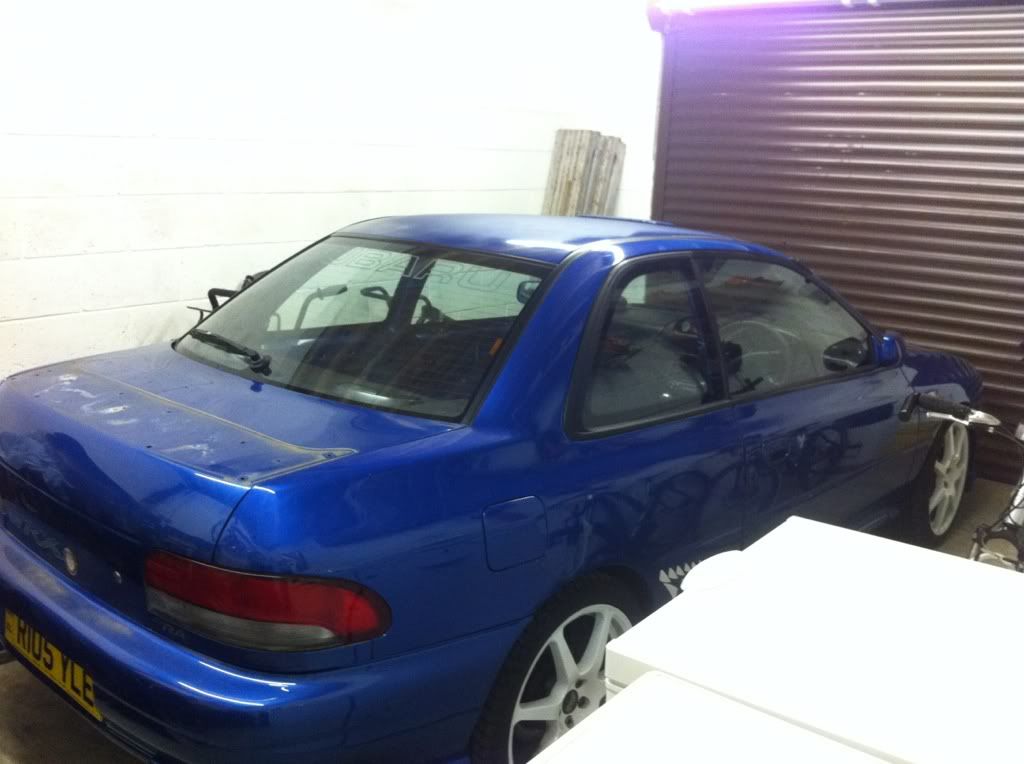
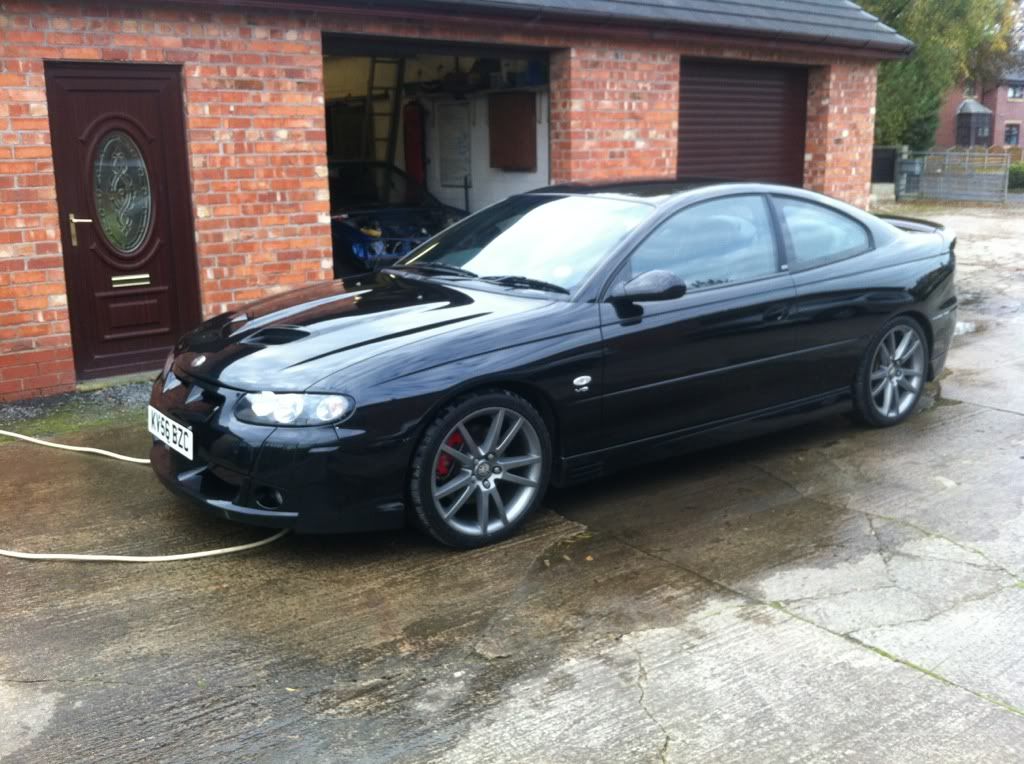
few pictures before it gets pulled apart
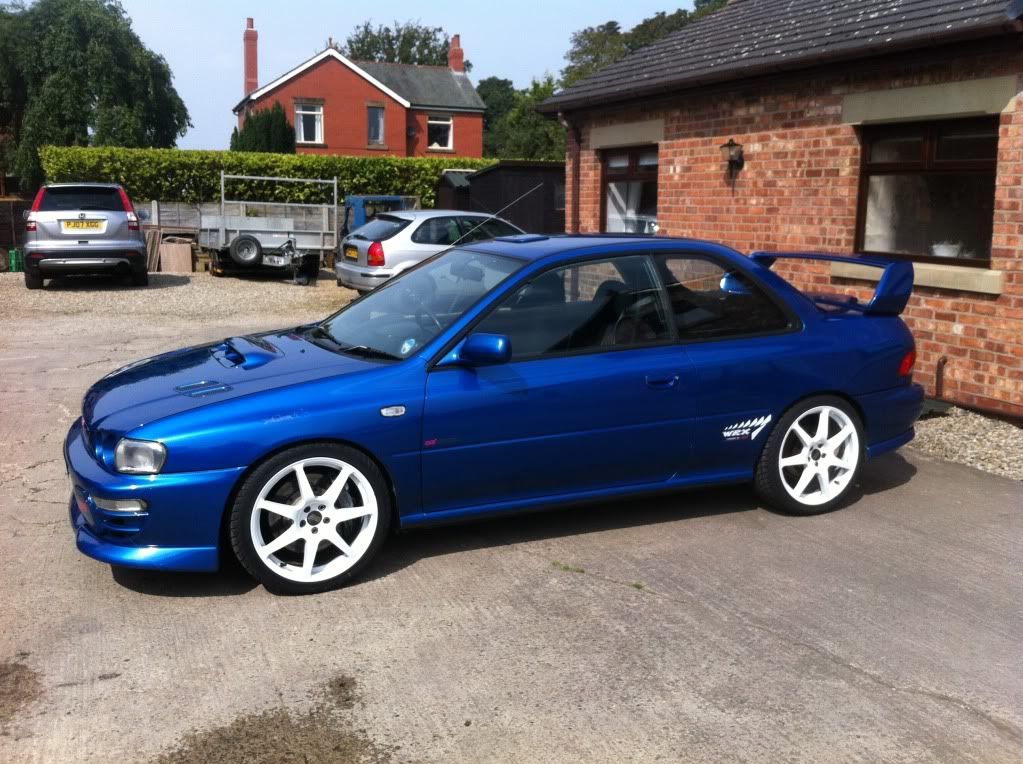
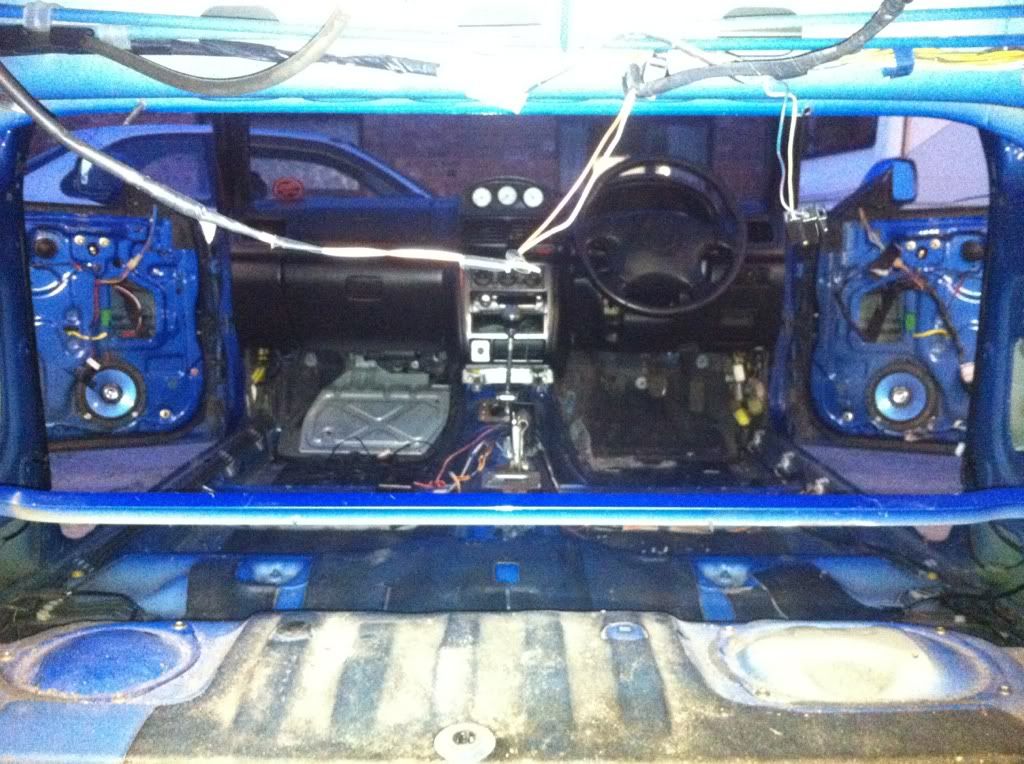
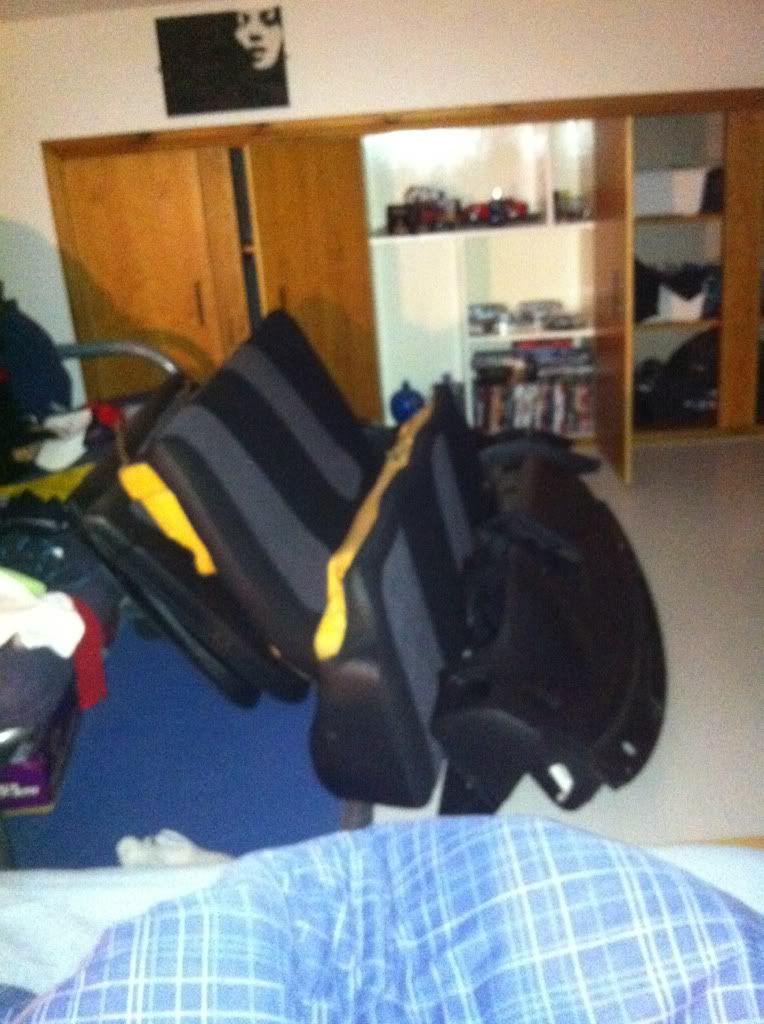
first stage was stripping out the interior which came out nicely!

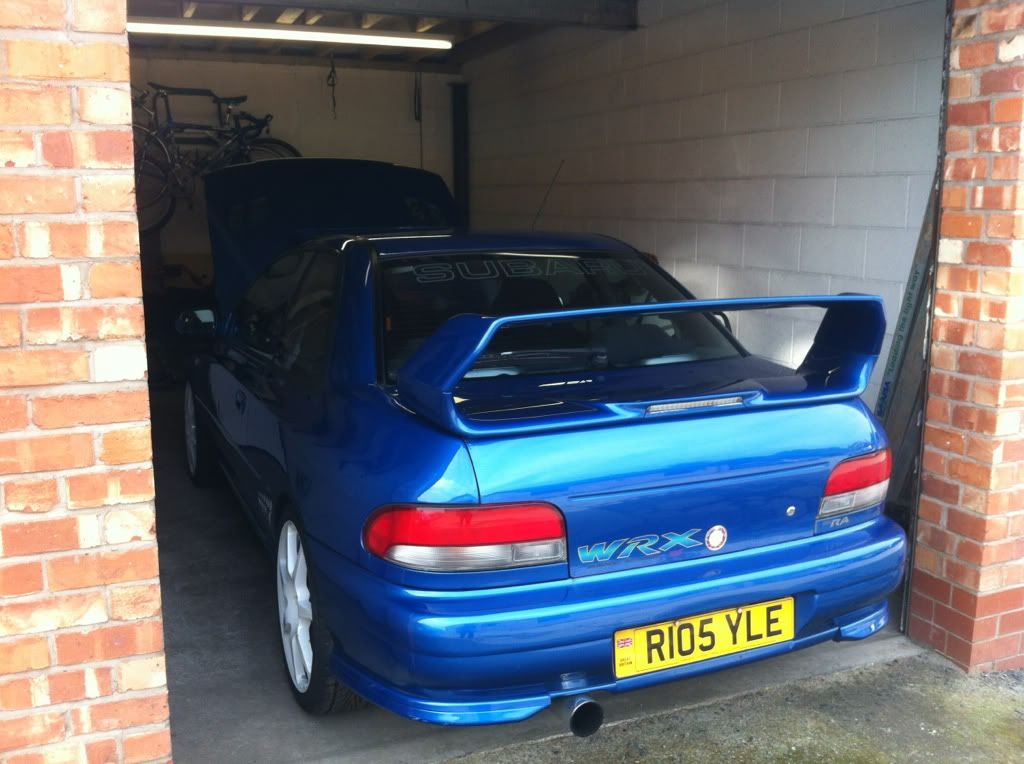
then out with the windows which had two massive scratches down either cos the nylon on the runners had worn off so need a pair of windows. Not sure about no spoiler though!
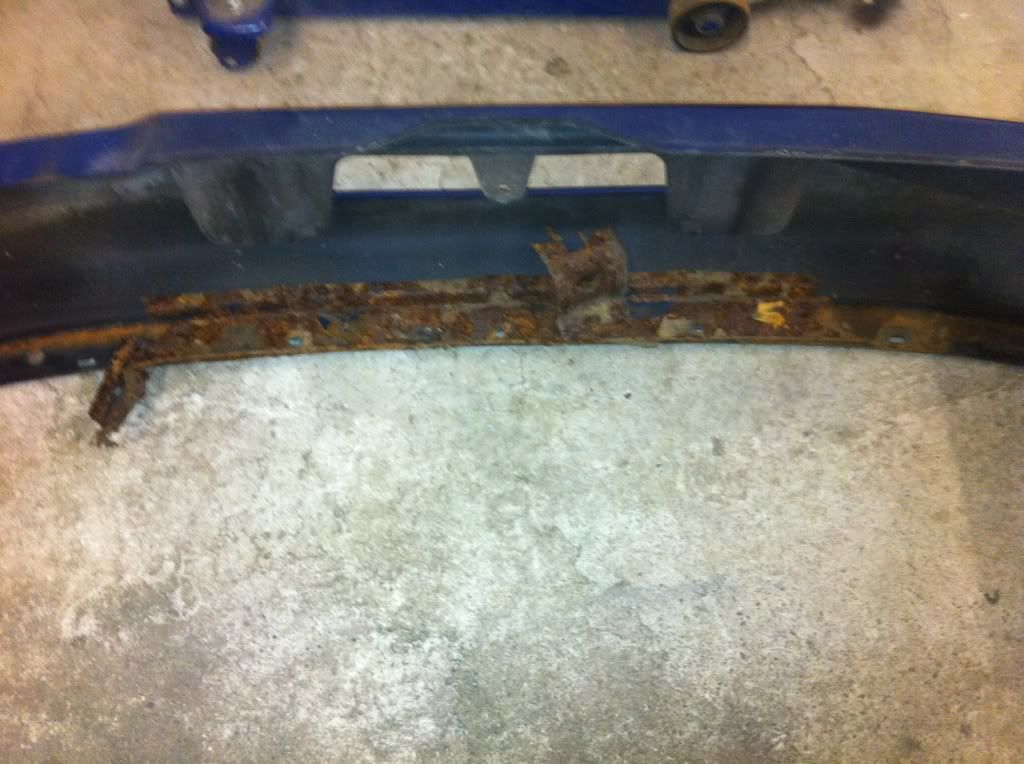
off with the back bumper and lights, which were nicely sealed in with lots of silicone and gasket sealer what a f*ckin mess!

the crash support bar came off with the bumper - quality

got all the dash loose and ready to come out. Poorly fitted gauges are being a pain in the **** though. So waiting til may engine bay is cleared so i can follow the cables
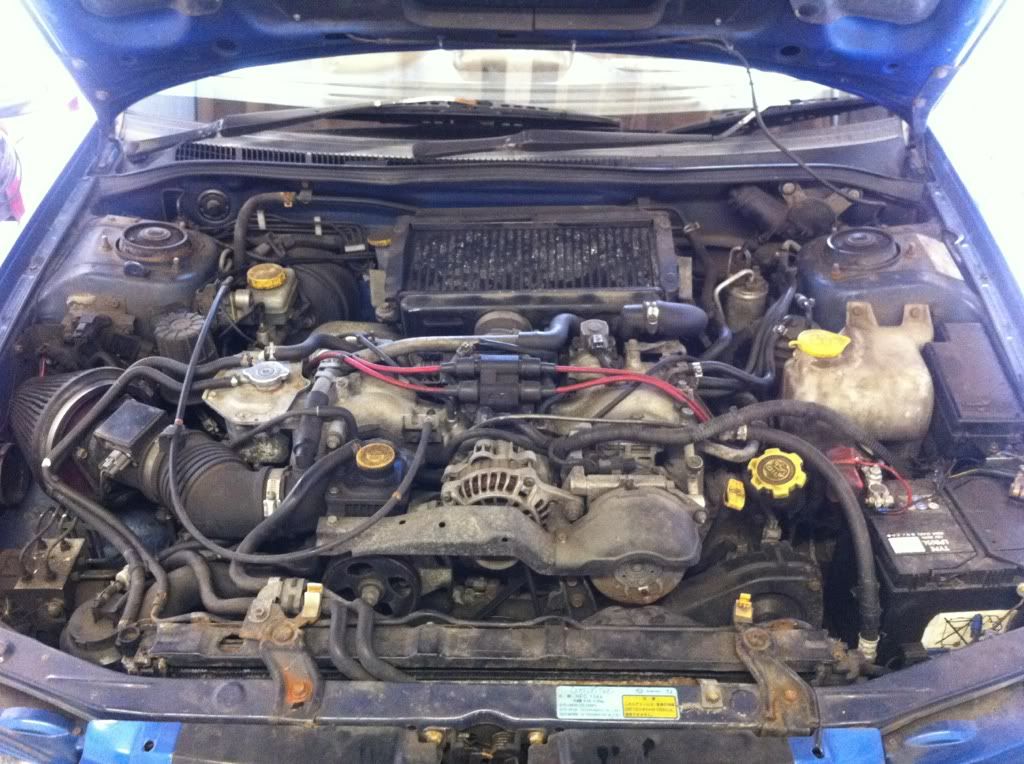
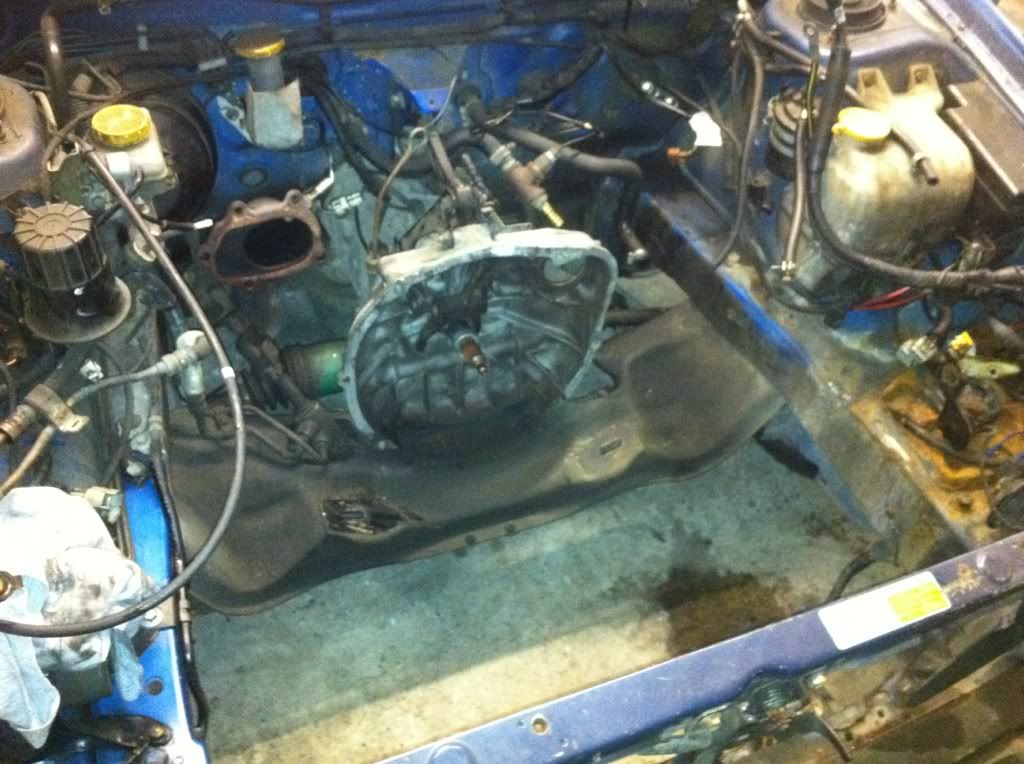
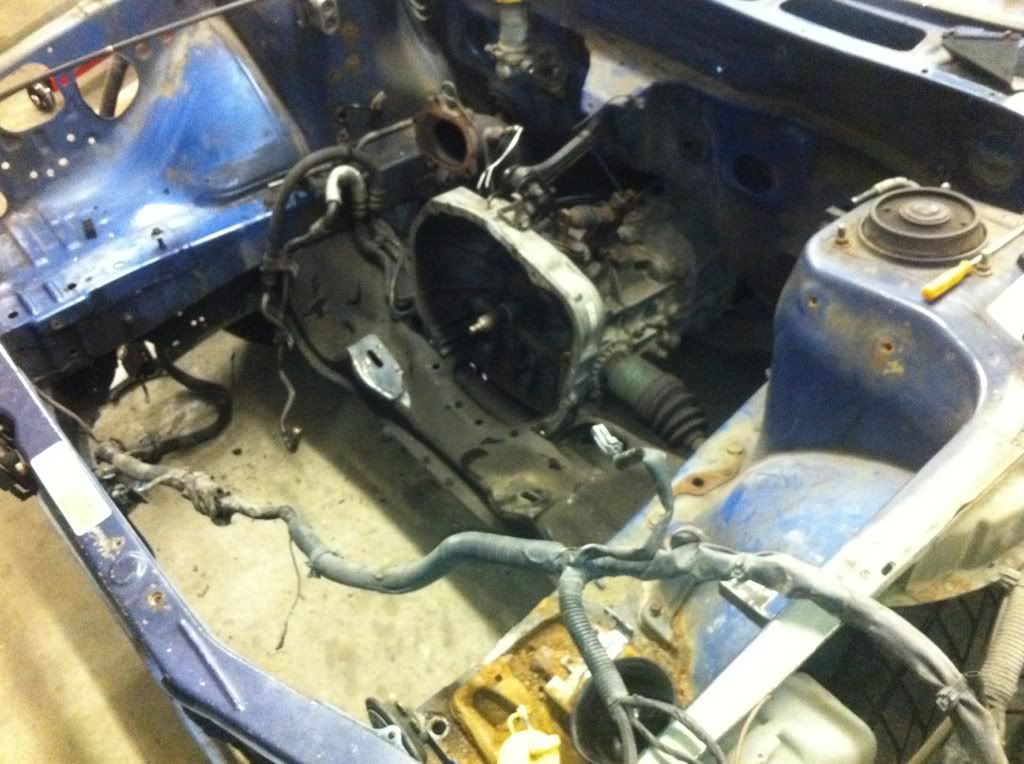
engine out now
as it was
few bits off
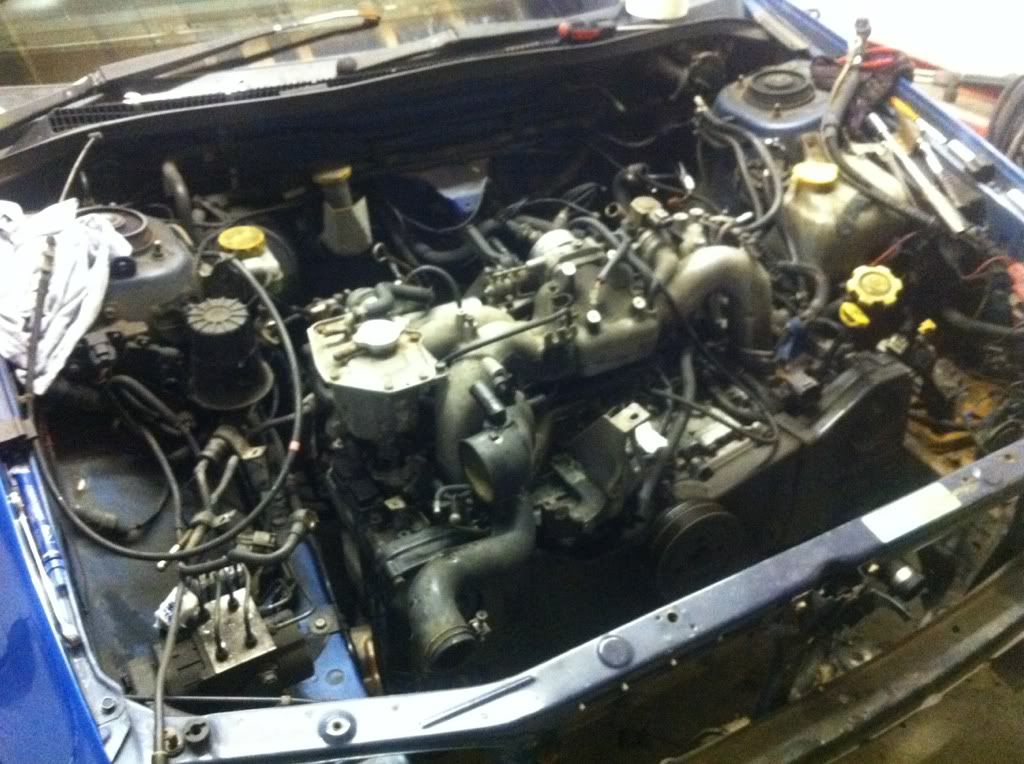
then
on my nice new stand
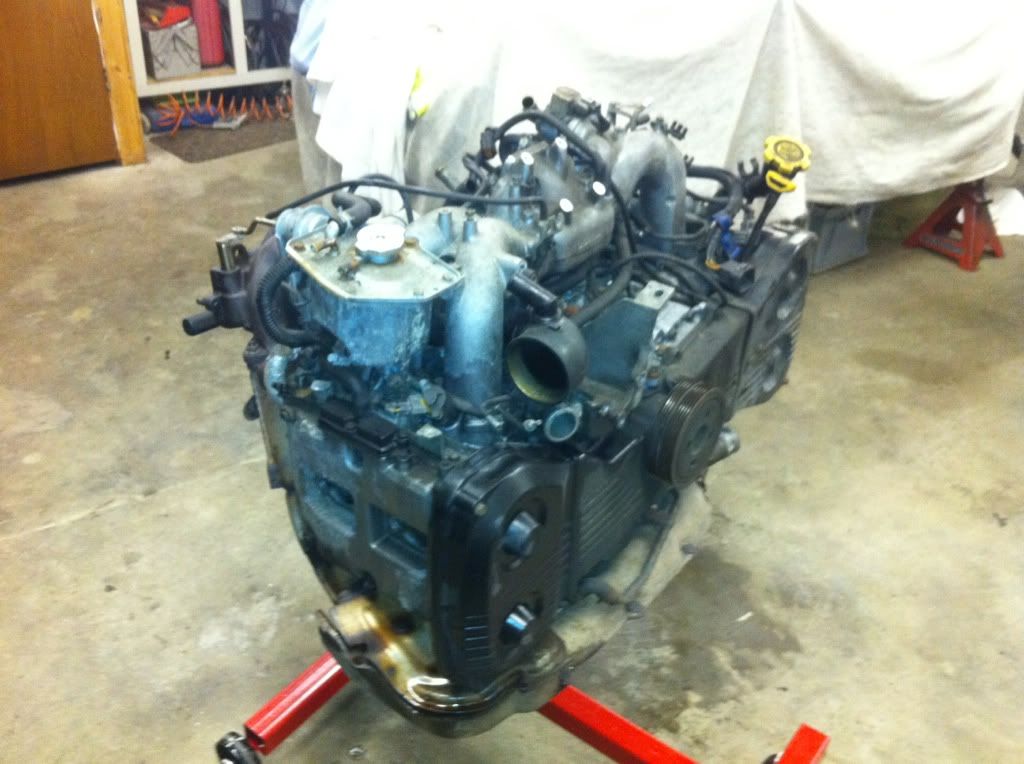
its now just a long engine all cleaned up ready for some spray. and my engine bay is almost clear, just got a couple of brake lines to remove and my master cylinder and servo. and a lot of wires
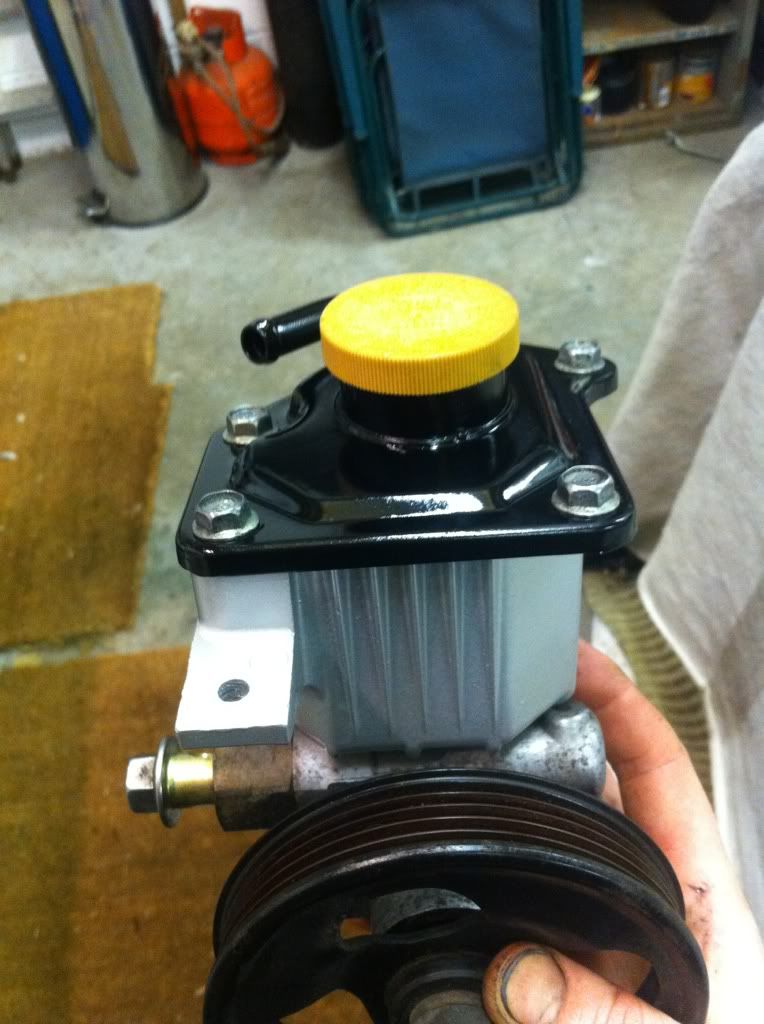
everything is ready for paint really but here is more freshly painted pas pump
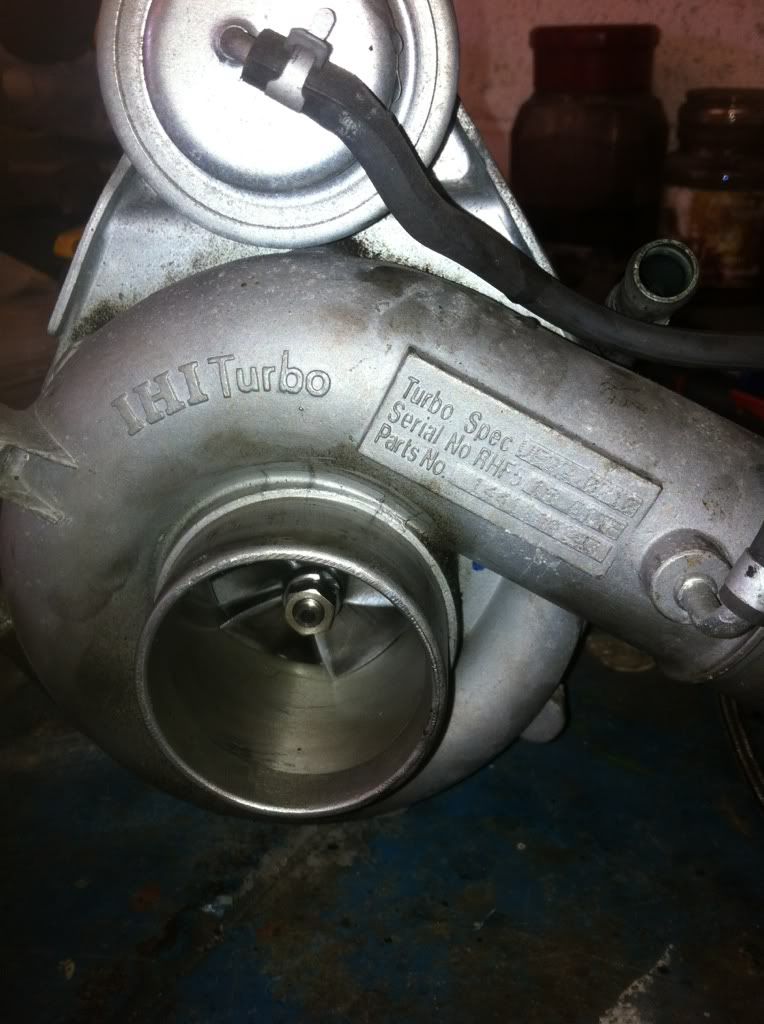
in the process of taking my compressor housing off too as that is going to be powder coated
need to spend some money on water and induction hoses now.
also been forced into a smaller space now as my garage space has been taken over by another car.
plus the car needs a bit of TLC so im going to rebuild it
Build it to the spec i want and finish it to the standard i like.
thought i'd wait to start the thread so i had some pictures so here goes.
few pictures before it gets pulled apart
first stage was stripping out the interior which came out nicely!
then out with the windows which had two massive scratches down either cos the nylon on the runners had worn off so need a pair of windows. Not sure about no spoiler though!
off with the back bumper and lights, which were nicely sealed in with lots of silicone and gasket sealer
what a f*ckin mess!the crash support bar came off with the bumper - quality
got all the dash loose and ready to come out. Poorly fitted gauges are being a pain in the **** though. So waiting til may engine bay is cleared so i can follow the cables
engine out now
as it was
few bits off
then
on my nice new stand
its now just a long engine all cleaned up ready for some spray. and my engine bay is almost clear, just got a couple of brake lines to remove and my master cylinder and servo. and a lot of wires
everything is ready for paint really but here is more freshly painted pas pump
in the process of taking my compressor housing off too as that is going to be powder coated
need to spend some money on water and induction hoses now.
also been forced into a smaller space now as my garage space has been taken over by another car.
Good project... but you should of checked out tiger.co.uk for insurance  ... I checked everywhere to get insure on a Turbo but with no luck... checked out these guys... and voil�!
Anyway, you're doing something much better, making the car yours! Keep us all informed, looks like a great project
... I checked everywhere to get insure on a Turbo but with no luck... checked out these guys... and voil�! Anyway, you're doing something much better, making the car yours! Keep us all informed, looks like a great project
Thread Starter
Scooby Regular
Joined: Jul 2012
Posts: 252
Likes: 0
From: north west
Good project... but you should of checked out tiger.co.uk for insurance ... I checked everywhere to get insure on a Turbo but with no luck... checked out these guys... and voil�!
Anyway, you're doing something much better, making the car yours! Keep us all informed, looks like a great project
... I checked everywhere to get insure on a Turbo but with no luck... checked out these guys... and voil�! Anyway, you're doing something much better, making the car yours! Keep us all informed, looks like a great project
Thread Starter
Scooby Regular
Joined: Jul 2012
Posts: 252
Likes: 0
From: north west
Erm on a scale to 10 probably about 3. Was nice and easy apart from the gearbox stuck on some dowels on the engine. Thought I was doing something wrong but it was just some dowels :P comes out easy tho. I keep checking the classified already bought a few bit n bobs.
Plans are... Weld some nice jacking points in and get some new sills made as one is knackered and the other is on its way out.
Samco hose almost everything :P then general engine bay tidy up. Keep it minimalistic, looks better. Unsure what colour engine bay and will be seam welding as much as possible. Maybe some abw arches, car needs full respray anyway. And then I'll see what else when I get too it really. Got a big check list pinned up in the garage,
Scooby Senior
iTrader: (51)
Joined: Nov 2005
Posts: 20,491
Likes: 2
From: Wherever I park my car, that's my home
Looks like you'r going to have your hands full. Will be tidy when it's finished. I wonder if that PS pump will fit the newage as the built in reservoir is so much tidier than the remote one
Trending Topics
Erm on a scale to 10 probably about 3. Was nice and easy apart from the gearbox stuck on some dowels on the engine. Thought I was doing something wrong but it was just some dowels :P comes out easy tho. I keep checking the classified already bought a few bit n bobs.
Plans are... Weld some nice jacking points in and get some new sills made as one is knackered and the other is on its way out.
Samco hose almost everything :P then general engine bay tidy up. Keep it minimalistic, looks better. Unsure what colour engine bay and will be seam welding as much as possible. Maybe some abw arches, car needs full respray anyway. And then I'll see what else when I get too it really. Got a big check list pinned up in the garage,
Plans are... Weld some nice jacking points in and get some new sills made as one is knackered and the other is on its way out.
Samco hose almost everything :P then general engine bay tidy up. Keep it minimalistic, looks better. Unsure what colour engine bay and will be seam welding as much as possible. Maybe some abw arches, car needs full respray anyway. And then I'll see what else when I get too it really. Got a big check list pinned up in the garage,
may seek your advice one day. Let me know if you need a home for your wheels whilst the cars apart  .
.
Thread Starter
Scooby Regular
Joined: Jul 2012
Posts: 252
Likes: 0
From: north west
haha i will let you know cos i might be getting rid of them. I will need some wider ones to go under my abw arches.
as for the pas pump, im not sure about fitment. Could probably pick up one for cheap and see how it goes? Knowing my luck... itll go knackered as soon as its on :P
as for the pas pump, im not sure about fitment. Could probably pick up one for cheap and see how it goes? Knowing my luck... itll go knackered as soon as its on :P
Thread Starter
Scooby Regular
Joined: Jul 2012
Posts: 252
Likes: 0
From: north west
been stripping down the engine bay some more, also taken out all the air bag wires and sensors, and removed ABS and all the brake lines and air con.
got my heater matrix out
and
been cleaning the engine ready for some paint as well.

running out of space though the inside of my room is starting to turn into a subaru
Getting my welder in a week or two
got my heater matrix out
and
been cleaning the engine ready for some paint as well.
running out of space though the inside of my room is starting to turn into a subaru
Getting my welder in a week or two
Last edited by carterv3typeR; Nov 1, 2012 at 11:19 PM.
Thread Starter
Scooby Regular
Joined: Jul 2012
Posts: 252
Likes: 0
From: north west
aye it is. Taking it apart is the cheap bit 
ordered some samco hoses the other day too, induction hose that runs under tha manifold, coolant ancilliary and rad ones. in lime green
unsure about what colour engine bay though, dno whether to stick to blue or go white or black. or maybe even lime green, hmmmmmm
ordered some samco hoses the other day too, induction hose that runs under tha manifold, coolant ancilliary and rad ones. in lime green
unsure about what colour engine bay though, dno whether to stick to blue or go white or black. or maybe even lime green, hmmmmmm


Thread Starter
Scooby Regular
Joined: Jul 2012
Posts: 252
Likes: 0
From: north west
degreased and power washed today, didn't have much time to play 
before
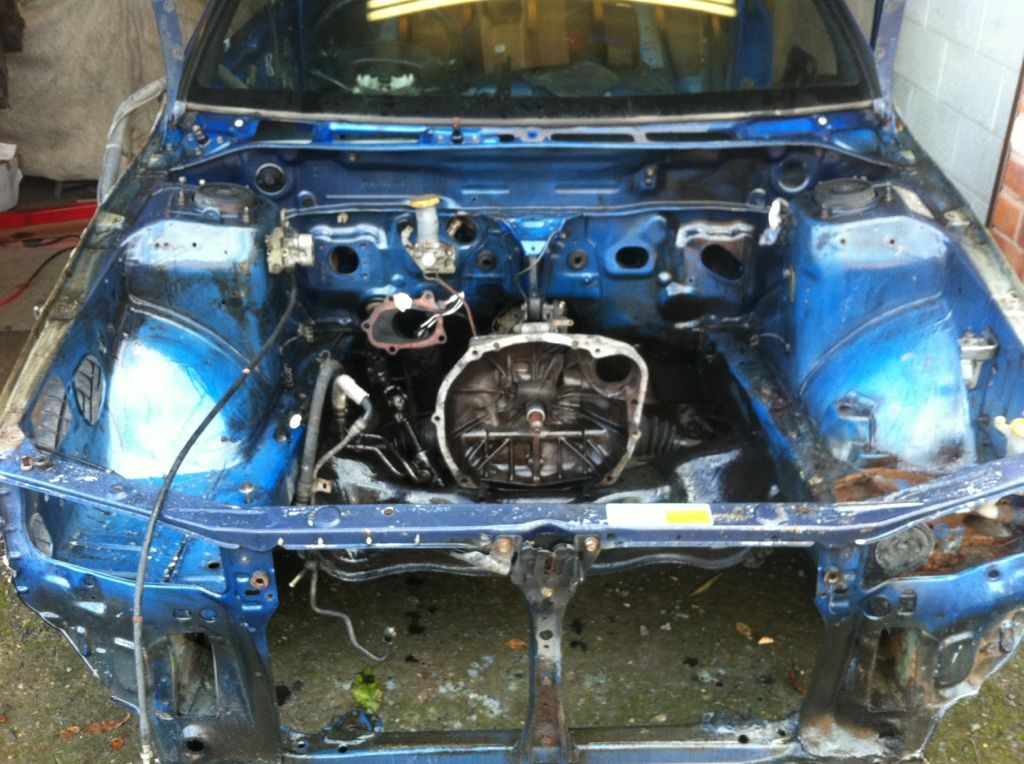
and after
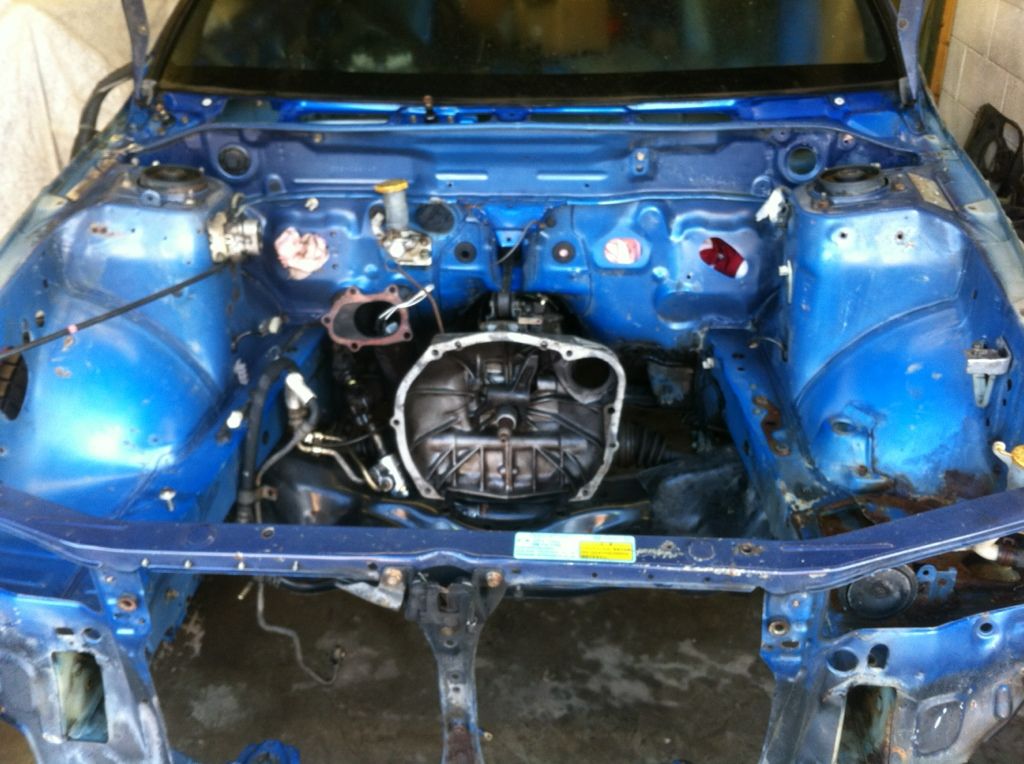
gunna look the bollocks when its all sprayed up like the outside paint
before
and after
gunna look the bollocks when its all sprayed up like the outside paint
Last edited by carterv3typeR; Nov 3, 2012 at 08:38 PM.
Scooby Senior
iTrader: (51)
Joined: Nov 2005
Posts: 20,491
Likes: 2
From: Wherever I park my car, that's my home
I find it amazing how much Subaru compromised with the paint finish in hidden areas, should look mint when you've done it properly and exorcised that tin-worm
Thread Starter
Scooby Regular
Joined: Jul 2012
Posts: 252
Likes: 0
From: north west
So just been doing bits and bobs really nothing substantial. Been waiting for a few parts and will be painting some thins weekend. Here are my shiny new hoses
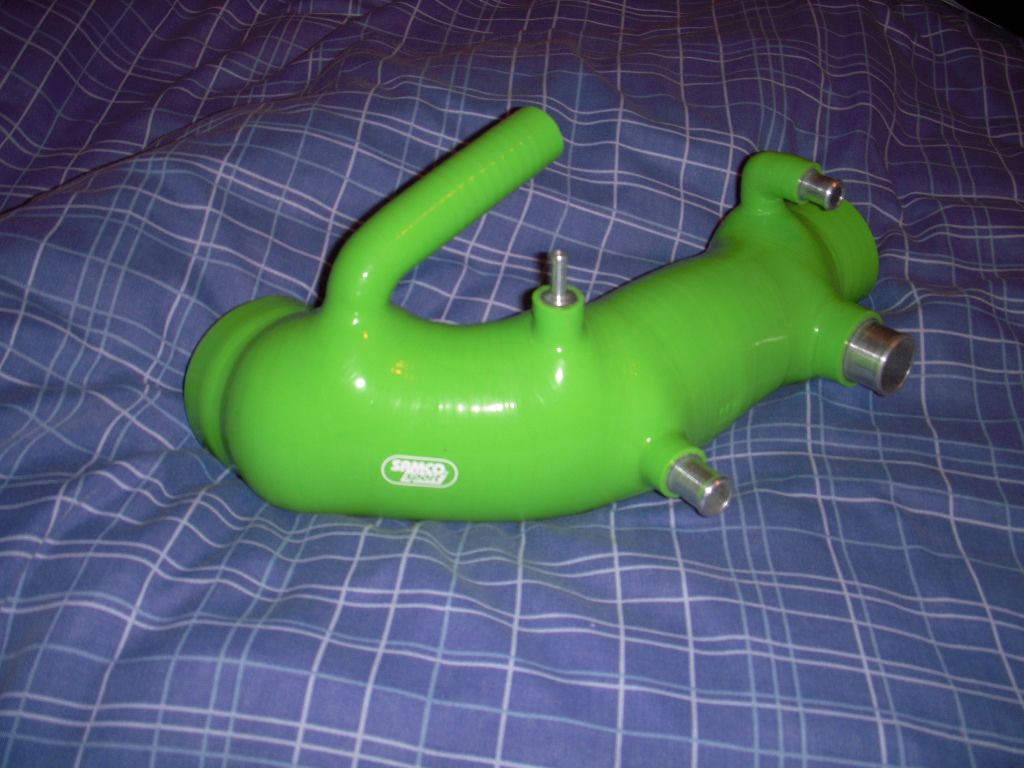
Got some water ancillary ones too and rad ones but having some problems with photo bucket so no photos atm.
My AP's have been sent to Godspeed too and they will come back in the same colour nd like new ones.
Car will be going to the local fabricator before Christmas for some proper jacking points welded in (they got a ramp) Then I can crack on with the seam welding.
Whereabouts are you getting your jacking points welded in?? Is it just a plate of metal welded on underneath to make it easier and quicker to get a jack under it?
Interested as my skirts always make it tricky to get a jack under!
Cheers
Iain
Interested as my skirts always make it tricky to get a jack under!
Cheers
Iain
Thread Starter
Scooby Regular
Joined: Jul 2012
Posts: 252
Likes: 0
From: north west
I am thinking like 3"x2" box section steel welded behind the jacking points, using the original points as one side if you know what I mean. The plate the bottoms so they are kinda like legs. If you know what I mean? It's just do it's easier to jack up, n stronger.
Thread Starter
Scooby Regular
Joined: Jul 2012
Posts: 252
Likes: 0
From: north west
quick update on this, not posted in a while but i will add some pictures later. The car is now almost back to a shell but i am running out of space to put things! got all the looms out and sterring column, the only thing left inside is the roof lining but never seem to have clean enough hands to start doing the job. everything from the fuel tank forward is off, and i have just started seam welding. sent few things off for powder coating, got my subframe, gearbox mounting frames, turbo compressor housing, valve covers sump and few other little bit and bobs coming back in kawasaki green once they are back and ive changed the camshaft seals i can re-assemble my engine completely then all i need it a timing belt kit and water pump. was going to strip the engine originally but thought i would just leave it as it was rebuild 20k ago and its an open deck thought i might as well tart it up and run it until it goes or i can afford a proper one! I'm kinda saving up for my rollcage now, wanna get that in whilst everythings off it. The back end of the car is nasty, and pretty rusty, need some outer sills making as well as new rear arches, the more i look at the shell the more i think what a dog! I'll get some photos up later.
once they are back and ive changed the camshaft seals i can re-assemble my engine completely then all i need it a timing belt kit and water pump. was going to strip the engine originally but thought i would just leave it as it was rebuild 20k ago and its an open deck thought i might as well tart it up and run it until it goes or i can afford a proper one! I'm kinda saving up for my rollcage now, wanna get that in whilst everythings off it. The back end of the car is nasty, and pretty rusty, need some outer sills making as well as new rear arches, the more i look at the shell the more i think what a dog! I'll get some photos up later.
Thread Starter
Scooby Regular
Joined: Jul 2012
Posts: 252
Likes: 0
From: north west
Everything is now of the shell, bar the fuel tank which is my next job but been stuck inside cos of a bad knee -,- after that is out its time to start the tedious job of cleaning off all the dirty crappy old underseal, tools to hand are an orbital wire brush and a wallpaper scraper thing. Done all the front end almost and half way under the car but my god is it boring. Should also be picking up stuff from powder coaters and taking more stuff to them this weekend. Lot of work to be done on the shell but just gotta crack on! Pics up tomorrow.
Thread Starter
Scooby Regular
Joined: Jul 2012
Posts: 252
Likes: 0
From: north west
Thread Starter
Scooby Regular
Joined: Jul 2012
Posts: 252
Likes: 0
From: north west
There is also the hard race kit that's adjustable but with rubber bushes, just thought as I'm polybushimg the whole car it'd make more sense to have rose joints? Might be wrong I dno! Ha look tidy though and my trailing n lateral arms are rusty and was gunna polybush anyway, think I'd rather pay the extra and have them beauties.
Scooby Senior
iTrader: (51)
Joined: Nov 2005
Posts: 20,491
Likes: 2
From: Wherever I park my car, that's my home
I have rose jointed lateral arms and drop links and they do seem a lot more clunky. I'm about to get the lateral arms powder coated as the original finish was a bit shabby but I've got some freshly painted trailing arms so they'll just get new polybushed
Rose joints don't bother me as it's not a daily driver but they do require more maintenance - a coat of silicon spray every month or so
Rose joints don't bother me as it's not a daily driver but they do require more maintenance - a coat of silicon spray every month or so