
Operation Catalunya

Thread Starter
Scooby Regular
iTrader: (9)
Joined: Sep 2008
Posts: 905
Likes: 0
From: Ellon, Aberdeenshire
Ok, this is now being posted by me personally- I am paying for everything to build the car just now anyway so until I get some investment from the business it is my project (plus we have just blew a heap of cash elsewhere and have no spendoolies left to renew Scoobynet at the minute  )
)
I don't want to break any rules on here though as we aim to be back soon
This is what was posted on the previous Koi thread:
Well here I go, this car is being built as the first demonstrator/project car for Koi (www.koi-performance.co.uk) however it is currently in pieces so the first part of the plan is to build it!
This is a Catalunya, previously owned by Duncinascoob / duncatr (depending on what forum you follow�..
I did have all parts ready to build a complete car as originally I was going to just build it to a standard UK spec and add some choice parts as the company took on suppliers and progressed but that soon went out the window!
Plan now is to build a sprint/track car that will also help with advertising
As I am funding this myself for the time being I am building to a modest specification but one that should be easy to maintain and a good laugh on a day out!
Still not sure what exactly is coming with the car so I will no doubt have to pick parts up as I go along but here is what I am hoping to achieve��.
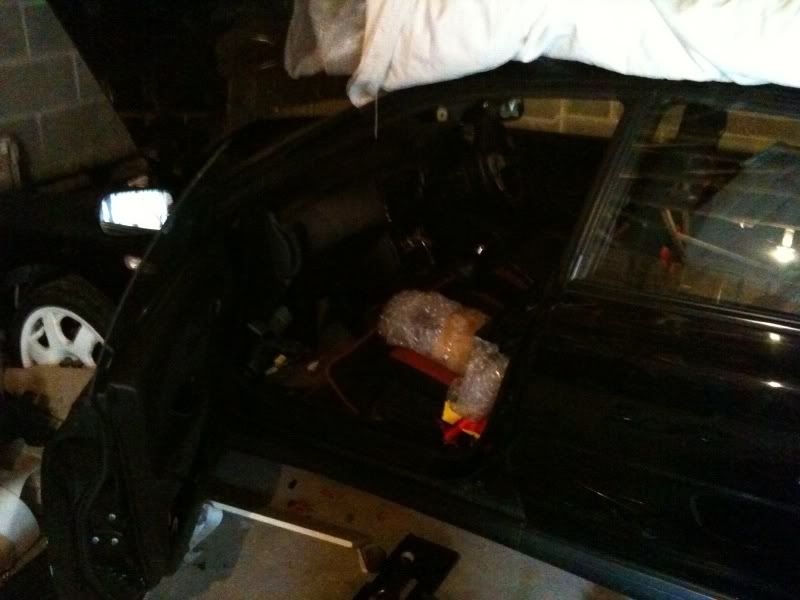
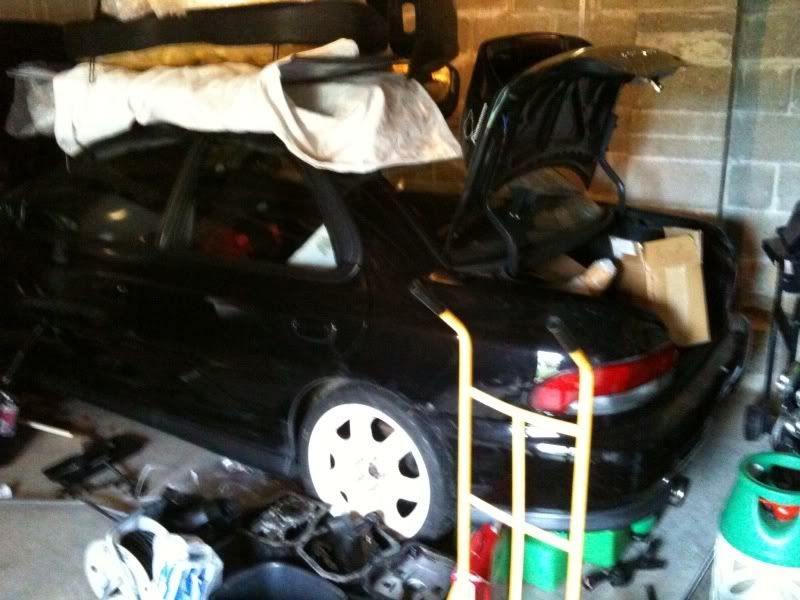
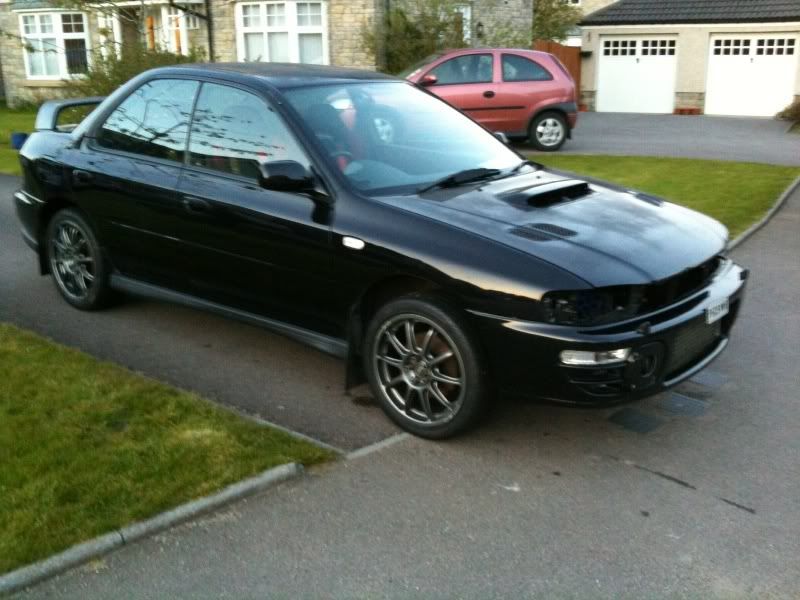
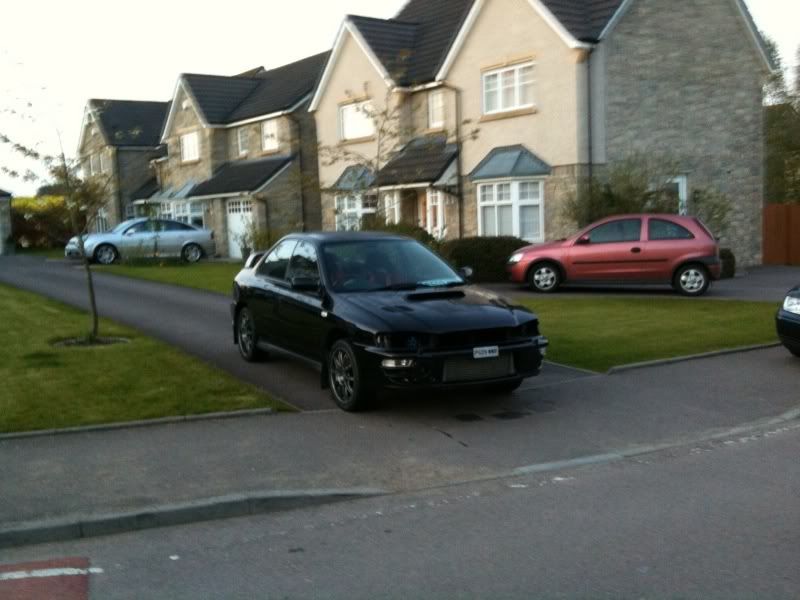
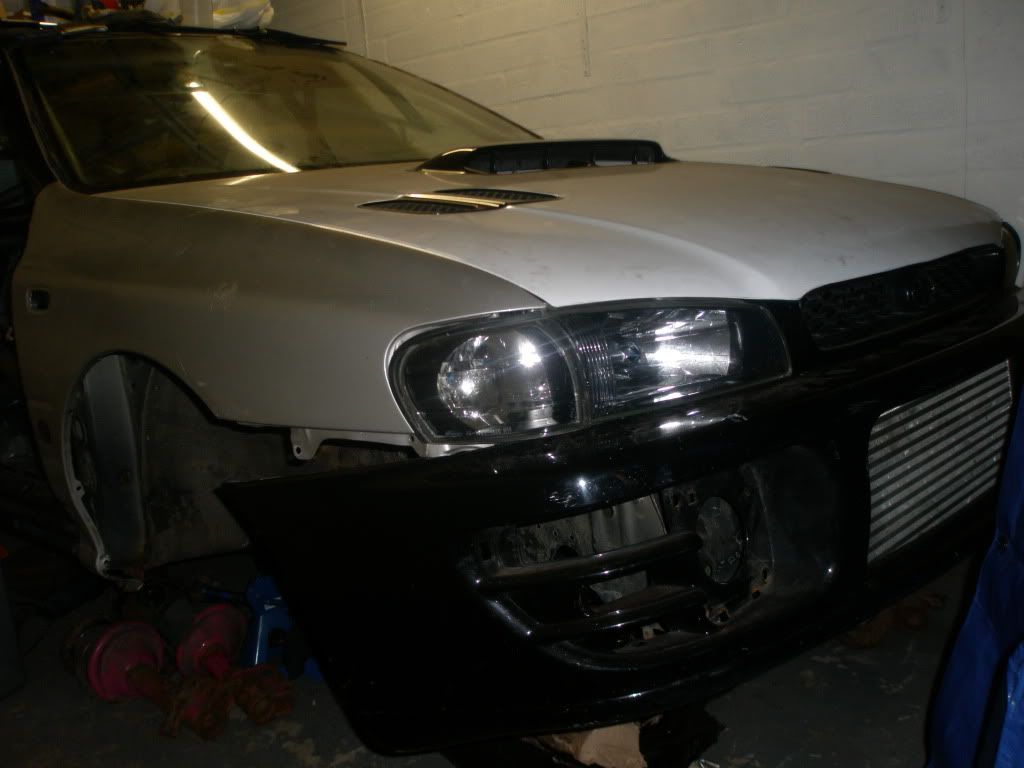
I hope to turn this��
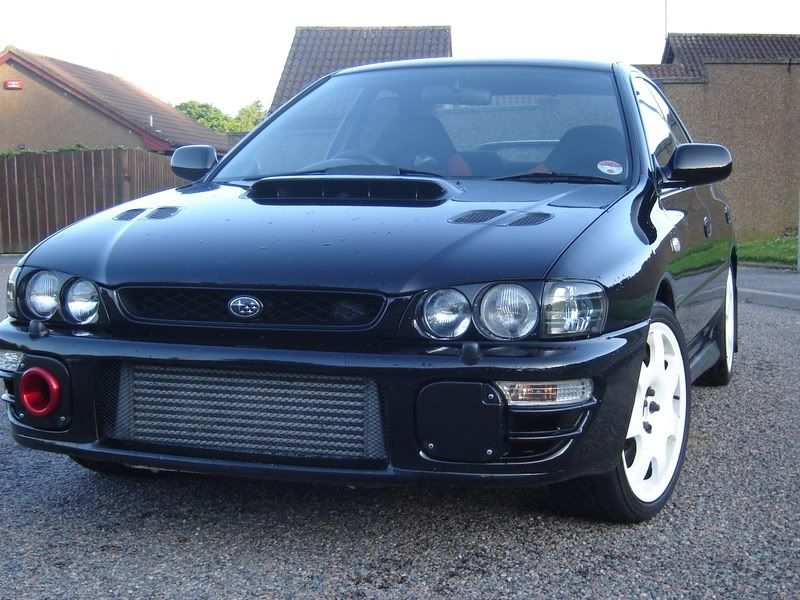
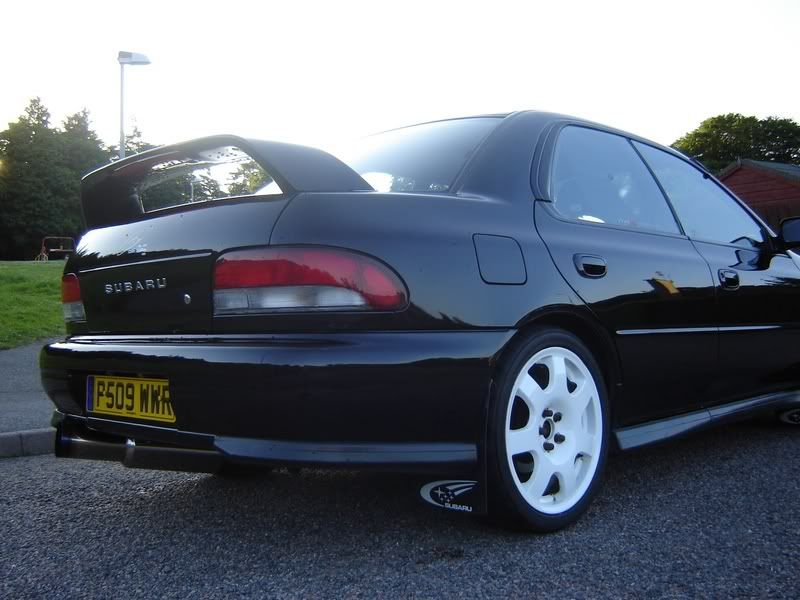
Into something resembling this�..
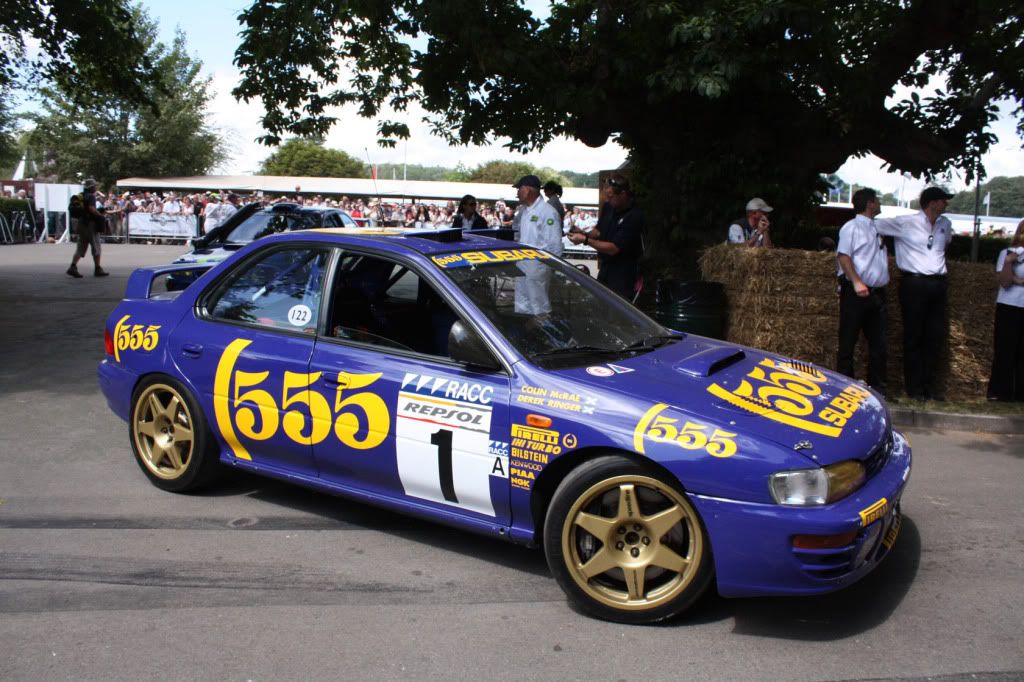
And I don�t just mean a paint job!
The car will be completely stripped out, roll cage fitted (still debating weld-in or bolt-in�), painted then pretty much built from scratch�.
This is my first project of this scale so all advice/help will be appreciated although I won�t be doing it all myself and I�m sure Dunc will have my back on this one as it involves his much loved Catalunya!
The shell should arrive in the next week so I will have a better idea of what has to be done and bought then!
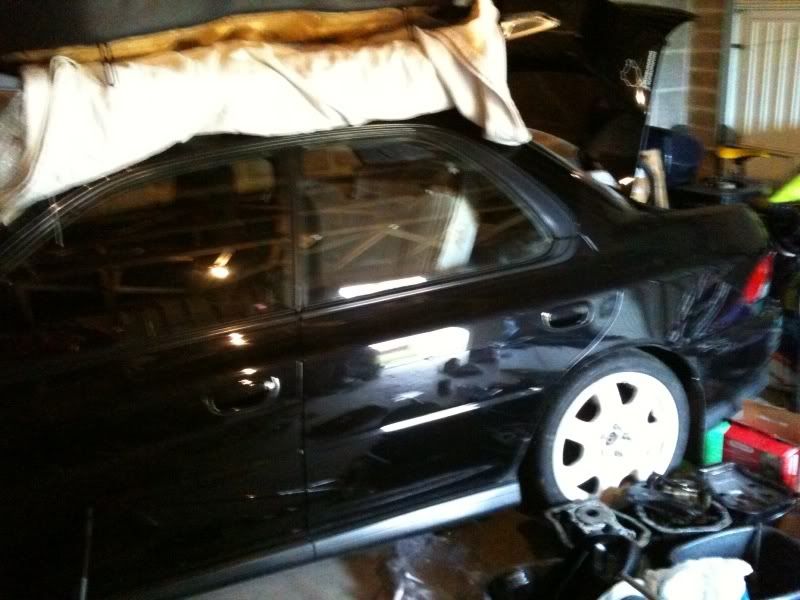
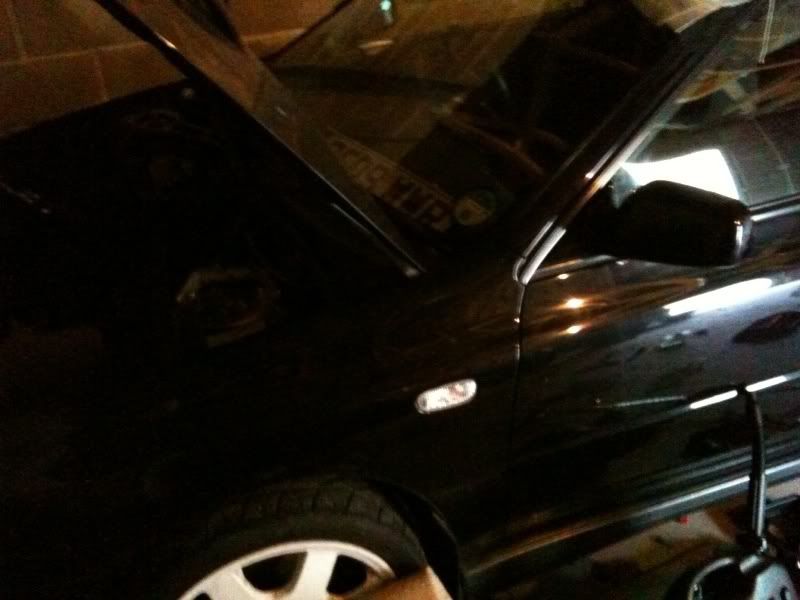
Here are some more images of the car at the moment�.
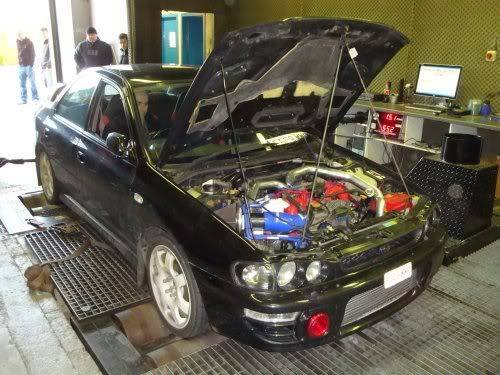
And some of it in former glory running 400ponies... Don�t know if anybody on here will recognise it!?
As the original idea was to build it back to near standard I had bought the following:
VF29 Turbo
Classic Type R STI TMIC
I also knew that I would need a Phase 1.5 Inlet Manifold and subsequently bought an already refurbished item in red�..
Then found another that I will refurbish in black to see what looks better :-P
I am planning on being a complete tart with the colour scheme under the bonnet to tie in with the company logo
I wanted the colour scheme to be co-ordinated with either this�..

Or this�.

But the fact the car is already black has kind of made my decision!
Also got hold of a set of Inlet Spacers
)I don't want to break any rules on here though as we aim to be back soon
This is what was posted on the previous Koi thread:
Well here I go, this car is being built as the first demonstrator/project car for Koi (www.koi-performance.co.uk) however it is currently in pieces so the first part of the plan is to build it!
This is a Catalunya, previously owned by Duncinascoob / duncatr (depending on what forum you follow�..
I did have all parts ready to build a complete car as originally I was going to just build it to a standard UK spec and add some choice parts as the company took on suppliers and progressed but that soon went out the window!
Plan now is to build a sprint/track car that will also help with advertising
As I am funding this myself for the time being I am building to a modest specification but one that should be easy to maintain and a good laugh on a day out!
Still not sure what exactly is coming with the car so I will no doubt have to pick parts up as I go along but here is what I am hoping to achieve��.
I hope to turn this��
Into something resembling this�..
And I don�t just mean a paint job!
The car will be completely stripped out, roll cage fitted (still debating weld-in or bolt-in�), painted then pretty much built from scratch�.
This is my first project of this scale so all advice/help will be appreciated although I won�t be doing it all myself and I�m sure Dunc will have my back on this one as it involves his much loved Catalunya!
The shell should arrive in the next week so I will have a better idea of what has to be done and bought then!
Here are some more images of the car at the moment�.
And some of it in former glory running 400ponies... Don�t know if anybody on here will recognise it!?
As the original idea was to build it back to near standard I had bought the following:
VF29 Turbo
Classic Type R STI TMIC
I also knew that I would need a Phase 1.5 Inlet Manifold and subsequently bought an already refurbished item in red�..
Then found another that I will refurbish in black to see what looks better :-P
I am planning on being a complete tart with the colour scheme under the bonnet to tie in with the company logo
I wanted the colour scheme to be co-ordinated with either this�..
Or this�.
But the fact the car is already black has kind of made my decision!
Also got hold of a set of Inlet Spacers
Last edited by allsop83; Aug 17, 2011 at 04:38 PM. Reason: photo's lost!
Thread Starter
Scooby Regular
iTrader: (9)
Joined: Sep 2008
Posts: 905
Likes: 0
From: Ellon, Aberdeenshire
Quick update whilst I'm here:
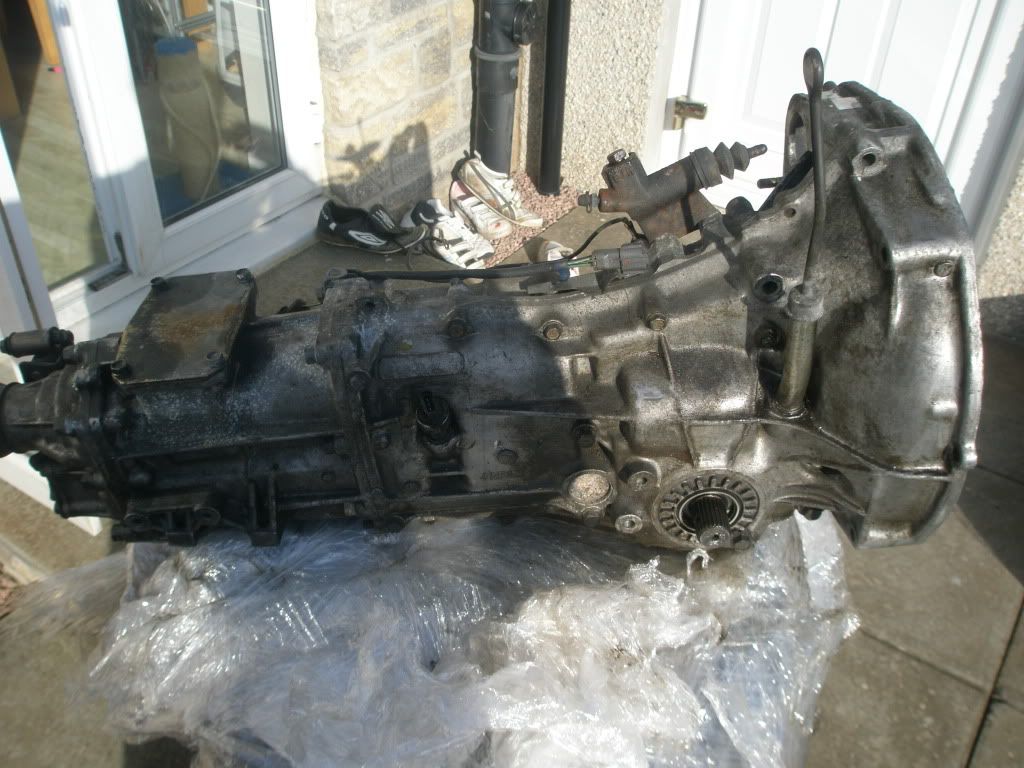
STI V3 gearbox, R160 4.44 Diff and VF35 have arrived and I am hoping to get them cleaned up this week.
Also picked up some tidy Black Powdercoated parts for in and around the Intake Manifold courtesy of Carl Davey
Only thing I am definately waiting on now is a Newage TMIC!
Hoping to secure a CDB soon which will probably be built up with a lateral stroker kit on the side (when funds allow!) as I will be running the Cat initially on a STI lump.......
Other goodies coming with the car are Exedy Clutch, 440 injectors, Steel Cam Wheels but other than that I just can't wait til the car arrives and I can start getting stuck in!
As always- all recommendations and suggestions on spec/items welcome!
Cheers,
Chris
Thread Starter
Scooby Regular
iTrader: (9)
Joined: Sep 2008
Posts: 905
Likes: 0
From: Ellon, Aberdeenshire
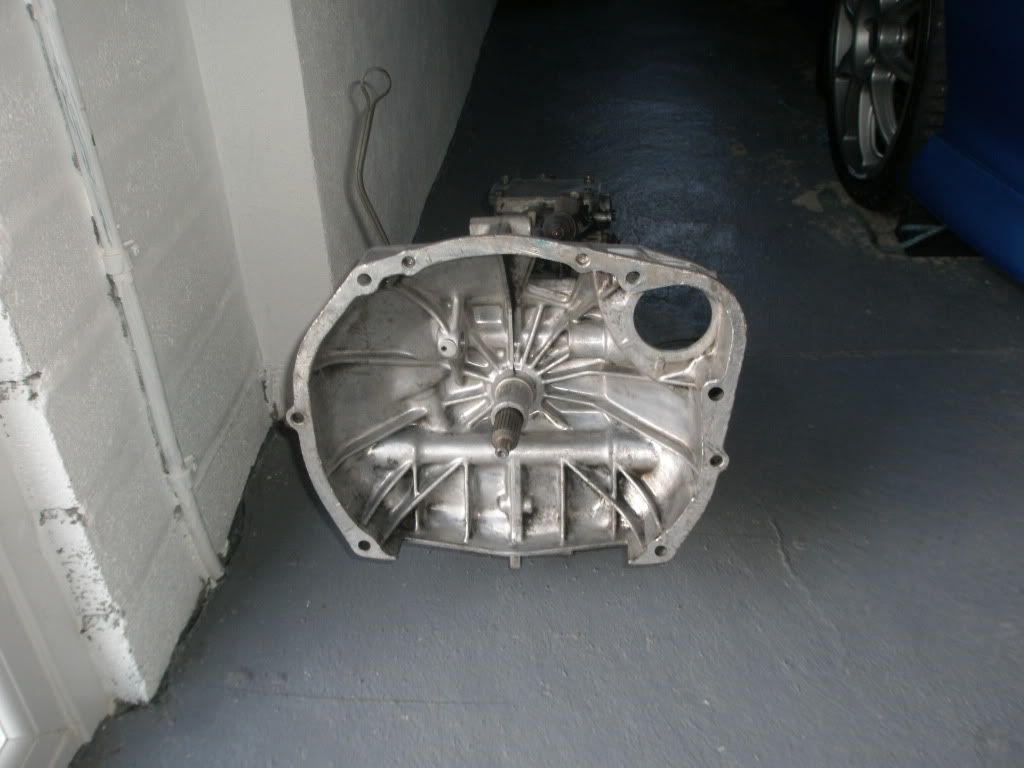
Whilst waiting for the car to arrive I received this:
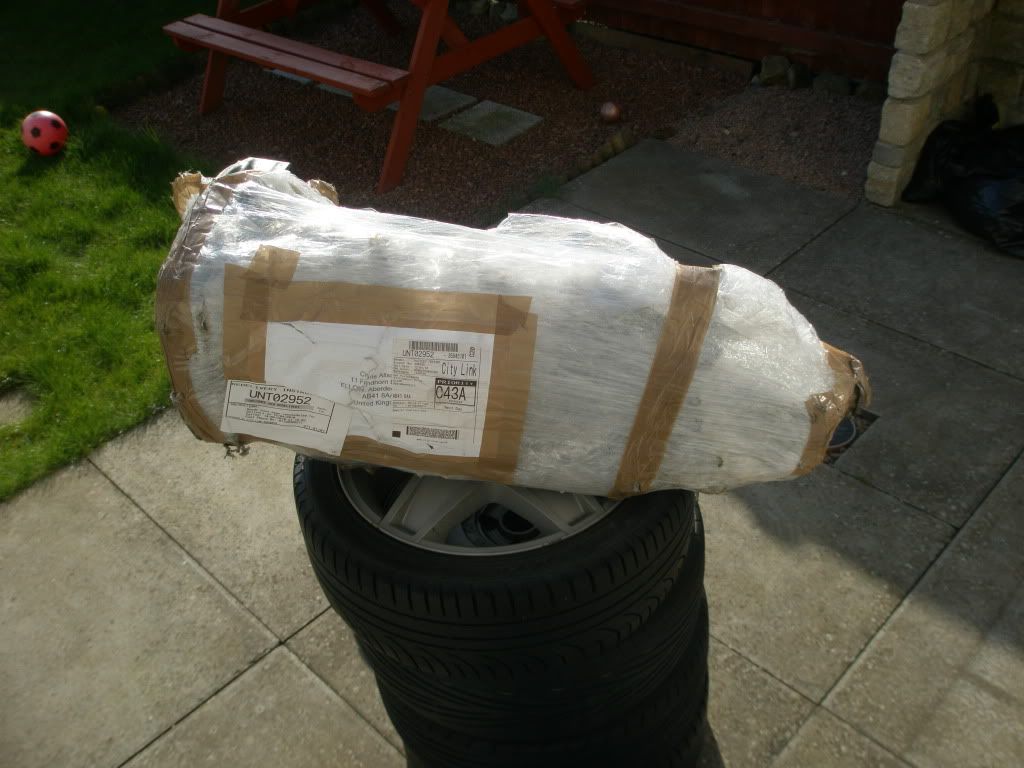
And set about cleaning it up a bit- planning on spraying this in Hammerite silver or something like that.
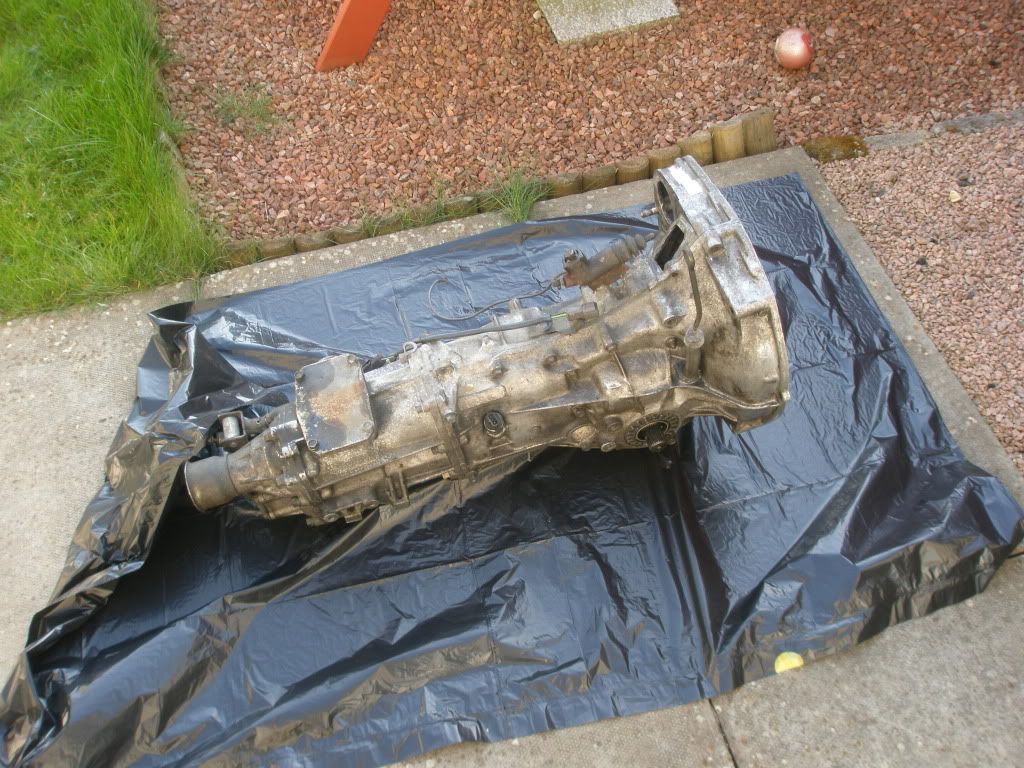
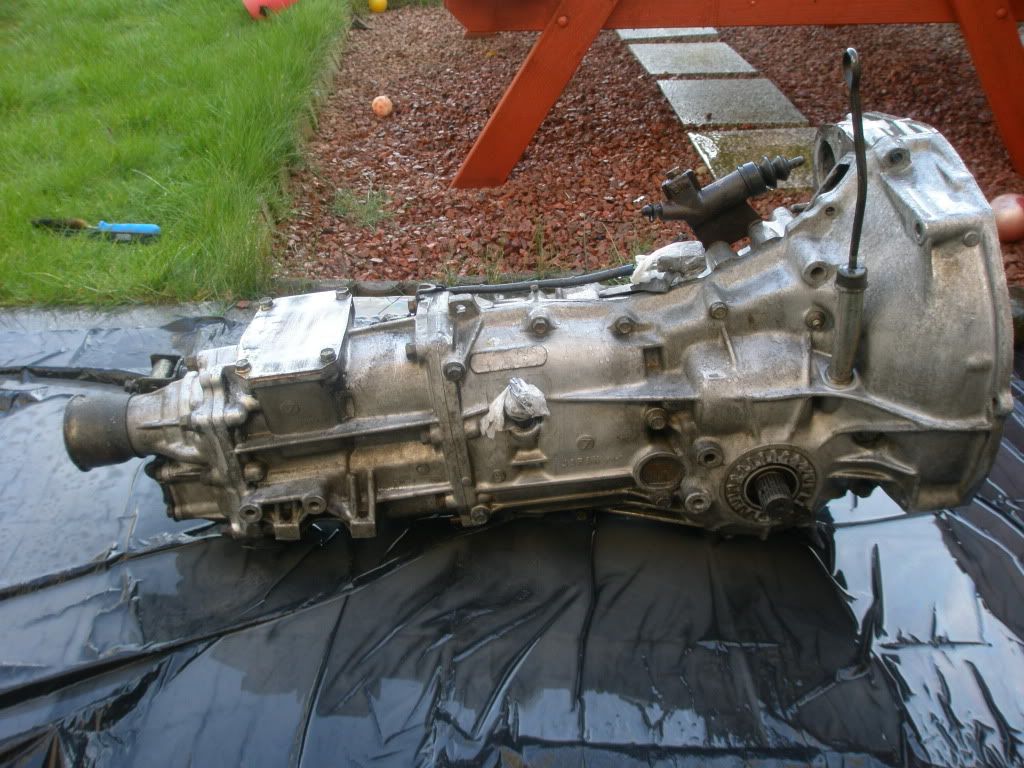

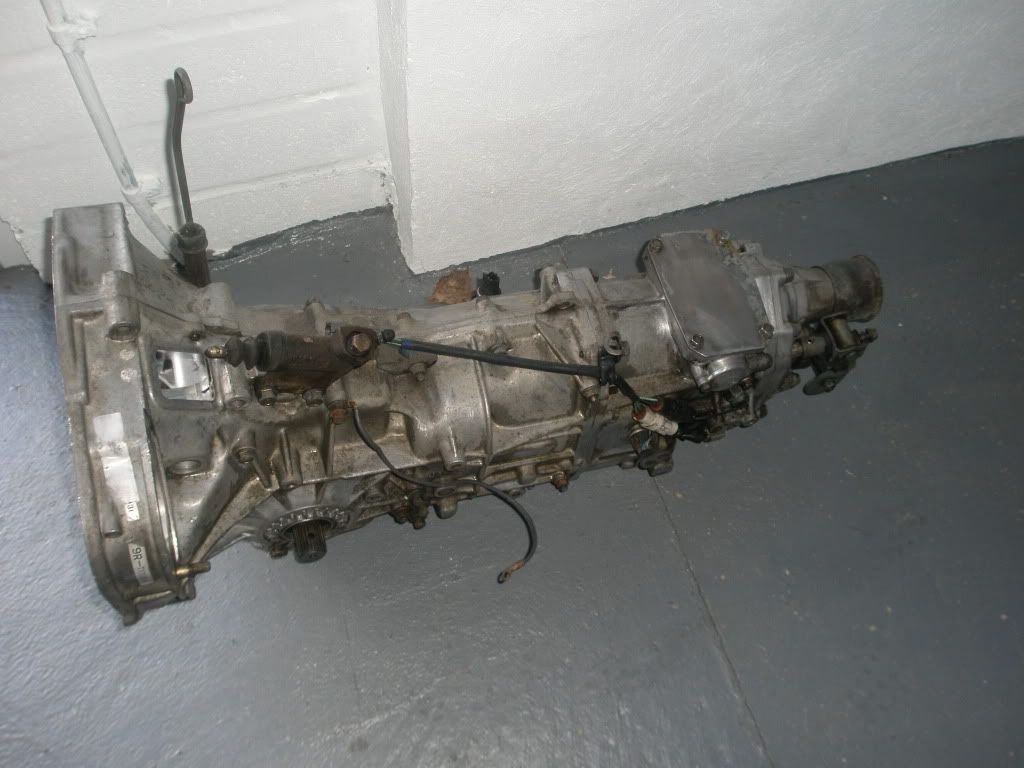
Was a bit of a b*gger trying to get in about all of the ribs and details on the box but I got there in the end!
Before:
After:
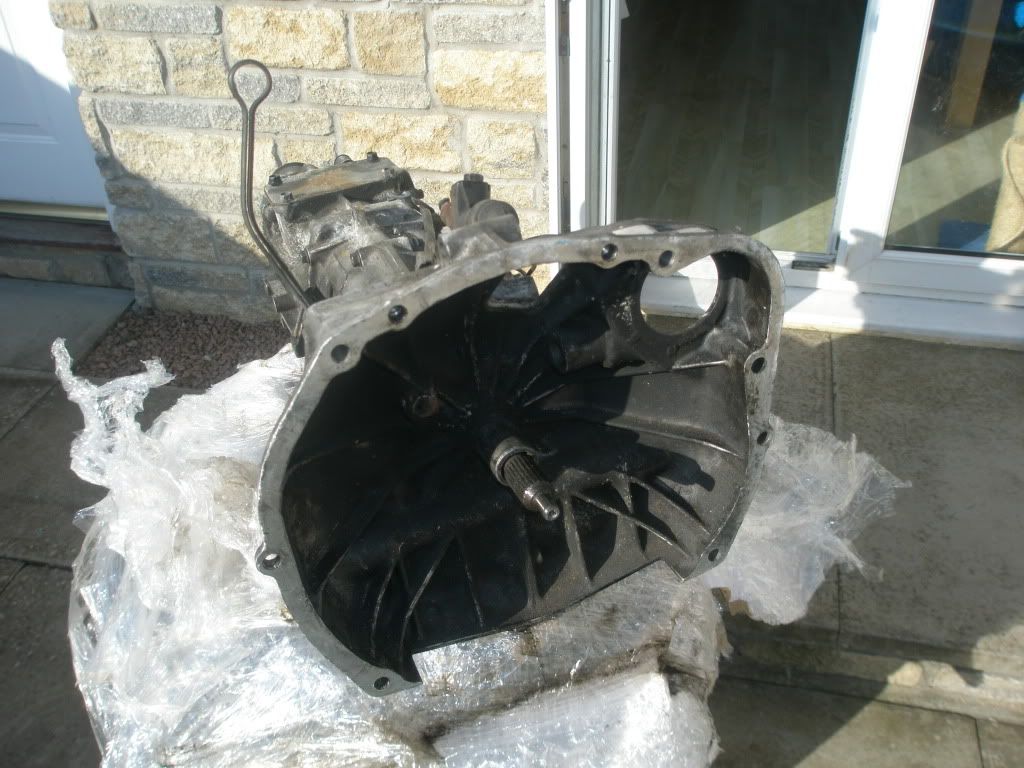
Before:
After:
Now it is just sat waiting to be painted!
And set about cleaning it up a bit- planning on spraying this in Hammerite silver or something like that.
Was a bit of a b*gger trying to get in about all of the ribs and details on the box but I got there in the end!
Before:
After:
Before:
After:
Now it is just sat waiting to be painted!
Last edited by allsop83; Aug 17, 2011 at 04:42 PM.
Thread Starter
Scooby Regular
iTrader: (9)
Joined: Sep 2008
Posts: 905
Likes: 0
From: Ellon, Aberdeenshire
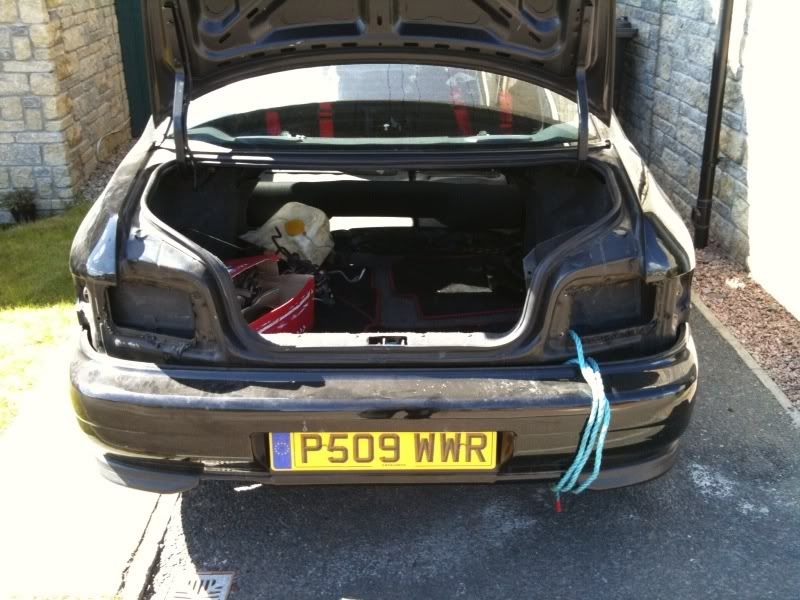
The car arrived last Friday, before a busy weekend so I really haven�t got too much done yet but have done plenty of collecting of goodies
Big thanks to Dunc and Speech for pushing/chasing the car down the hill and to mine�..as Dunc made �engine noises� to passing children��
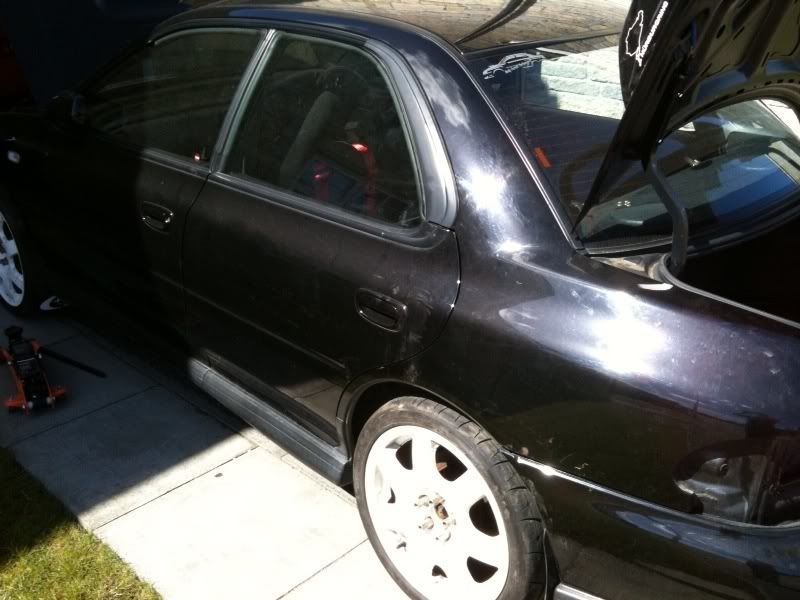
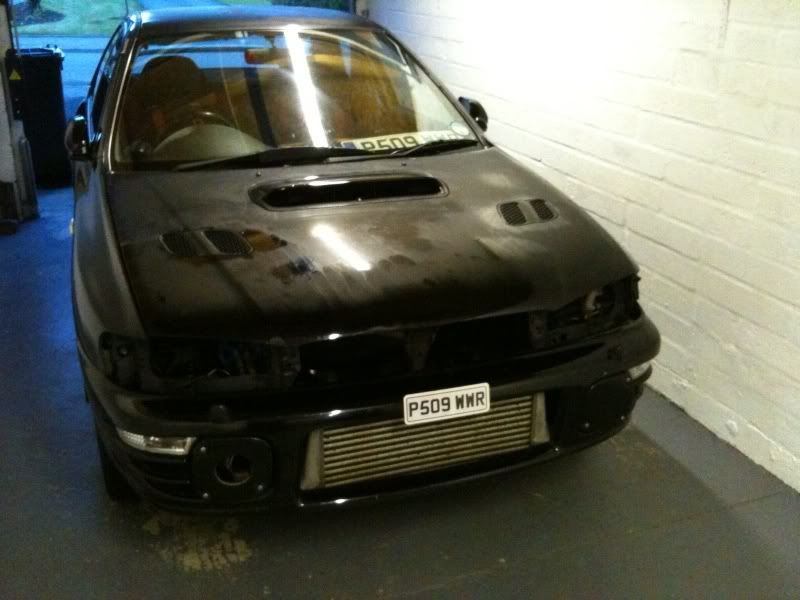
Here are some of the car as it arrived�..
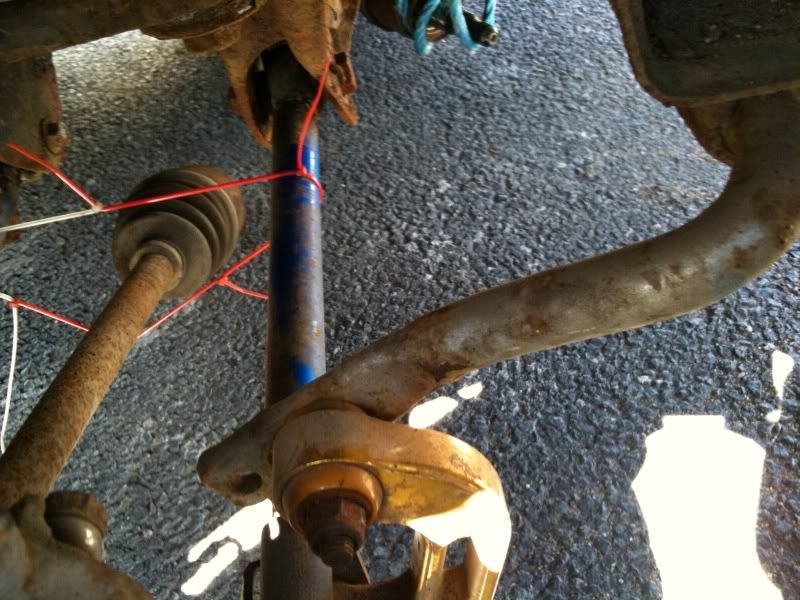
And our epic attempts to hold up the shafts�..lol (good work by Dunc and Speech�again)

With some nice goodies still fitted
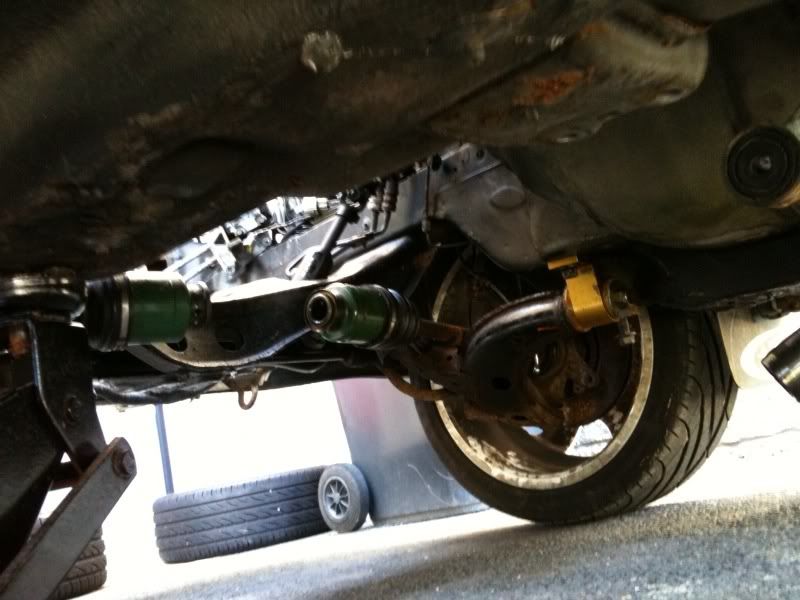
Existing Induction flow�.
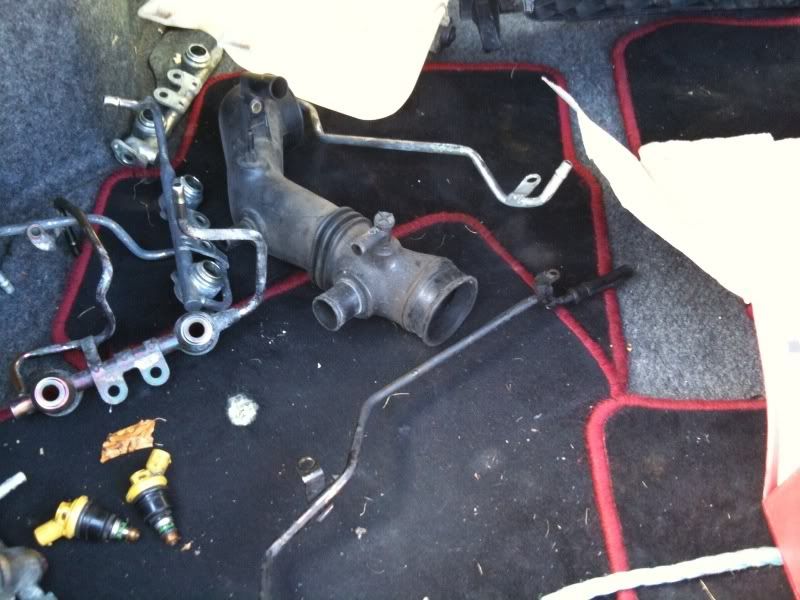
Also got some 440 injectors, steel cam wheels, fuel rails�amongst other things with the car�..
There are still a few things to be removed from the car that are not being kept (FMIC for example- I am thinking I will run a newage STI TMIC�..thoughts on this welcome!)
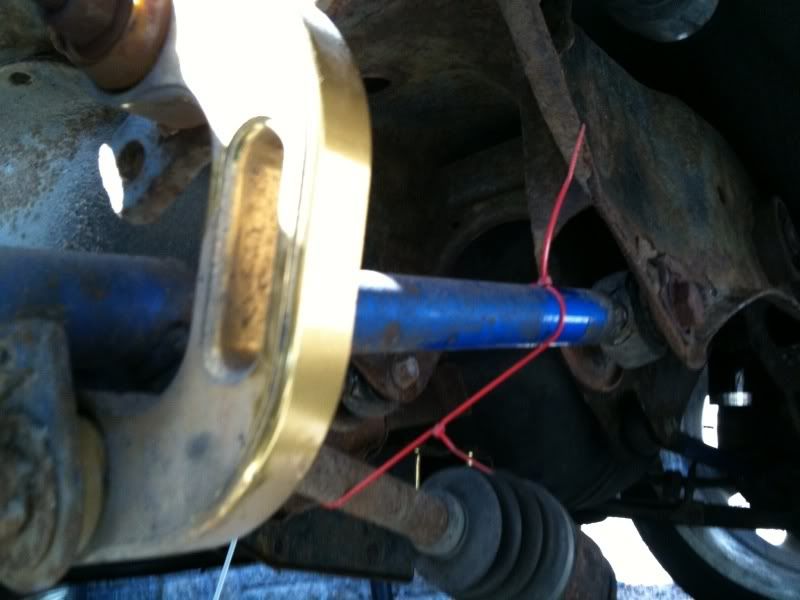
First things first and that was to get the car off the last remaining BC Coilover that had been left and fit these:
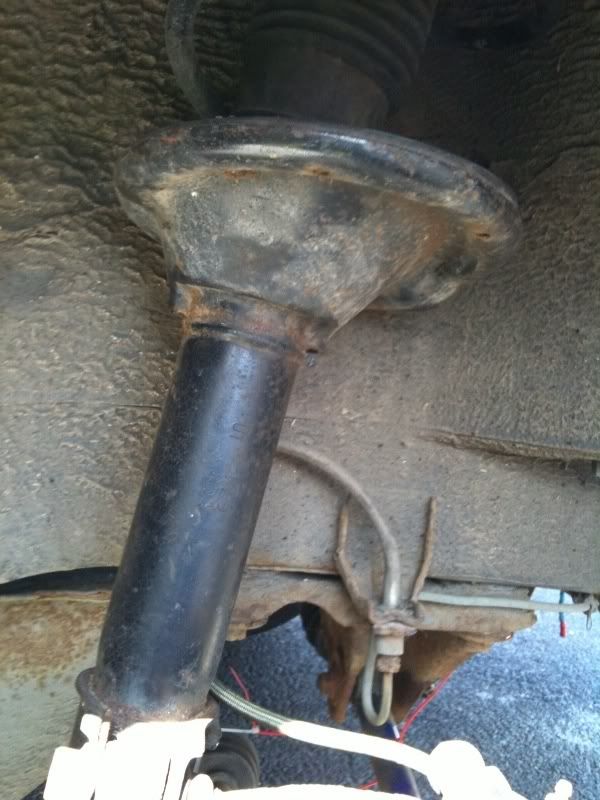
Bad times���..the car is so high up it looks prepped for a gravel rally!
Then got the wheels off and back to their rightful owner- have stuck the P1�s old 17� on and it looks alright�.
Will be looking into getting a new set of white numbers once the car is further down the road though!
Also heard about what Dunc used to get up to in the back of this car so they came out early doors�..
Next up was to give it a quick hose down and scrub up before pushing it into the front of the garage
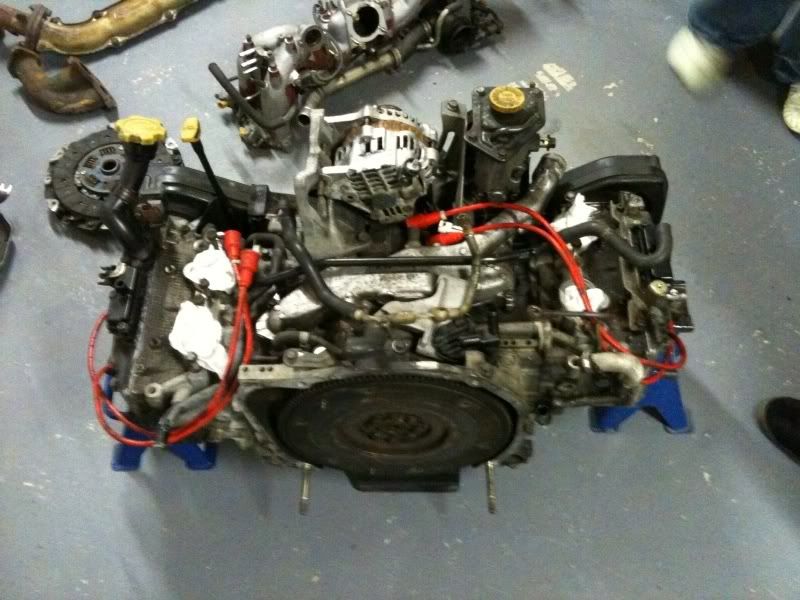
Now I was at the point where I have pretty much everything bar an engine for it so I went out and got myself sorted with an STI lump and collected a bunch of other little things on the way home!
Picked up the engine, header and a clutch in town��
And then picked up radiator, another set of headers (ready for porting ), and various subframes etc. on the way back�.
After a bit of a bollocking from the Mrs and a game of Garage Tetris I managed to find a home for everything! Haha.
I have also picked up a set of STI3 heads (The best cams for the classic impreza and underbucket shims)
that have been played with by Zen��haven�t taken any photo�s yet though!
The heads were removed from a low mileage imported car that was broken for spares and were sent to Zen Performance where they were stripped, cleaned and inspected.
They were given a very light skim to ensure 100% flat face for perfect gasket bite. They were ported and all casting imperfections removed etc.
They were rebuilt by Paul at Zen using:-
new Supertech valve stem seals
new Supertech Inconel exhaust valves (as recommended by Zen for high performance use. )
The inlet valves were inspected and found to be in perfect condition so were re-used as well as all springs, retainers and collets.
The heads were re-built and re-shimmed where necessary to give the perfect clearances.
They were run on a local car at just under 400BHP and Andy F himself commented on how well the car breathed. He believed they were one of the contributing factors to how the car held full boost all the way to the red line and there was no restriction at the top end at all�..
�.cannot wait to get some use out of them!
Think these will keep until I can afford to build up a CDB with a 2.1 stroker kit though, don�t want to spend ��� splitting the engine I have for these just now�..
Currently I am saving up to buy the Group N rollcage I have decided on so have to keep an eye on what I am buying for the next wee while! Plus I have plenty to be getting on with!
Next up- strip the car down completely�..get it away for the welding of the cage then get it sprayed
Big thanks to Dunc and Speech for pushing/chasing the car down the hill and to mine�..as Dunc made �engine noises� to passing children��
Here are some of the car as it arrived�..
And our epic attempts to hold up the shafts�..lol (good work by Dunc and Speech�again)
With some nice goodies still fitted
Existing Induction flow�.
Also got some 440 injectors, steel cam wheels, fuel rails�amongst other things with the car�..
There are still a few things to be removed from the car that are not being kept (FMIC for example- I am thinking I will run a newage STI TMIC�..thoughts on this welcome!)
First things first and that was to get the car off the last remaining BC Coilover that had been left and fit these:
Bad times���..the car is so high up it looks prepped for a gravel rally!
Then got the wheels off and back to their rightful owner- have stuck the P1�s old 17� on and it looks alright�.
Will be looking into getting a new set of white numbers once the car is further down the road though!
Also heard about what Dunc used to get up to in the back of this car so they came out early doors�..
Next up was to give it a quick hose down and scrub up before pushing it into the front of the garage
Now I was at the point where I have pretty much everything bar an engine for it so I went out and got myself sorted with an STI lump and collected a bunch of other little things on the way home!
Picked up the engine, header and a clutch in town��
And then picked up radiator, another set of headers (ready for porting
), and various subframes etc. on the way back�.After a bit of a bollocking from the Mrs and a game of Garage Tetris I managed to find a home for everything! Haha.
I have also picked up a set of STI3 heads (The best cams for the classic impreza and underbucket shims
) that have been played with by Zen��haven�t taken any photo�s yet though!
The heads were removed from a low mileage imported car that was broken for spares and were sent to Zen Performance where they were stripped, cleaned and inspected.
They were given a very light skim to ensure 100% flat face for perfect gasket bite. They were ported and all casting imperfections removed etc.
They were rebuilt by Paul at Zen using:-
new Supertech valve stem seals
new Supertech Inconel exhaust valves (as recommended by Zen for high performance use. )
The inlet valves were inspected and found to be in perfect condition so were re-used as well as all springs, retainers and collets.
The heads were re-built and re-shimmed where necessary to give the perfect clearances.
They were run on a local car at just under 400BHP and Andy F himself commented on how well the car breathed. He believed they were one of the contributing factors to how the car held full boost all the way to the red line and there was no restriction at the top end at all�..
�.cannot wait to get some use out of them!
Think these will keep until I can afford to build up a CDB with a 2.1 stroker kit though, don�t want to spend ��� splitting the engine I have for these just now�..
Currently I am saving up to buy the Group N rollcage I have decided on so have to keep an eye on what I am buying for the next wee while! Plus I have plenty to be getting on with!
Next up- strip the car down completely�..get it away for the welding of the cage then get it sprayed
Last edited by allsop83; Aug 17, 2011 at 04:53 PM.
Trending Topics
Thread Starter
Scooby Regular
iTrader: (9)
Joined: Sep 2008
Posts: 905
Likes: 0
From: Ellon, Aberdeenshire
Haha- and that was with the handbrake on Dunc
Have to admit that was one of the funniest things I've seen for a while- you two chasing a car down the street!
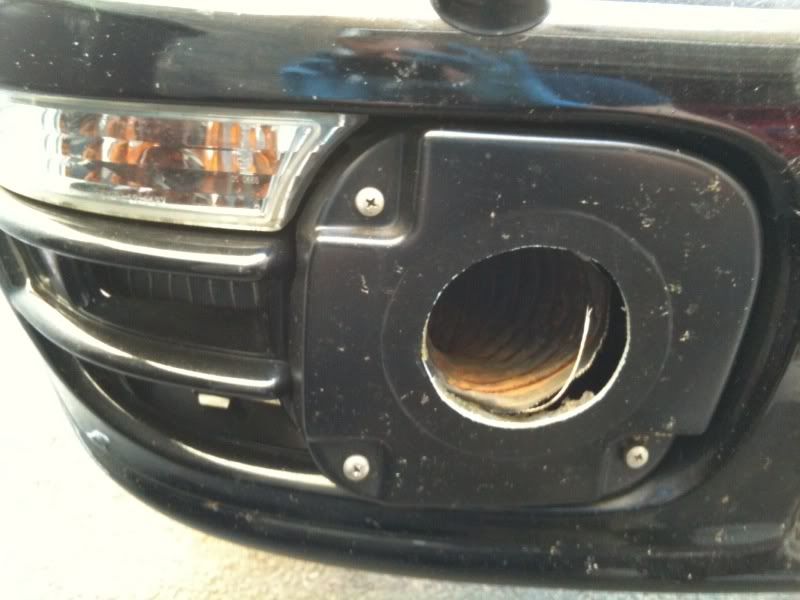
Got a set of these off fleabay as I was looking at getting carbon WRC mirrors….
They were cheap so thought what the hell- worth a try! Lol.
Problem being they stick out like a sore thumb! They are sooooo bright!
The carbon effect is basically just black and bright silver squares…..


Really need to tone them down a bit, was thinking about getting some tinting spray (like a smoked/tinted laquer) and going over them but was told that maybe baking them in T-Cut would do a job???
Anyone heard of that or got any better ideas???
I have also been stripping back the engine so that I can coat the block/heads in hammerite paint but I’m not sure how far back to take the stripping…..
Want to get as far back as I can but how do you guys go about covering up the inlet/water feeds etc into the block?? How far would you take it back??
Have to admit that was one of the funniest things I've seen for a while- you two chasing a car down the street!
Got a set of these off fleabay as I was looking at getting carbon WRC mirrors….
They were cheap so thought what the hell- worth a try! Lol.
Problem being they stick out like a sore thumb! They are sooooo bright!
The carbon effect is basically just black and bright silver squares…..
Really need to tone them down a bit, was thinking about getting some tinting spray (like a smoked/tinted laquer) and going over them but was told that maybe baking them in T-Cut would do a job???
Anyone heard of that or got any better ideas???
I have also been stripping back the engine so that I can coat the block/heads in hammerite paint but I’m not sure how far back to take the stripping…..
Want to get as far back as I can but how do you guys go about covering up the inlet/water feeds etc into the block?? How far would you take it back??

Let me know if you go with trying to make the carbon darker. Picked my evo up today and it has copied vortex on the roof but its carbon look the same as your mirrors.
If not off it comes and on ebay it goes.
If not off it comes and on ebay it goes.
Thread Starter
Scooby Regular
iTrader: (9)
Joined: Sep 2008
Posts: 905
Likes: 0
From: Ellon, Aberdeenshire
Think the best solution for actual carbon is to give it a light buff with lots of T-Cut and then leave the stuff on for a day.....dulls it down nicely I'm told but best solution for this "carbon-look" was to spray with tinted lacquer....
My solution- putting these back on ebay and buying the real thing! Lol.
My solution- putting these back on ebay and buying the real thing! Lol.
Thread Starter
Scooby Regular
iTrader: (9)
Joined: Sep 2008
Posts: 905
Likes: 0
From: Ellon, Aberdeenshire
Well now I am finally back working after way too long off ill I can get this back on track!!
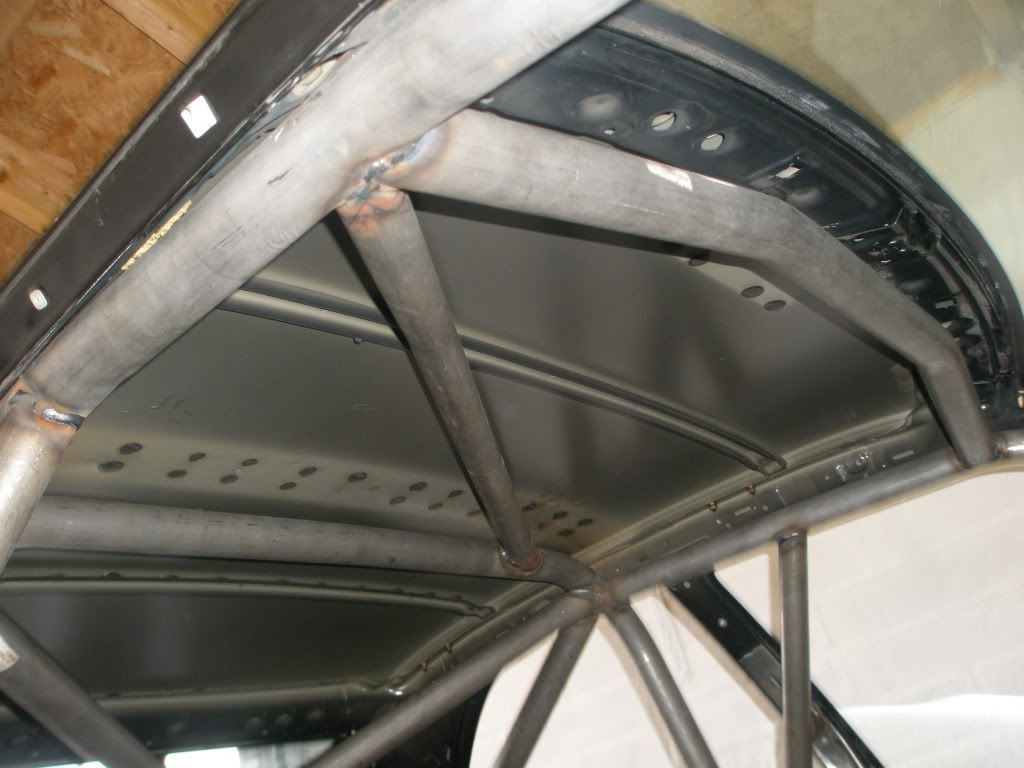
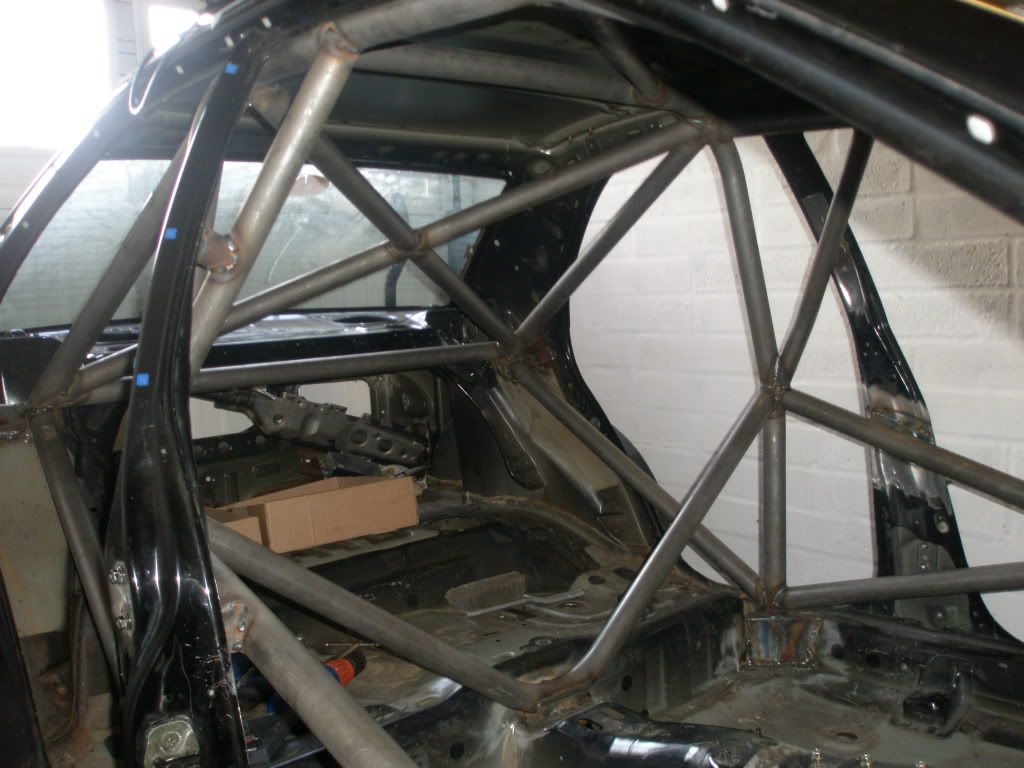
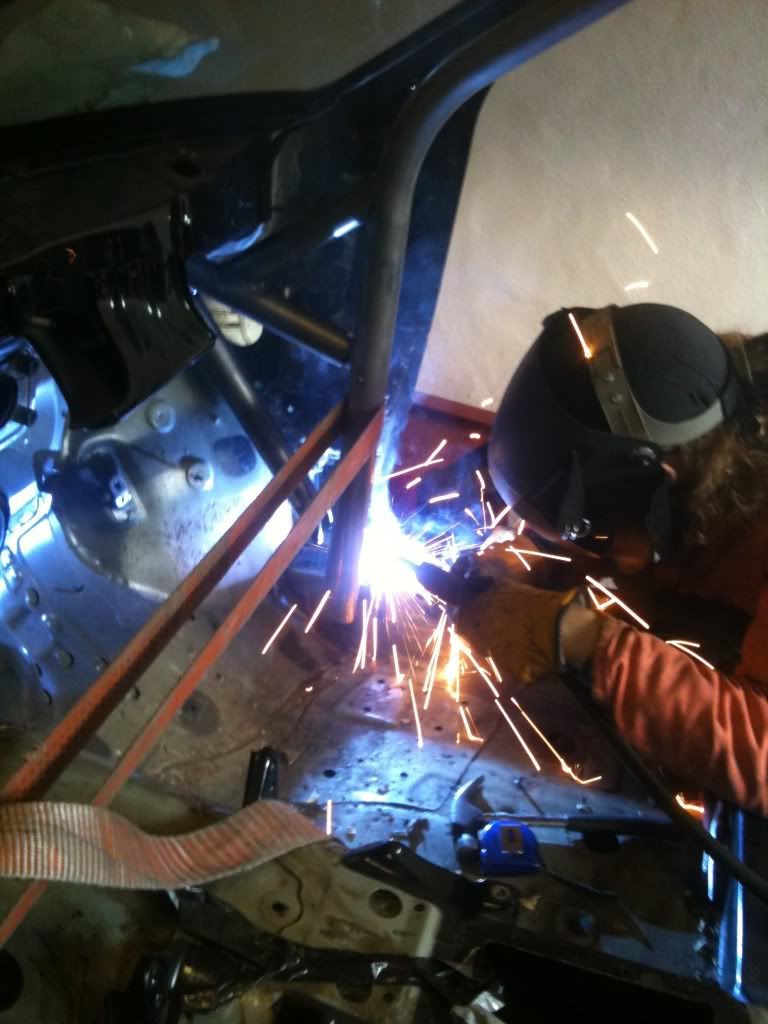
Financial restraints with not earning obviously have played their part but I have got on with the biggest job I could see at the time and got the cage sorted. Cage is now in and been certified by Custom Cages but there are a few other bits of welding left to be carried out before it goes to be painted.
The rear arches are needing cut out and replaced and I'm also going to re-do the front sills as one side is gone and the other looks like it's on it's way.
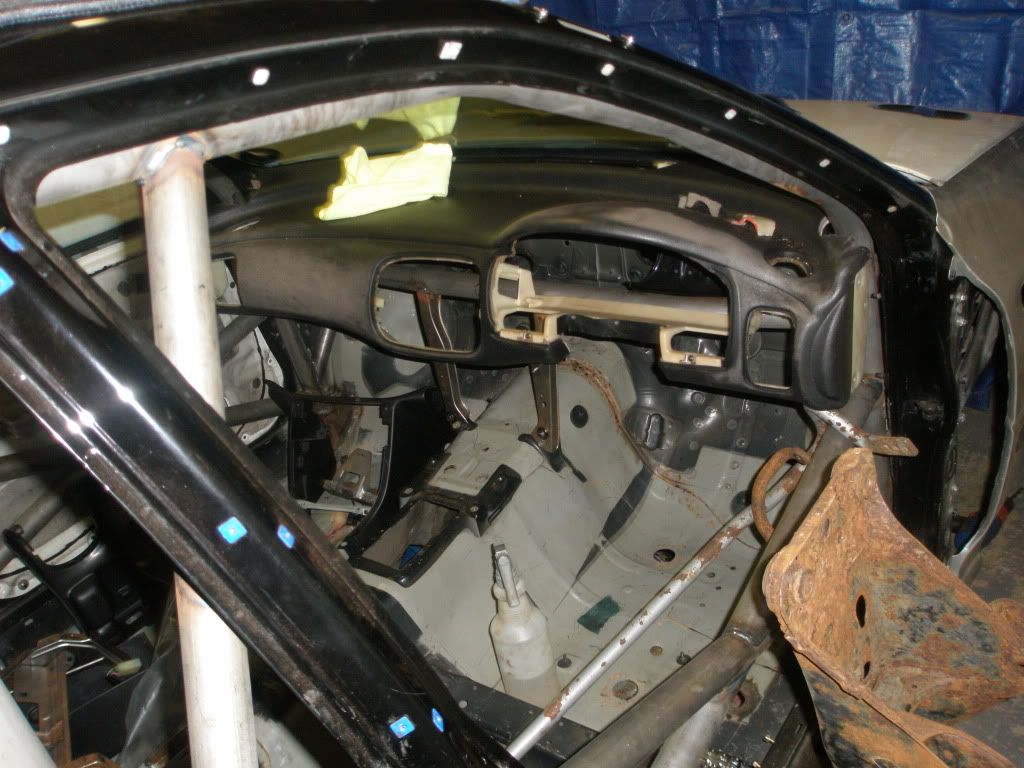
Few pictures of the cage
Another thing I need to do is fill the holes that were there for the sideskirts.....not 100% sure what the best thing is to do. Obviously the best would be to weld them up but I've been thinking the welds on the inside of the sill will just rust and eventually rot through? Anybody got another opinion? Was thinking maybe putty-weld type stuff?
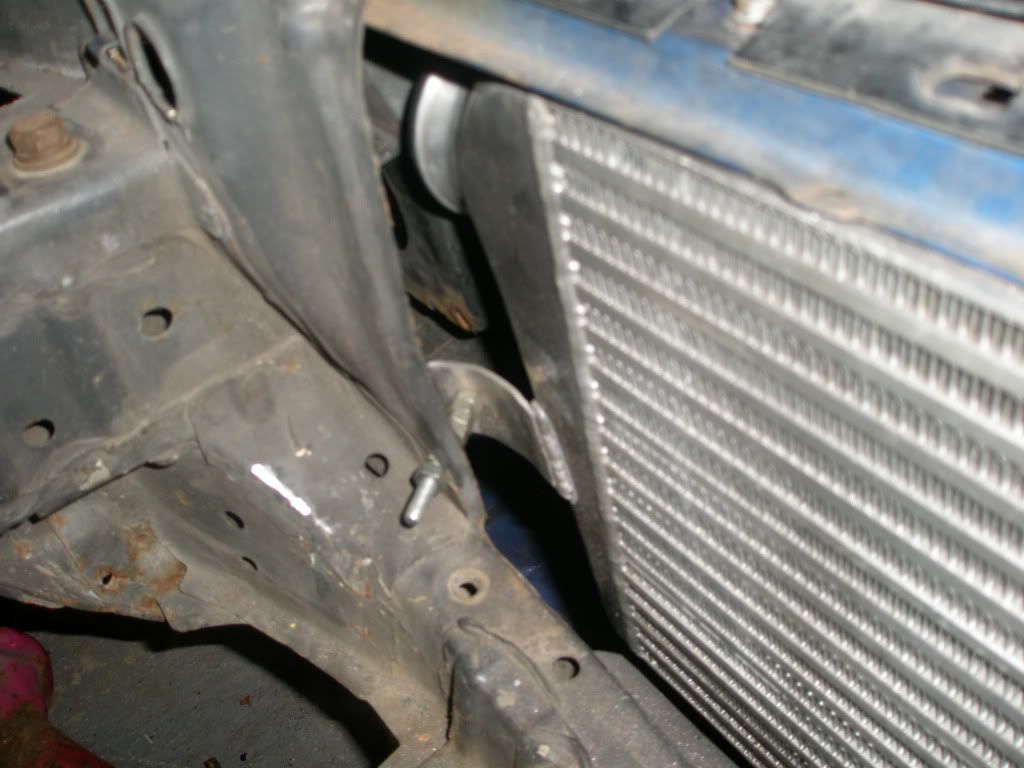
I have also been getting busy with the grinder and planning my flipped FMIC pipework route, fitted the I/C and just played about with some pipework and got cutting:
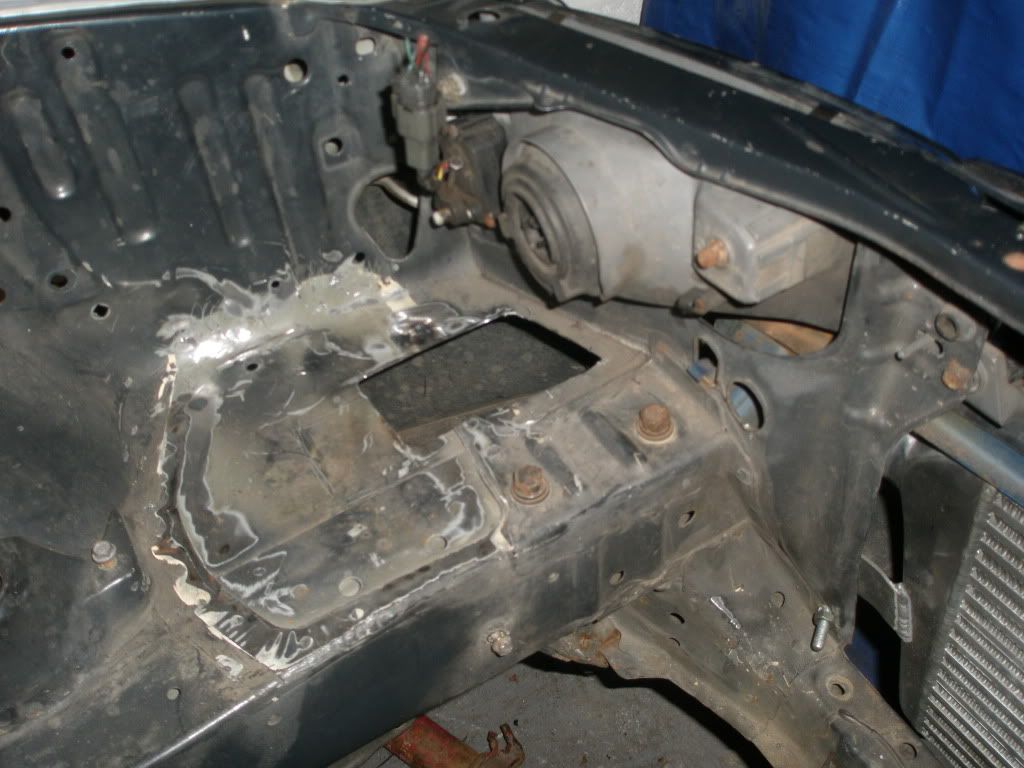
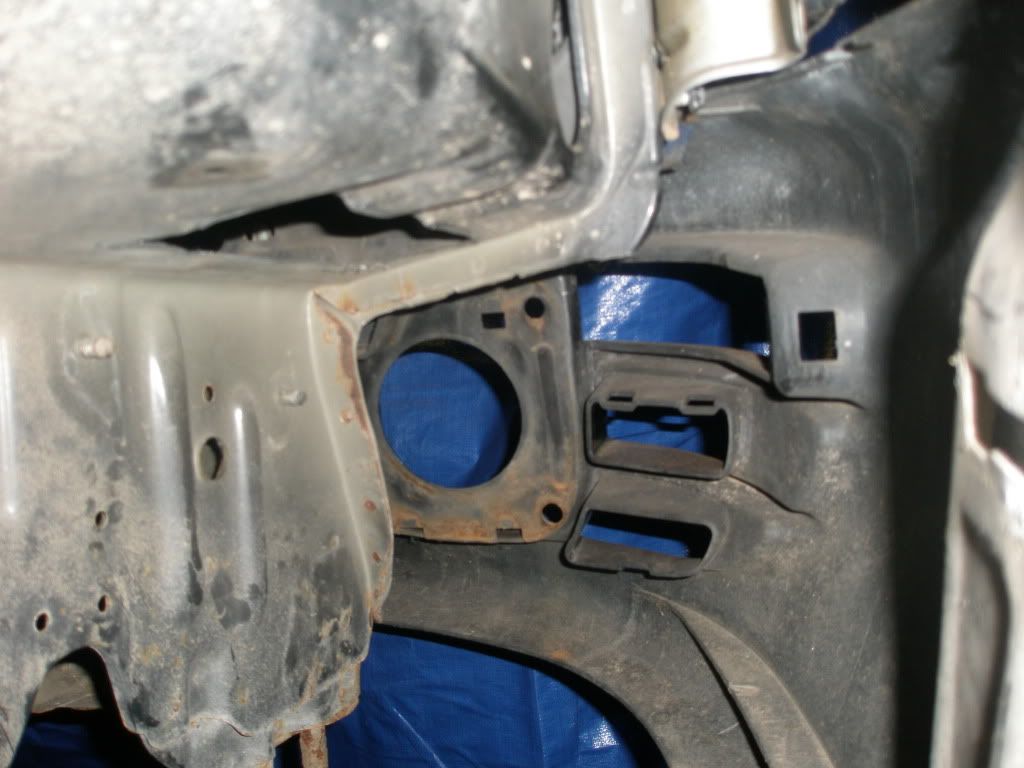
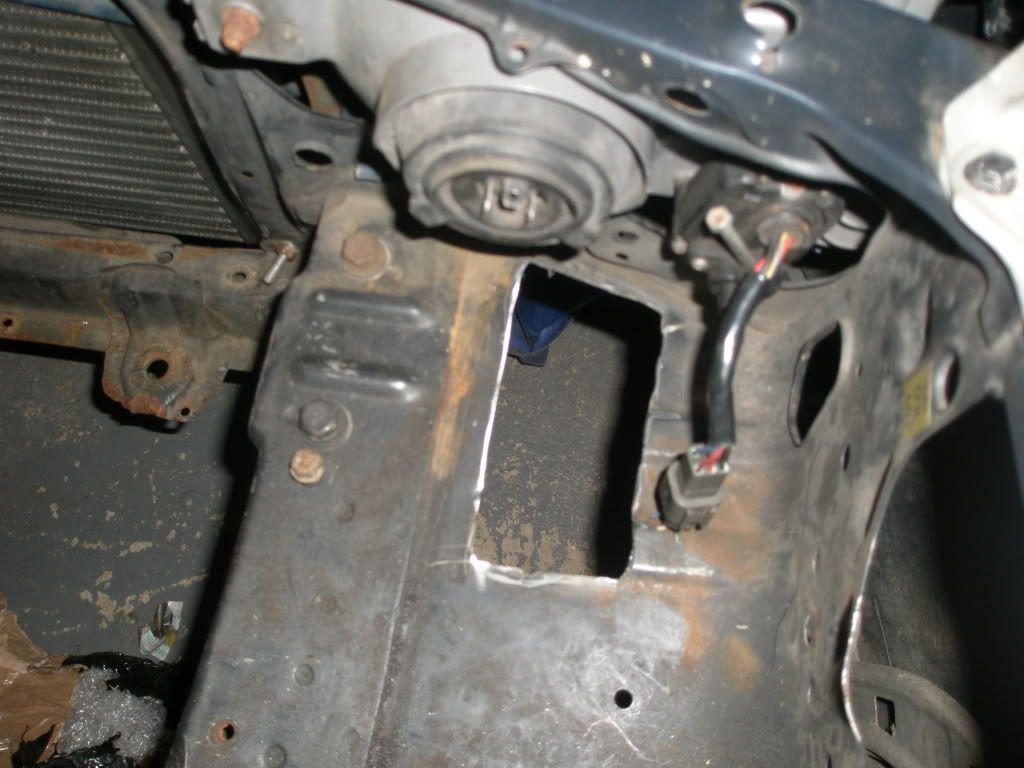
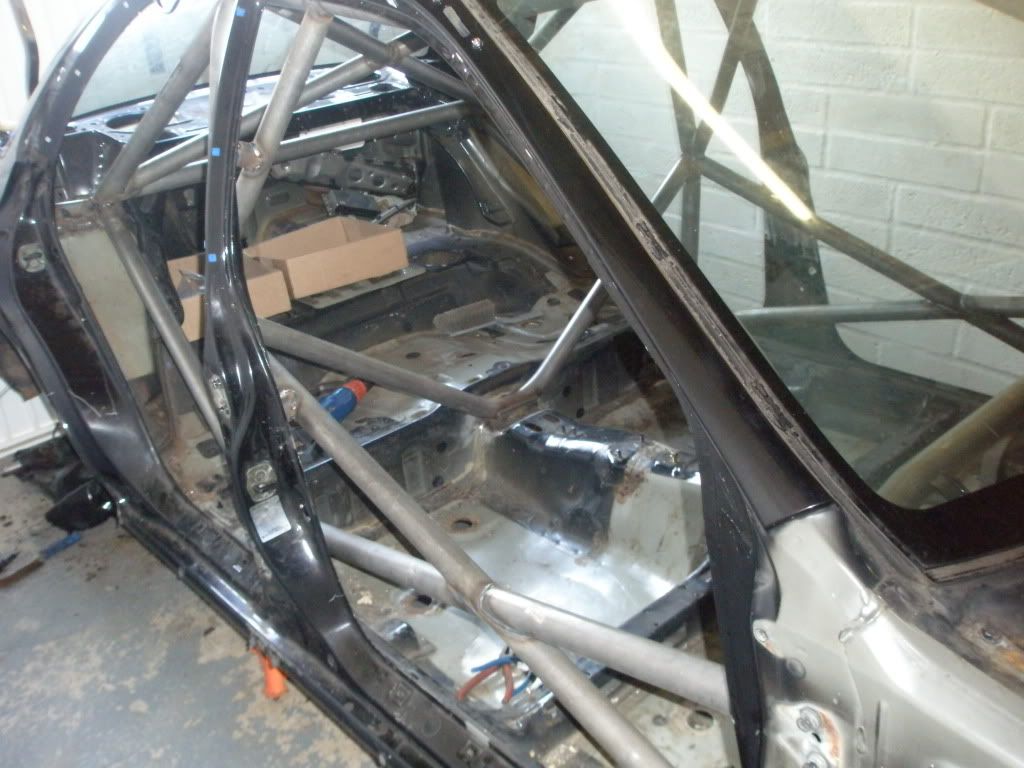
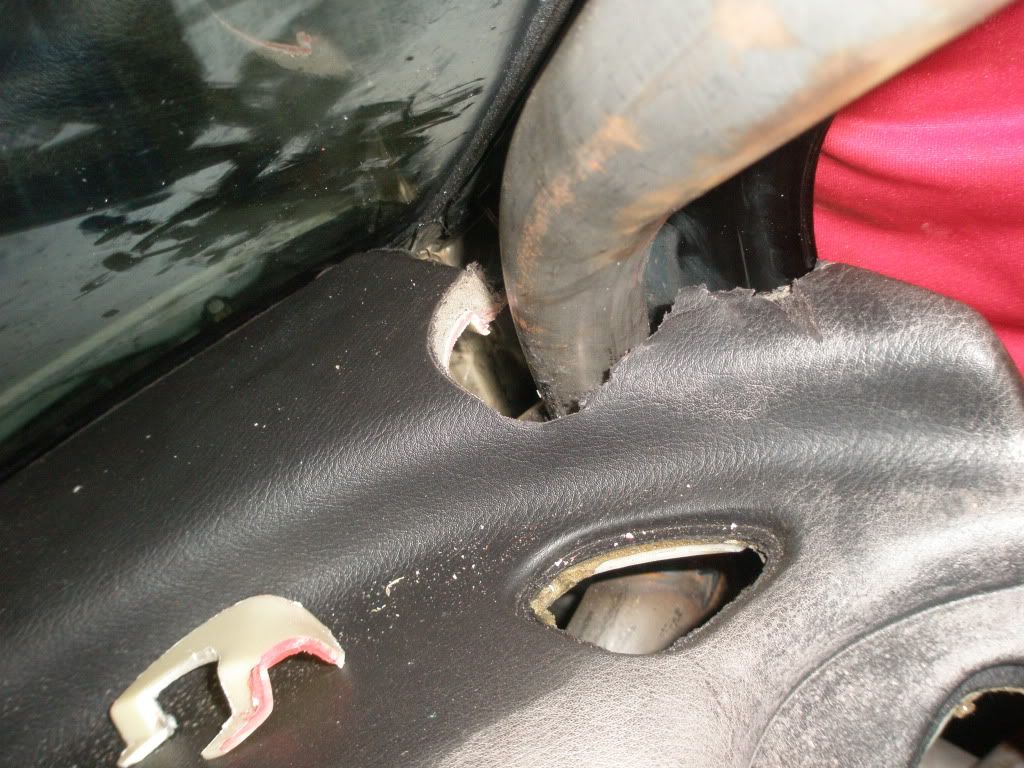
Making sure the dash fits past the cage before sending it away for flocking was the next job, made smaller holes to fit the cage snugly but there was no way I could get the thing in and out so the decision was made to make them......well......huge!! Shouldn't look too bad once everything is painted though and I can just fill the gap with the cut off if it looks just far too g@sh.....
Next I will have to think about fitting the aerocatches and grinding unnecessary meat out of the doors, I have front winders so will just be plating over with a piece of thin plastic essentially just with a hole in them! Rear windows won't ever be needing lowered so I am trying to think up a way to hold the glass up without needing too much gubbins inside the door itself so if anyone can direct me to a good idea on that one it will be much appreciated! And on the same subject- I don't see them needing to open either so if I can do away with the handles etc. and just have them permanently locked that would be my choice!
Beginning to resemble a car again.....
Got all my fuel lines and fittings ordered from Alyn through a mate (cheers for keeping me right Dunc!!) so will need to mock that all up and cut any necessary holes aswell before painting.....then hopefully get a shot of Wuz's arch roller too and I should be golden!
Financial restraints with not earning obviously have played their part but I have got on with the biggest job I could see at the time and got the cage sorted. Cage is now in and been certified by Custom Cages but there are a few other bits of welding left to be carried out before it goes to be painted.
The rear arches are needing cut out and replaced and I'm also going to re-do the front sills as one side is gone and the other looks like it's on it's way.
Few pictures of the cage
Another thing I need to do is fill the holes that were there for the sideskirts.....not 100% sure what the best thing is to do. Obviously the best would be to weld them up but I've been thinking the welds on the inside of the sill will just rust and eventually rot through? Anybody got another opinion? Was thinking maybe putty-weld type stuff?
I have also been getting busy with the grinder and planning my flipped FMIC pipework route, fitted the I/C and just played about with some pipework and got cutting:
Making sure the dash fits past the cage before sending it away for flocking was the next job, made smaller holes to fit the cage snugly but there was no way I could get the thing in and out so the decision was made to make them......well......huge!! Shouldn't look too bad once everything is painted though and I can just fill the gap with the cut off if it looks just far too g@sh.....
Next I will have to think about fitting the aerocatches and grinding unnecessary meat out of the doors, I have front winders so will just be plating over with a piece of thin plastic essentially just with a hole in them! Rear windows won't ever be needing lowered so I am trying to think up a way to hold the glass up without needing too much gubbins inside the door itself so if anyone can direct me to a good idea on that one it will be much appreciated! And on the same subject- I don't see them needing to open either so if I can do away with the handles etc. and just have them permanently locked that would be my choice!
Beginning to resemble a car again.....
Got all my fuel lines and fittings ordered from Alyn through a mate (cheers for keeping me right Dunc!!) so will need to mock that all up and cut any necessary holes aswell before painting.....then hopefully get a shot of Wuz's arch roller too
and I should be golden!
Thread Starter
Scooby Regular
iTrader: (9)
Joined: Sep 2008
Posts: 905
Likes: 0
From: Ellon, Aberdeenshire
The customs cage wasn't quite a perfect fit- there were many tubes shaped poorly and just out of size etc. so here is the picture of some of the shaping and cutting that was needed:
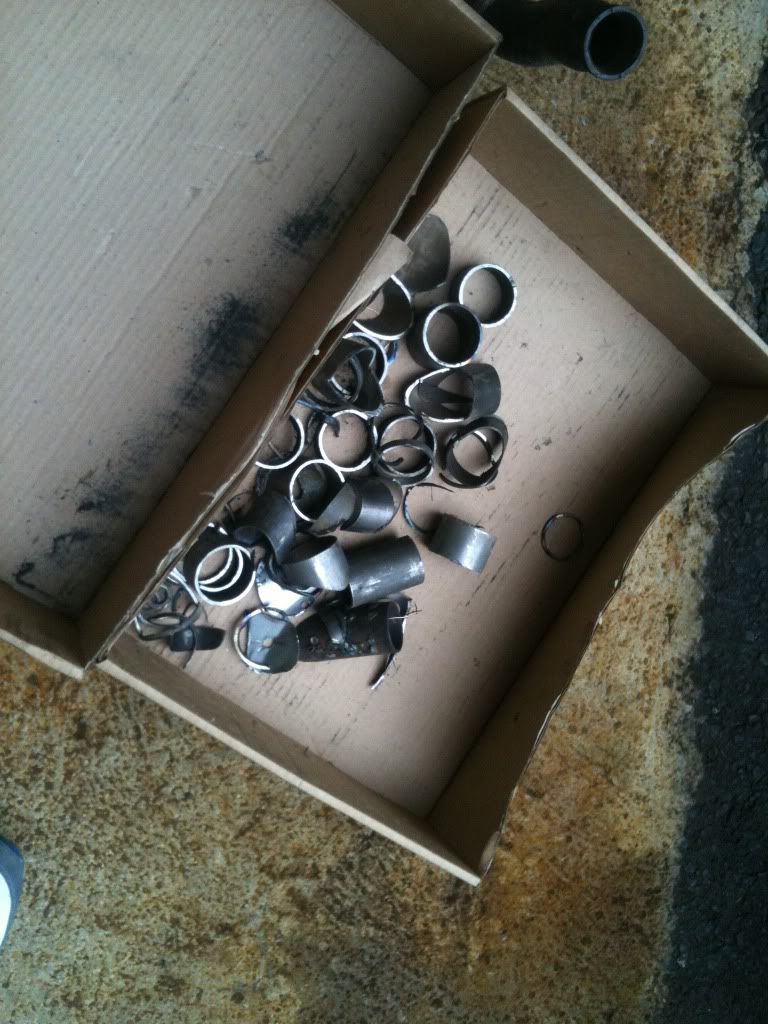
and Marcus at work!! Top man.....
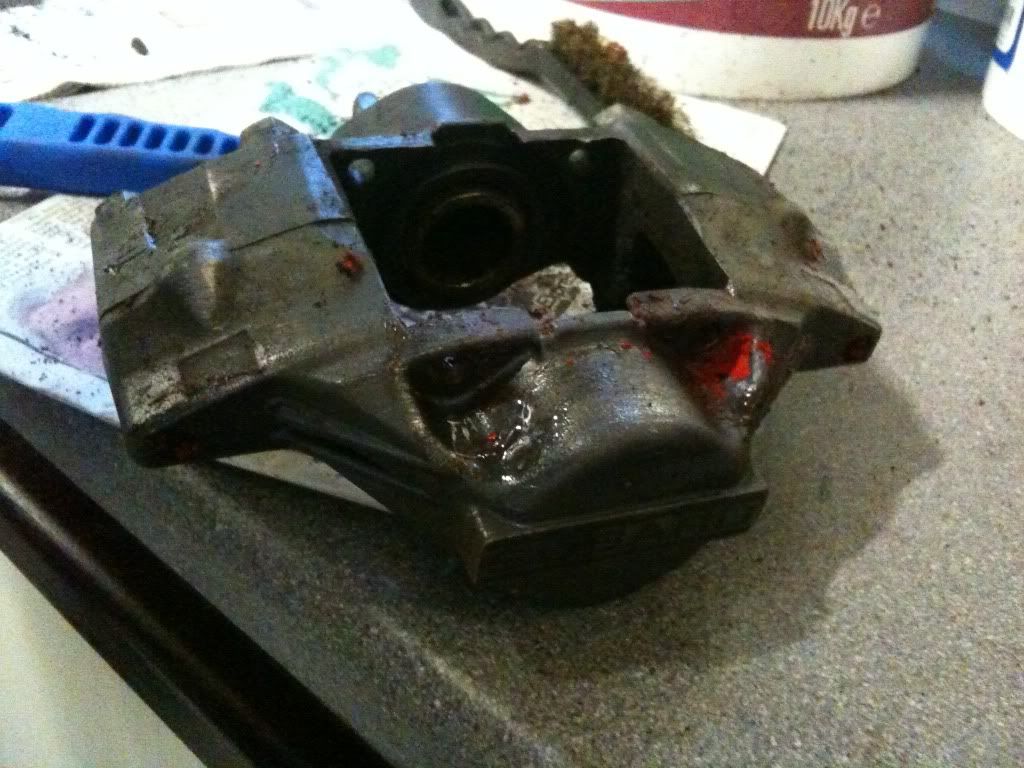
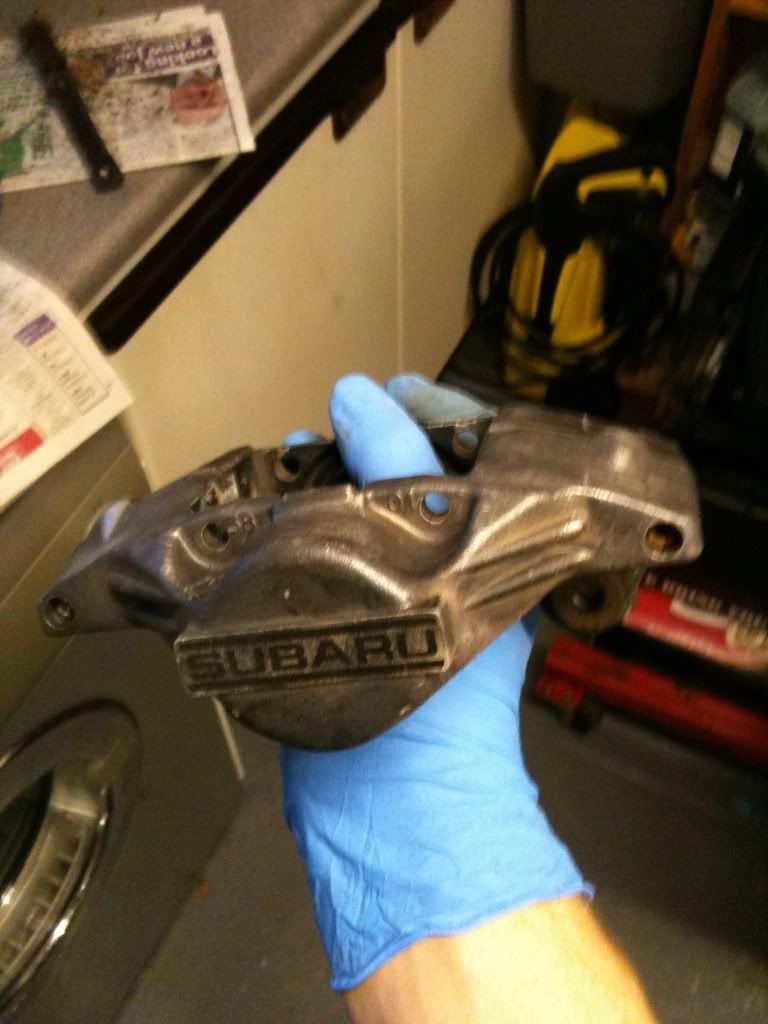
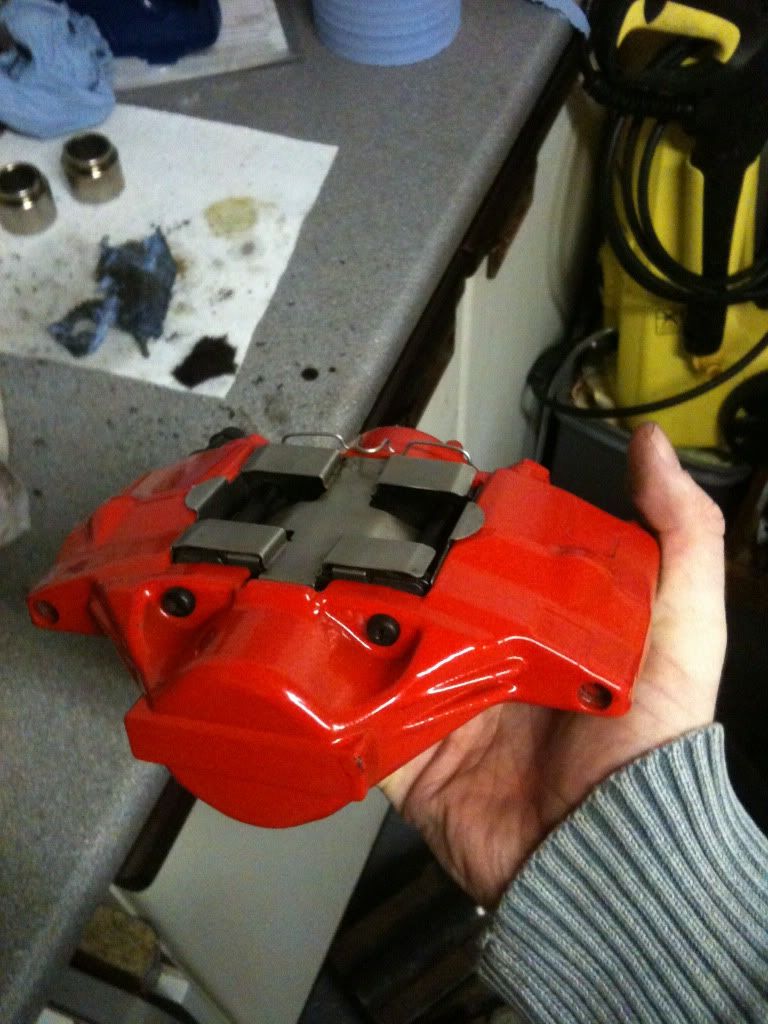
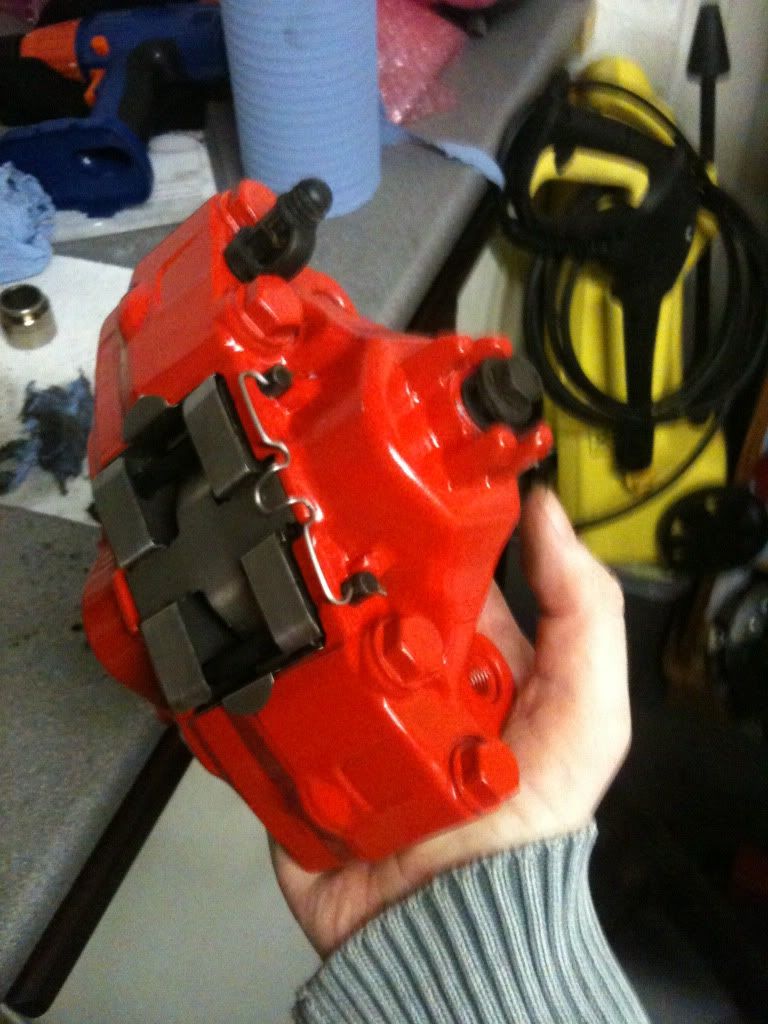
Whilst this was going on I have got hold of some rear two pots and decided to give them a good refurb. They were in descent condition but I wanted them looking fresh
They arrived like this:

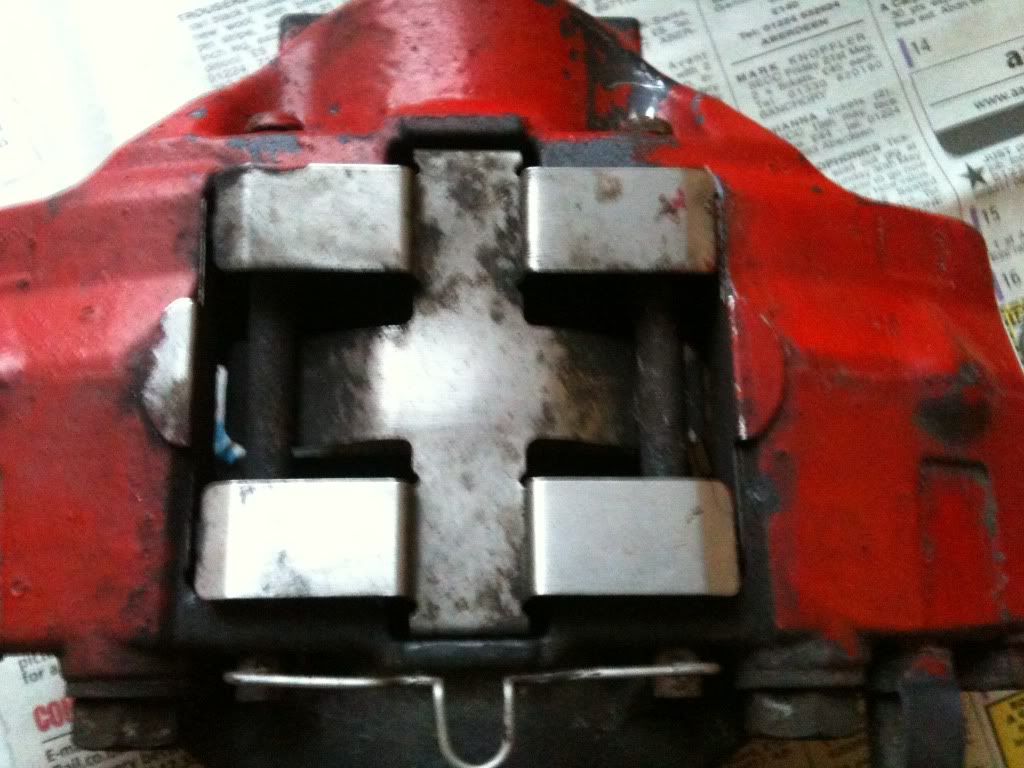
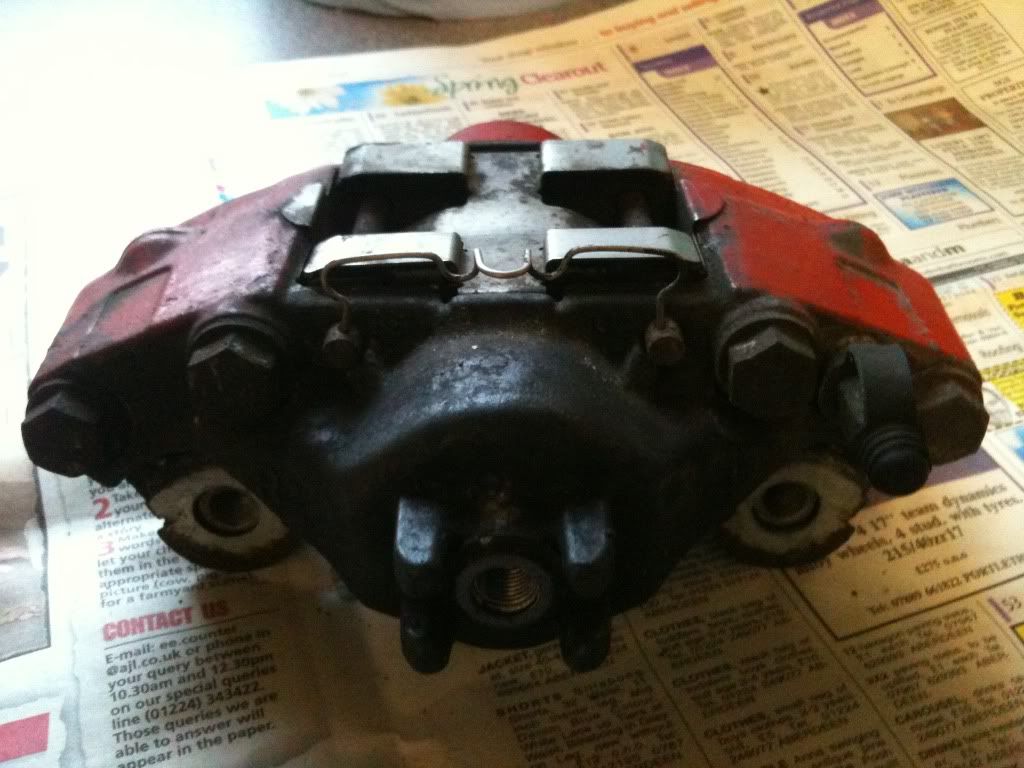
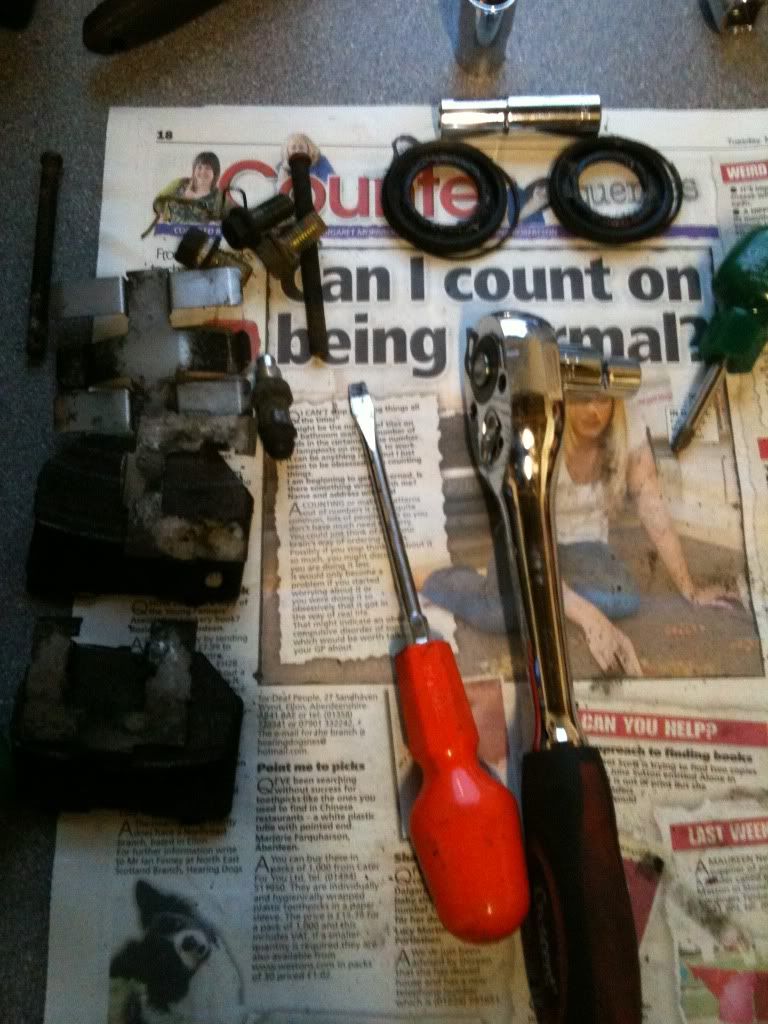
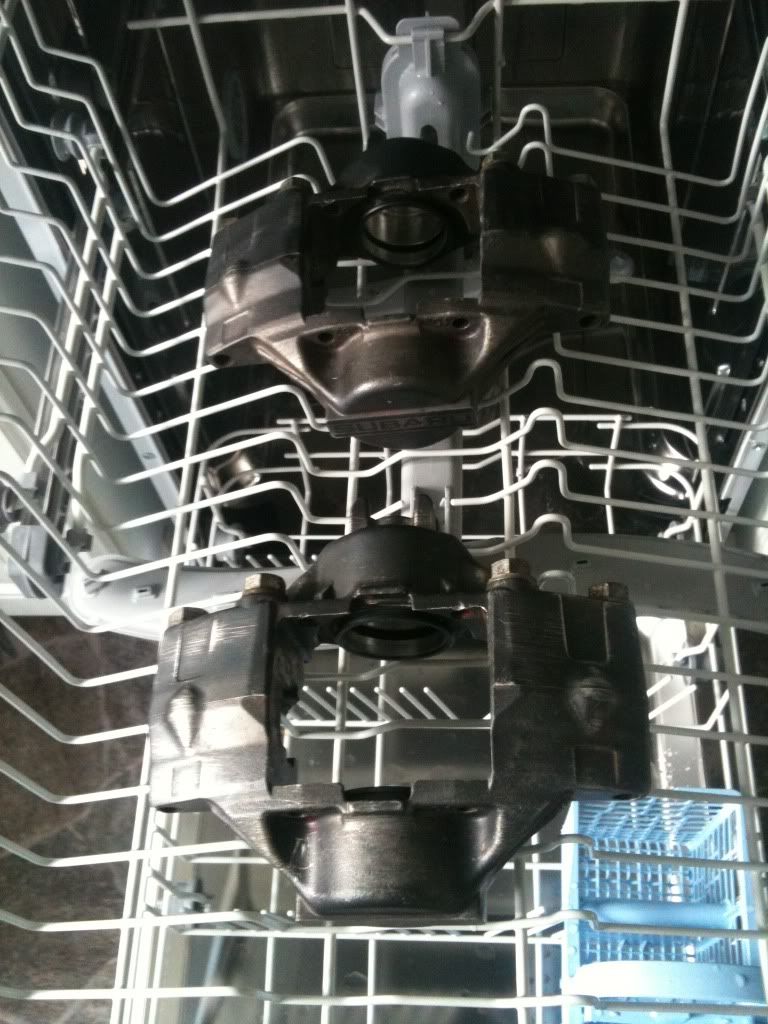
and first thing was strip them down, removing the pistons etc, clean them up and remove the existing paint:
then a good degreasing.....
Coat of primer:
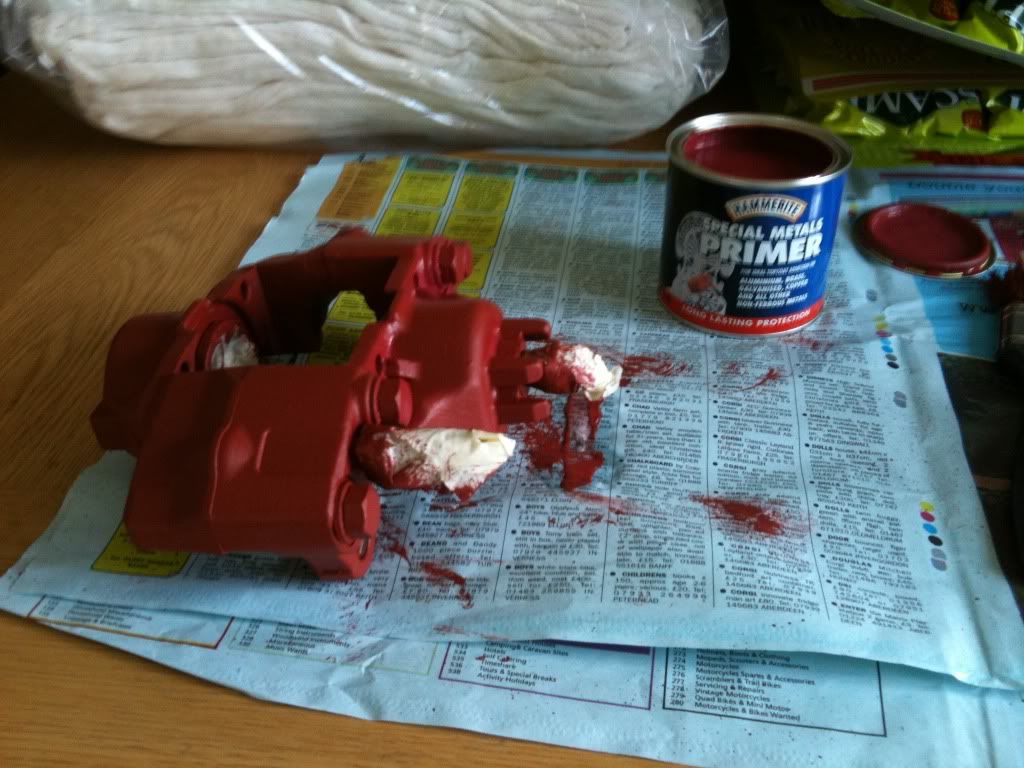
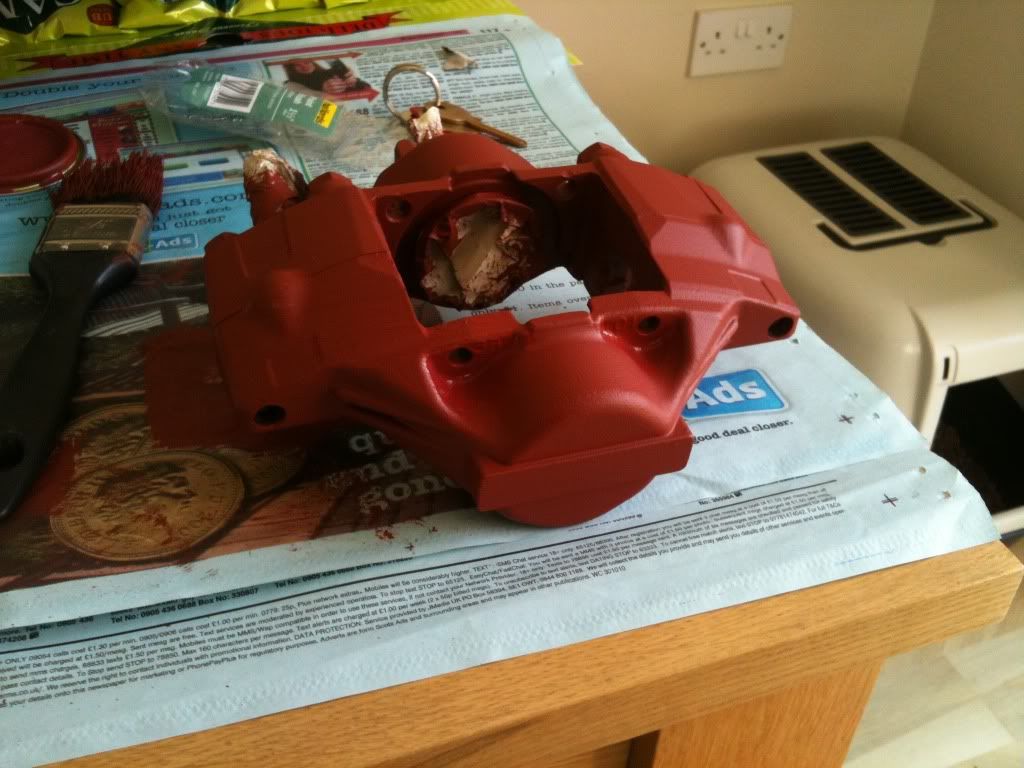
Then on with the Hammerite!
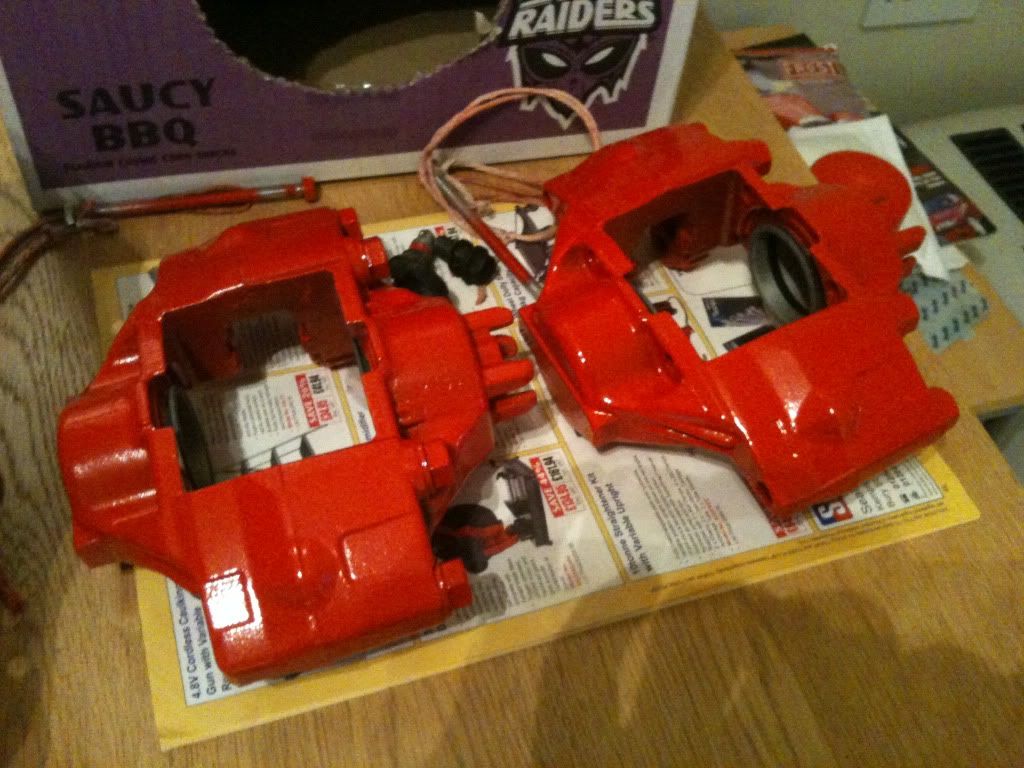
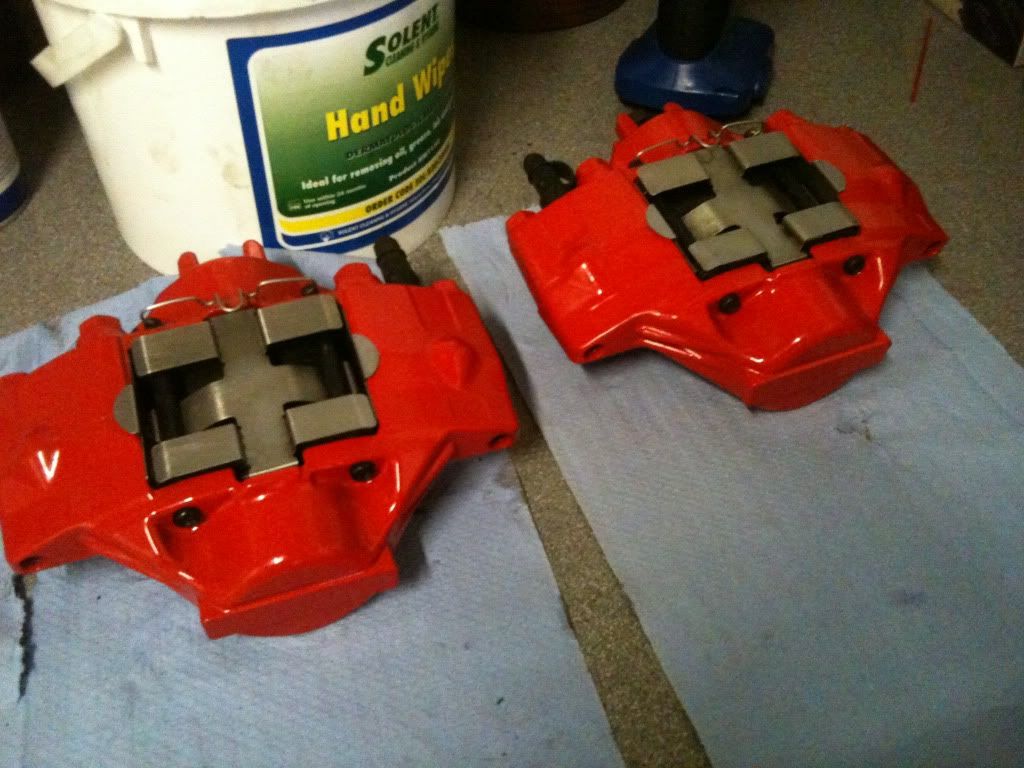
I got all pistons and gubins cleaned up and degreased ready to rebuild
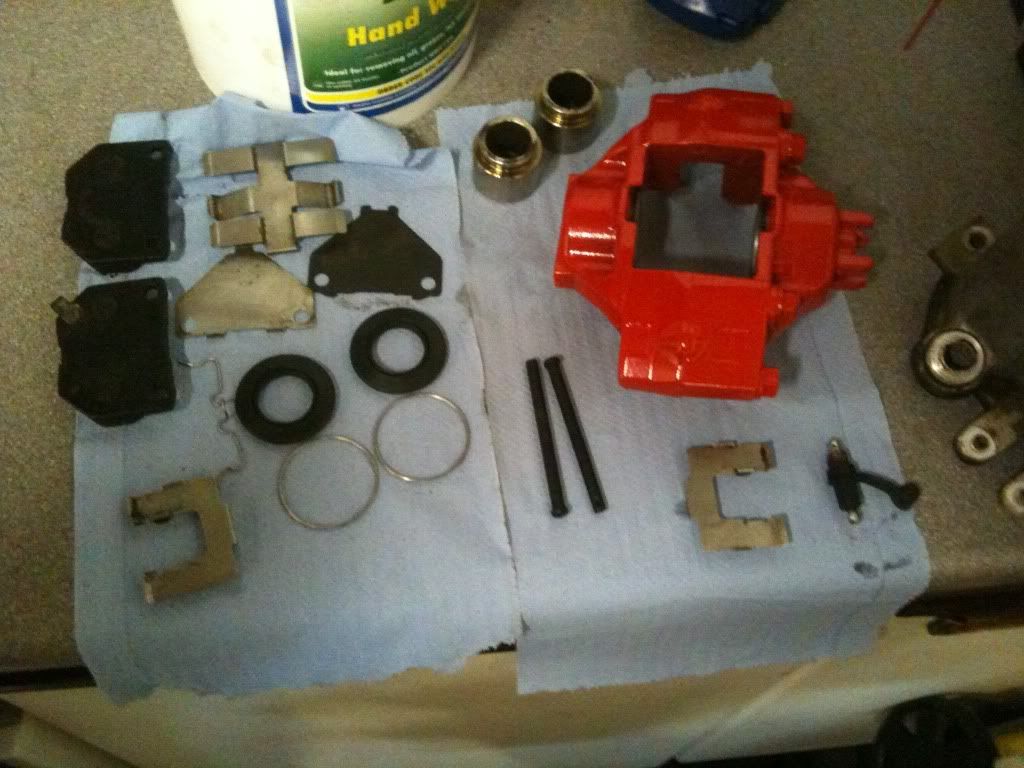
Then rebuilt not a bad result for me! Got a bit of a run to clean up but it's since been fixed!
and Marcus at work!! Top man.....
Whilst this was going on I have got hold of some rear two pots and decided to give them a good refurb. They were in descent condition but I wanted them looking fresh
They arrived like this:
and first thing was strip them down, removing the pistons etc, clean them up and remove the existing paint:
then a good degreasing.....
Coat of primer:
Then on with the Hammerite!
I got all pistons and gubins cleaned up and degreased ready to rebuild
Then rebuilt
not a bad result for me! Got a bit of a run to clean up but it's since been fixed!

Thread Starter
Scooby Regular
iTrader: (9)
Joined: Sep 2008
Posts: 905
Likes: 0
From: Ellon, Aberdeenshire
I'm by no means a good painter normally....no idea where that bout of patience came from!
Really need to get this thing rolling now so I can get the other car moved!
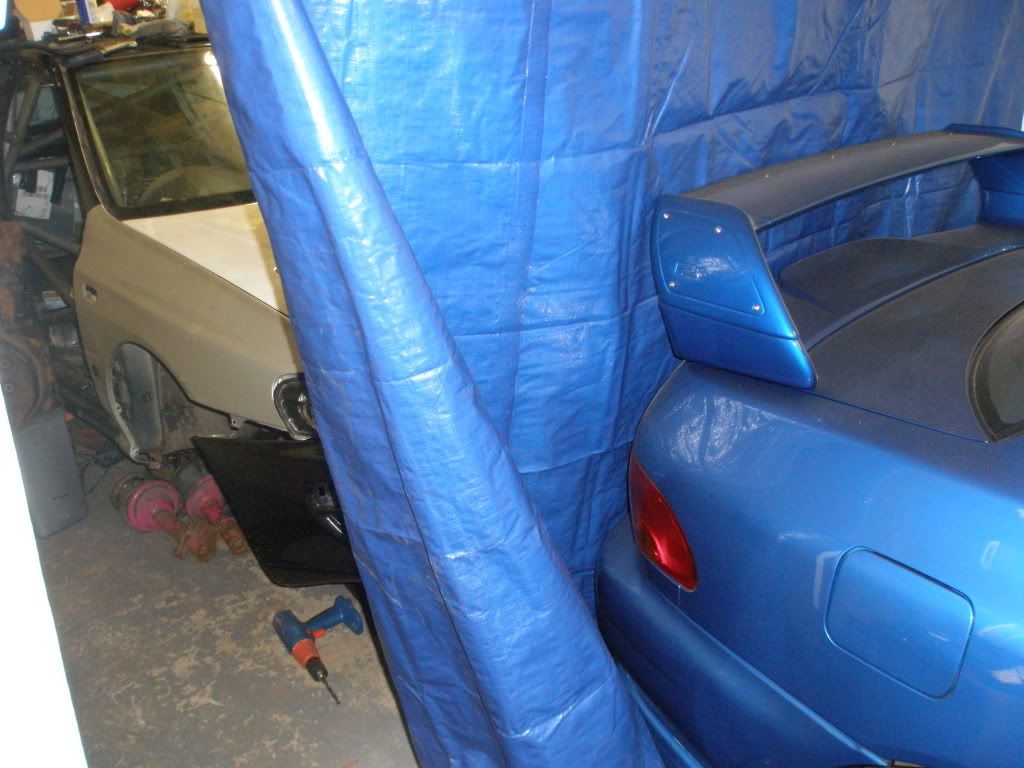
It's kinda trapped in the garage
So I got all the subframes cleaned up, wirebrushed, rust treated and coated in a couple of coats of POR15 paint followed by a couple of coats of the POR Chassis black paint. Was thinknig about going tarty and doing different colours etc. but I think so far as the underneath is concerned it wil look dirty quick tht way and as long as they are not rusting I'm perfectly happy to be honest!
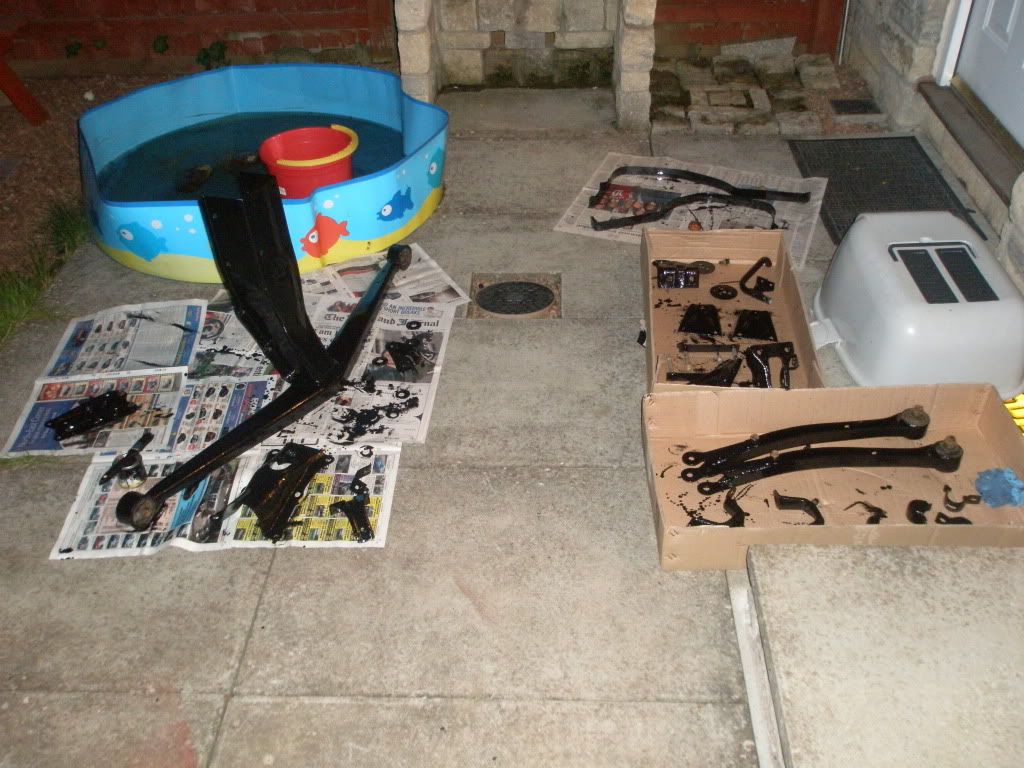
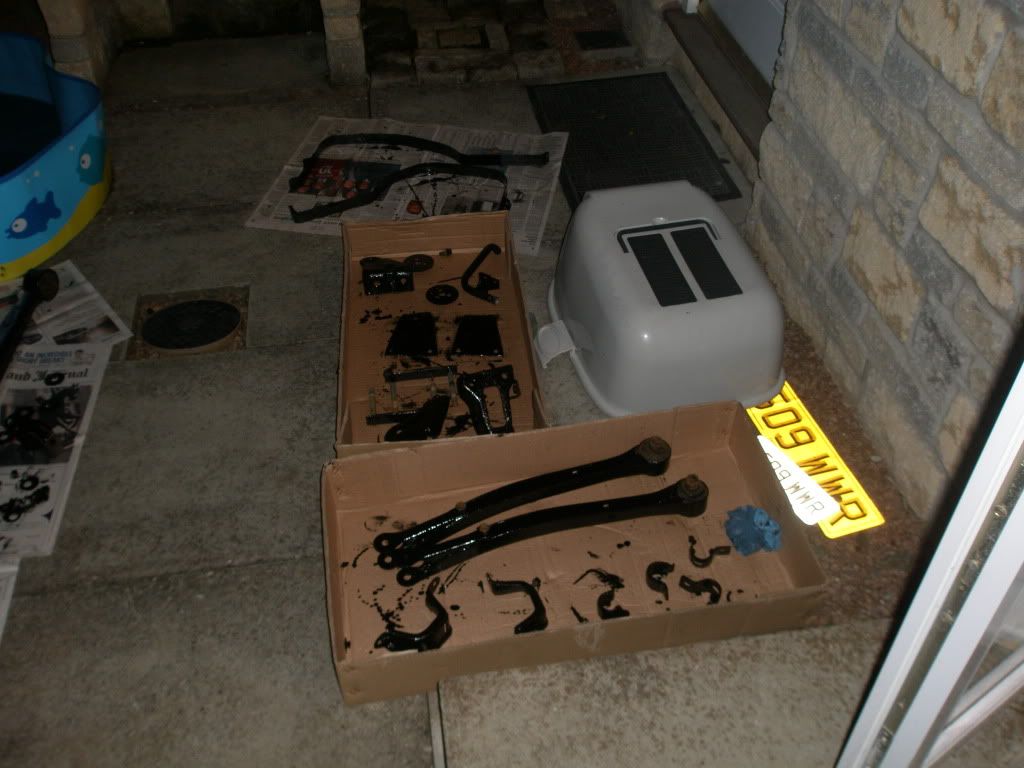
The paddling pool by the way is my tadpole/frog spawning pool! Stupid things lay them in puddles on the old railway line so they quickly die if you don't pick them up lol
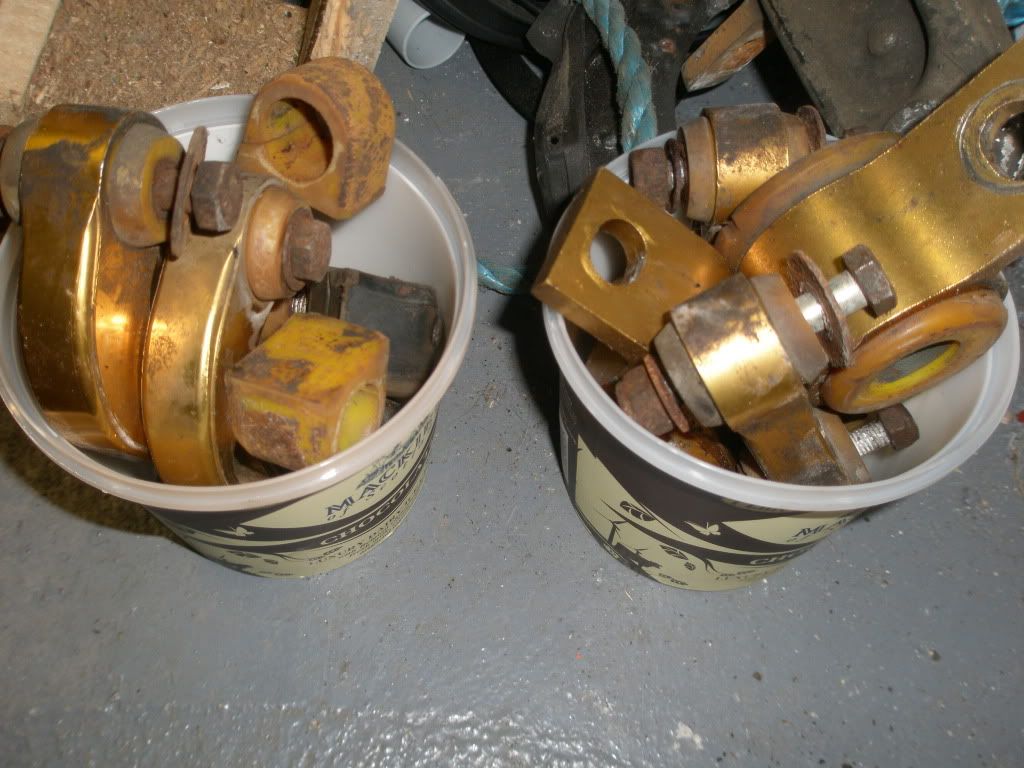
Also got all my whiteline parts together along with some alloy wishbones so I'm ready to start putting it together once this stuffs dry!
Will replace all the bolts with stainless eventually but for now I ust want to be able to roll it out of the garage!
Now I better go get the underside of the shell cleaned off for some POR15 before this stuff dries
Really need to get this thing rolling now so I can get the other car moved!
It's kinda trapped in the garage
So I got all the subframes cleaned up, wirebrushed, rust treated and coated in a couple of coats of POR15 paint followed by a couple of coats of the POR Chassis black paint. Was thinknig about going tarty and doing different colours etc. but I think so far as the underneath is concerned it wil look dirty quick tht way and as long as they are not rusting I'm perfectly happy to be honest!
The paddling pool by the way is my tadpole/frog spawning pool! Stupid things lay them in puddles on the old railway line so they quickly die if you don't pick them up
lolAlso got all my whiteline parts together along with some alloy wishbones so I'm ready to start putting it together once this stuffs dry!
Will replace all the bolts with stainless eventually but for now I ust want to be able to roll it out of the garage!
Now I better go get the underside of the shell cleaned off for some POR15 before this stuff dries

Thread Starter
Scooby Regular
iTrader: (9)
Joined: Sep 2008
Posts: 905
Likes: 0
From: Ellon, Aberdeenshire
nice to see an other catalyuna again dont surpose you know of a full interior going for sale
I have front and rear seats but no door cards (although I do know where a set are....)
Think we spoke before regarding them?
Wheres the paddling pool goin, boot? Ha ha
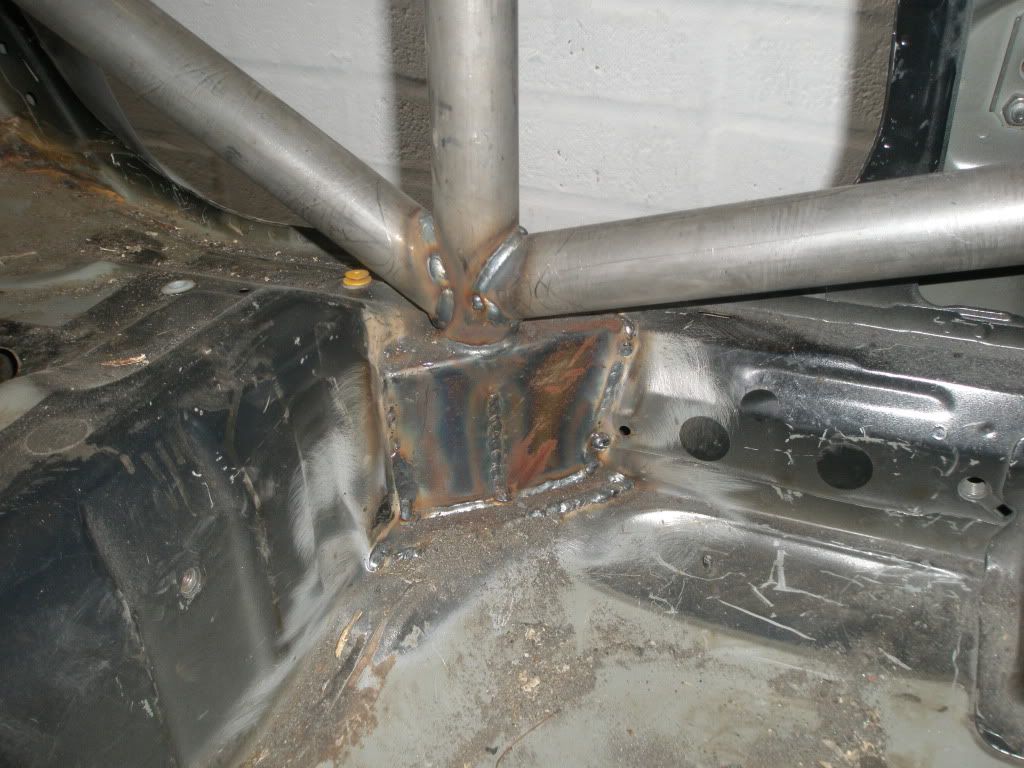
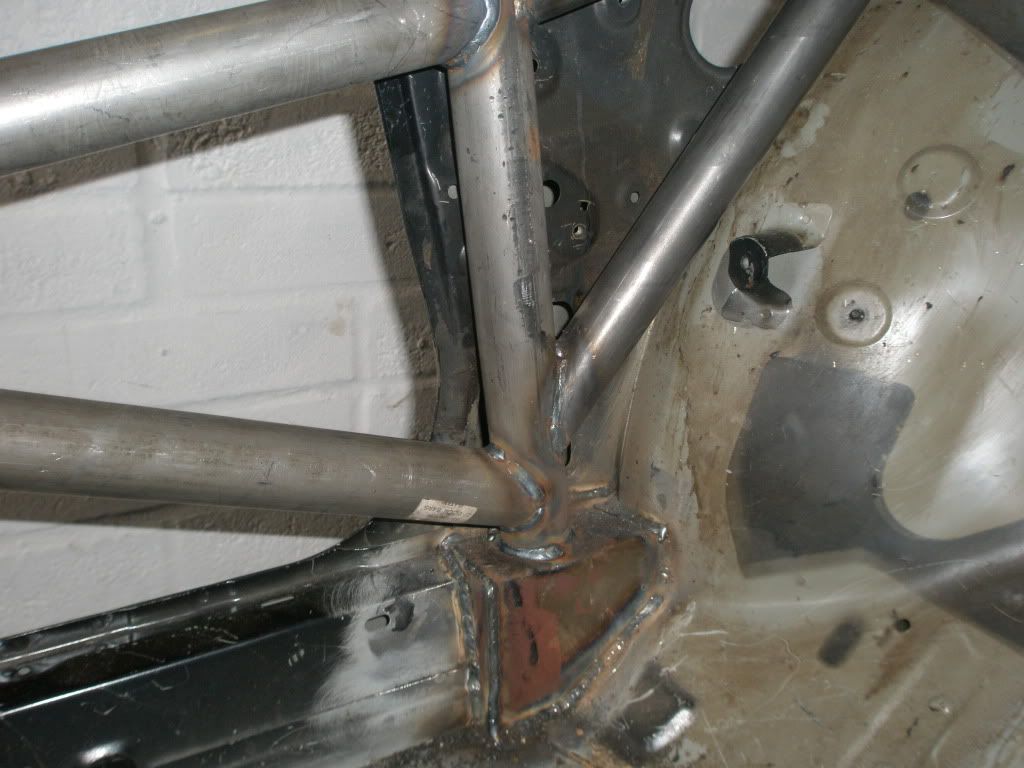
where your cage is close to the body of the car does the weld go 100% around every join??
was a bit tricky in some areas but there are methods and sequences in which to weld that allows you (not easily I will add) to get all the way around the pipe OD with weld
Thread Starter
Scooby Regular
iTrader: (9)
Joined: Sep 2008
Posts: 905
Likes: 0
From: Ellon, Aberdeenshire
The car is actually back on it's wheels and a rolling shell again now, will post pics when I can
At the moment it is undergoing some sill and arch surgery as the front sills and rear arches are being cut out and new material welded in before it is prepped for painting......then the fun begins!!
At the moment it is undergoing some sill and arch surgery as the front sills and rear arches are being cut out and new material welded in before it is prepped for painting......then the fun begins!!
Yes sir was a bit tricky in some areas but there are methods and sequences in which to weld that allows you (not easily I will add) to get all the way around the pipe OD with weld
watching with interest, good thread.
Thread Starter
Scooby Regular
iTrader: (9)
Joined: Sep 2008
Posts: 905
Likes: 0
From: Ellon, Aberdeenshire
I didn't remove the roof skin- I cut out some of the floor pan and dropped the whole cage to get the tops
Front legs was definately the most difficult part to get round....this is what I did:
fitted the A pillars in place from the rear and tacked the triangulations that go through to the front struts,
ratchet strapped the two A pillars together into the middle of the car, removed the tacked triangulations and welded them up out of the car,
fed the triangulations back through and released the A pillar bars, placed them in position and welded up the inside of the joints,
ratchet strapped them back into the middle of the car and just pulled it one way then the next to get round the back
You just need to make the holes through to the struts a big bigger horizontally to allow the movement....last job you do is weld the bottom of the A pillar bars to their mounting plates!
Thread Starter
Scooby Regular
iTrader: (9)
Joined: Sep 2008
Posts: 905
Likes: 0
From: Ellon, Aberdeenshire
Cheers mate just doing a bit of seamwelding just now in my spare time until it is prepped for paint- will take plenty of pics through the process :thumbsup:
just doing a bit of seamwelding just now in my spare time until it is prepped for paint- will take plenty of pics through the process :thumbsup:


Thread
Thread Starter
Forum
Replies
Last Post