When you click on links to various merchants on this site and make a purchase, this can result in this site earning a commission. Affiliate programs and affiliations include, but are not limited to, the eBay Partner Network.
Right, I think it's about time I started a project thread for my car.
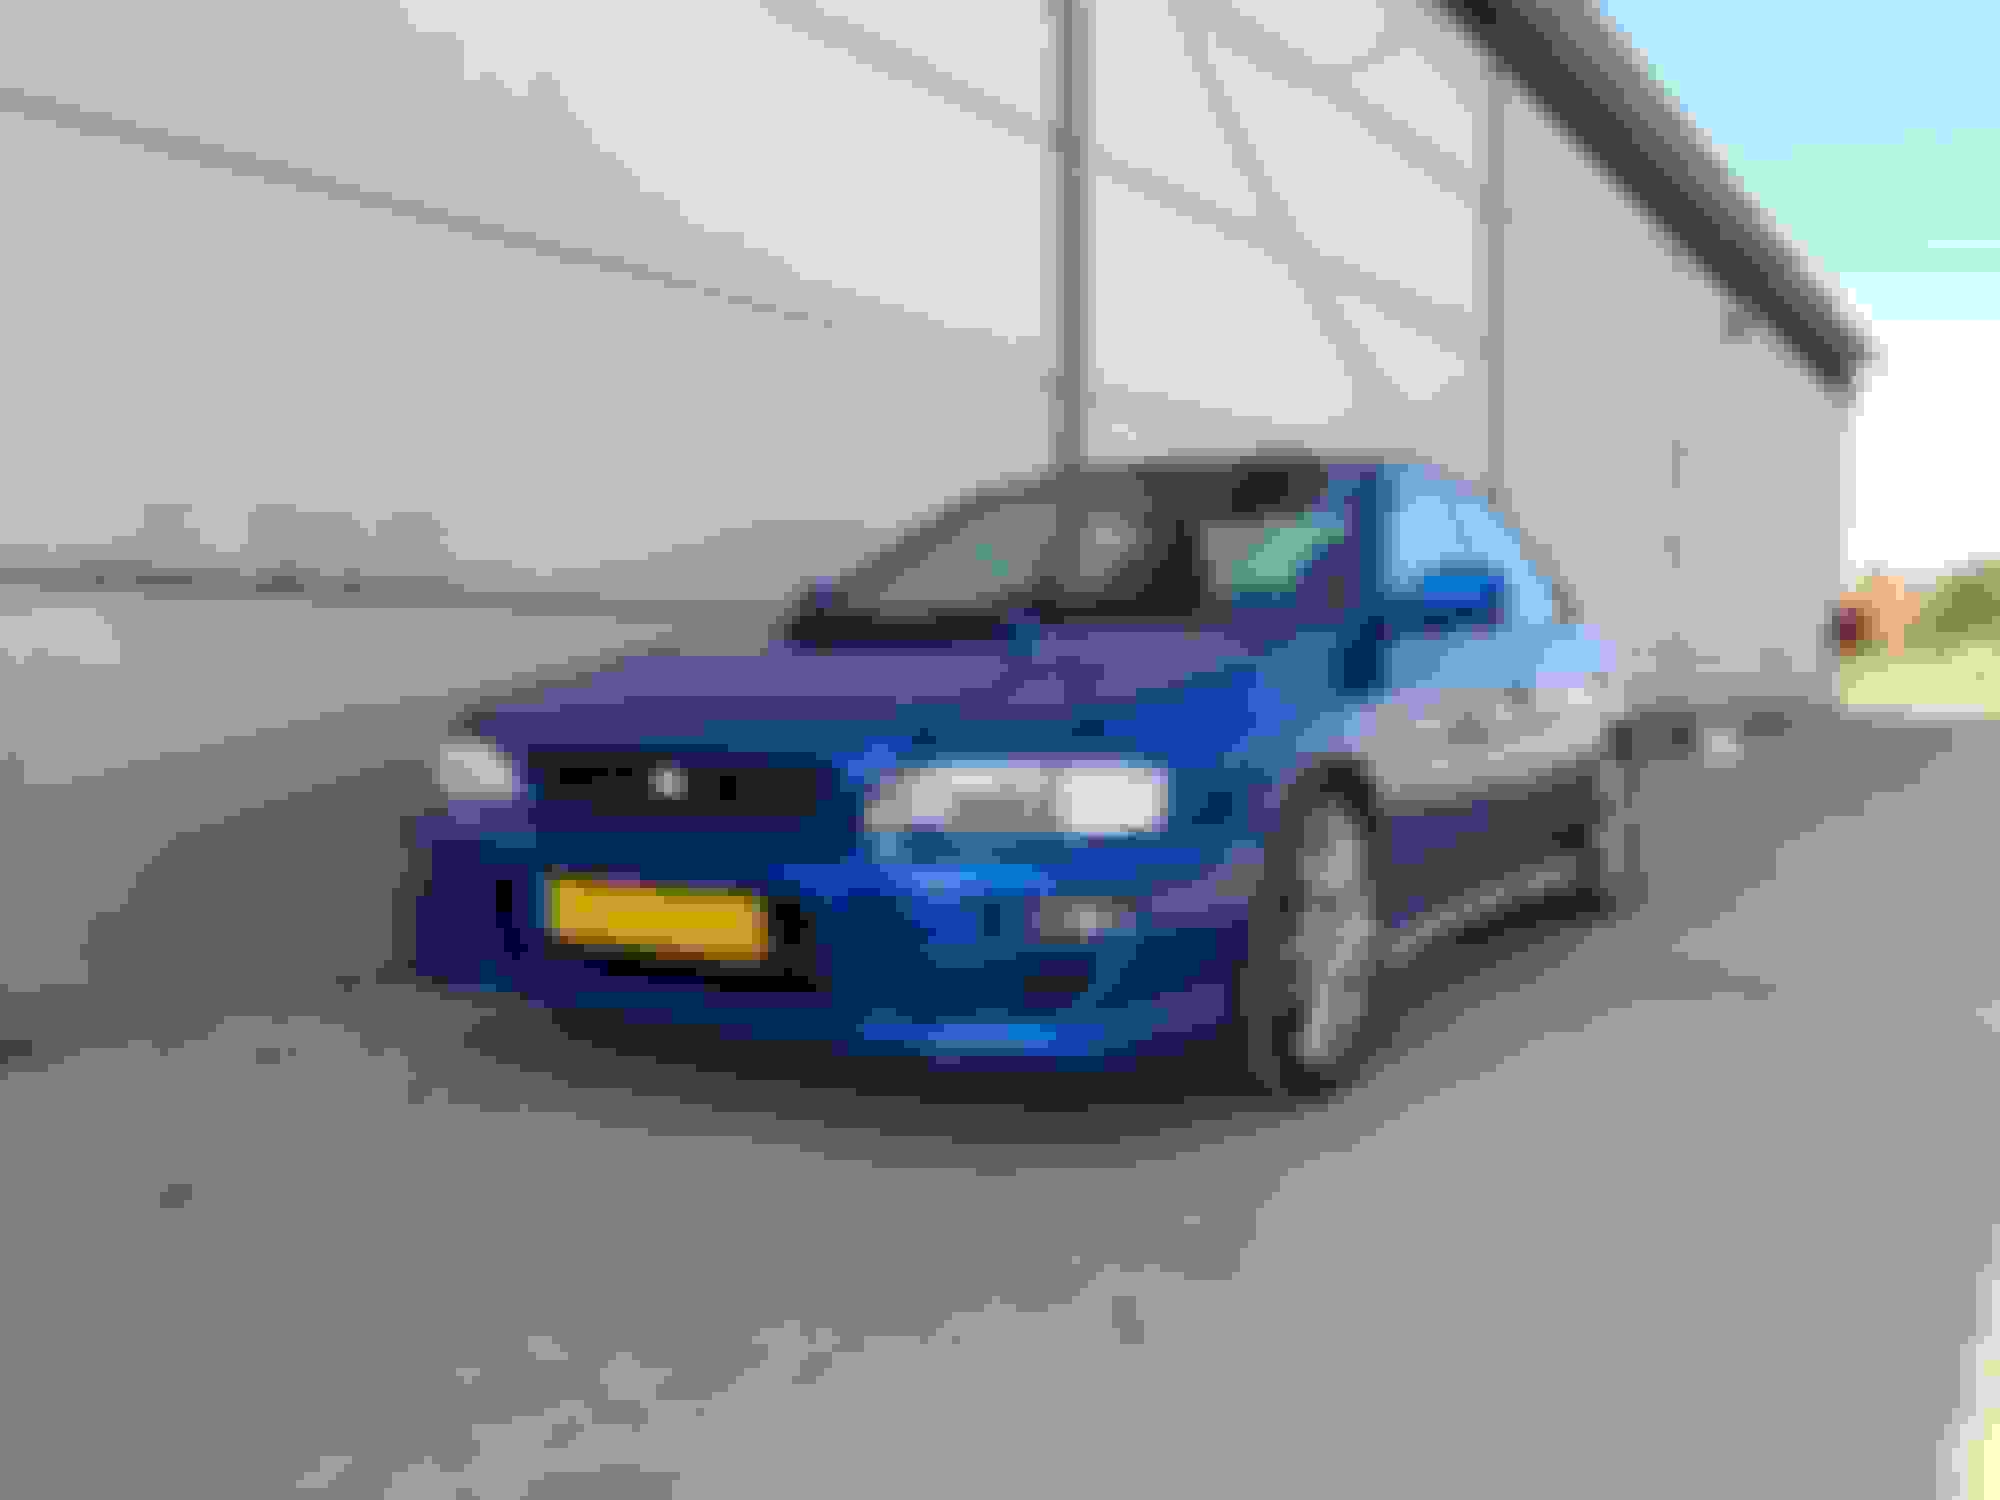
Short background of the car: I've always wanted a 99-00 GC8 since I was a child. In 2012 I finally made my dream come true. I acquired a 1999 Impreza GT (the only version available here) and I couldn't be any happier!
Picture of the car the day after I bought it (taken 27/07/2012):
The first 4 years were filled with ups and downs... It was my first car and I didn't have an adult figure to teach me how to properly take care of it. So, I made a lot of mistakes, some of which cost me money I didn't have. Also, I didn't know any other Subaru owners, so I didn't know where the best places to service the car were.
To cut a long story short, in 2016 I met someone who builds Subarus and actually races in his own Subaru.
A picture of my friend racing his Subaru back in 2016:
We became friends and he introduced me to the world of modifying, track days and most important - proper maintenance
One day, when swapping out the fuel pump for an upgraded one, we discovered my car had been in a very bad accident some time during it's life and it seemed like a good idea to get a different GC with a better chassis. It was a mistake buying the car without having someone to consult. Someone who actually knows cars and would of known what to look for.
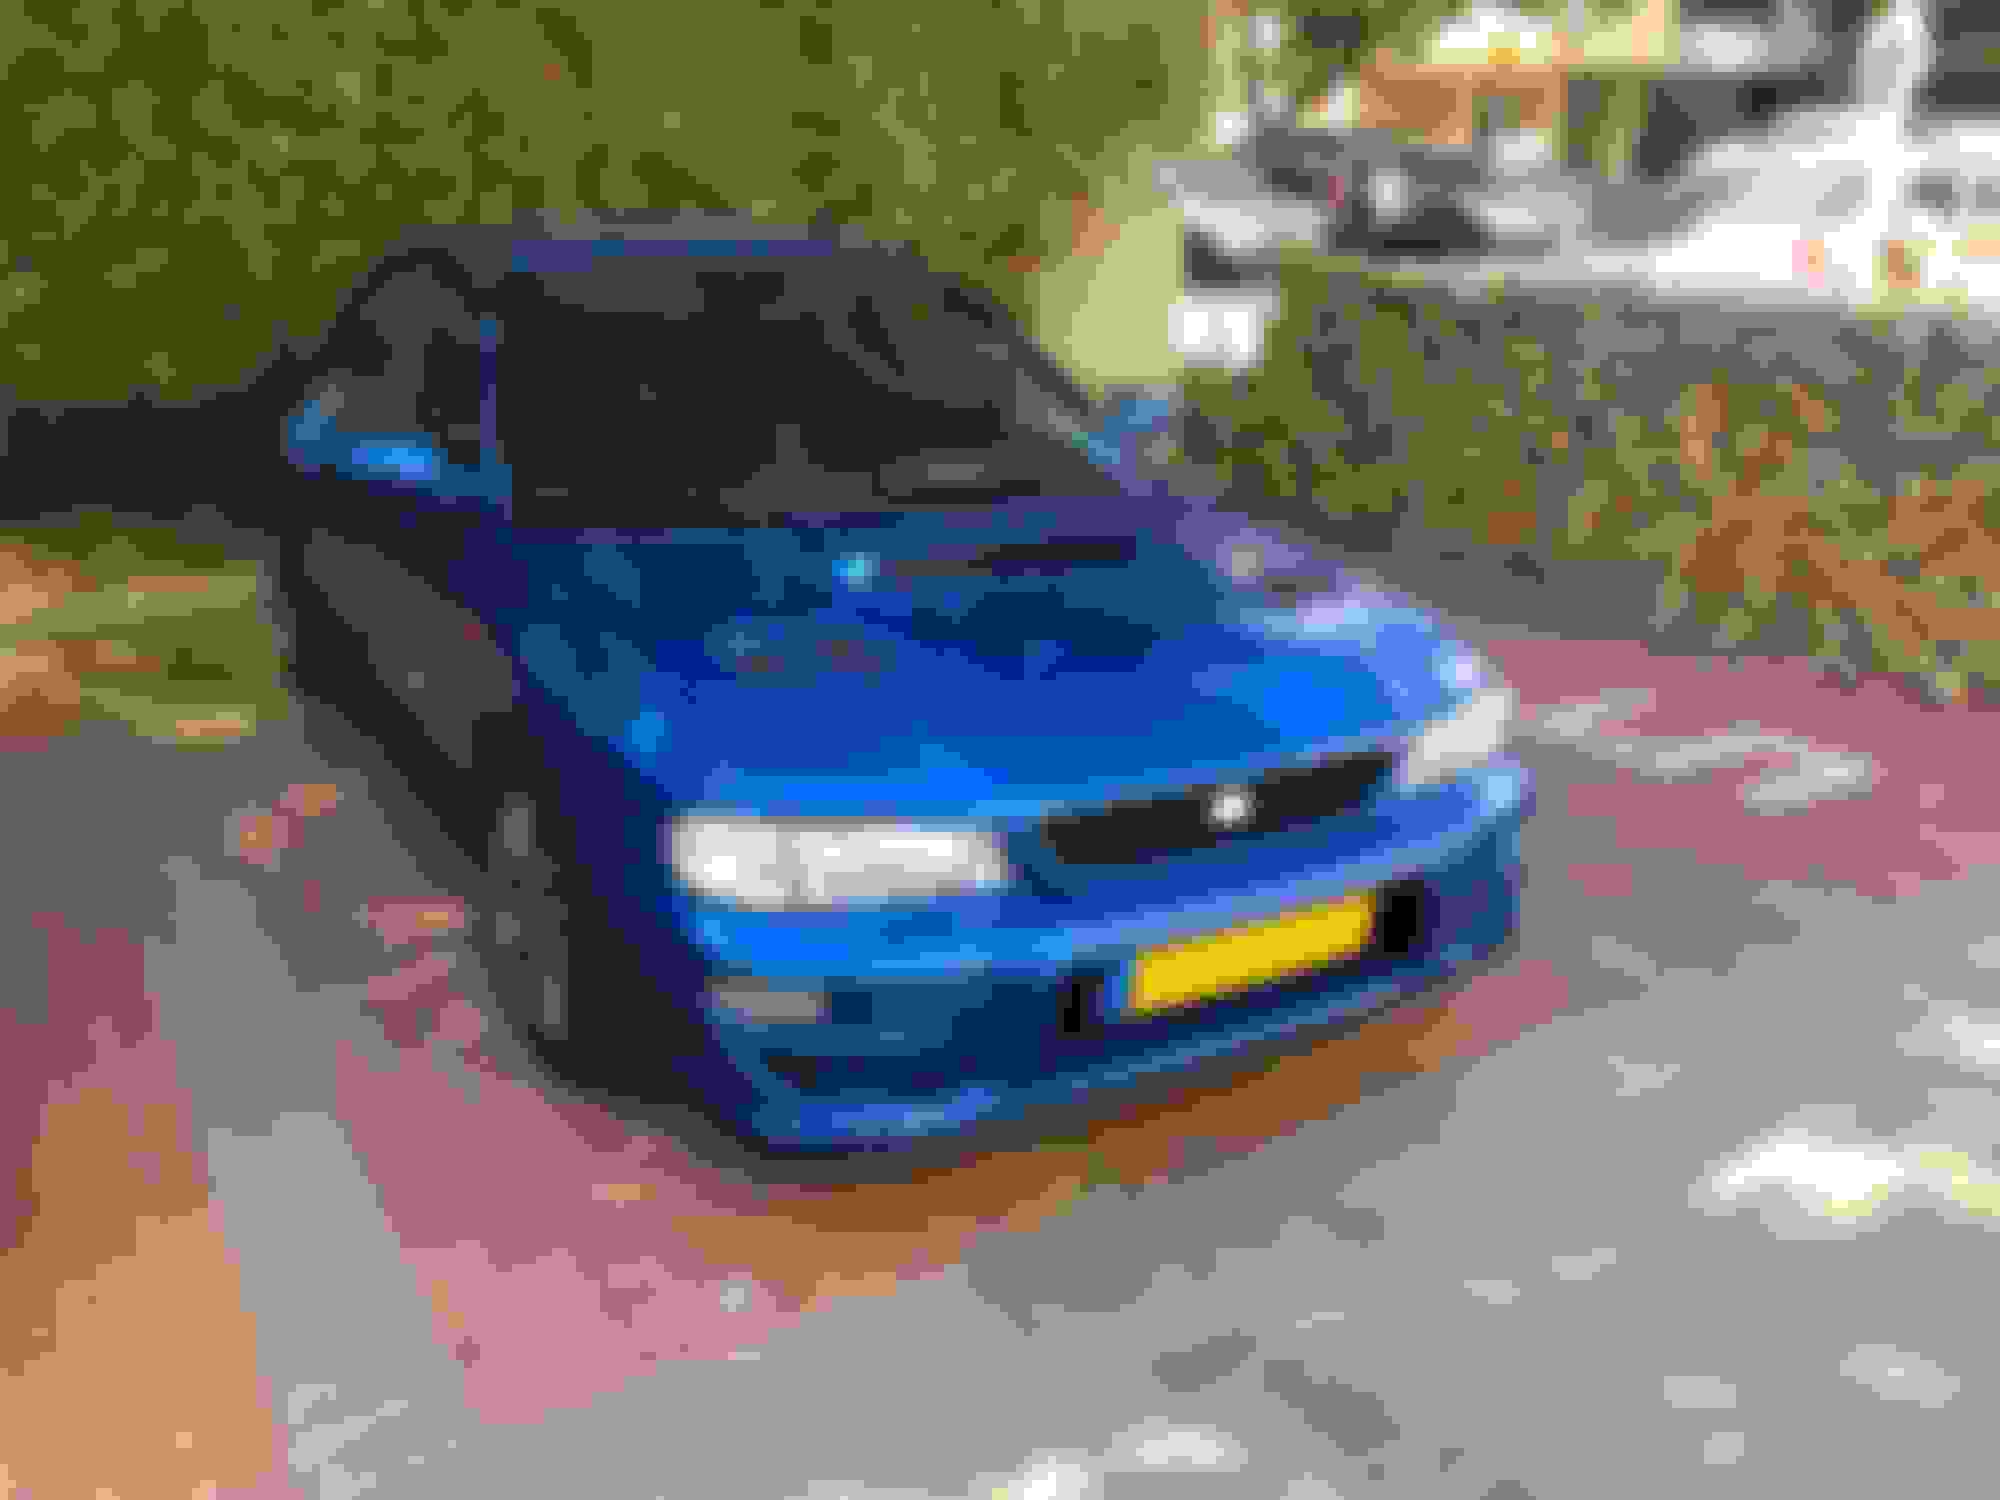
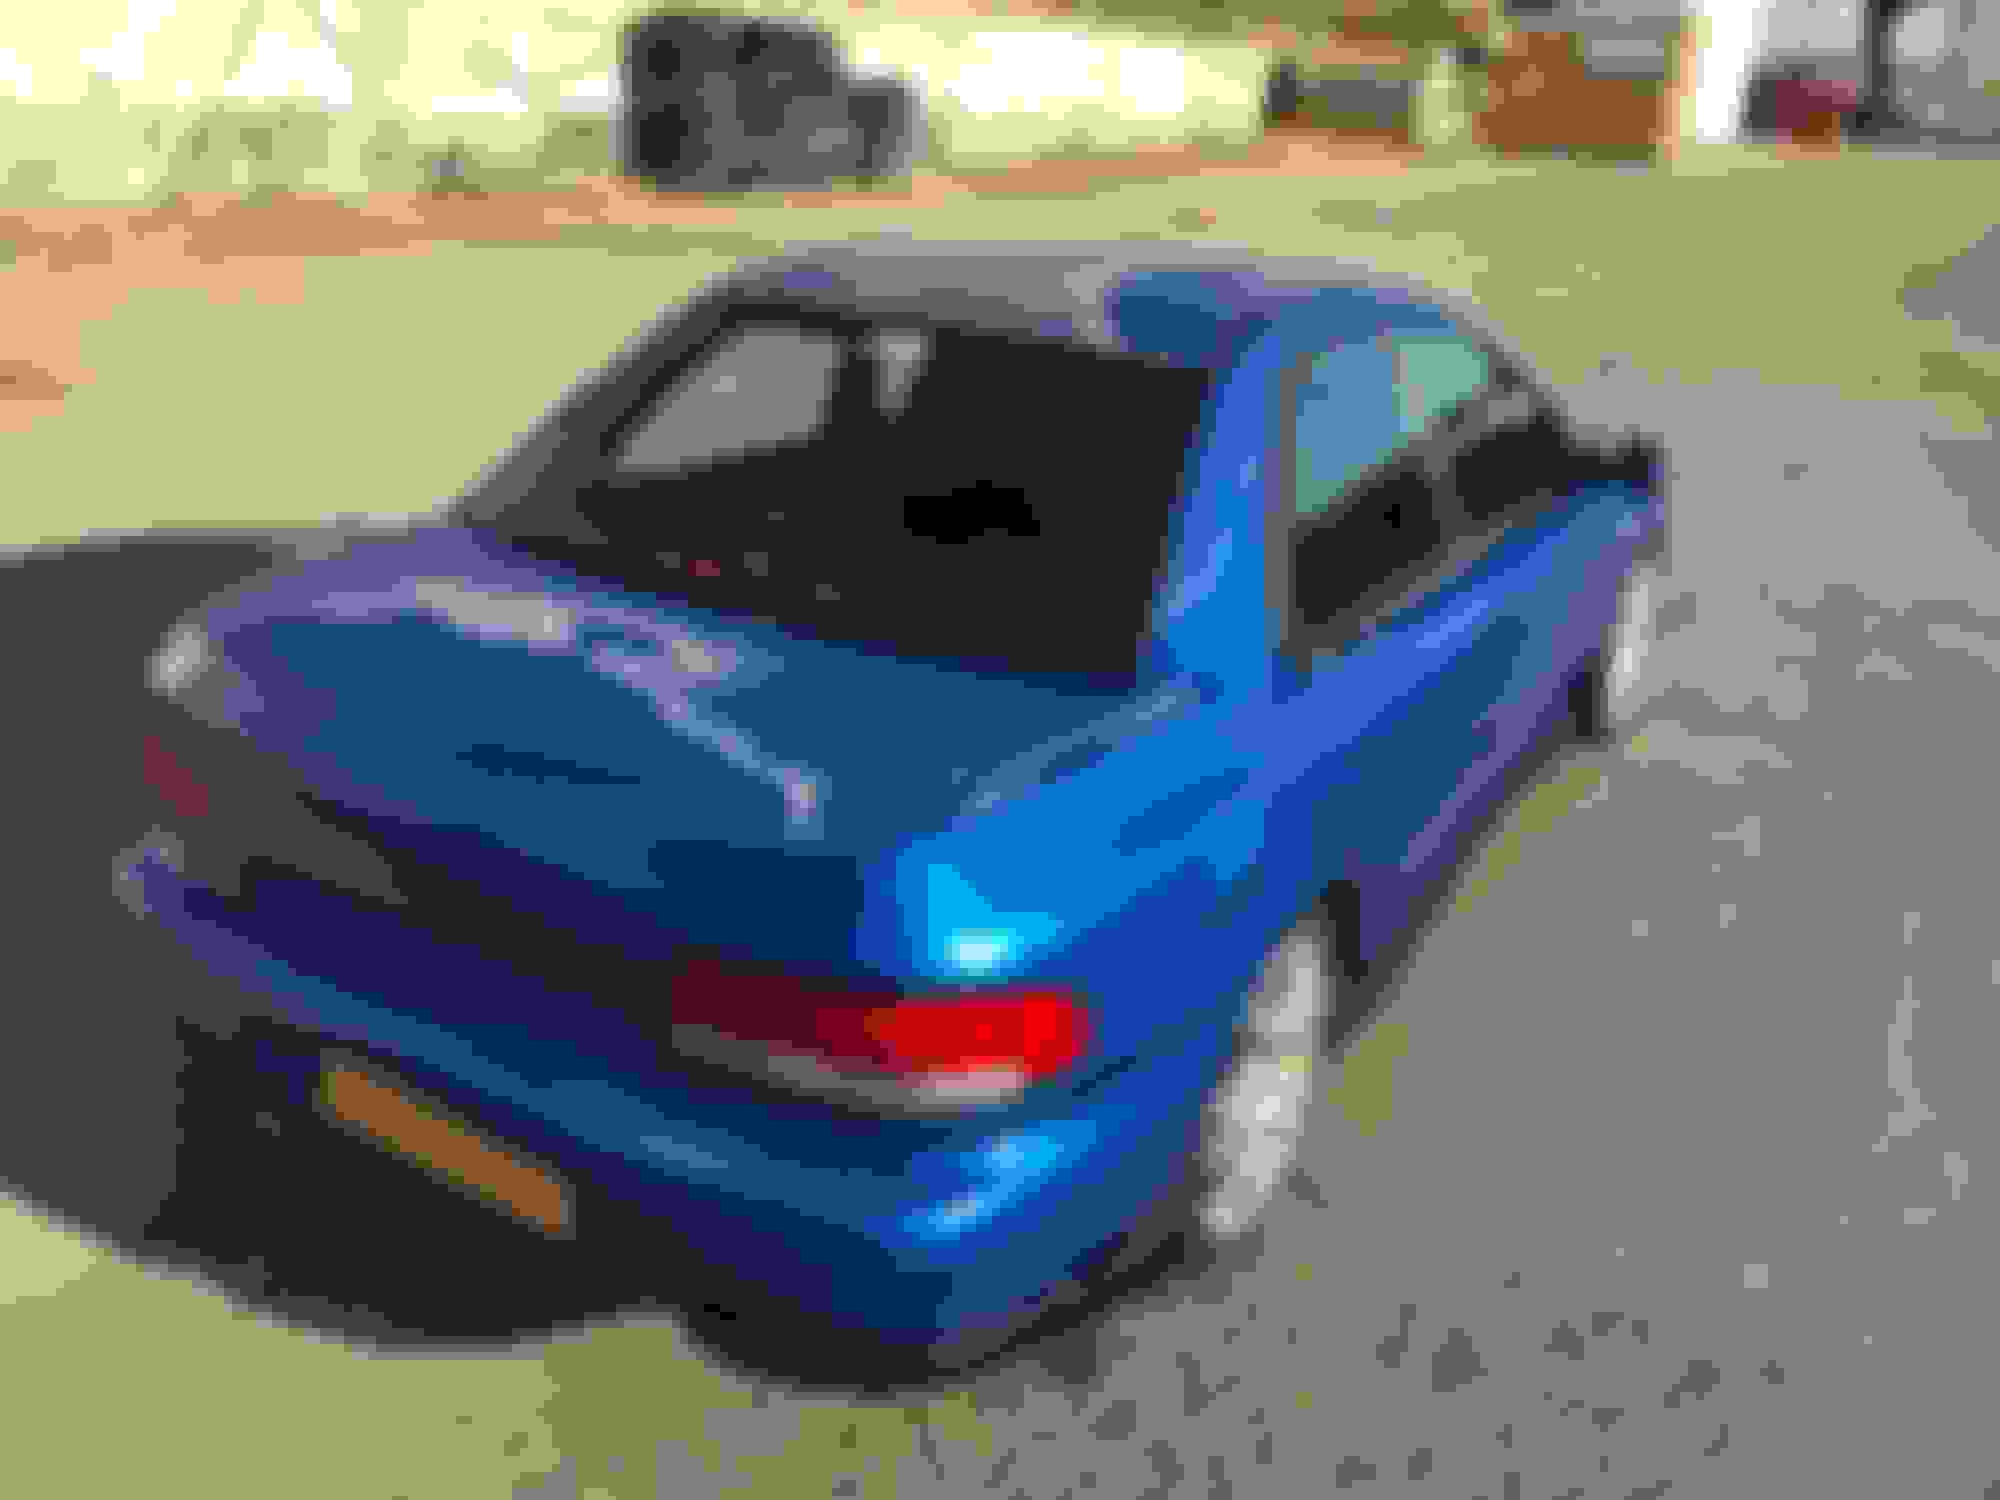
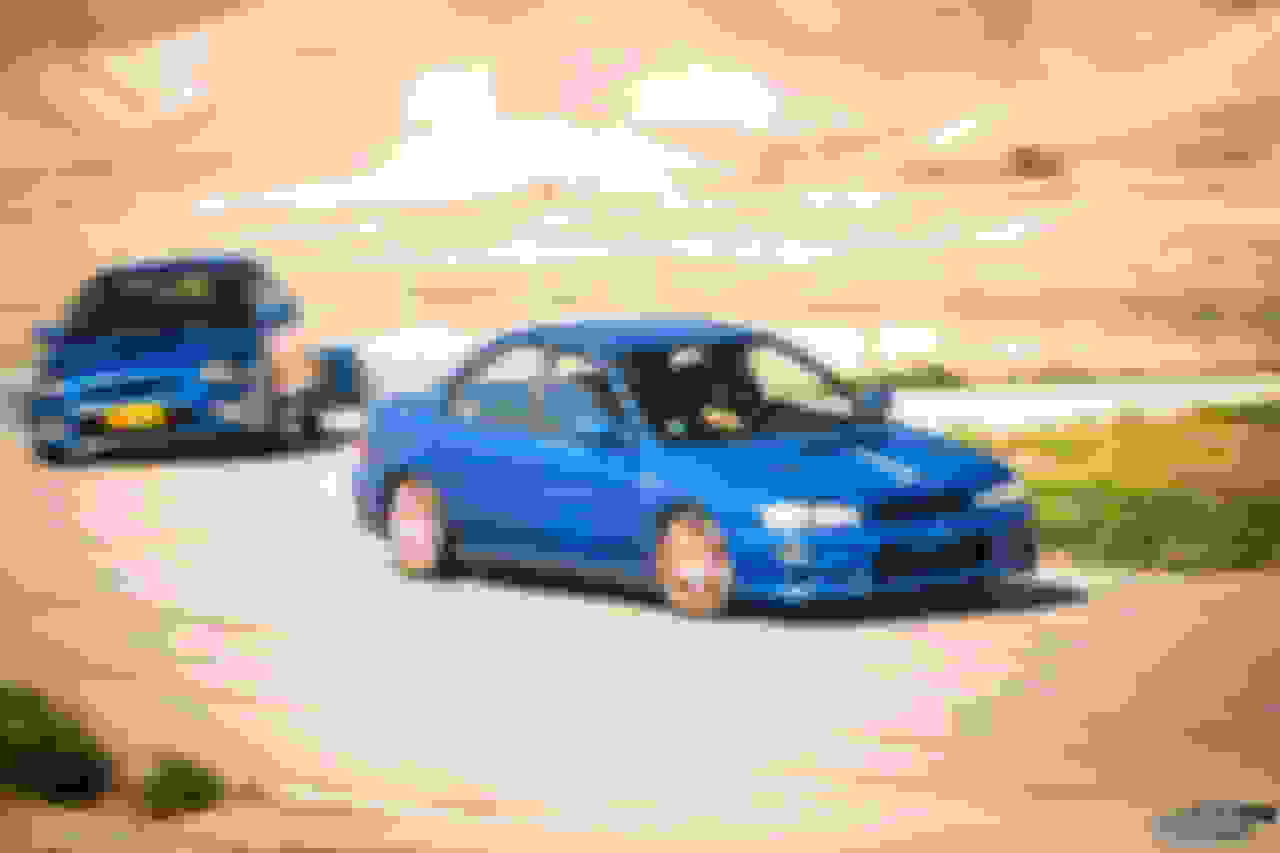
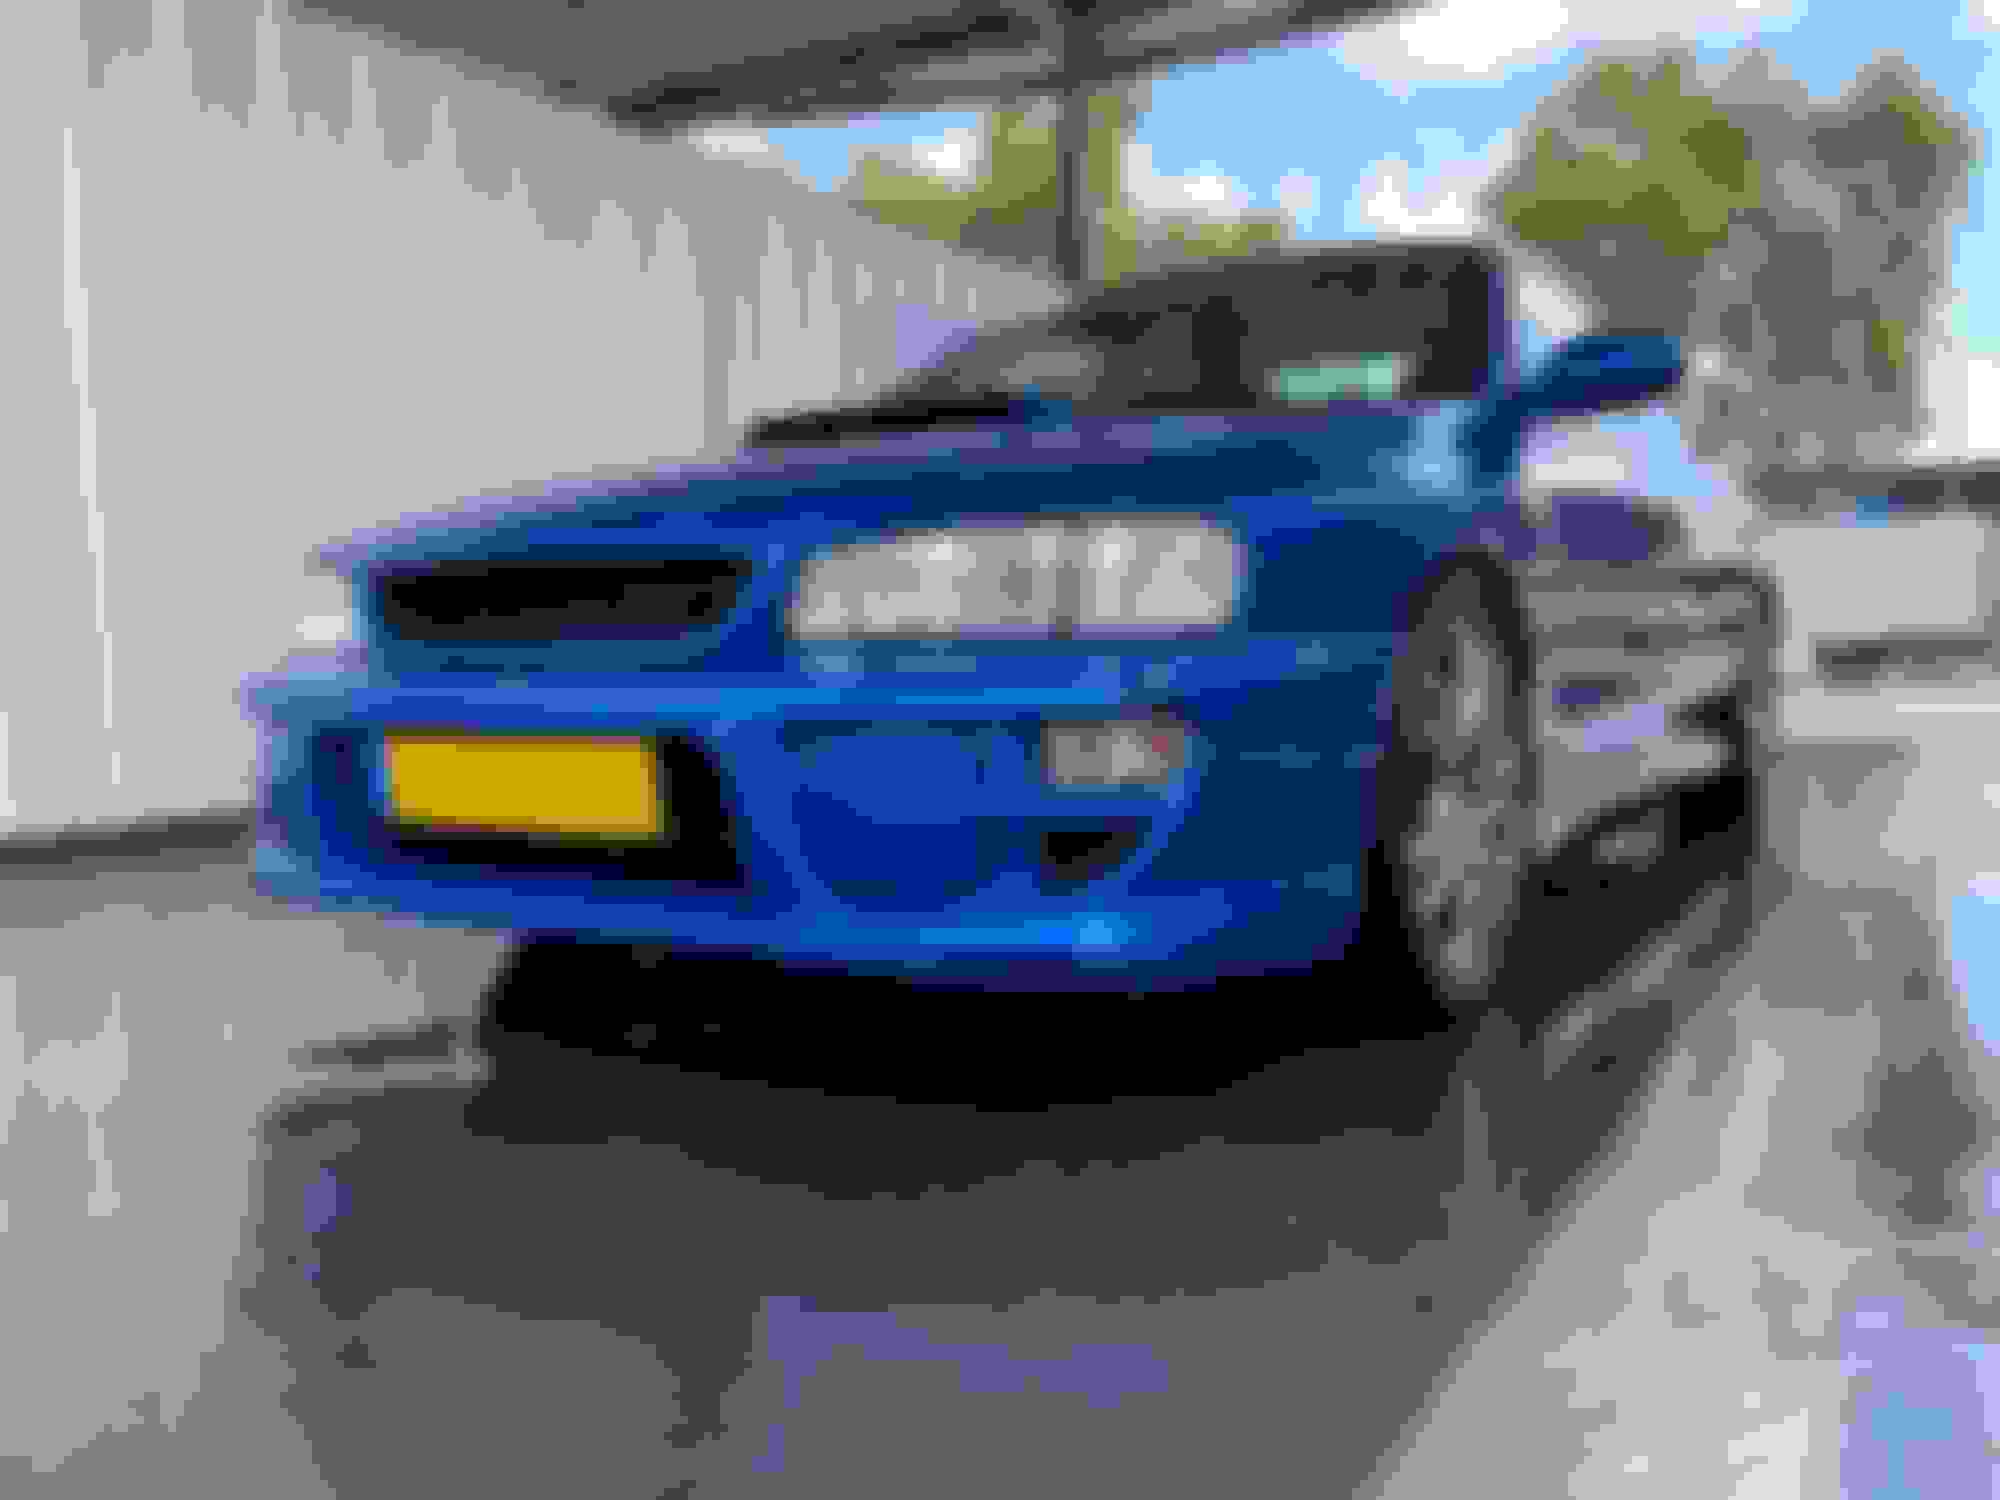
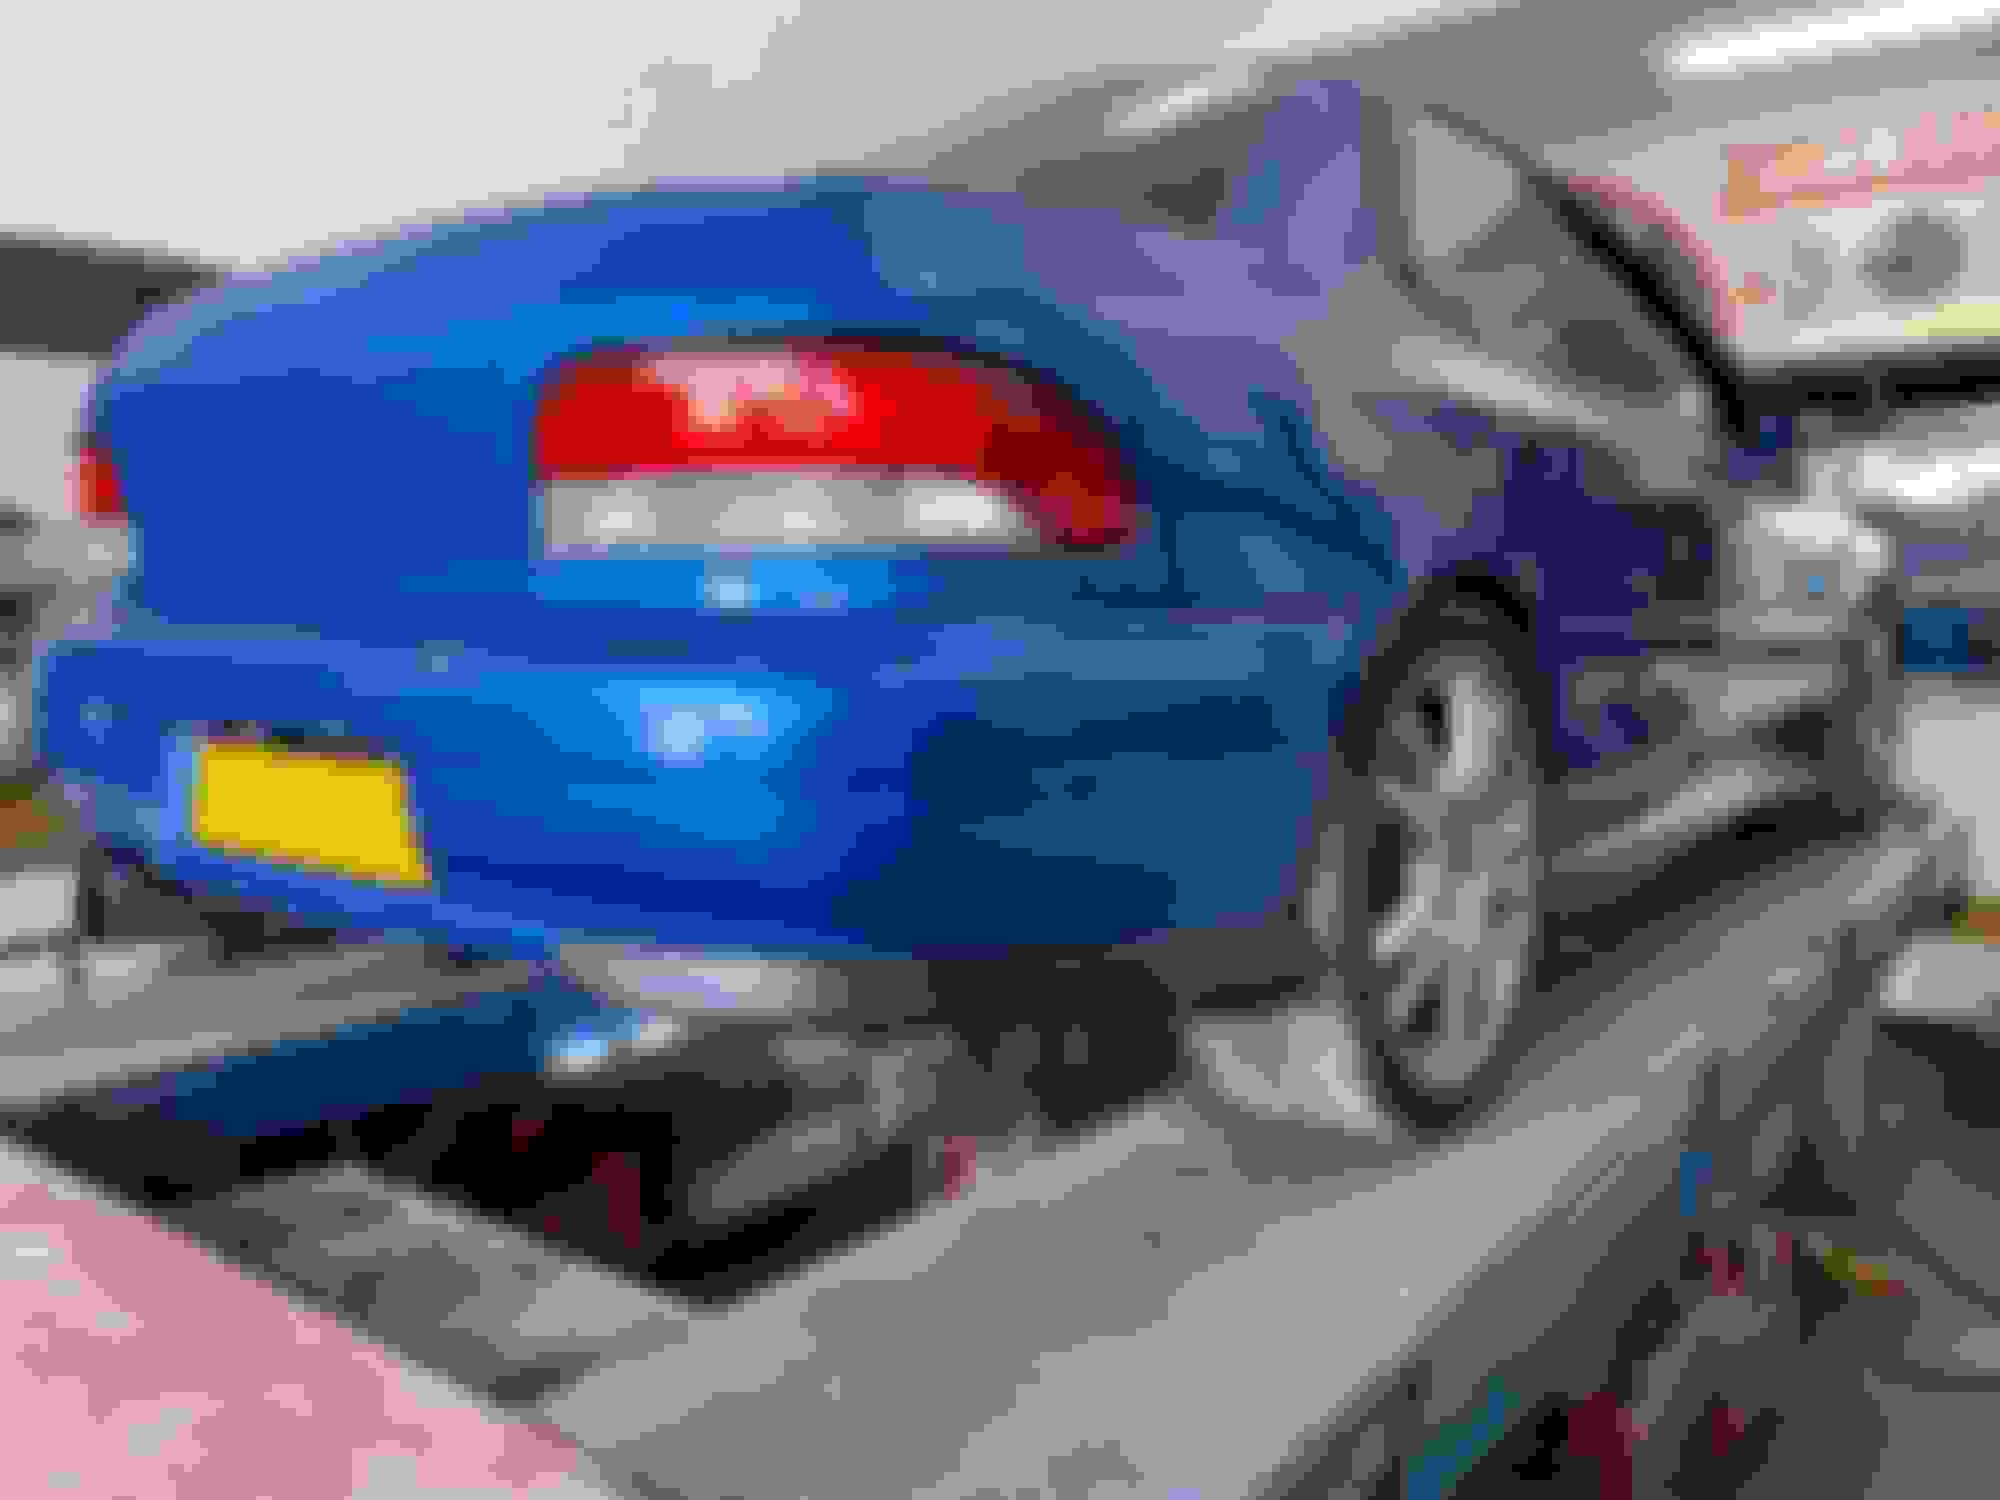
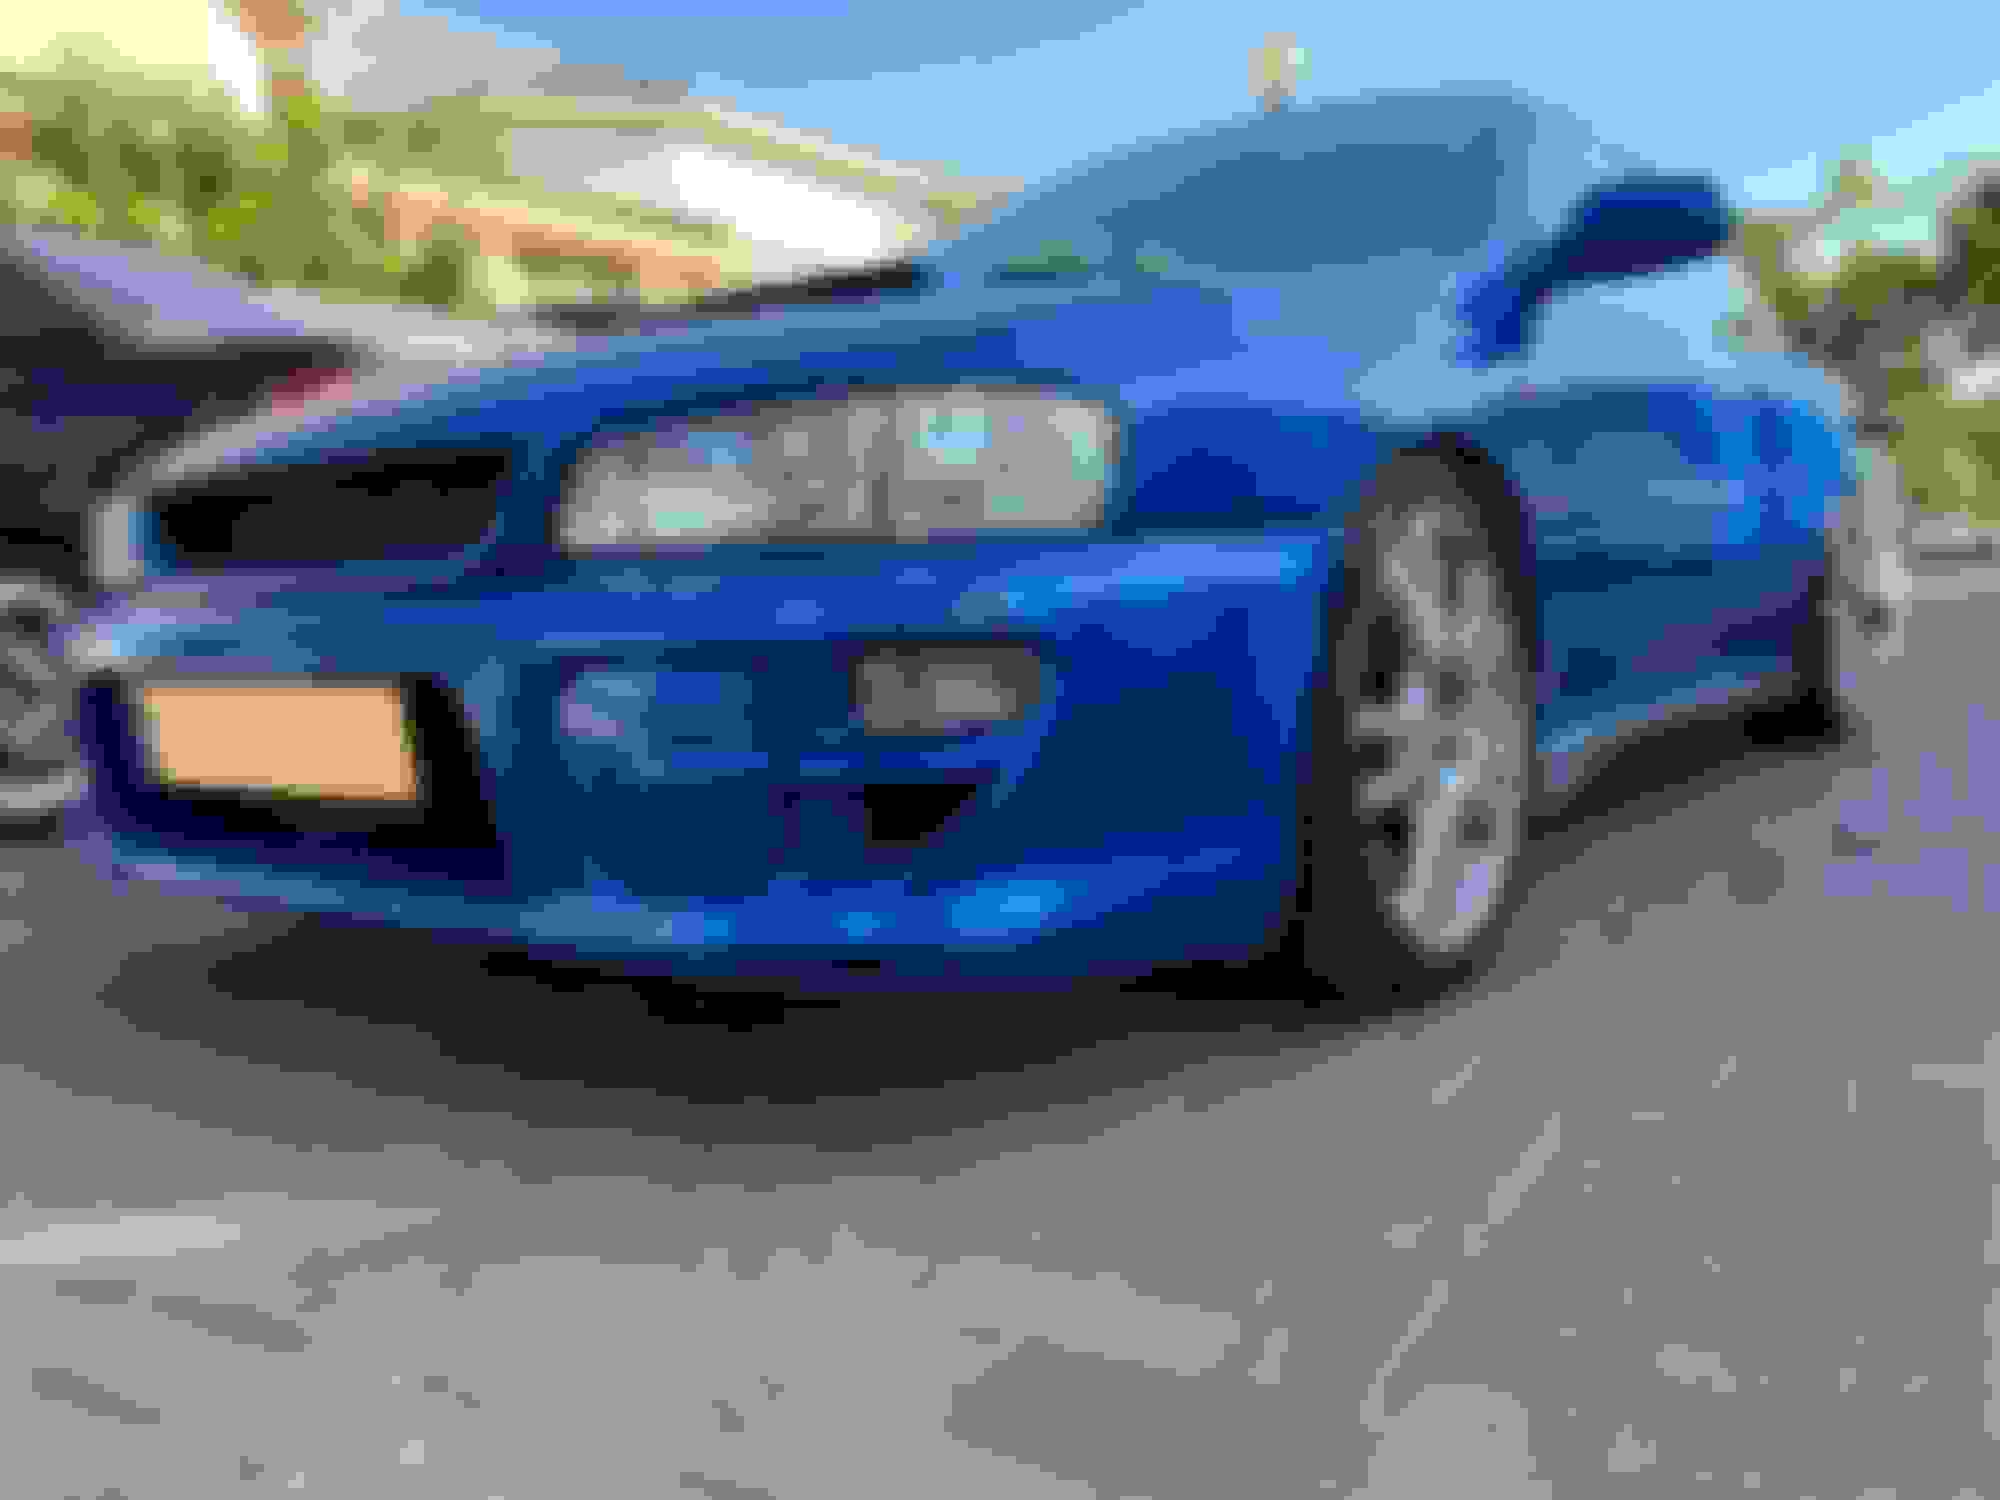
So, in September 2018 a very nice looking MY2000 Classic showed up for sale and I decided to go for it!
A picture of the new GC the day I bought it:
And here are the old and the new side by side:
You can tell the older one wasn't very well looked after. In my defense, I was planning on doing a lot of upgrades so my friend told me to leave esthetics for the end of the project. First you take care of performance.
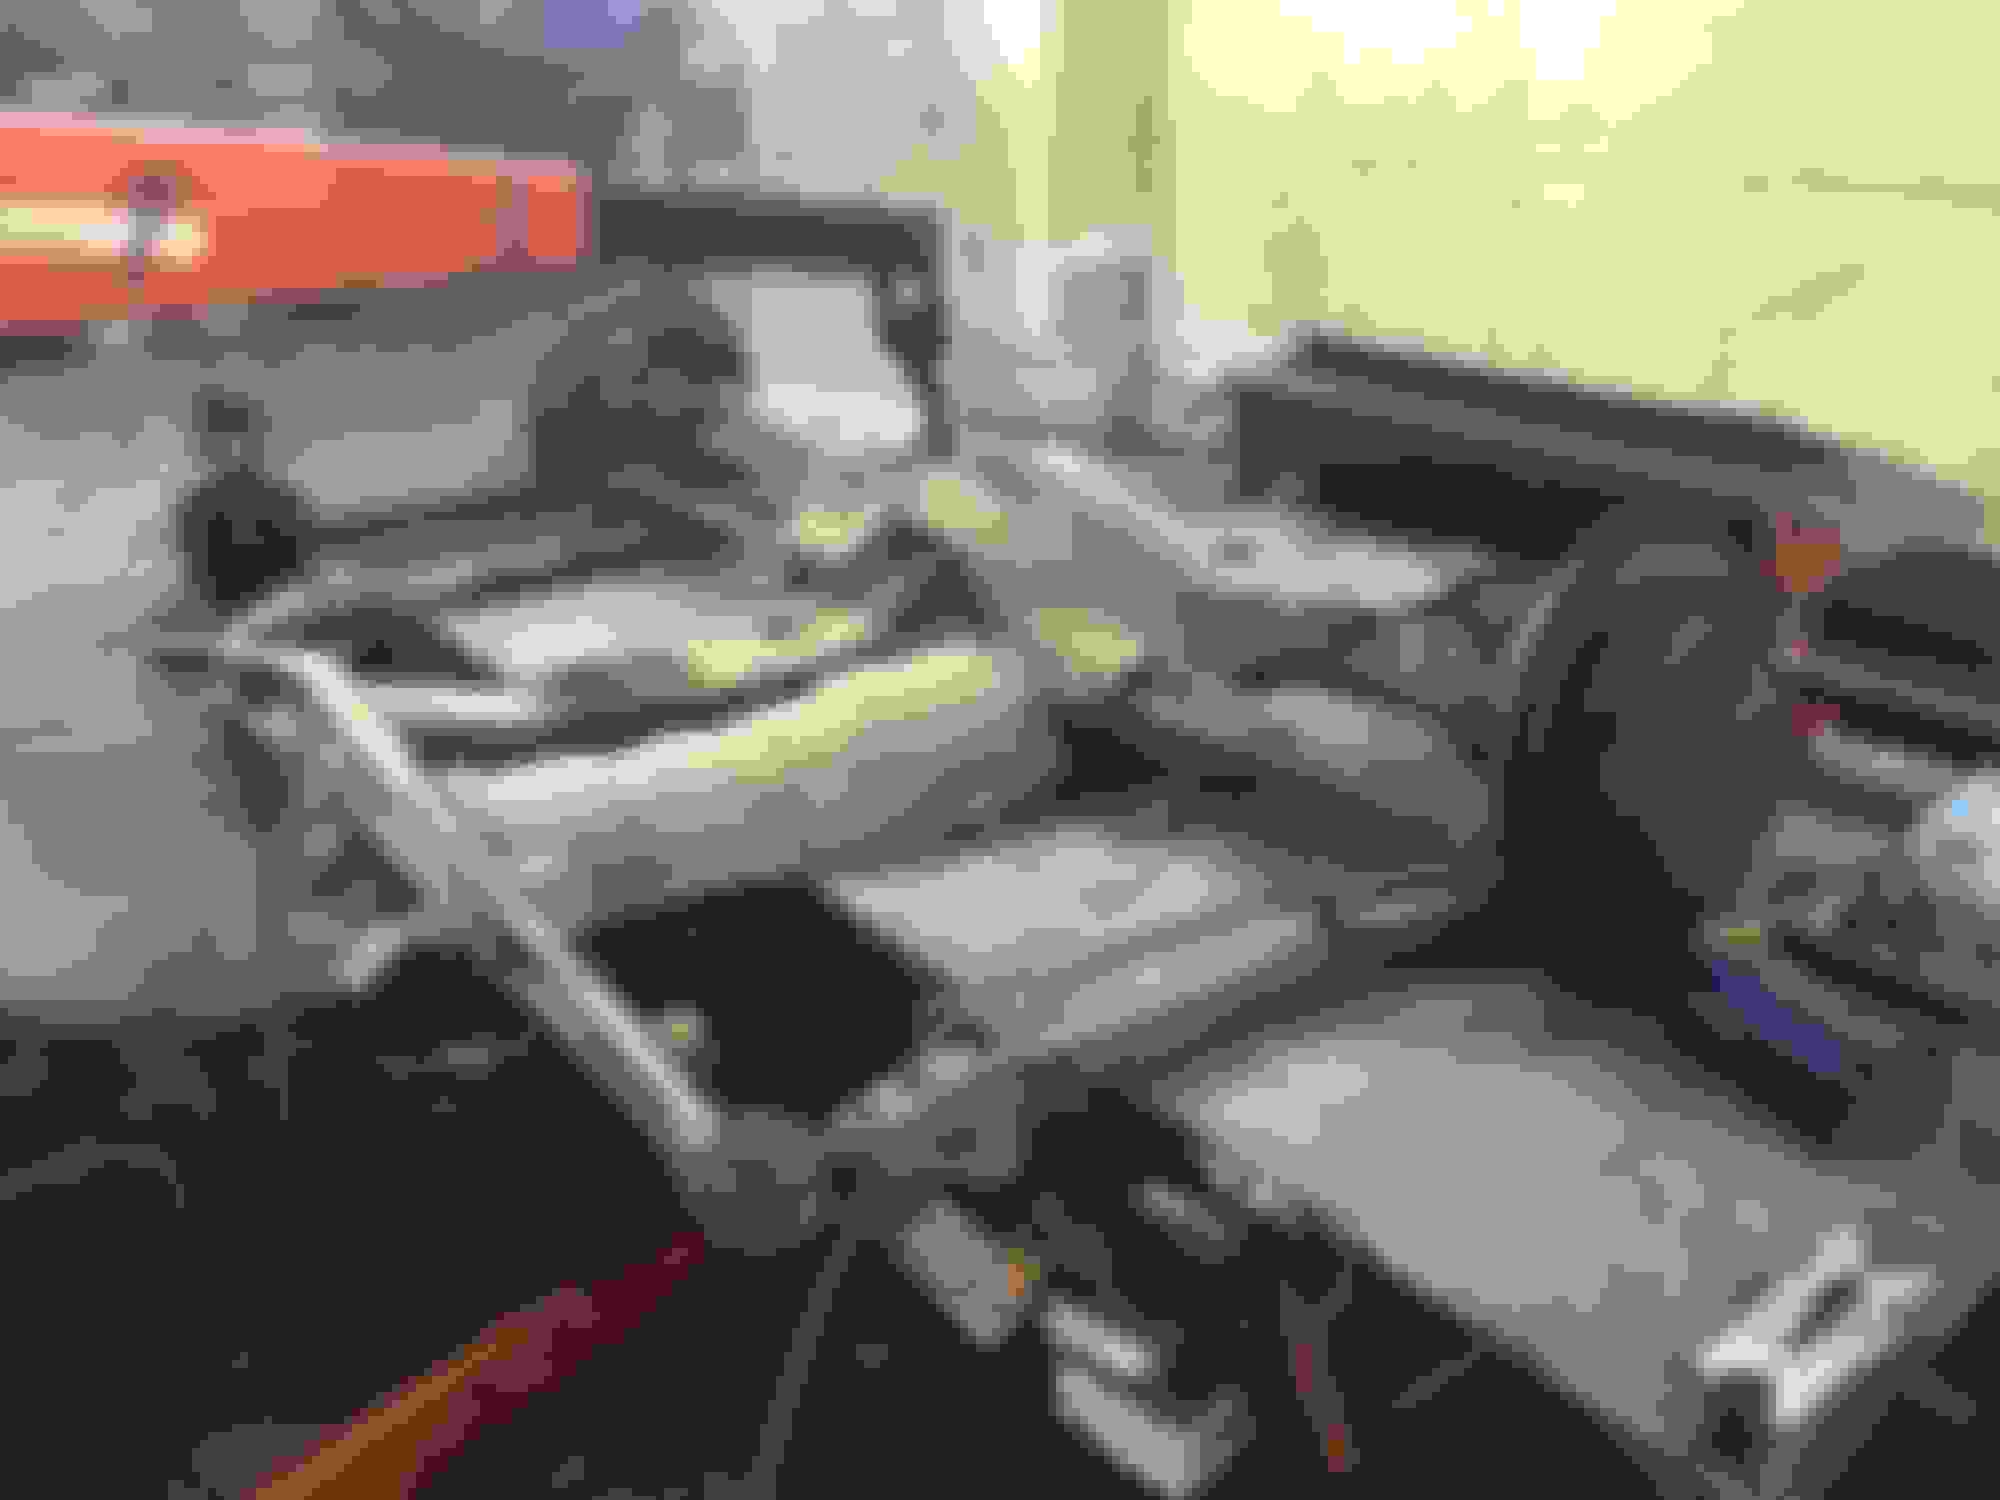
So, for me, the new car was nothing but pros: Lighter chassis (no ABS or sunroof) and in much better condition. Complete 03 STI drivetrain, so - 6spd gearbox, axles, rear diff, hubs and gold Brembo brakes. Complete 03 STI interior. Bigger TMIC. Plus, a few things I was planning on doing anyway, such as fog light covers, clear bumper indicators, unmolested front grill (WITH TABS IN TACT!), black painted bumper vents and a Greddy Profec boost controller.
The new car's paint and body were also far from perfect but as I said before, I'm leaving the body work and paint for the end of the project.
Here are a couple of pictures showing the state of the body and paint when I bought the car:
Now, huge mistake number two...
Due to my lack of knowledge at the time, I didn't know how significantly stronger the 6spd gearbox, diff, axles and hubs were compared to the factory GC components. Specifically if you're aiming to add power and take the car to the track. The only thing I knew was that I've had my car for 6 years and I was already used to driving the long 5 speed gears. I didn't like the short 6 speed gears.
Also, the 99 was my first GC. It was my dream come true, I was emotionally attached to it even though she wasn't the prettiest.
Today, I regret what I was about to do next but in life sometimes you win and sometimes you learn.
So, I decided to transfer EVERYTHING from my old GC to the new one. That means: Engine Complete drivetrain (5spd gearbox, subframes, rear diff, hubs, axles etc.) Coilovers STI v7 wheels All the interior (Seats, carpet, mats, door cards, steering wheel, sun visors etc.)
The only things I wanted to keep from the new GC were the larger TMIC, Greddy boost controller and Brembo brakes. I felt that if I transfer everything to the new car it would feel just like the old one and she would stay with me in spirit (sounds silly I know).
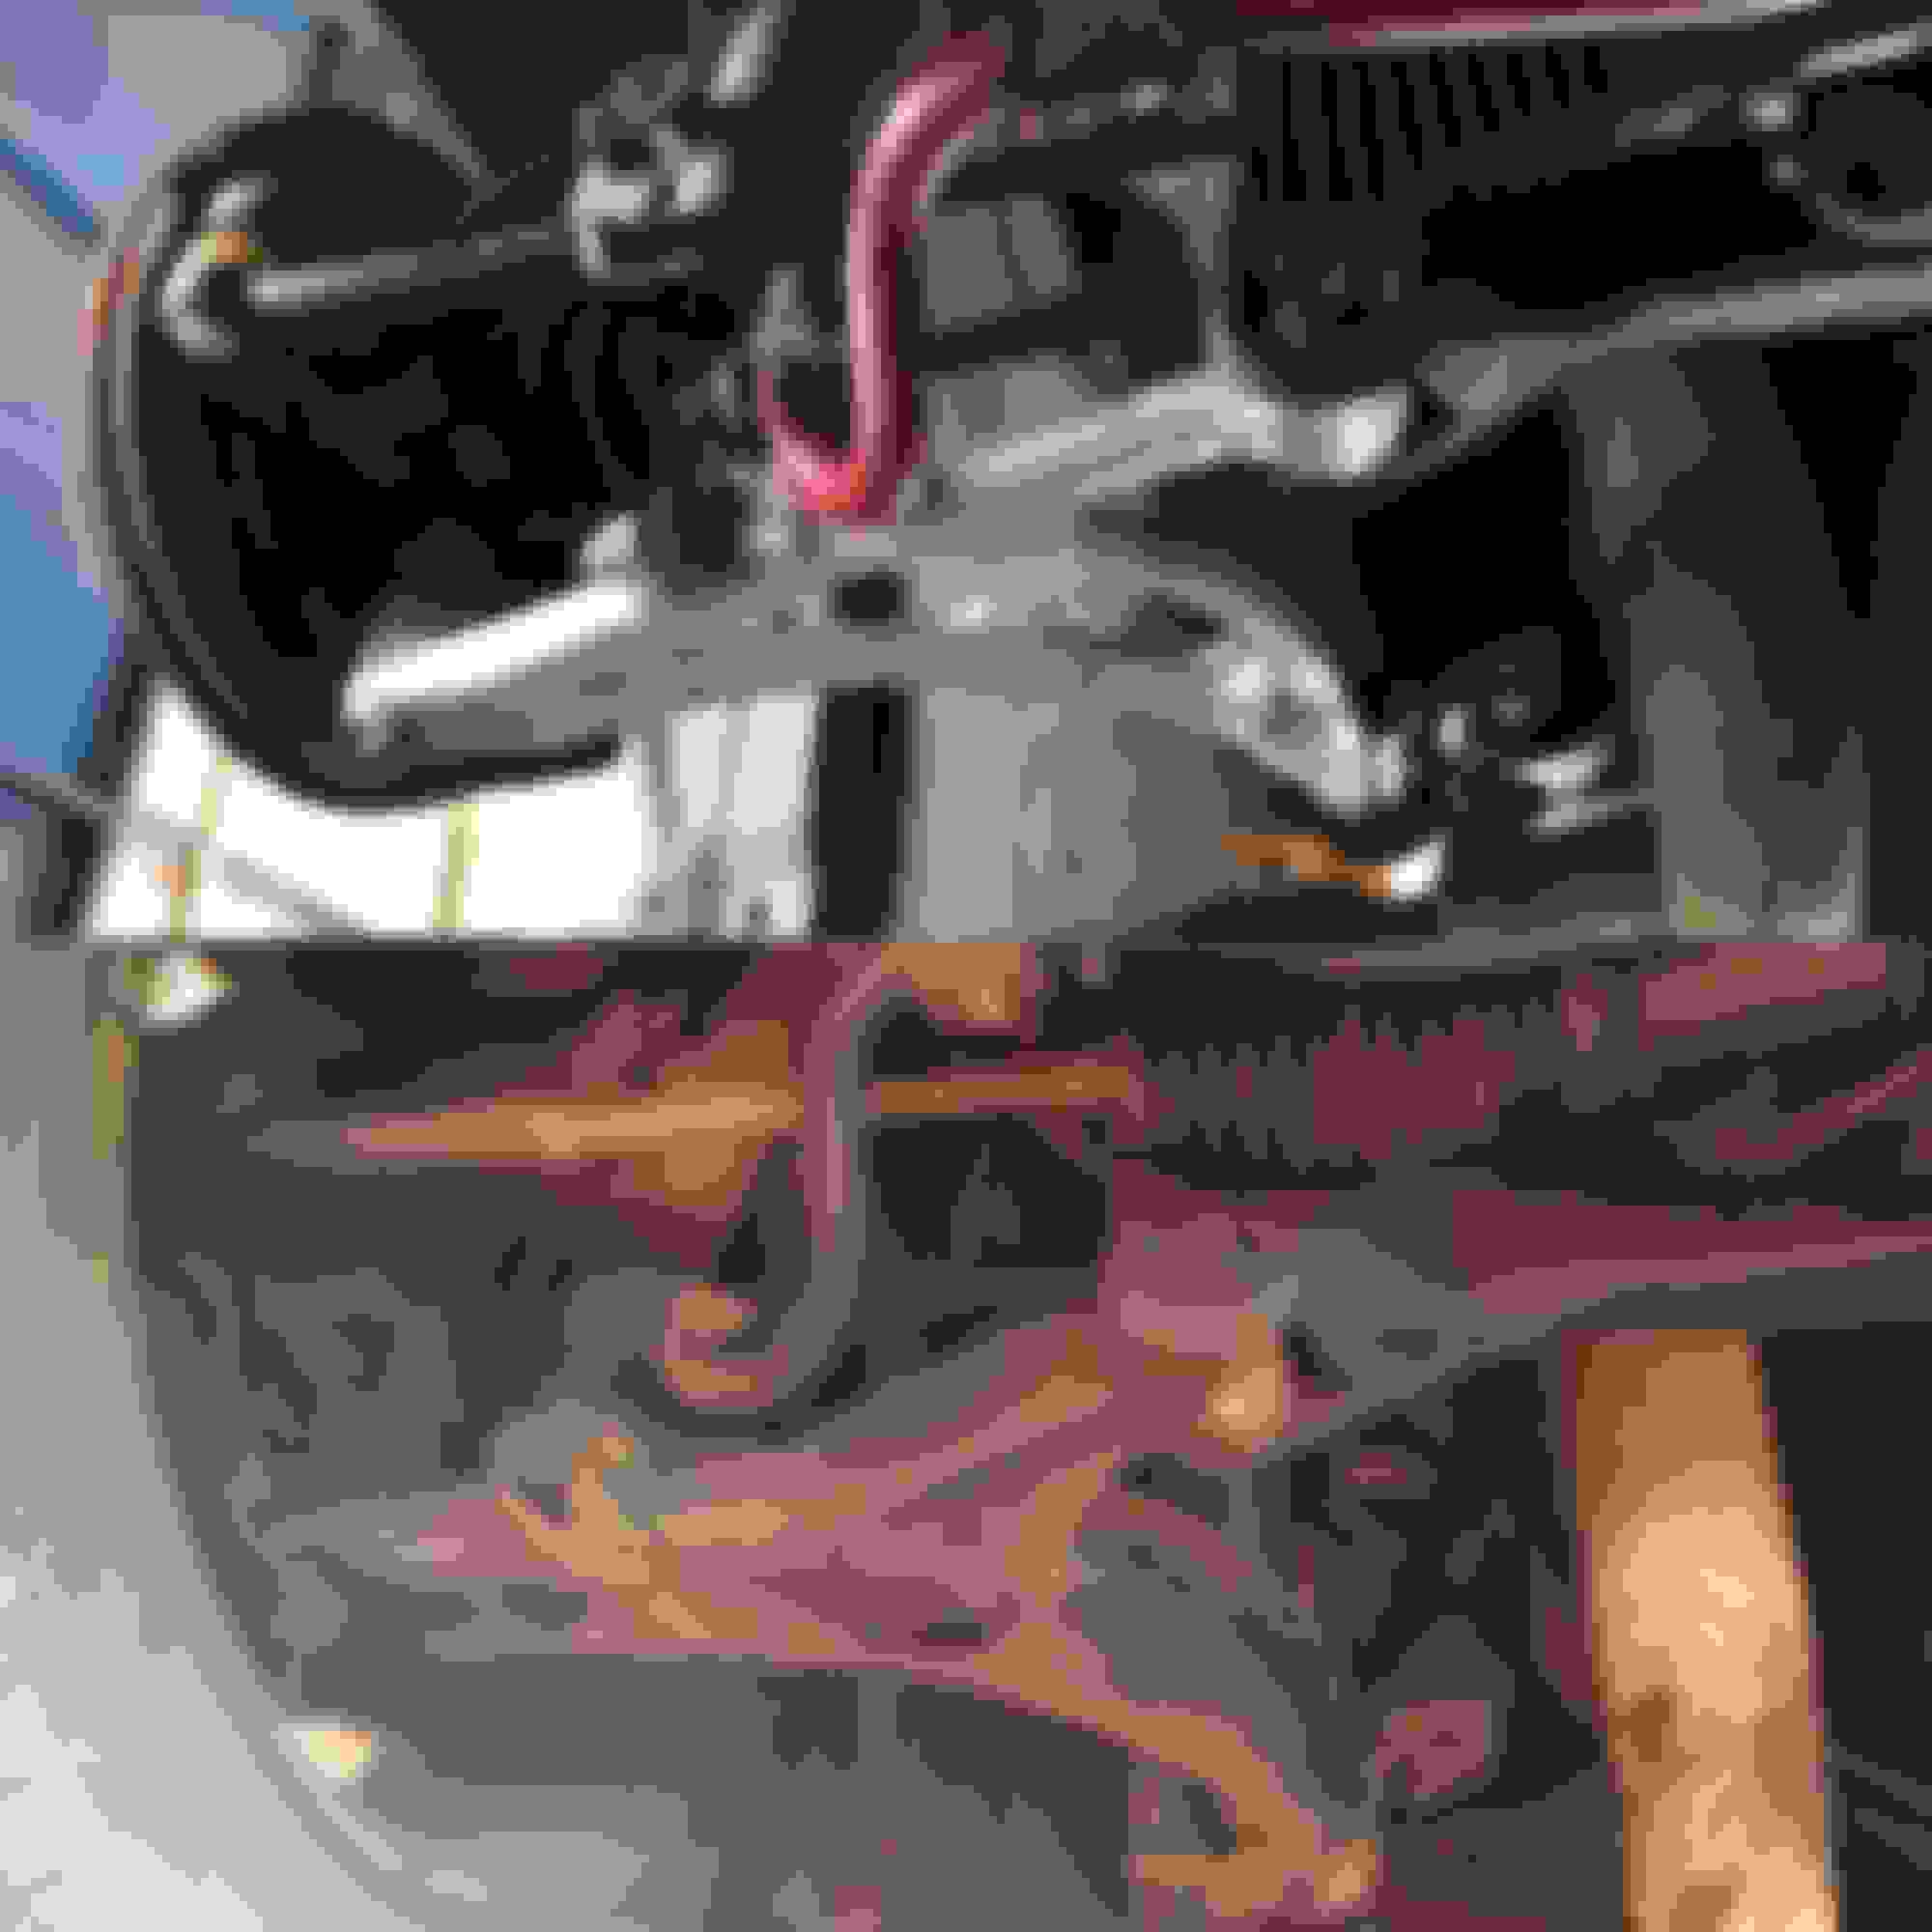
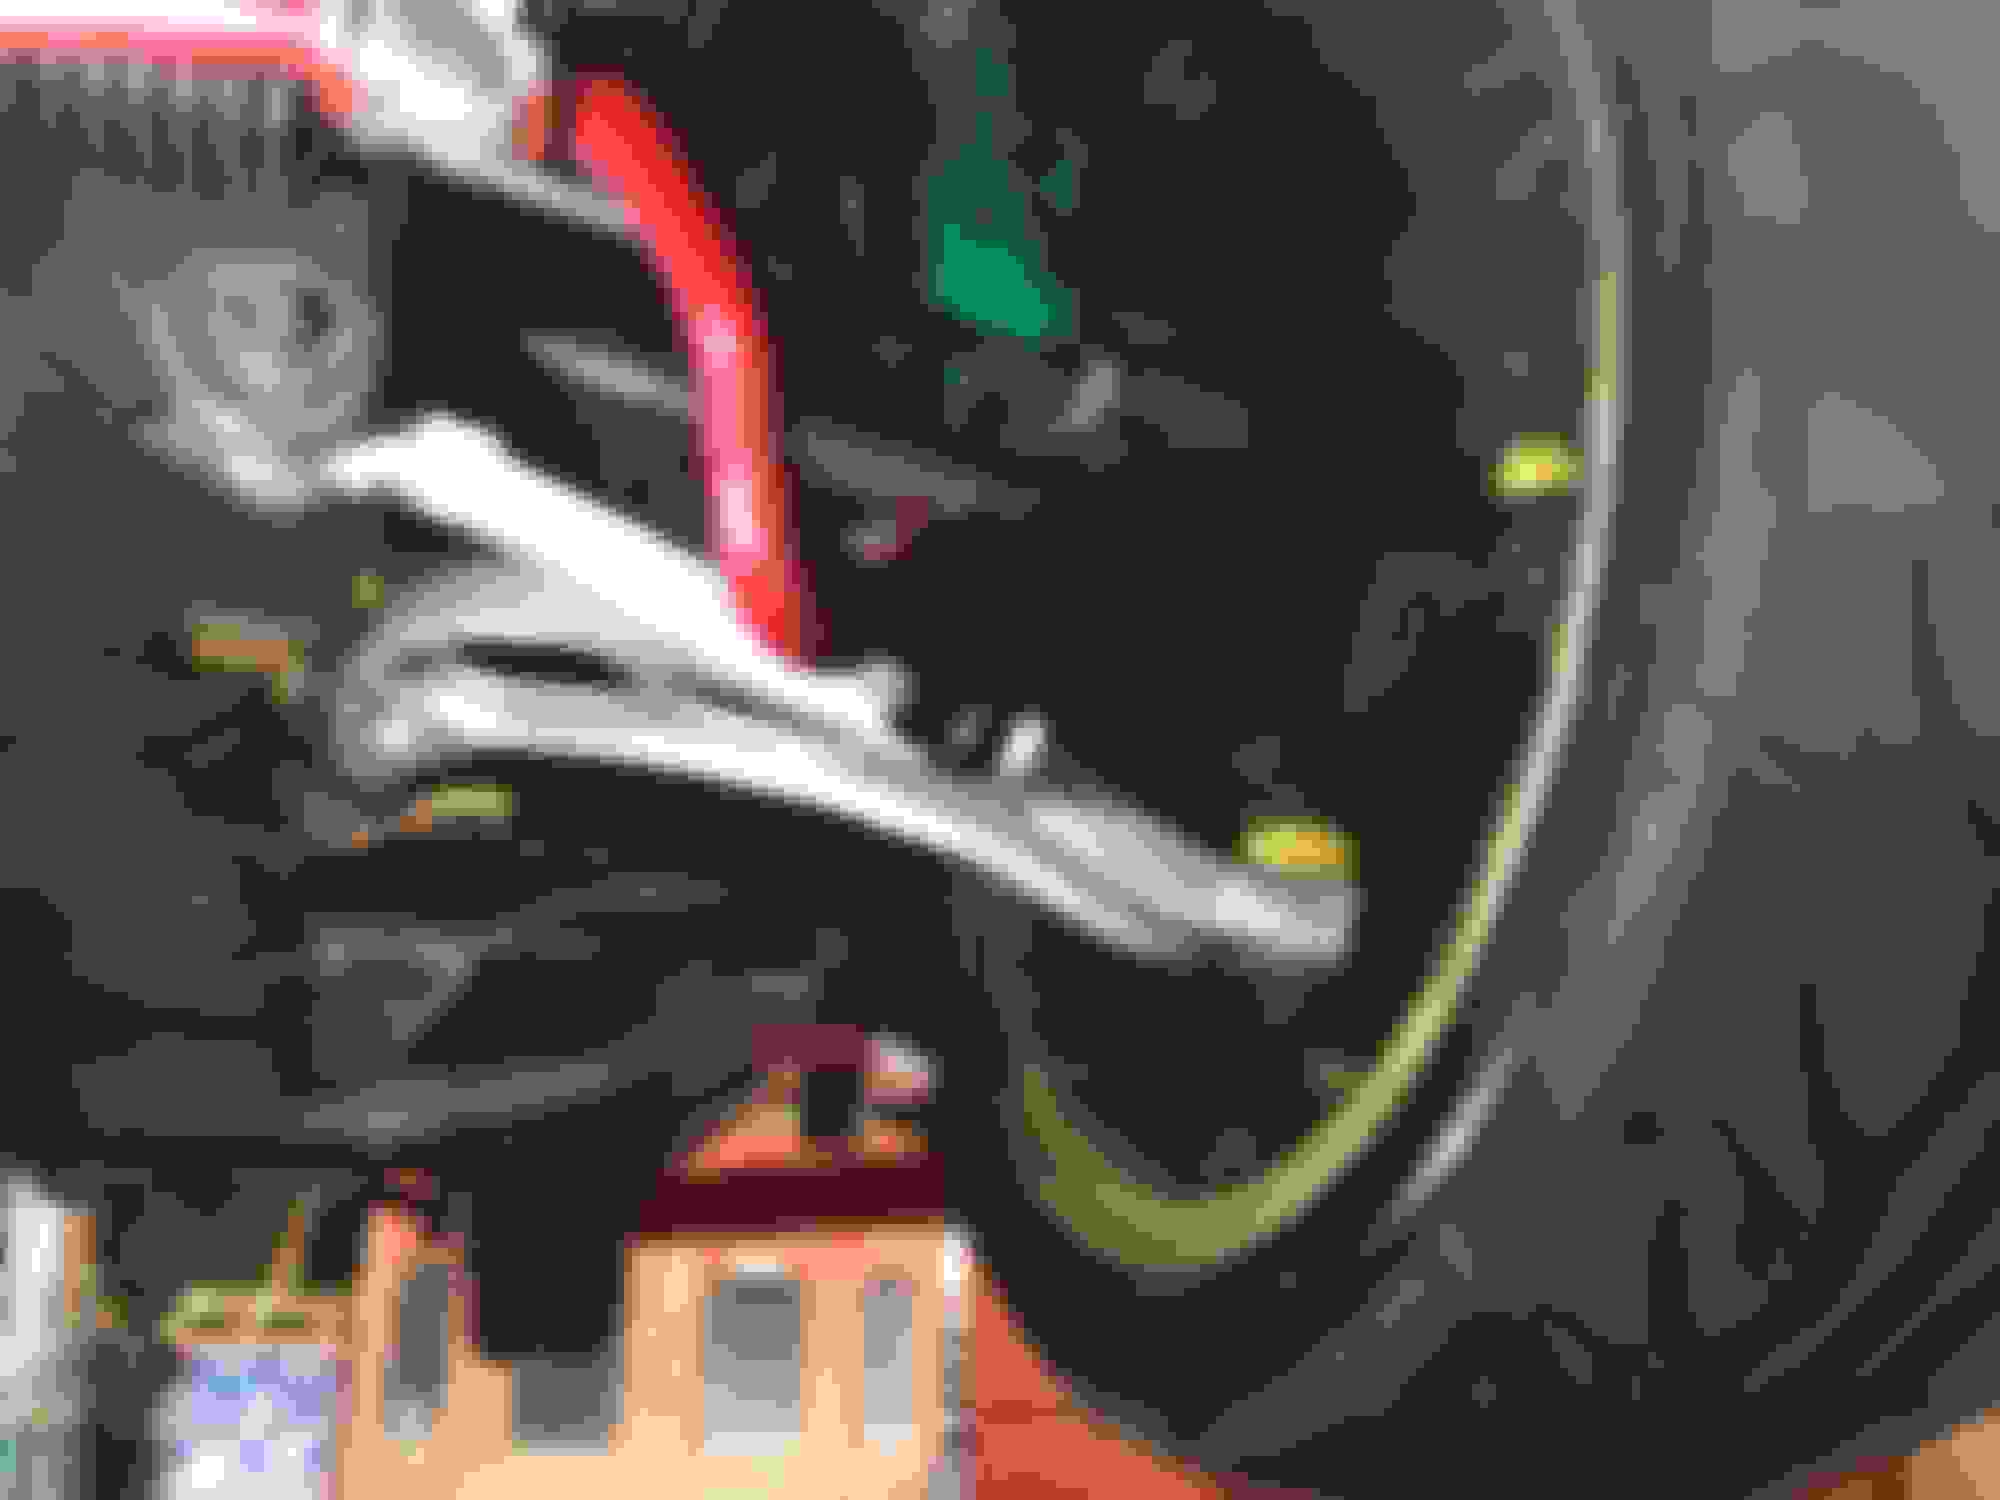
Here are a few pictures of the swap:
The only thing we couldn't transfer over were the rear Brembo's since there were a few parts required to make them work with the R160 hubs and 170mm handbrake shoes.
So, I got what I wanted. My same old GC but in a better and lighter chassis:
That's all for chapter one. I'll continue in the next post.
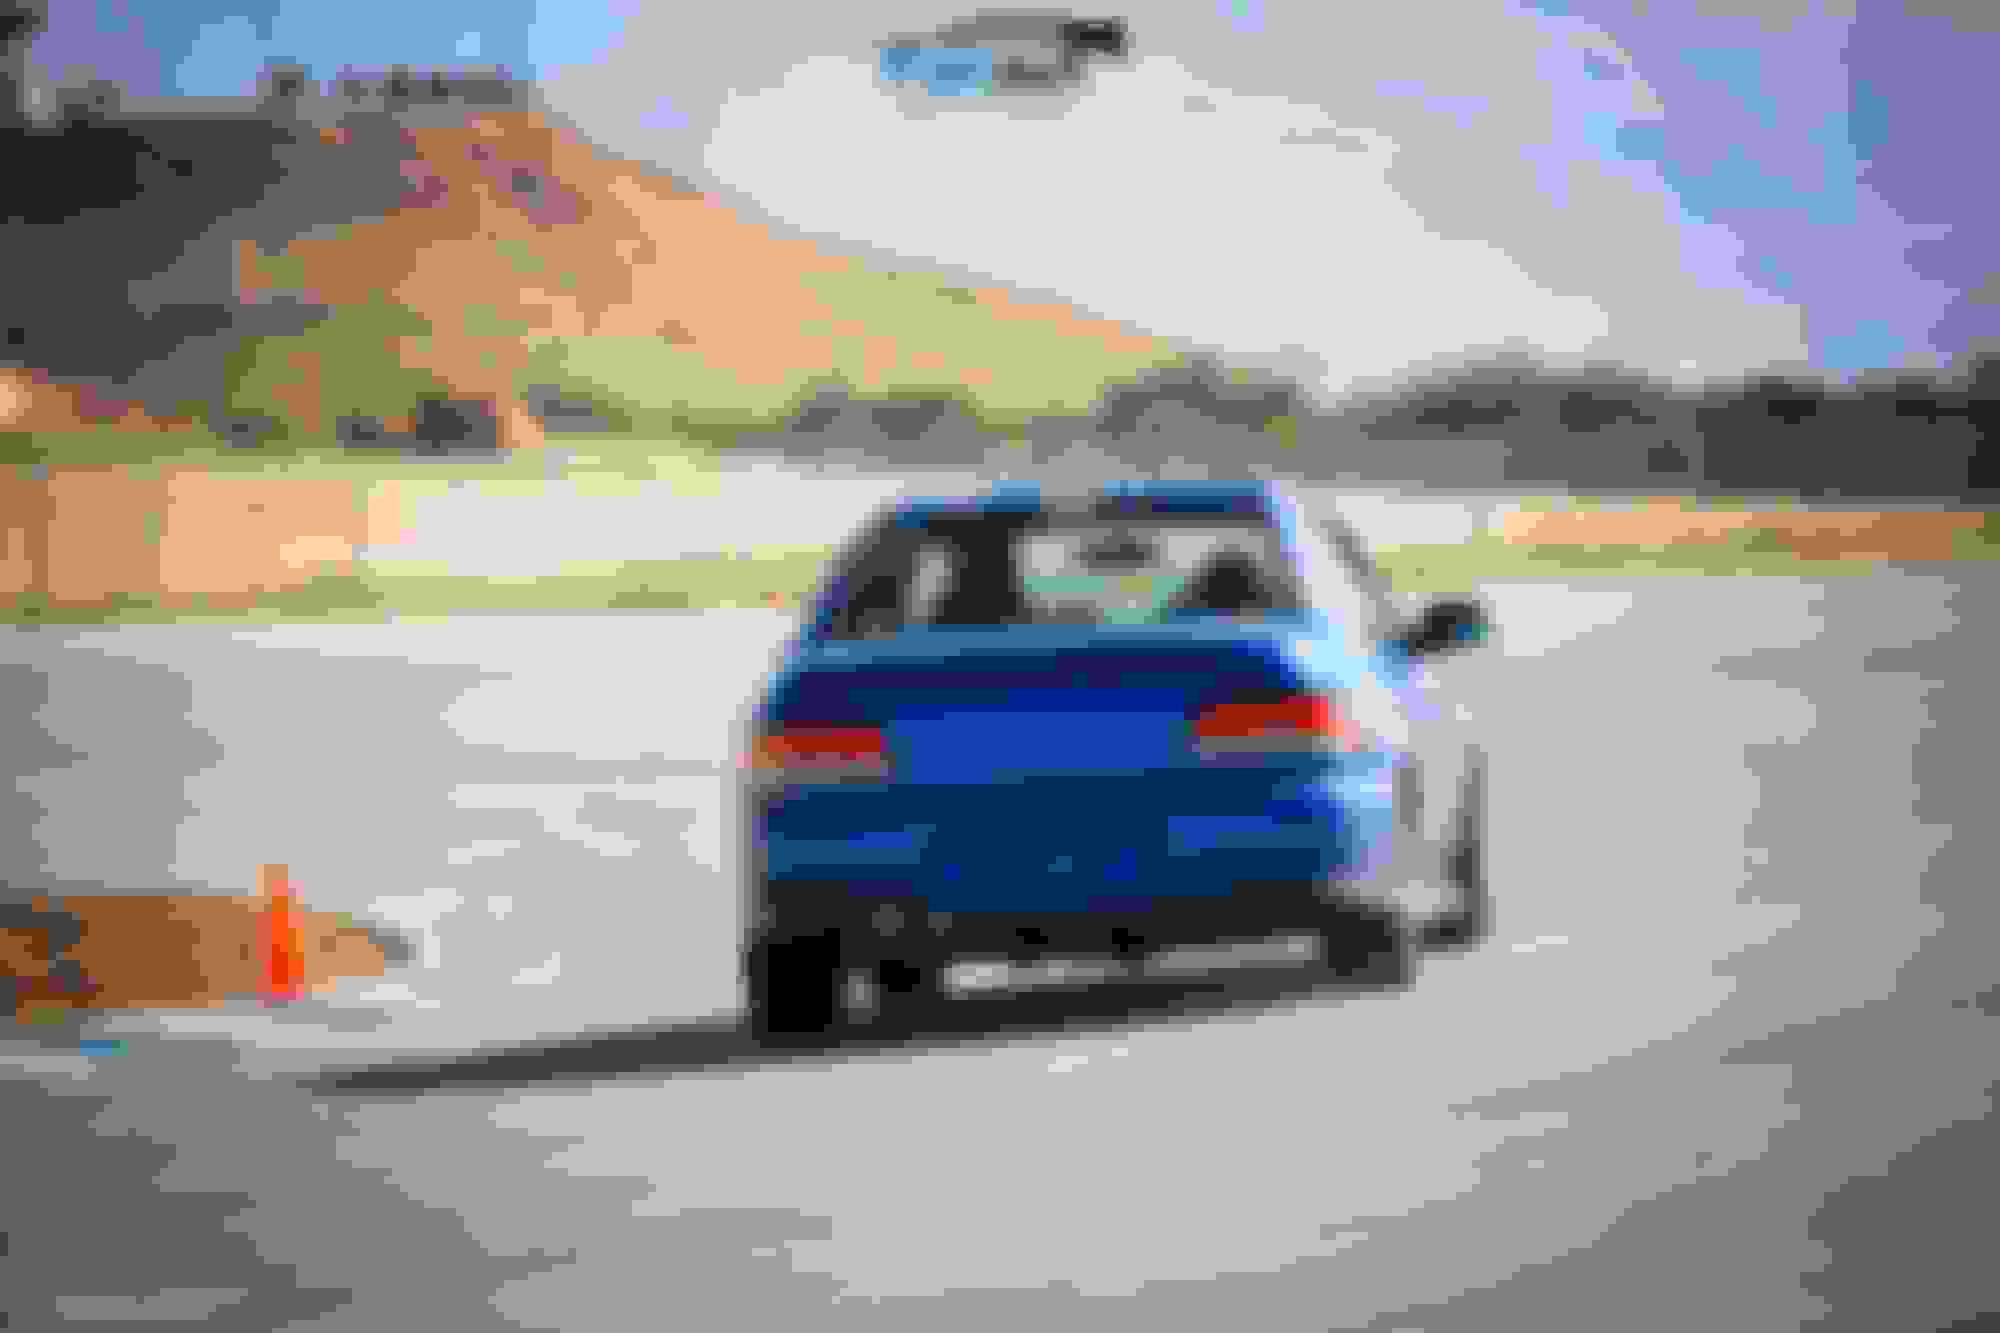
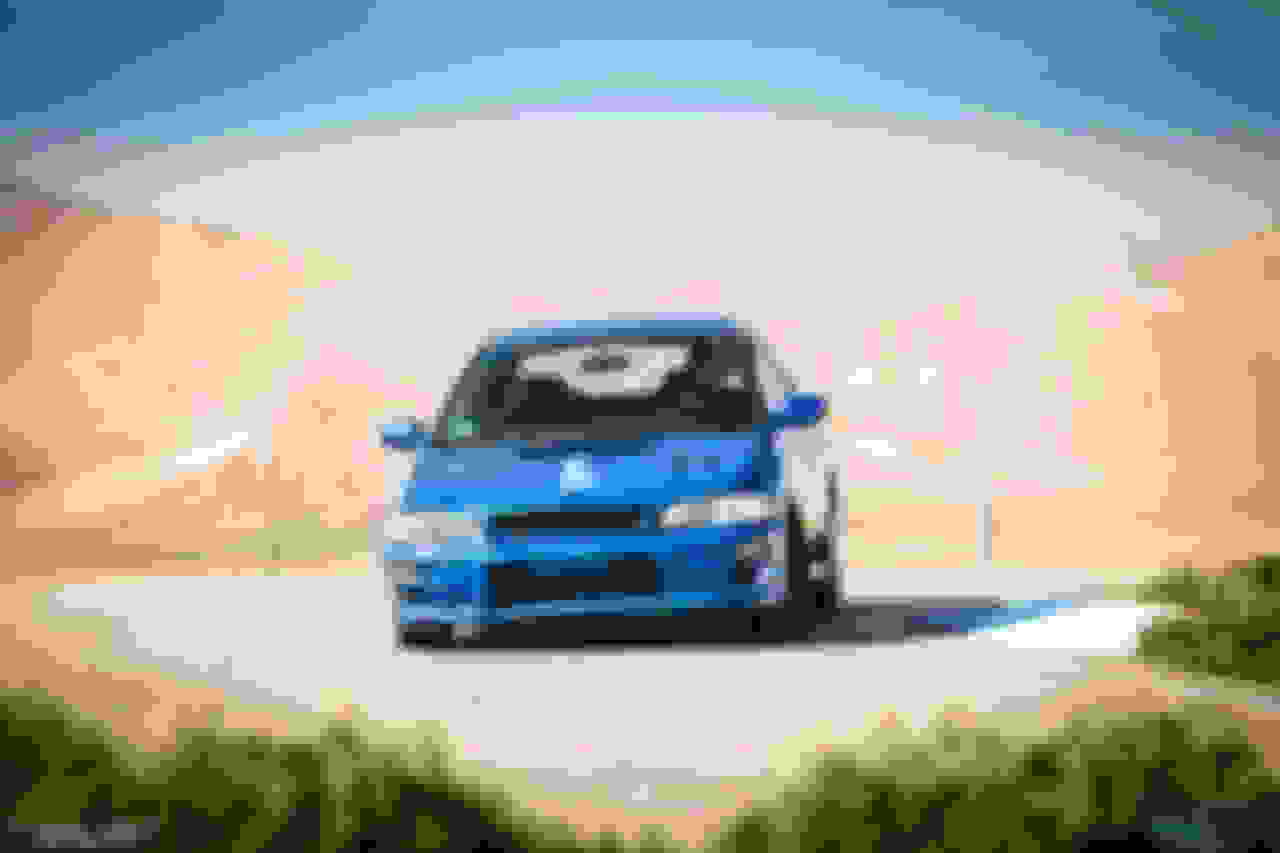
Being happy with my new car, I started getting more involved in the Subaru community. I started going to Subaru meets and track days with my friend.
Here are a few track day pictures:
As you can see, the paint continued to fade as time progressed.
I also, started upgrading small things, one at a time, to improve the car's handling. So: Tein coilovers STI front alloy arms (gave a bit of wheel base width in the front) An assortment of Whiteline products KW front and rear sway bars
Here are some pics of the mods:
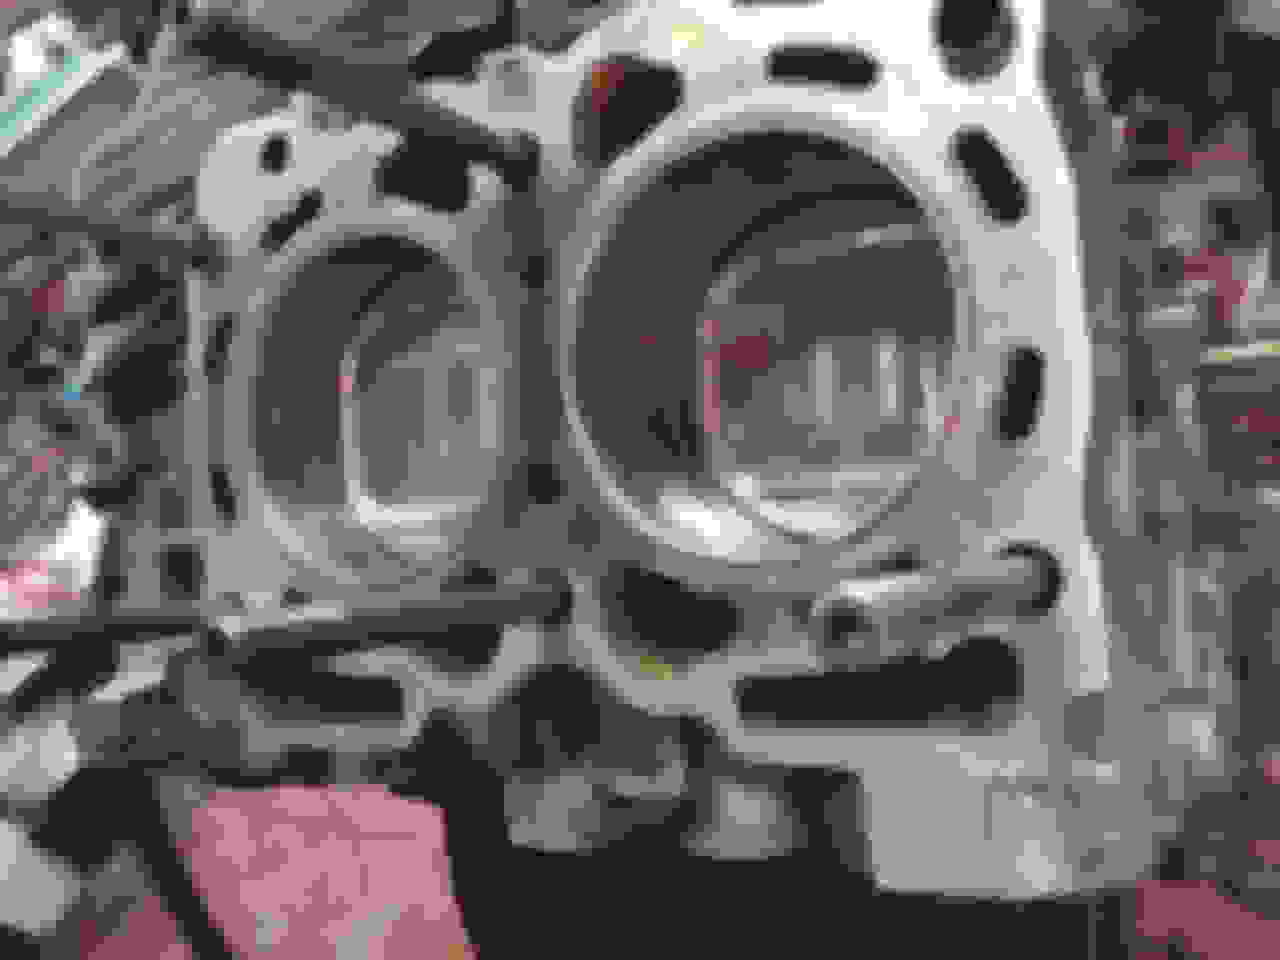
I also started to think about parts to accommodate more power so an engine build was done: EJ20 closed deck CP pistons Manley rods ACL bearings Copper rings ARP head studs
Here is a picture of the shortblock during the build:
Basically, I was preparing the foundation for more horsepower.
Handling and engine were done! Next on the list were fuel system components, air intake components, heads, turbo, exhaust manifold, etc. etc.
The goal was to have a car that I could have fun with at the track but still be drivable on the street. So I figured 350-360 wheel horsepower would do the trick.
Here is a section of the long list of parts I had to accumulate over time:
So, once the world pandemic hit, being an actor who was doing mainly theatre, I now had loads of free time on my hands. I started asking myself, what would I like to do if I couldn't make a living being an actor... What else do I have a passion for?
I then came across a website called HP Academy (which I'm sure most of you are familiar with) and decided to put my free time to good use. I took their tuning and wiring courses. I learned a lot and decided to start playing with my car.
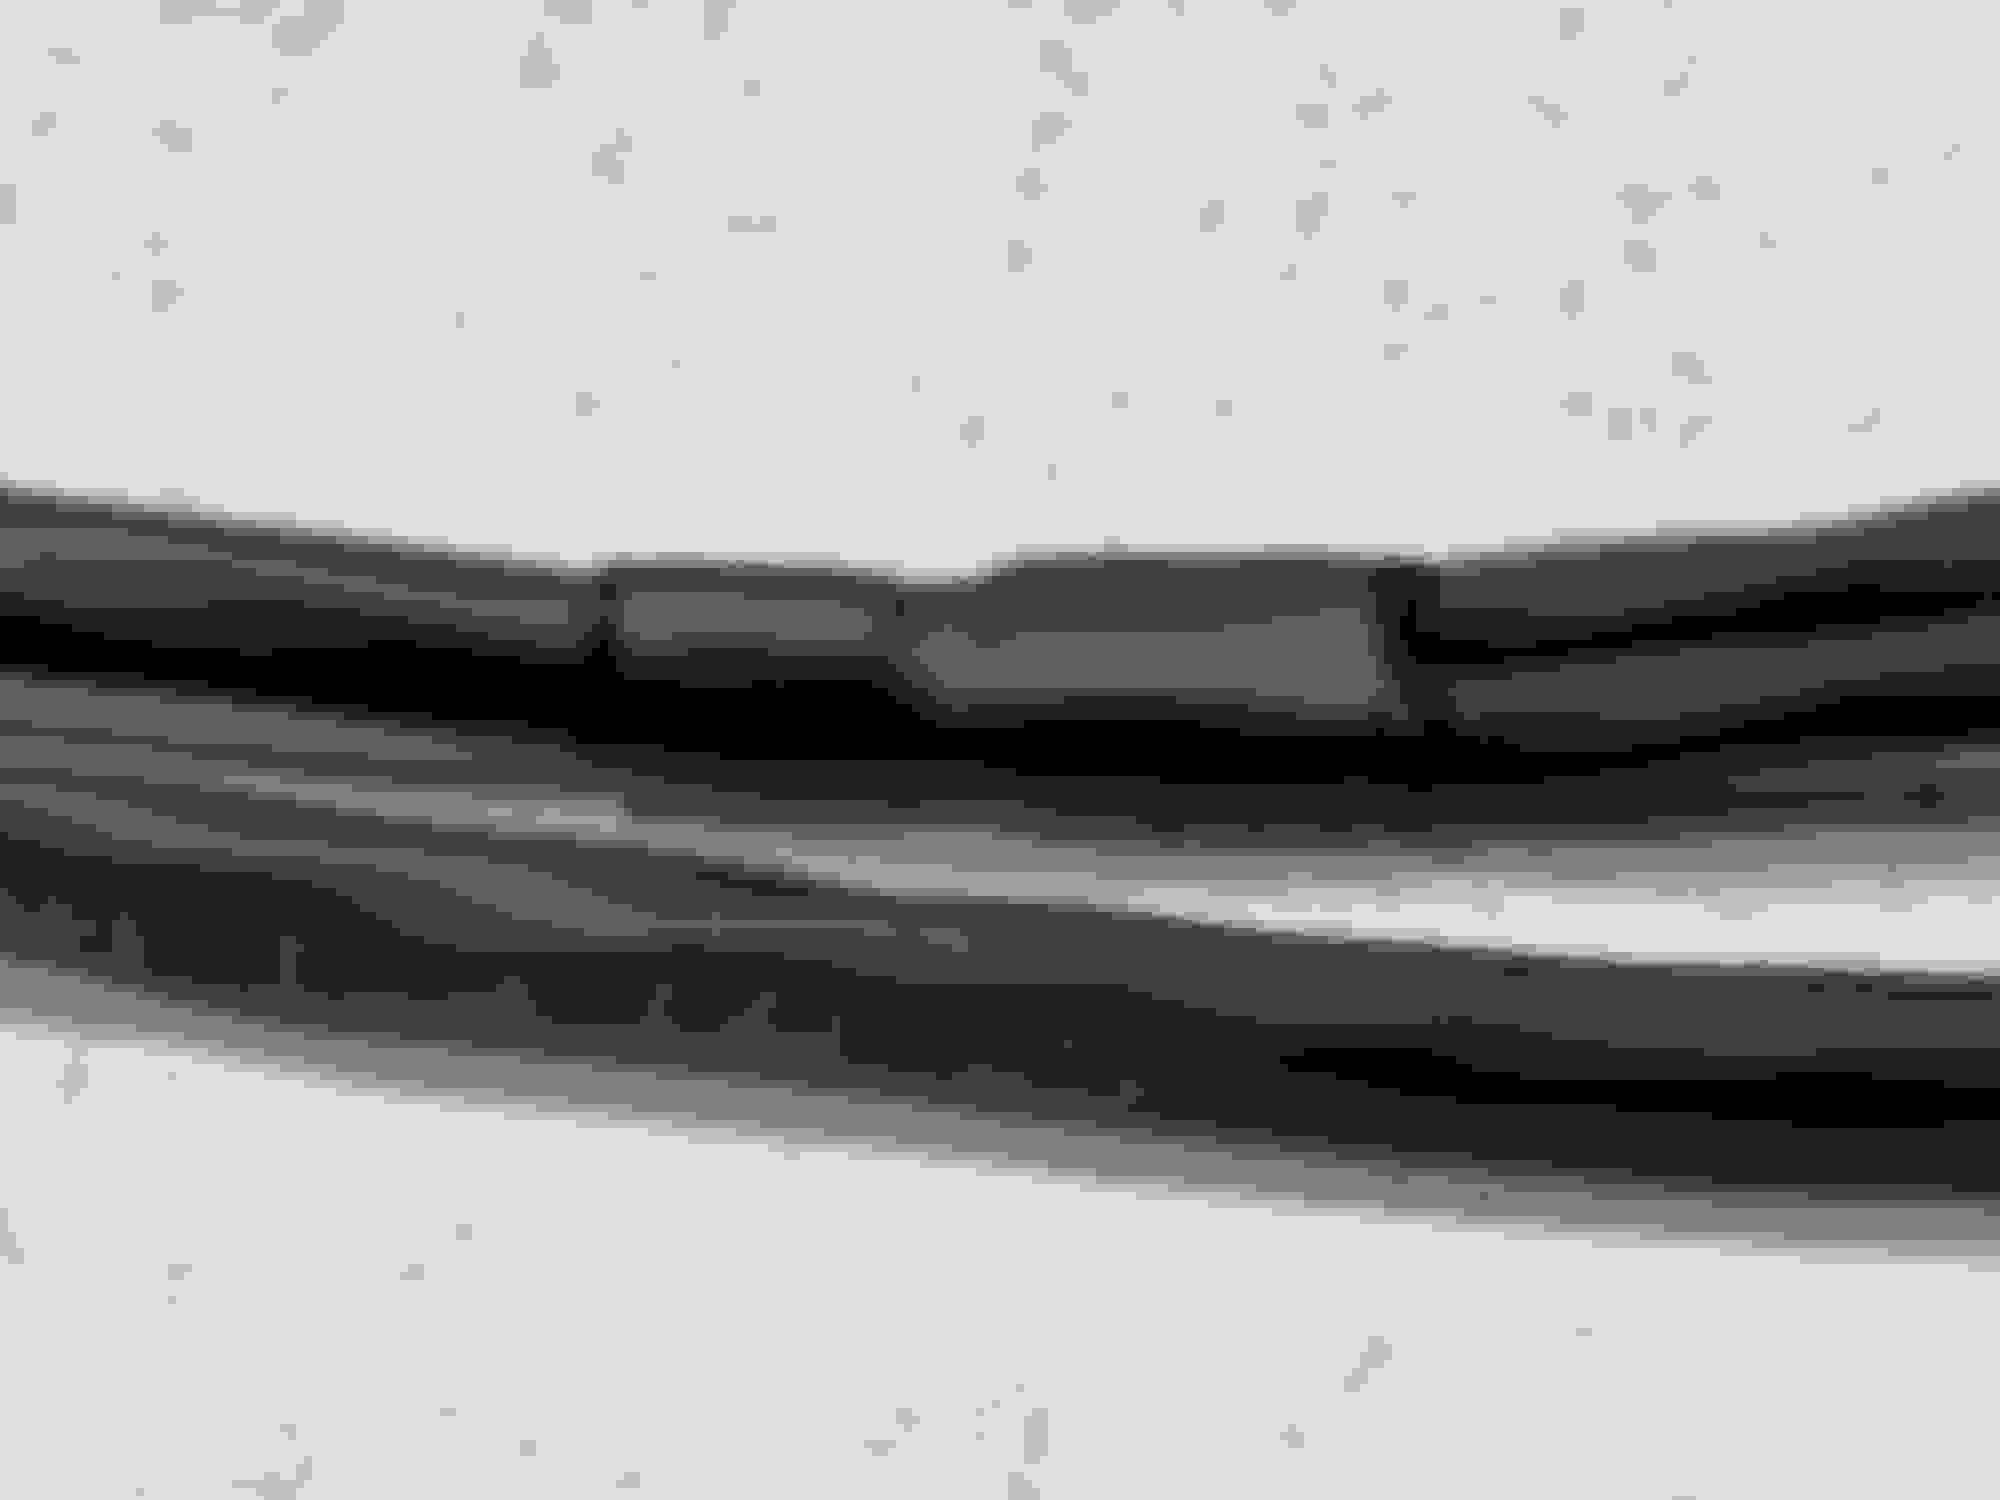
First little project I did was to do a newage coil conversion and get rid of the old coil pack and ignition cables.
Here are a few pictures of the work that I did:
In order to further my knowledge, I started working part time at my friend's workshop where he works on Subaru's and part time with a guy who does tuning and wiring.
I then decided it was time to start practicing my tuning skills. So, I bought a Link G4+ PnP ECU, hooked it up and went to the DYNO.
Here is a picture of me trying to understand what the hell I'm doing:
After a bit of fiddling with the fuel and ignition we started to see numbers I was happy with:
A couple of Dyno pulls later and this happened:
I suppose we found the 5psd's torque limit... Time to rethink our strategy...
Do I invest in a built 5spd that can take the torque and track abuse or do I go 6spd?
I will share my decision making and final conclusion in the next post.
So, after my 5spd gearbox decided to give up on life, I had to decide what route to go.
After many conversations with my good friend I finally started to listen to his advice and it was decided to go full STI drivetrain swap.
It was at this time I realized the car was perfect just the way it was when I bought it and I was a fool for transferring all the factory GC drivetrain components from the old car. Transferring the coilovers and interior from the first GC would have been enough, but like I said, in life there are some lessons we have to learn the hard way.
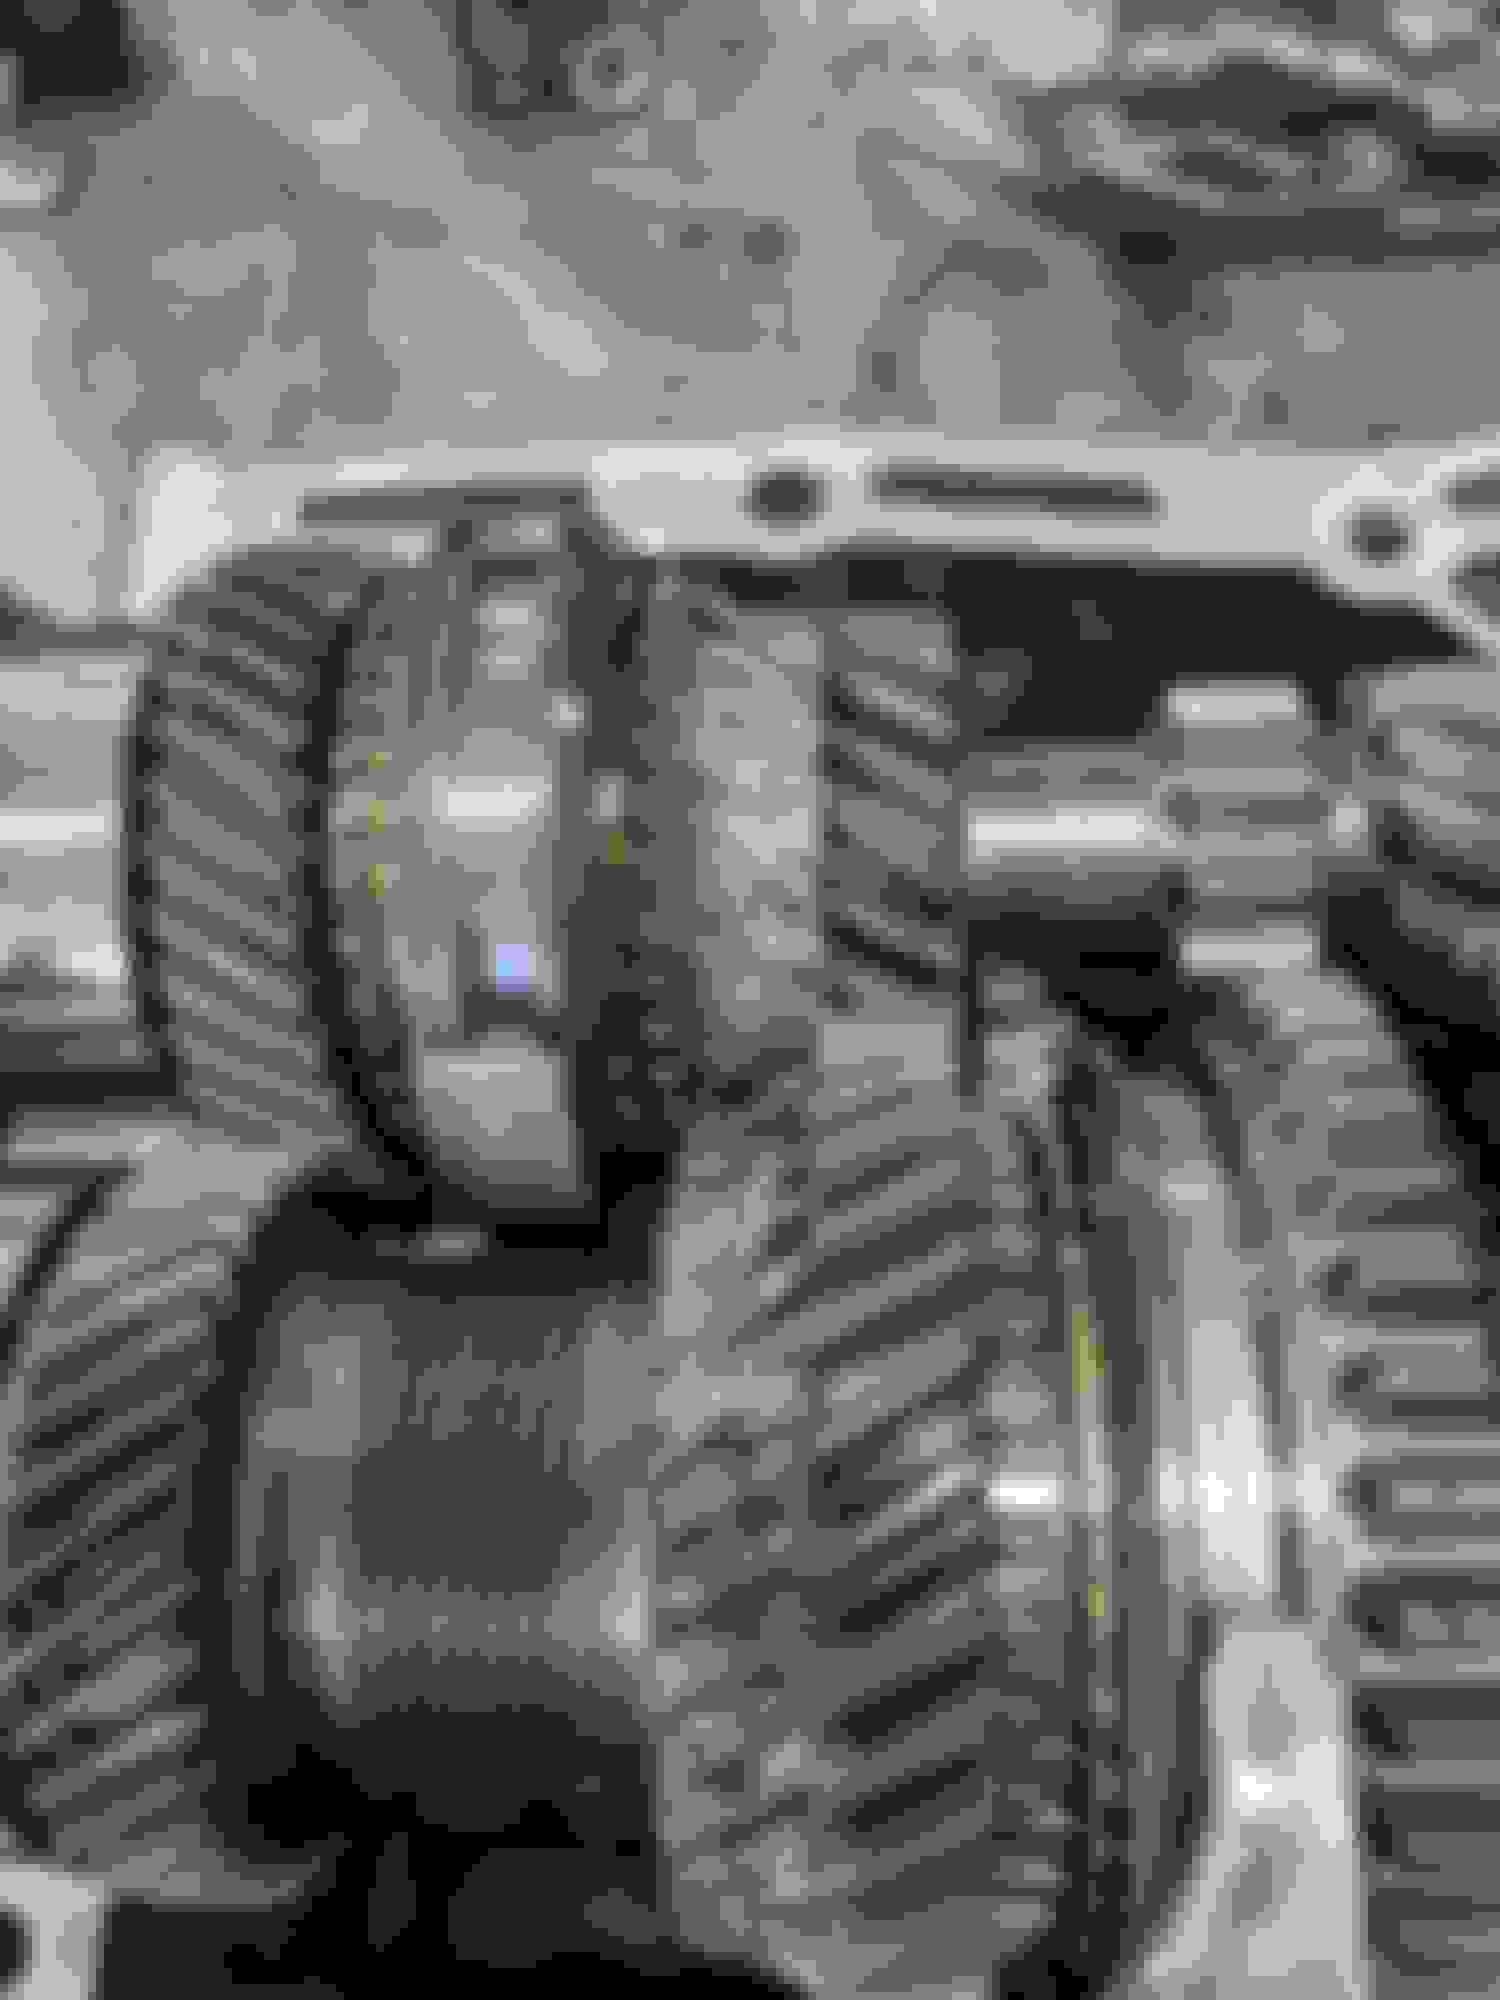
So, my friend sourced a complete STI 6spd conversion and within a couple of months of saving I could afford to do the swap!
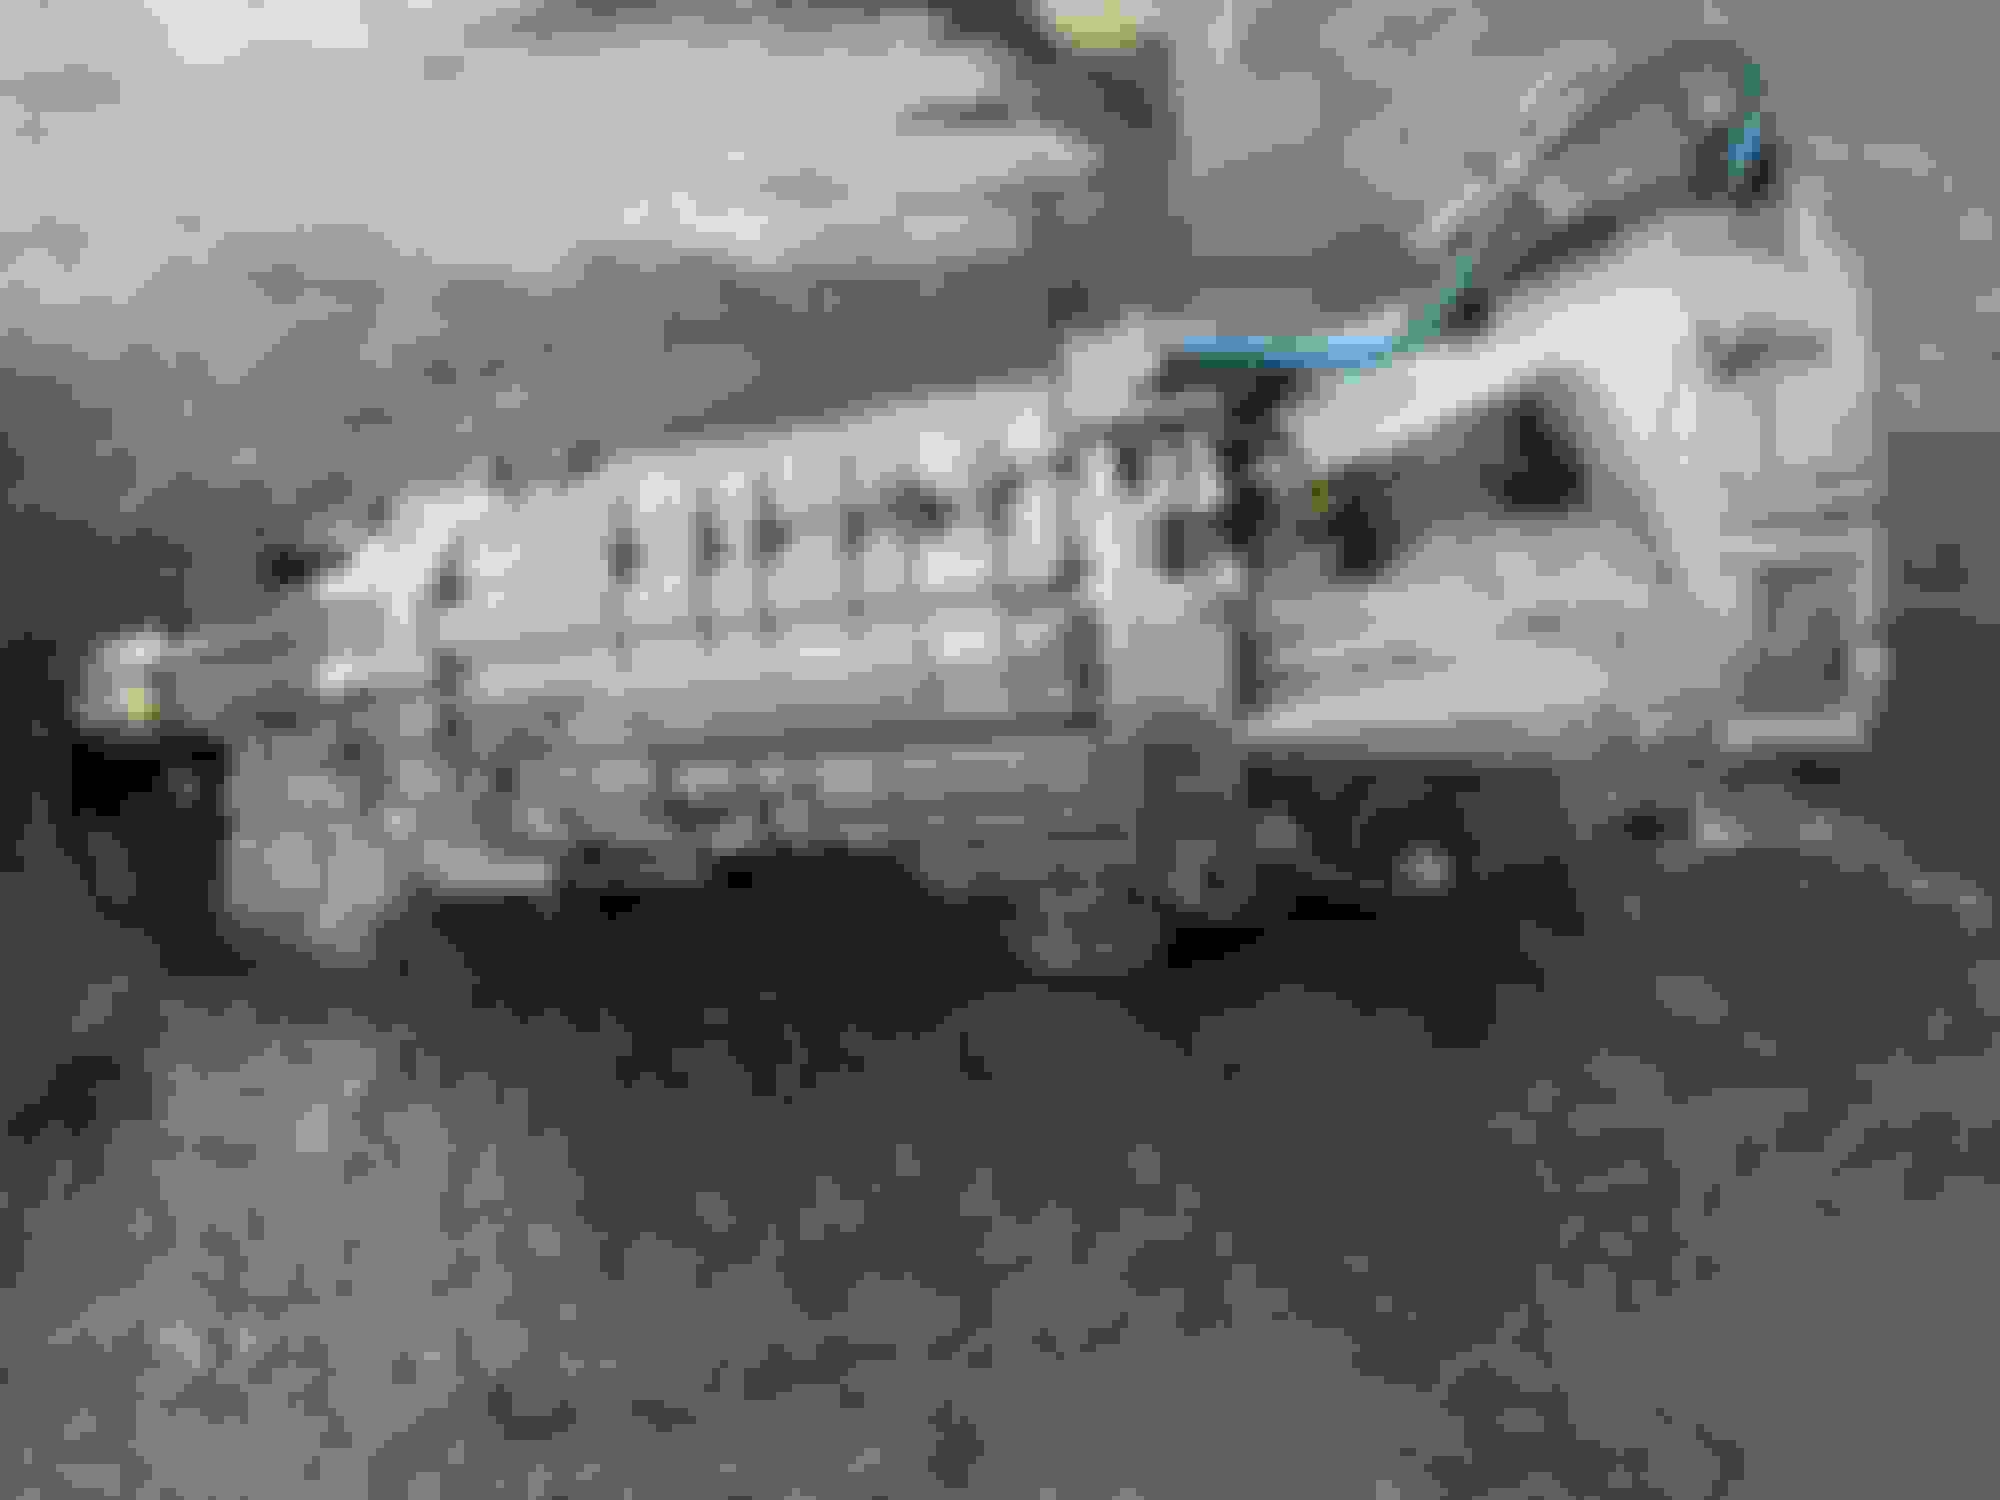
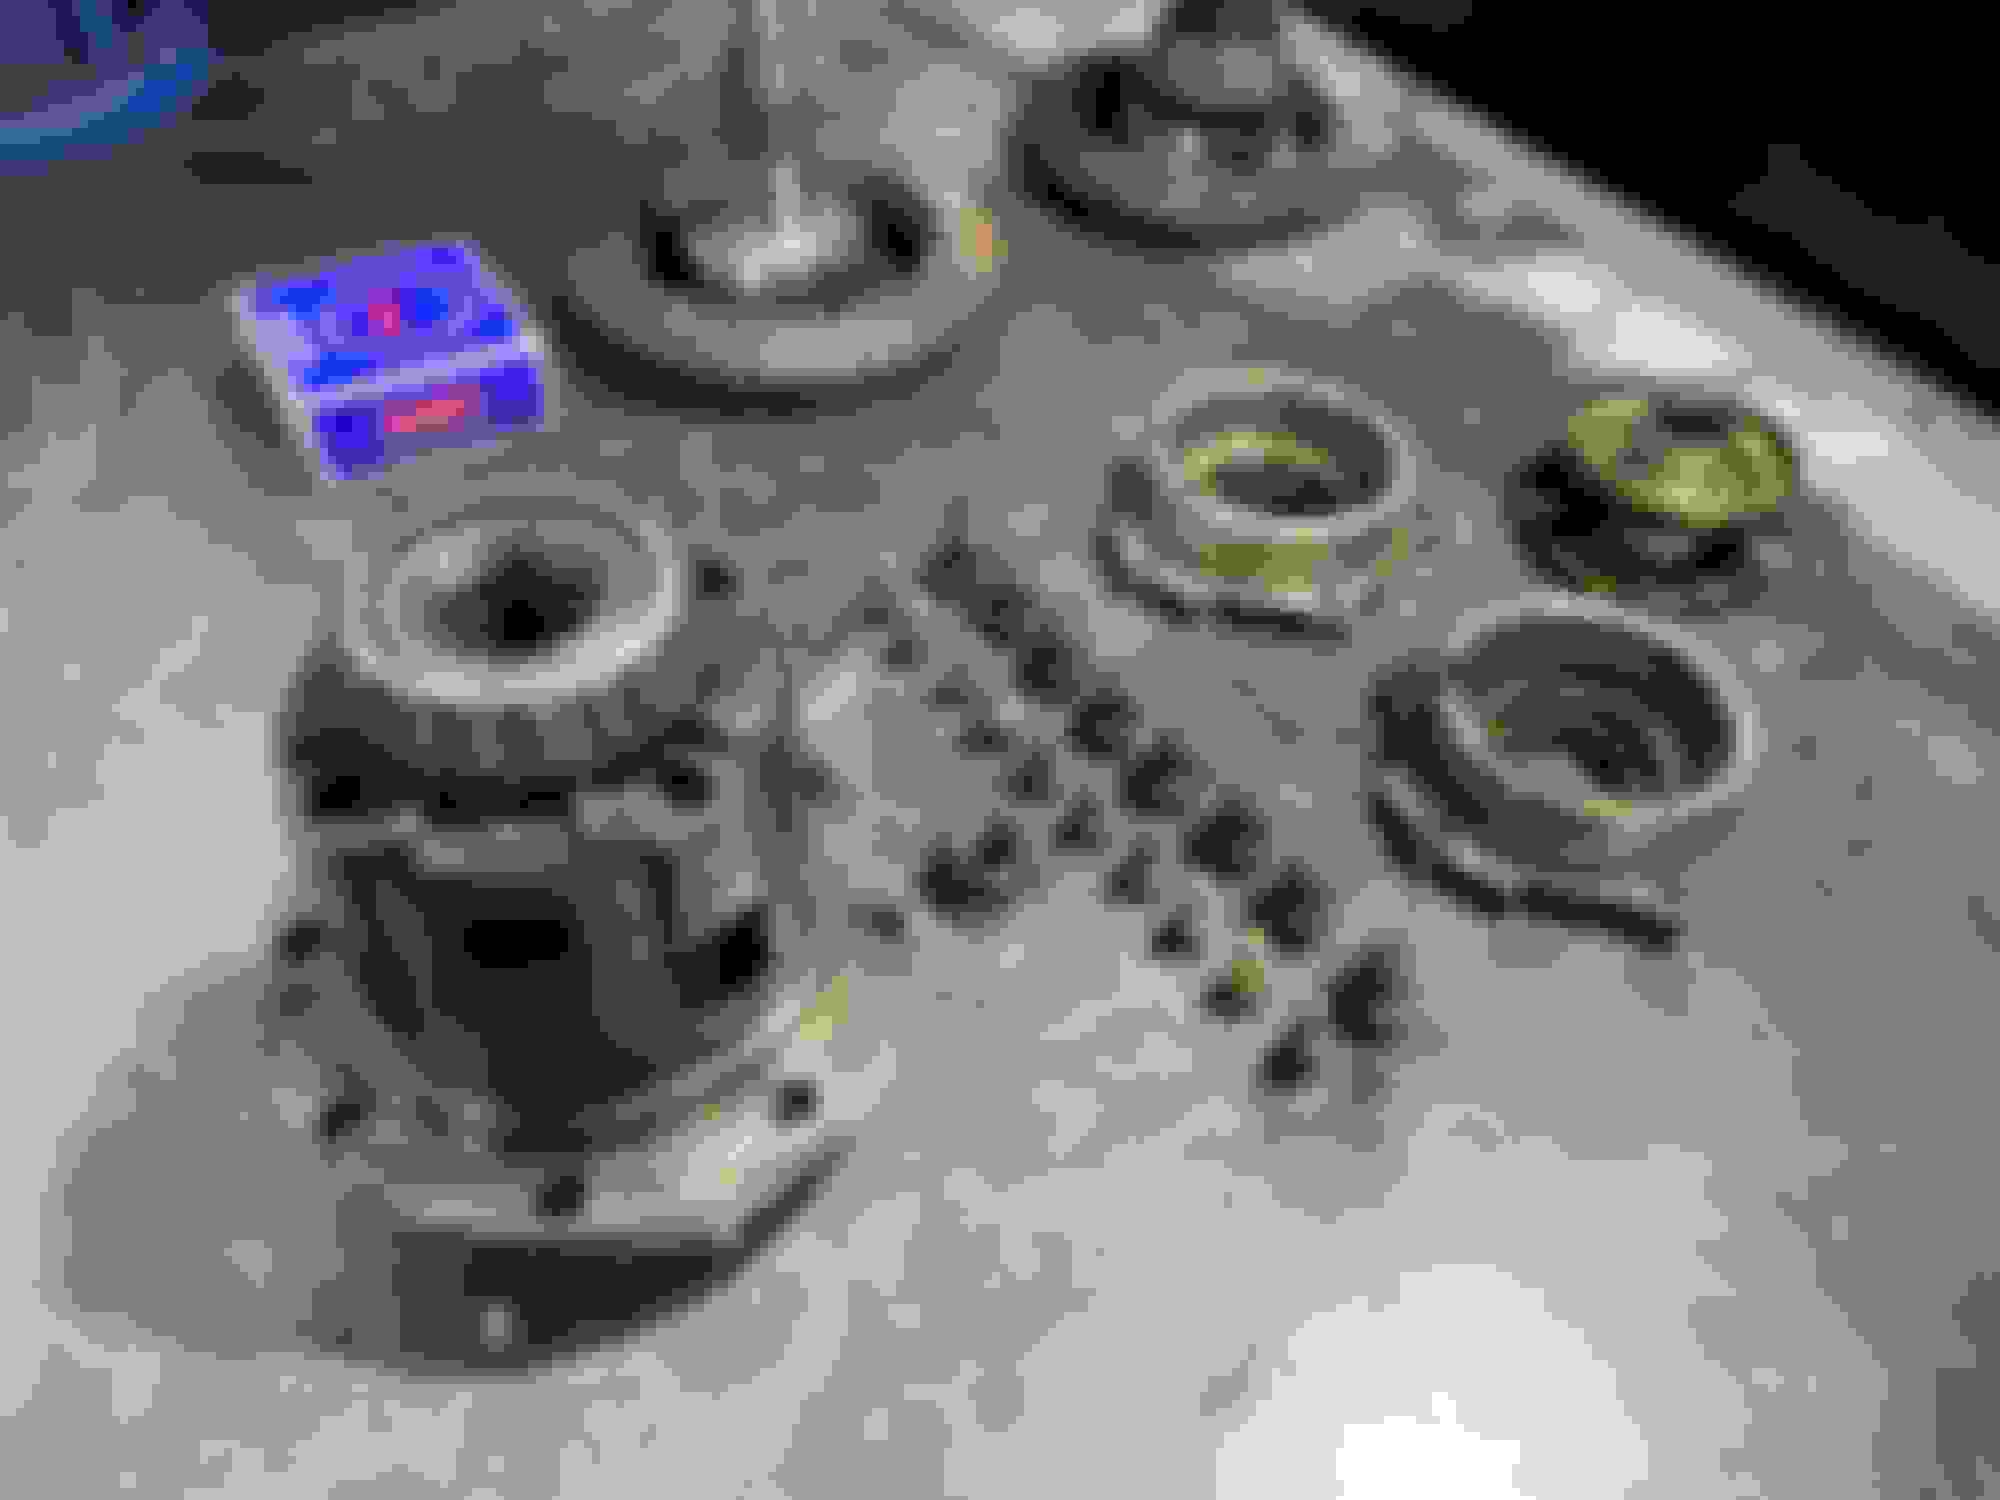
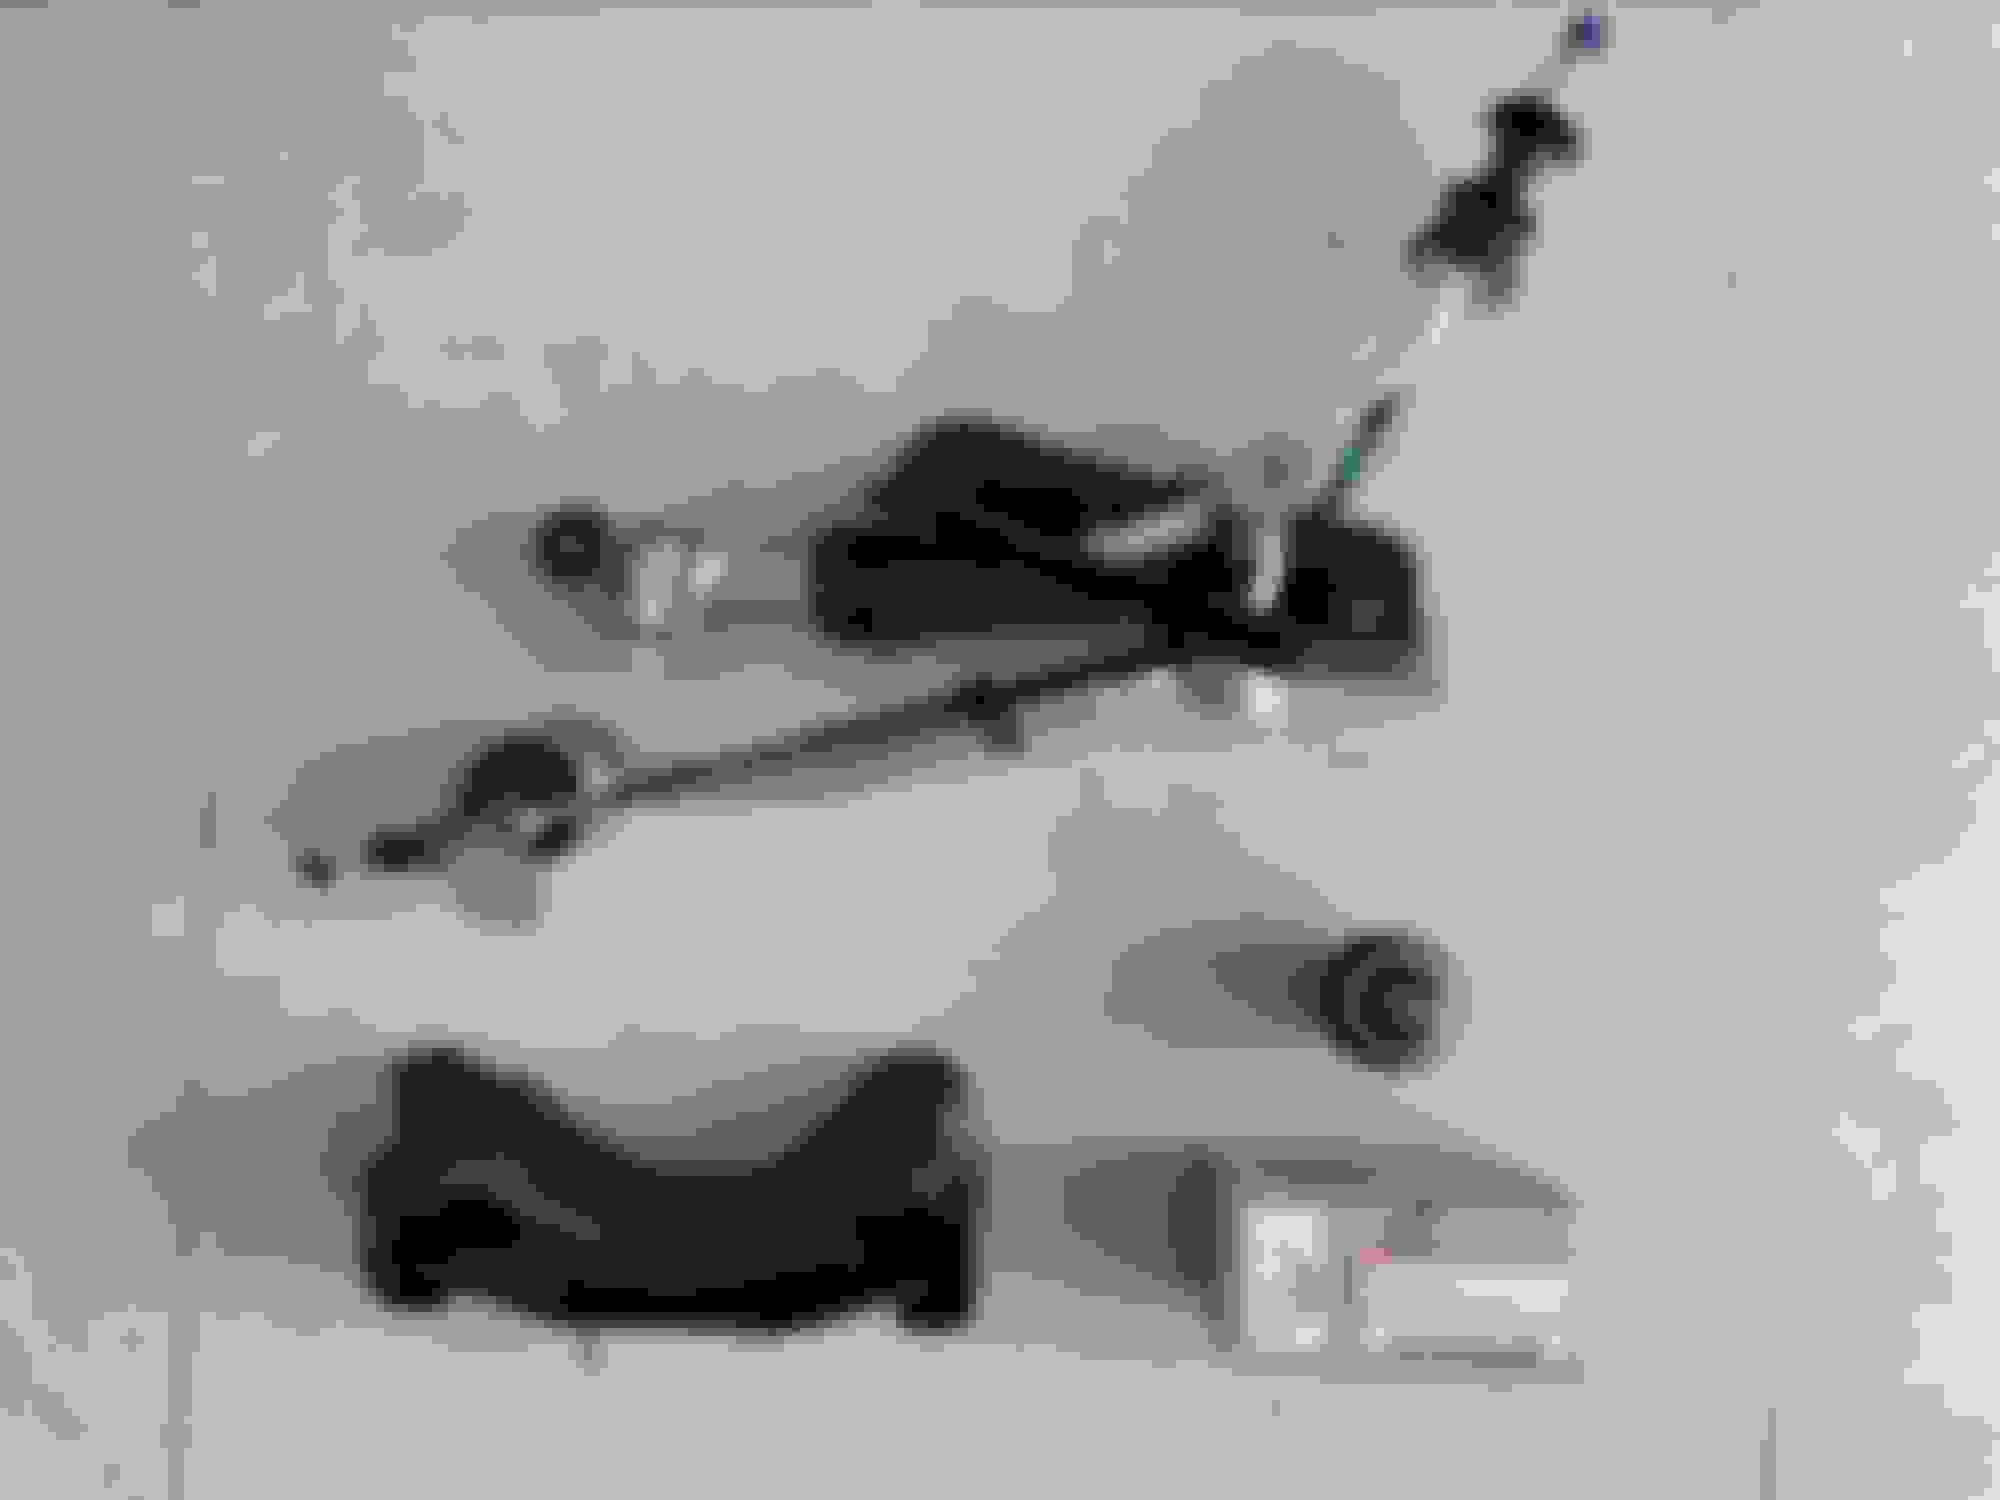
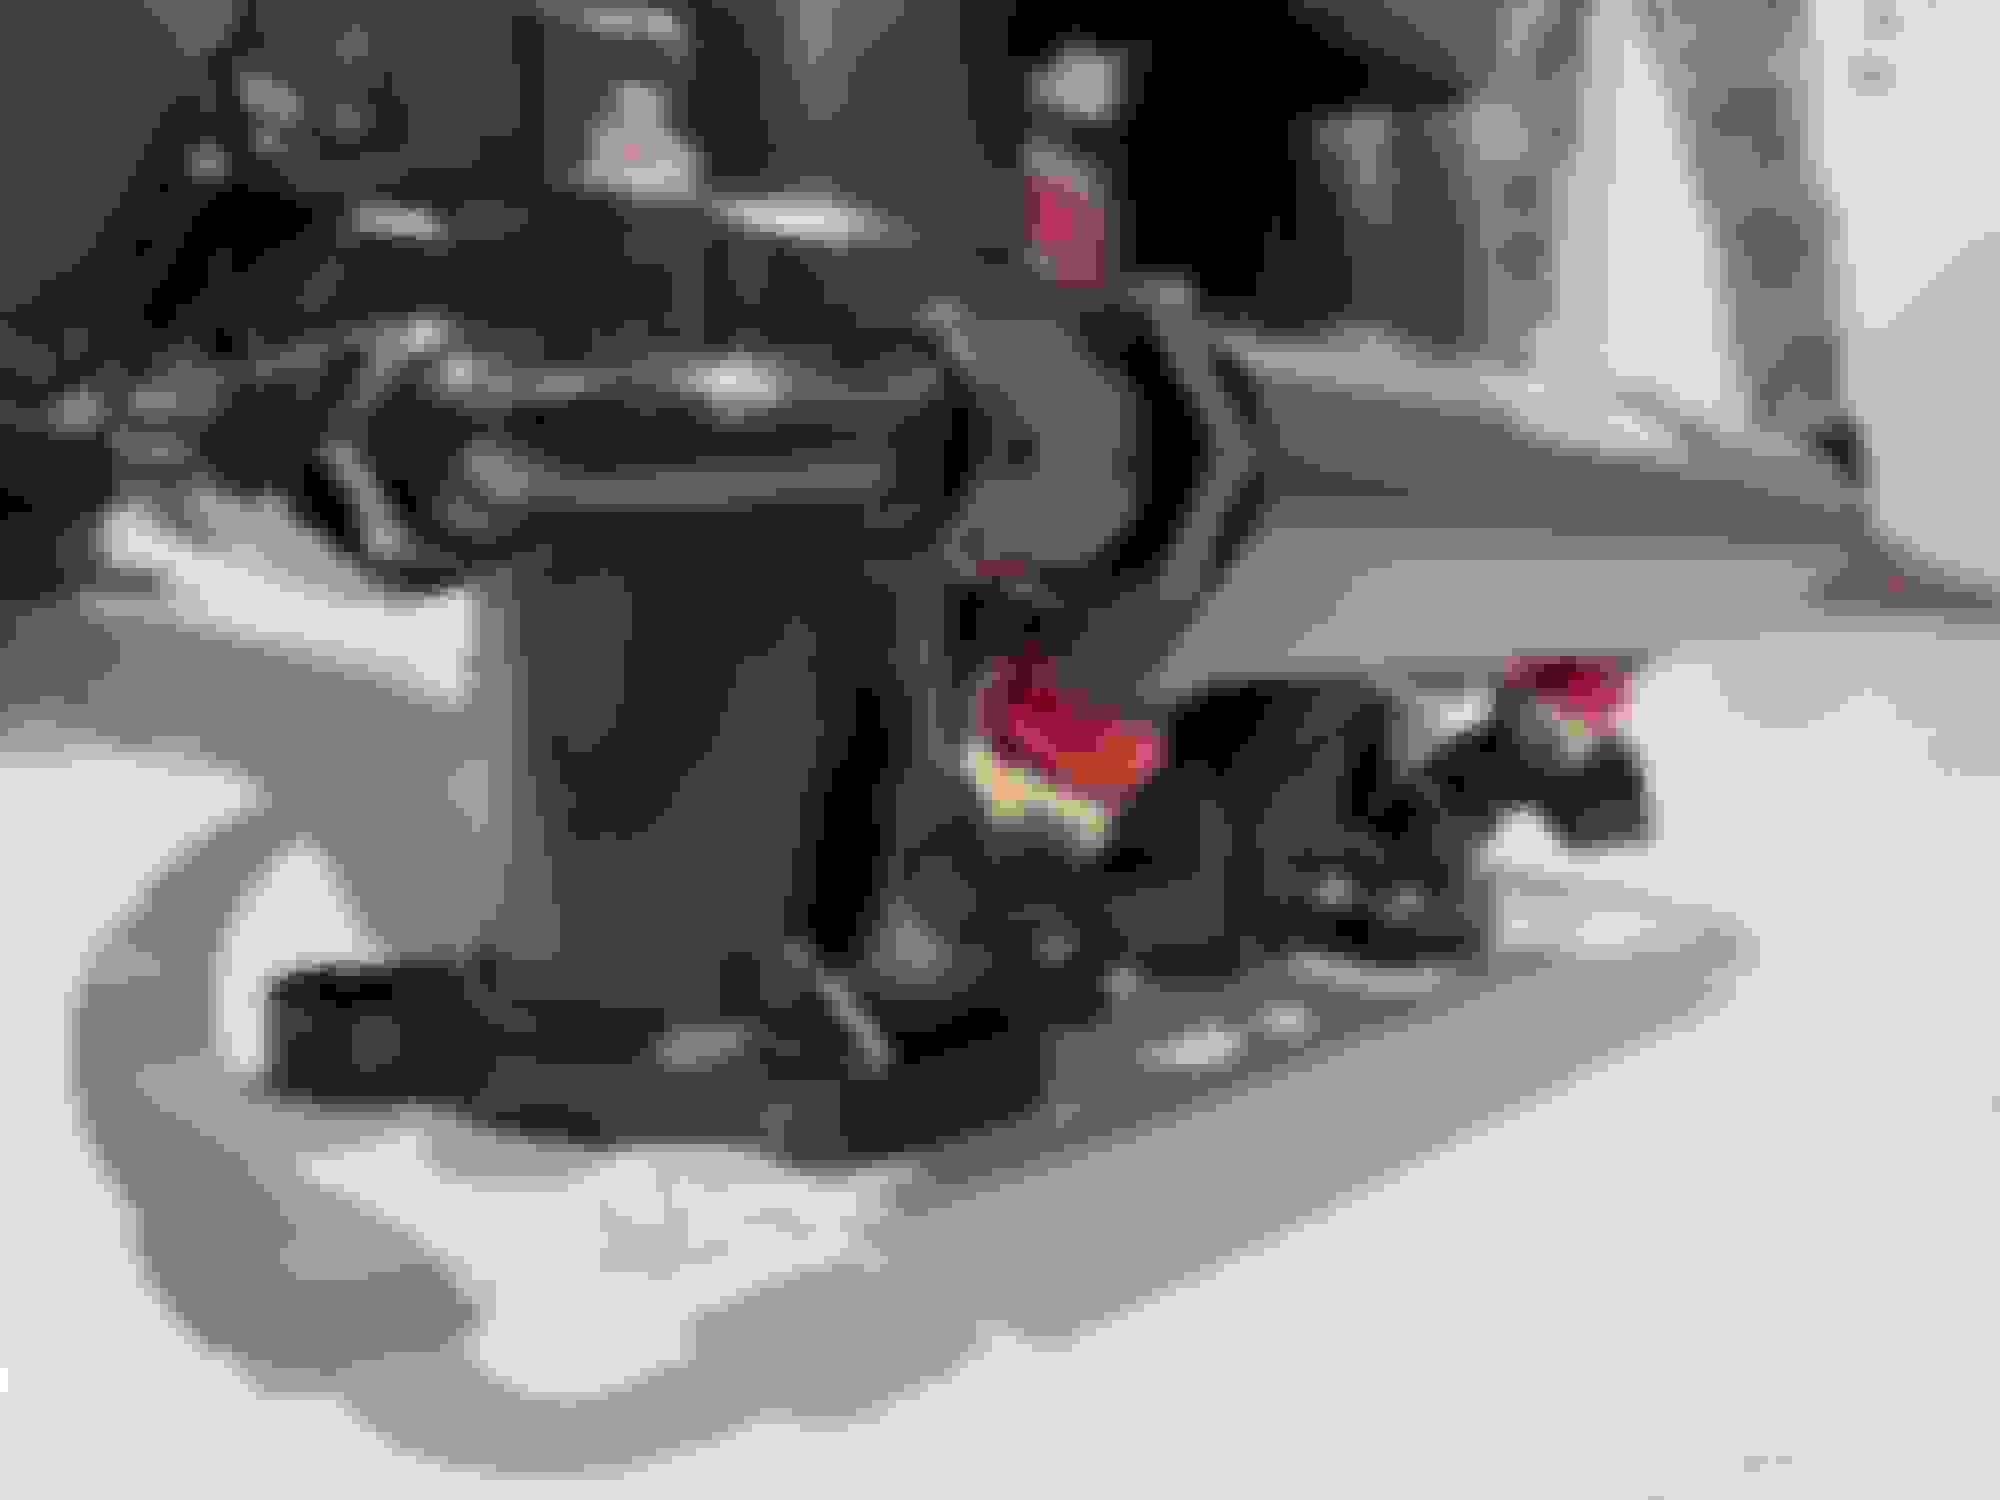
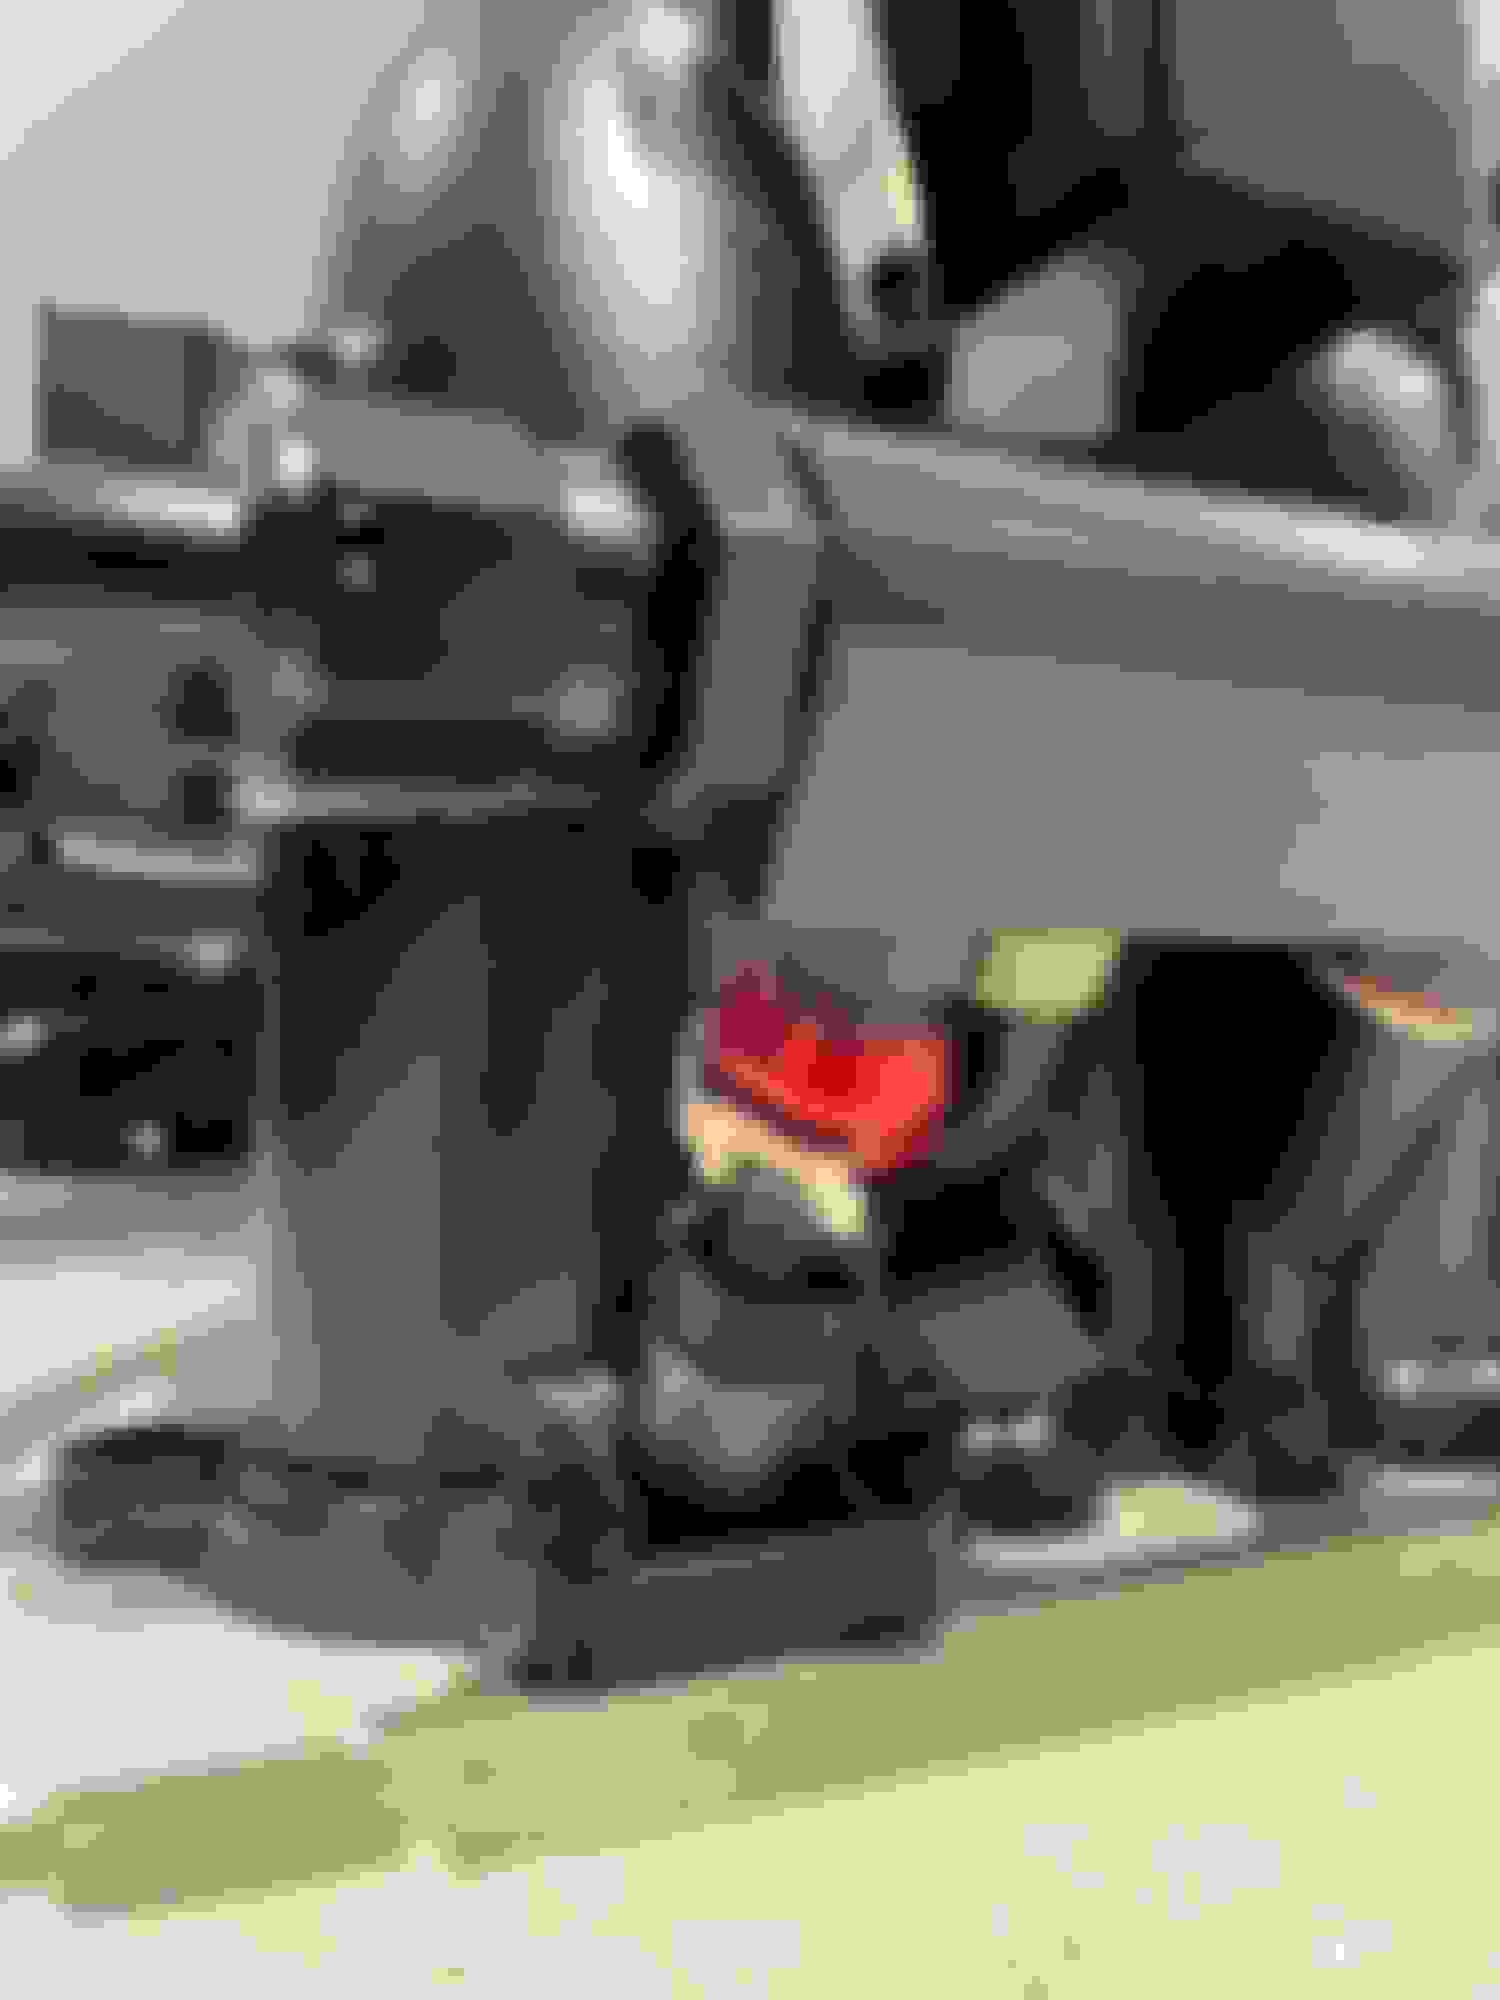
Here are some pictures of the parts that were installed:
First thing, old gearbox out:
The new STI 6 speed gearbox:
R180 Rear Limited Slip Diff:
Rear R180 Axles:
Rear subframe, diff and axles together (don't worry, they were cleaned before installation):
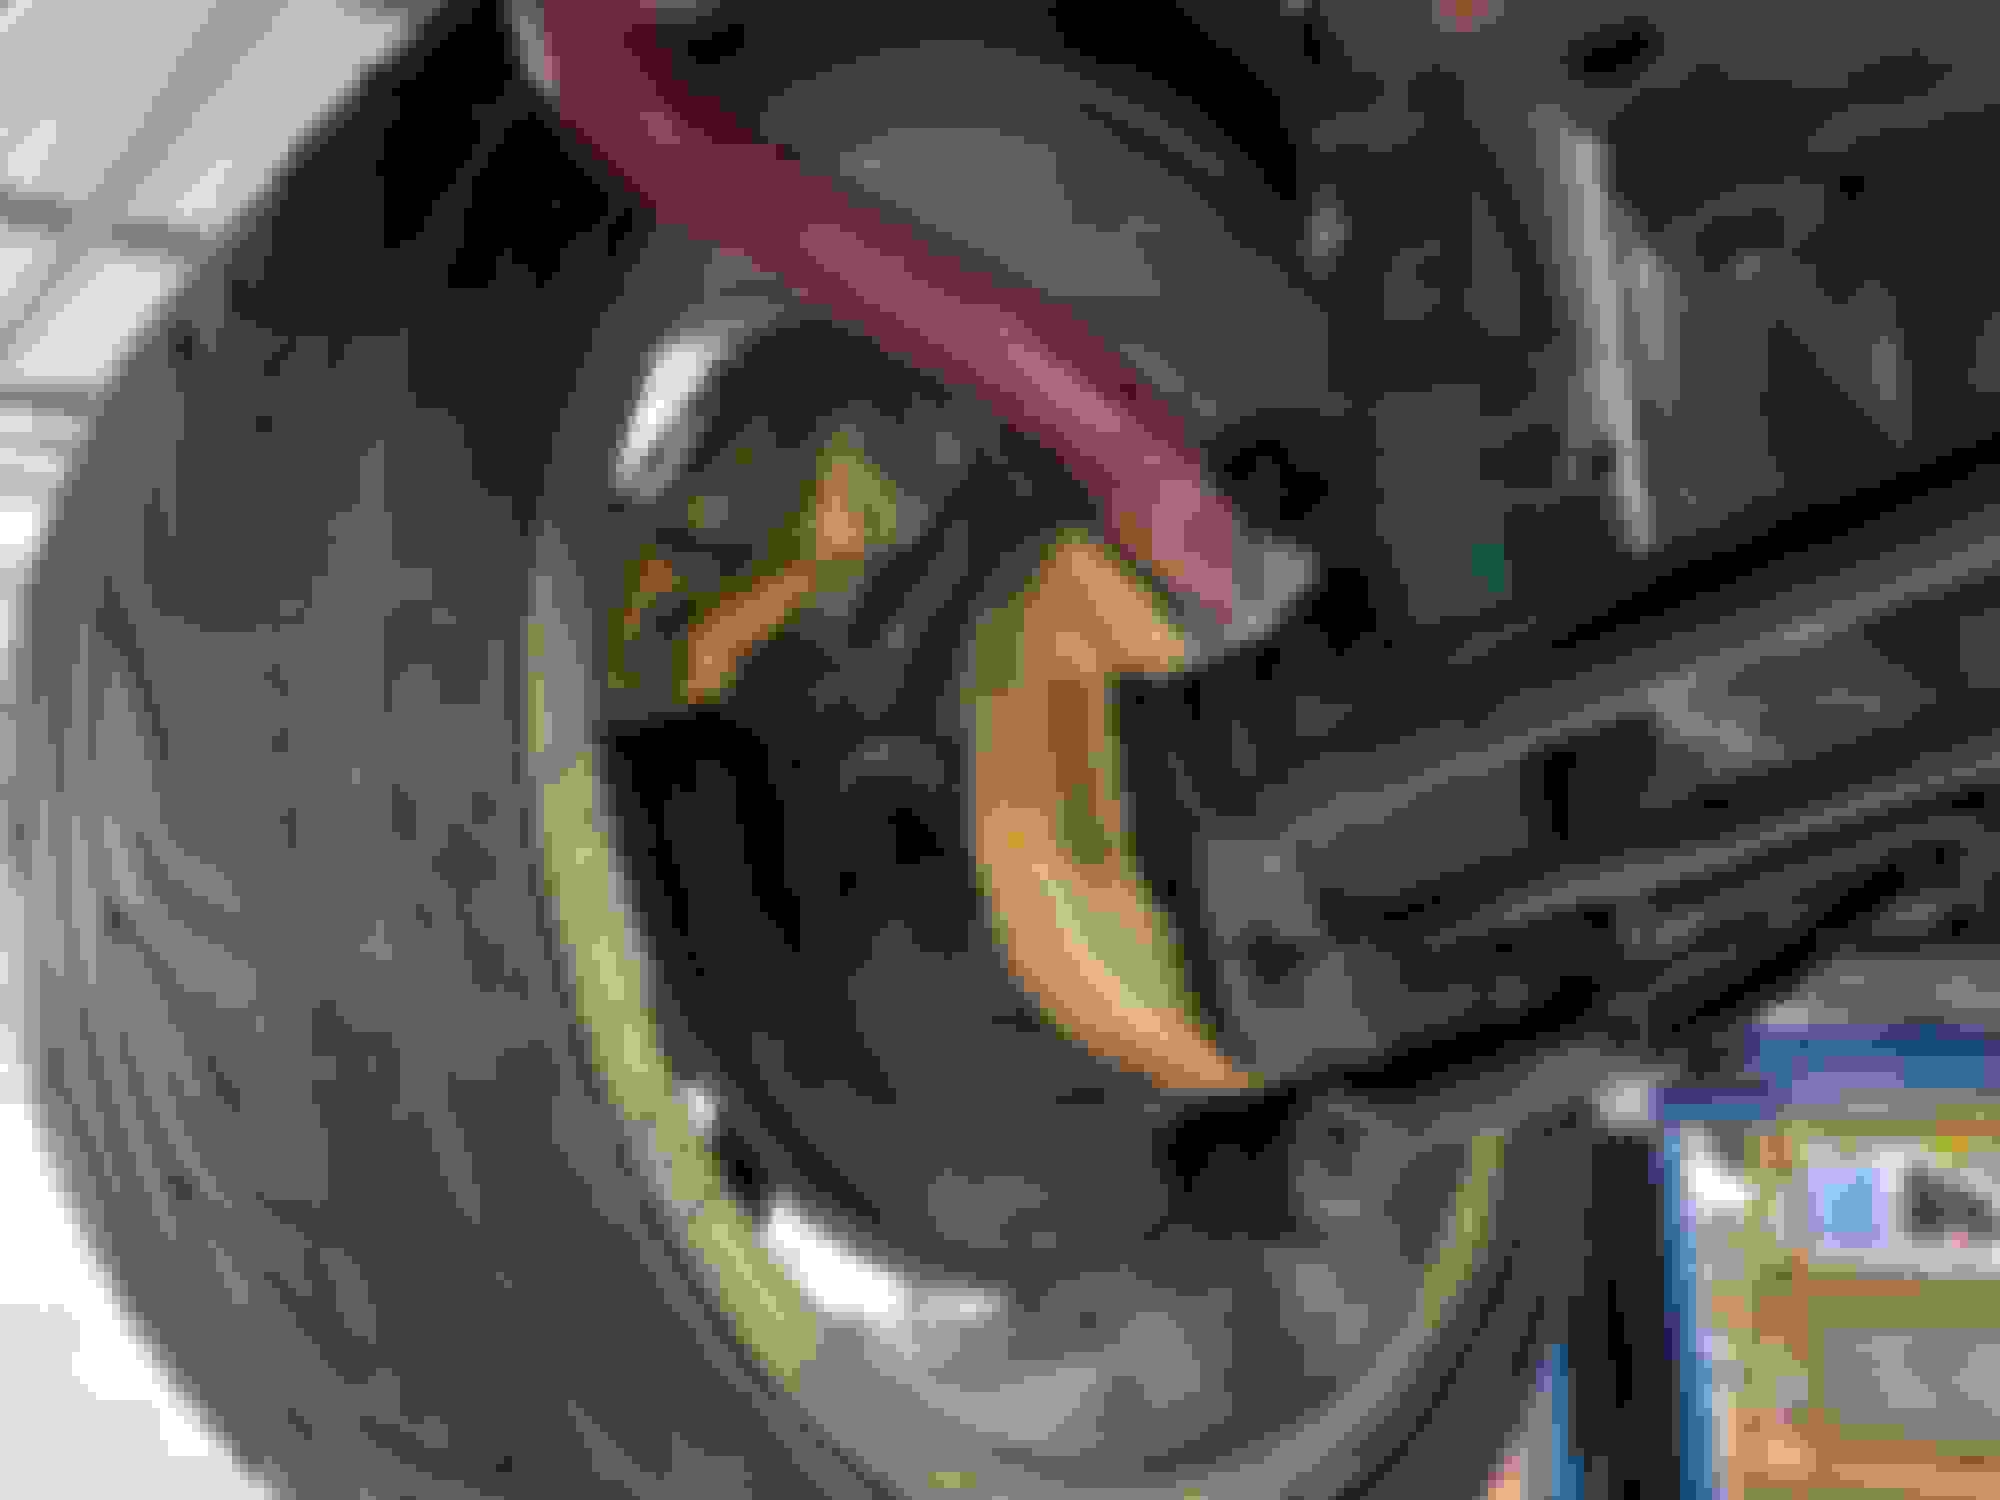
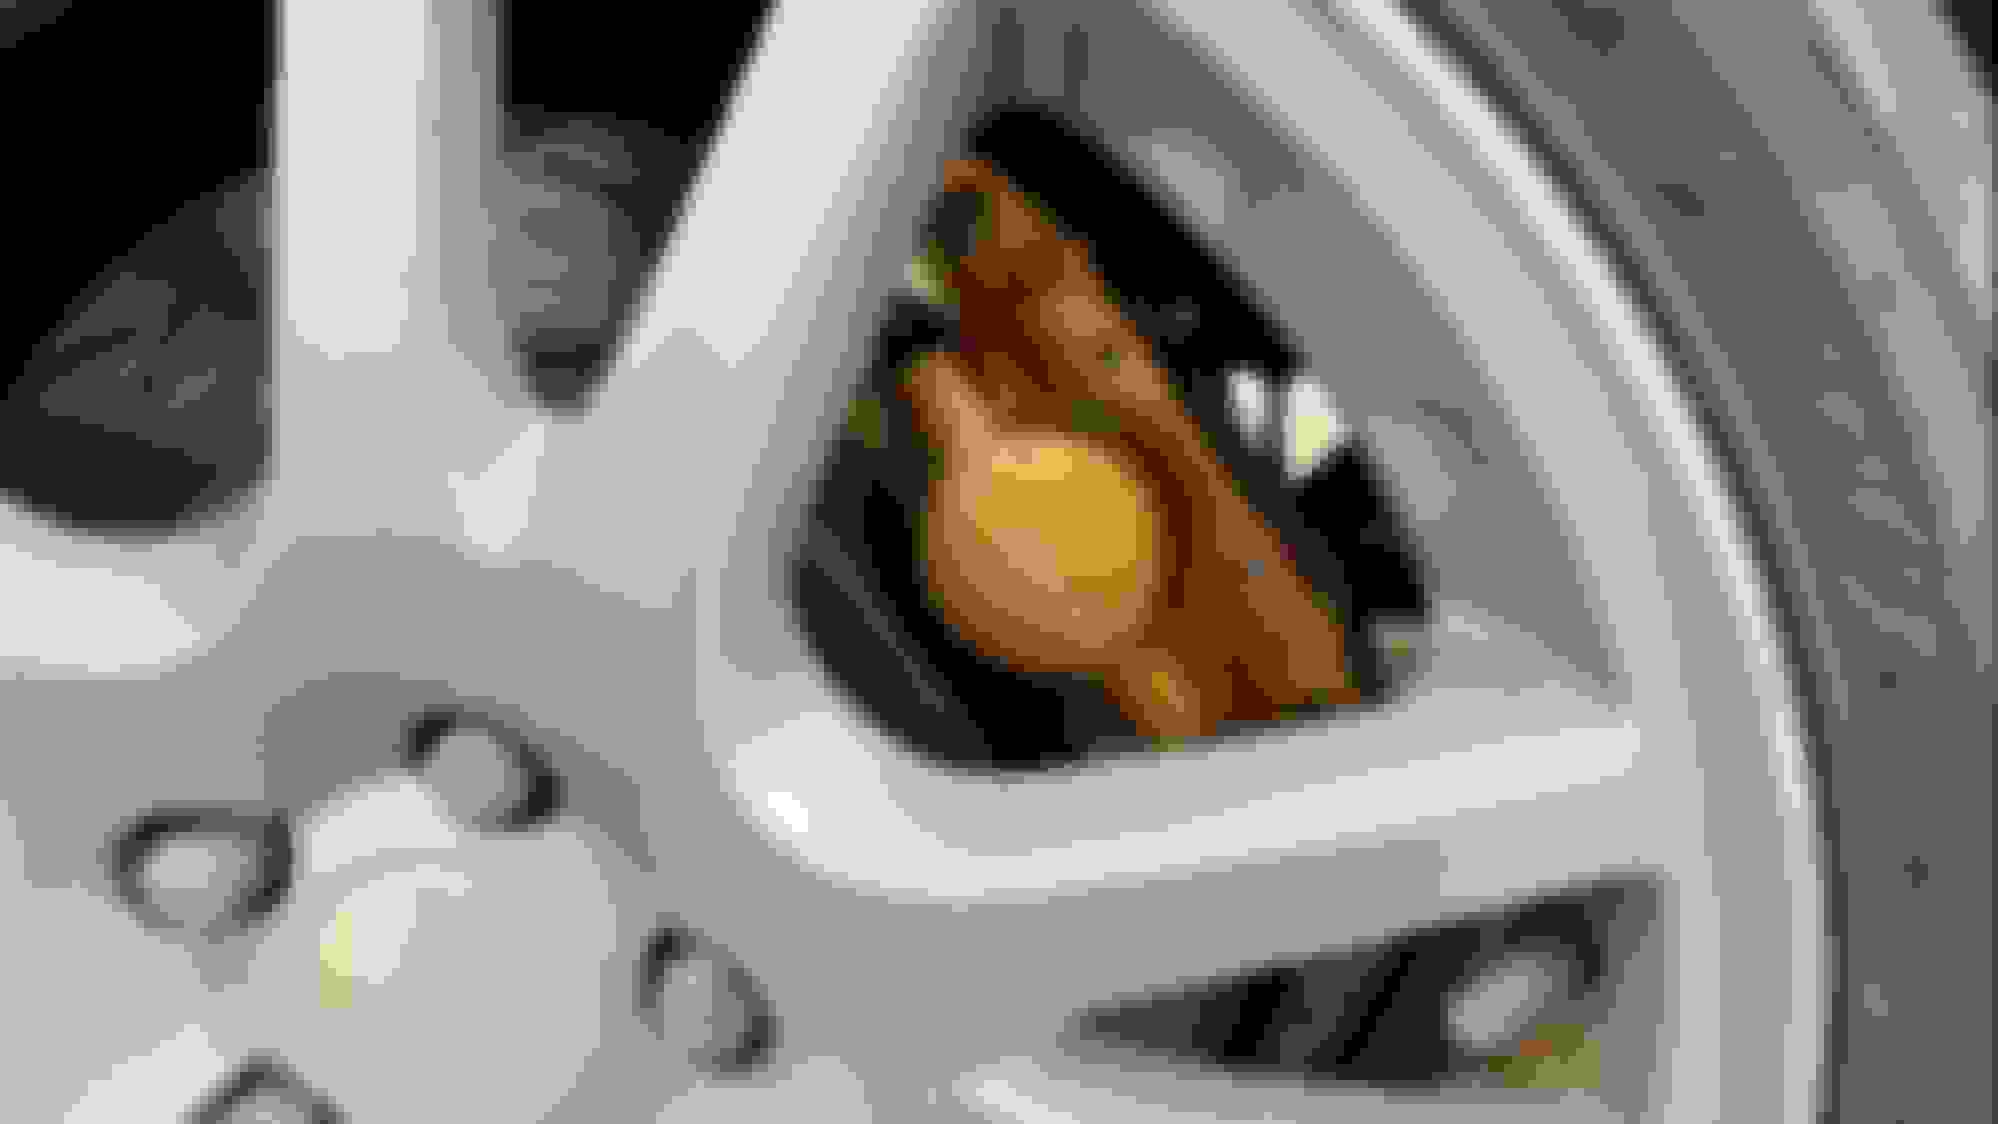
Rear hubs, trailing arms and Brembo brakes:
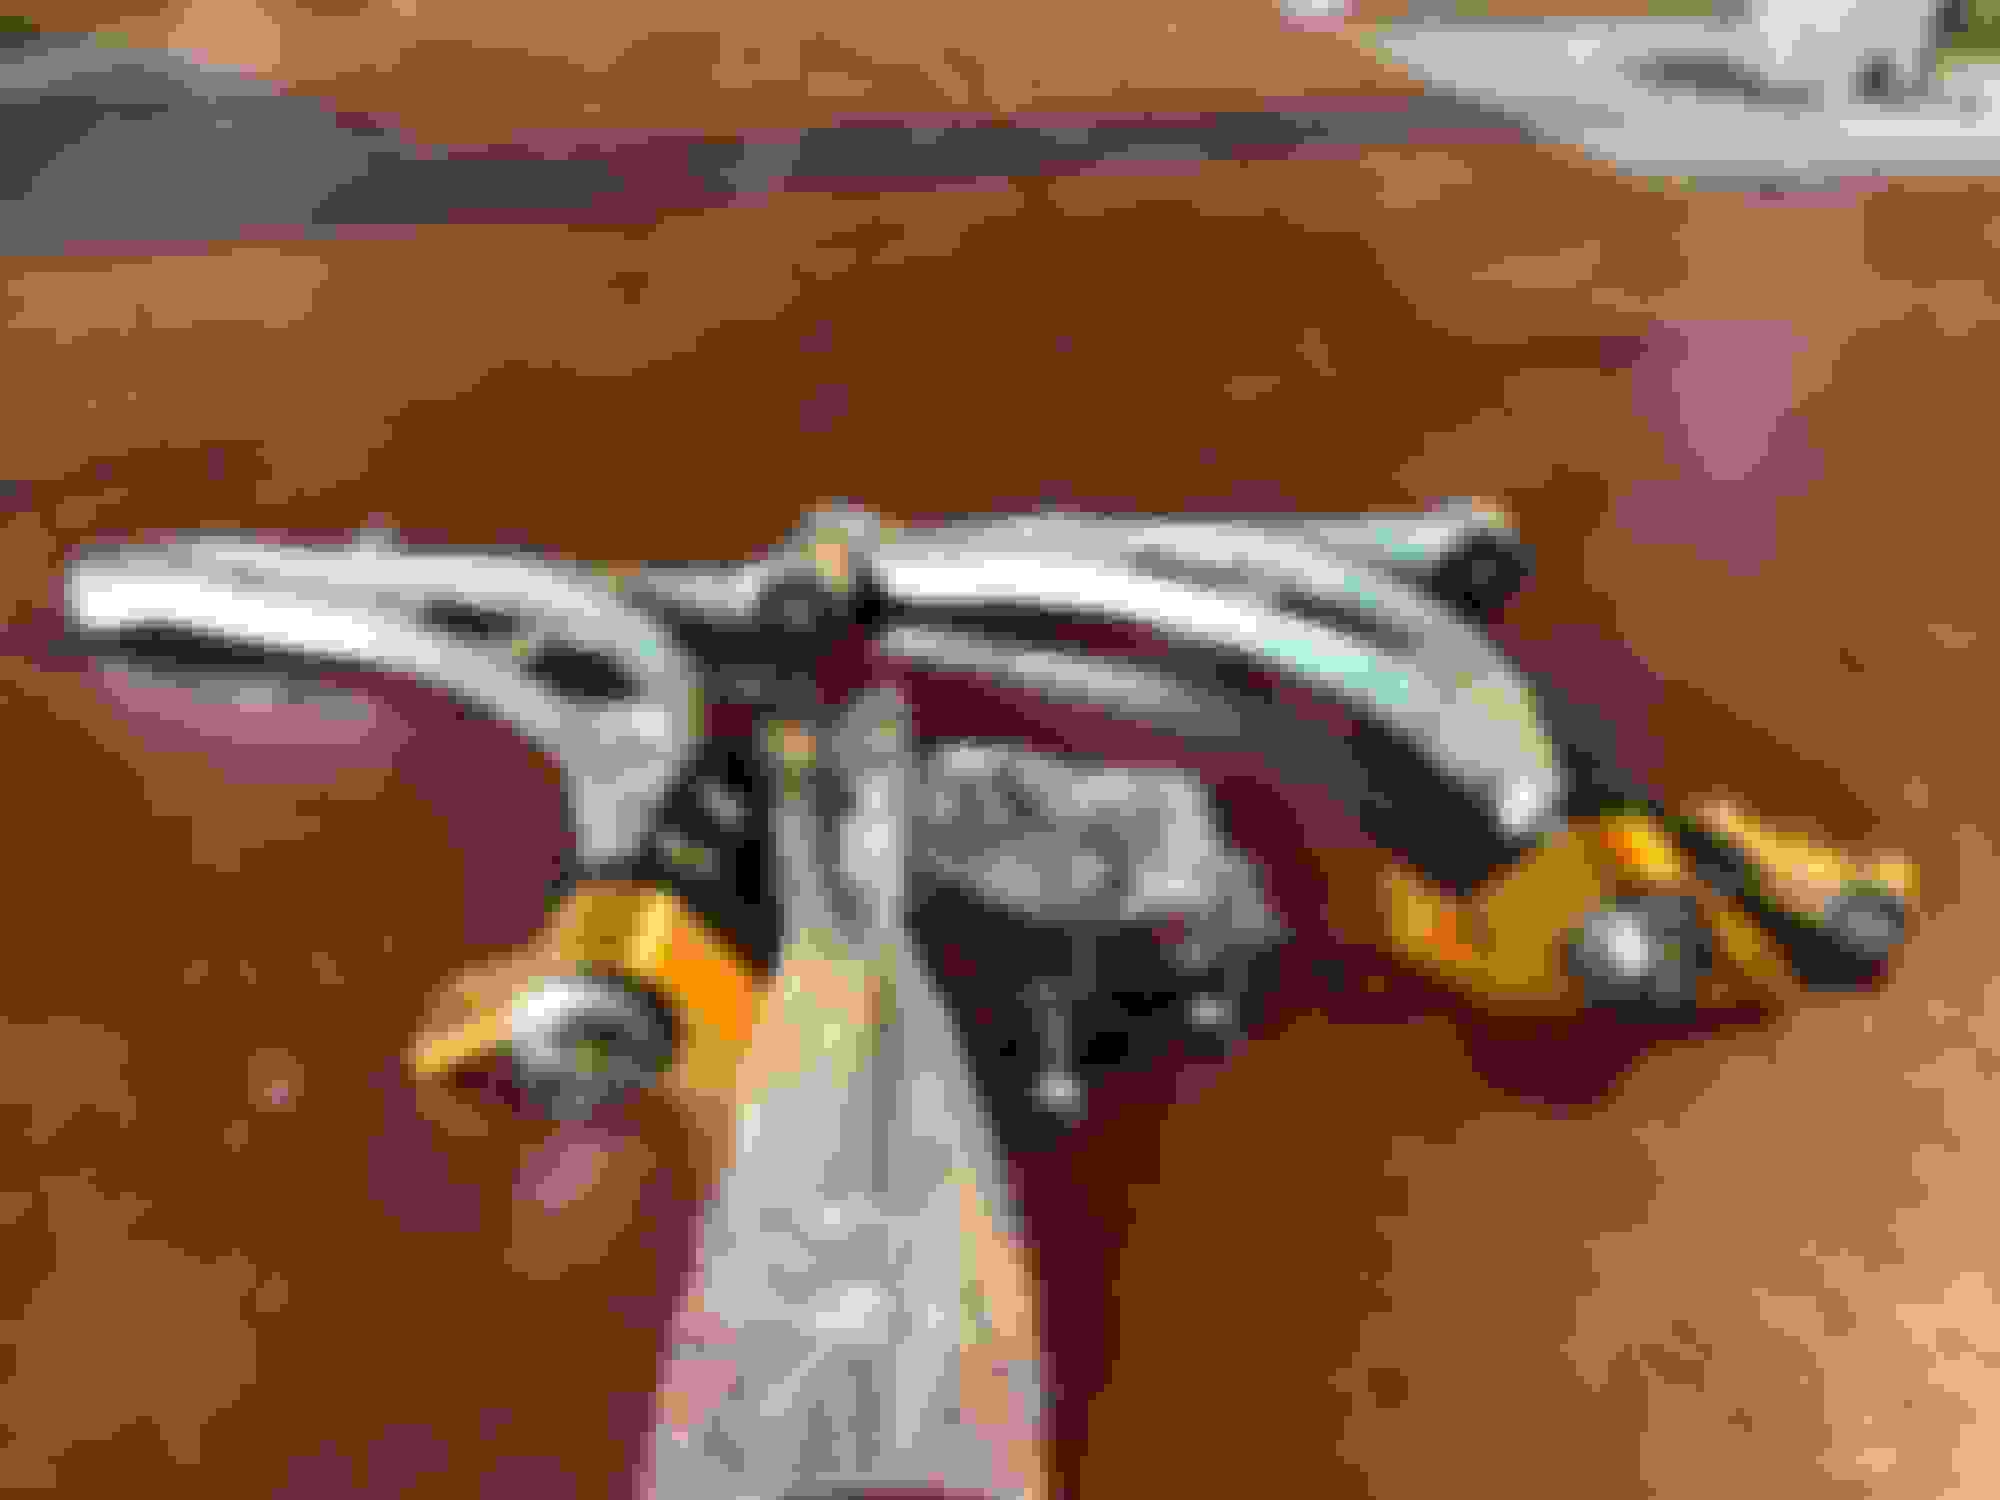
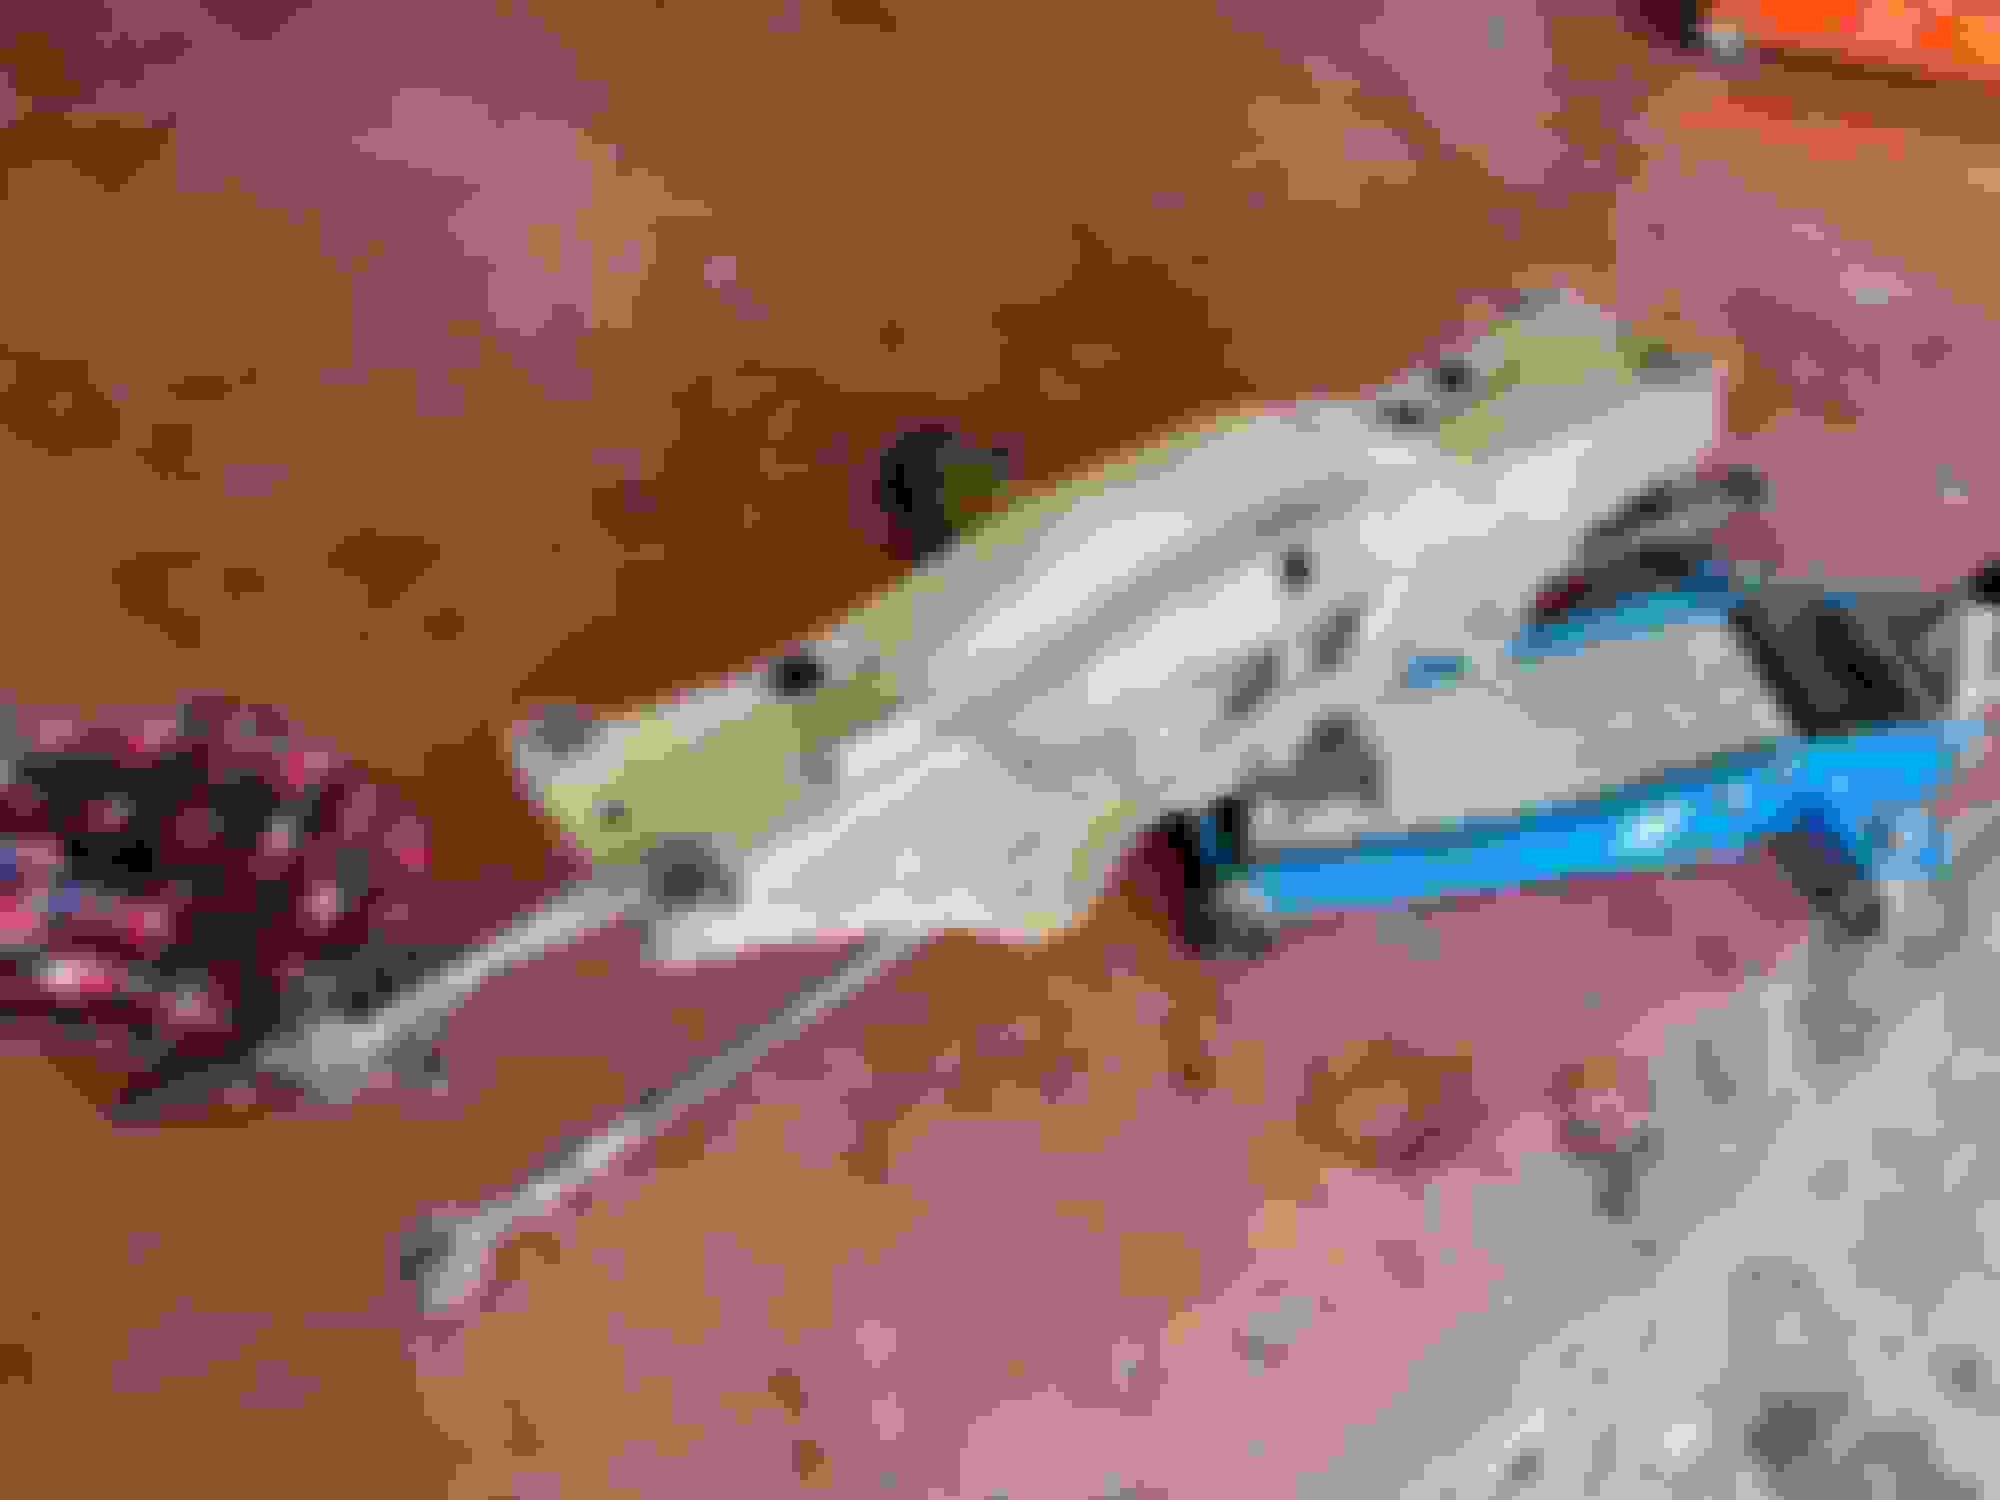
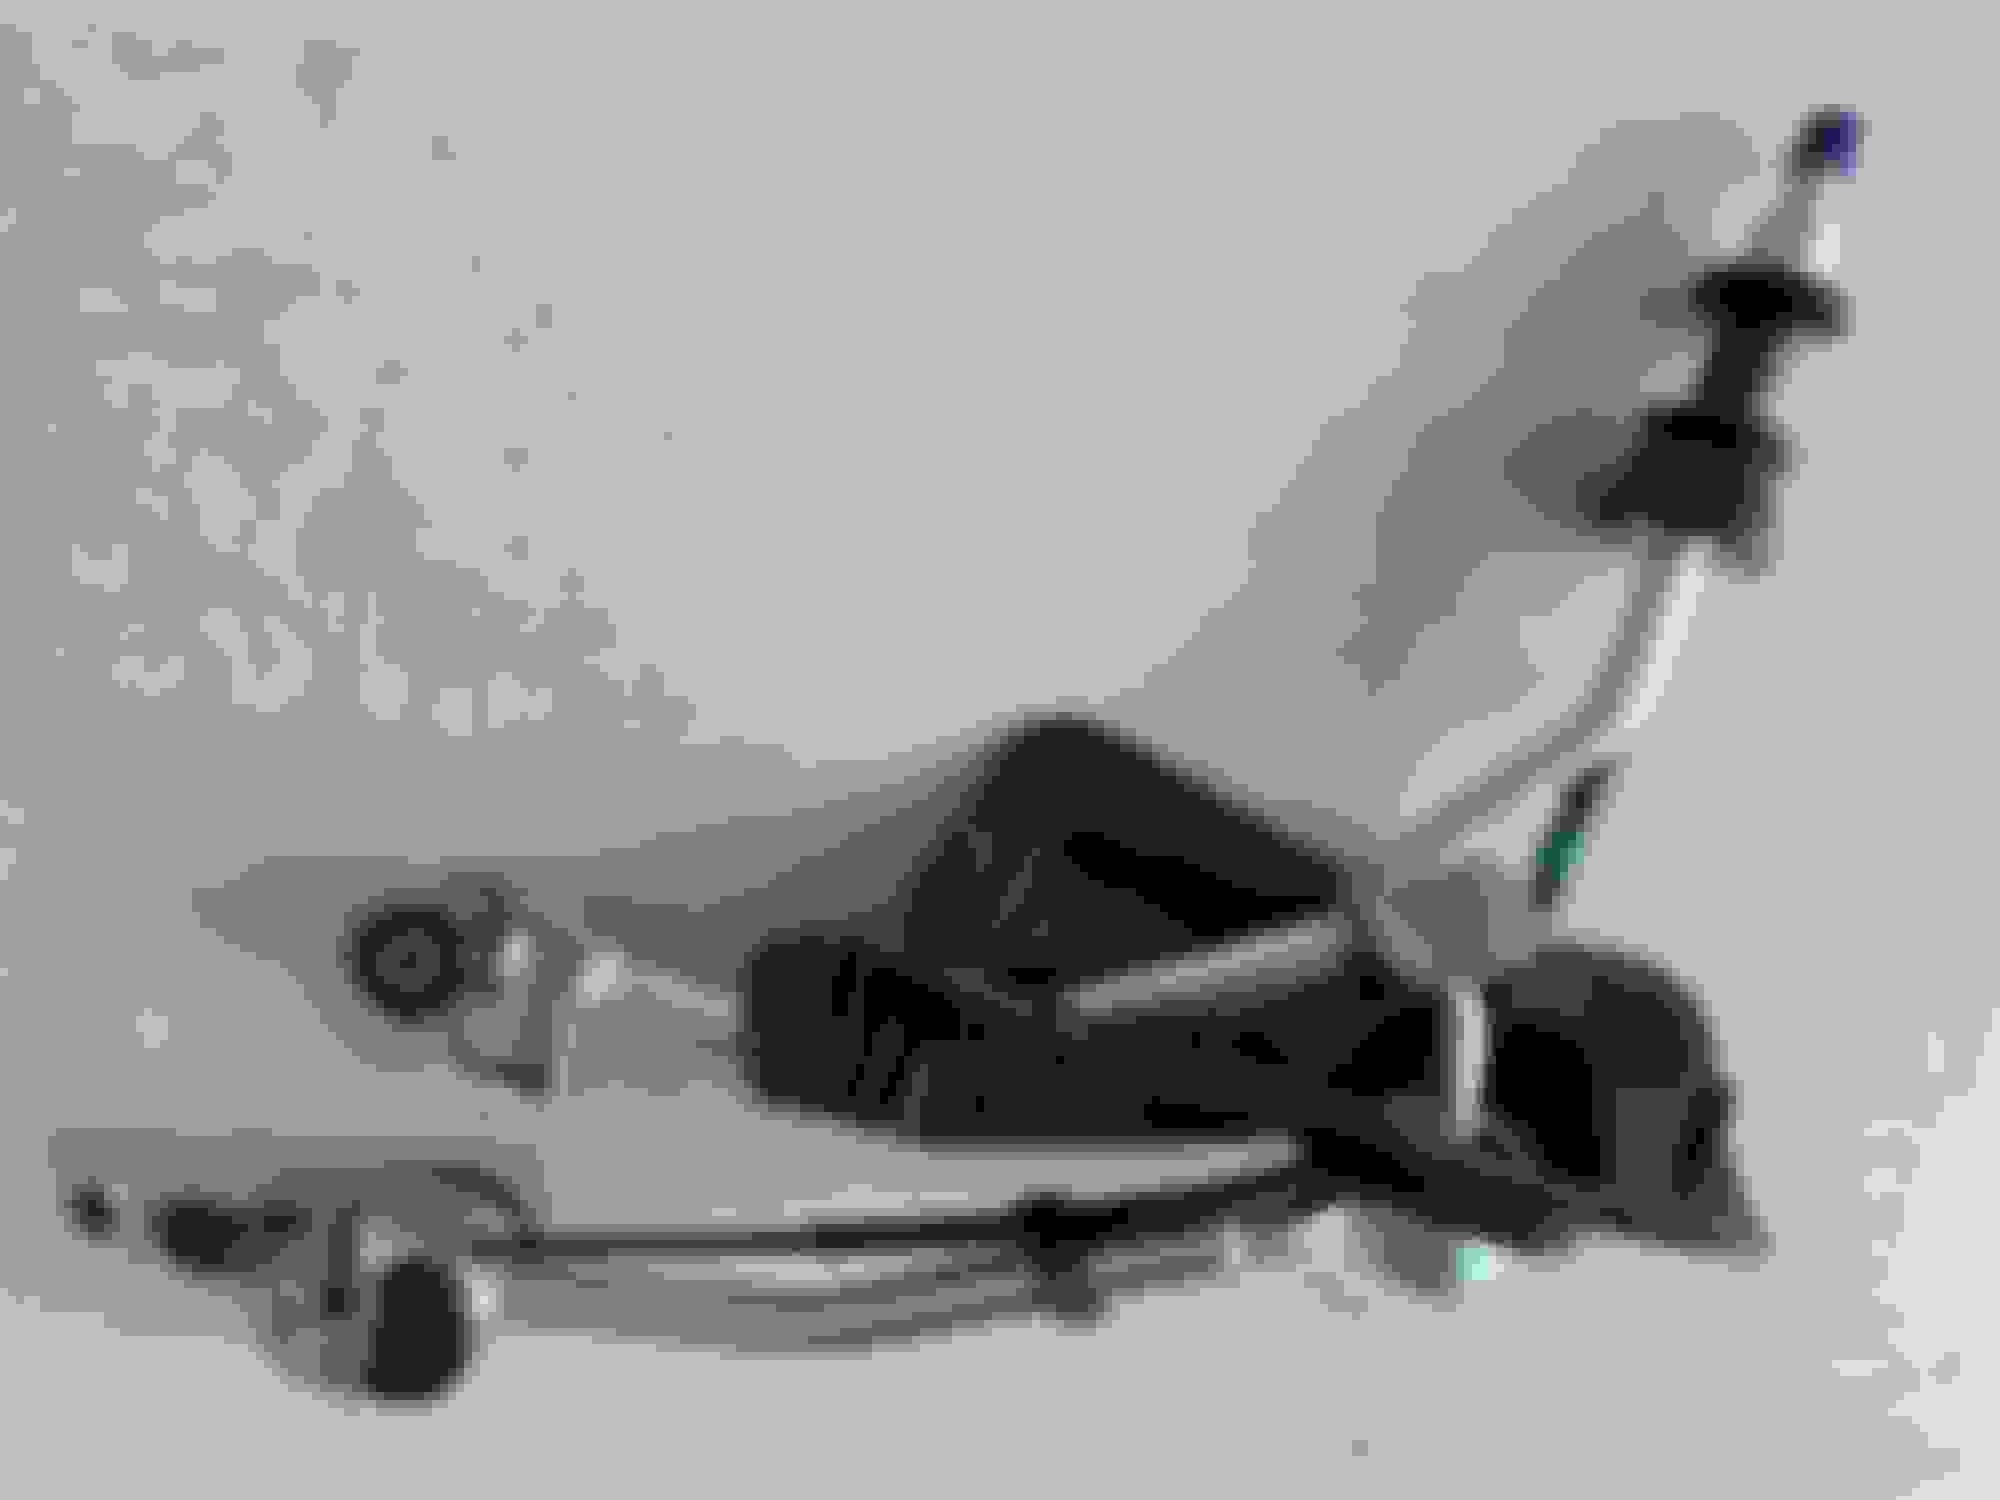
STI quick shifter assembly:
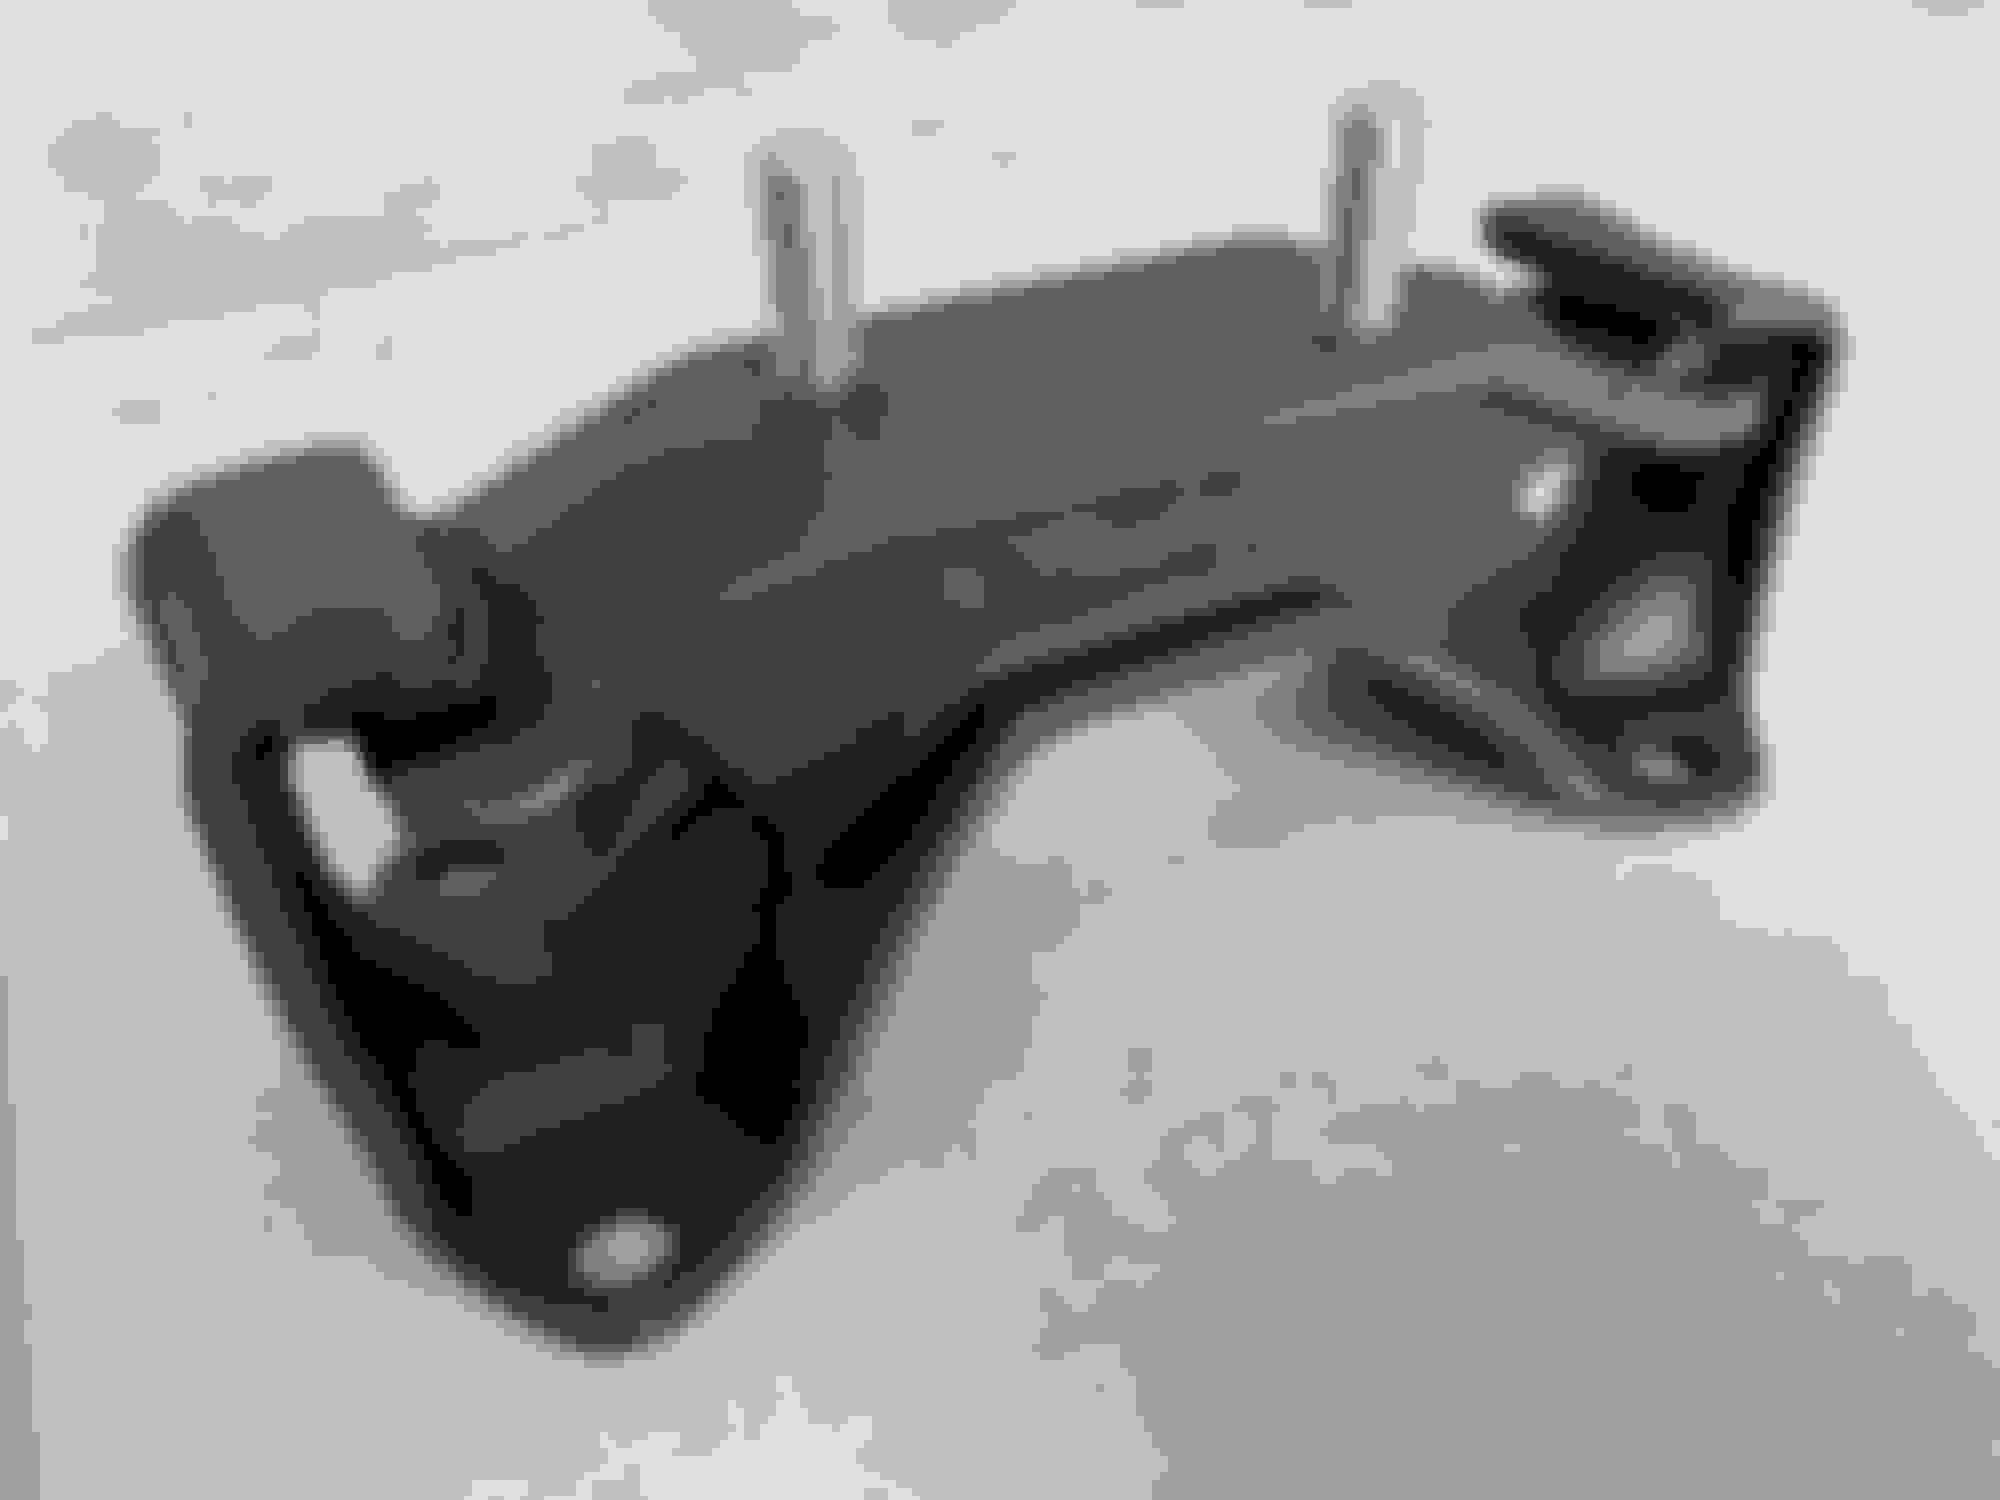
STI group N lower transmission mount:
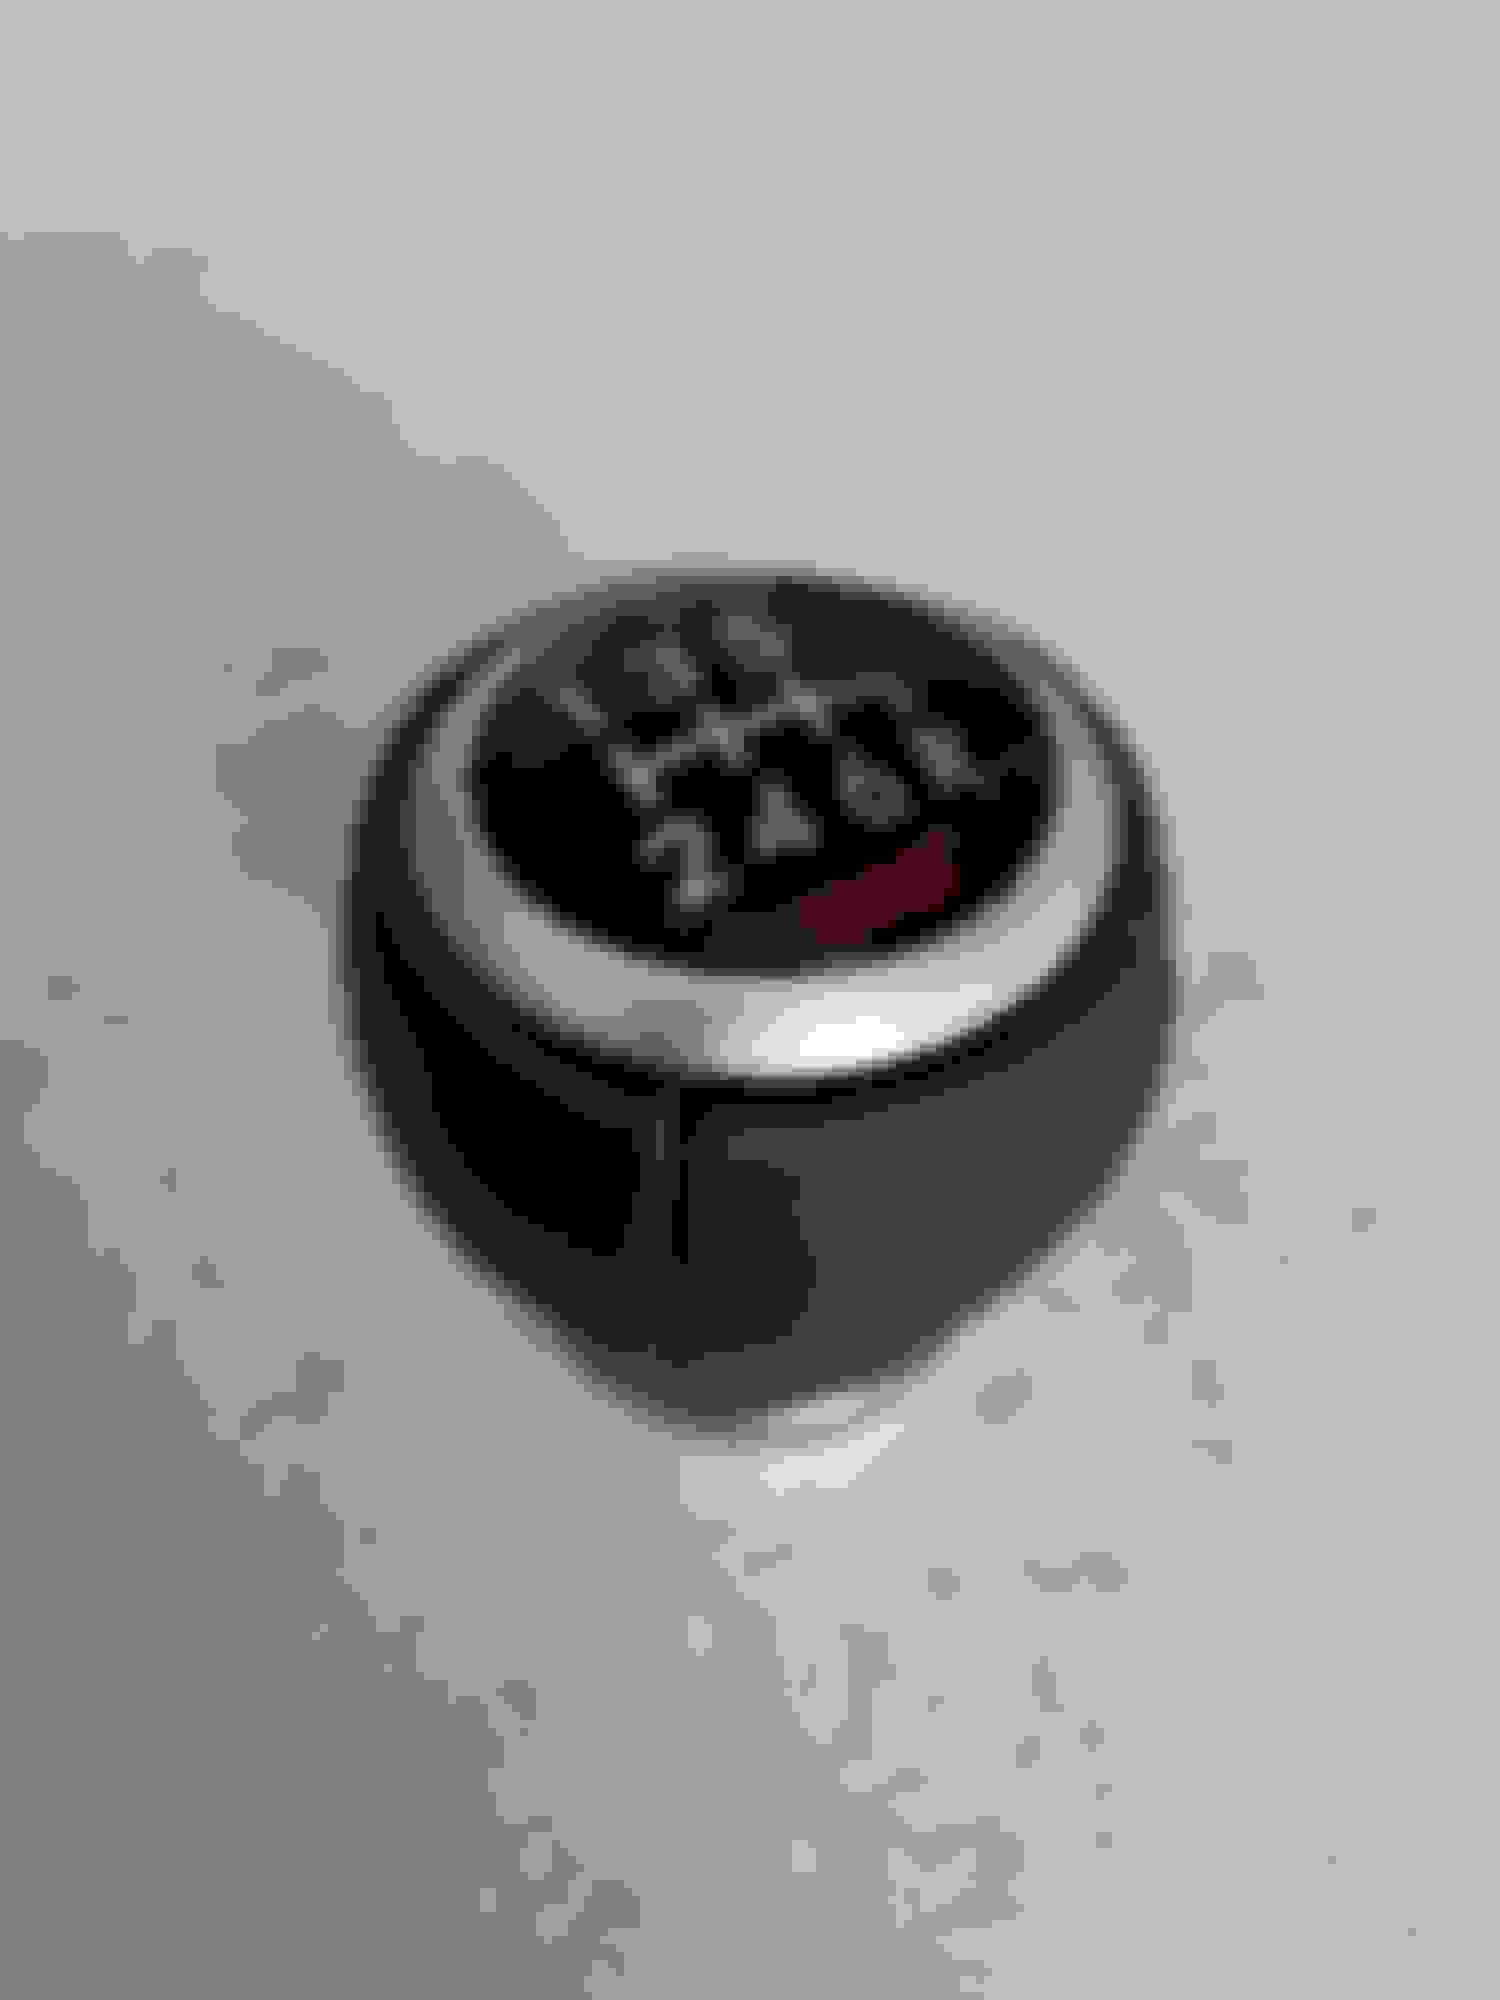
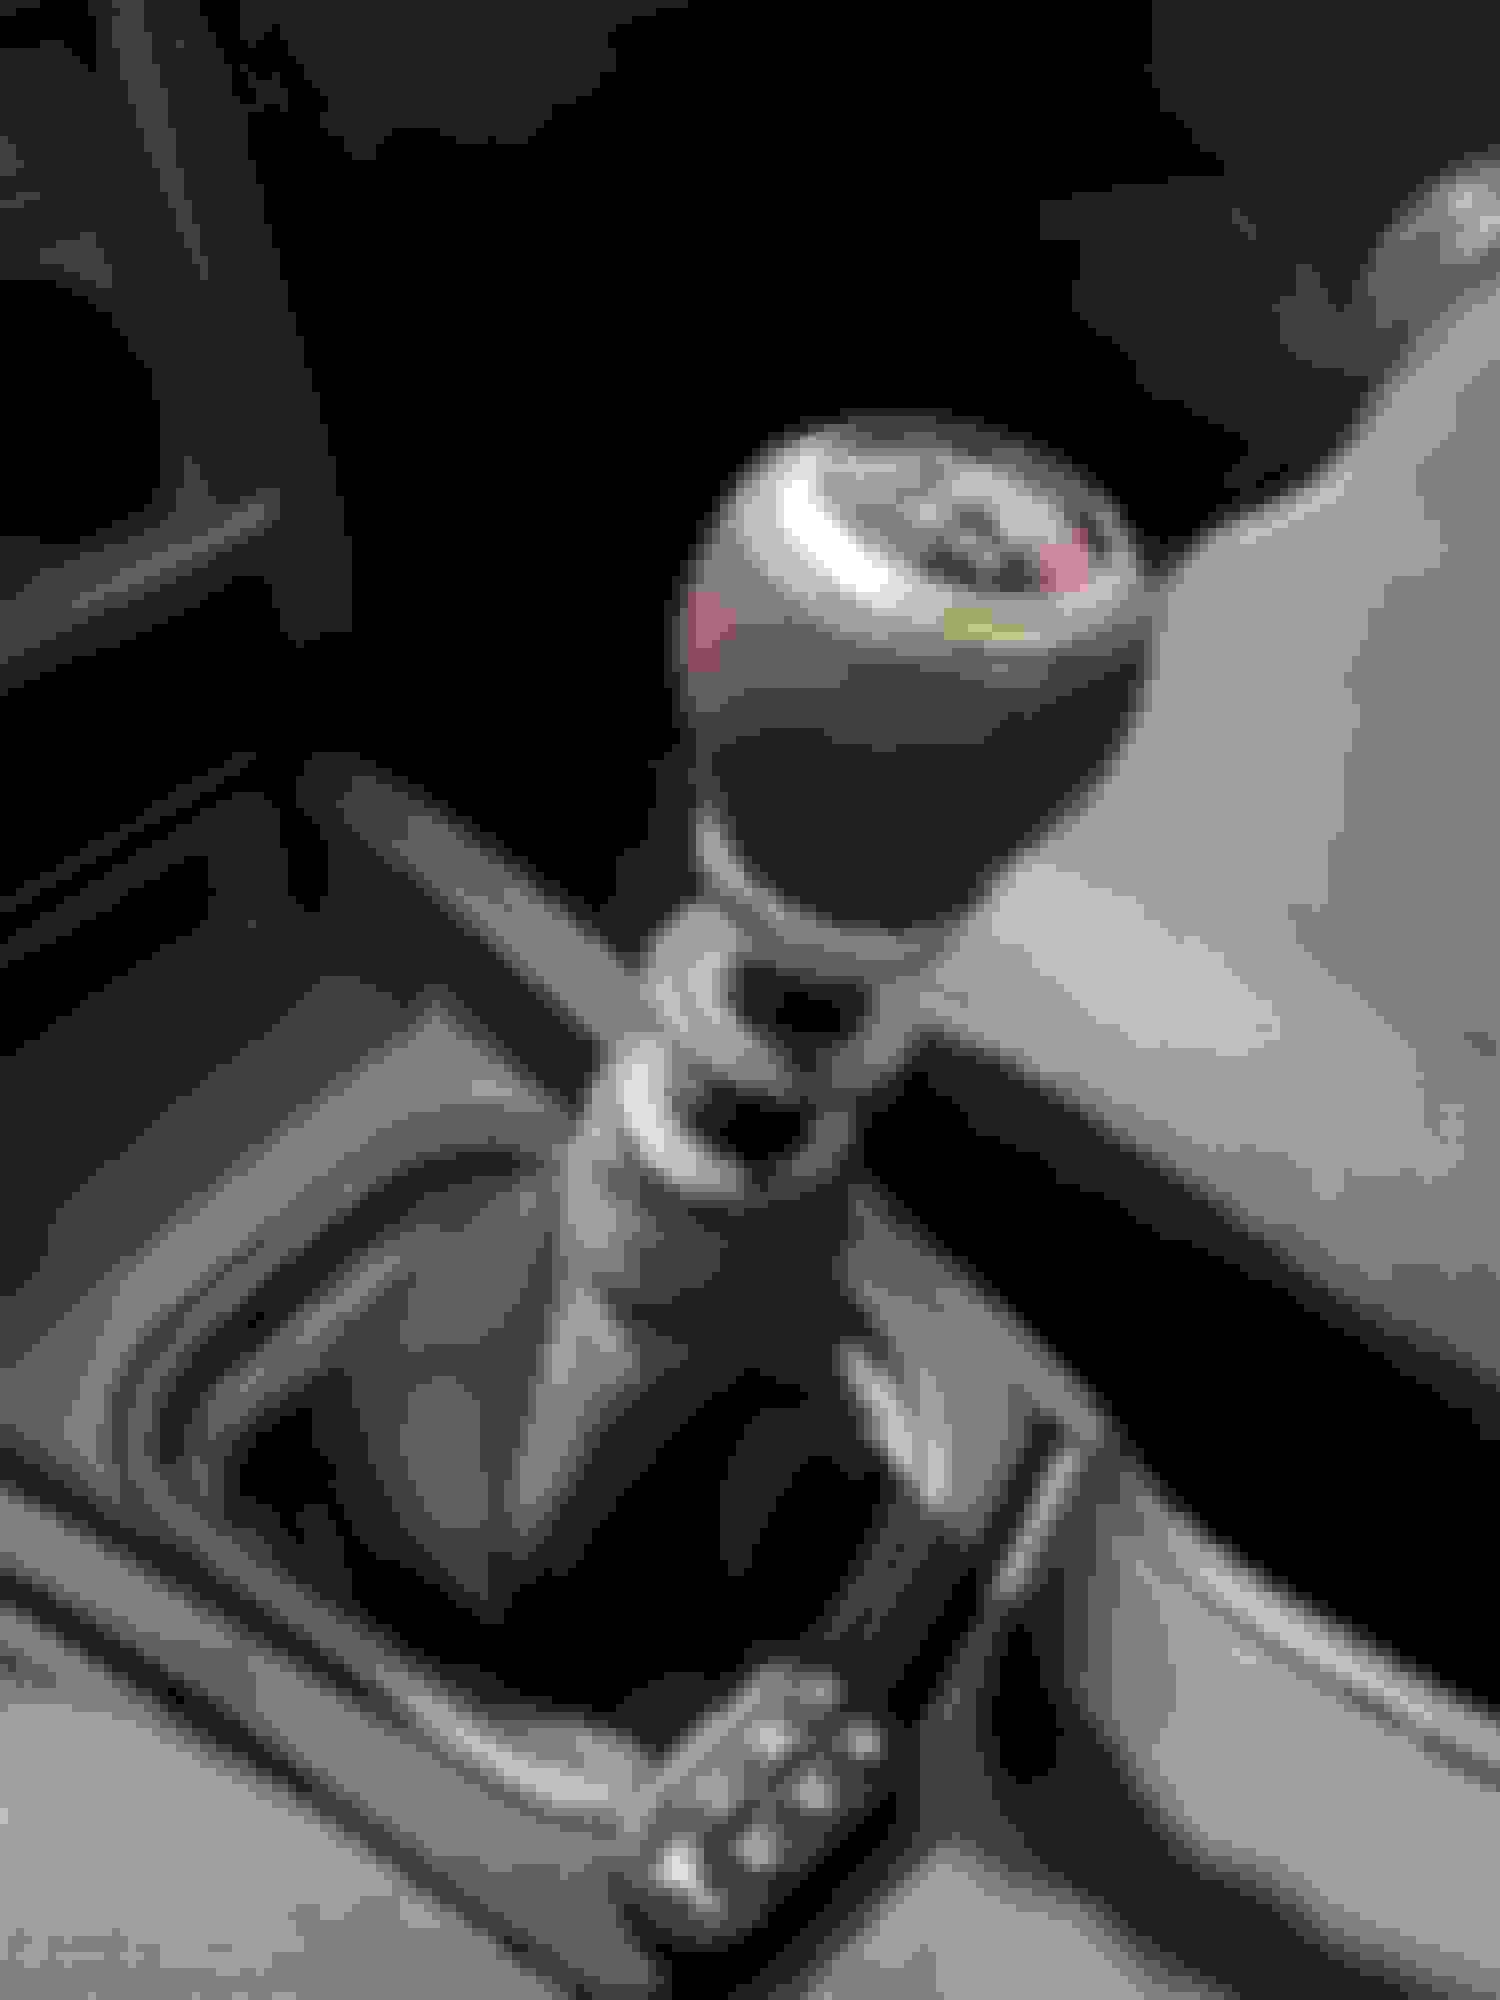
STI S207 (I think) shifter ****:
A picture of the parts together:
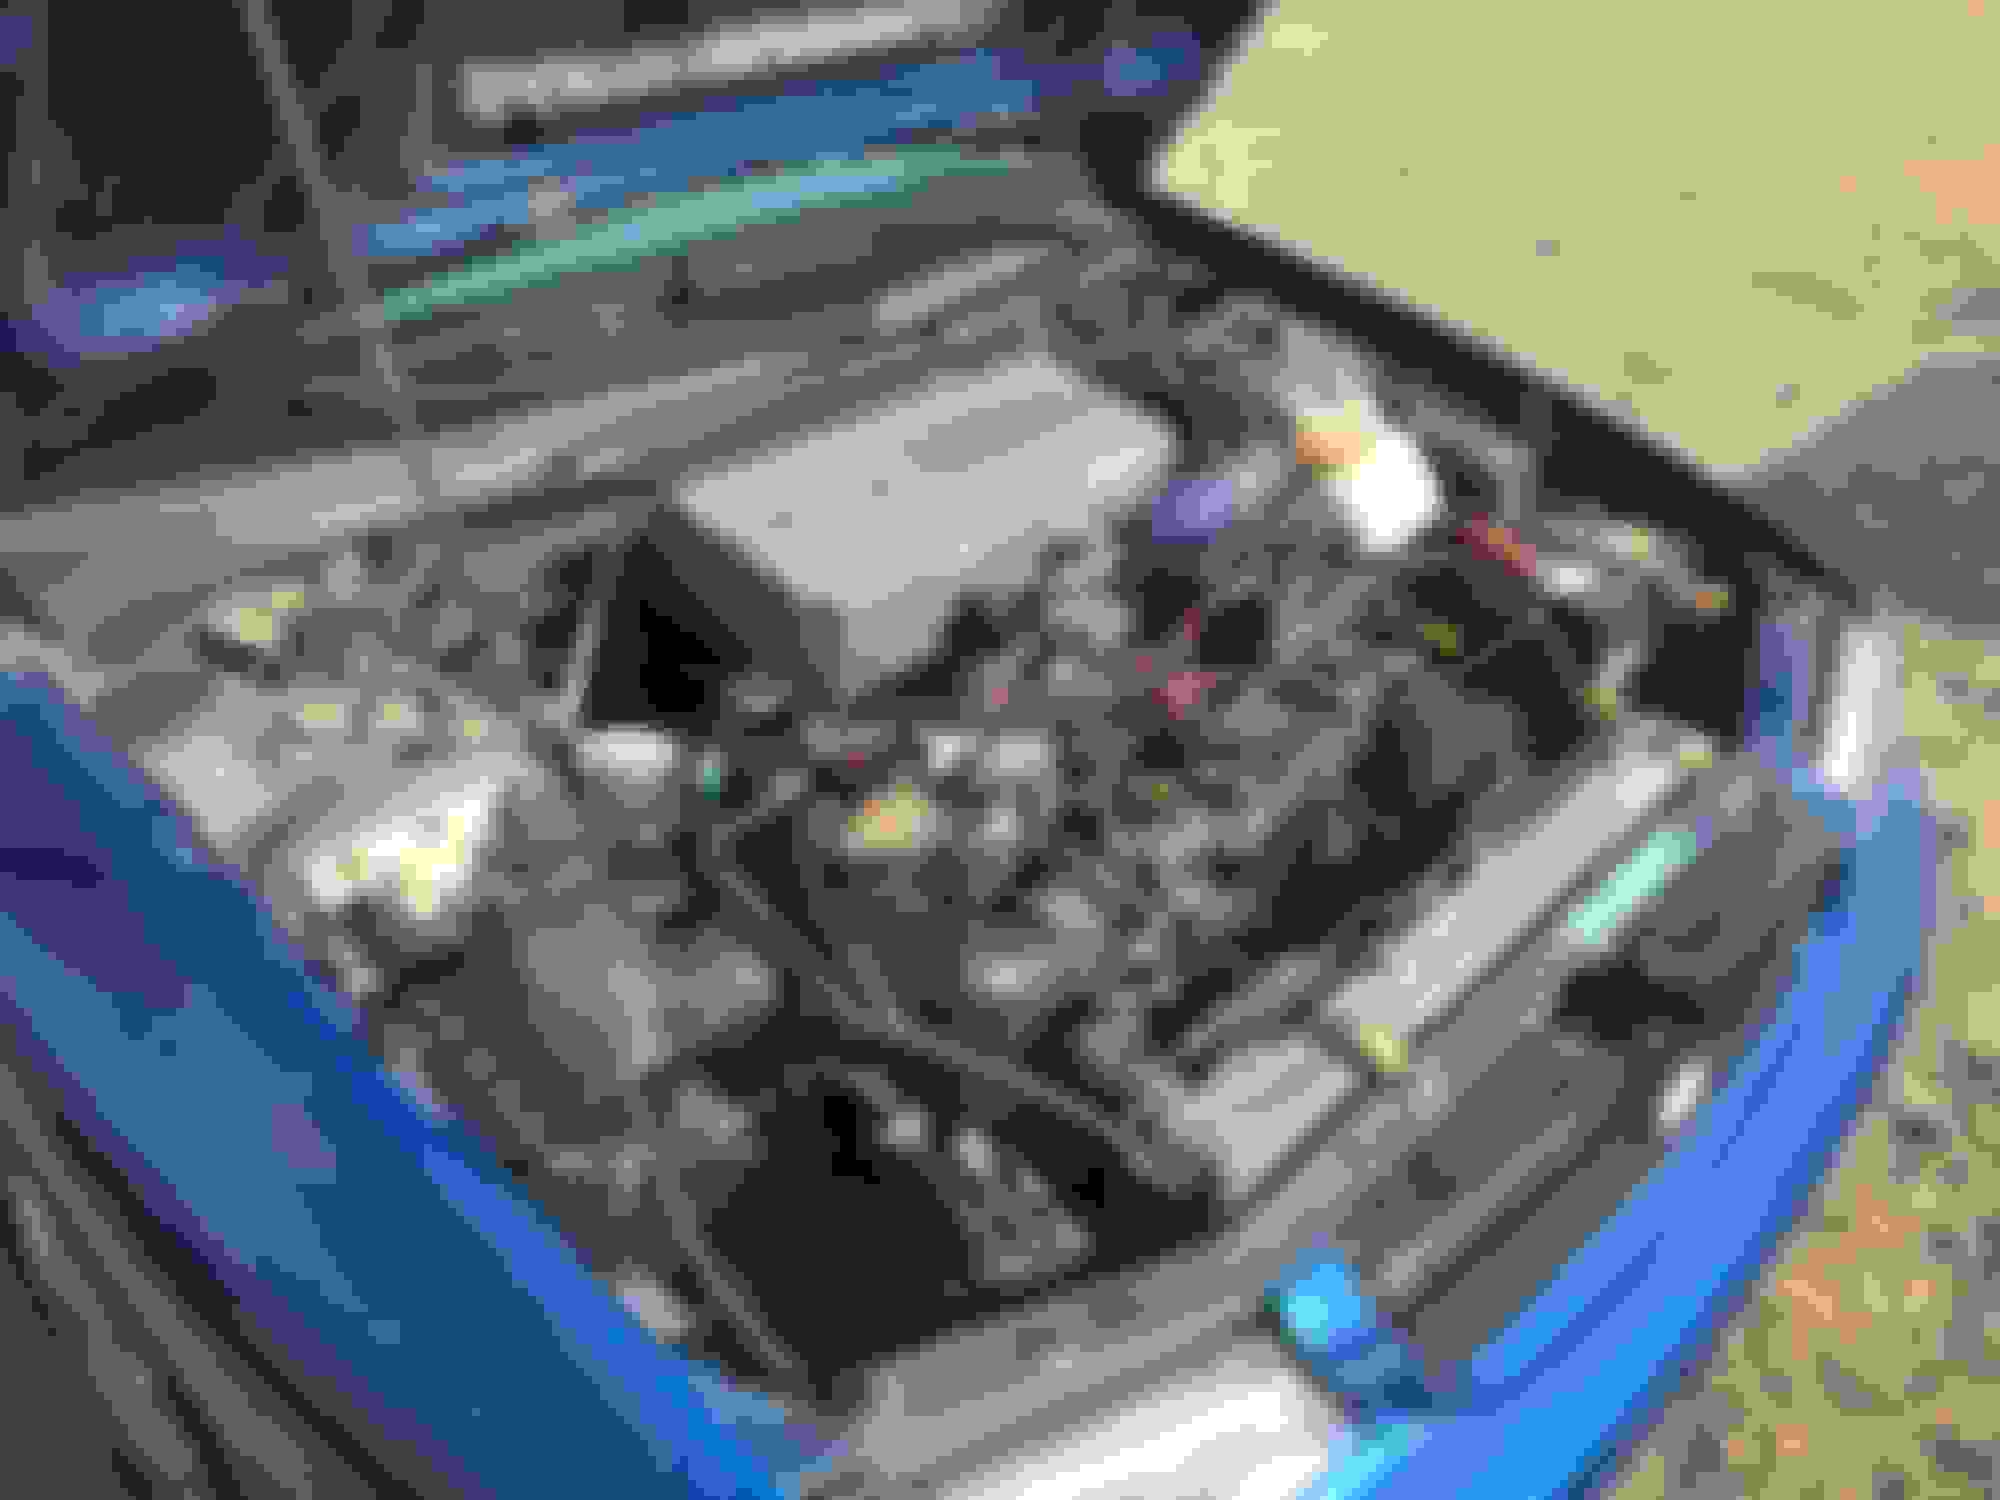
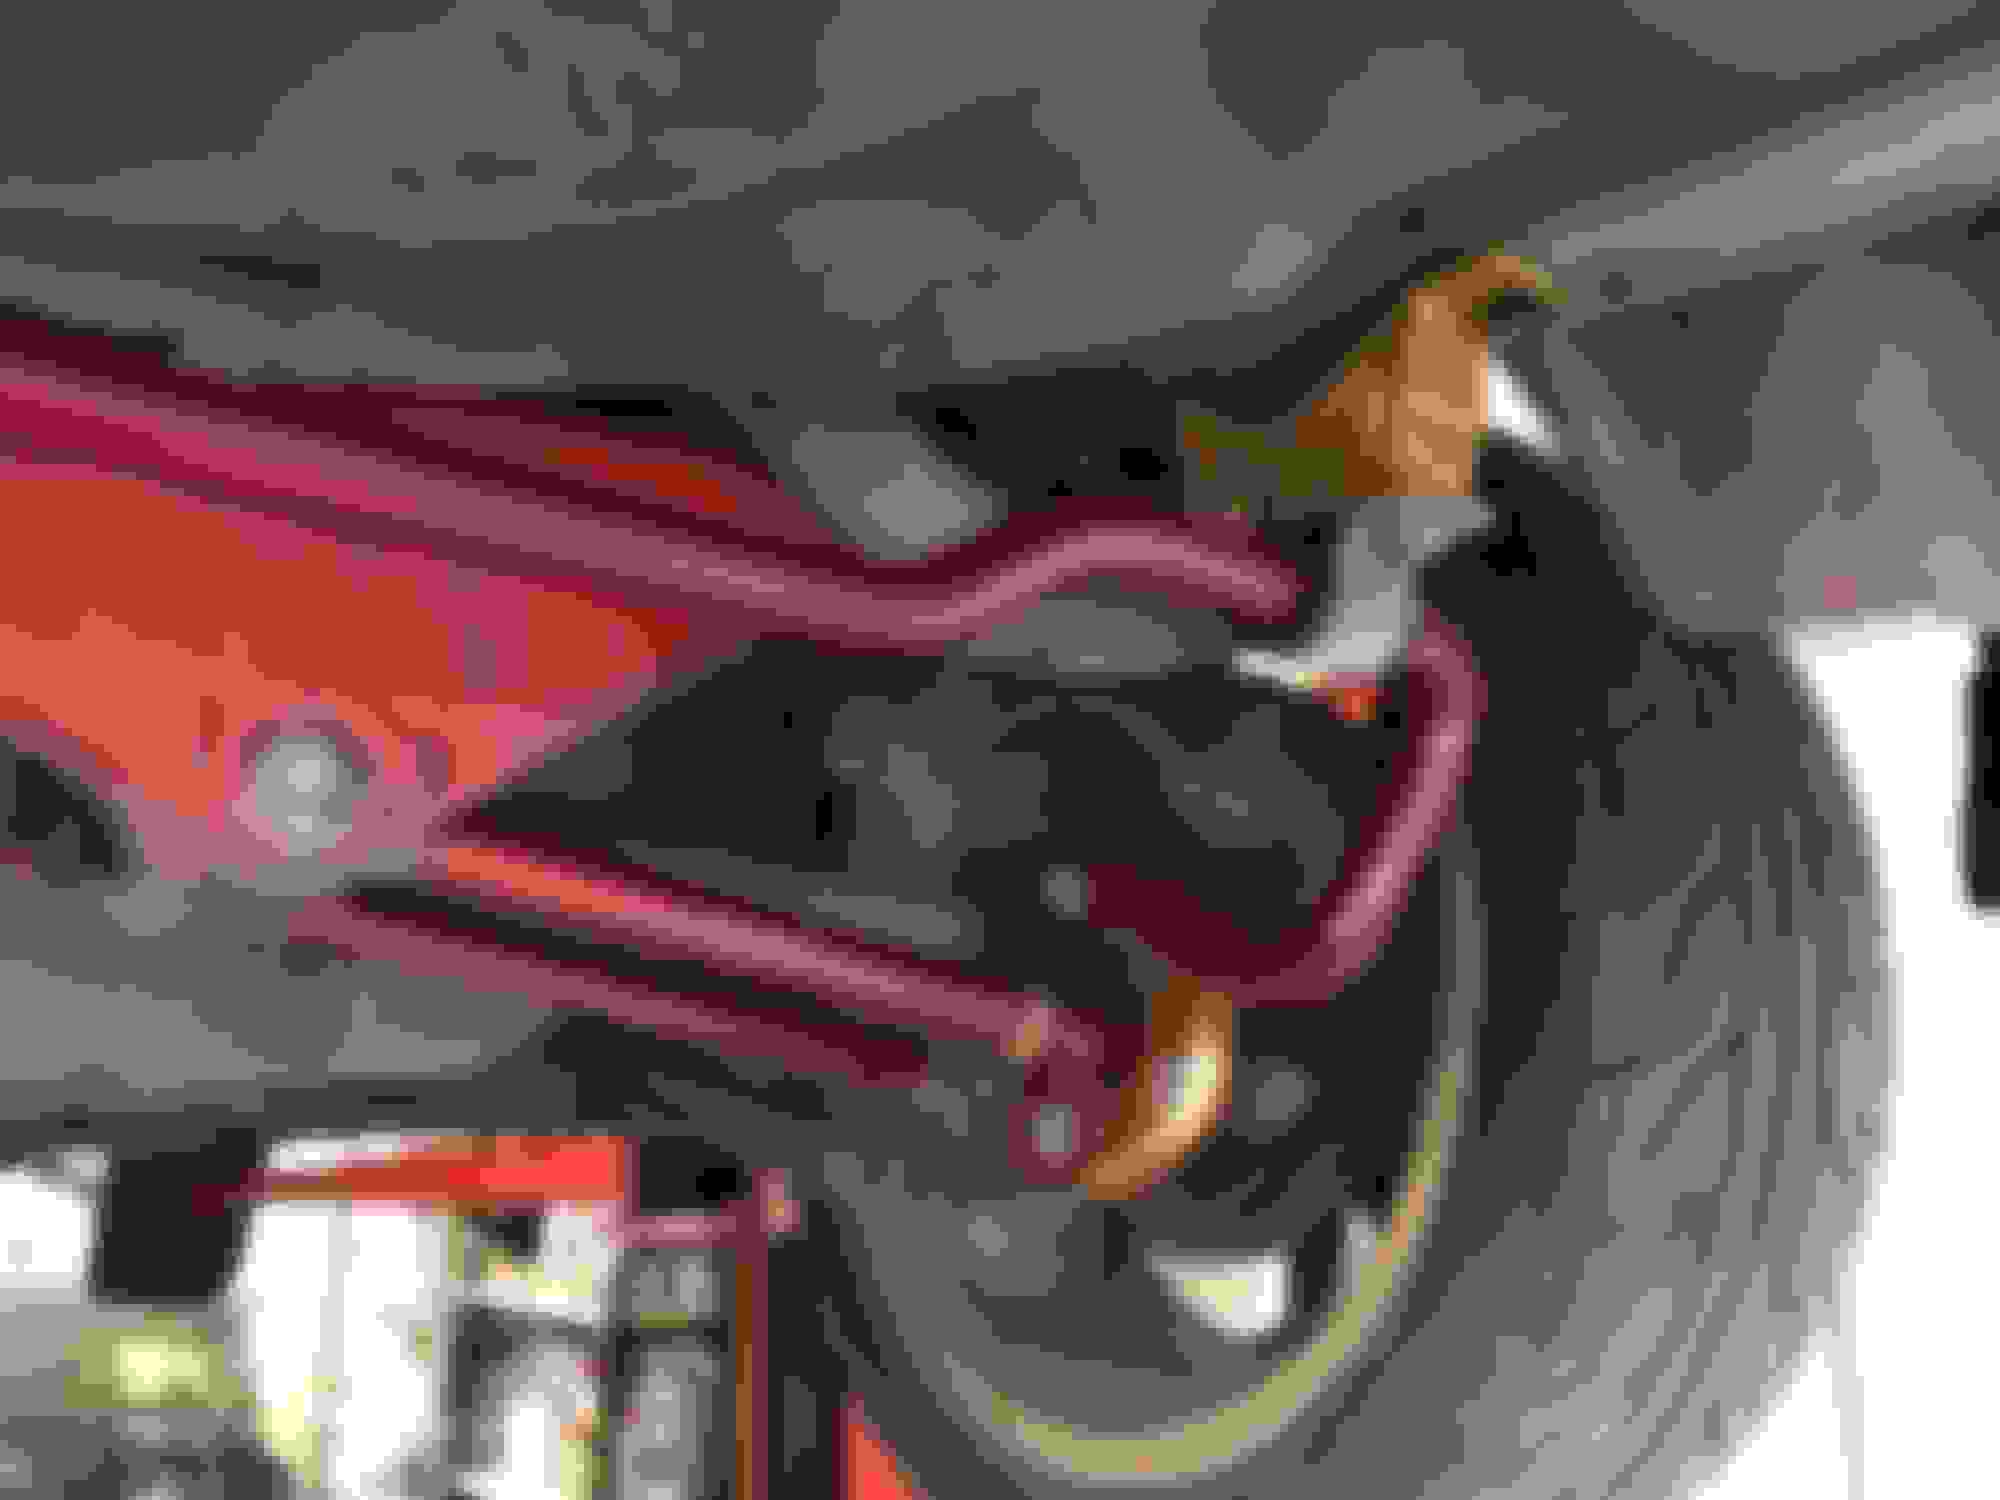
And here are pictures of everything installed on the car:
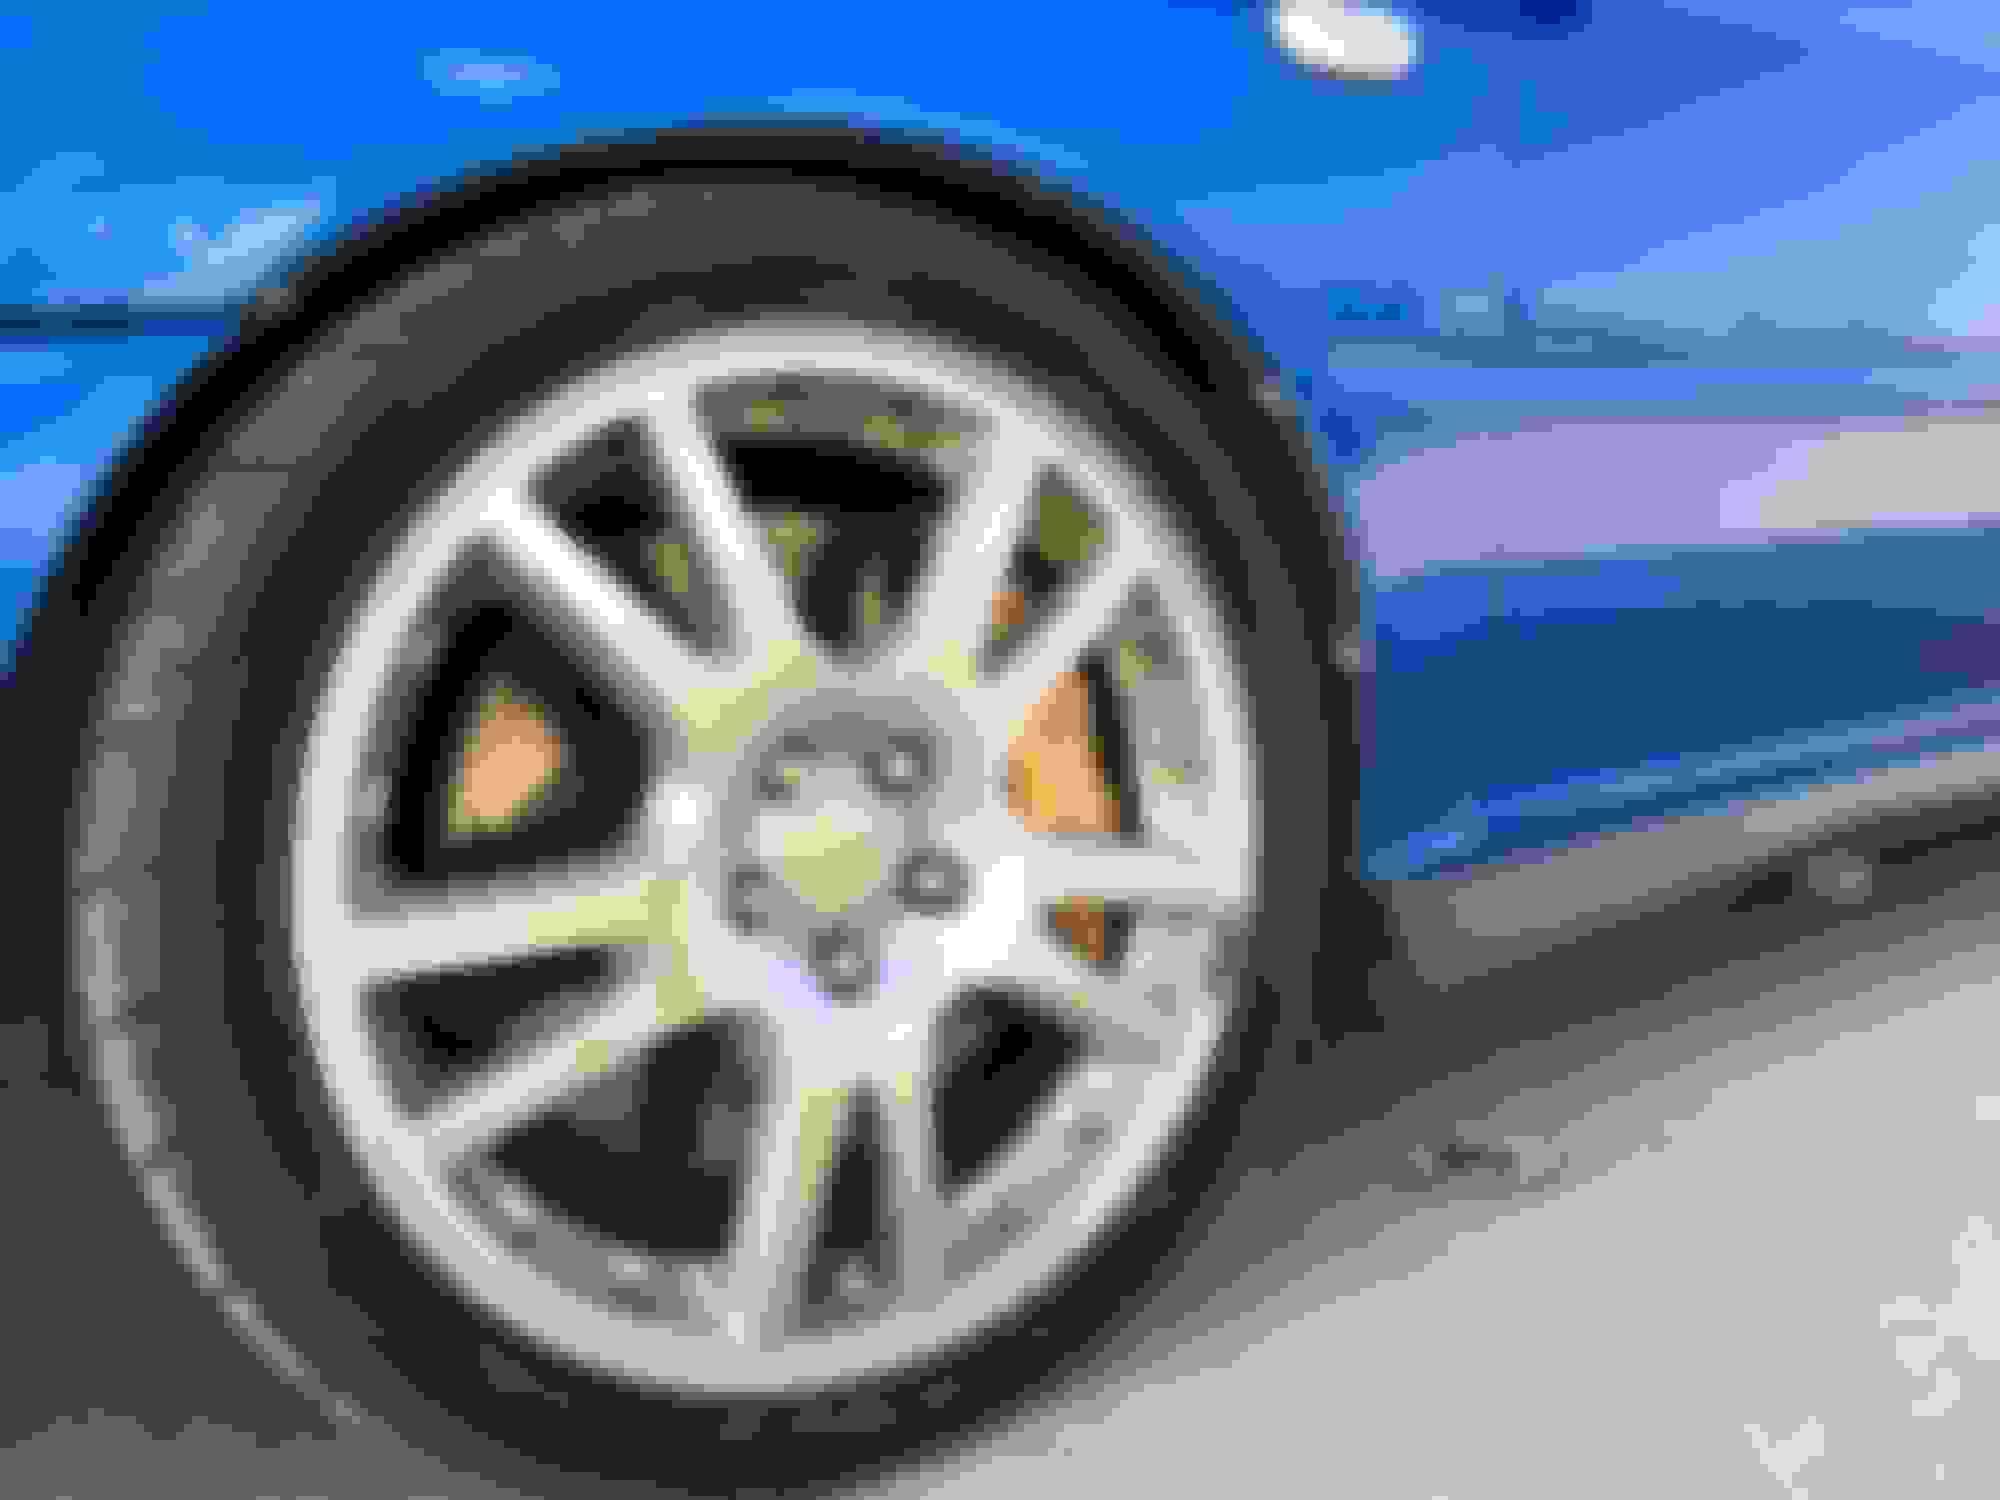
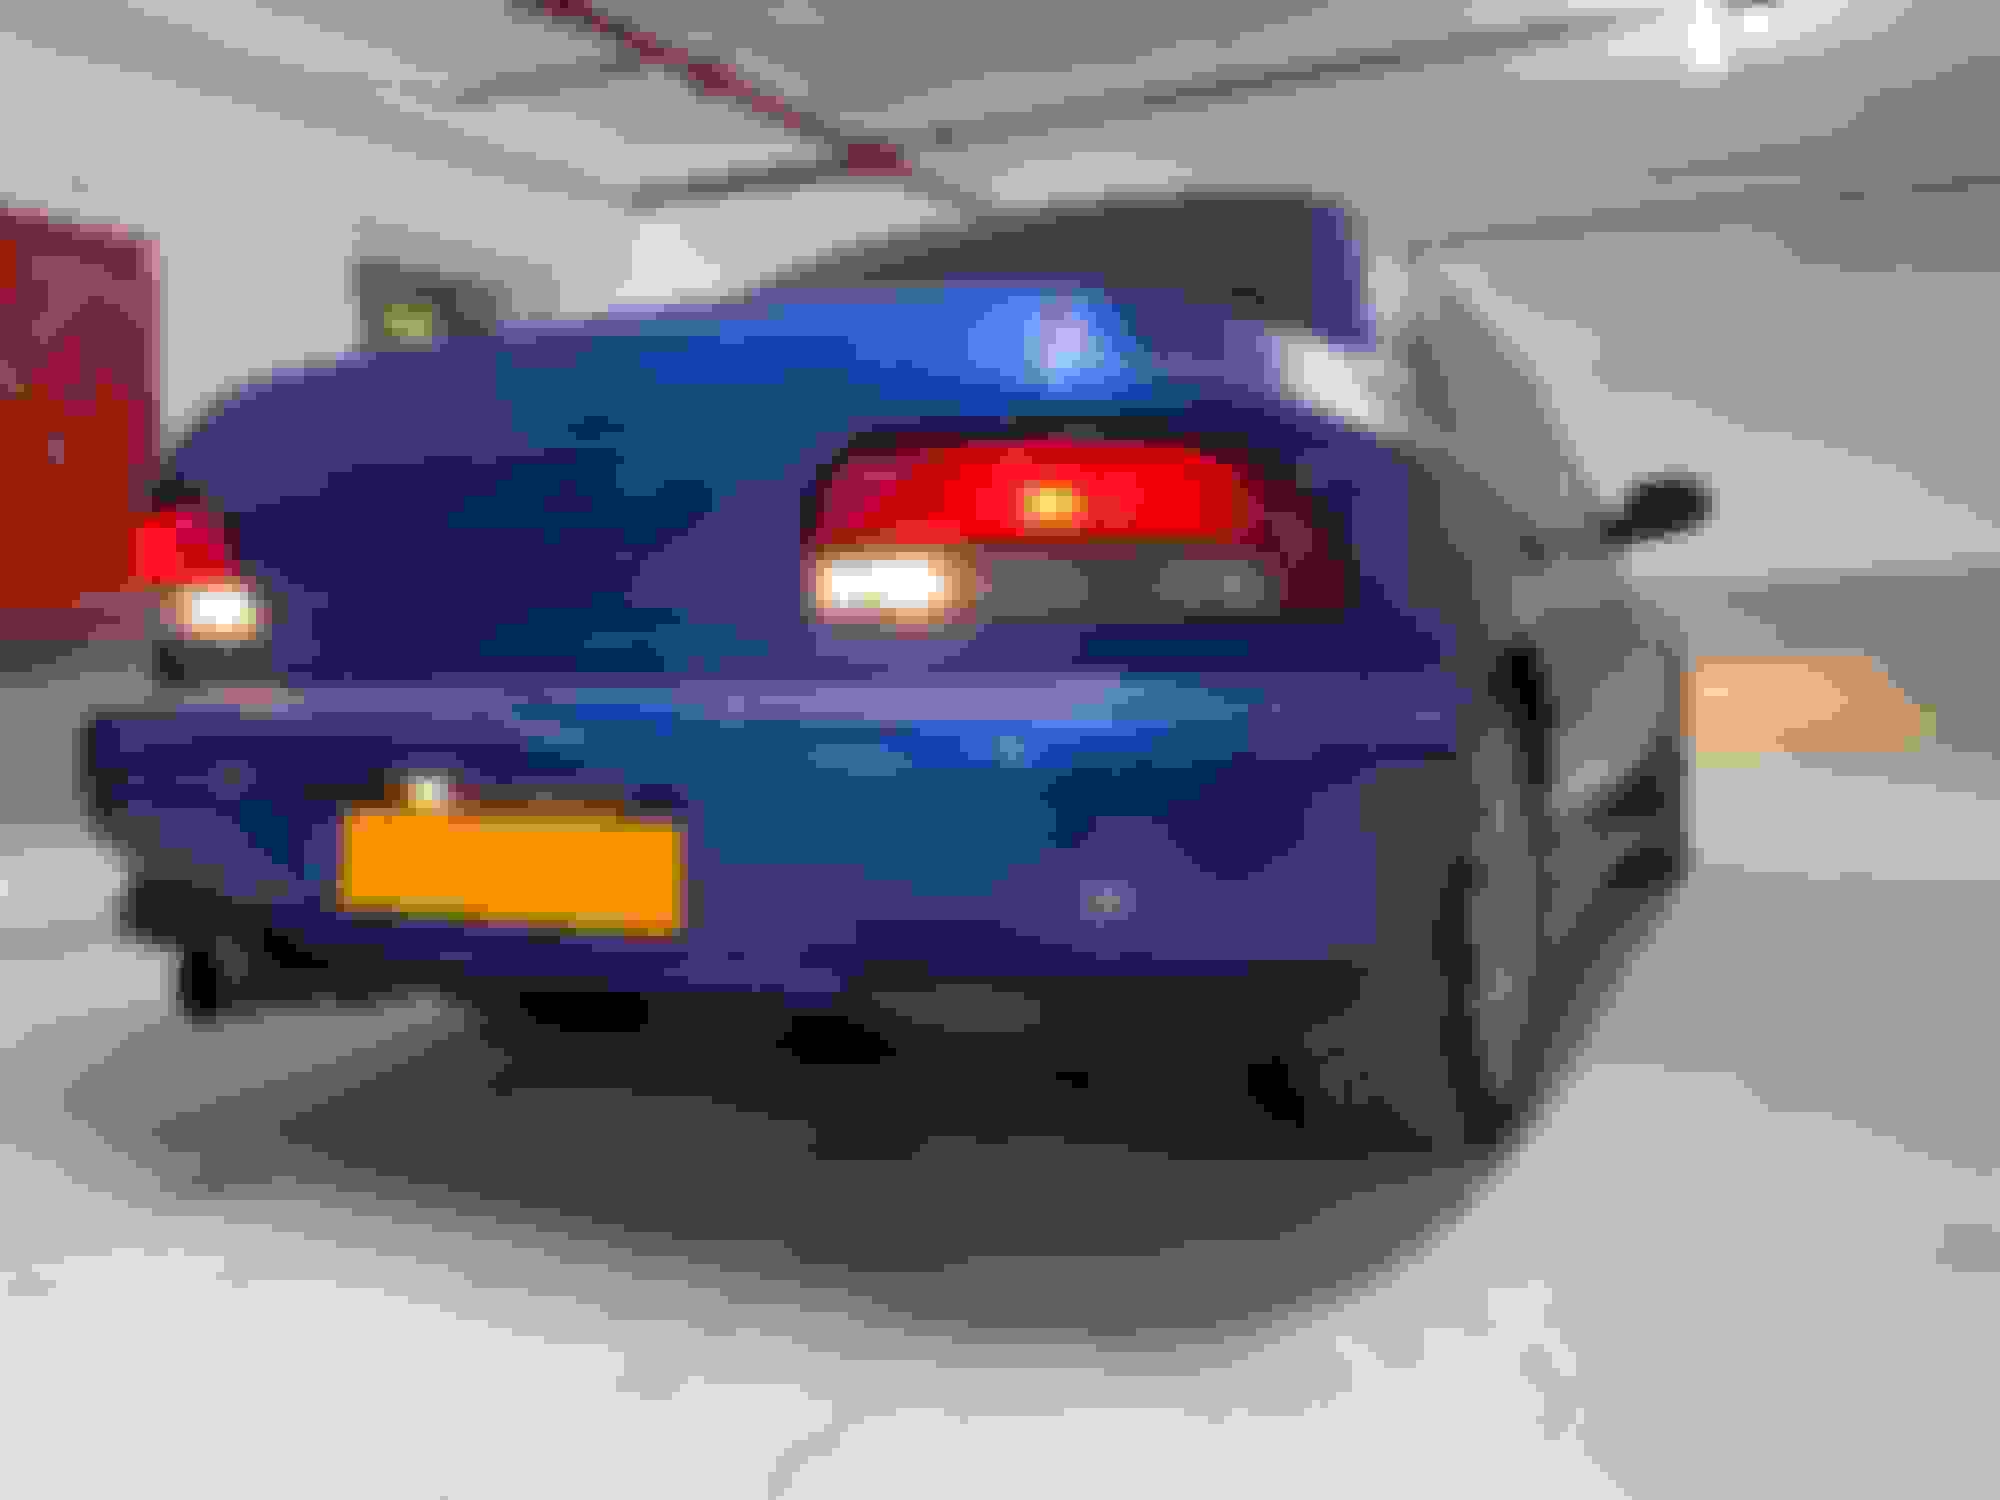
Also gained a slight width in rear wheel base (wheels now sitting flush with the fenders. Happy days!!):
This is the before (5spd gearbox and R160 rear components):
This is after (6spd gearbox and rear R180 components):
Much happier with the way the wheels are aligned with the fenders! If you'll notice, the rear wheels were sitting a little closer to the car center with the R160 parts. Everything was pushed out a little with the R180.
Now, since I have quite a lot going on with the car and still have lots more to do, I decided to start documenting everything I do on YouTube so if anyone would like to follow along, you're more than welcome! I'm not very good at it yet but you need to start somewhere.
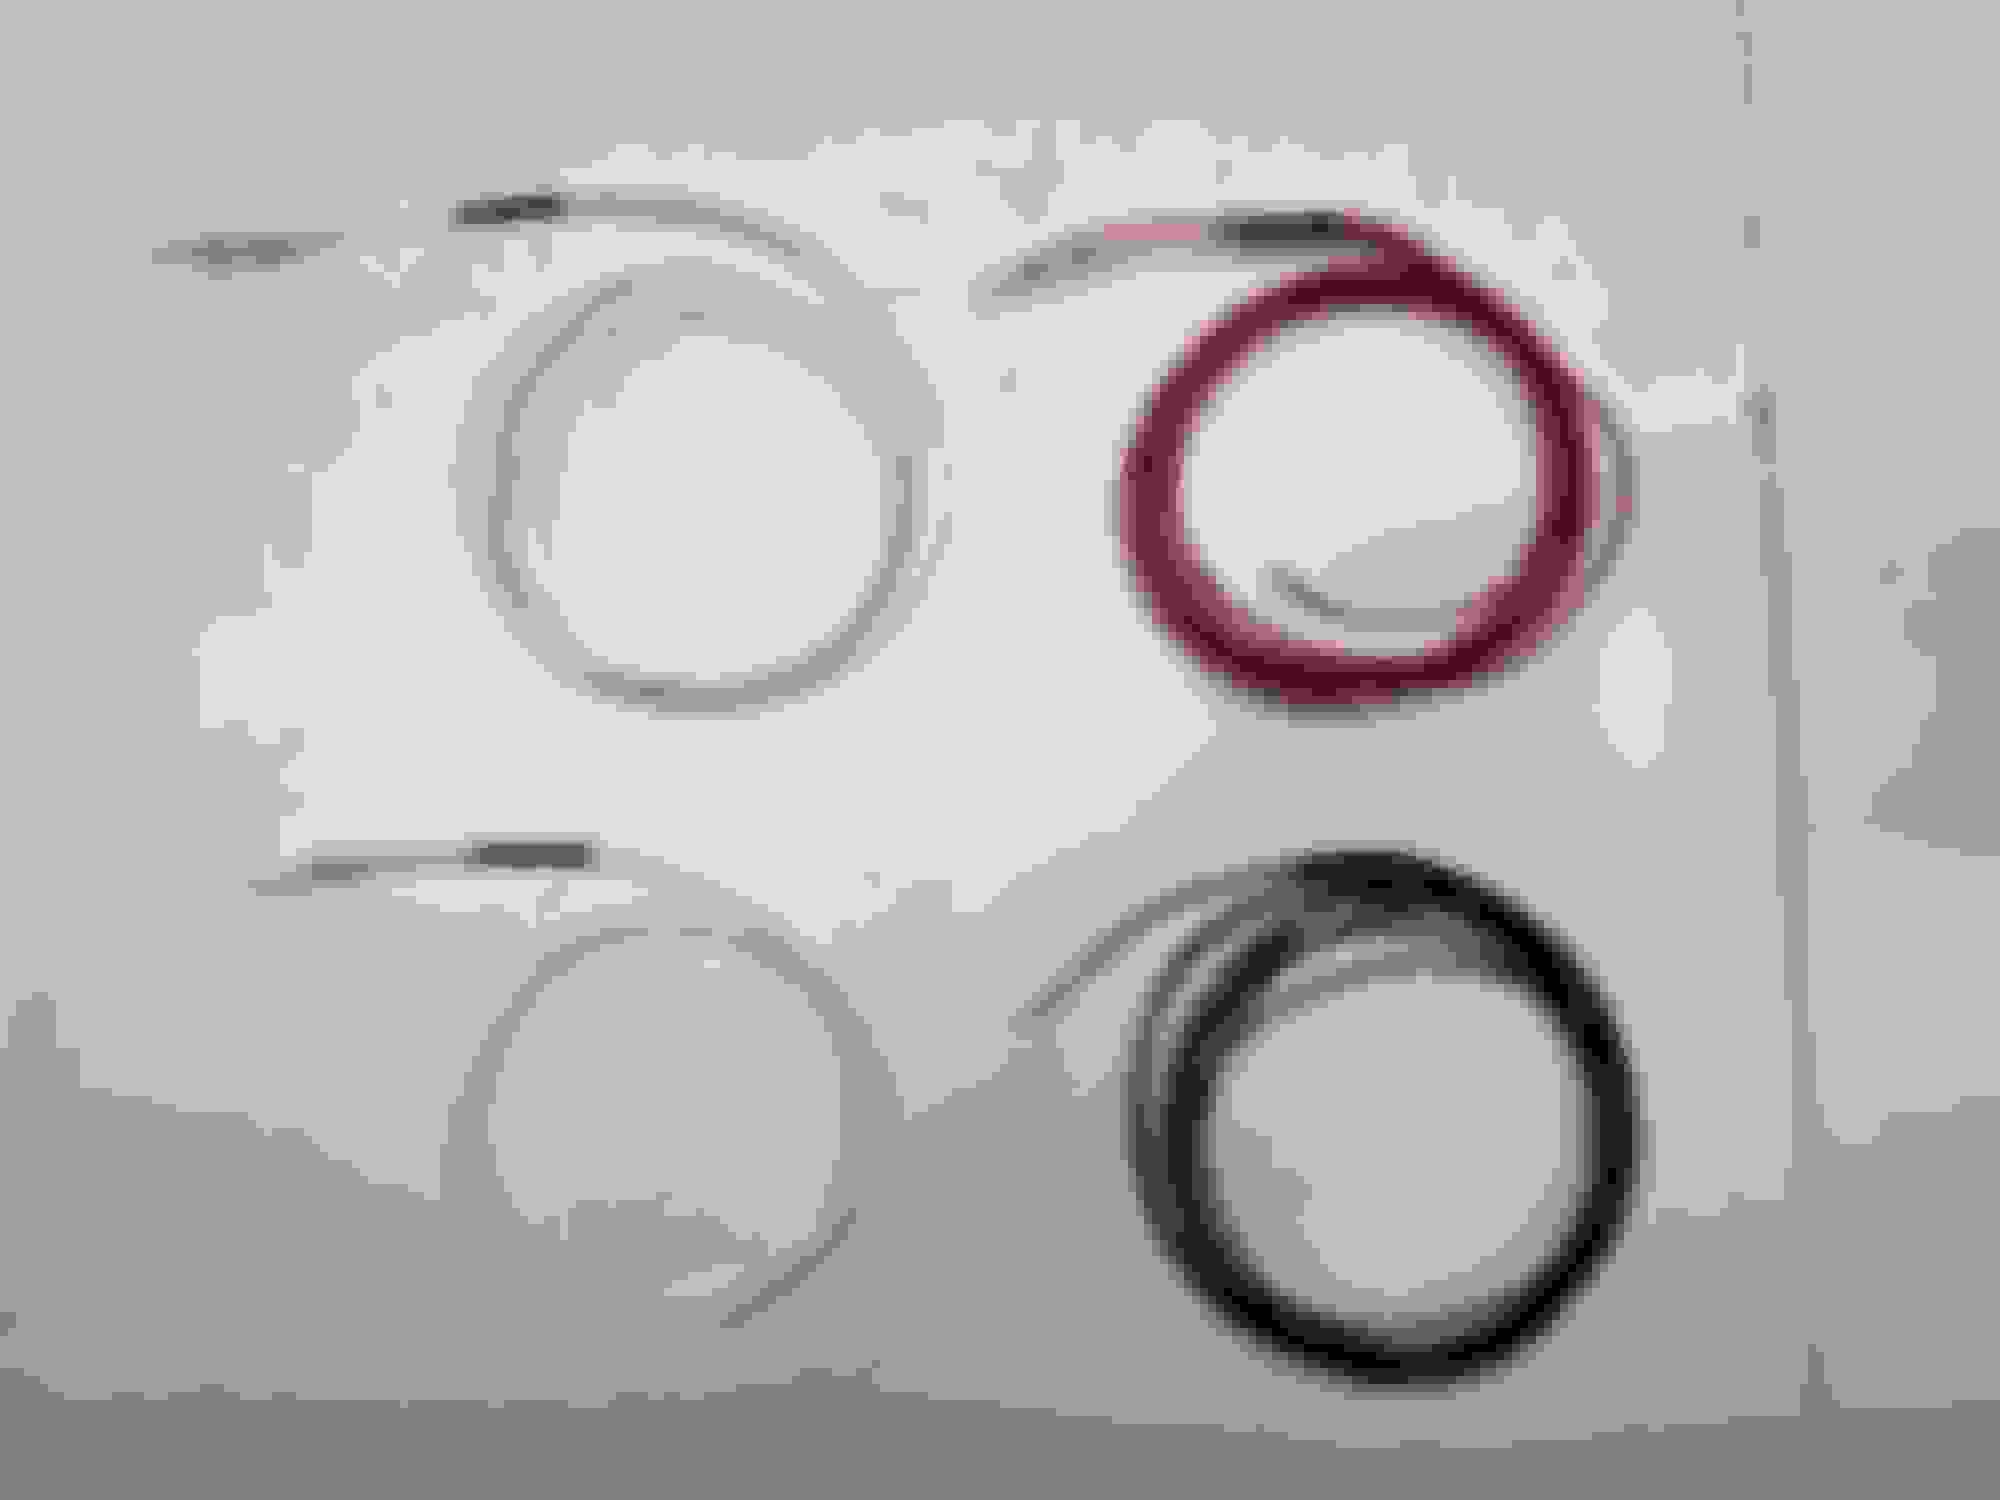
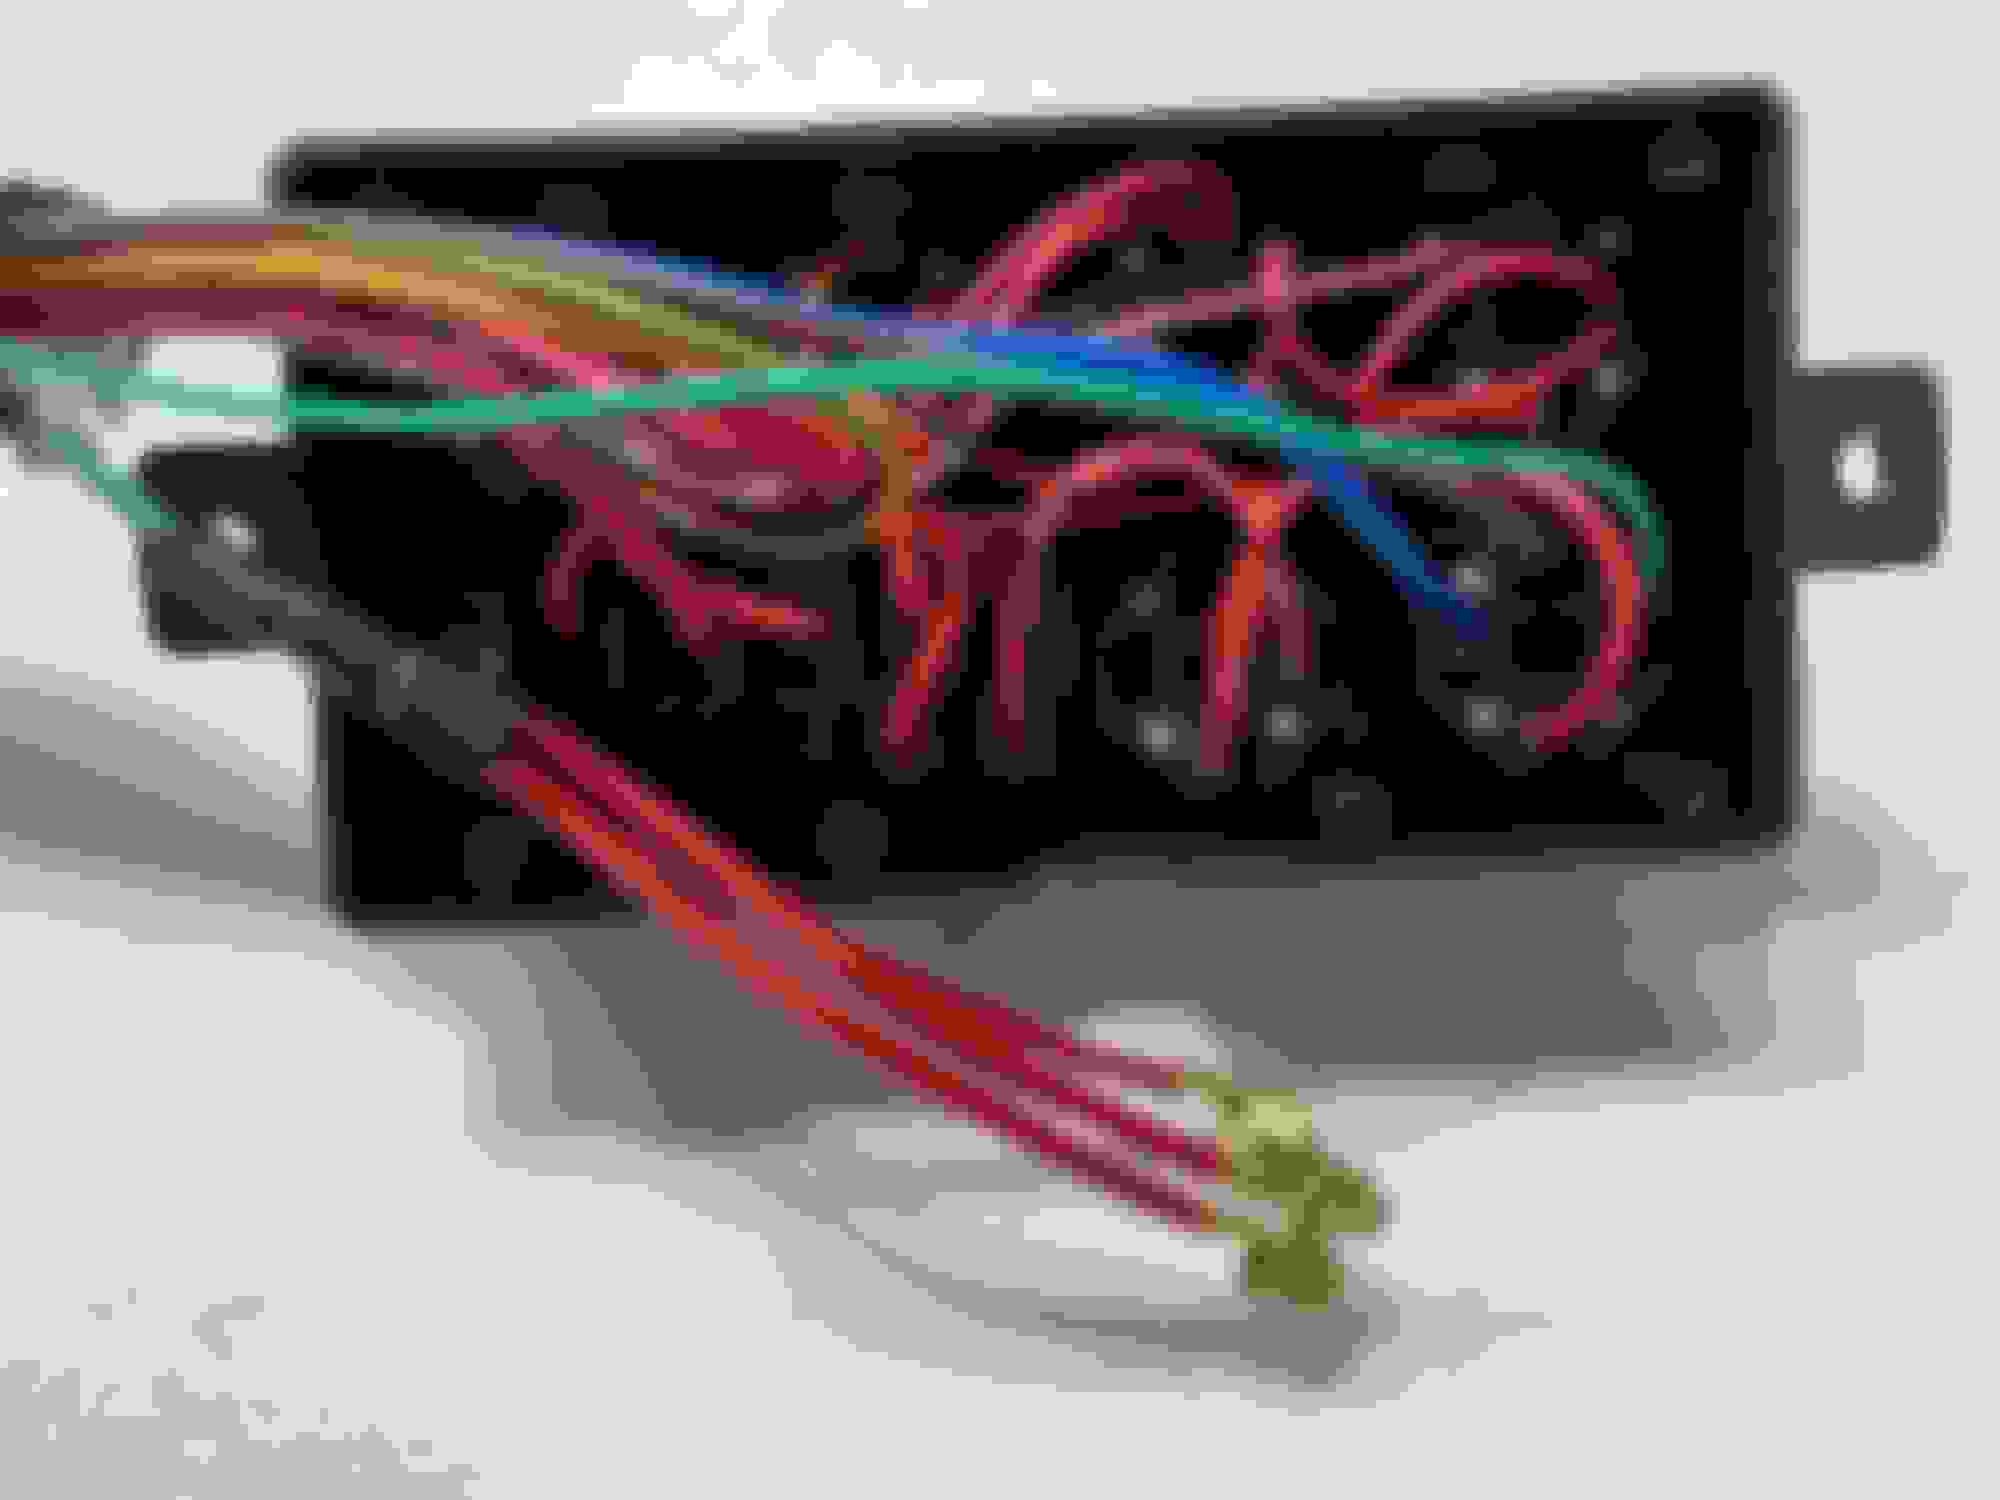
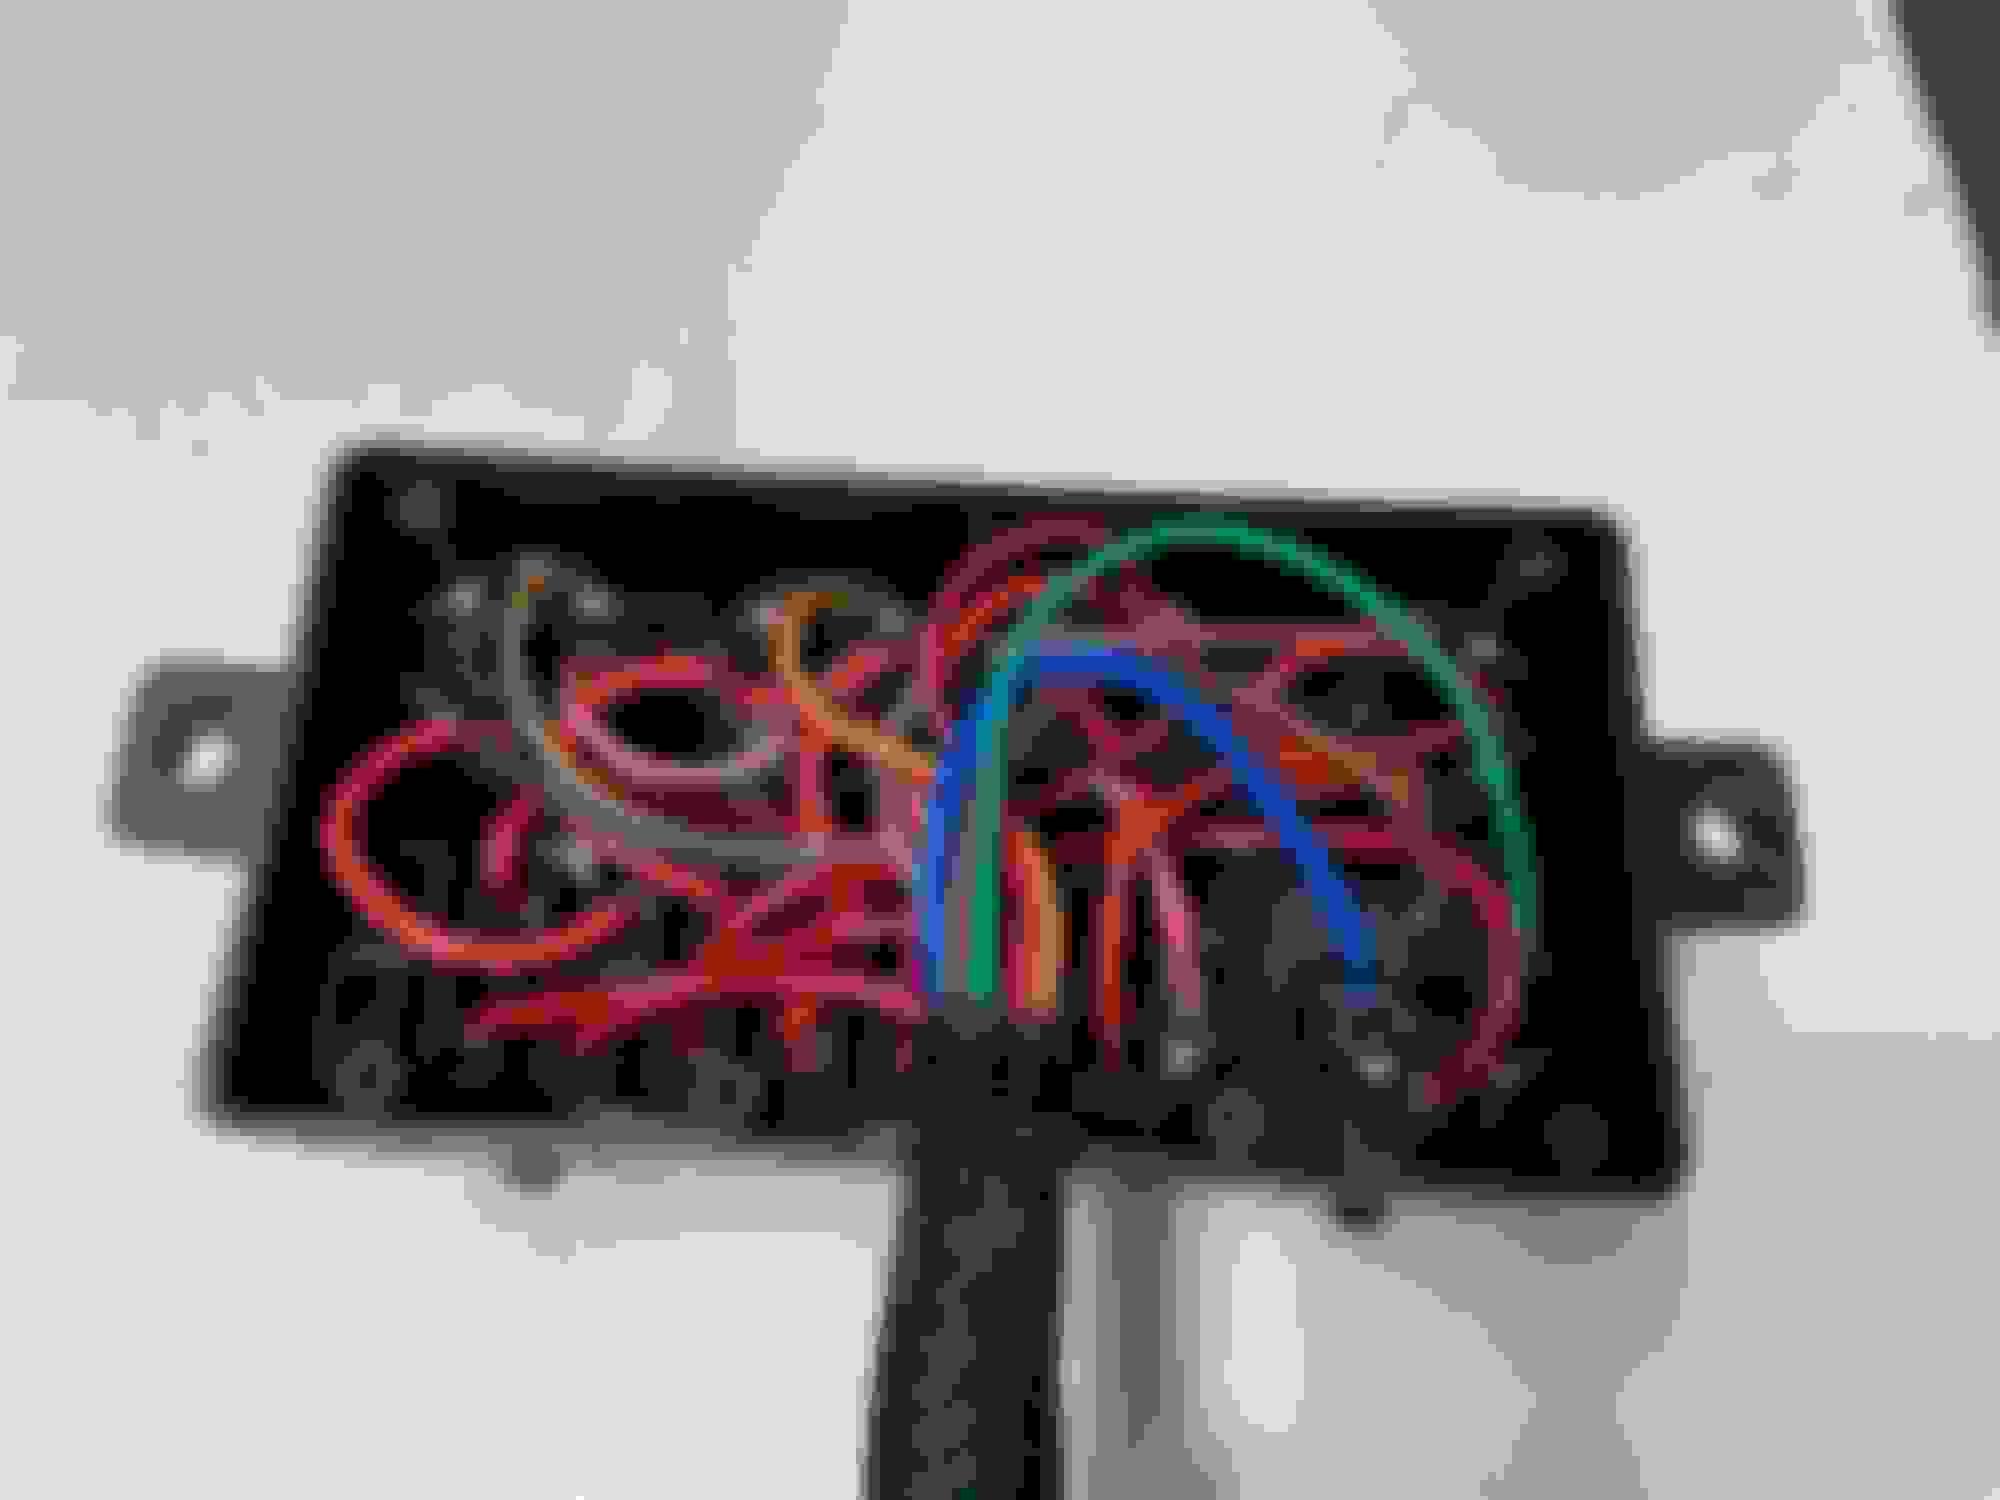
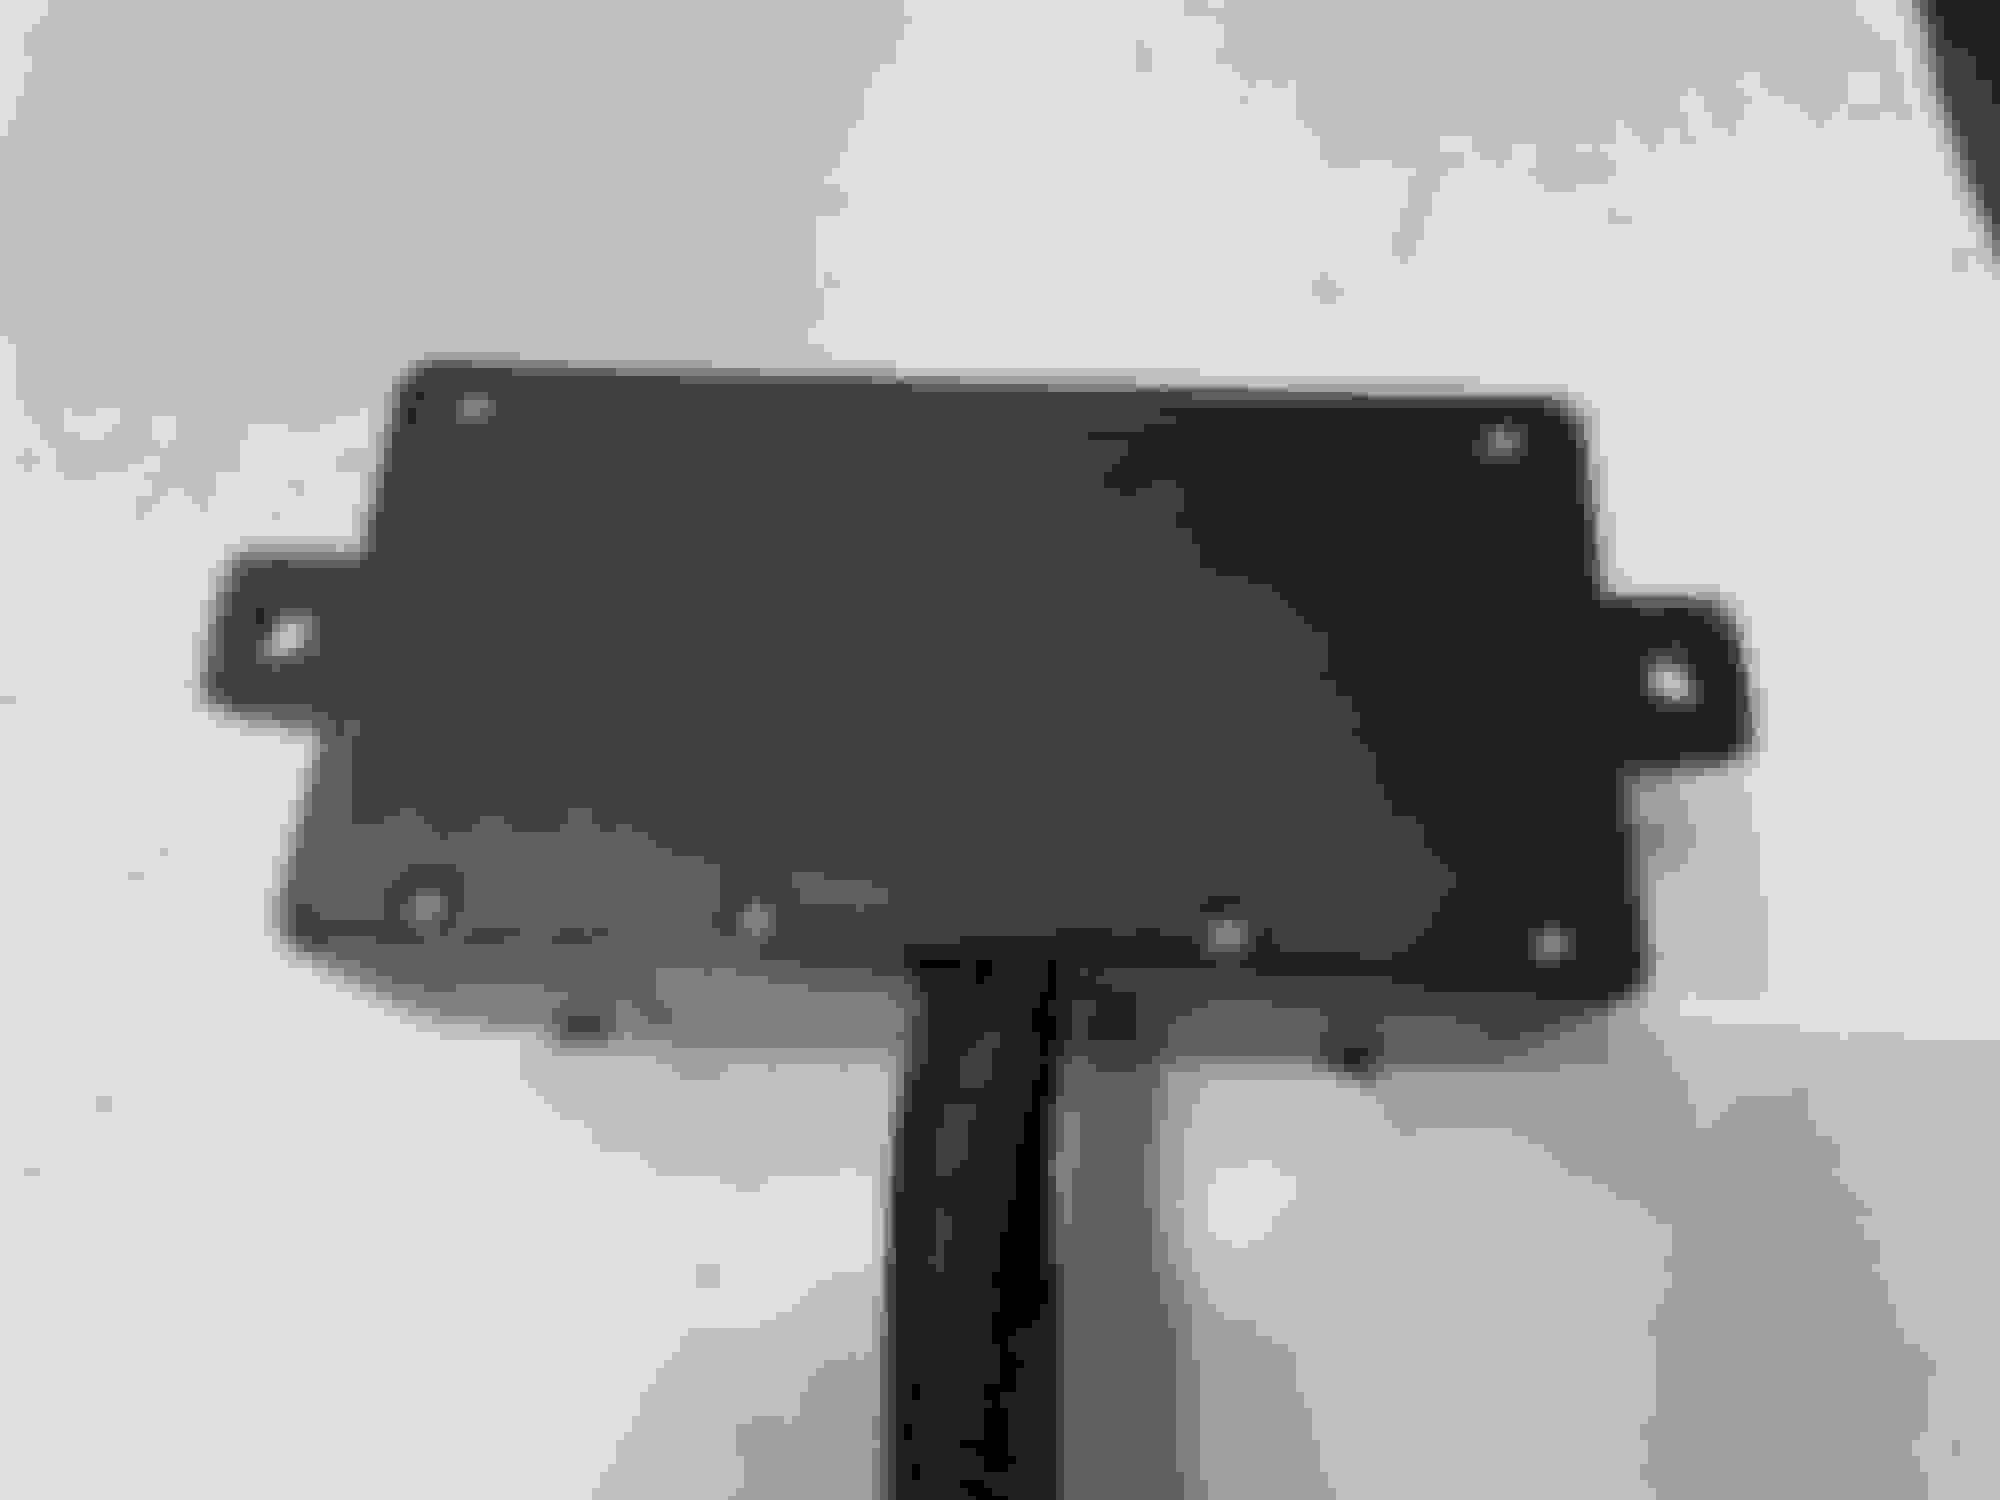
I have finally completed stage 2 of 4 which is the engine bay harness.
The plan was to have a bulkhead connector for two main reasons: 1) So the engine could be removed with the harness still attached. 2) So I could change the cabin side harness if I ever decided to upgrade the ECU.
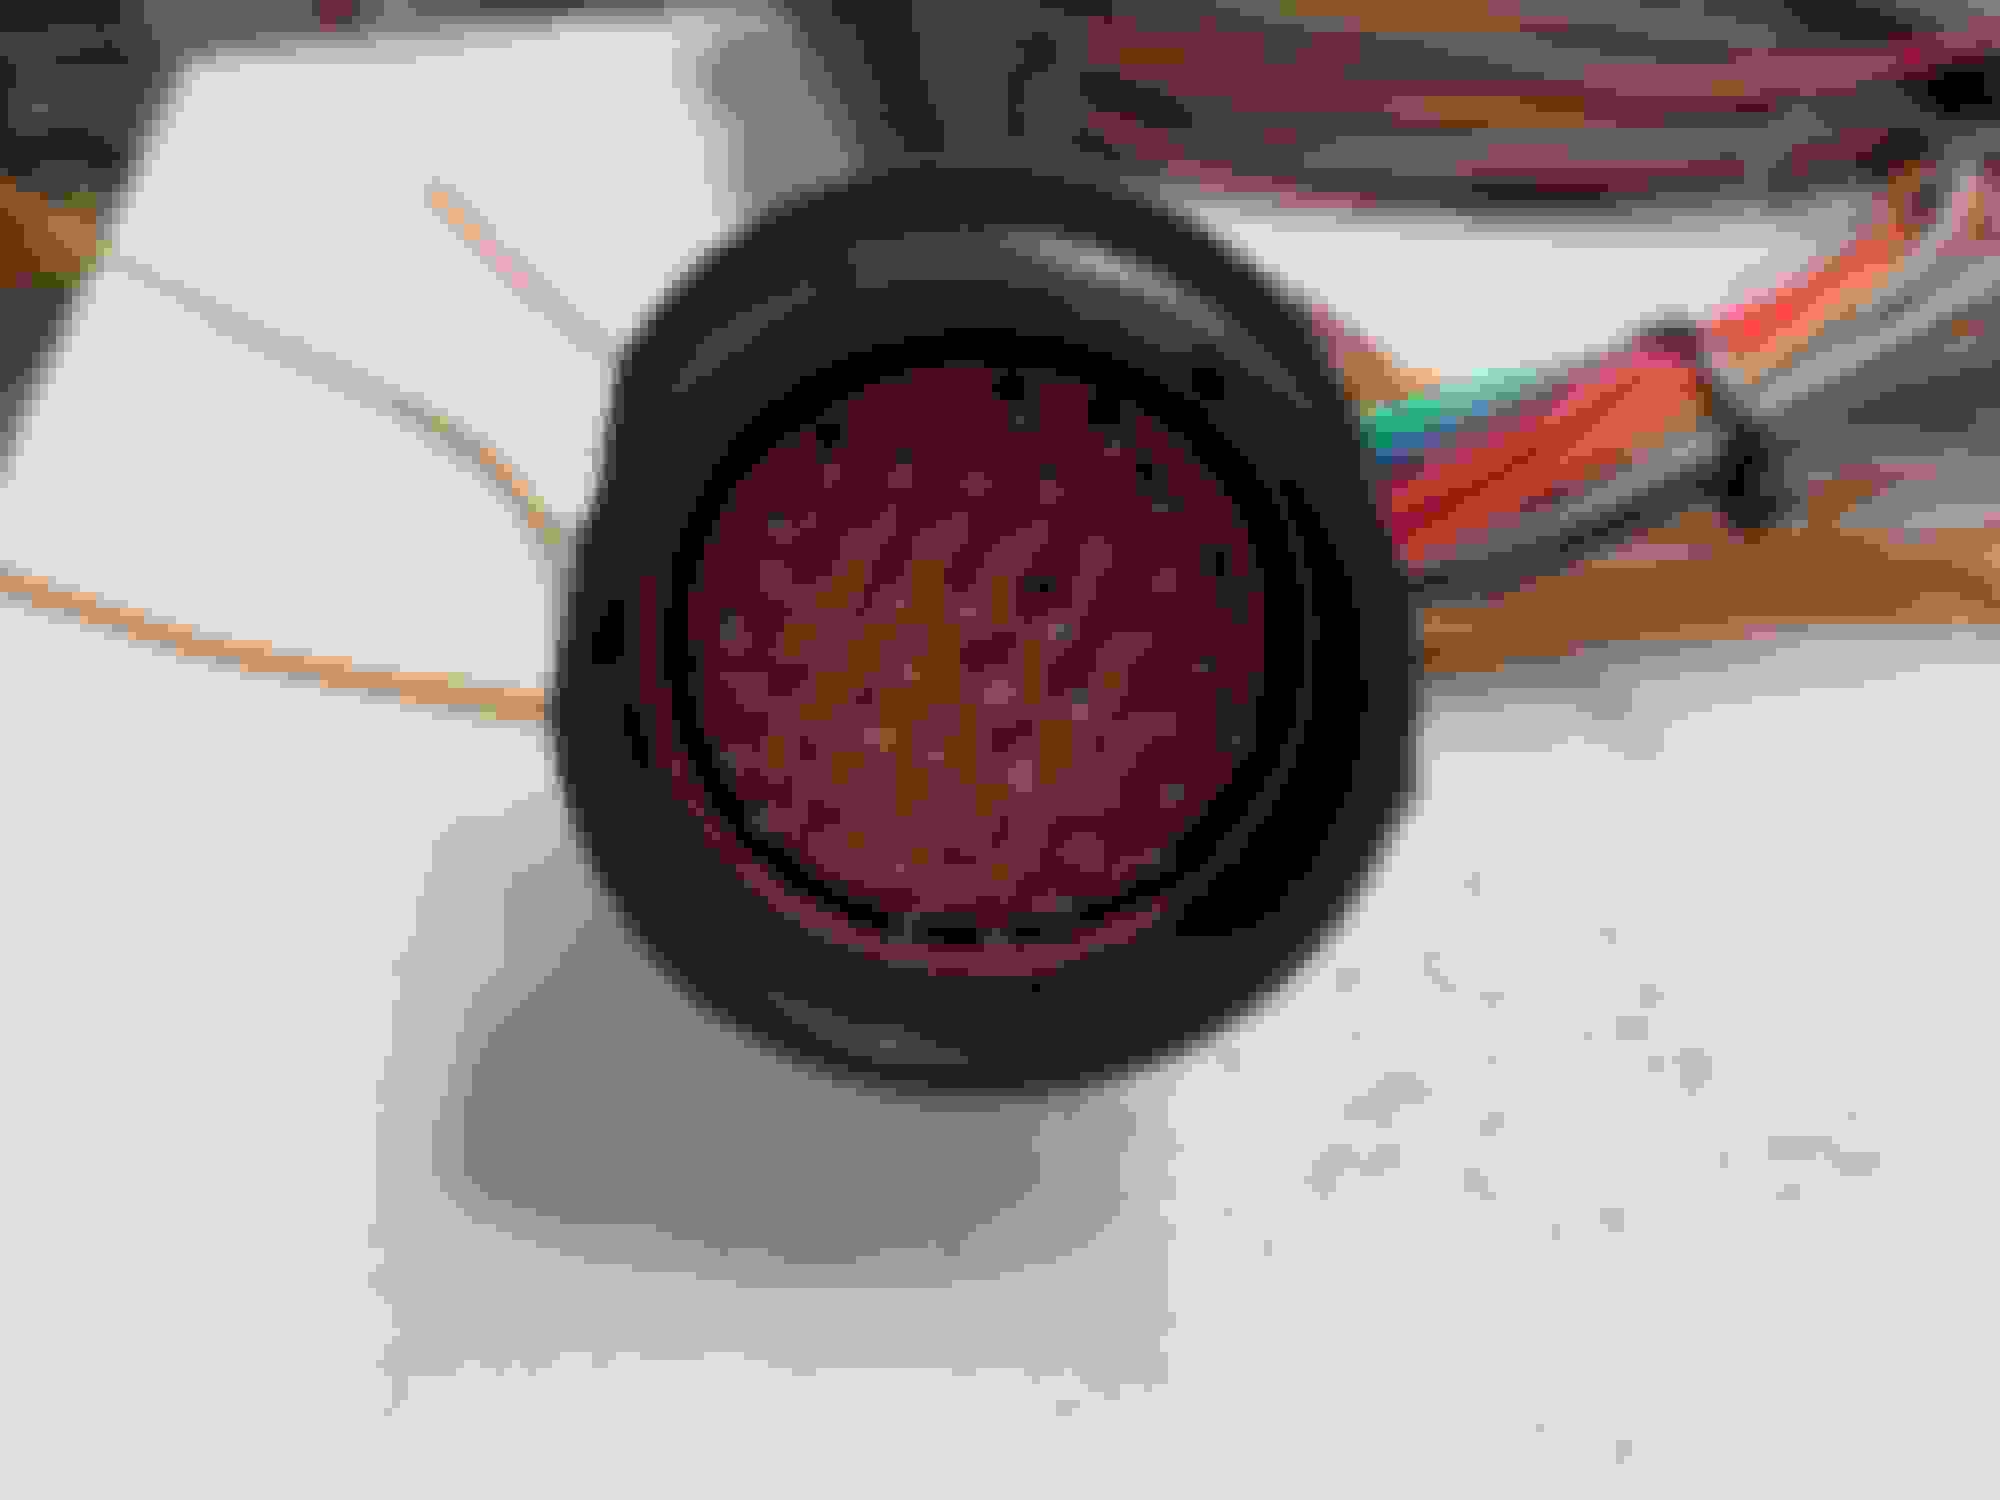
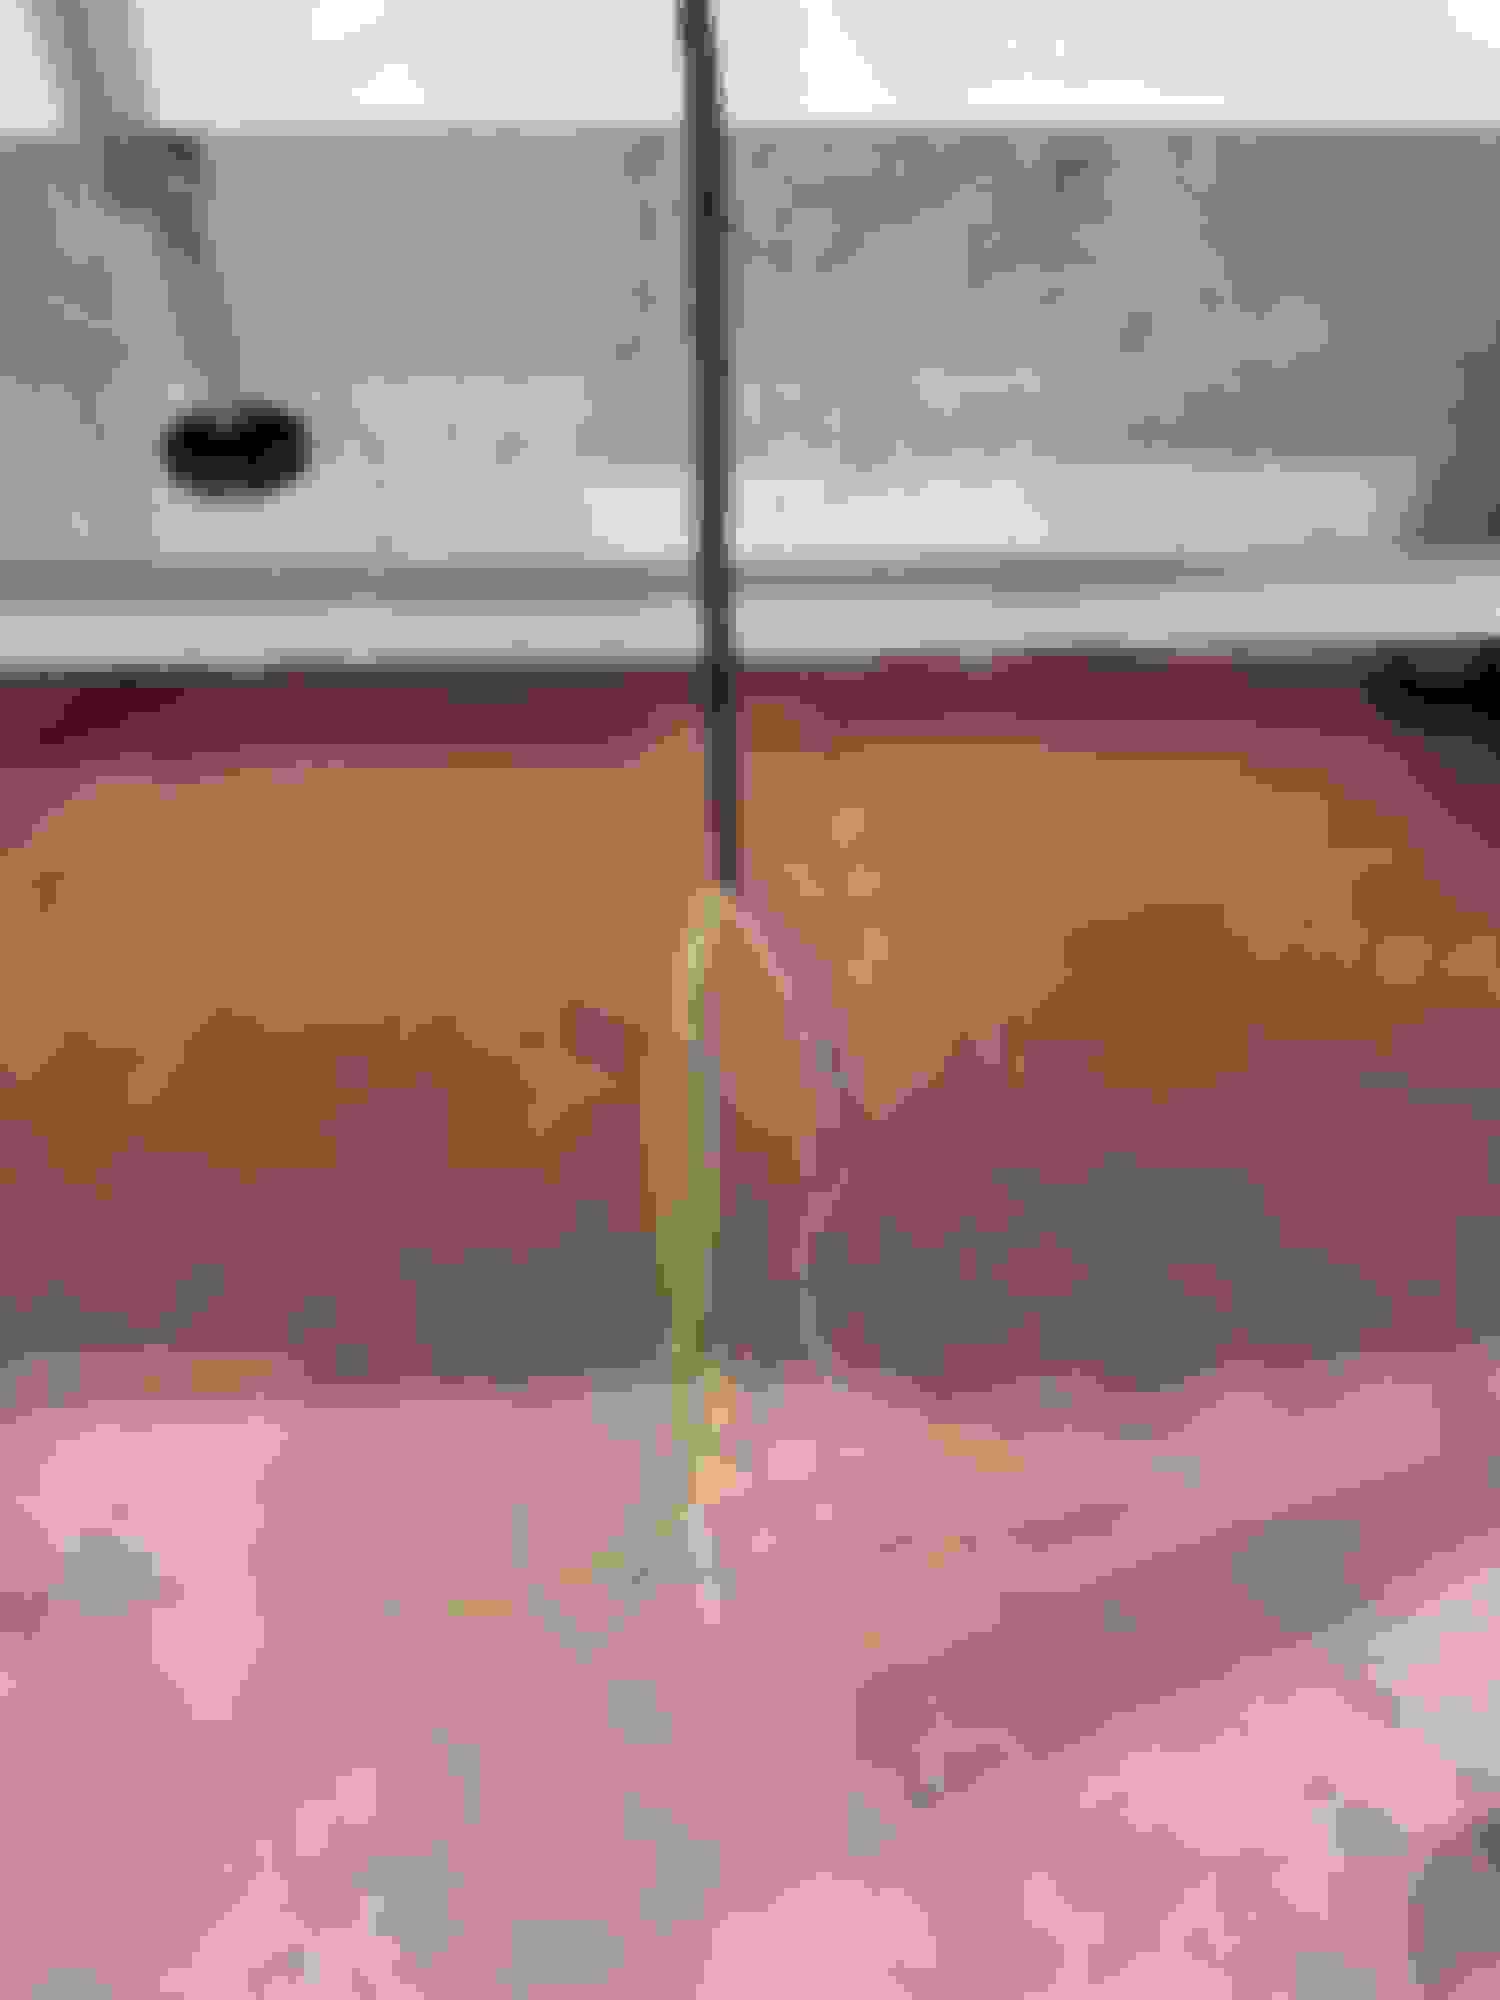
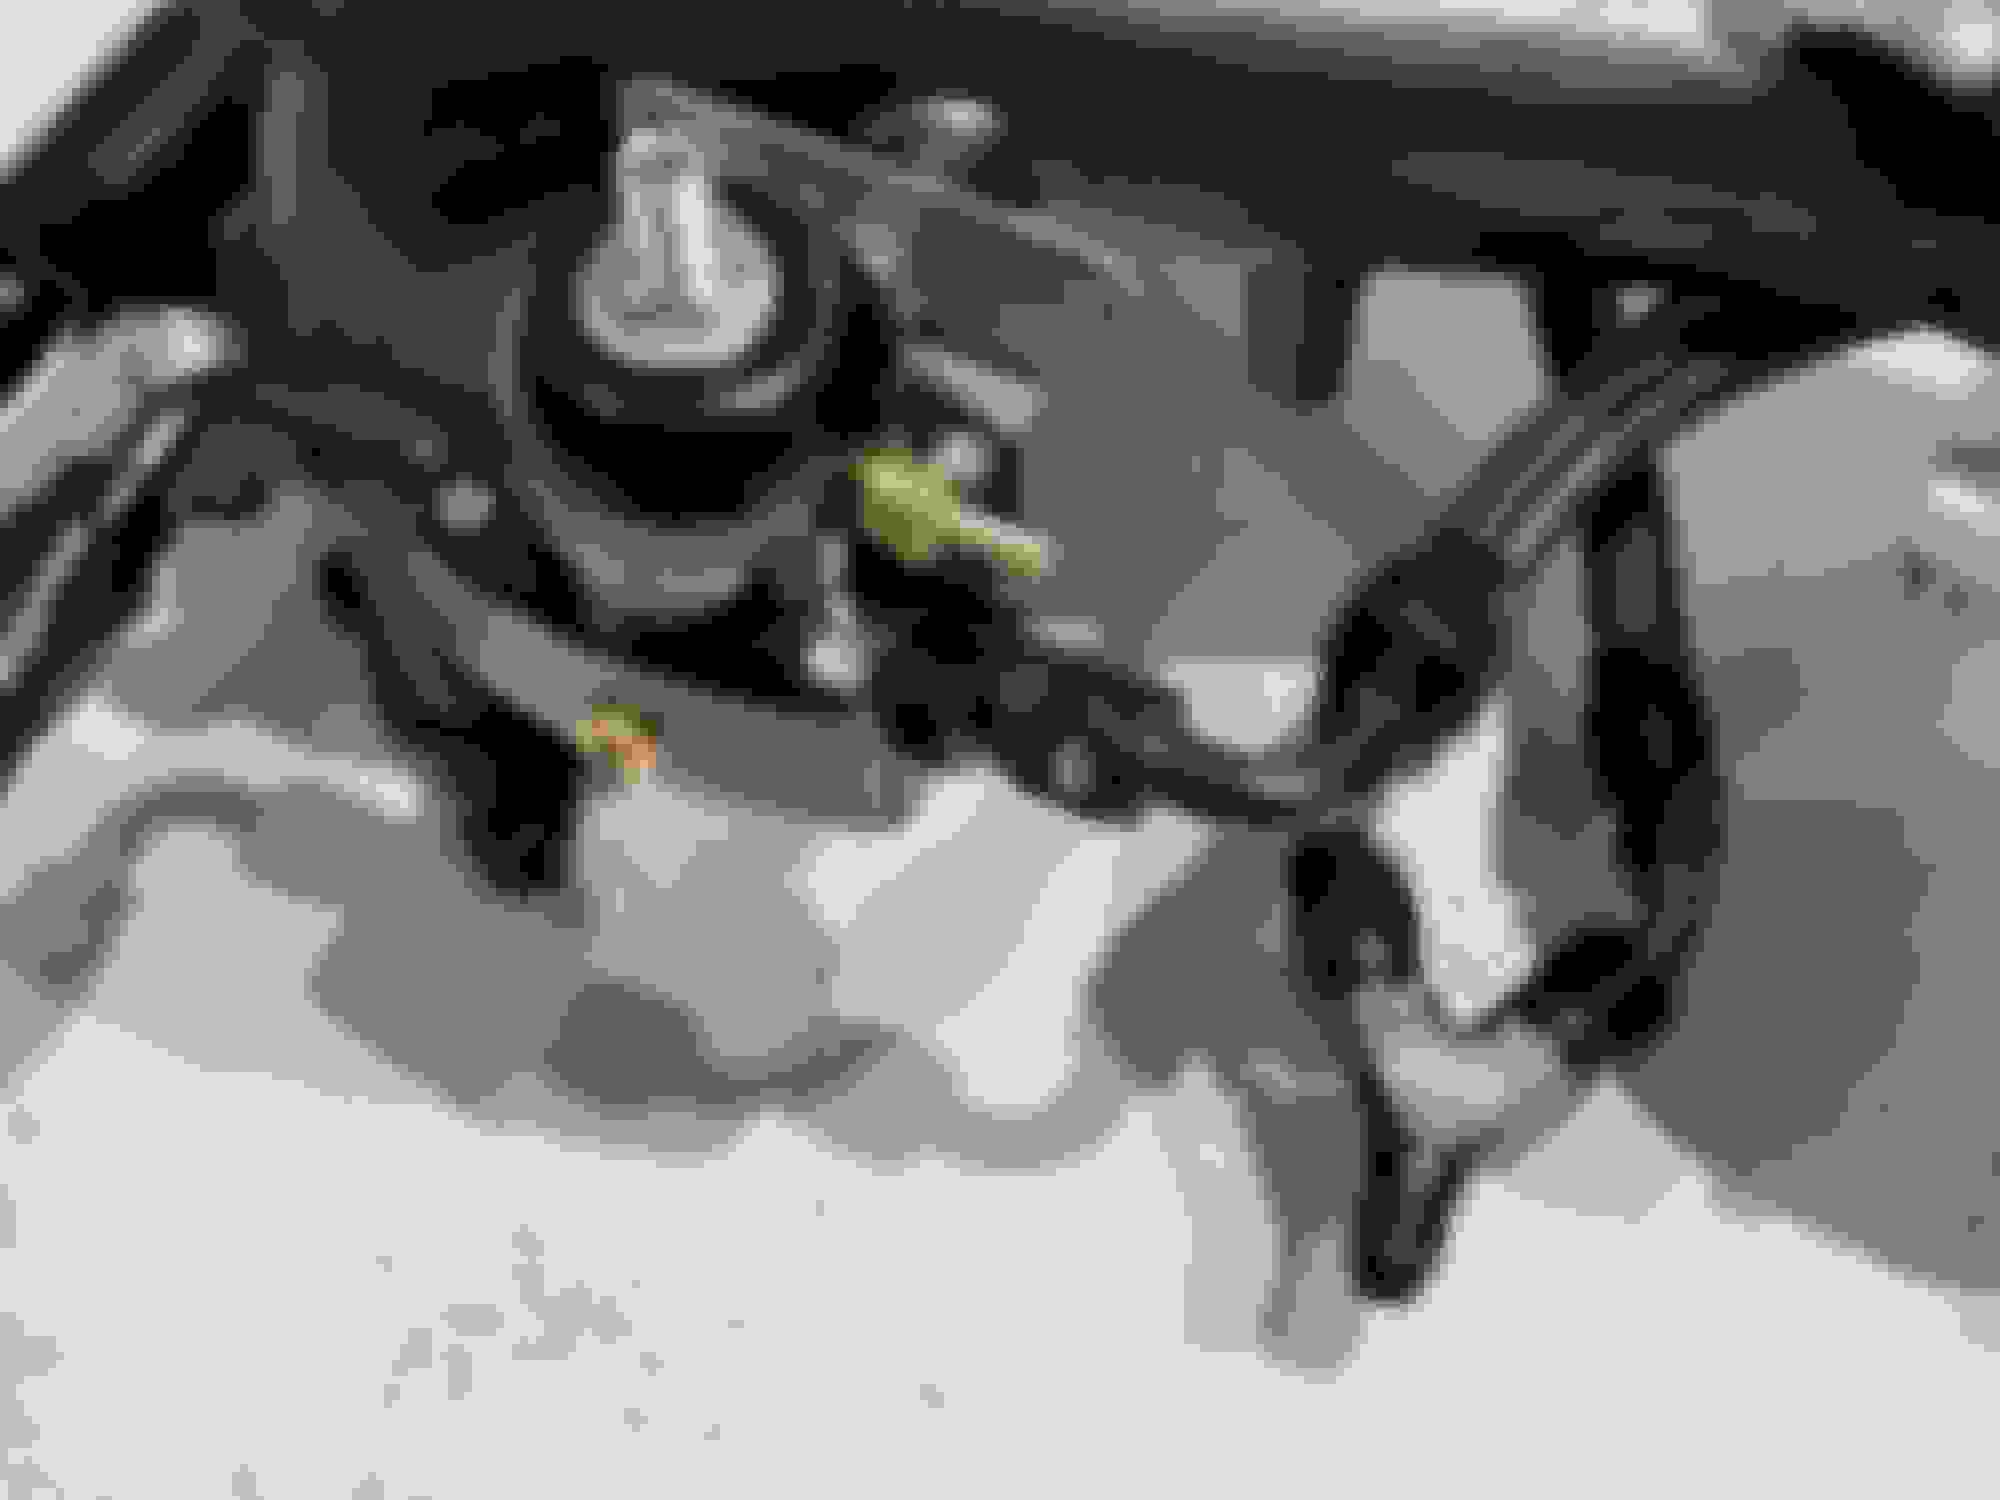
So, we started by looking for a place to locate the connector. Not sure what that hole's purpose was but it was just blocked off with a plug. Once made a little wider it will do just fine.
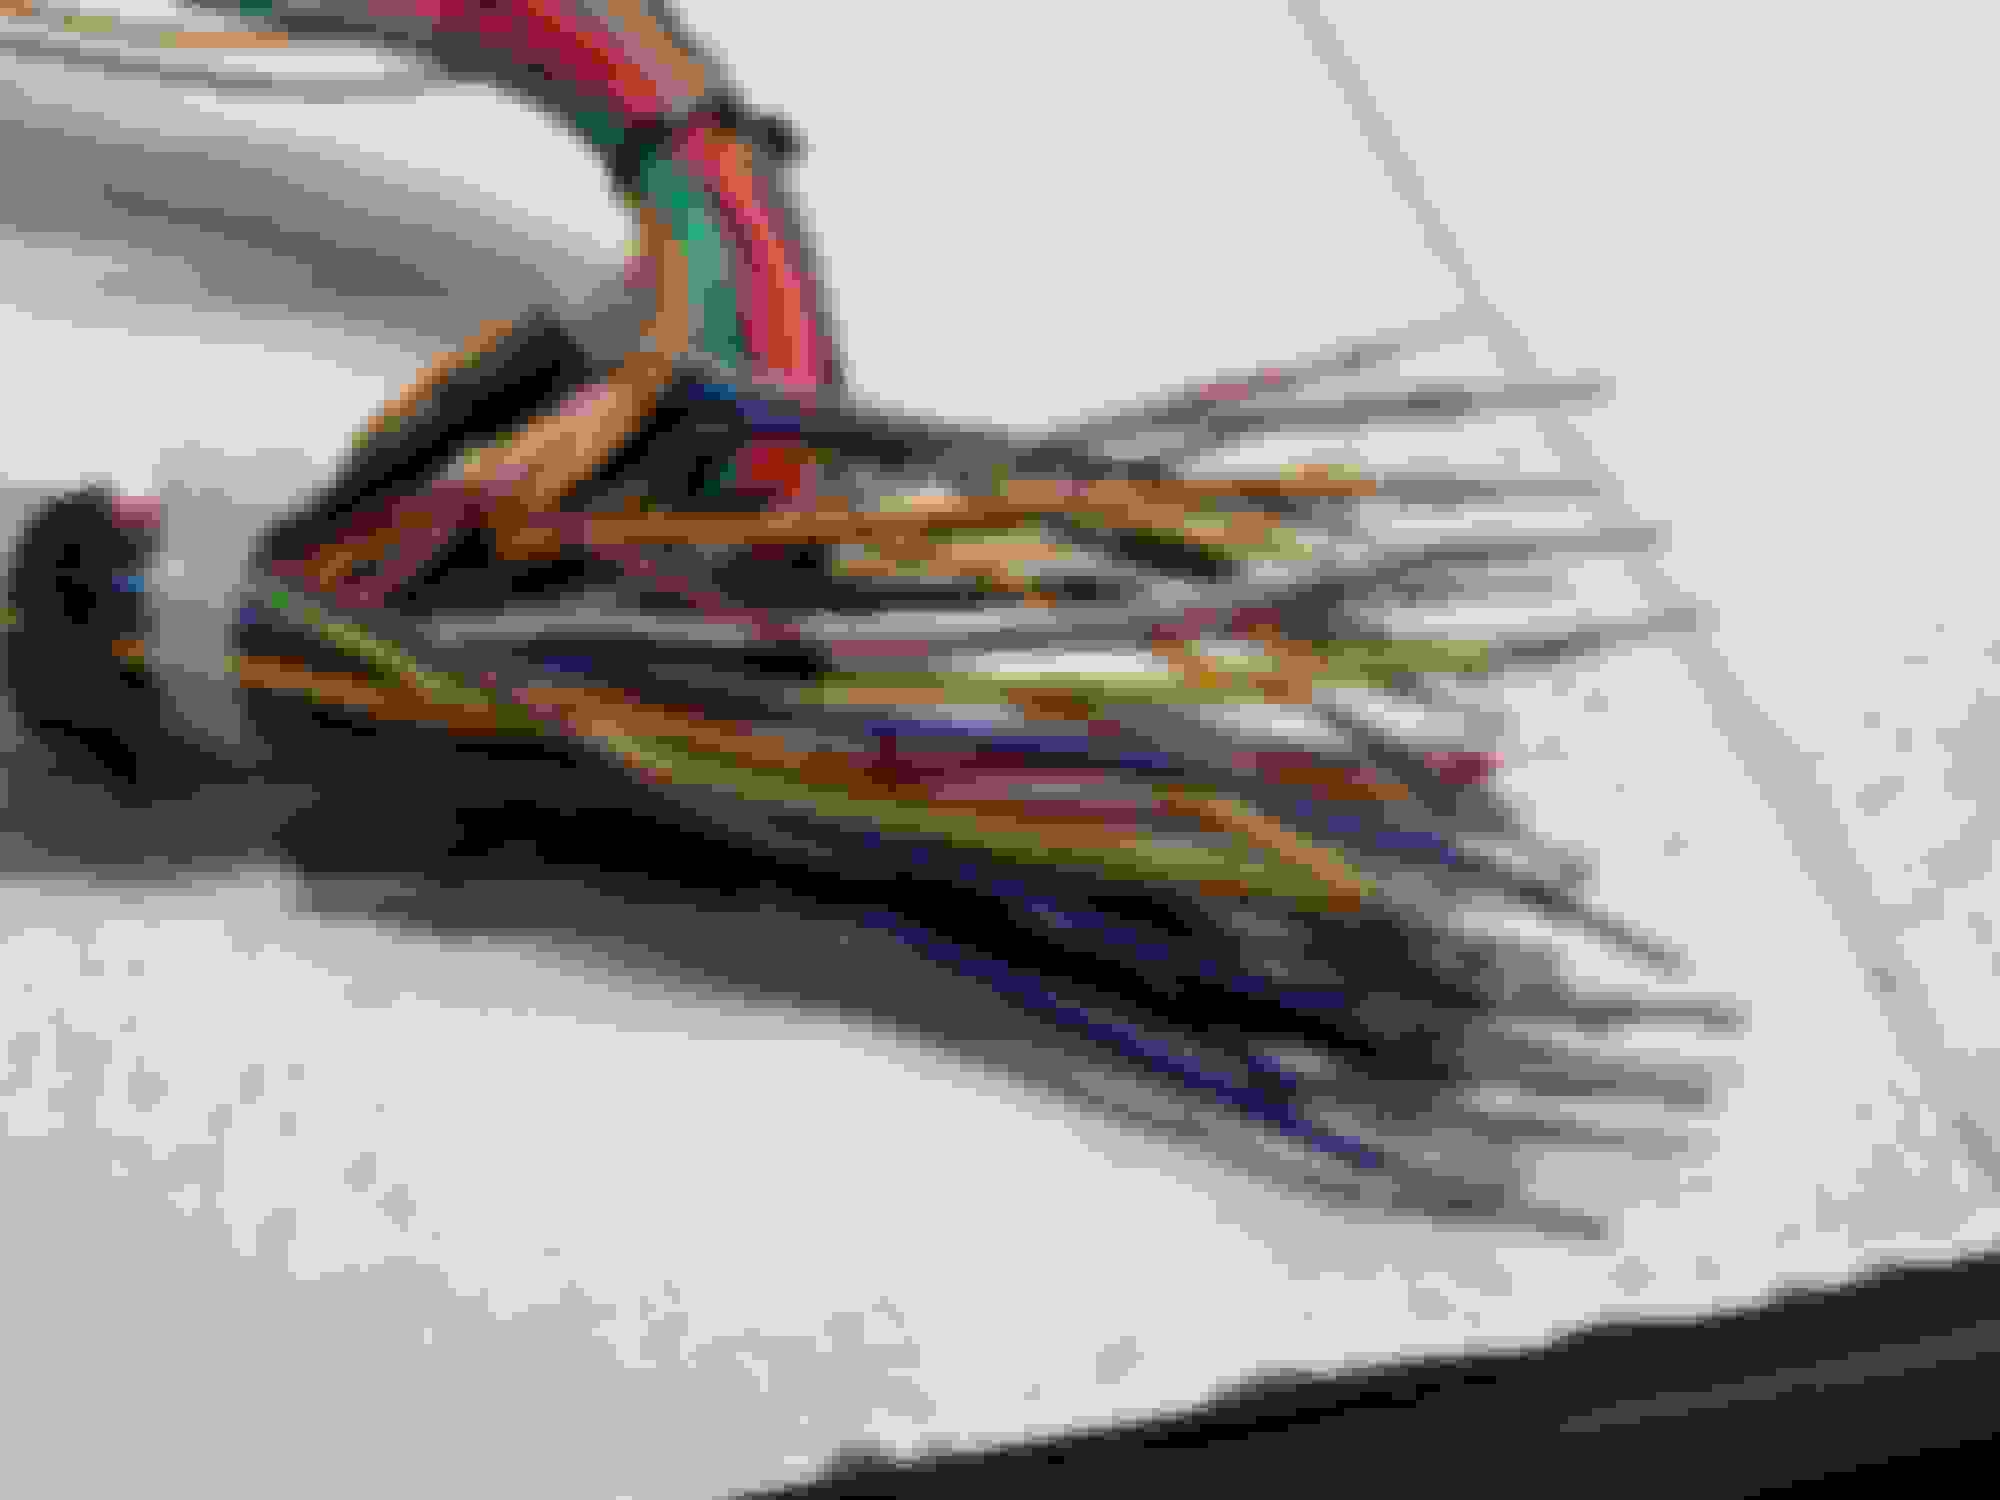
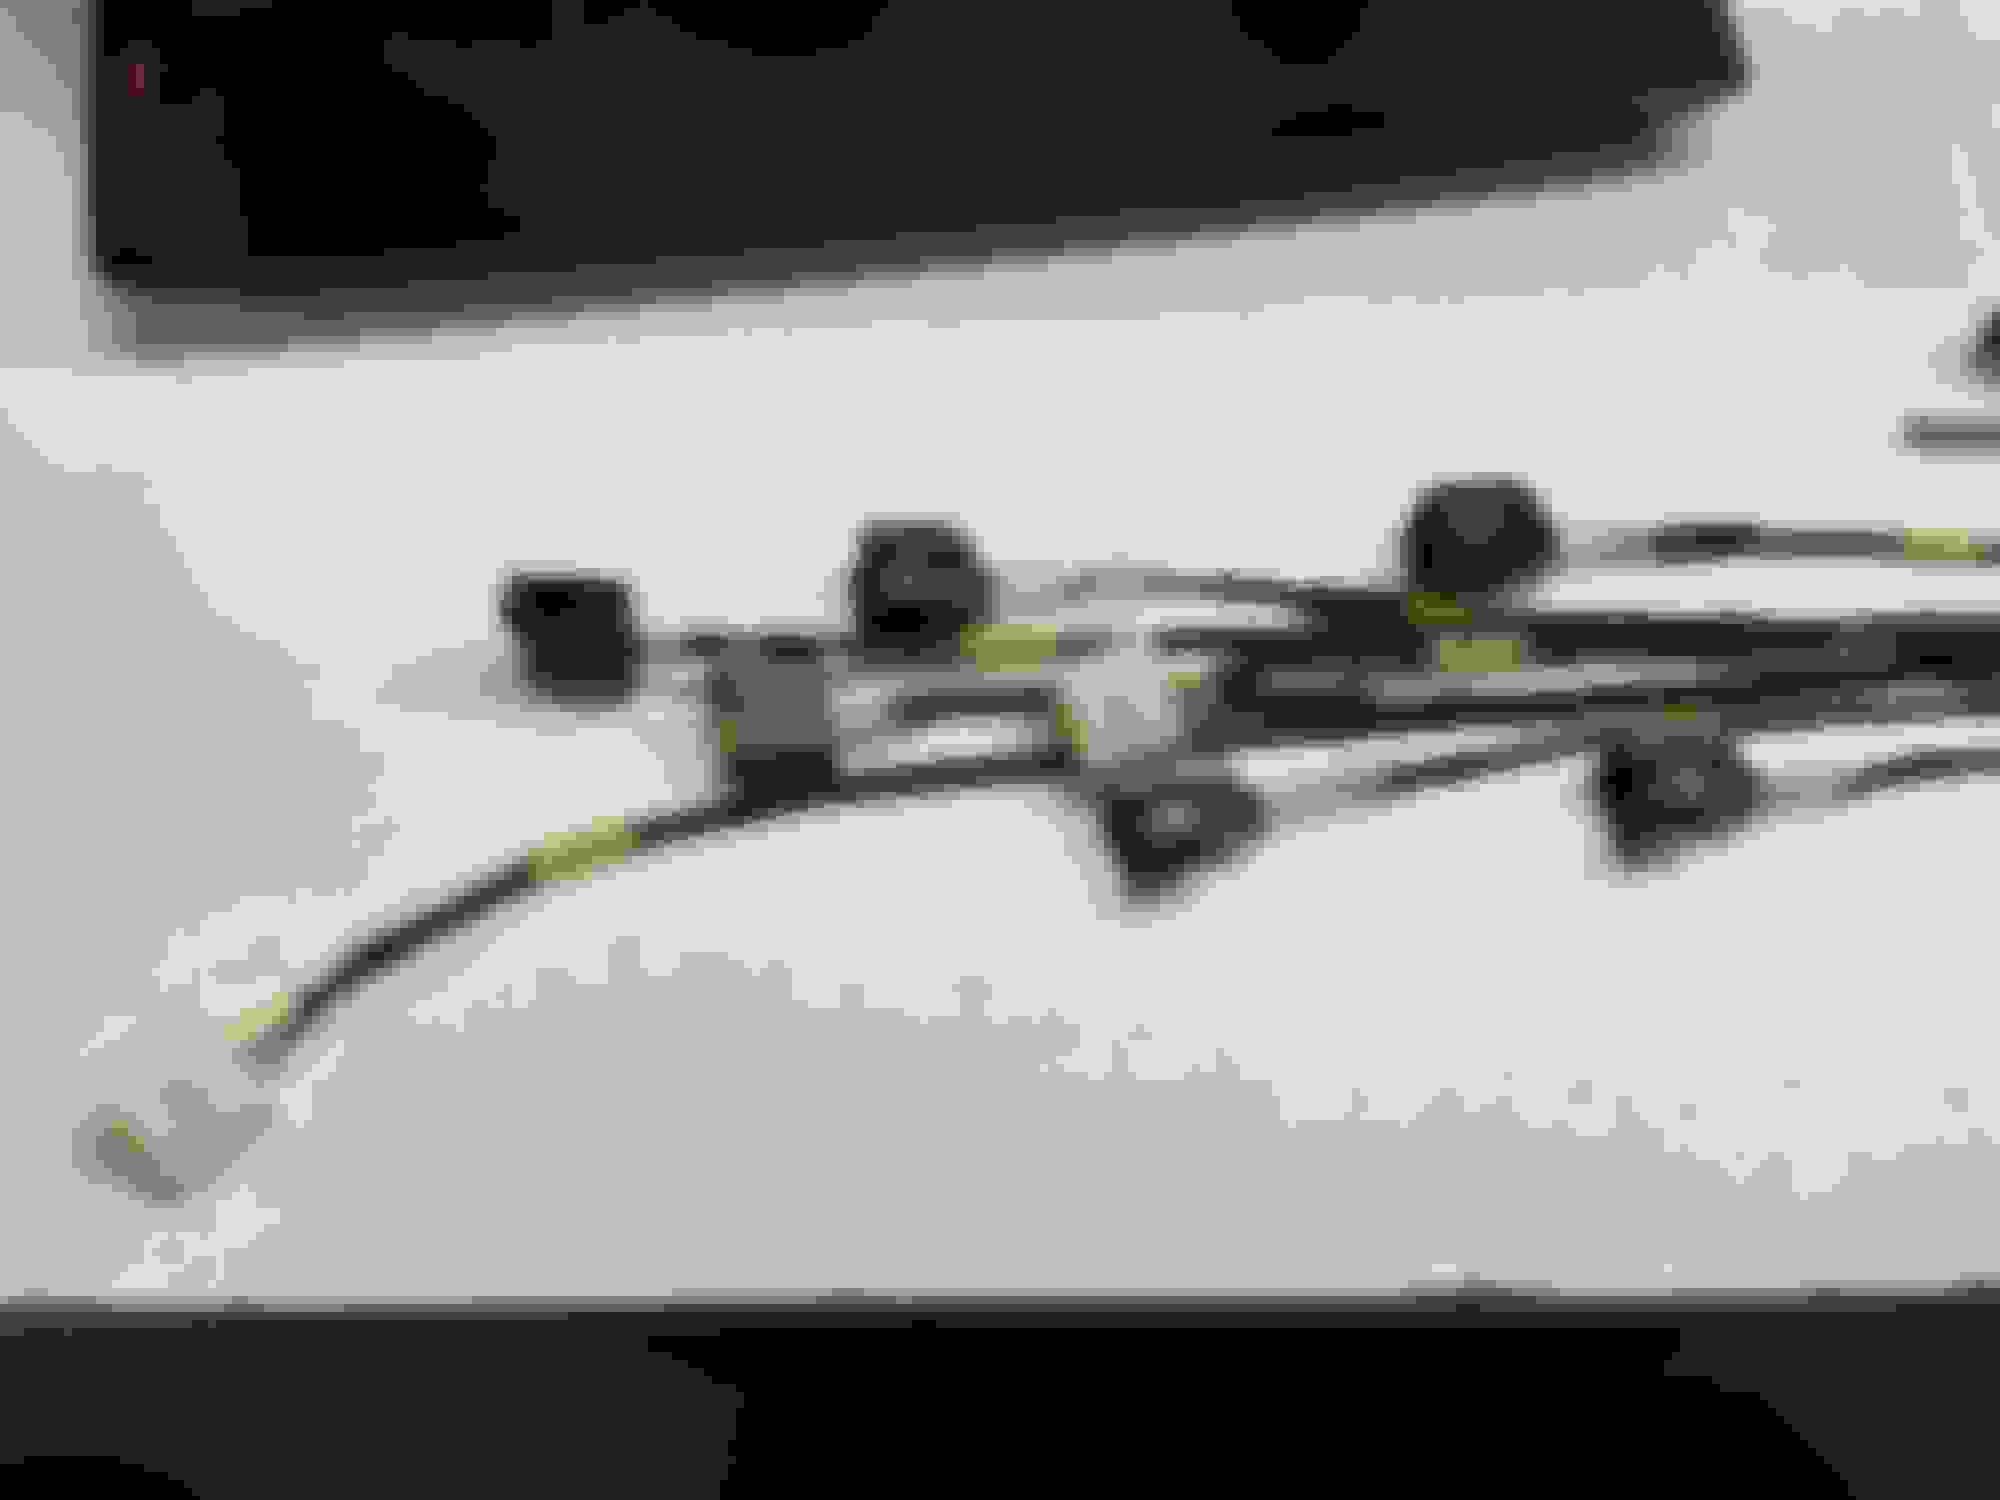
Next it was time to start with the cabin side harness. I started by populating the connector.
So cut wires to length:
Crimp the pins on and populate the connector:
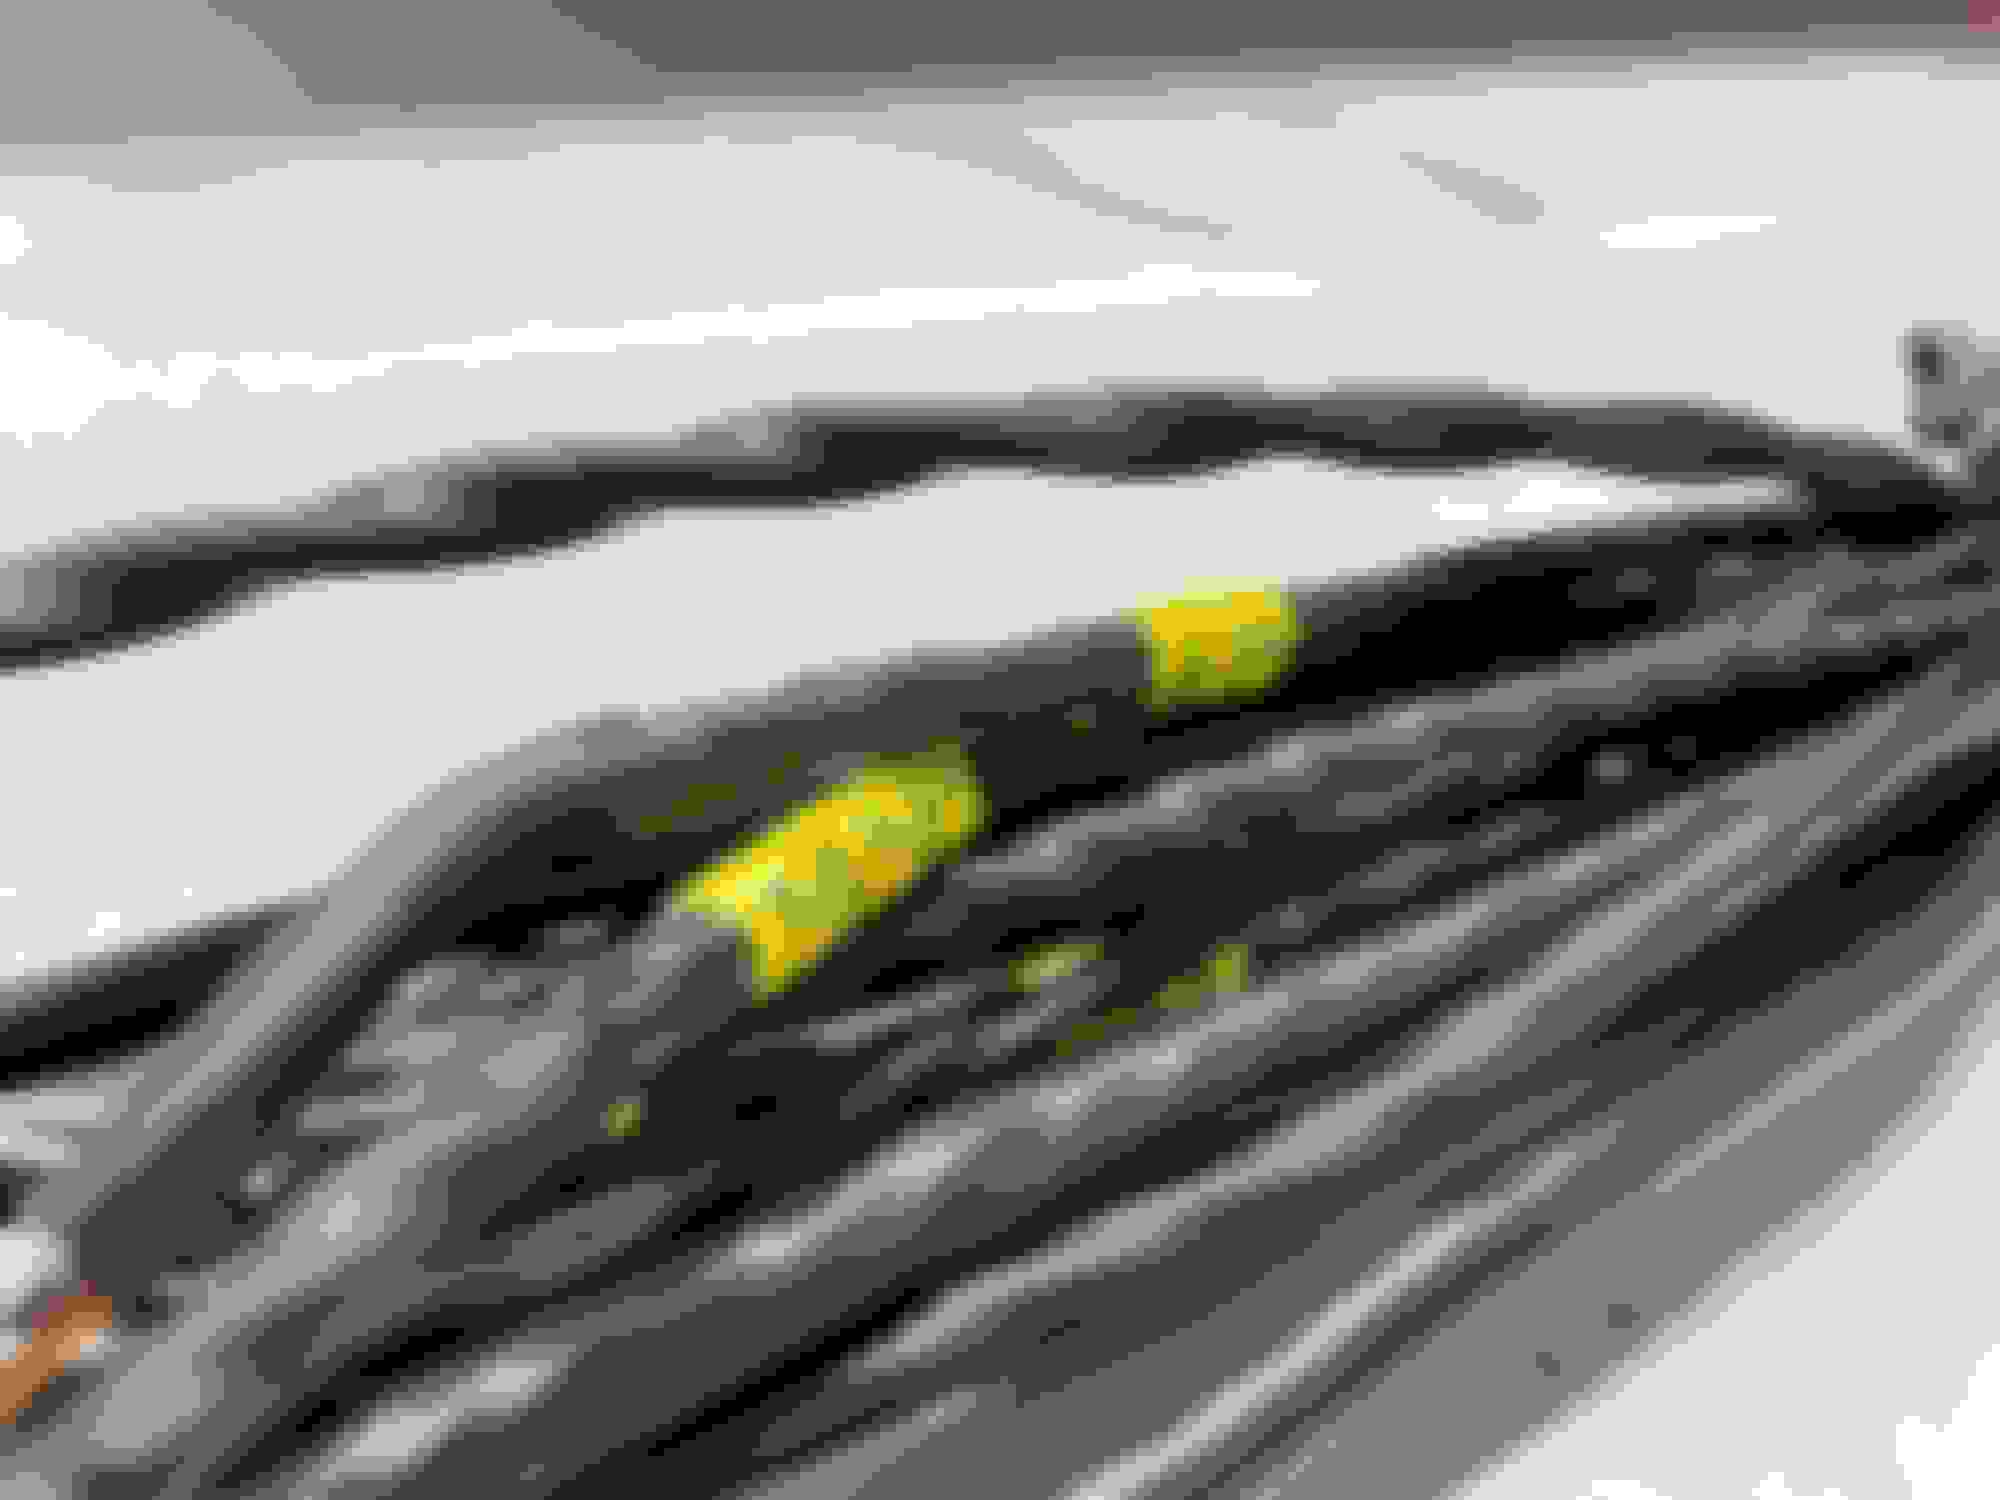
Next it was time to prepare the relays for the A\C:
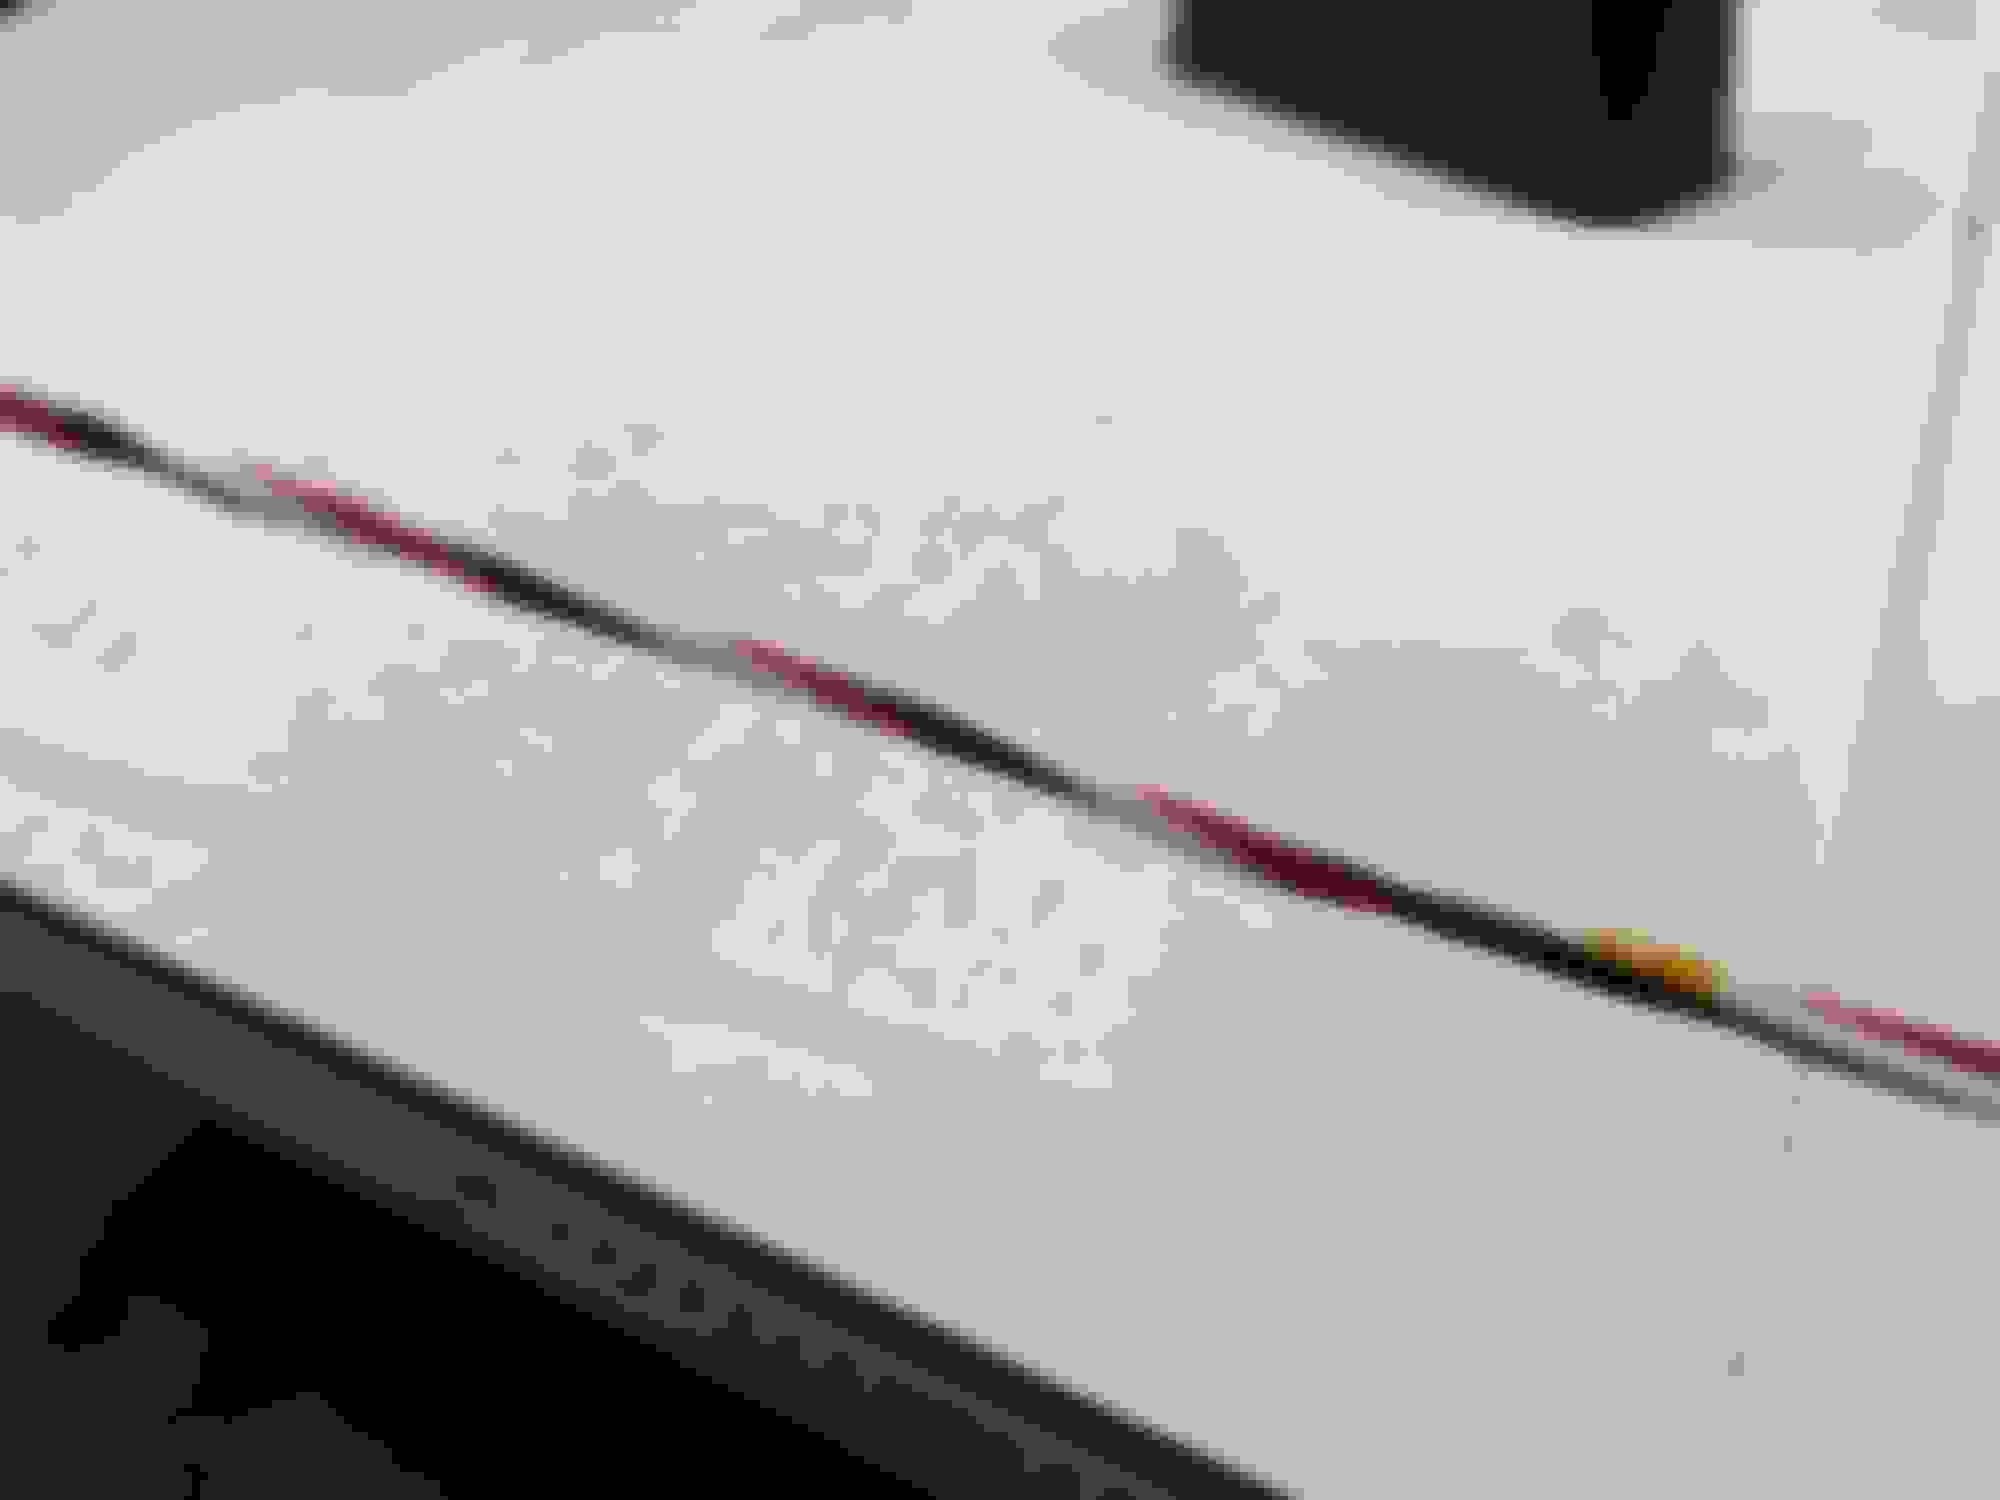
Some sheathing and cabin side is done:
Next was time for the engine bay side.
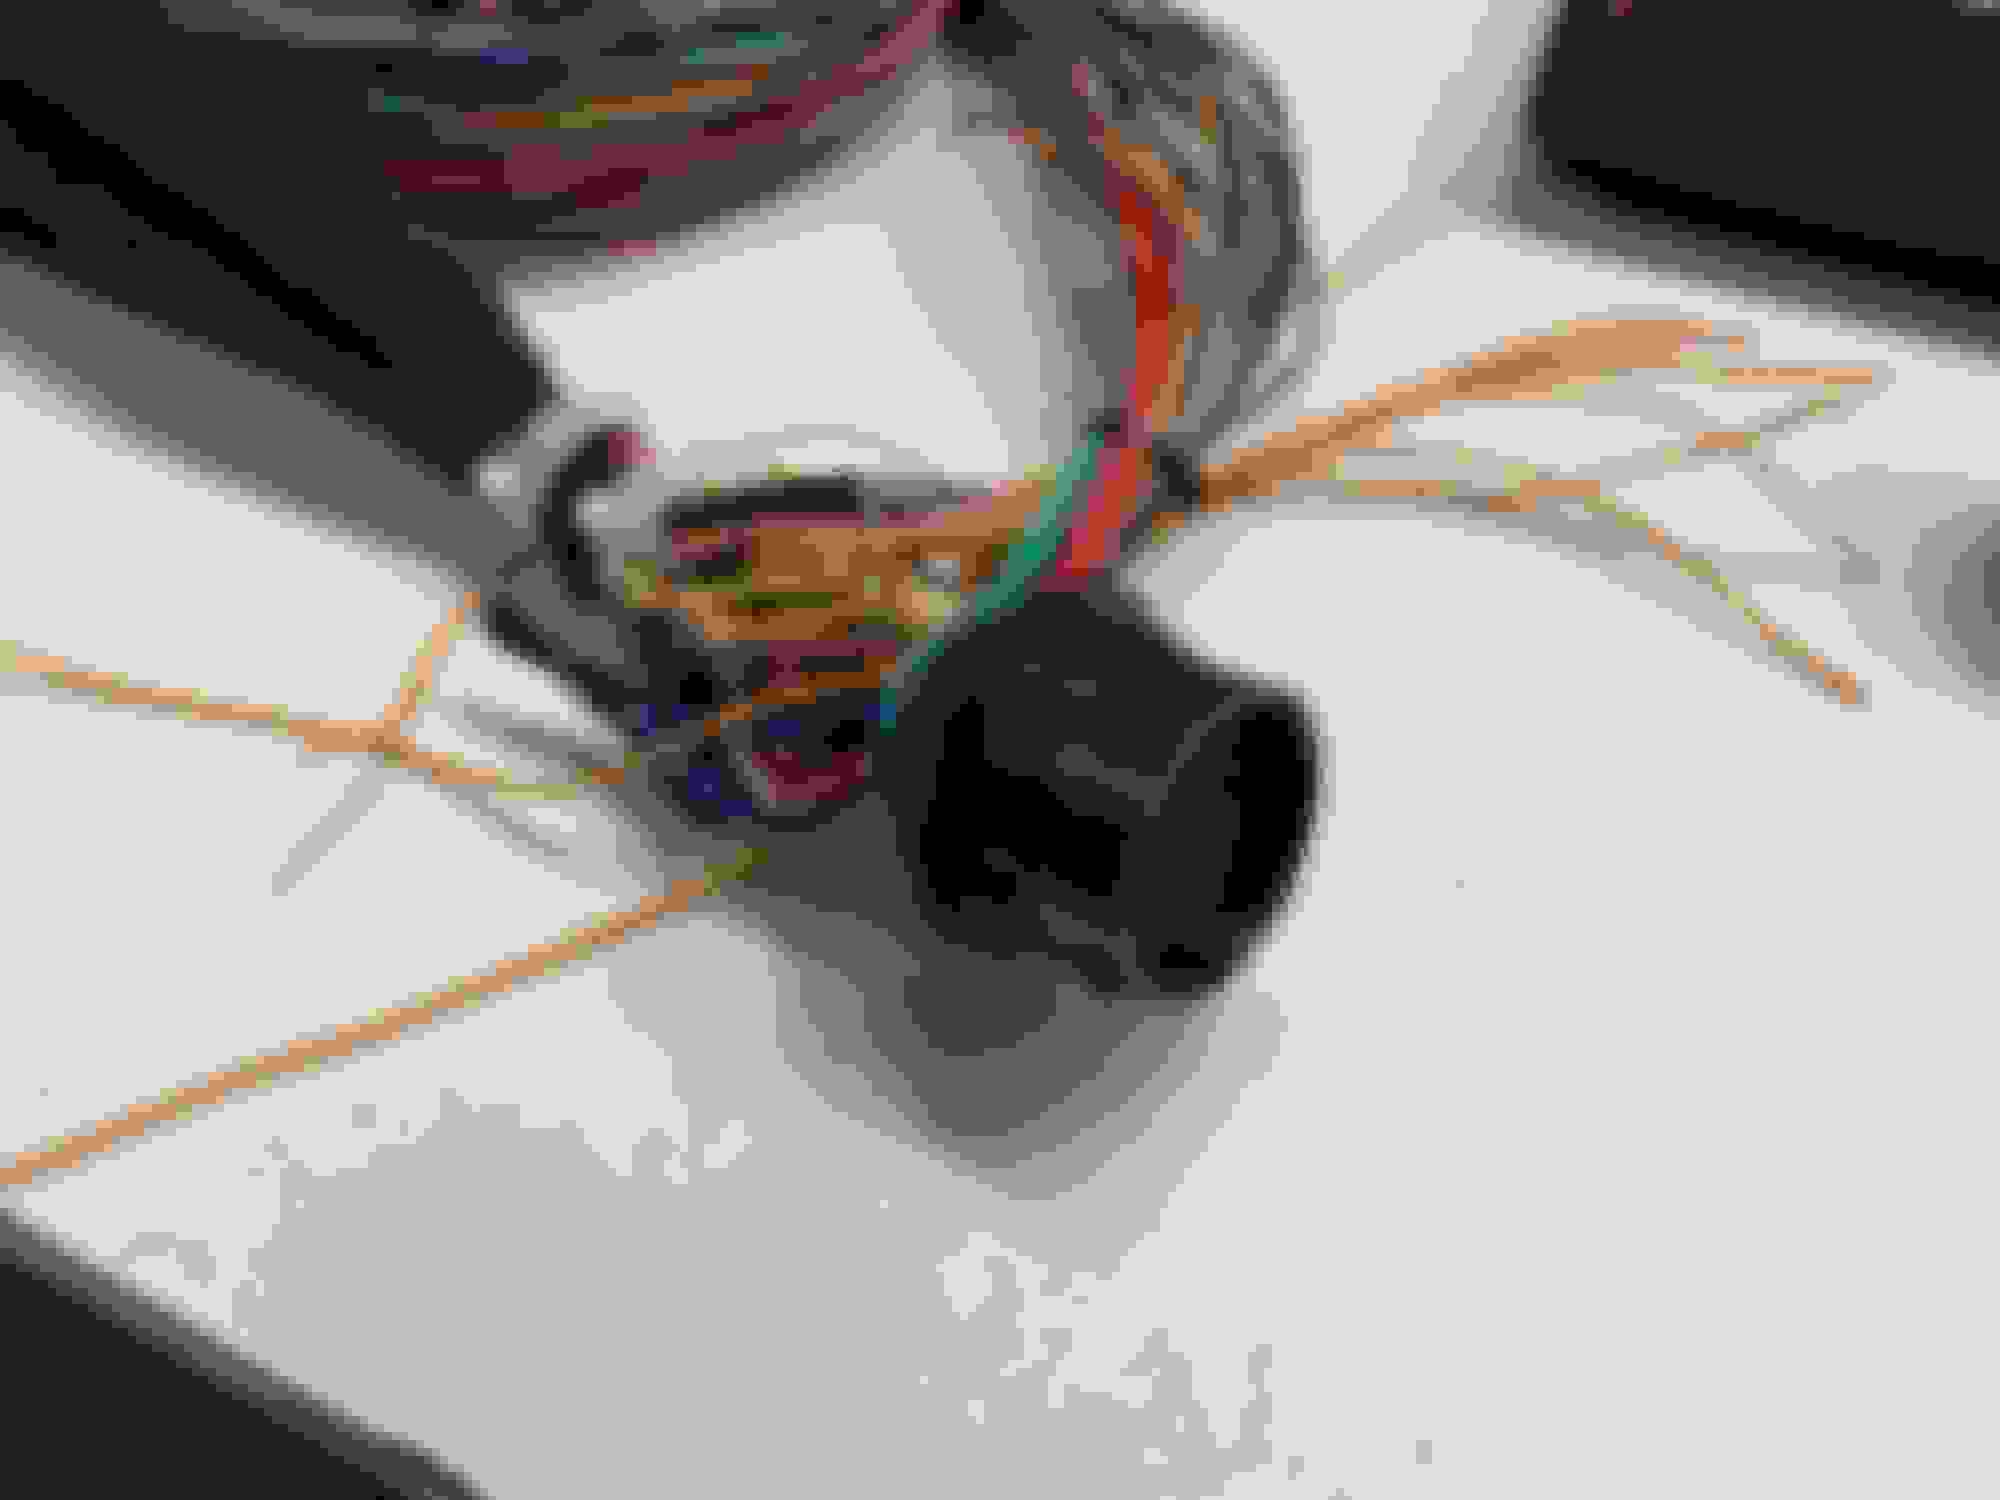
So, populate connector:
And start figuring out how to tidily arrange this mess:
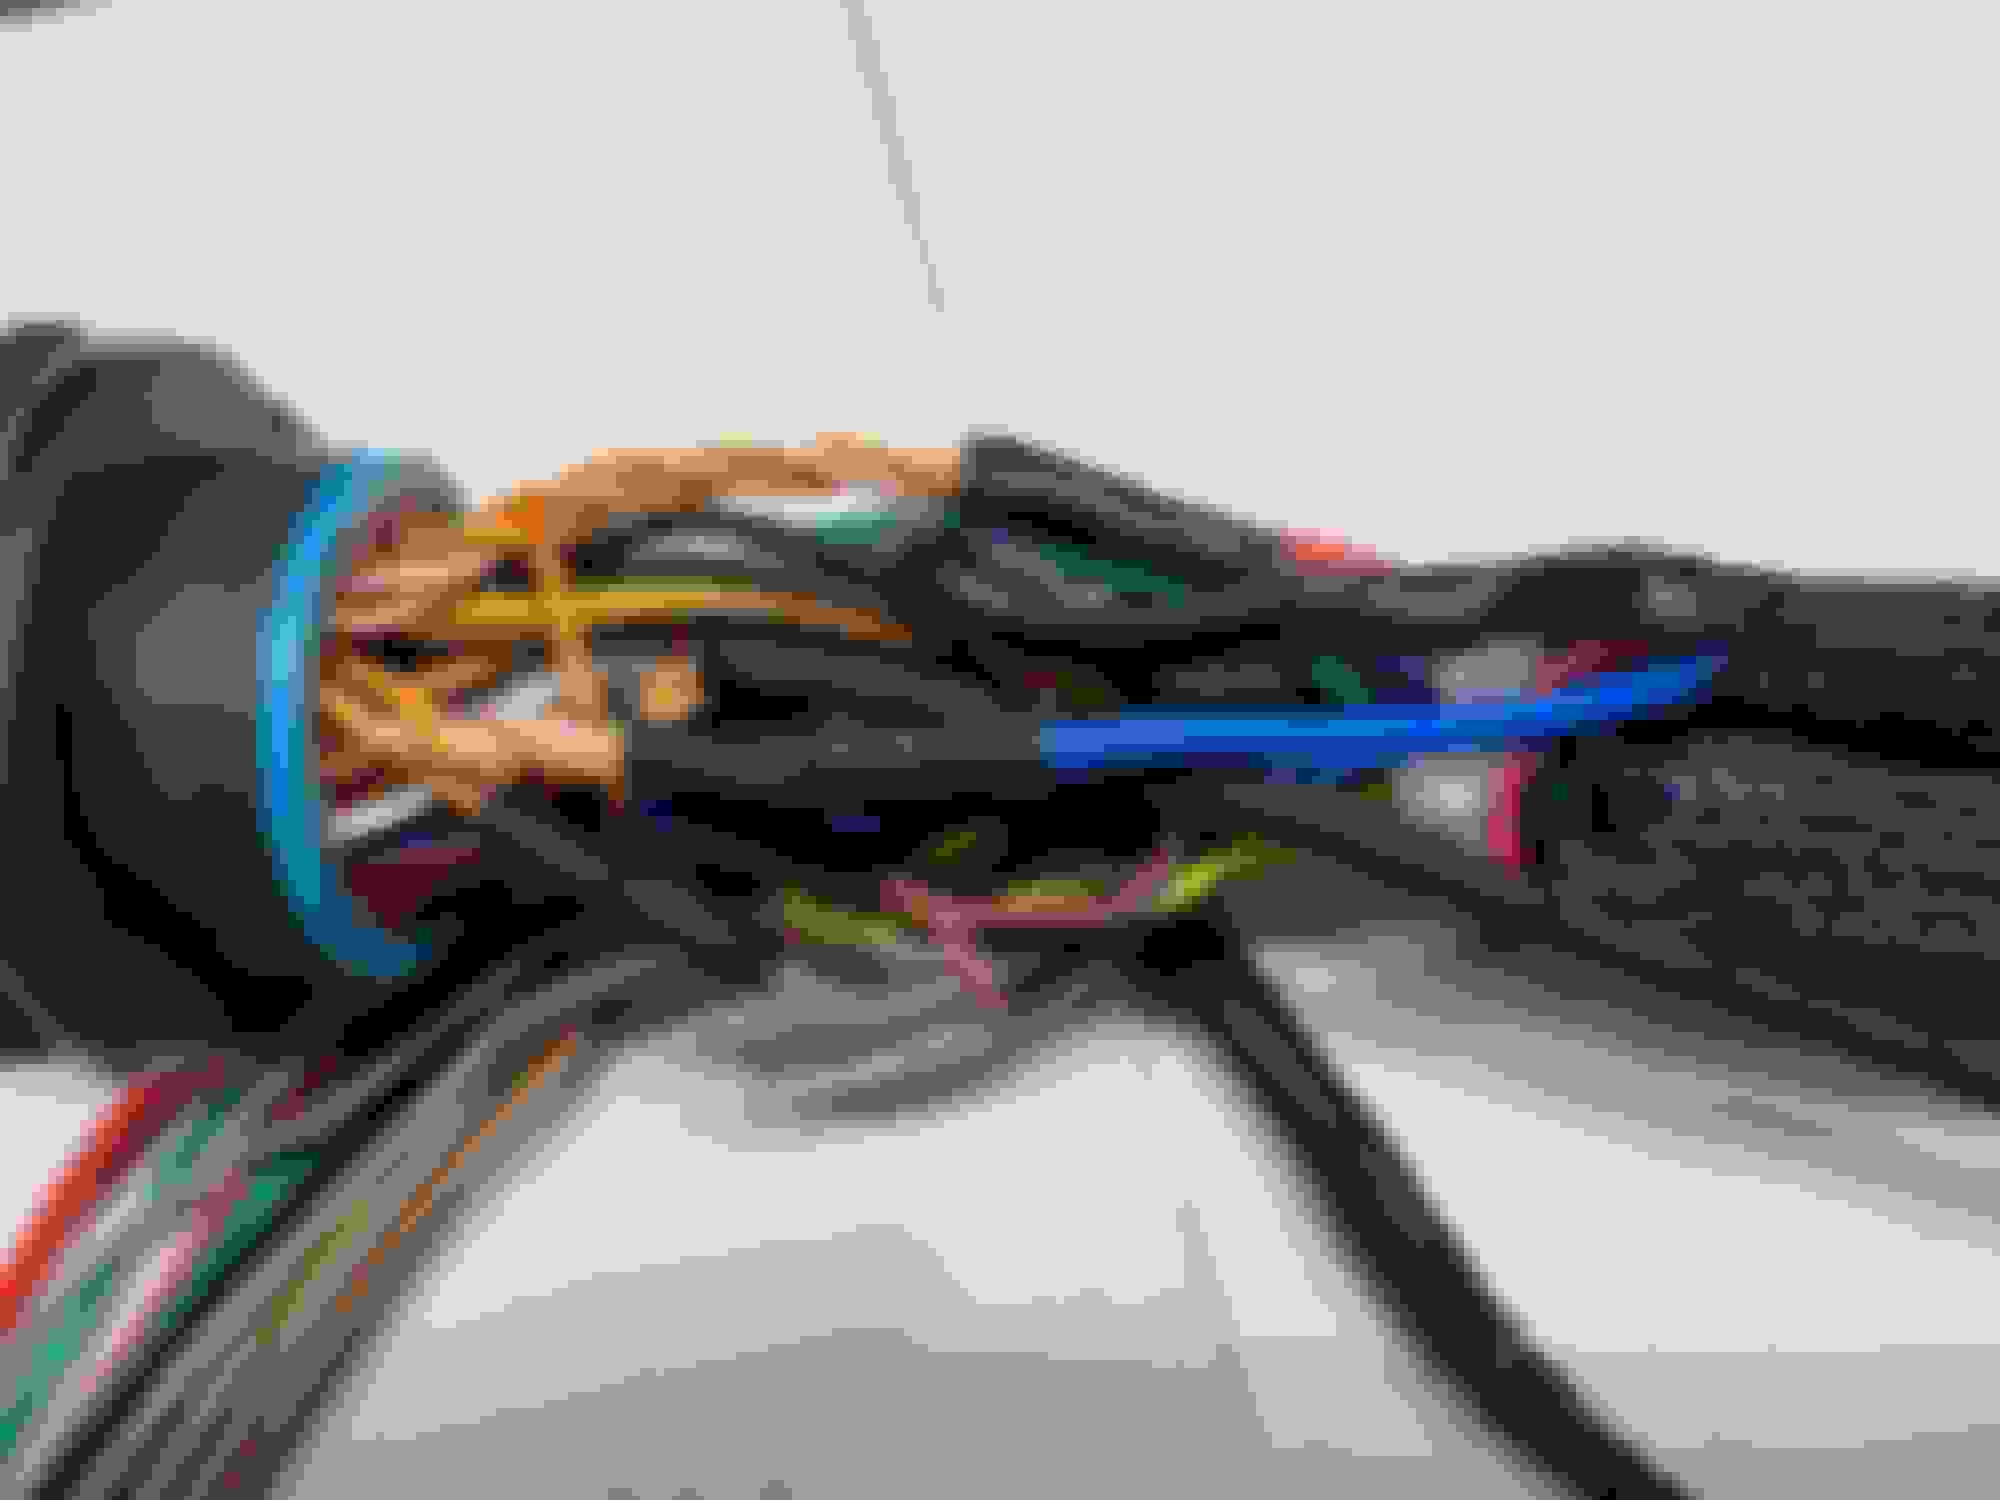
First section done:
Splice all the components:
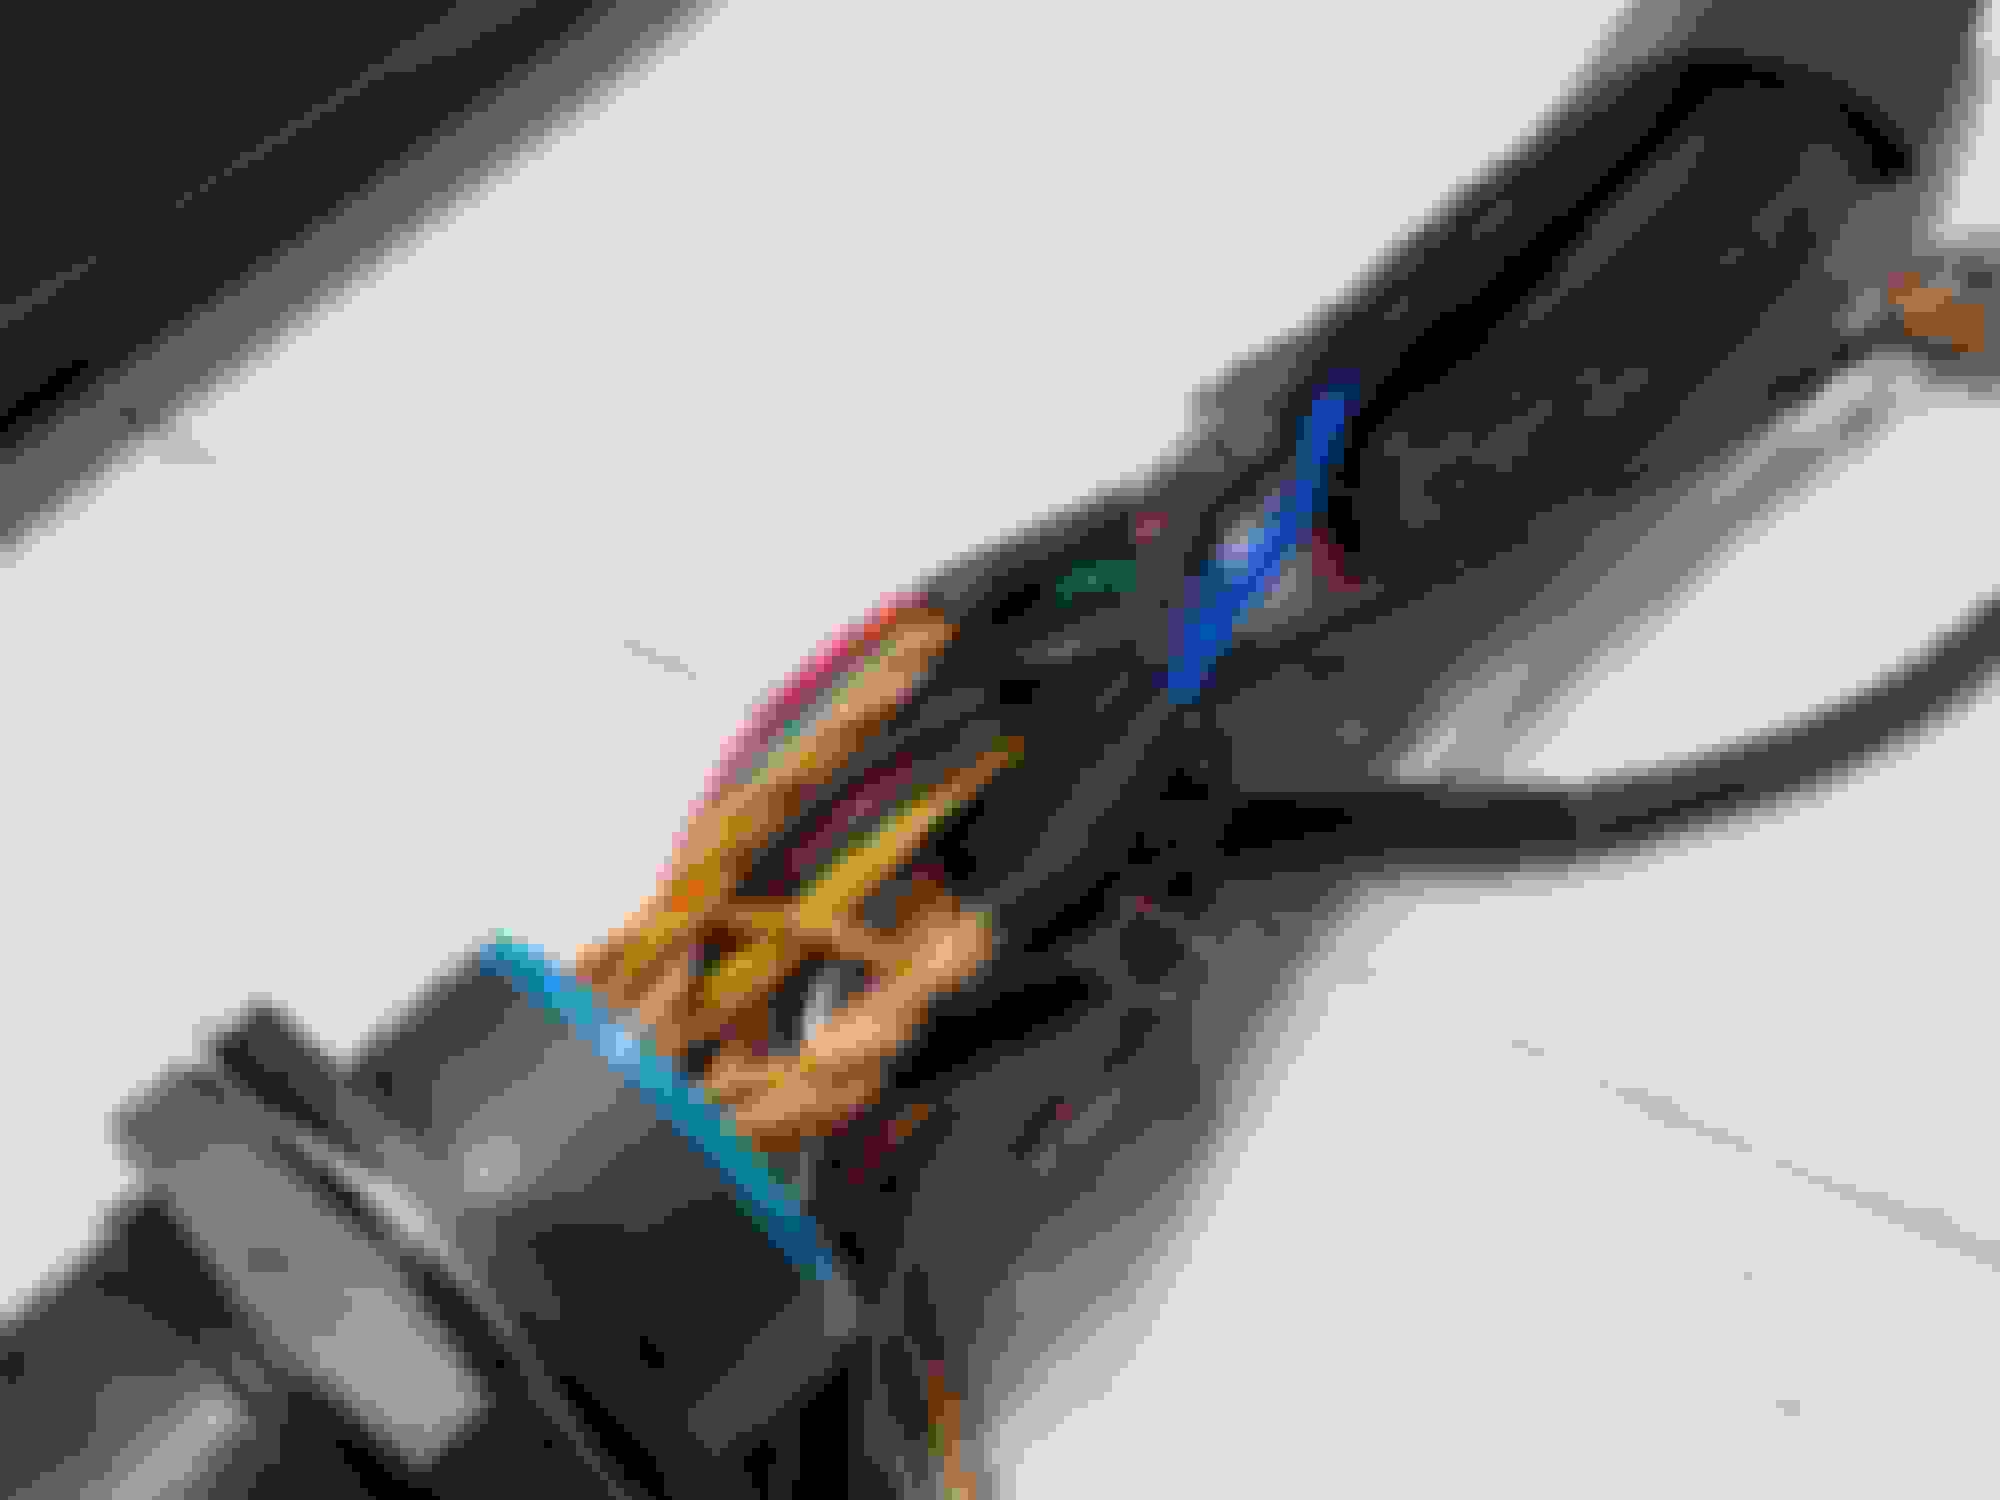
Start arranging and grouping wires where they need to go:
Here I did a little OOPS when I accidently grouped Coils 1 and 3 with Injectors 2 and 4:
That's better:
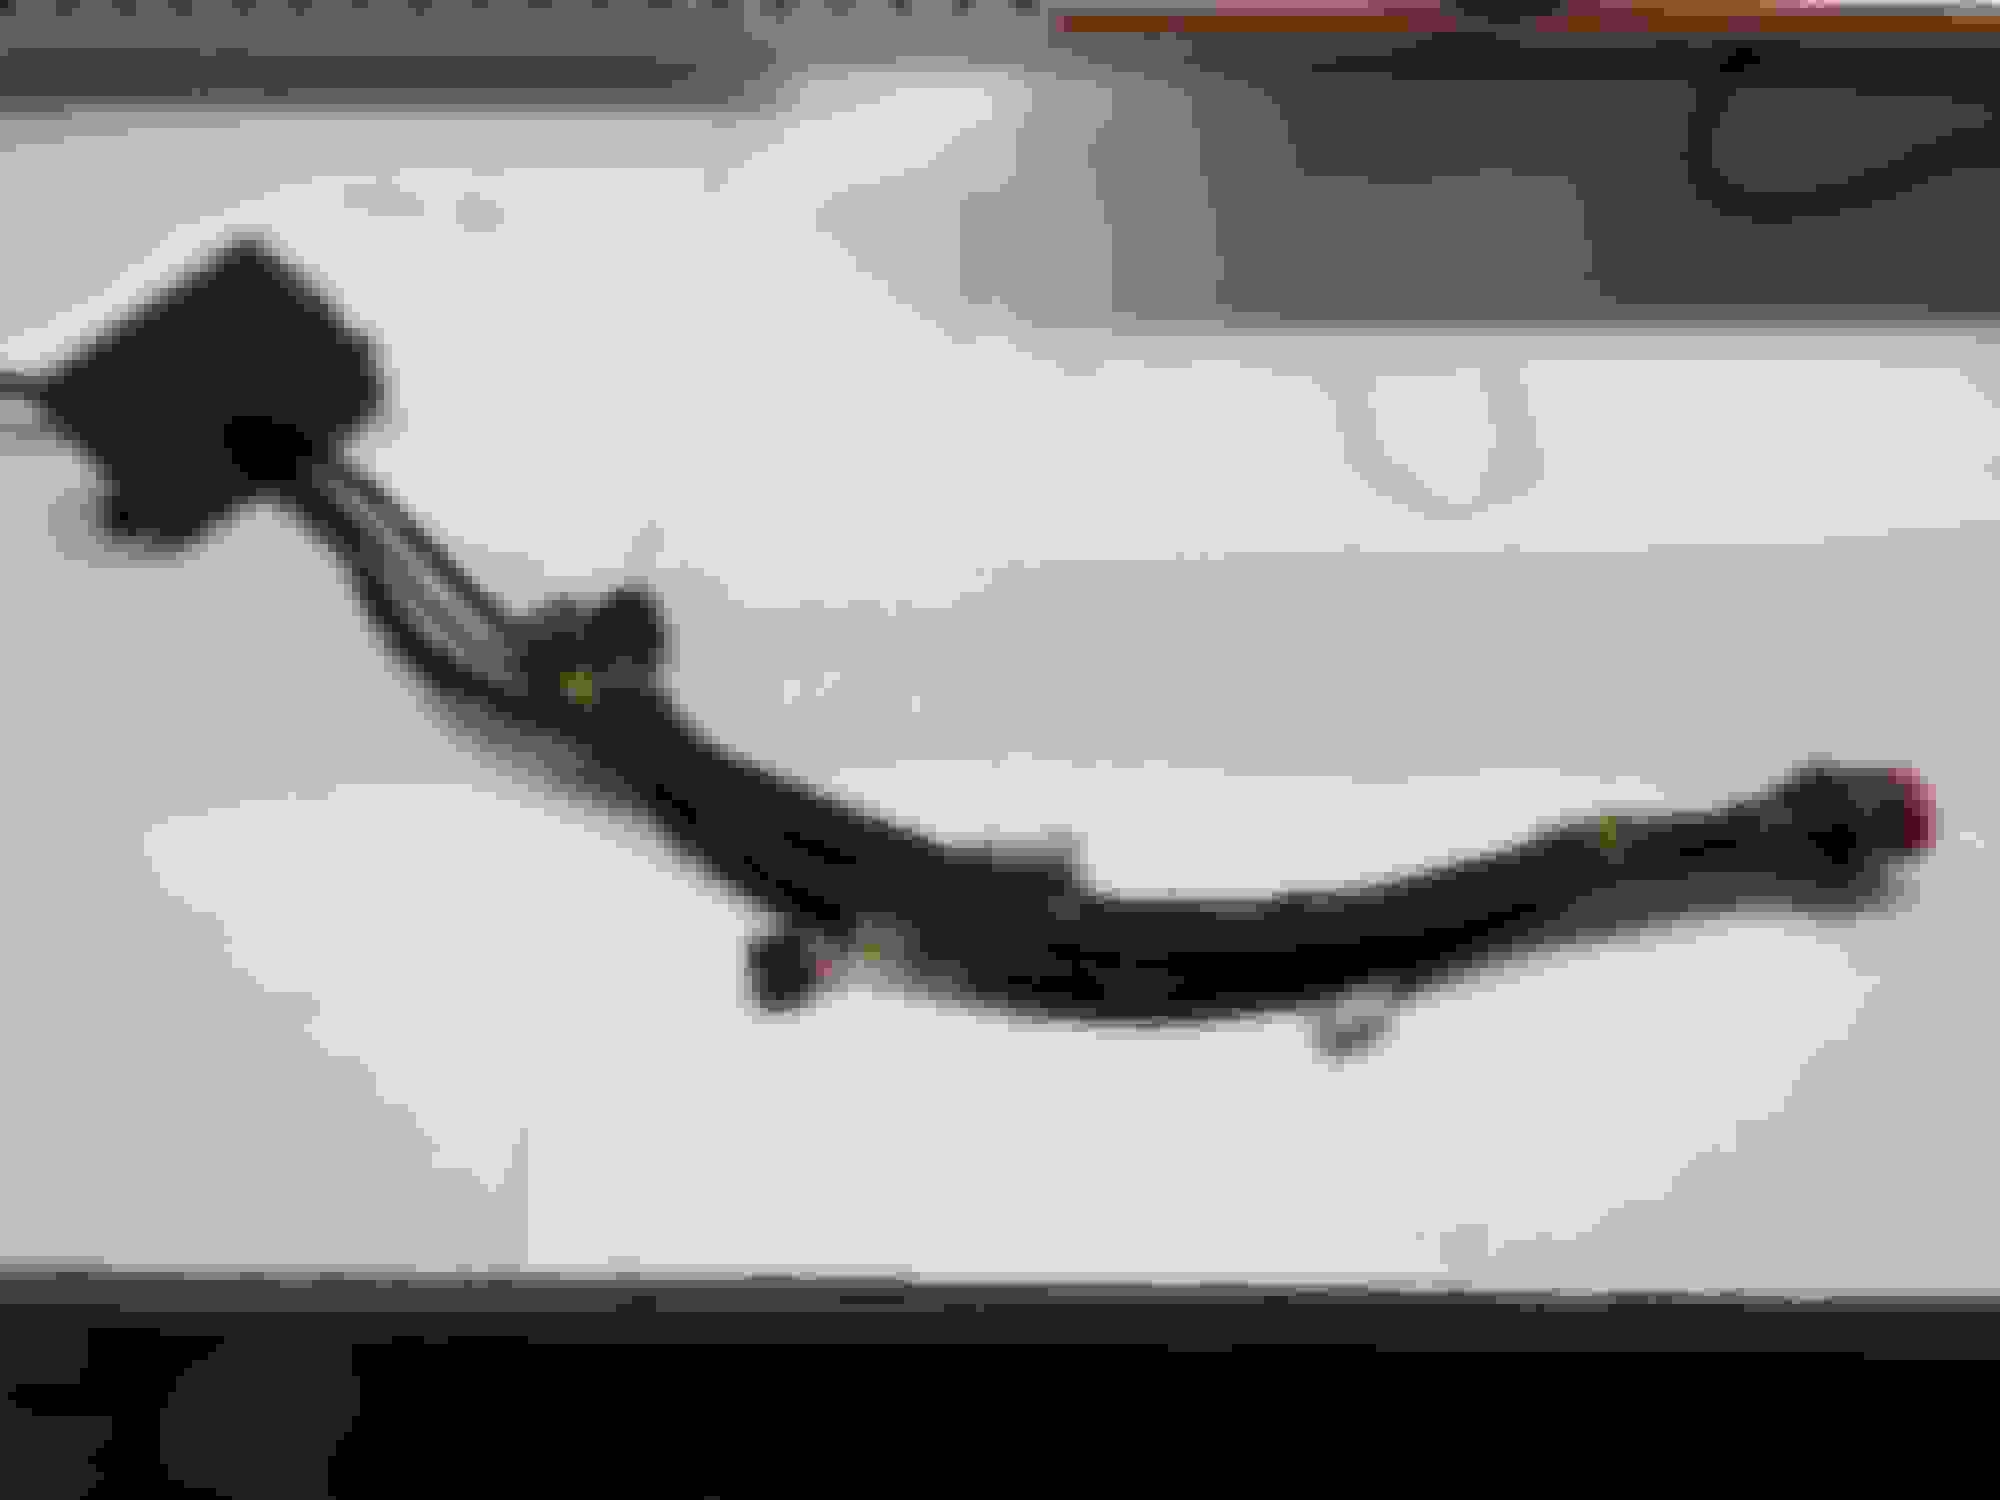
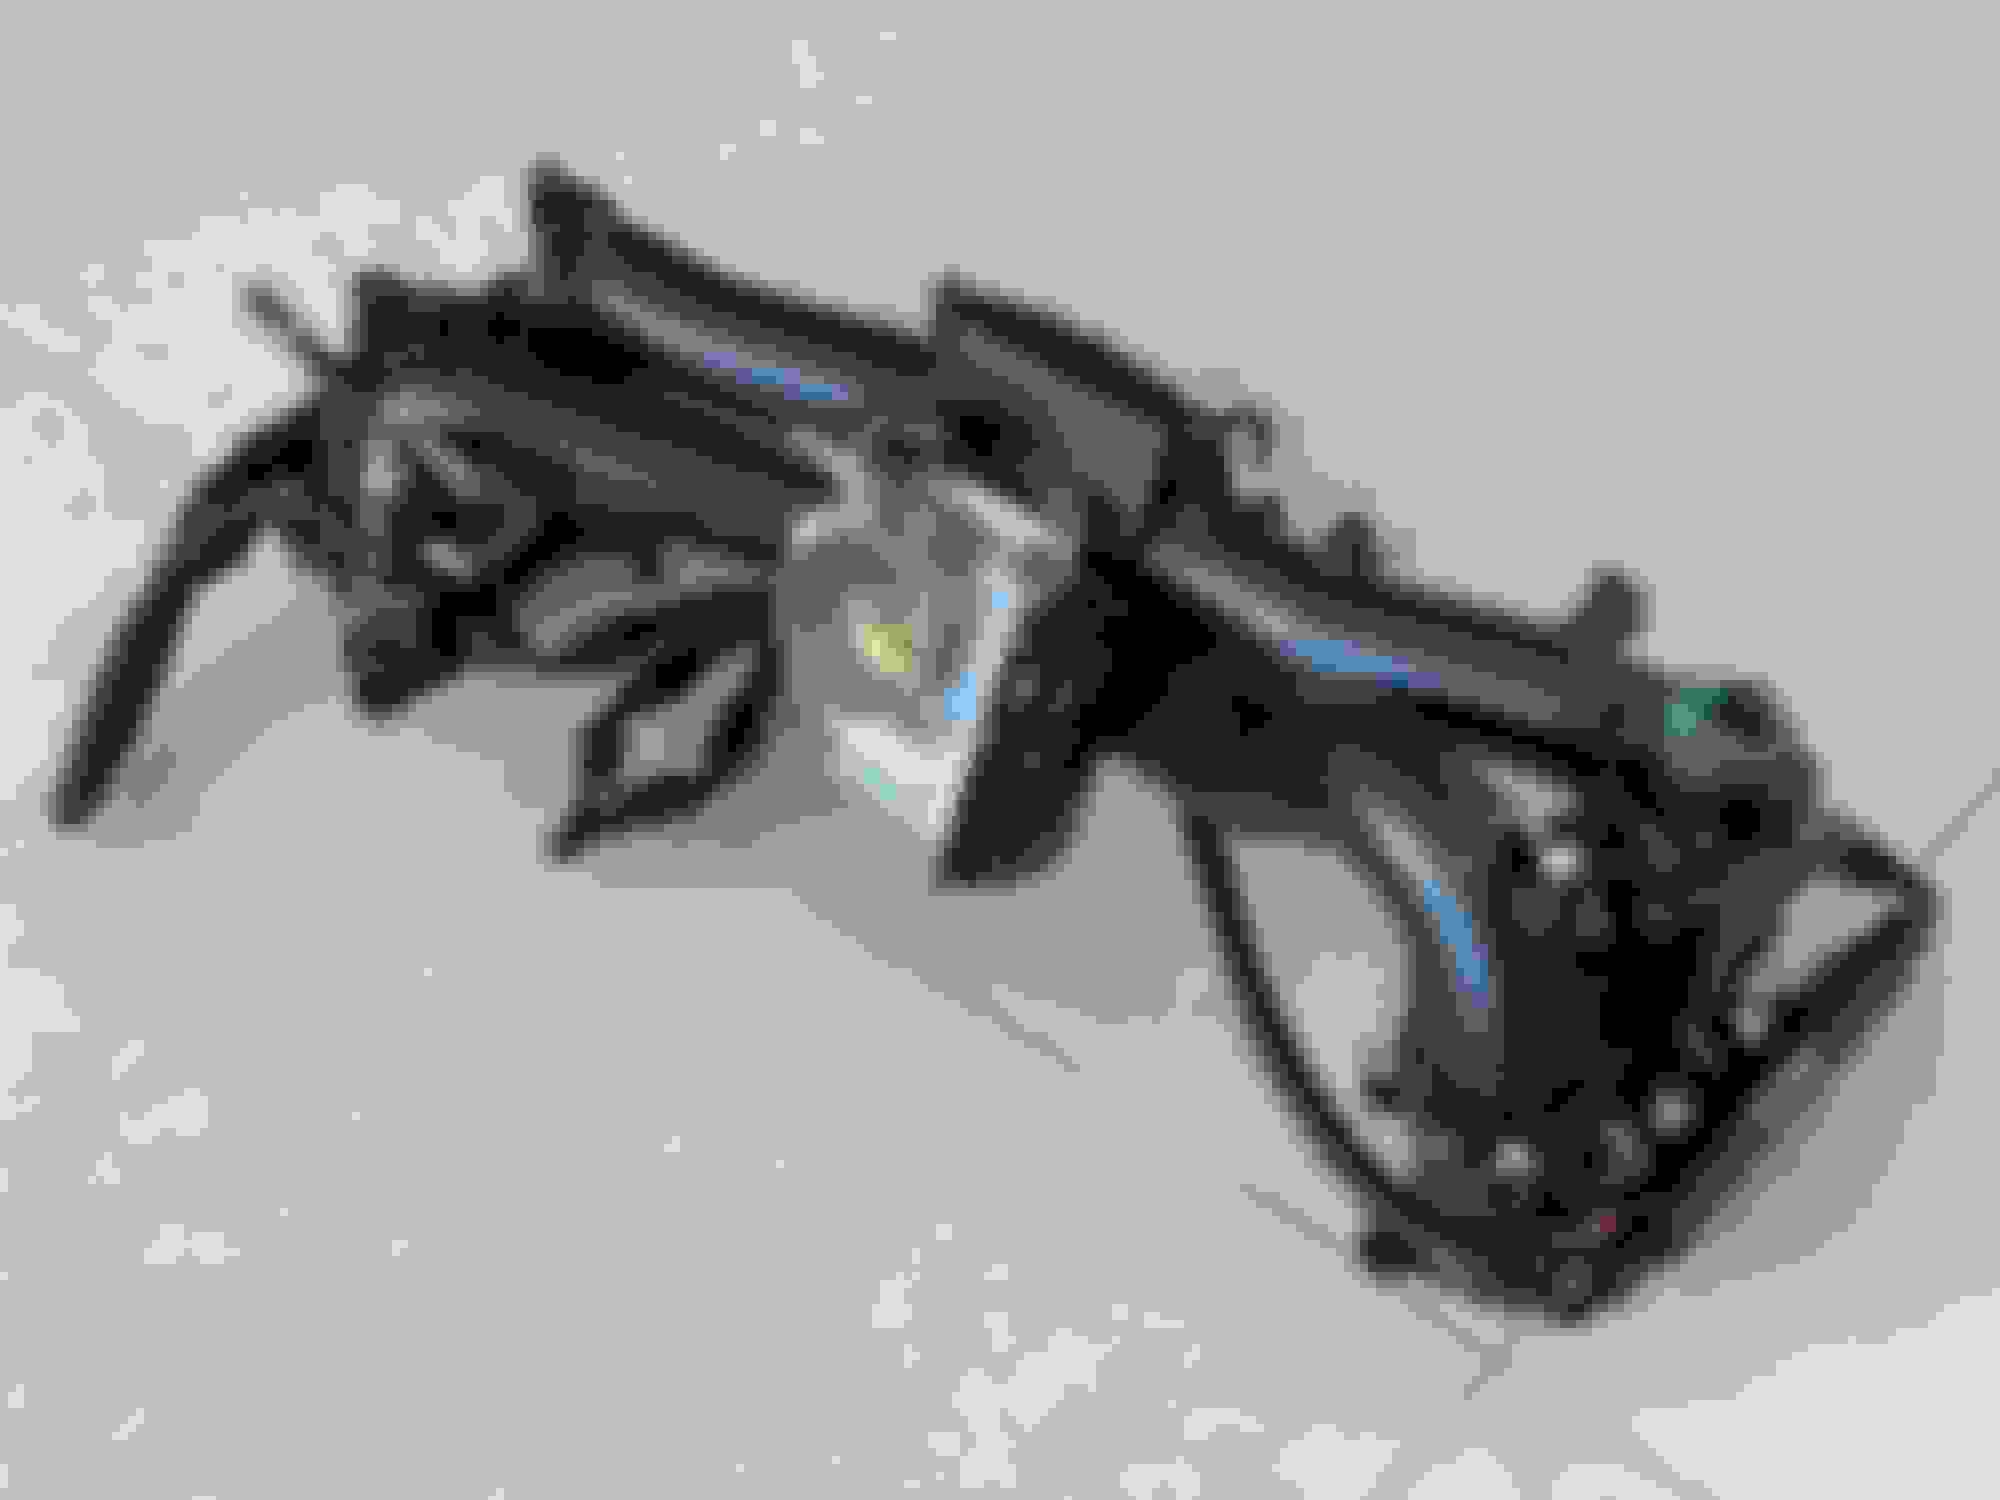
Collection of connectors to finish the job off:
After lots of coffee, swearing, frustration and many many hours later came the final result:
And here are the two sections side by side:
Extremely happy with the final result (let's just hope all the lengths were calculated correctly).
So, now waiting for a few last parts to arrive so I can move on to stage 3 of 4 which is installing all the engine bay parts. That means, building the heads, new manifold, throttle body, injectors, etc.
Once everything is installed I will be able to see if this harness actually works.
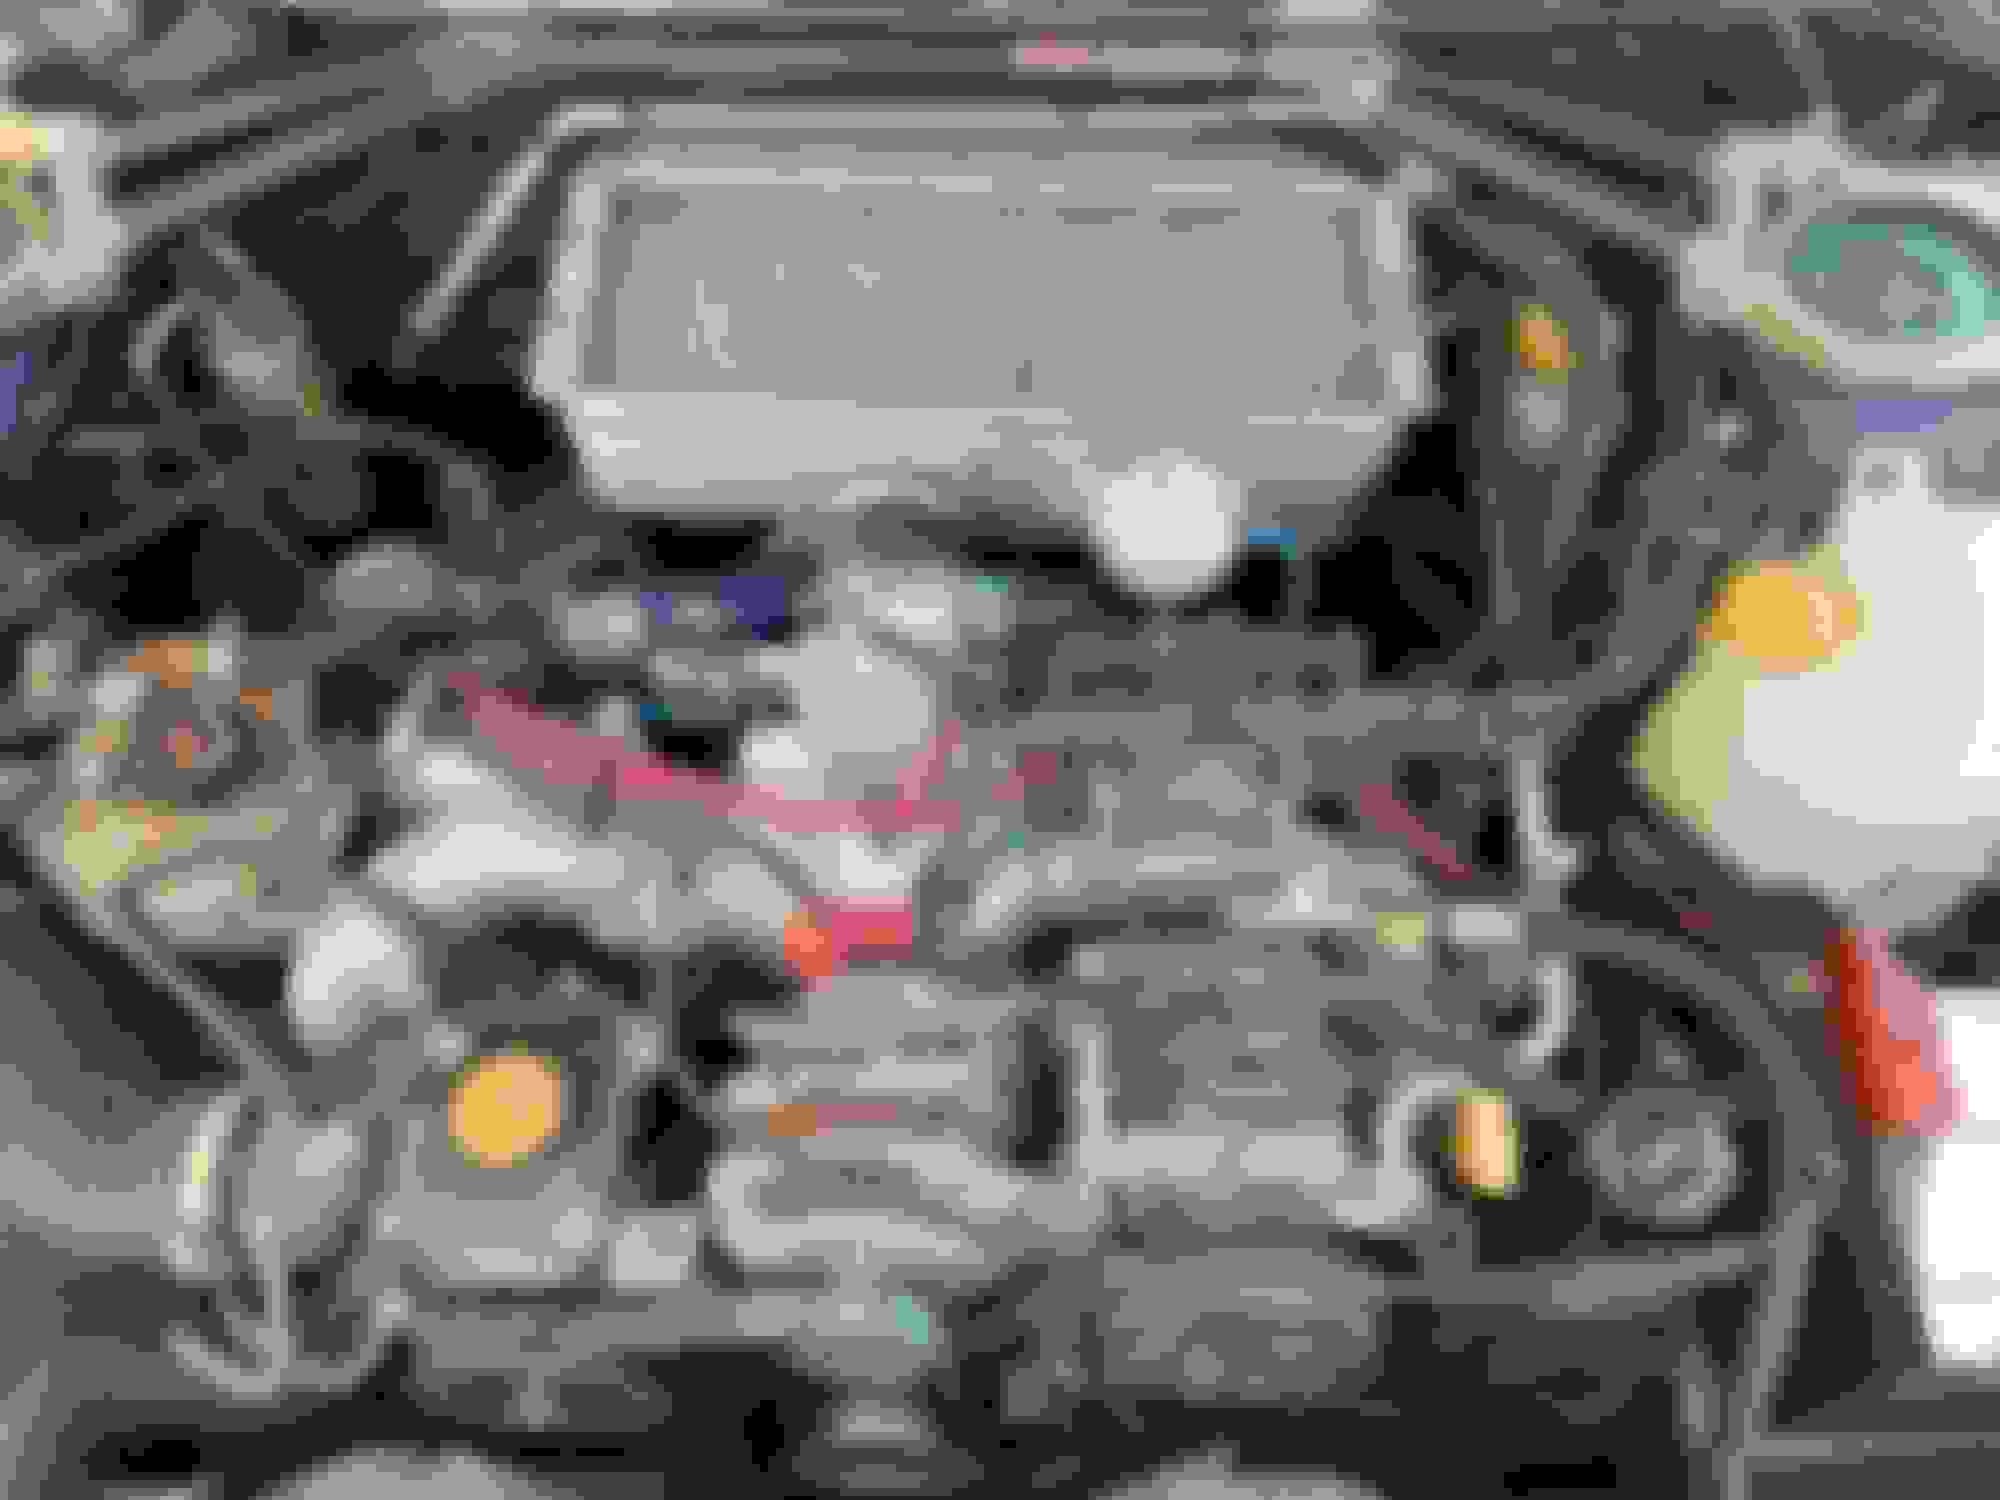
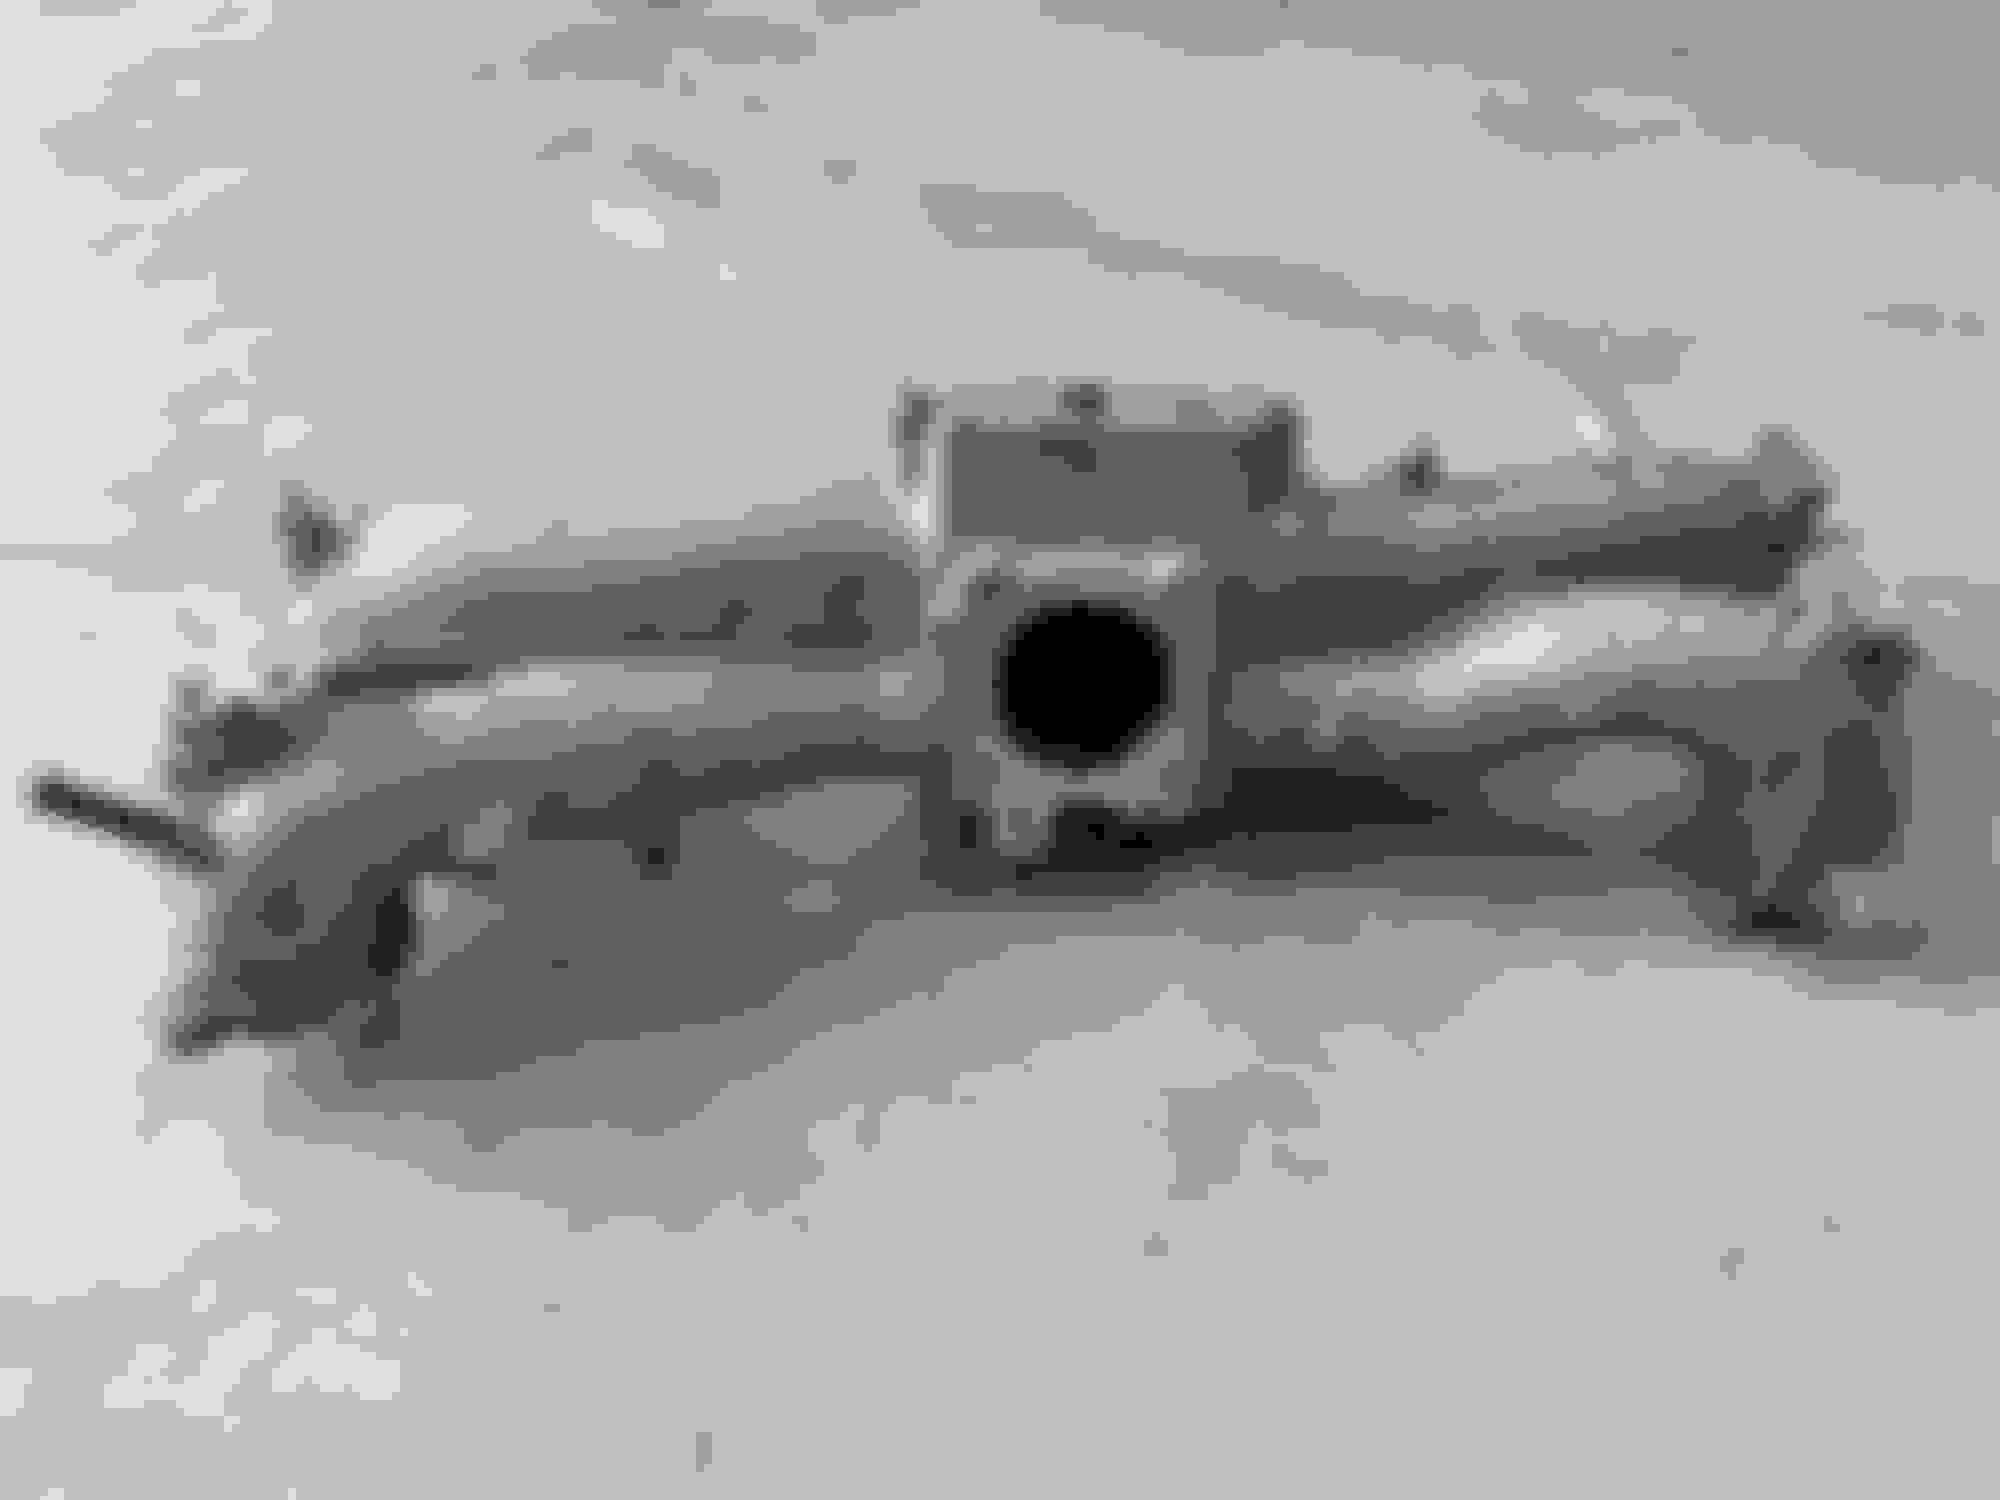
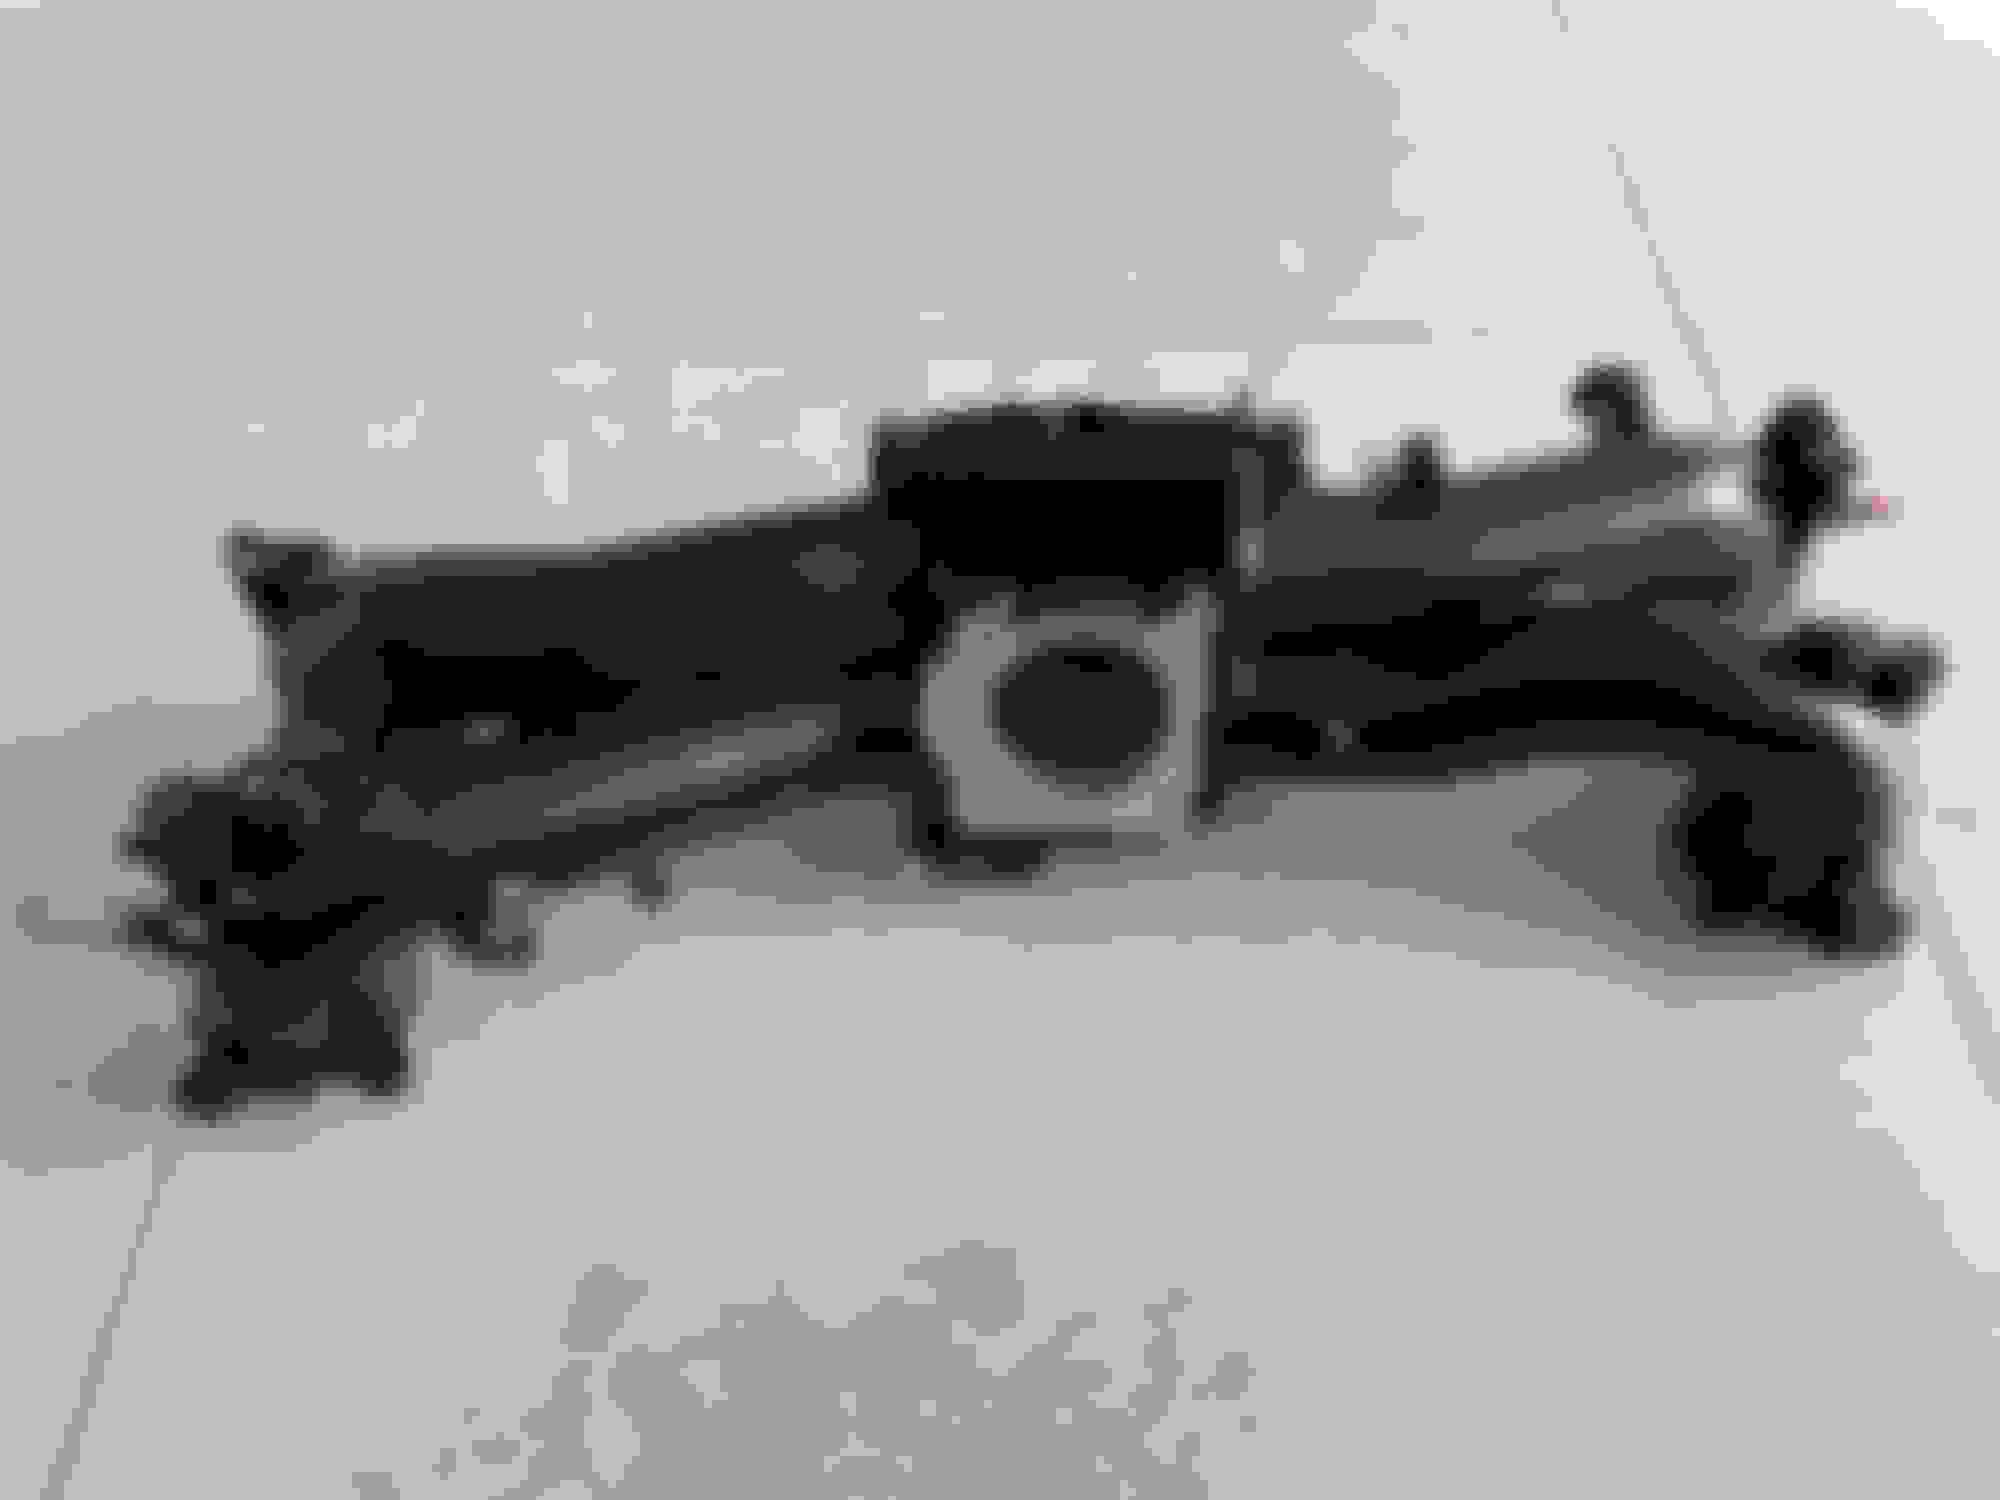
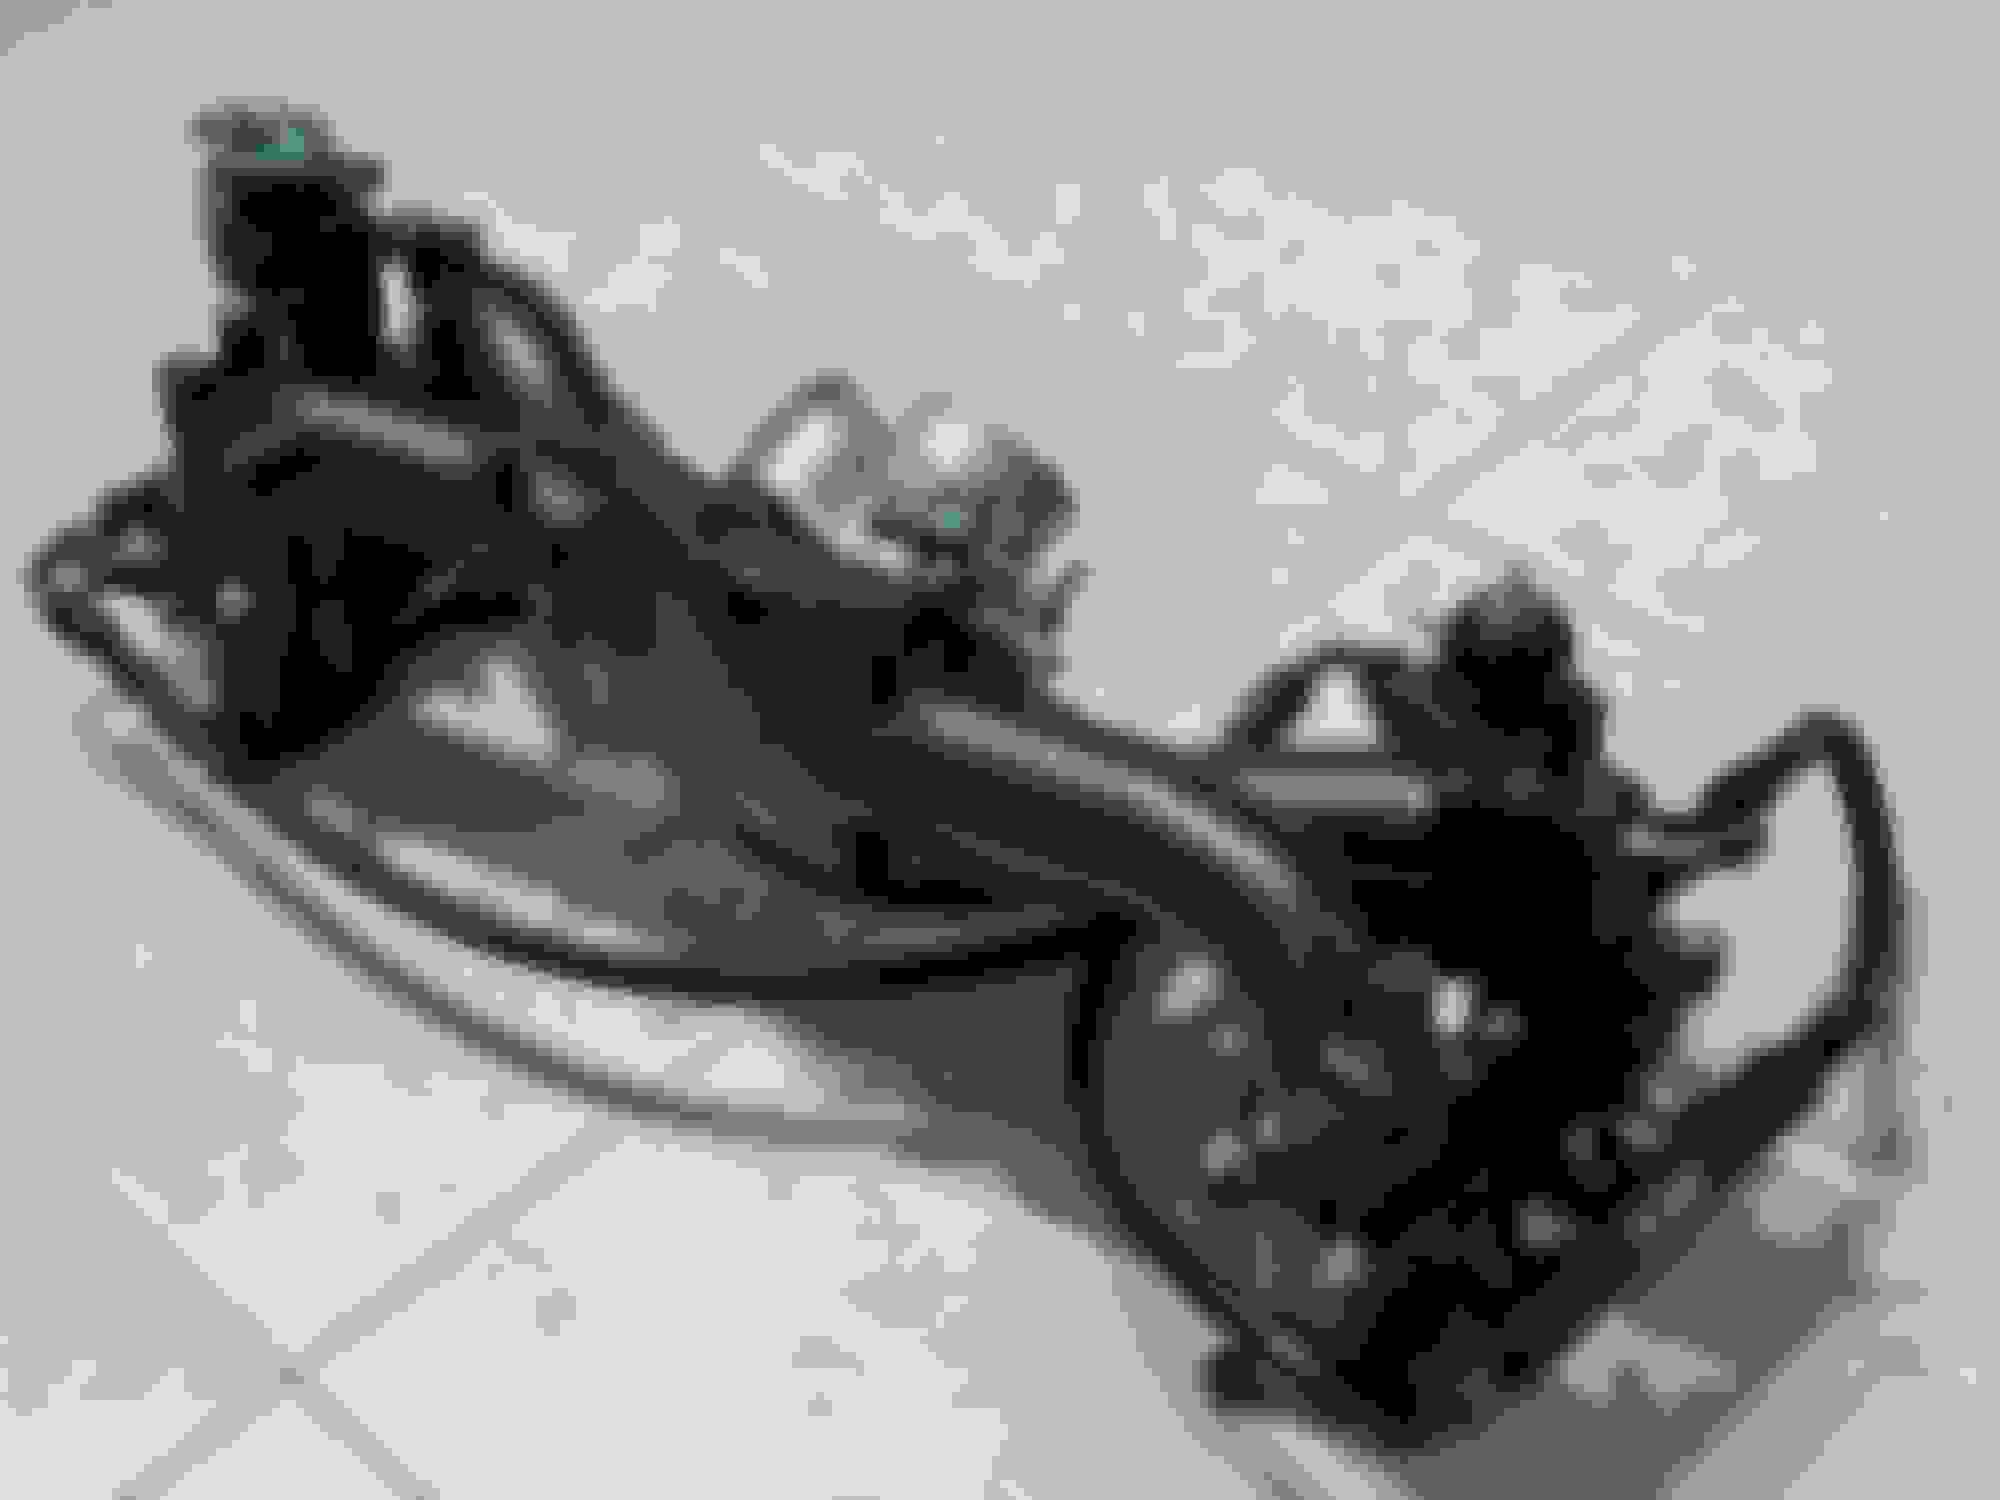
I first sent the manifold off to powder coating for it to match all the other parts it was going to be attached to. So...
Before:
And after:
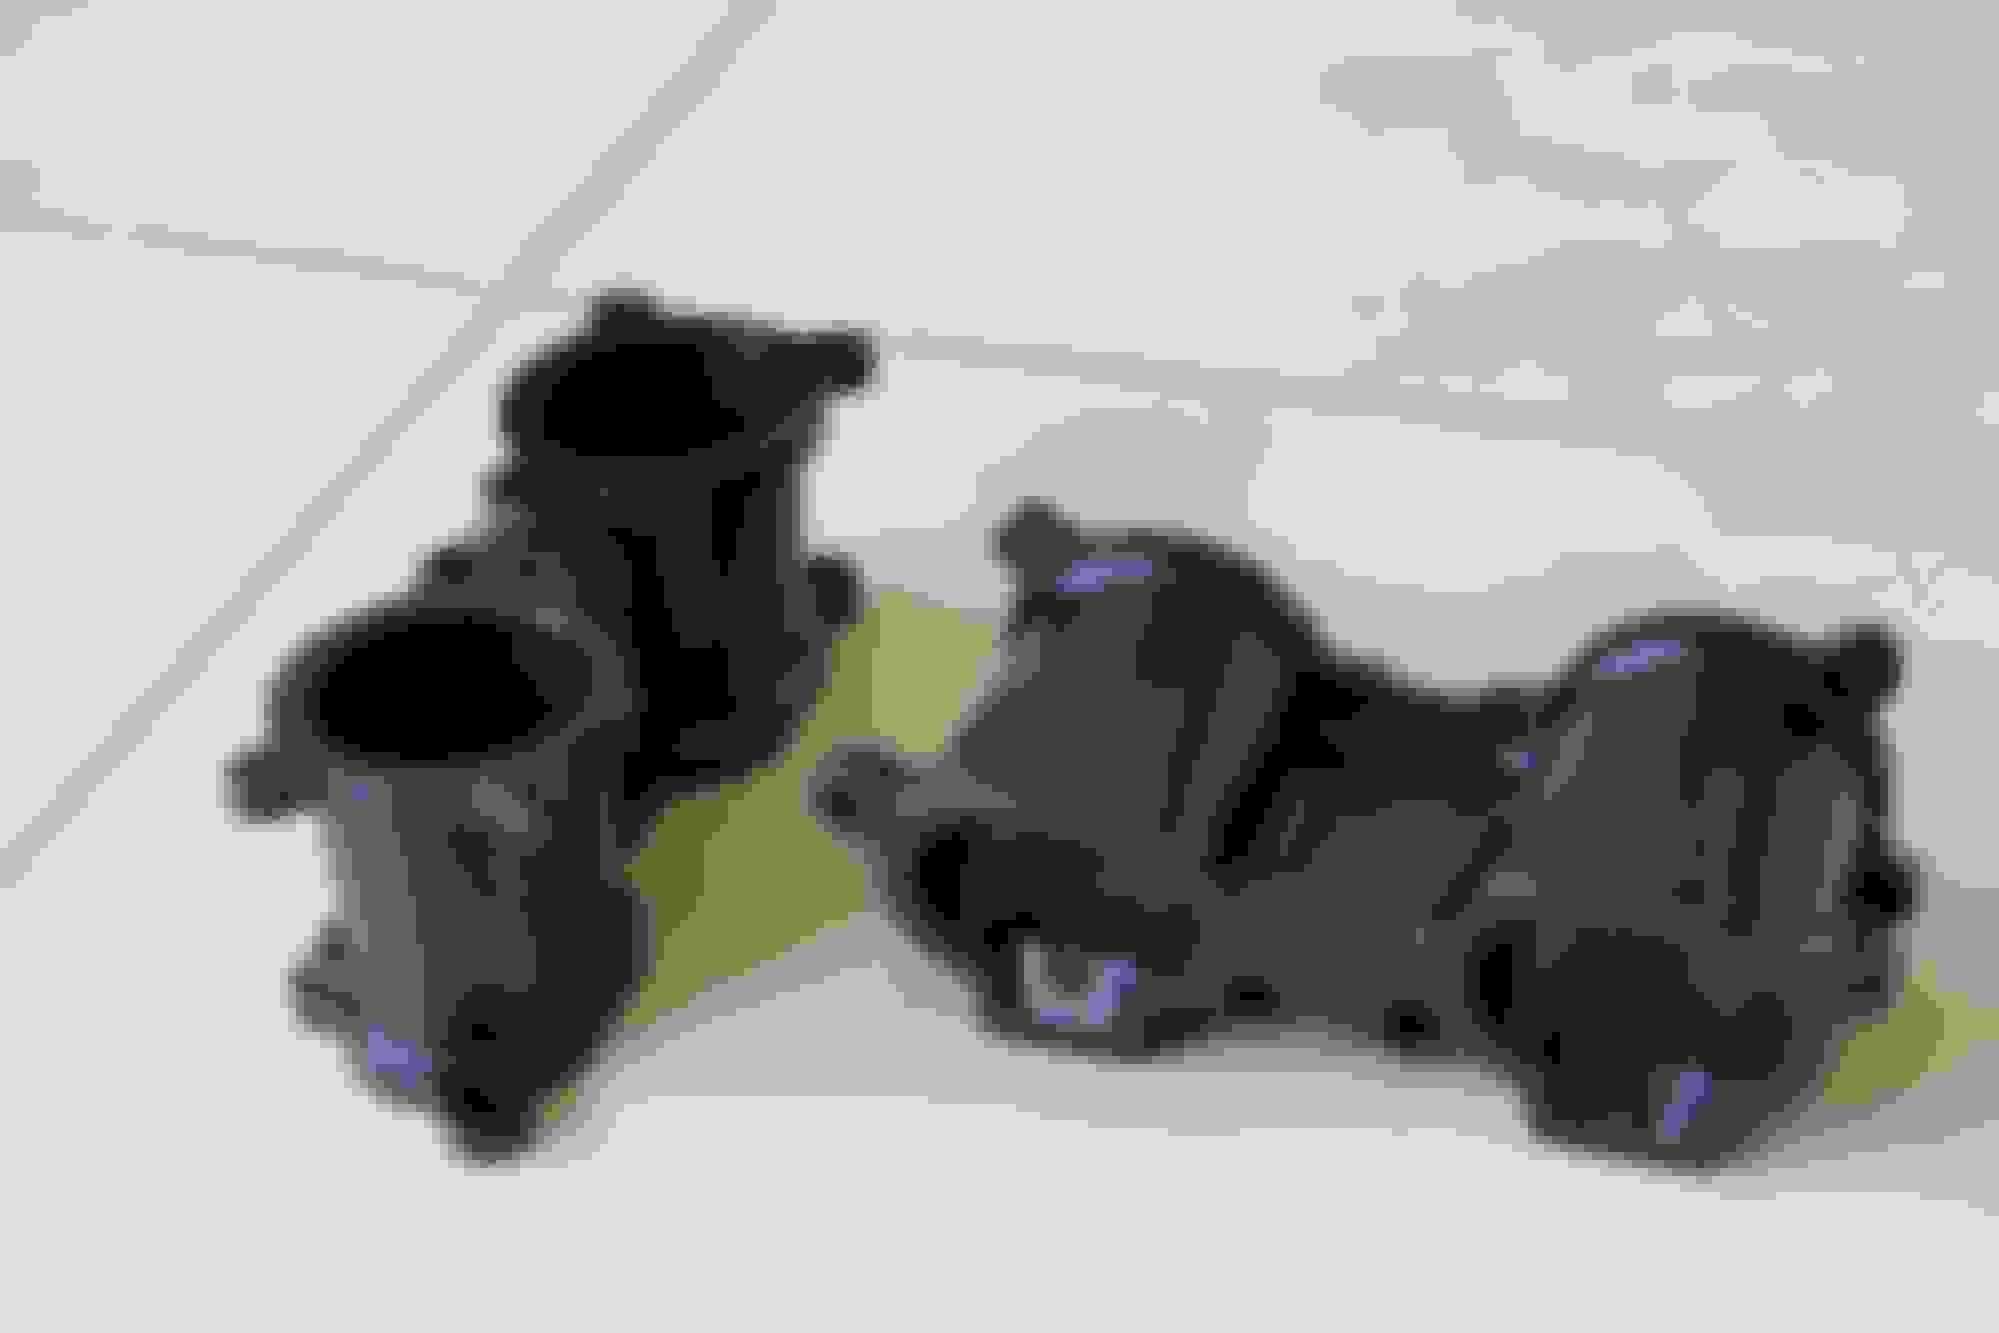
I decided to start assembling together some parts I had at home since progress with the car was a little slow and I thought I could help speed things up from my end.
So, for this job I used:
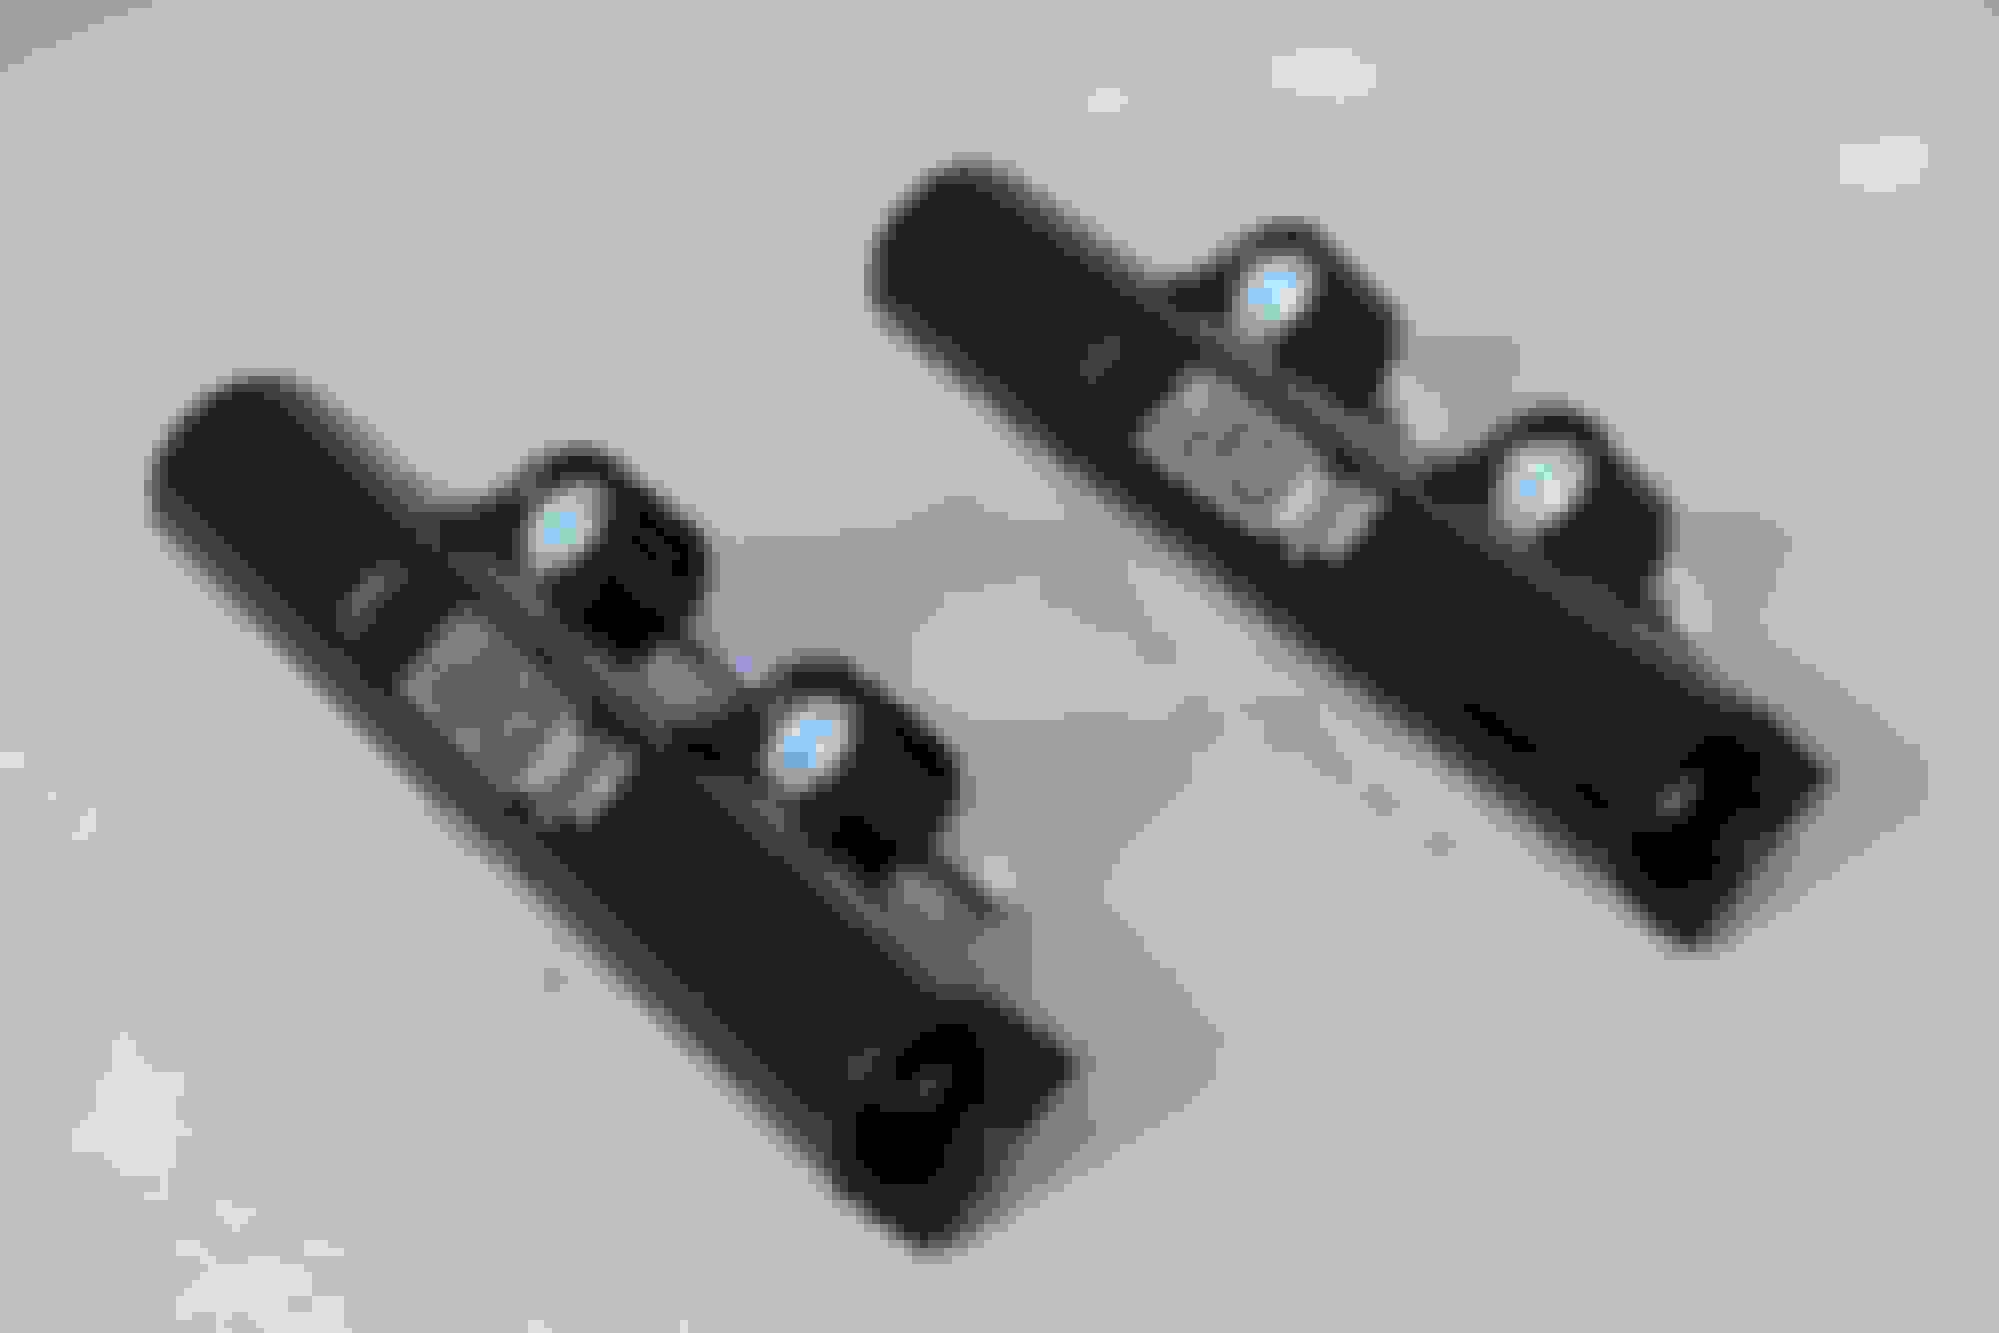
IAG TGV deletes and fuel rails:
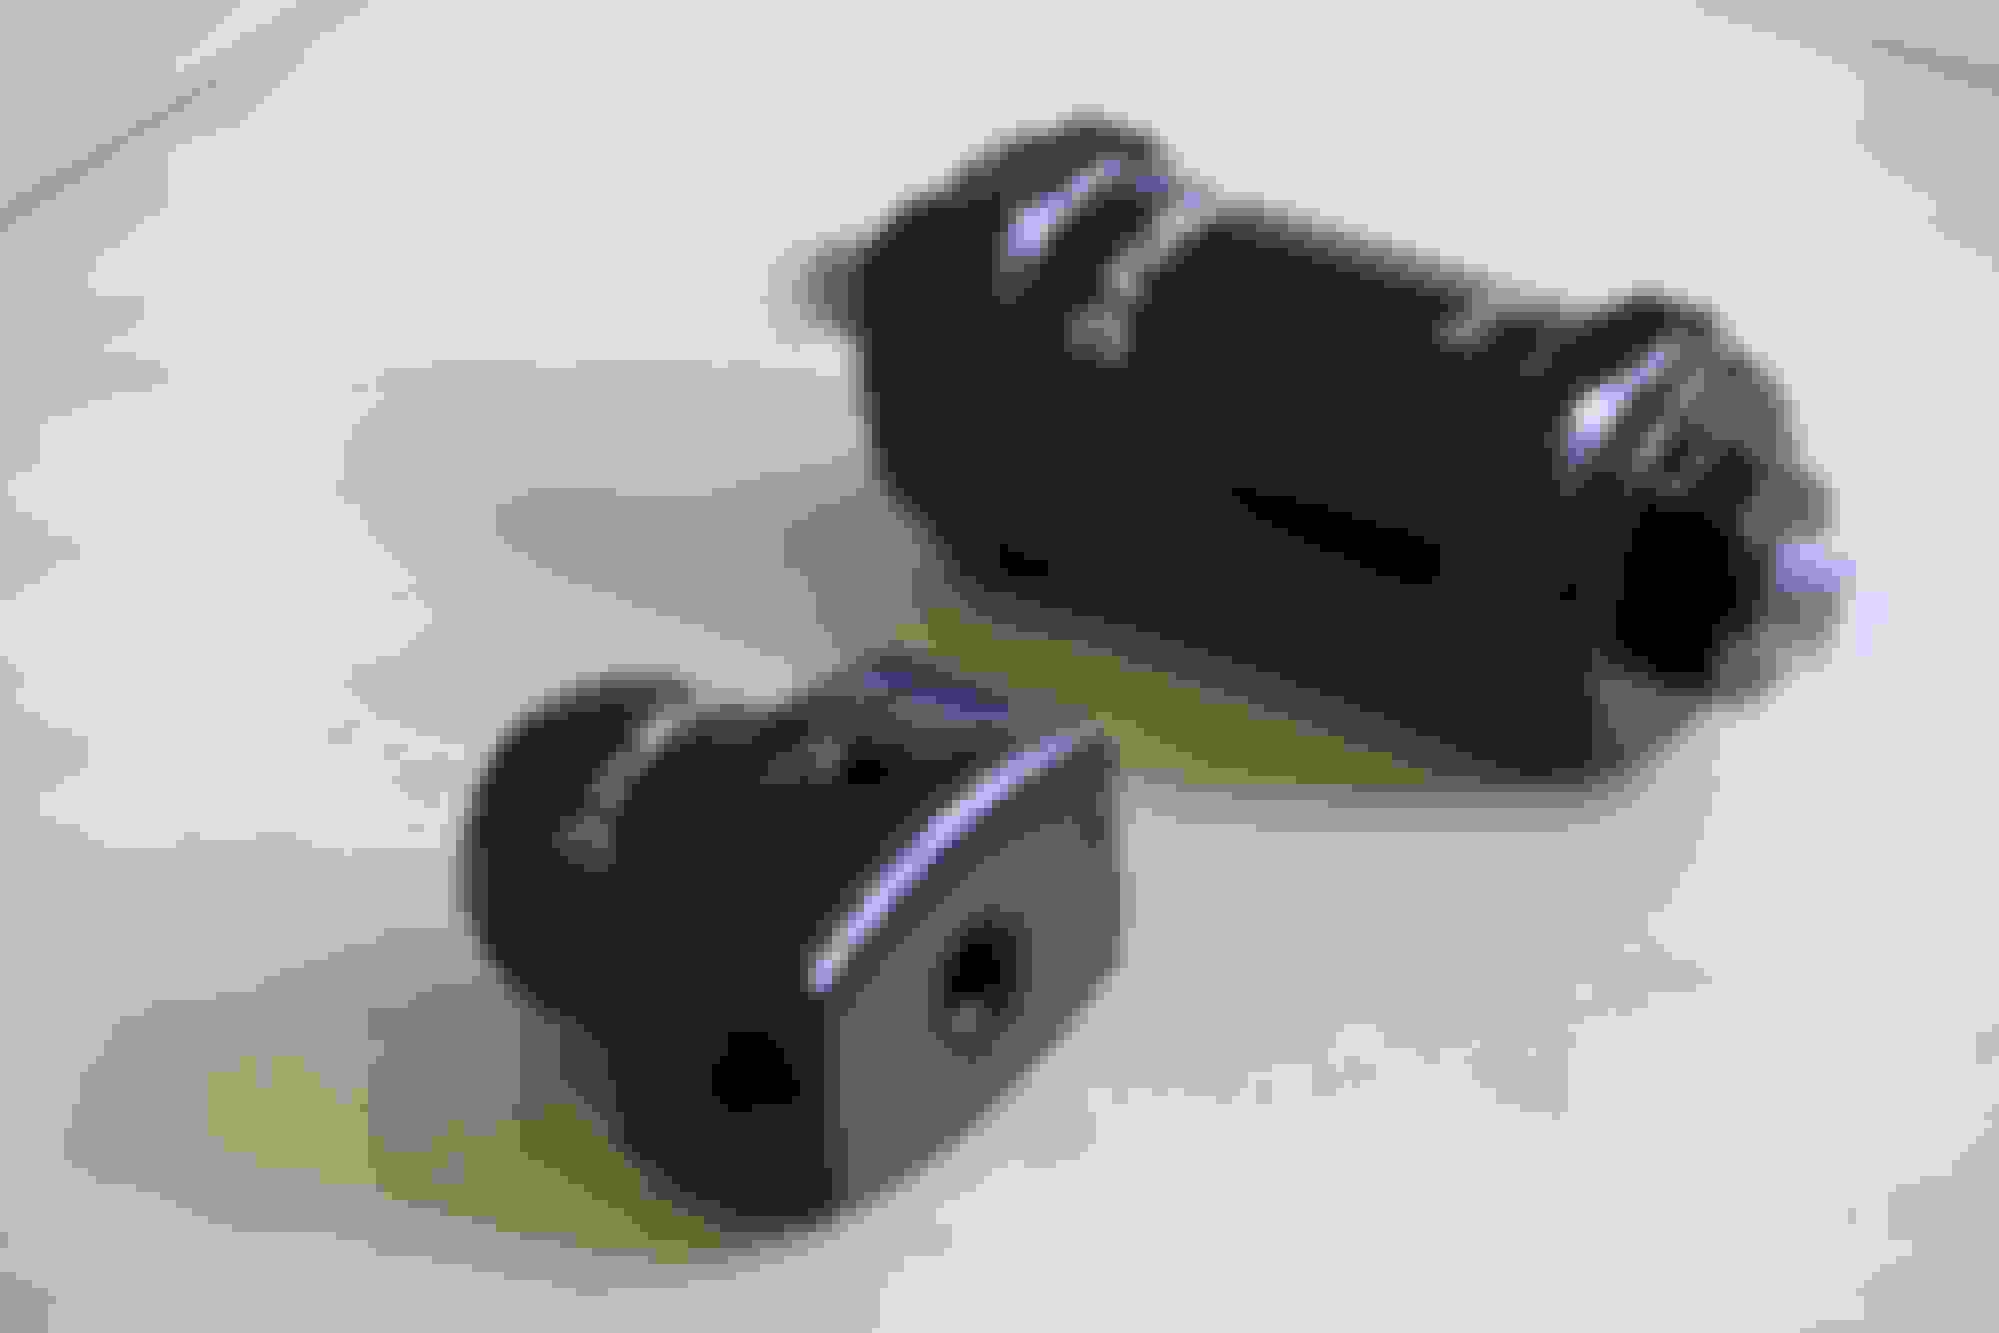
Fuelab fuel pressure regulator:
RCM parallel fuel line kit:
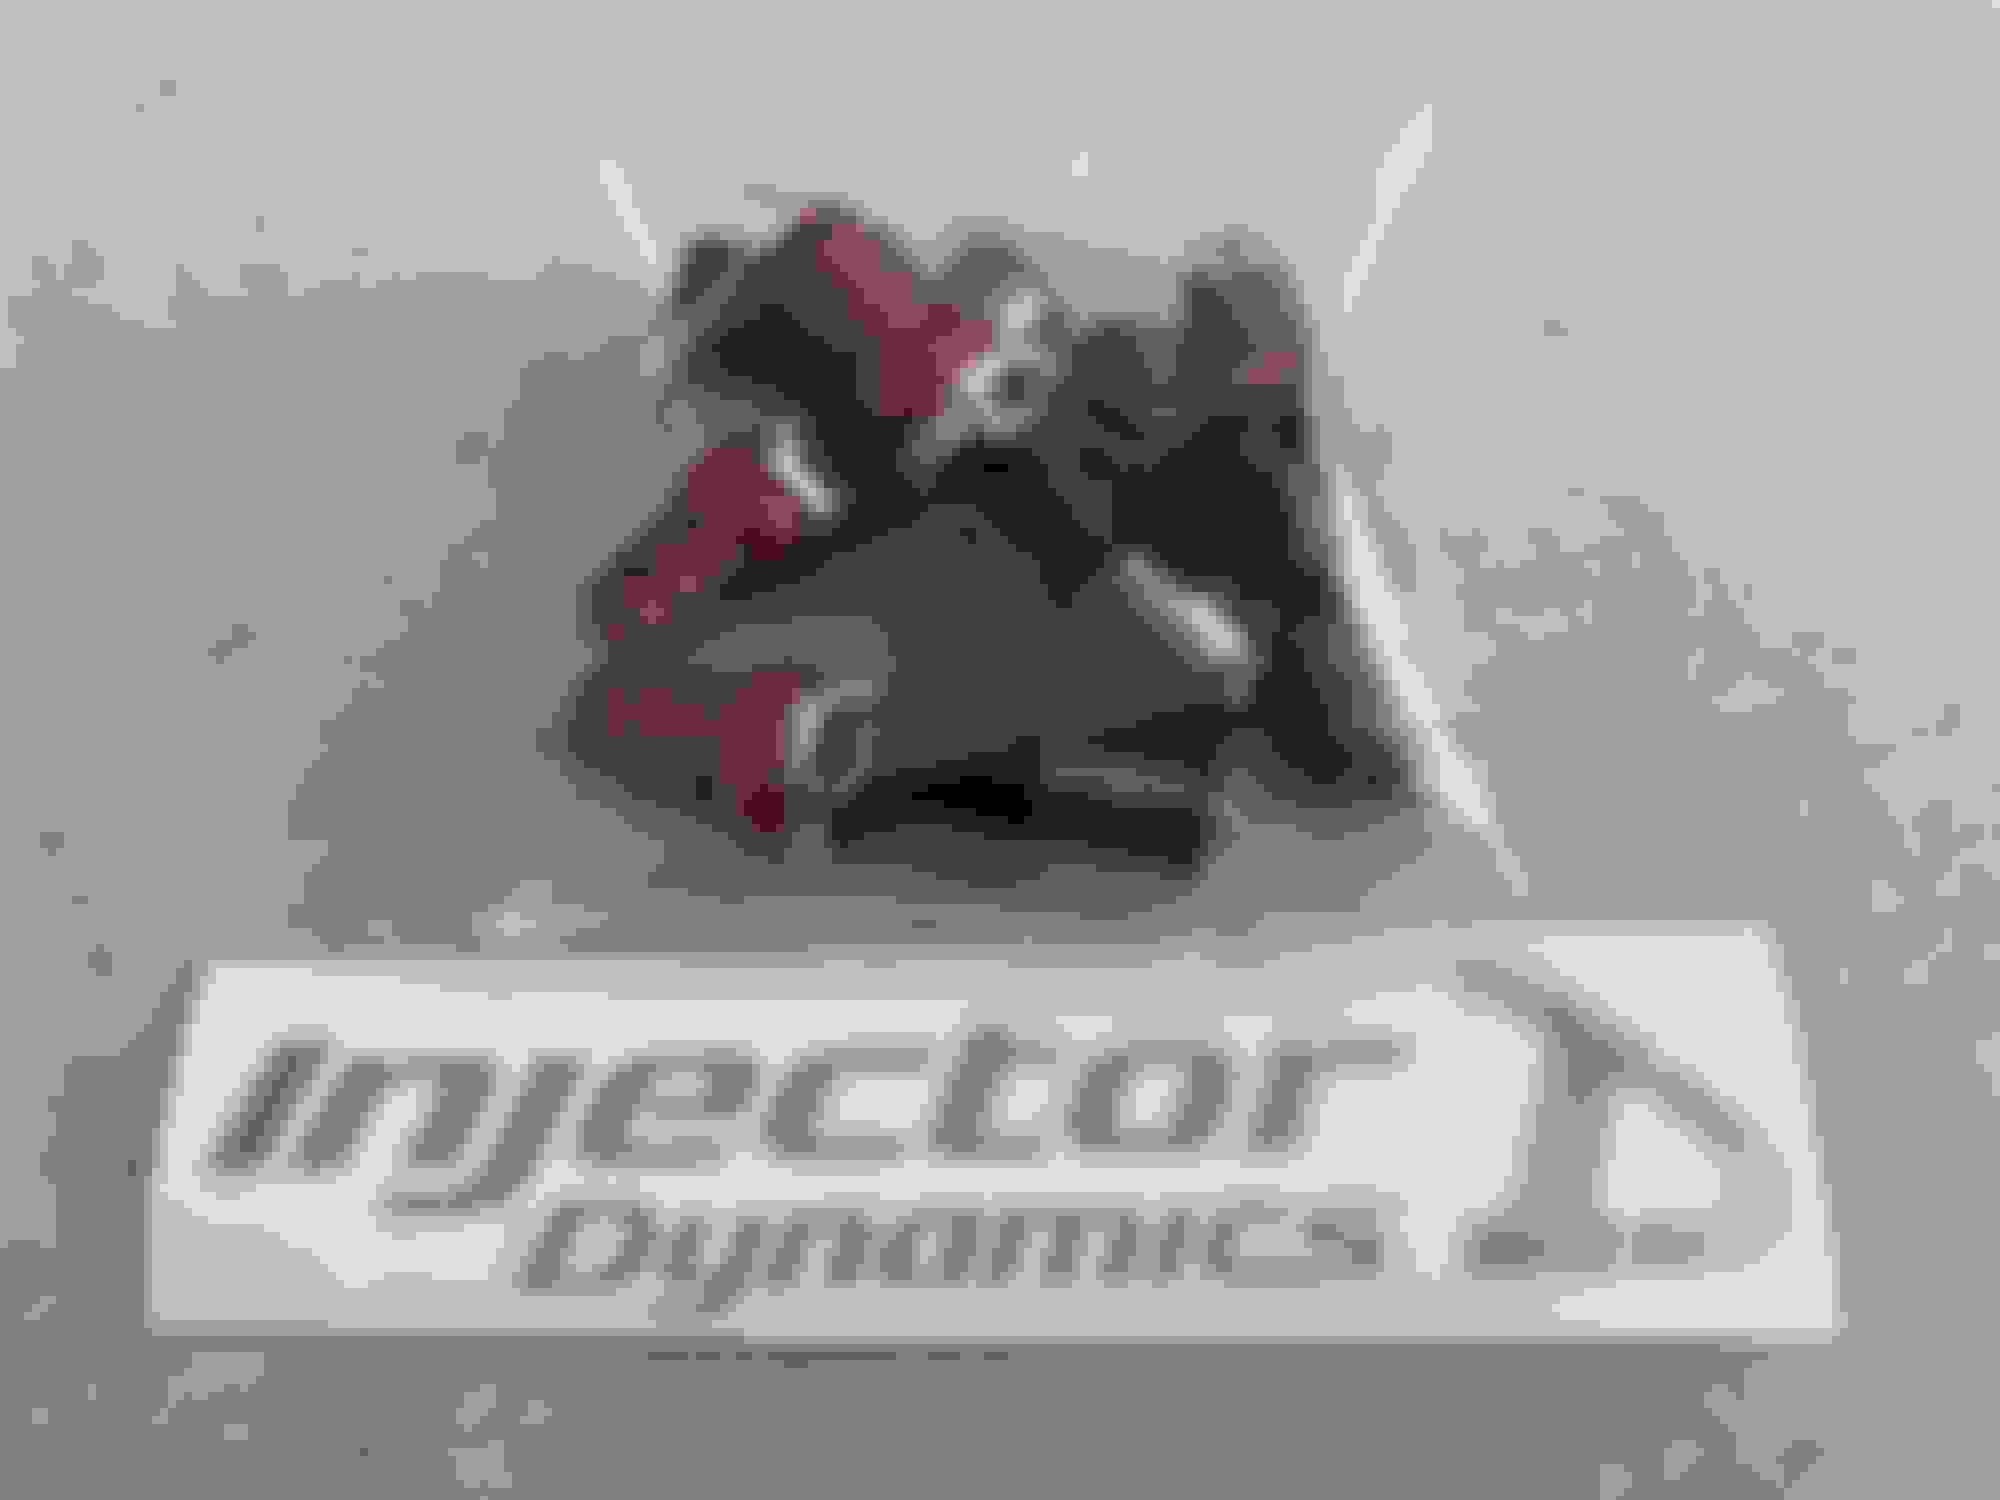
ID 1050x injectors:
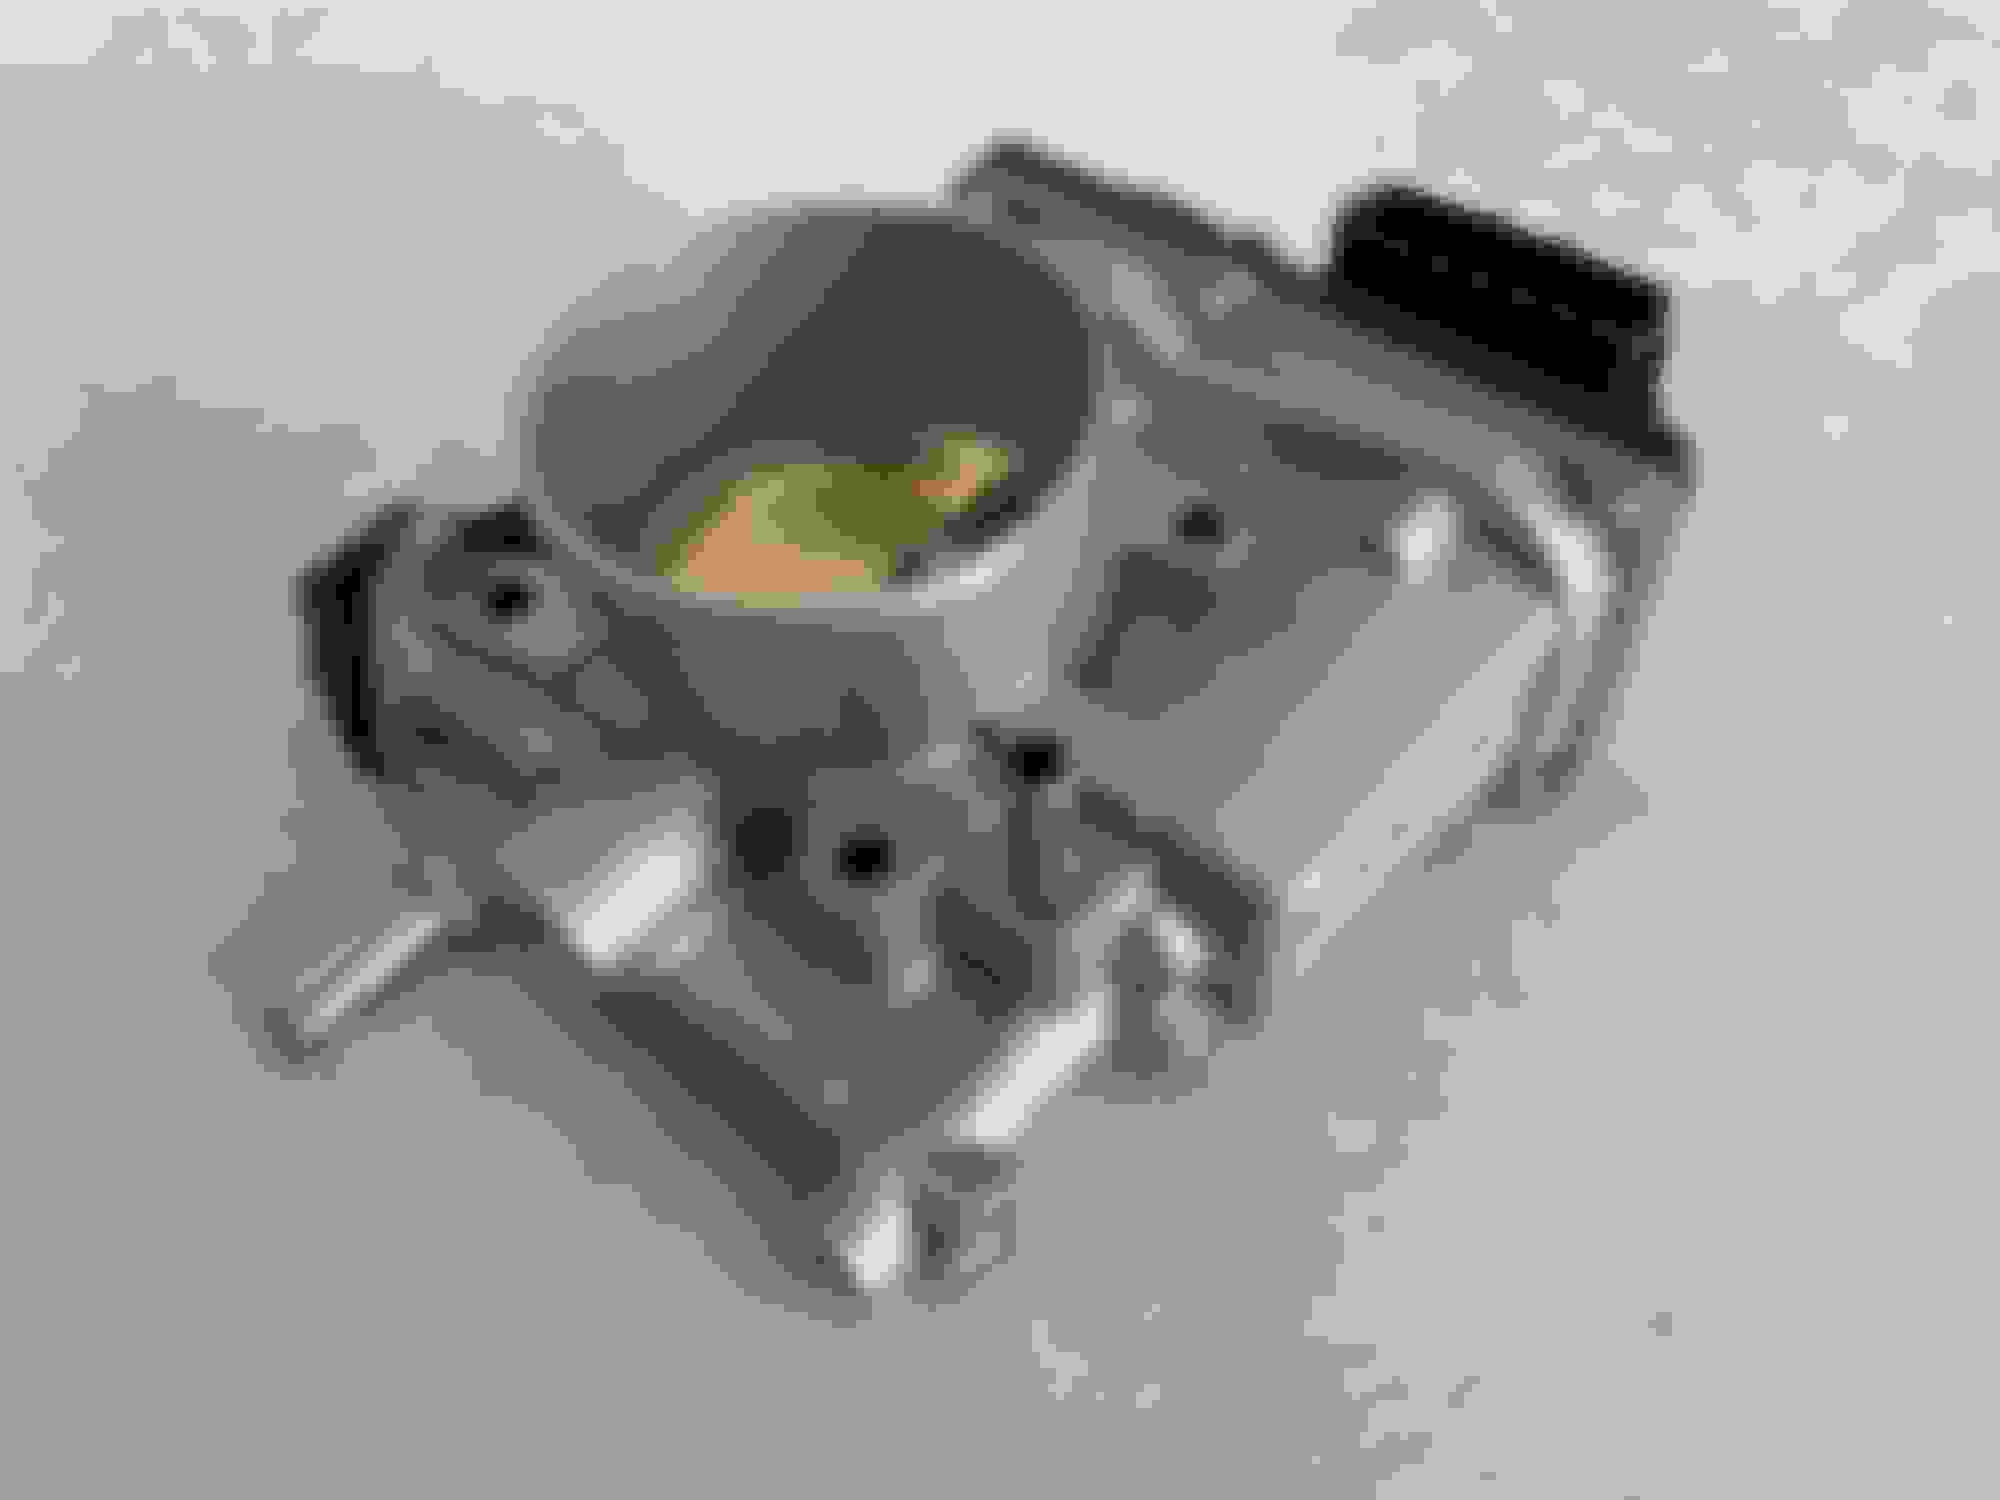
New 08+ STI DBW throttle body:
And an Aluminati coolant header tank paired with a 1.3 bar cap from Radium Engineering:
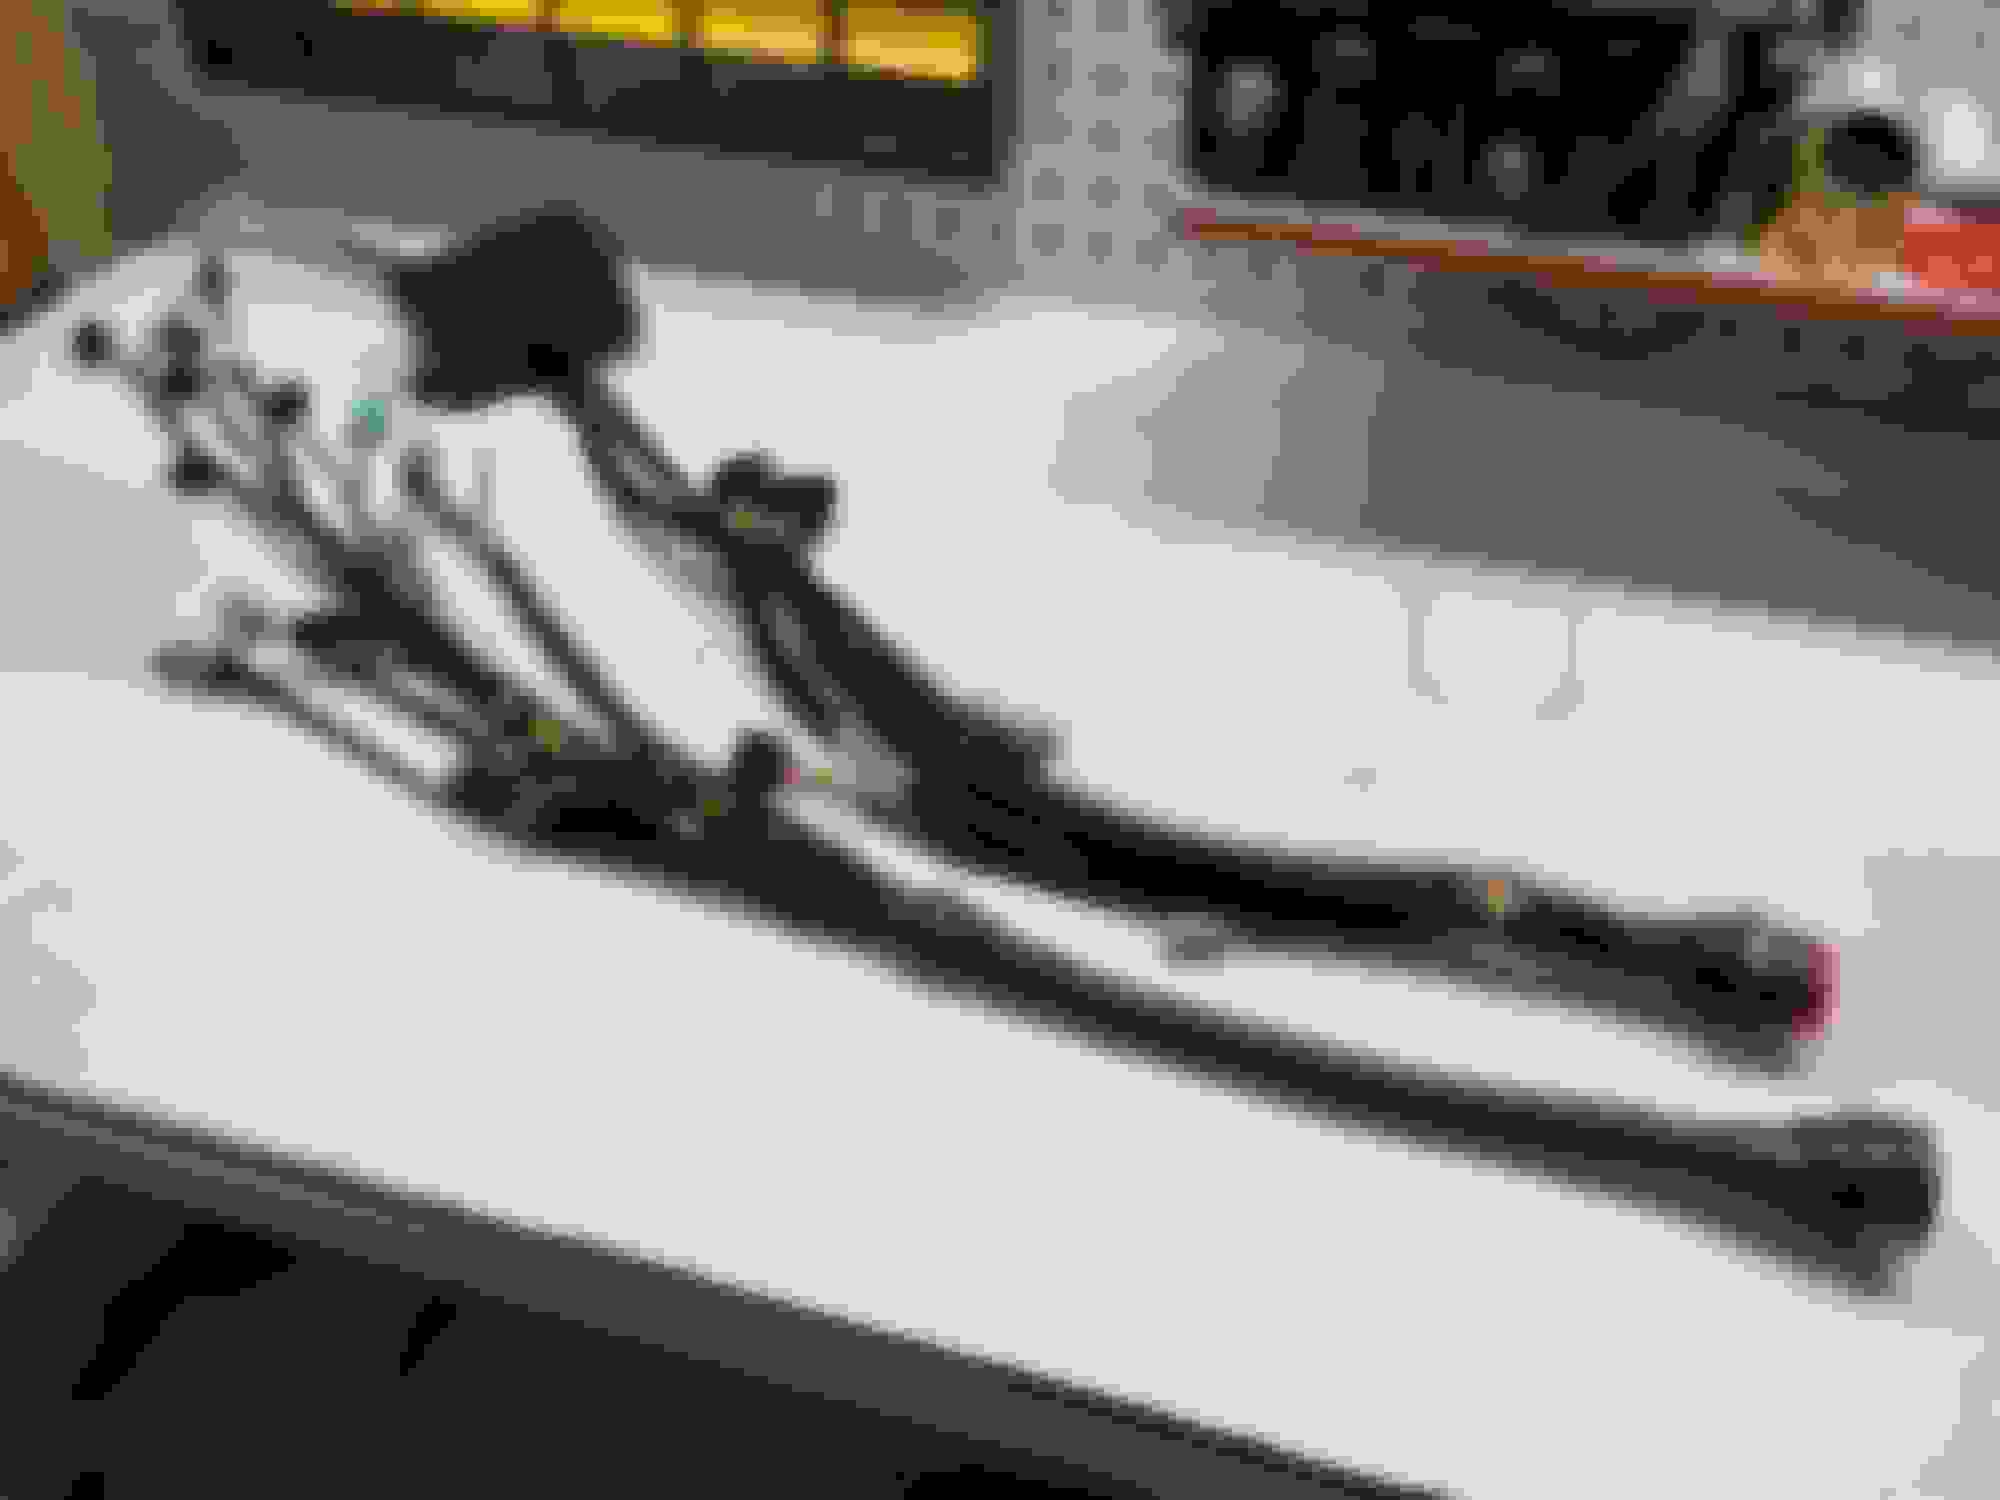
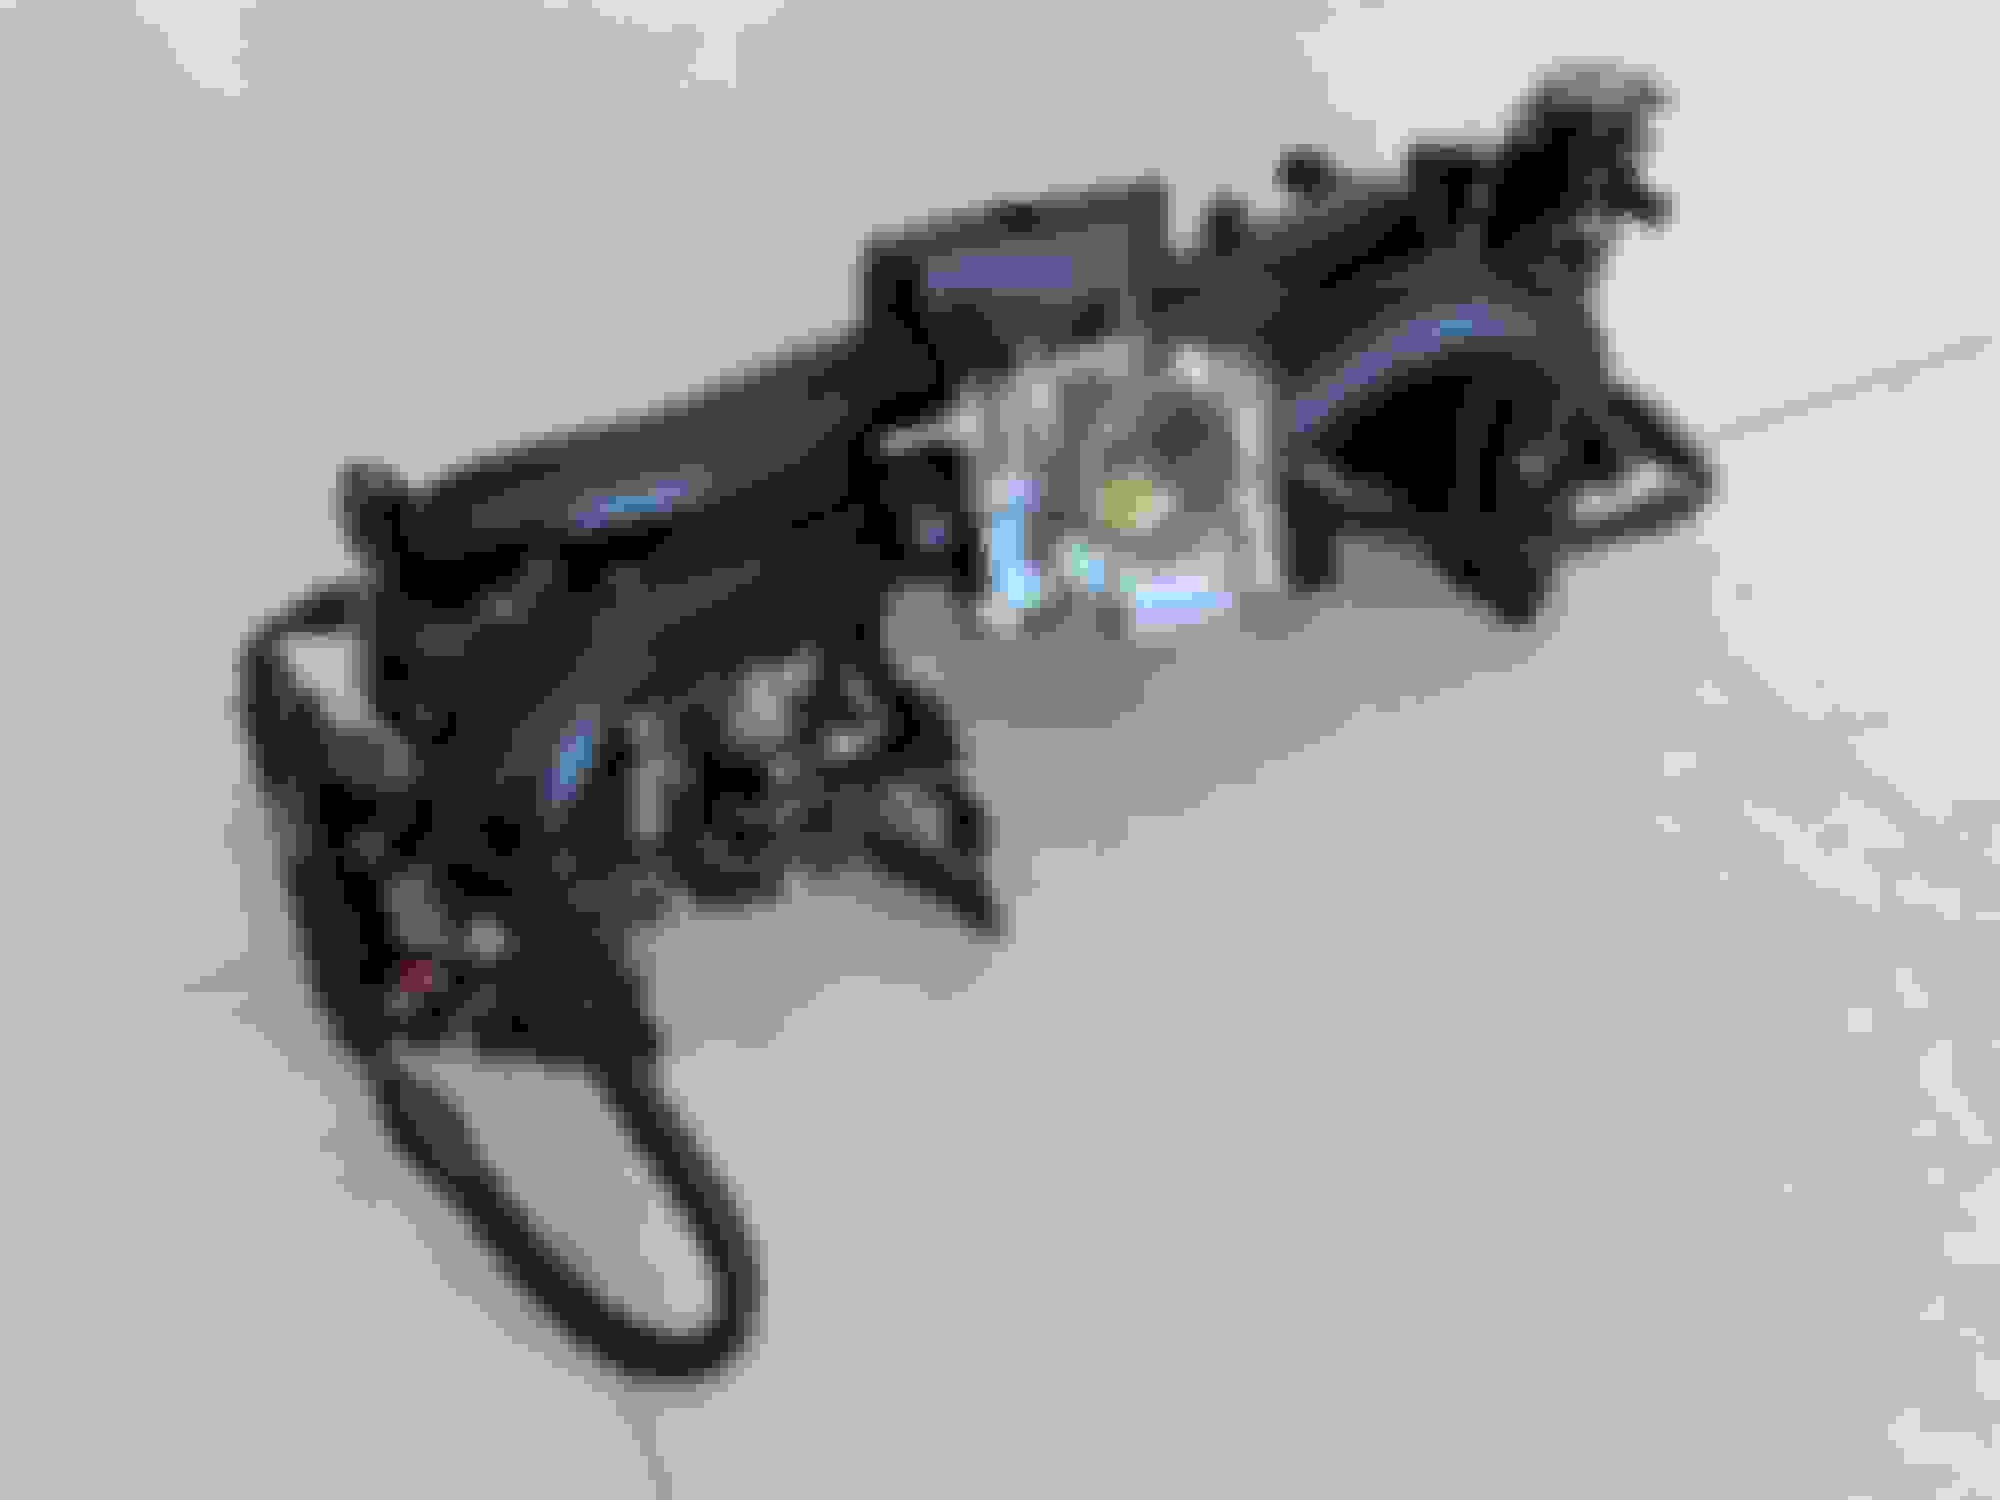
And here before you is the final result:
I'm extremely happy with the way it all fits together. It's so visually satisfying for me, I could sit around staring at it all day lying on the living room floor. Can't say the wife shares the same enthusiasm.
The only thing I'm not 100% sure about are the parallel fuel lines. RCM supply 2 shorter ones and two longer ones. I was advised that the lines leading to the rails should be the same length otherwise the fuel pressure to the injectors could be asymmetric. I'll need to do a little more research on the subject since I used the 2 shorter lines for one rail and the 2 longer ones for the other.
When I consulted with a friend of mine, he told me that once the system is pressurized, the lines share the same constant pressure (similar to the OEM lines design). So, I'm not sure at this point and a bit confused but any input on the subject will be appreciated!