Notices
Projects For Serious DIY Car Projects

Single Seater Honda Fireblade Powered RWD Tarmac Buggy Build

Old Dec 21, 2016 | 07:23 PM
  #1  
rentonone's Avatar
rentonone
Thread Starter
Scooby Regular
iTrader: (1)
 
Joined: Aug 2005
Posts: 1,378
Likes: 2
From: West midlands
Default Single Seater Honda Fireblade Powered RWD Tarmac Buggy Build

Some of you may remember my last project, the Subaru Powered Peugeot 205 that sold a while back now.


So something different this time, It's a scratch build, and motorbike powered! Although still harnessing a Subaru drivetrain, or at least in some fashion.

This is something I've wanted to build for a long time, so here goes!

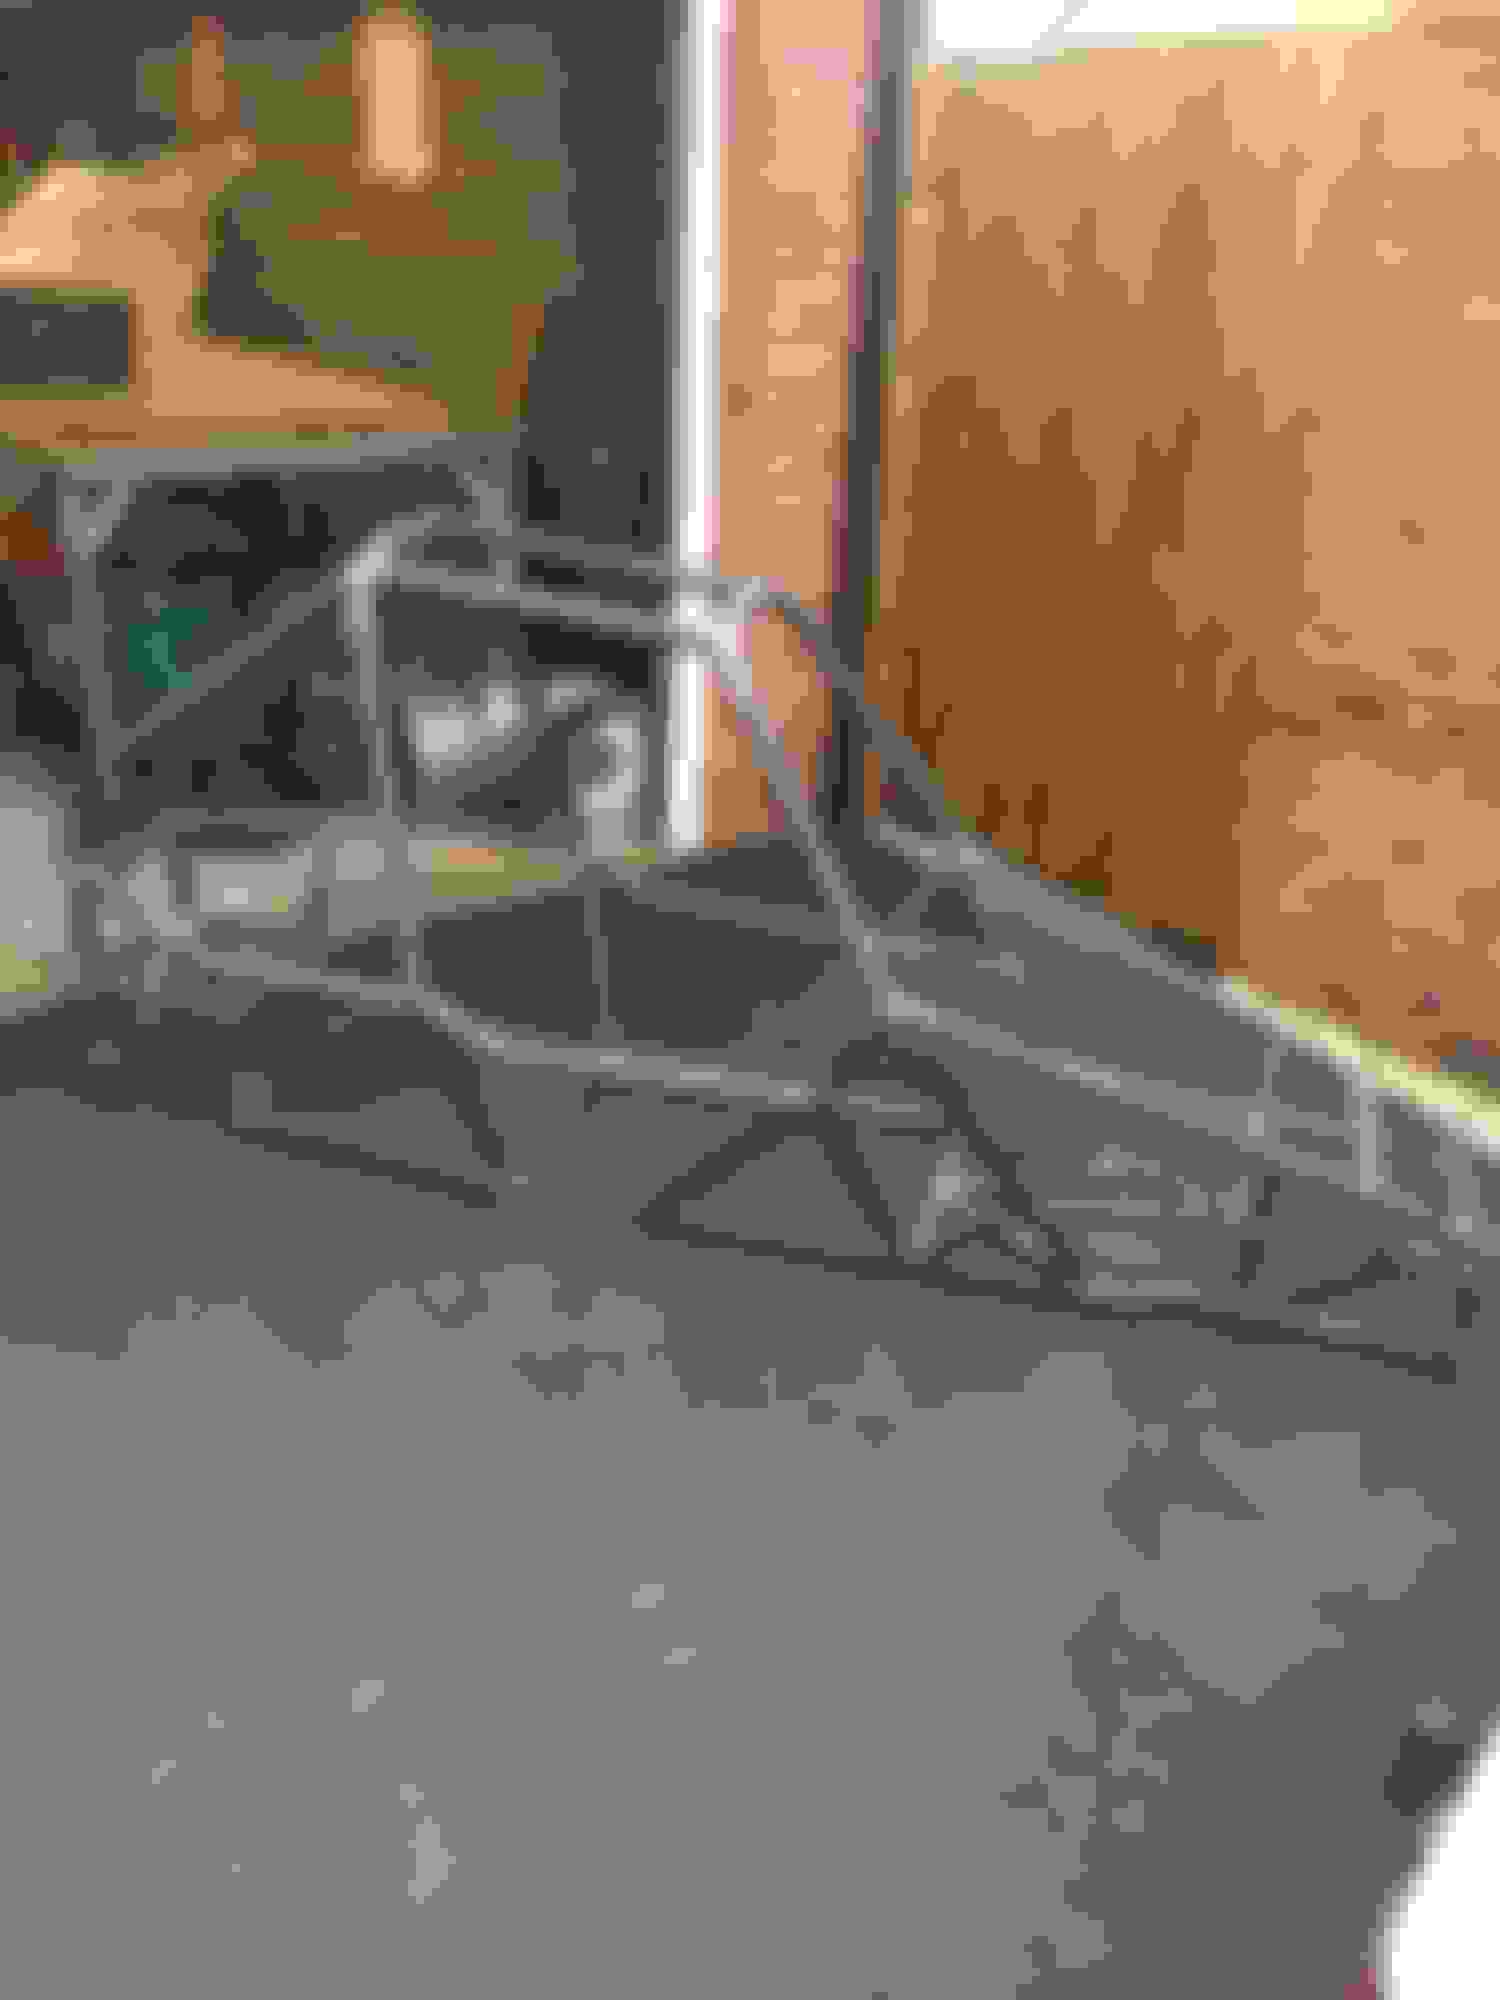
First off, the Build Bench!


I need something strong, and big enough to build the buggy frame on, and this is it, all marked out with 100mm squares to keep everything square and true.

Last edited by rentonone; May 22, 2020 at 05:03 PM.
Reply
Old Dec 21, 2016 | 07:34 PM
  #2  
rentonone's Avatar
rentonone
Thread Starter
Scooby Regular
iTrader: (1)
 
Joined: Aug 2005
Posts: 1,378
Likes: 2
From: West midlands
Default

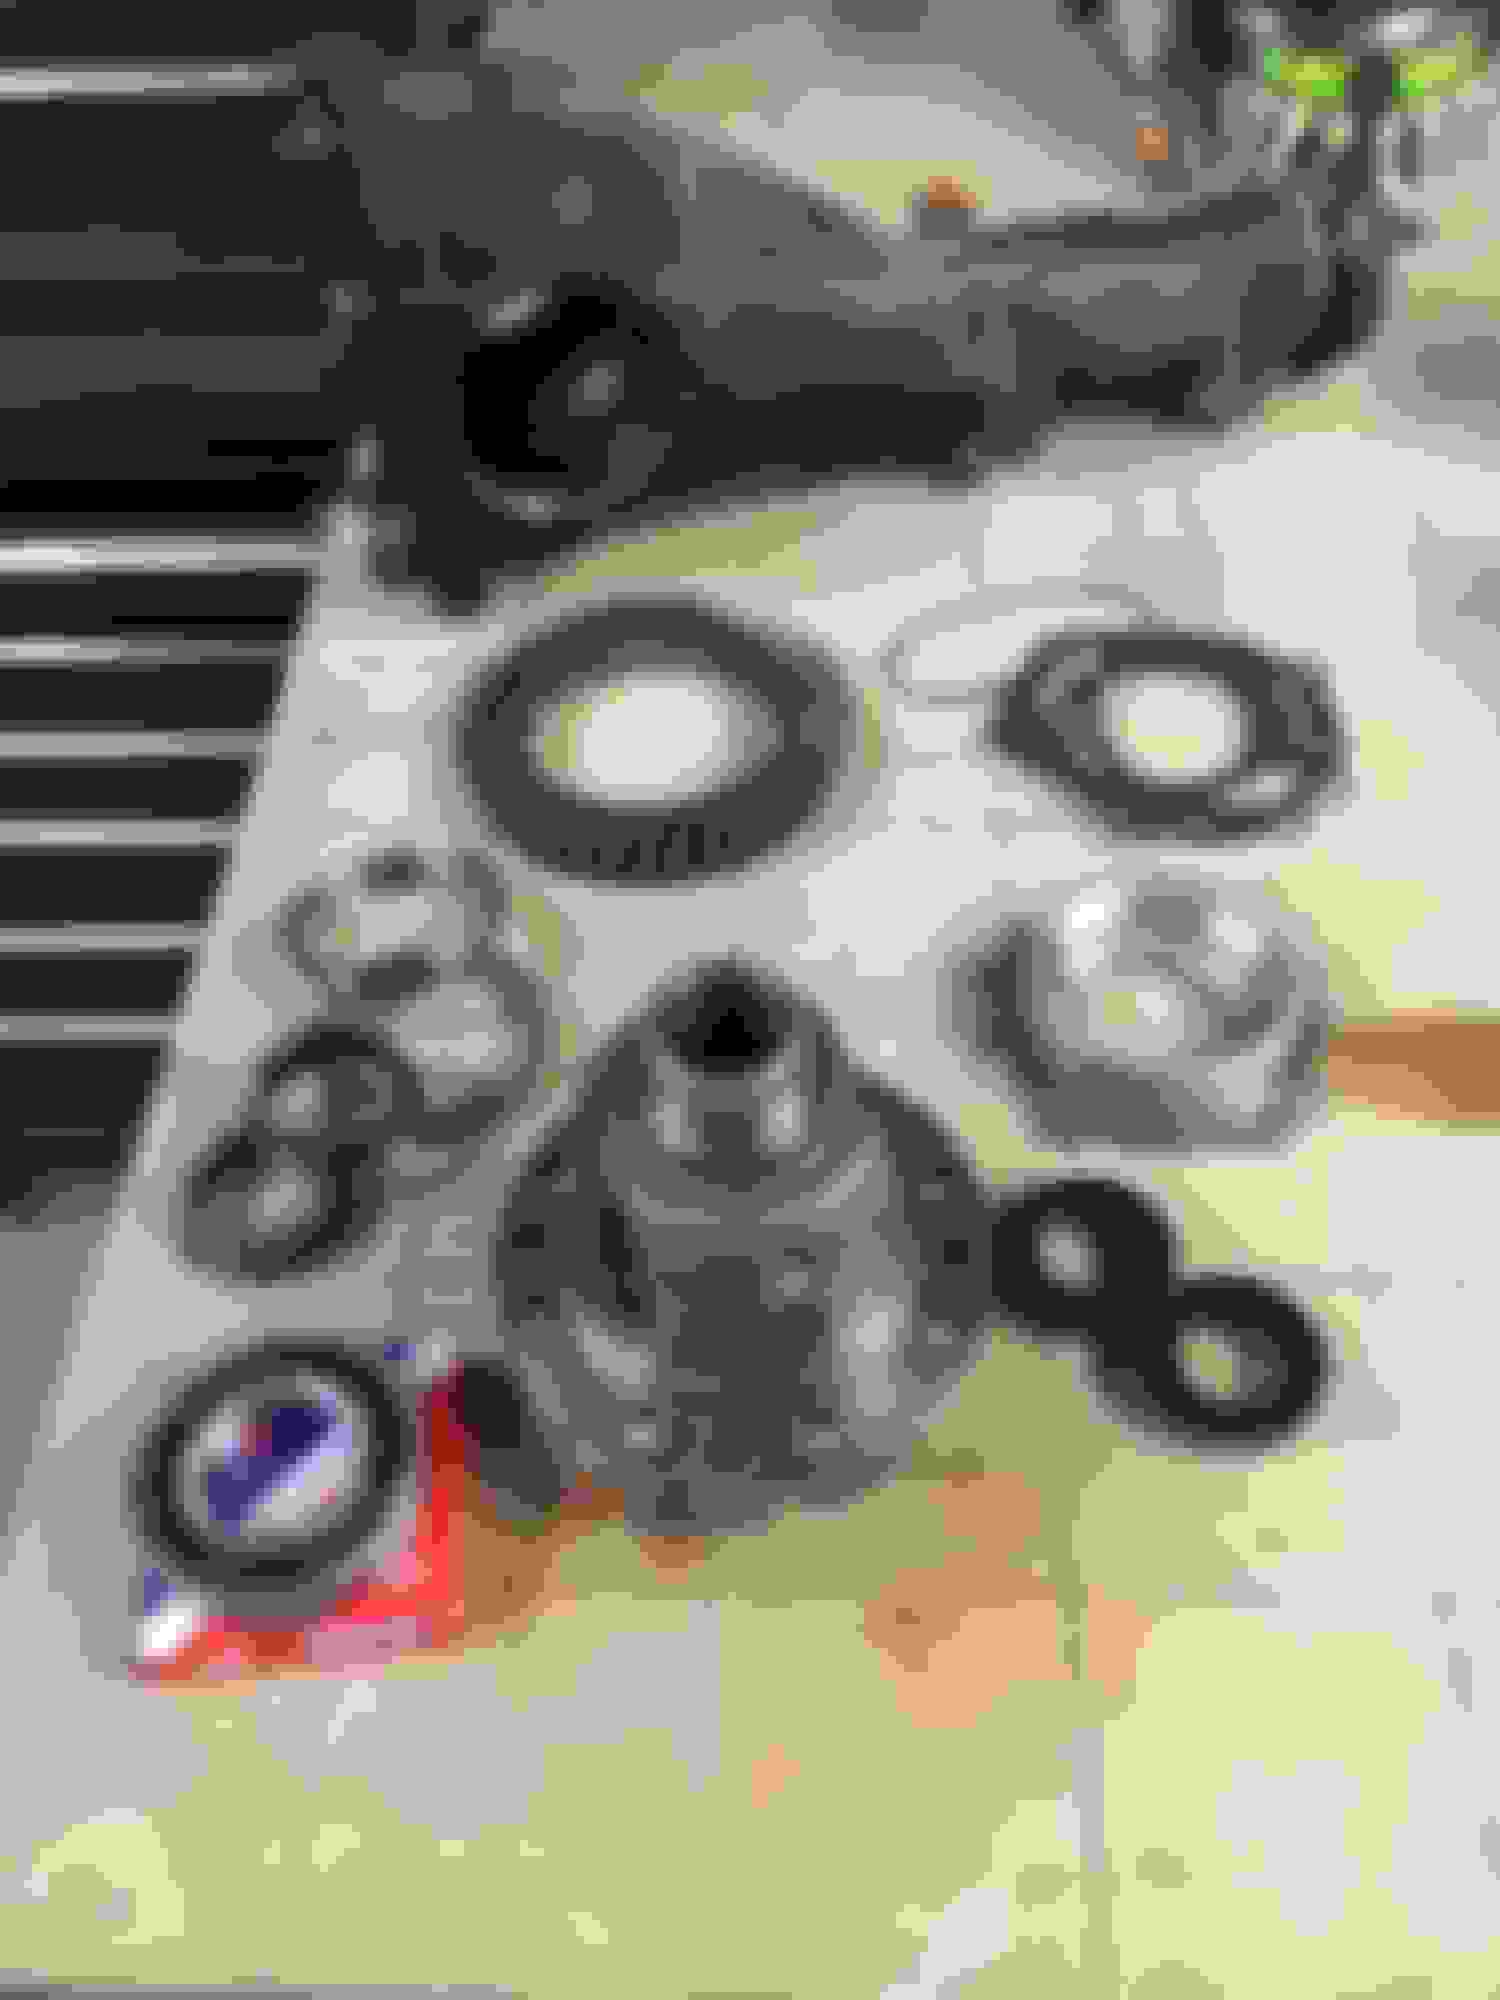
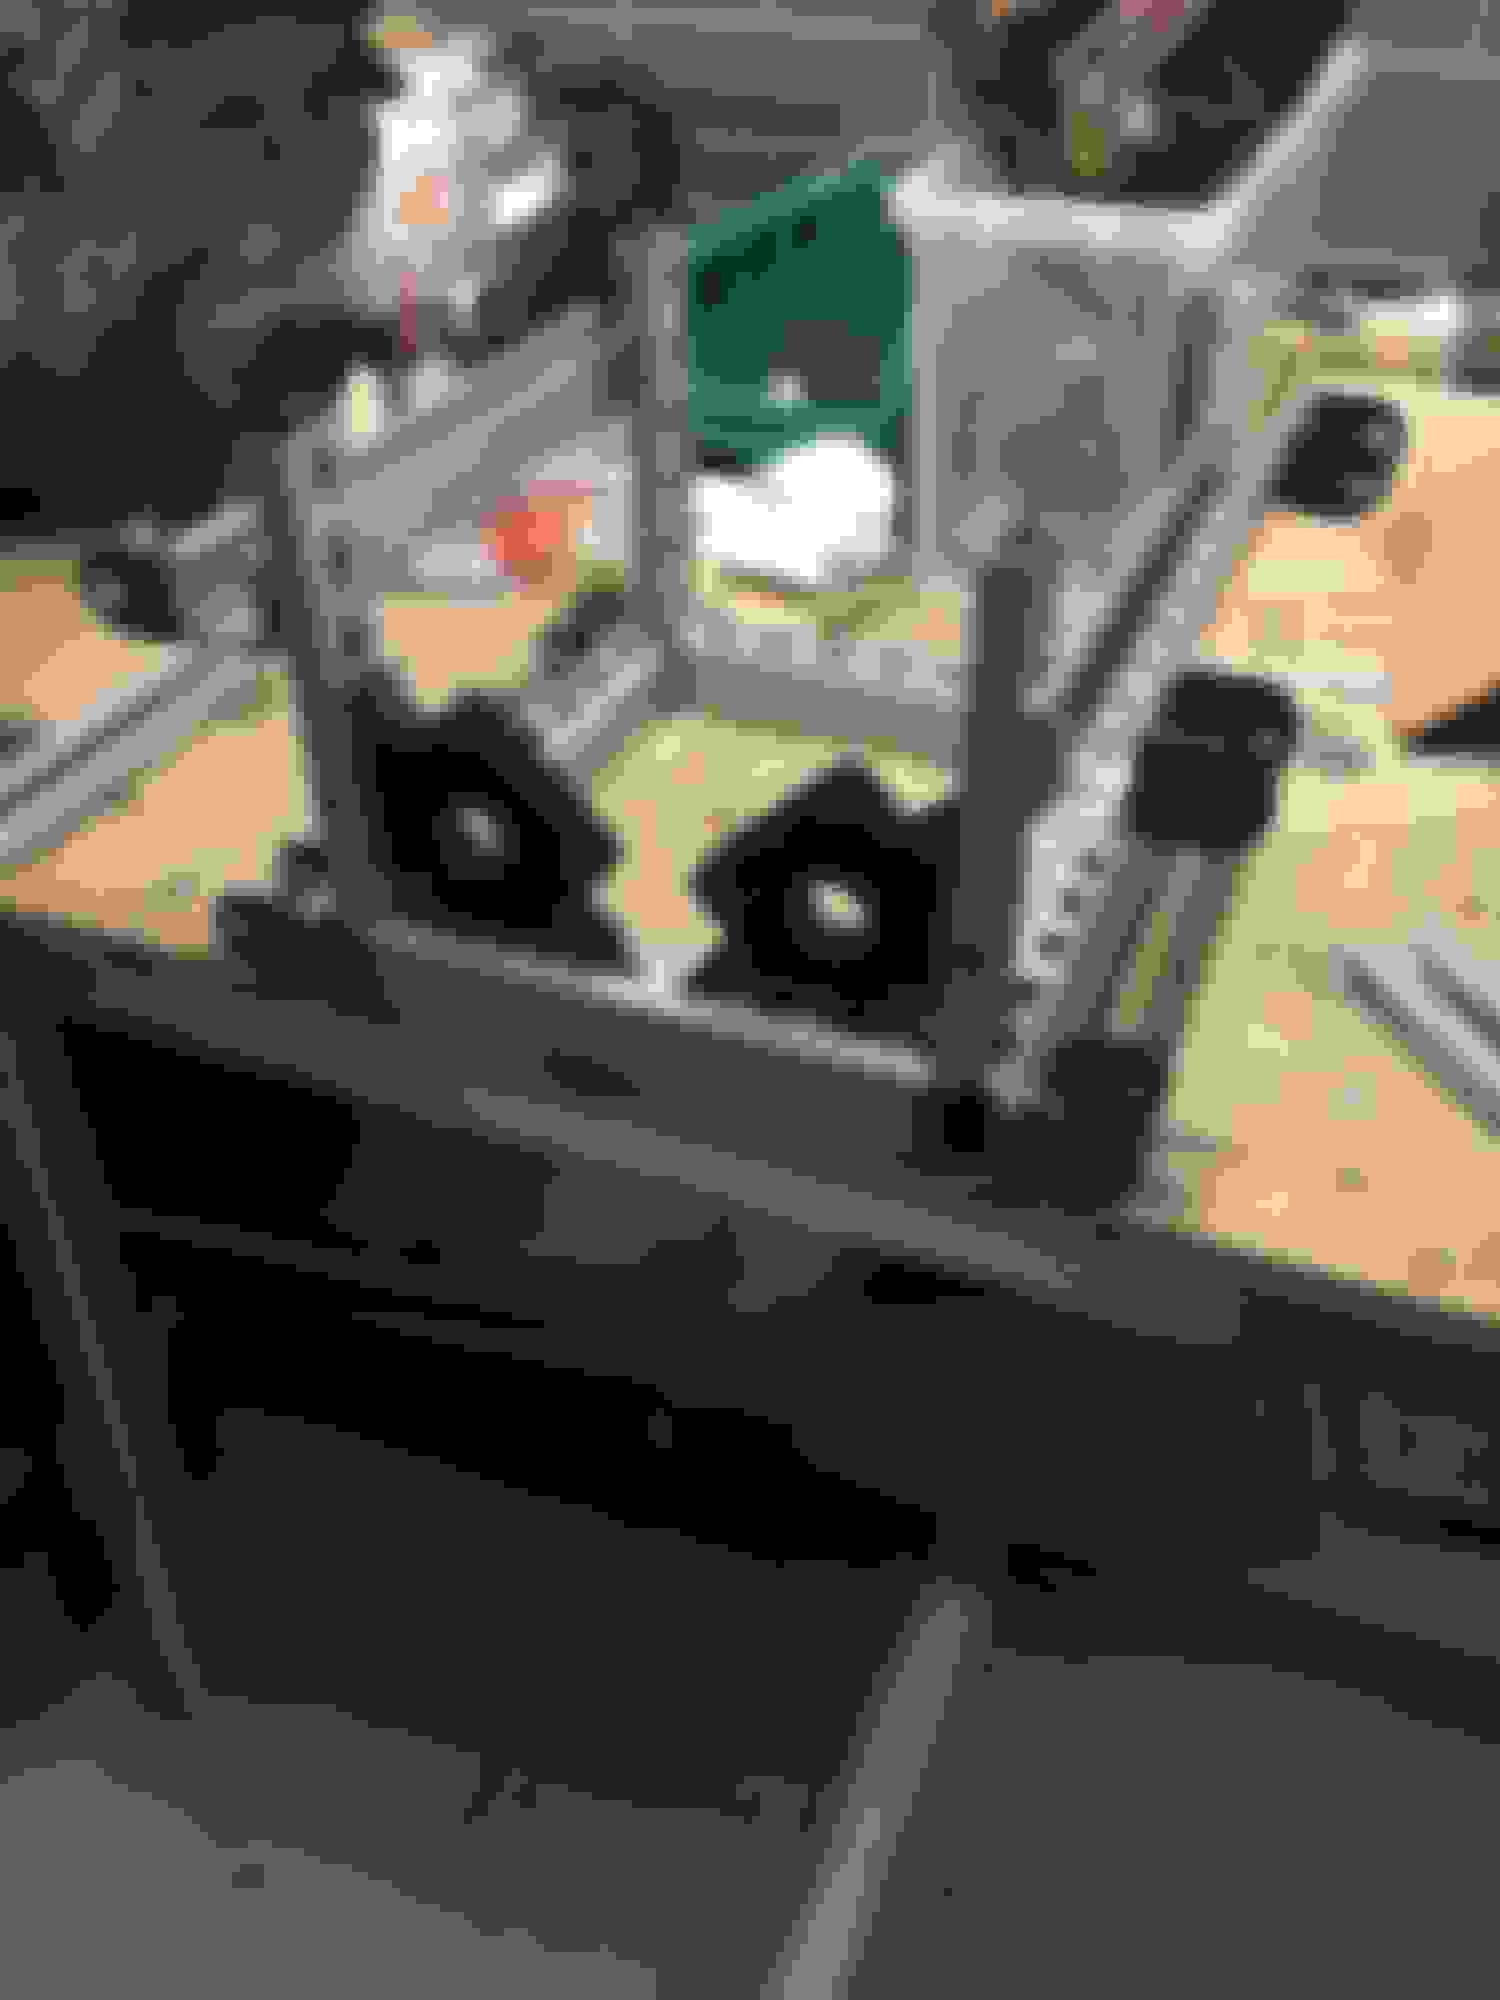
This is a viscous lsd from a bug eye wrx, I've stripped it down, removed the tapered roller bearings and fitted sealed sleeve bearings so I can run the diff out of the casing.


Last edited by rentonone; Jan 28, 2020 at 07:33 PM.
Reply
Old Dec 21, 2016 | 07:39 PM
  #3  
boosted's Avatar
boosted
Scooby Regular
 
Joined: Jul 2011
Posts: 2,514
Likes: 1
From: harlow
Default

Should be a fairly easy build, be like a rage buggy when done?
Reply
Old Dec 21, 2016 | 07:53 PM
  #4  
rentonone's Avatar
rentonone
Thread Starter
Scooby Regular
iTrader: (1)
 
Joined: Aug 2005
Posts: 1,378
Likes: 2
From: West midlands
Default

Originally Posted by boosted
Should be a fairly easy build, be like a rage buggy when done?
Similar mate yes, and for tarmac.

Last edited by rentonone; Jan 28, 2020 at 07:33 PM.
Reply
Old Dec 21, 2016 | 08:04 PM
  #5  
rentonone's Avatar
rentonone
Thread Starter
Scooby Regular
iTrader: (1)
 
Joined: Aug 2005
Posts: 1,378
Likes: 2
From: West midlands
Default

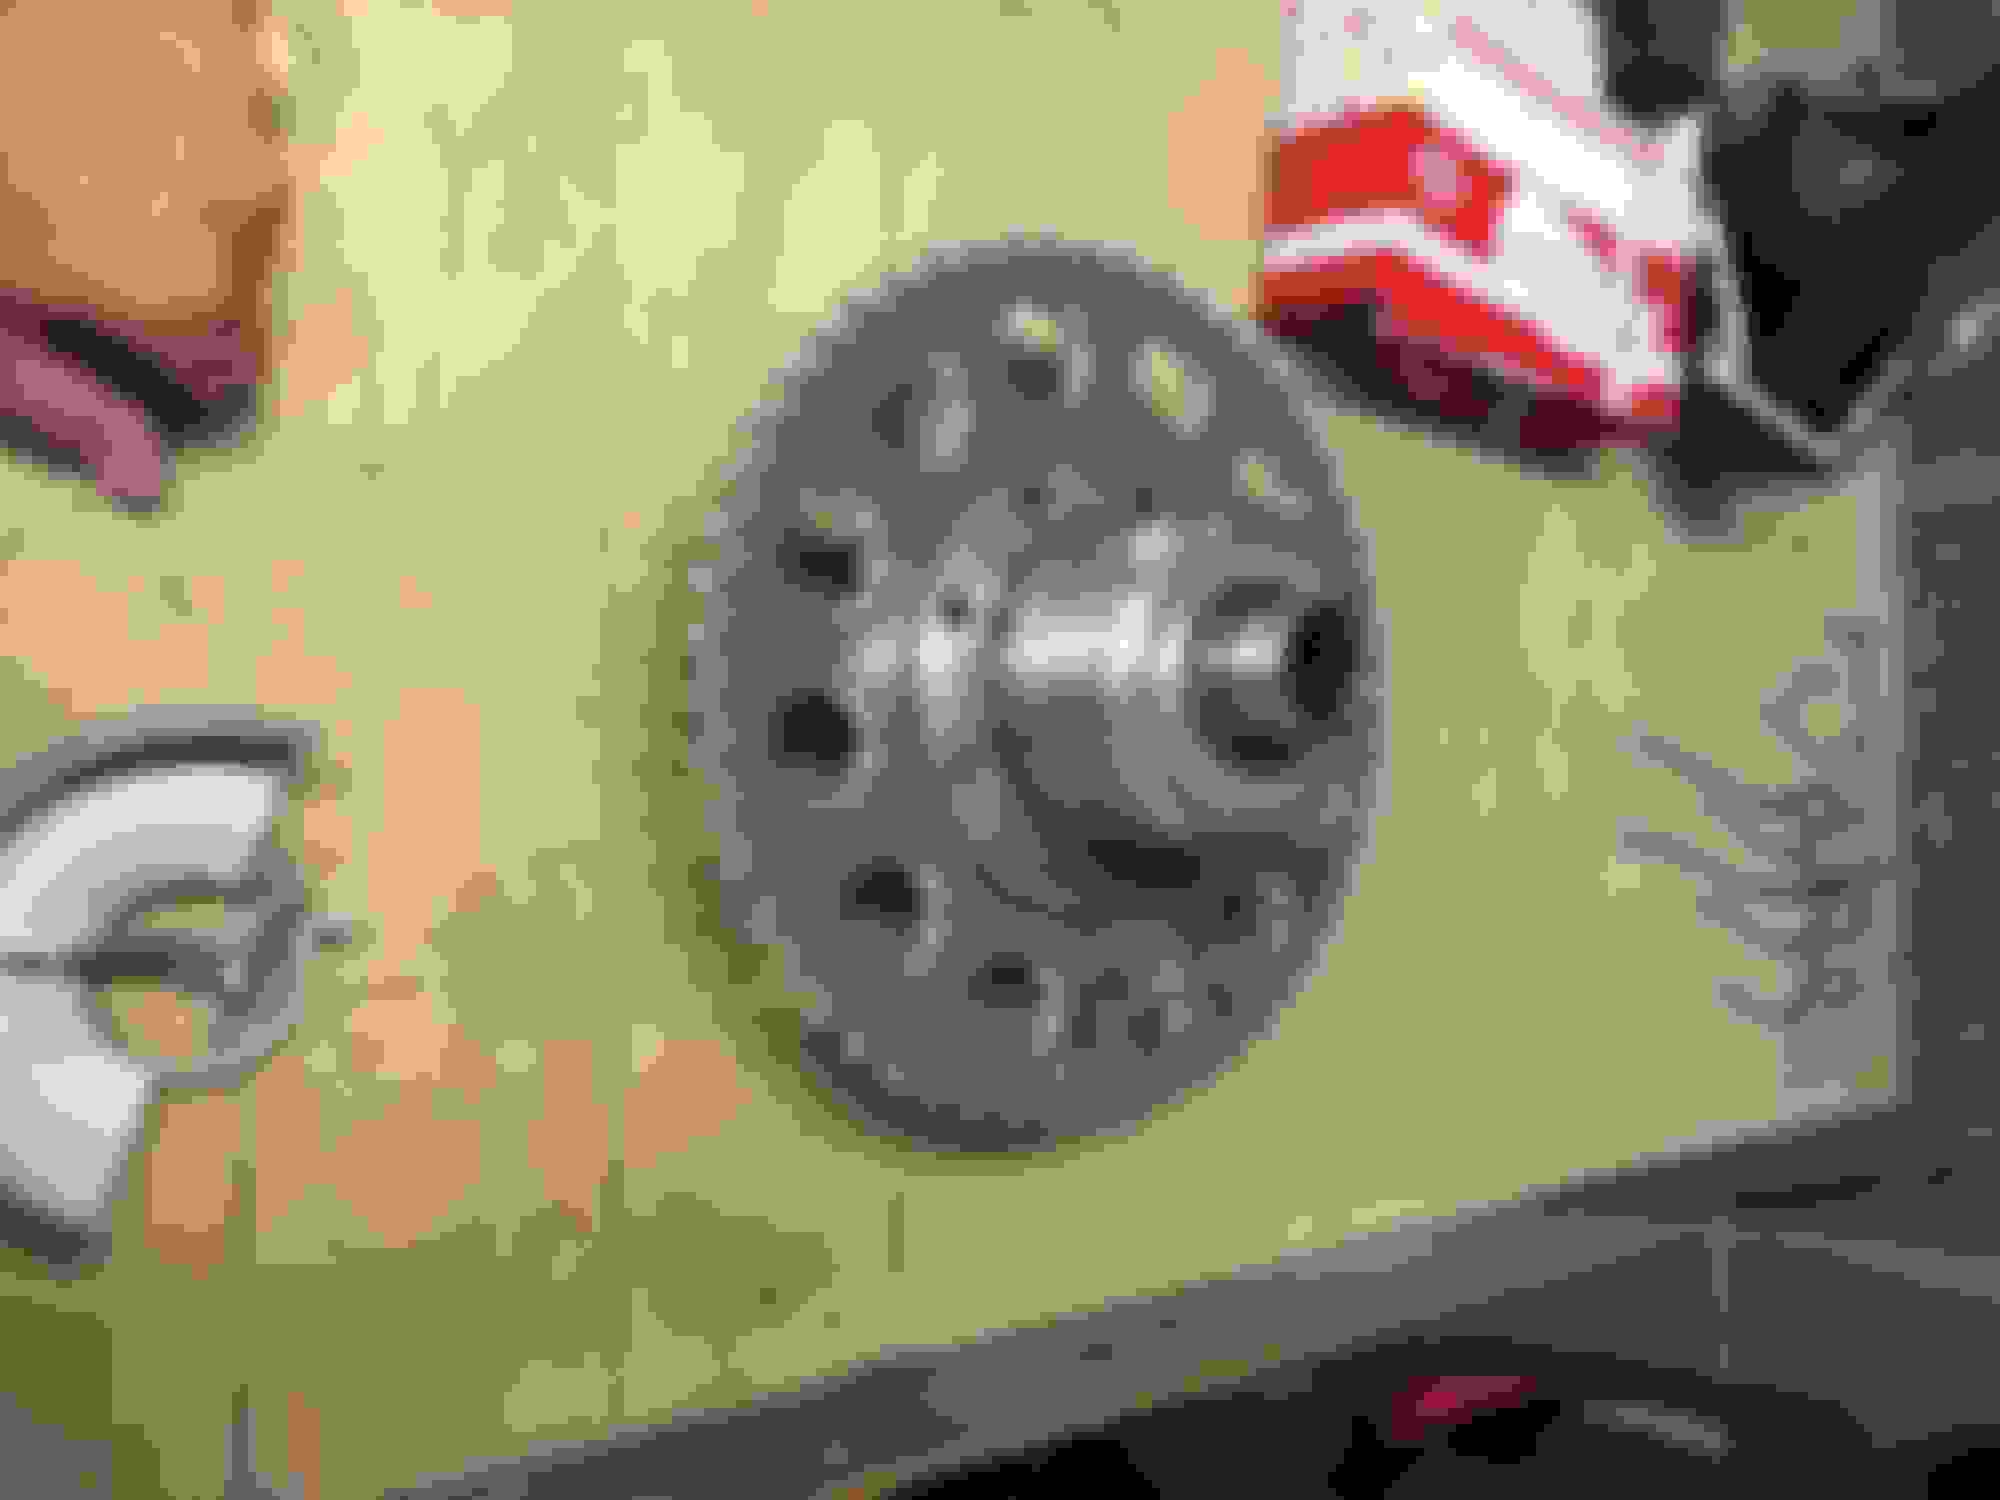
I've removed the crown-wheel, and had a sprocket cut to suite the flange and the bolt pcd on the diff.


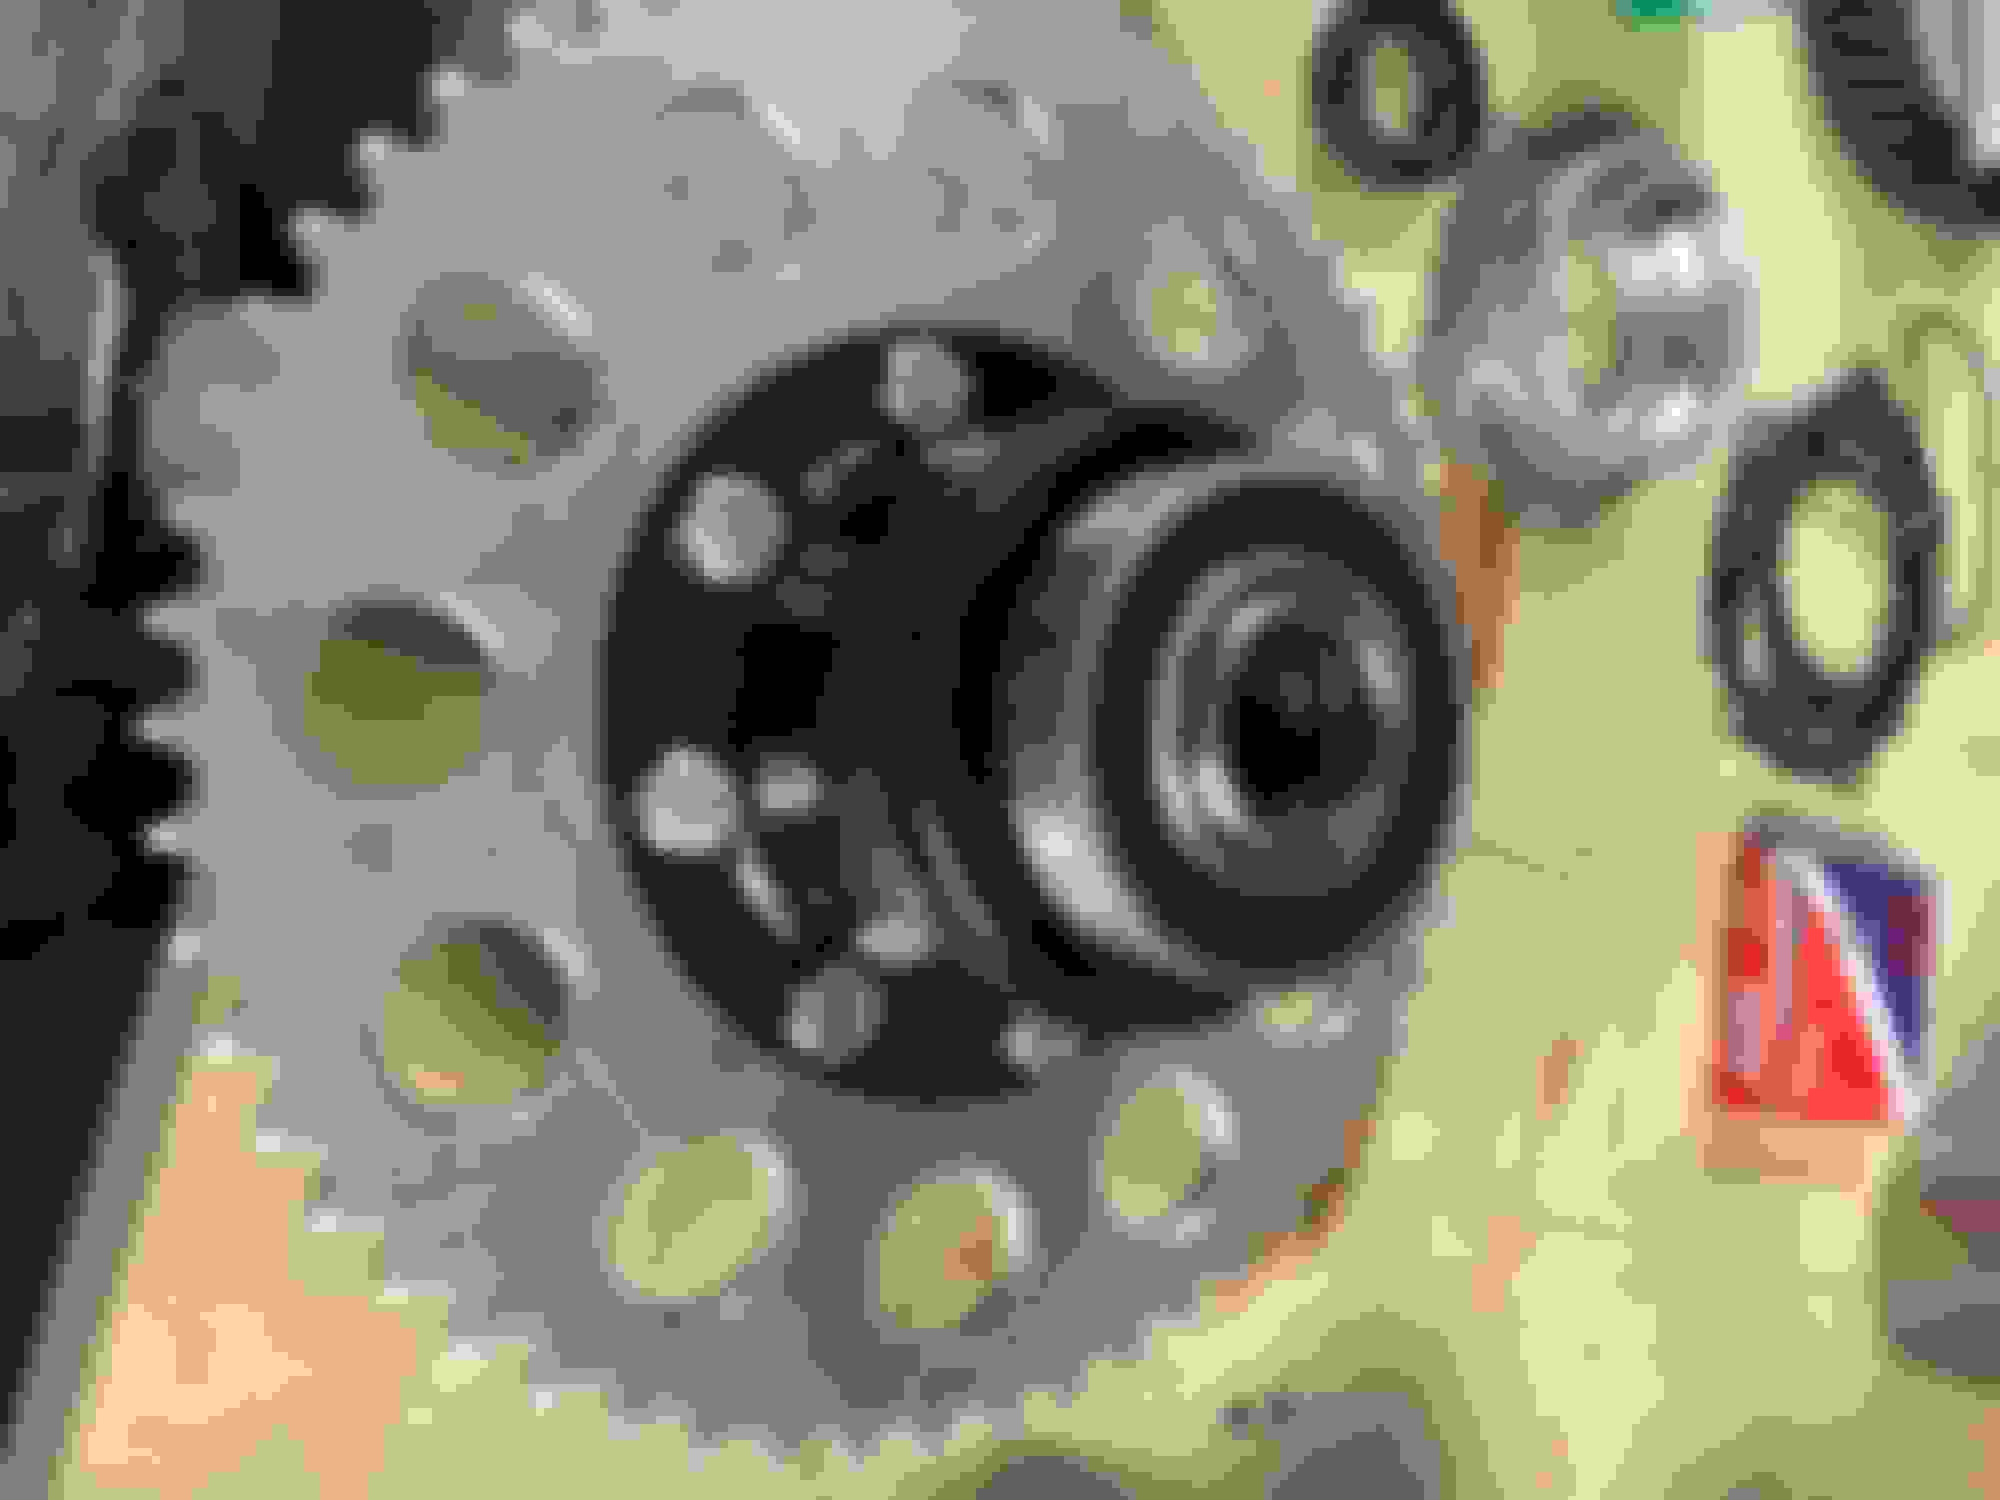
This is a housing I've made to keep the diff sealed, I've fitted grease nipples so I can pump it full of grease to keep the internal gears lubricated.


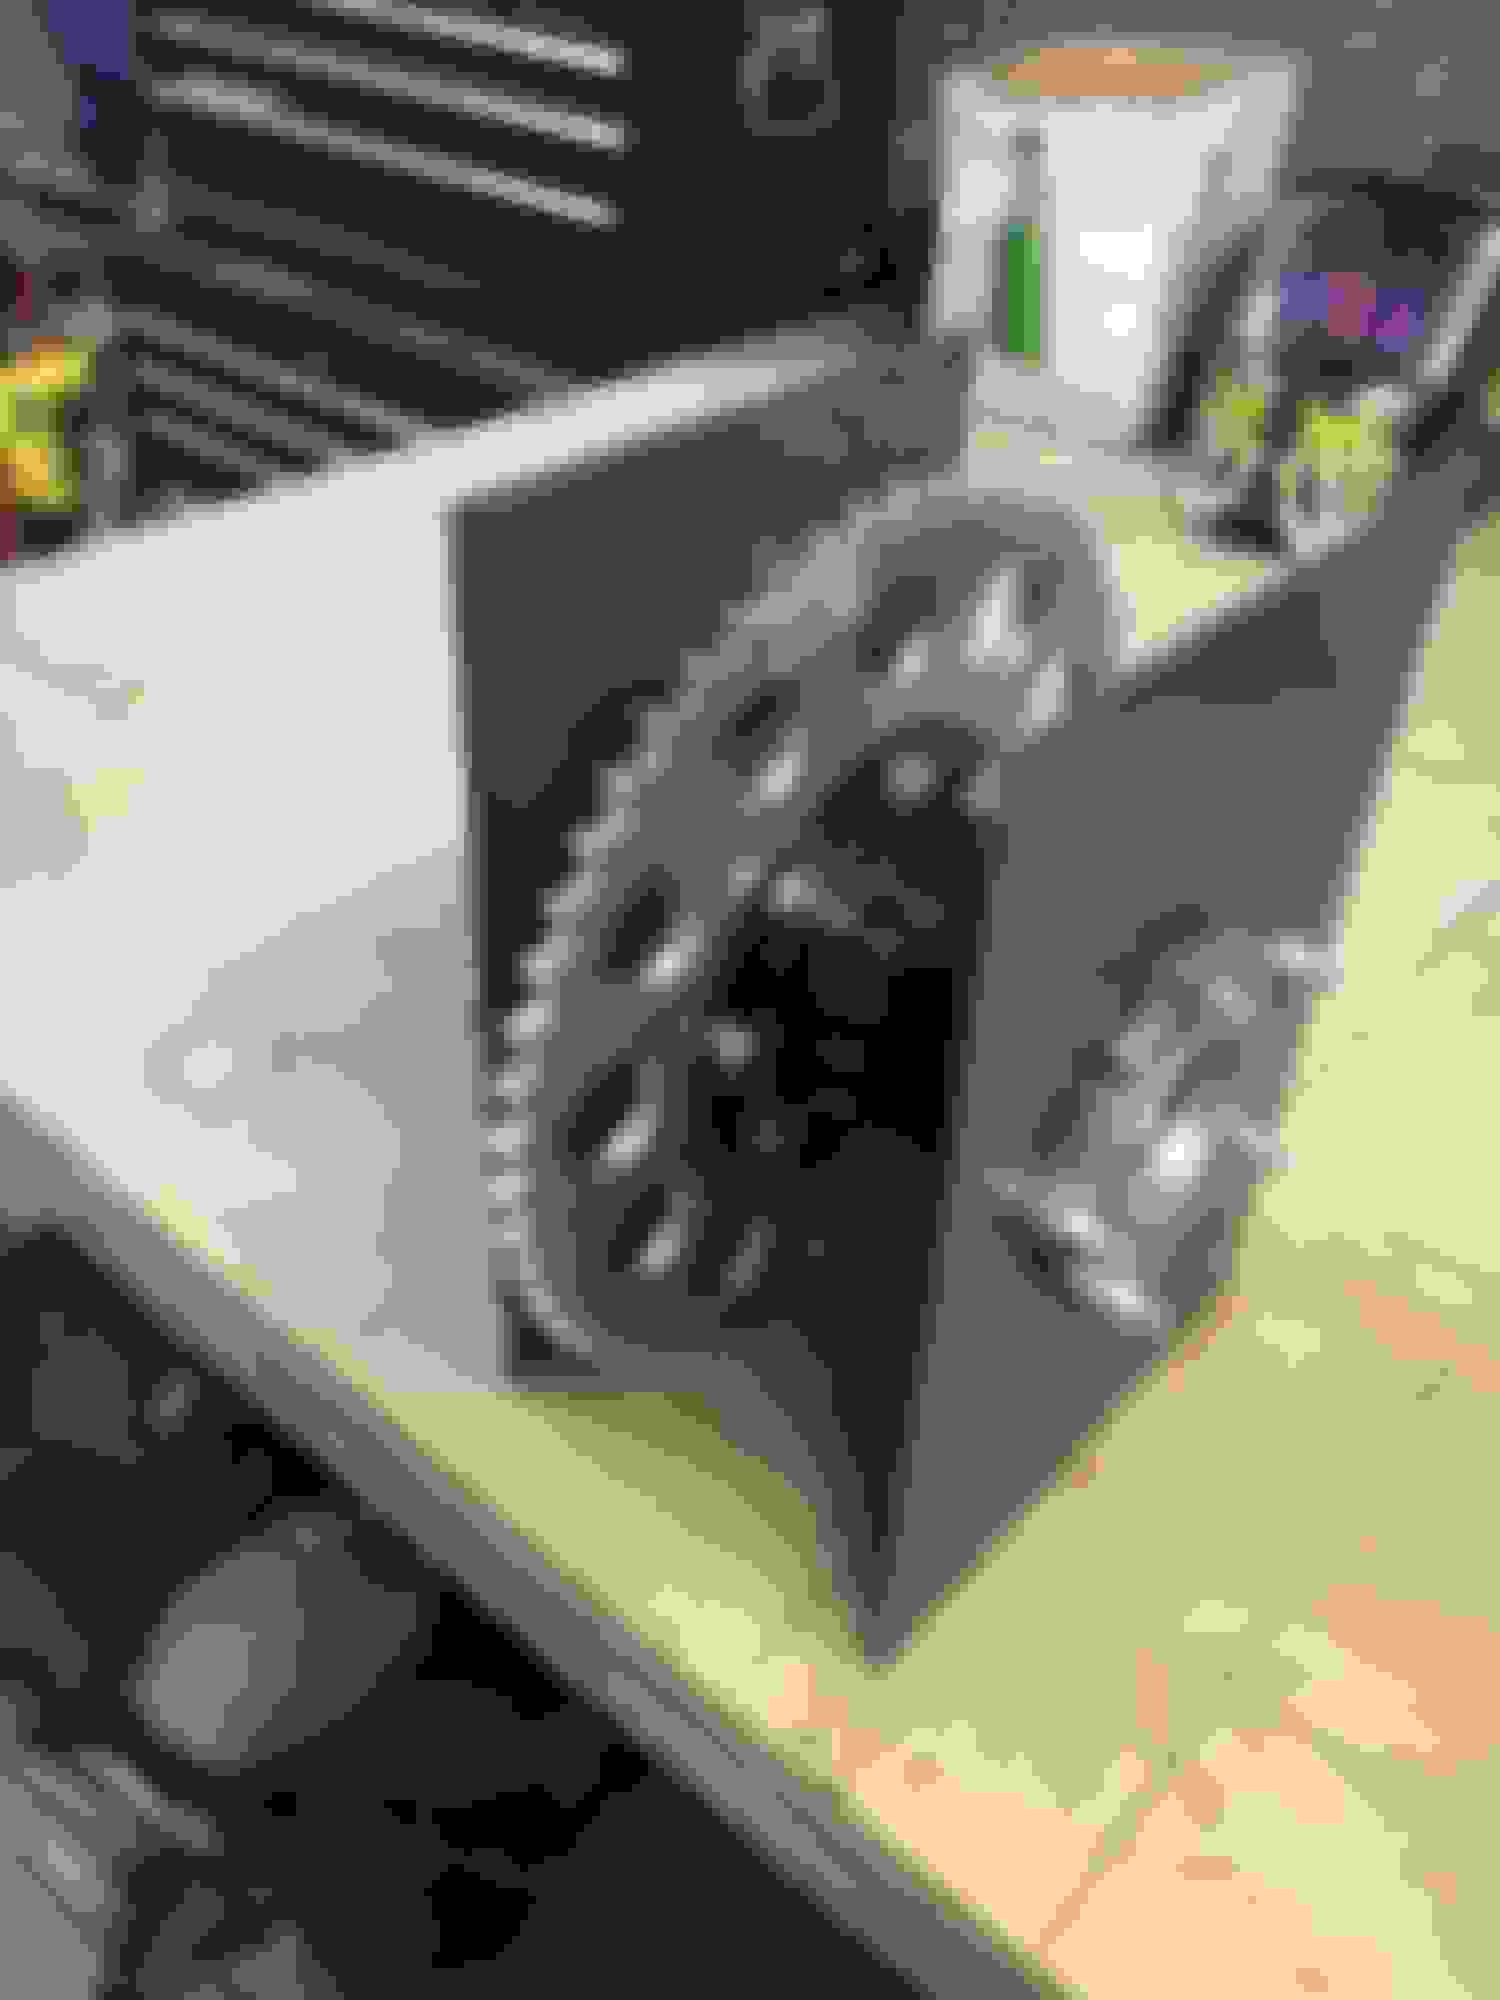
The new sleeve bearings are fitted into the stock alloy bearing housings, and bolted onto the mounting plates, I can now build the rear frame around this.

Last edited by rentonone; Jan 28, 2020 at 07:35 PM.
Reply
Old Dec 21, 2016 | 08:29 PM
  #6  
rentonone's Avatar
rentonone
Thread Starter
Scooby Regular
iTrader: (1)
 
Joined: Aug 2005
Posts: 1,378
Likes: 2
From: West midlands
Default

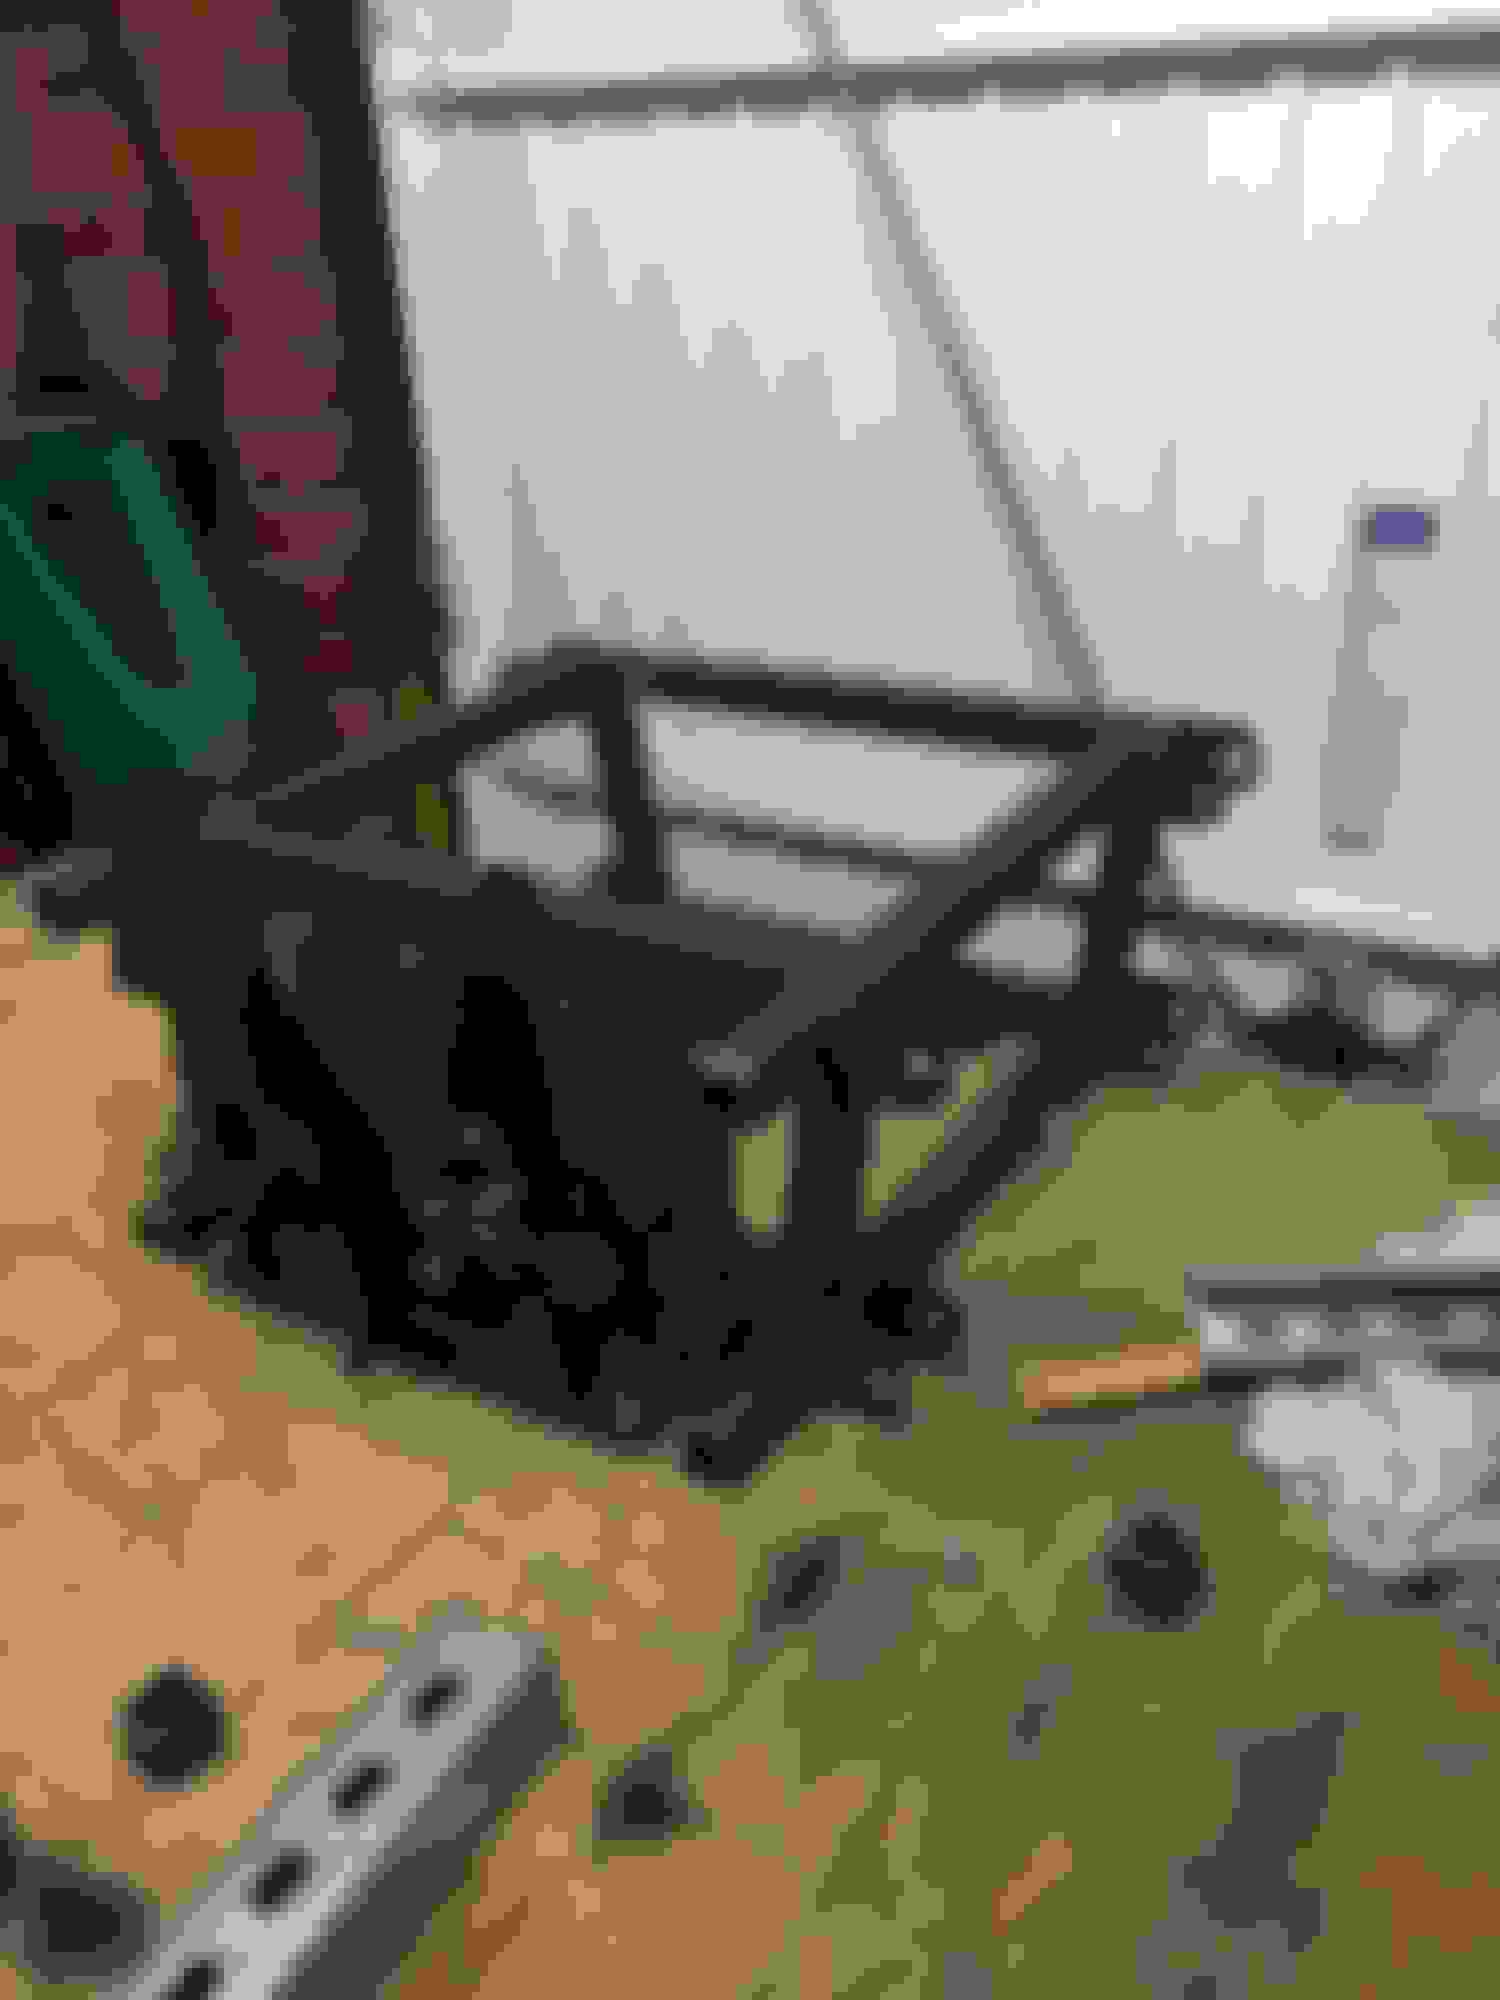
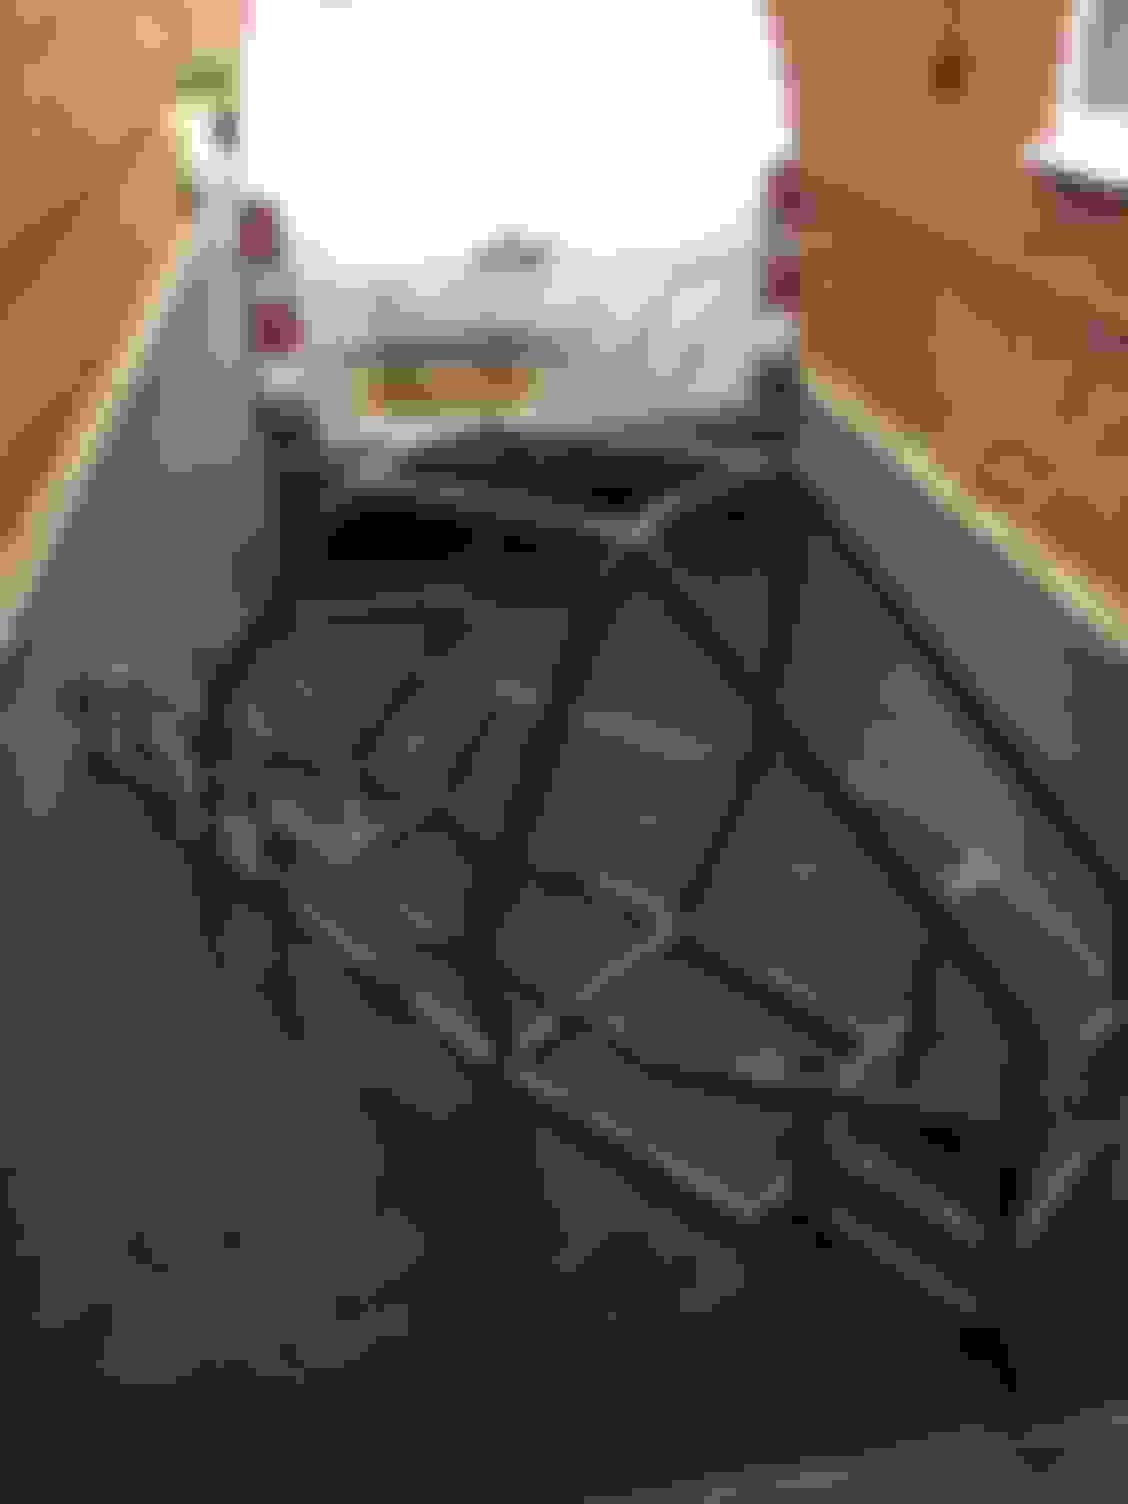
After hours of modeling the rear frame, it’s time to start building.
I have designed the suspension geometry on the Racing Aspirations suspension calculator, it lets you input all the dimensions and run it through its travel and roll etc.
I'm using the Subaru rear hubs and Driveshafts.


Last edited by rentonone; Jan 28, 2020 at 07:36 PM.
Reply
Old Dec 21, 2016 | 08:45 PM
  #7  
rentonone's Avatar
rentonone
Thread Starter
Scooby Regular
iTrader: (1)
 
Joined: Aug 2005
Posts: 1,378
Likes: 2
From: West midlands
Default

The main hoop was bent with my new tube bender, and what a beast it is, so easy to use.


Last edited by rentonone; Jan 28, 2020 at 07:37 PM.
Reply

Trending Topics

Old Dec 21, 2016 | 08:47 PM
  #8  
ossett2k2's Avatar
ossett2k2
Scooby Regular
iTrader: (9)
 
Joined: Jan 2007
Posts: 6,433
Likes: 39
From: Leeds
Default

Subscribed
Reply
Old Dec 21, 2016 | 09:02 PM
  #9  
rentonone's Avatar
rentonone
Thread Starter
Scooby Regular
iTrader: (1)
 
Joined: Aug 2005
Posts: 1,378
Likes: 2
From: West midlands
Default


The rear frame is coming along nicely now, I’ve fabricated the rear wishbones, and knocked up a jig incase I need to make new ones.

Last edited by rentonone; Jan 28, 2020 at 07:40 PM.
Reply
Old Dec 21, 2016 | 09:19 PM
  #10  
rentonone's Avatar
rentonone
Thread Starter
Scooby Regular
iTrader: (1)
 
Joined: Aug 2005
Posts: 1,378
Likes: 2
From: West midlands
Default

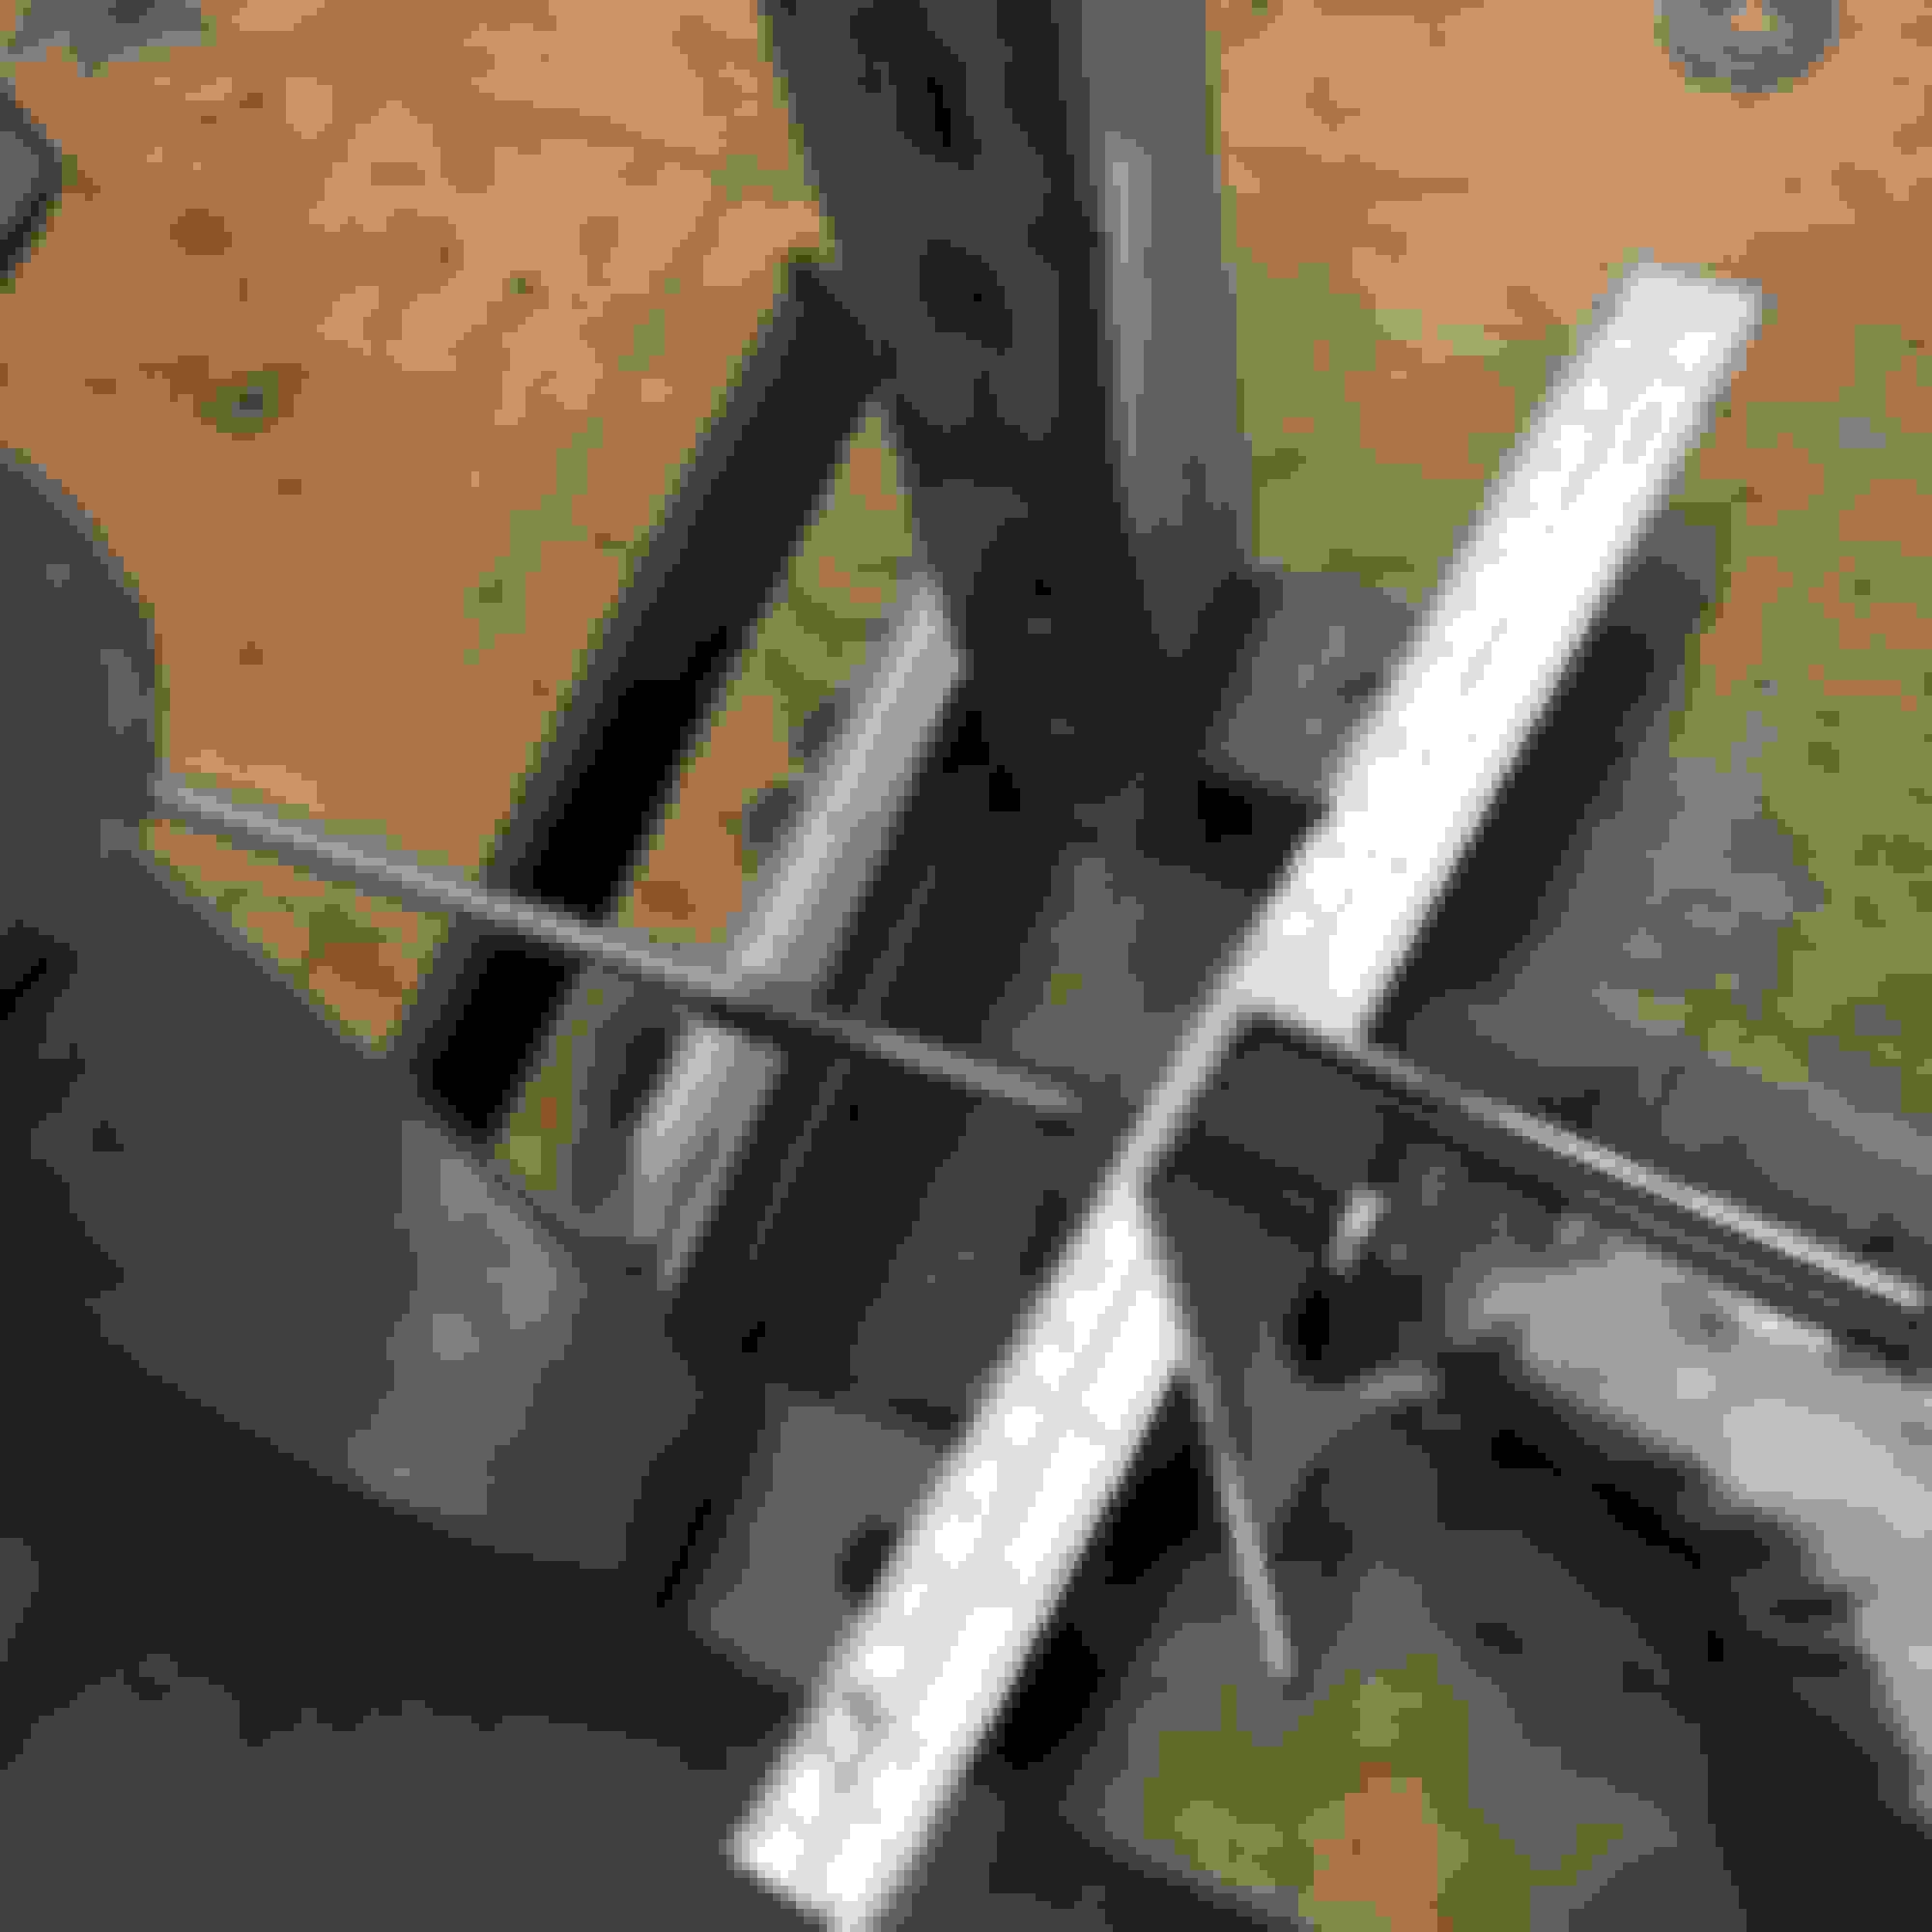
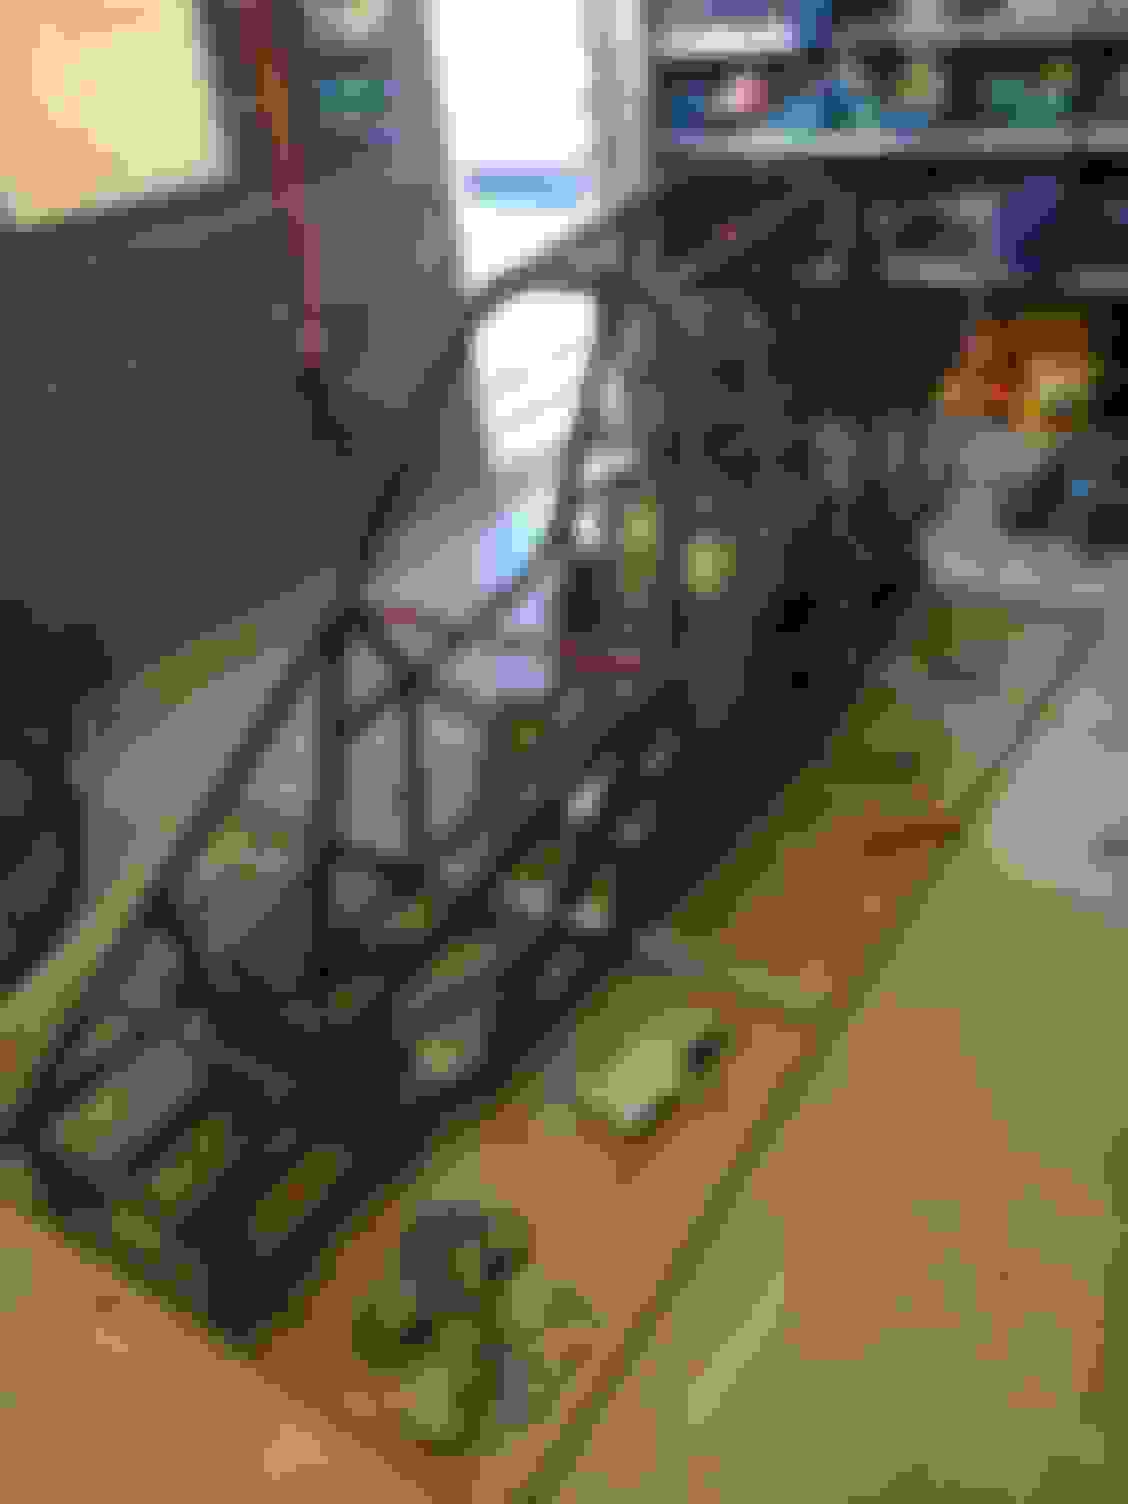
Modeling the front end, to get all my pick up points spot on, note the threaded rod with the nut welded on the end, that's where my steering rack pivot point will be, it needs to be in right position to avoid bump steer.


Last edited by rentonone; Jan 28, 2020 at 08:22 PM.
Reply
Old Dec 21, 2016 | 09:34 PM
  #11  
rentonone's Avatar
rentonone
Thread Starter
Scooby Regular
iTrader: (1)
 
Joined: Aug 2005
Posts: 1,378
Likes: 2
From: West midlands
Default

Front lower wishbones fabricated, and I’ve started on the front frame, I’ve also fabricated my own pedal box to fit inside.


Last edited by rentonone; Jan 28, 2020 at 07:43 PM.
Reply
Old Dec 21, 2016 | 09:47 PM
  #12  
rentonone's Avatar
rentonone
Thread Starter
Scooby Regular
iTrader: (1)
 
Joined: Aug 2005
Posts: 1,378
Likes: 2
From: West midlands
Default

Starting to take shape.


Reply
Old Dec 21, 2016 | 10:00 PM
  #13  
rentonone's Avatar
rentonone
Thread Starter
Scooby Regular
iTrader: (1)
 
Joined: Aug 2005
Posts: 1,378
Likes: 2
From: West midlands
Default


Reply
Old Dec 22, 2016 | 12:51 AM
  #14  
johnlogie's Avatar
johnlogie
Scooby Regular
15 Year Member
iTrader: (4)
 
Joined: Oct 2008
Posts: 1,089
Likes: 1
From: Glasgow
Default

Threads like this are what makes forums interesting. Great write up. Looking forward to the end result.
Reply
Old Dec 22, 2016 | 02:21 PM
  #15  
rentonone's Avatar
rentonone
Thread Starter
Scooby Regular
iTrader: (1)
 
Joined: Aug 2005
Posts: 1,378
Likes: 2
From: West midlands
Default

Originally Posted by johnlogie
Threads like this are what makes forums interesting. Great write up. Looking forward to the end result.
Thanks mate
Reply
Old Dec 22, 2016 | 02:24 PM
  #16  
harry007's Avatar
harry007
Scooby Regular
15 Year Member
Liked
Loved
Community Favorite
 
Joined: Mar 2006
Posts: 2,483
Likes: 47
From: UK
Default

holly molly!
Reply
Old Dec 22, 2016 | 03:38 PM
  #17  
BrownPantsRacing's Avatar
BrownPantsRacing
Scooby Regular
iTrader: (6)
 
Joined: Oct 2010
Posts: 8,701
Likes: 128
From: Herts & Bucks
Default

Woo hoo! He's back with another great build. Most certainly subscribed!


Looking great so far.
Reply
Old Dec 22, 2016 | 04:24 PM
  #18  
averyp2's Avatar
averyp2
Scooby Regular
20 Year Member
iTrader: (25)
 
Joined: Mar 2005
Posts: 2,184
Likes: 4
Default

Loved your last project, can't wait to see how this one develops!
Reply
Old Dec 22, 2016 | 07:04 PM
  #19  
rentonone's Avatar
rentonone
Thread Starter
Scooby Regular
iTrader: (1)
 
Joined: Aug 2005
Posts: 1,378
Likes: 2
From: West midlands
Default

Haha cheers guys!!

Shouldn't take long to finish after crimbo!
Reply
Old Dec 22, 2016 | 08:08 PM
  #20  
scoobyboy1's Avatar
scoobyboy1
Scooby Regular
20 Year Member
iTrader: (16)
 
Joined: Mar 2004
Posts: 7,618
Likes: 0
From: Willenhall, West Midlands
Default

Looking forward to this project James!!!!

Looking forward to the first test at Curborough!!!
Reply
Old Dec 22, 2016 | 09:12 PM
  #21  
scoobiepaul's Avatar
scoobiepaul
Scooby Regular
 
Joined: Aug 2007
Posts: 672
Likes: 2
Default

Originally Posted by johnlogie
Threads like this are what makes forums interesting. Great write up. Looking forward to the end result.
+1 will be following this thread closely, nice and neat alloy mig welding on the seat.
Reply
Old Dec 24, 2016 | 08:43 AM
  #22  
Cambs_Stuart's Avatar
Cambs_Stuart
Scooby Regular
iTrader: (3)
 
Joined: Sep 2015
Posts: 1,789
Likes: 3
From: Cambridge
Default

Subscribed. Really interested to see how this progresses. Good luck to you!
Reply
Old Jan 28, 2020 | 09:09 PM
  #23  
rentonone's Avatar
rentonone
Thread Starter
Scooby Regular
iTrader: (1)
 
Joined: Aug 2005
Posts: 1,378
Likes: 2
From: West midlands
Default

I’m back!! 3 years later😂

I’ve moved house twice since my last post, so the project was put on the back burner.

I’m finally settled again, so here goes for a massive update.

This project ended up being a lot bigger than I first thought, designing a frame that not only looked good, and was safe, but I could fit myself in comfortably, and package an engine, diff, fuel tank and all of the other components.

It’s certainly been a test.

I spent months researching and modelling my suspension geometry, and I quickly noticed that tweaking one thing, effected another thing, so I realised that there’s no such thing as the perfect geometry, and a compromise was needed. All that said and done, I think I’ve finally found a happy medium, and with lots of adjustability on the wishbones, and double adjustable shocks, I’m super confident it’s going to handle well.


Reply
Old Jan 28, 2020 | 09:21 PM
  #24  
rentonone's Avatar
rentonone
Thread Starter
Scooby Regular
iTrader: (1)
 
Joined: Aug 2005
Posts: 1,378
Likes: 2
From: West midlands
Default

Wishbones and the steering column fabricated.


Last edited by rentonone; Jan 31, 2020 at 08:40 AM.
Reply
Old Jan 28, 2020 | 09:29 PM
  #25  
rentonone's Avatar
rentonone
Thread Starter
Scooby Regular
iTrader: (1)
 
Joined: Aug 2005
Posts: 1,378
Likes: 2
From: West midlands
Default

Engine mounted and the exhaust fabricated.


Reply
Old Jan 28, 2020 | 09:39 PM
  #26  
rentonone's Avatar
rentonone
Thread Starter
Scooby Regular
iTrader: (1)
 
Joined: Aug 2005
Posts: 1,378
Likes: 2
From: West midlands
Default

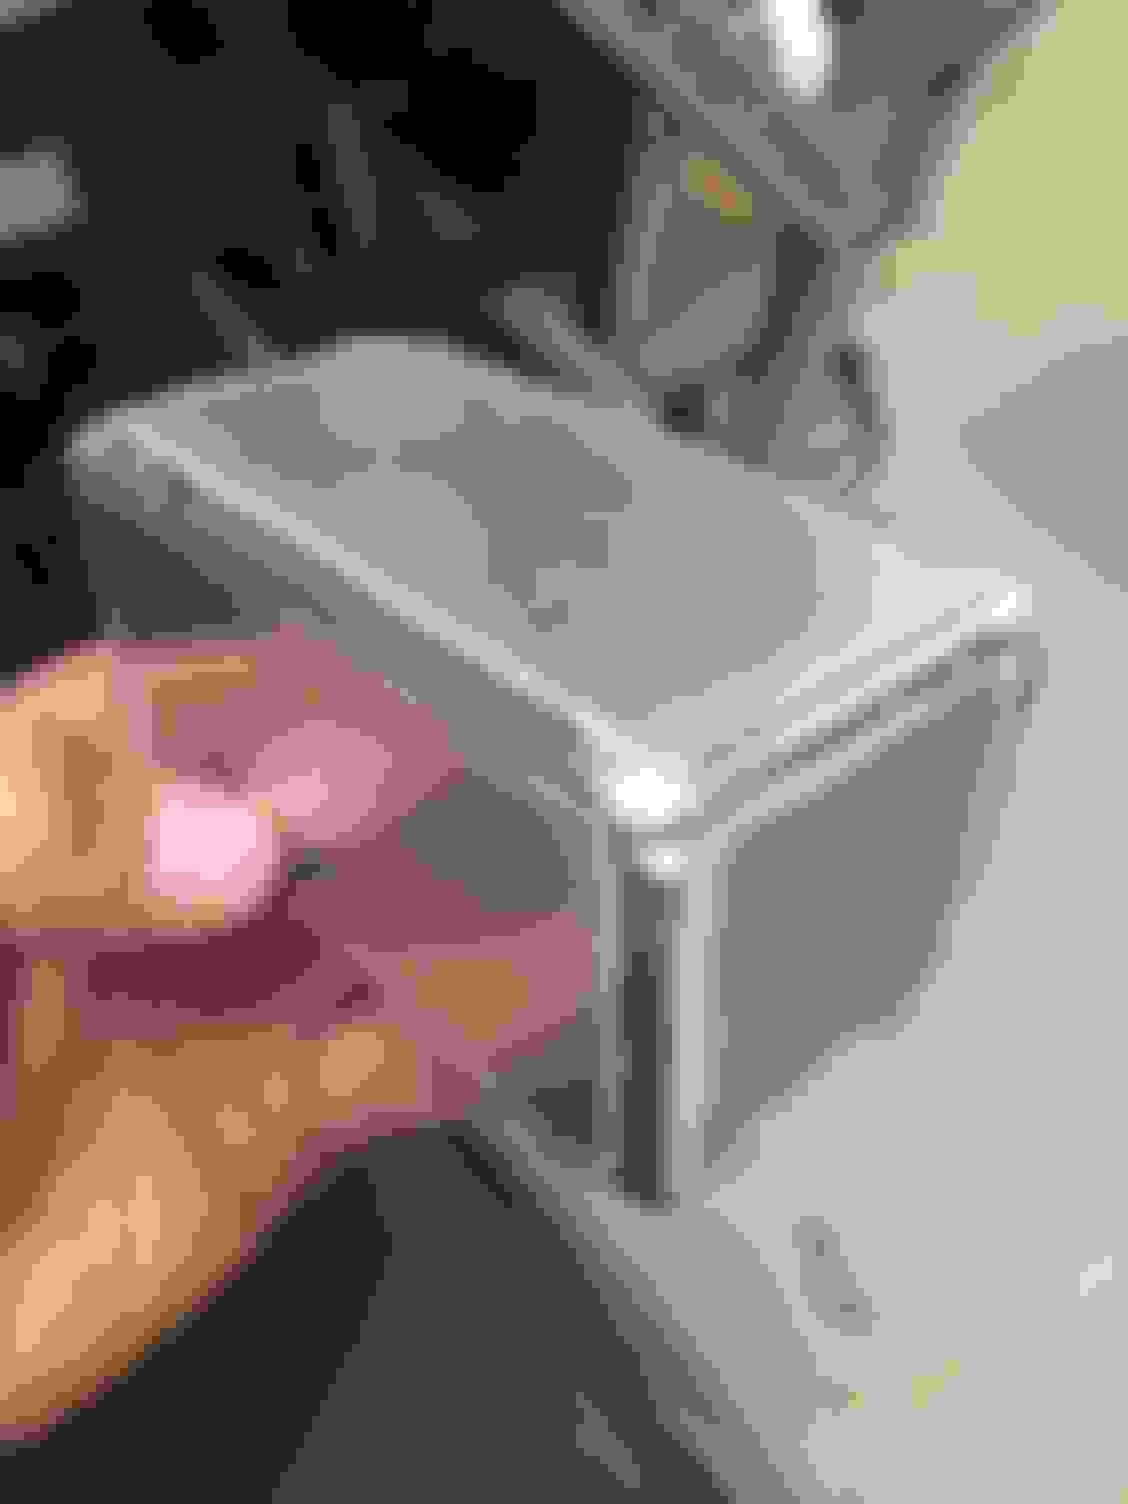
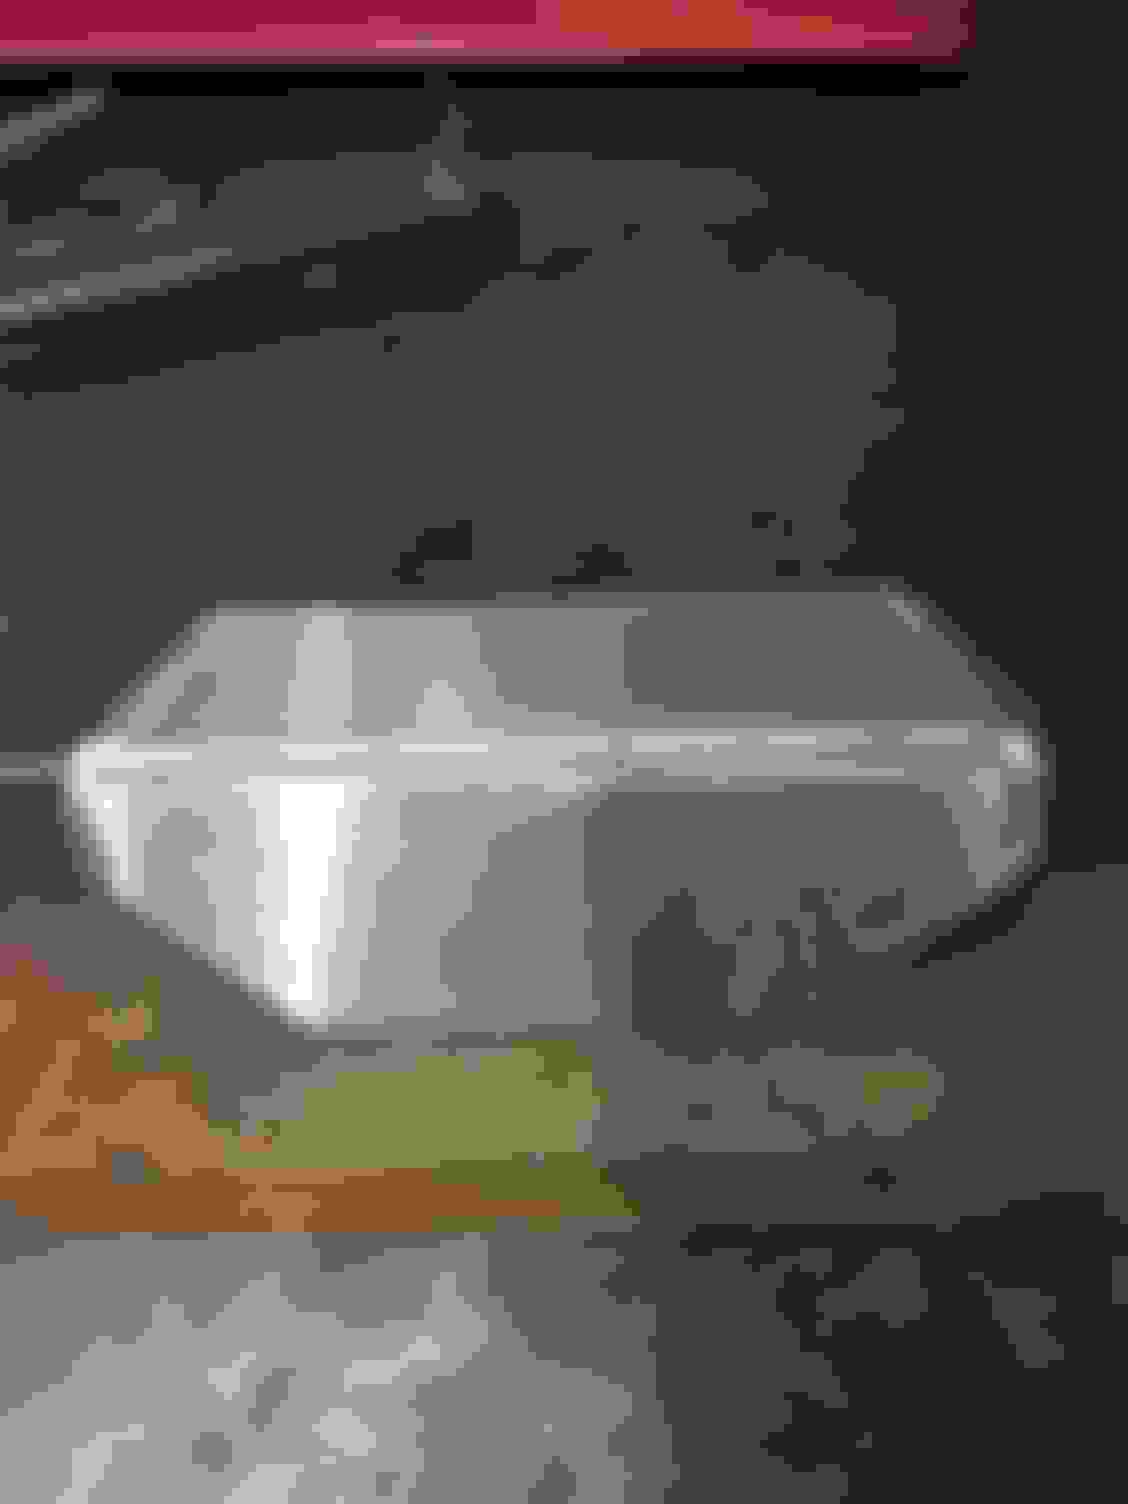
I decided I wanted to fabricate my own alloy tanks, so I’ve completed a level 1 and 2 aluminium welding course, and treated myself to a tig welder.
I've made a start on the coolant tank, engine breather tank and the battery tray.


Last edited by rentonone; Jan 28, 2020 at 10:06 PM.
Reply
Old Jan 28, 2020 | 09:46 PM
  #27  
rentonone's Avatar
rentonone
Thread Starter
Scooby Regular
iTrader: (1)
 
Joined: Aug 2005
Posts: 1,378
Likes: 2
From: West midlands
Default

Radiator fitted and she’s rolling baby!!


Reply
Old Jan 28, 2020 | 09:58 PM
  #28  
rentonone's Avatar
rentonone
Thread Starter
Scooby Regular
iTrader: (1)
 
Joined: Aug 2005
Posts: 1,378
Likes: 2
From: West midlands
Default

The big strip down and paint.


Last edited by rentonone; Jan 28, 2020 at 09:59 PM.
Reply
Old Jan 28, 2020 | 10:04 PM
  #29  
rentonone's Avatar
rentonone
Thread Starter
Scooby Regular
iTrader: (1)
 
Joined: Aug 2005
Posts: 1,378
Likes: 2
From: West midlands
Default

Wishbones and hubs powder coated.


Reply
Old Jan 28, 2020 | 10:12 PM
  #30  
rentonone's Avatar
rentonone
Thread Starter
Scooby Regular
iTrader: (1)
 
Joined: Aug 2005
Posts: 1,378
Likes: 2
From: West midlands
Default

Quick release steering wheel fitted.


Reply

Thread Tools
Search this Thread

All times are GMT +1. The time now is 03:55 AM.