When you click on links to various merchants on this site and make a purchase, this can result in this site earning a commission. Affiliate programs and affiliations include, but are not limited to, the eBay Partner Network.
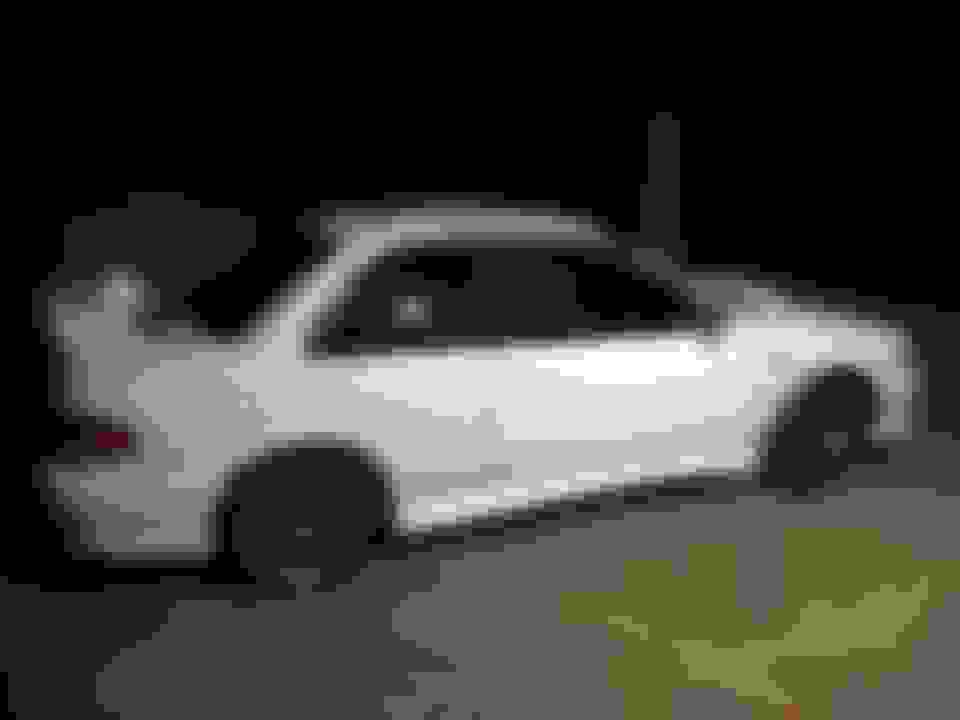
Lovely car to drive, and quite nippy considering it's running the stock 280BHP
I've decided to make this into a very usable fast road car, no silly power but just a small bump to around 330BHP is my target.
So, recently fitted
AS Performance ported headers and Harvey trick up pipe
Decat downpipe
Stainless centre section
Ninja 2 back box
Planned and purchased mod in addition is a newage coilpack conversion.
Cosworth panel filter
As soon as its out of the bodyshop it'll be going to Surrey rolling road to have a Motorsport enabled Alcatek fitted and mapped.
Increased power needs better brakes.
So, after having a chat with a mate who owns West Herts Customs we've decided on a full respray. The car is totally rot free but it has had paint in the past on the cheap, very lazy masking and prep work has left me with no choice really as I want this car immaculate.
It begins...
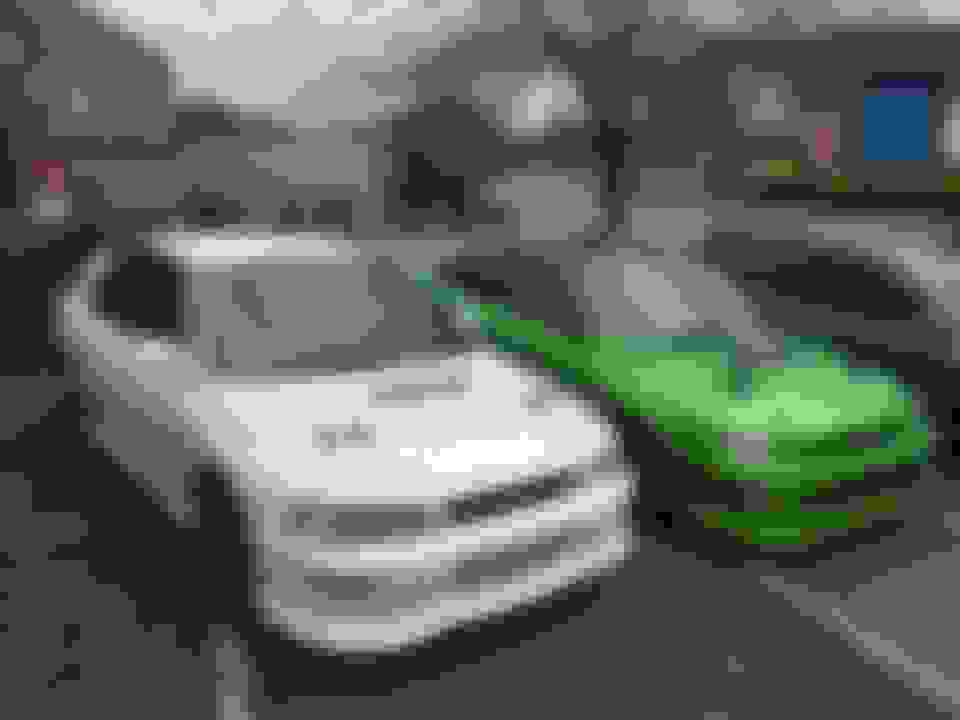
Here she is with my other scoob, two totally different directions I'm going with these.
I'll update the thread when more progress has been made.
Last edited by cookstar; Mar 30, 2016 at 09:38 PM.
Just a small addition, but I believe it's the little bits that make all the difference, new OE clips for front grill and replacement wing bracket that was looking slightly crusty.
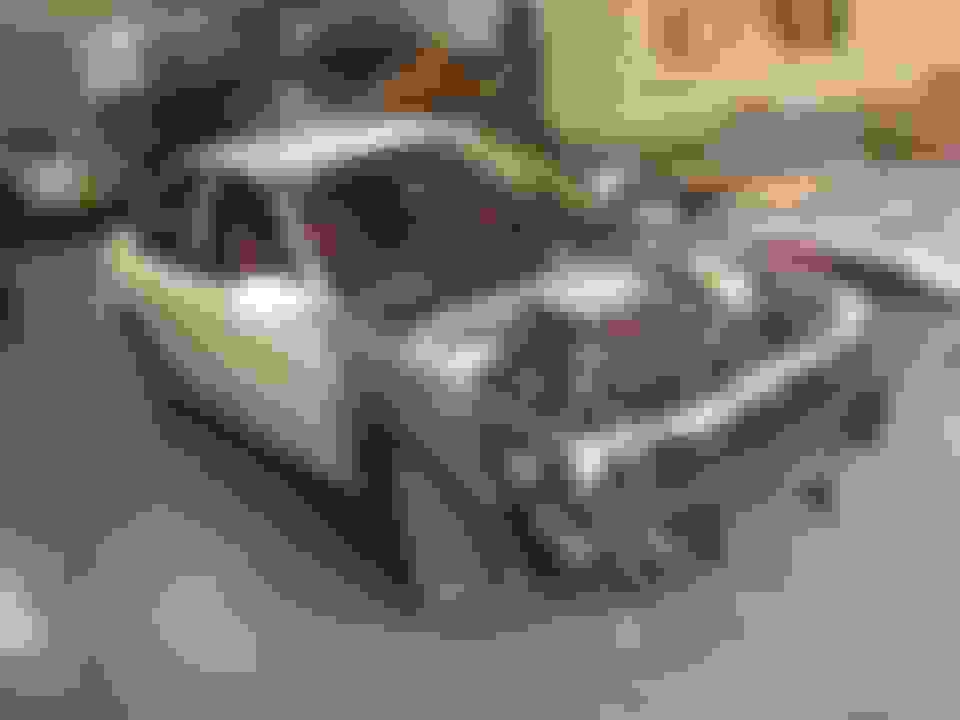
the car looked as though it was in really good condition (rust wise) prior to the respray
great work keep the pictures flowing
hopefully you don't regret removing everything out of the engine bay before spraying
love the wheels
the car looked as though it was in really good condition (rust wise) prior to the respray
great work keep the pictures flowing
hopefully you don't regret removing everything out of the engine bay before spraying
love the wheels
It was in great condition rust and interior wise, however it seems on closer inspection it'd had a few poor repairs.