
My NA Impreza project


Thread Starter
Scooby Regular
Joined: Apr 2015
Posts: 189
Likes: 0
From: Sunderland
Hi all, been knocking about Scoobynet for a while now and thought it was about time I started my own project thread.
99% of you probably won't be interested in my car due to the fact it's a non turbo but I'm proud of my car and have lots of plans.
I don't like doing things by the book and enjoy fabricating my own parts and modifications to make my cars look unique. I've owned a few civics and a pulsar in the past but this blows them all out the water.
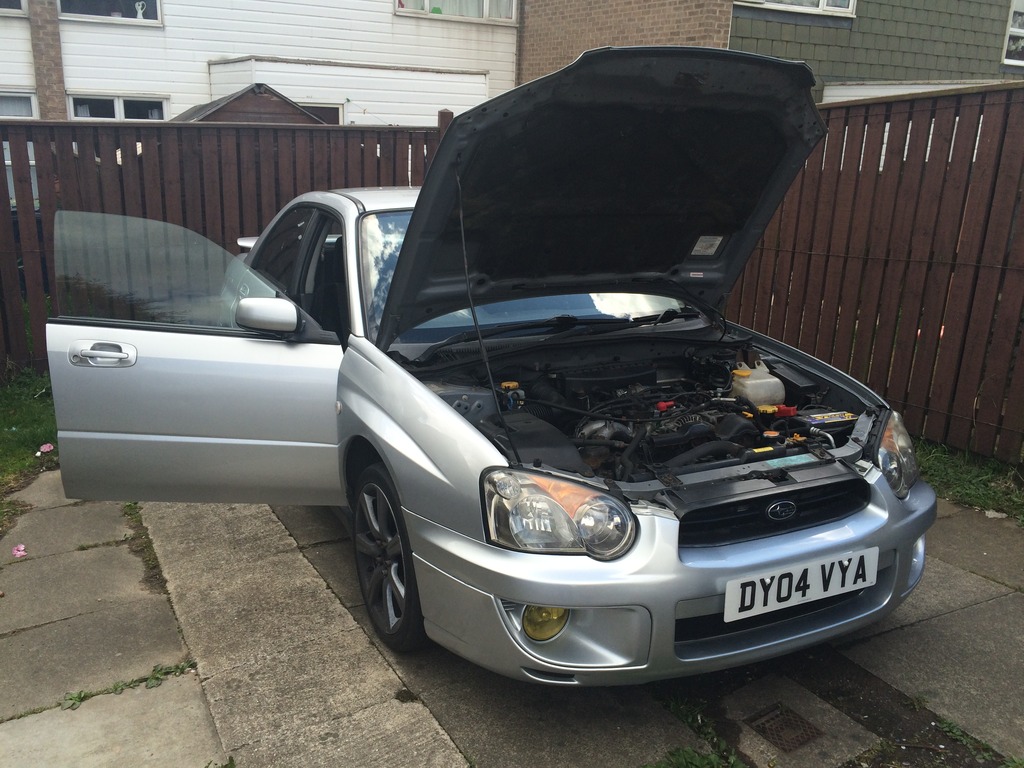
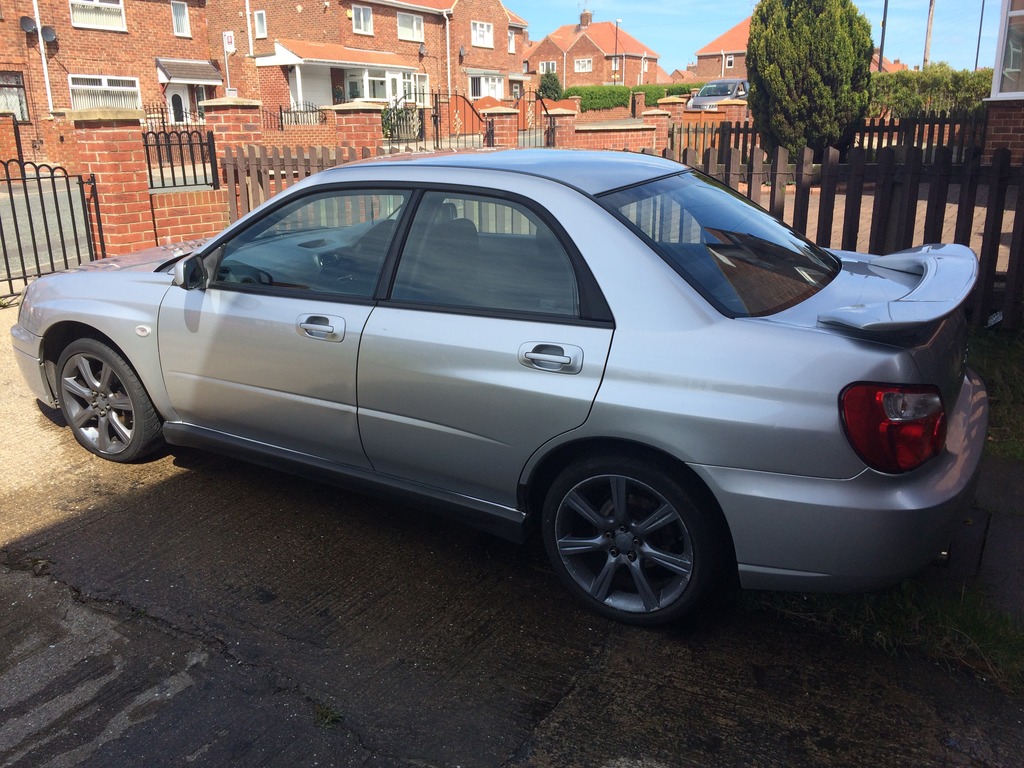
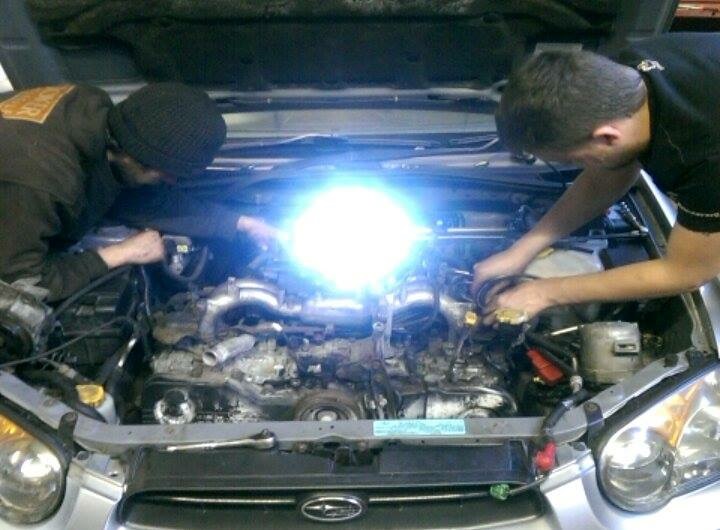
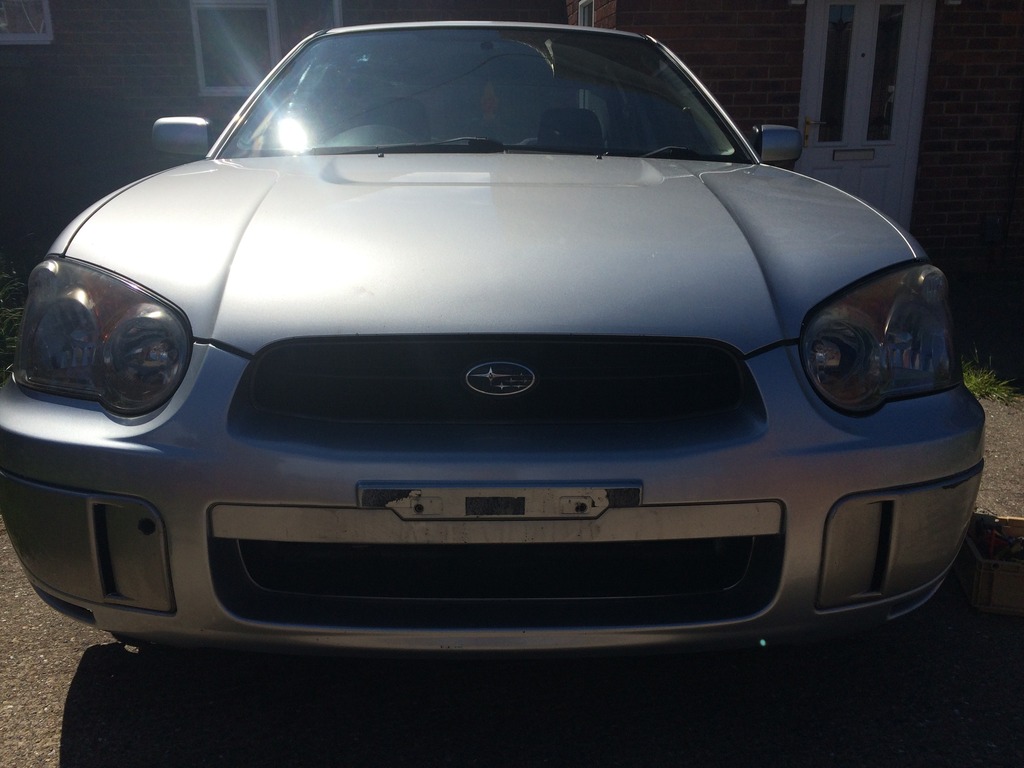
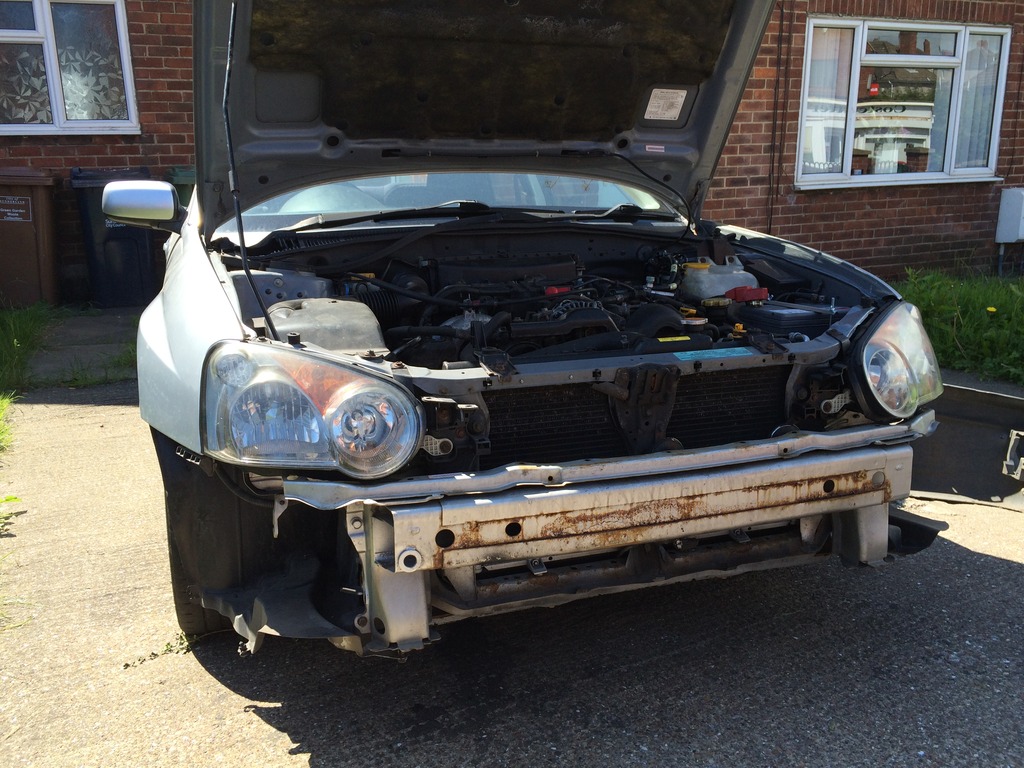
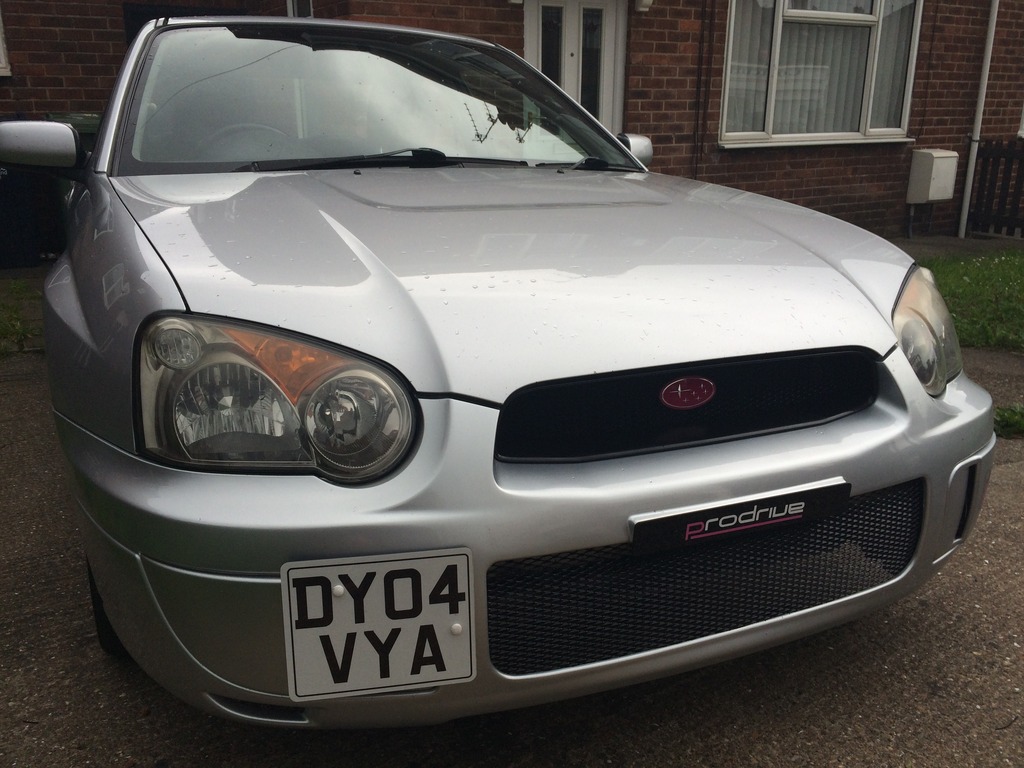
So this is how it stood when I bought it. I got it for �600 as the bottom end had gone. The body on the car is excellent with very little rust.
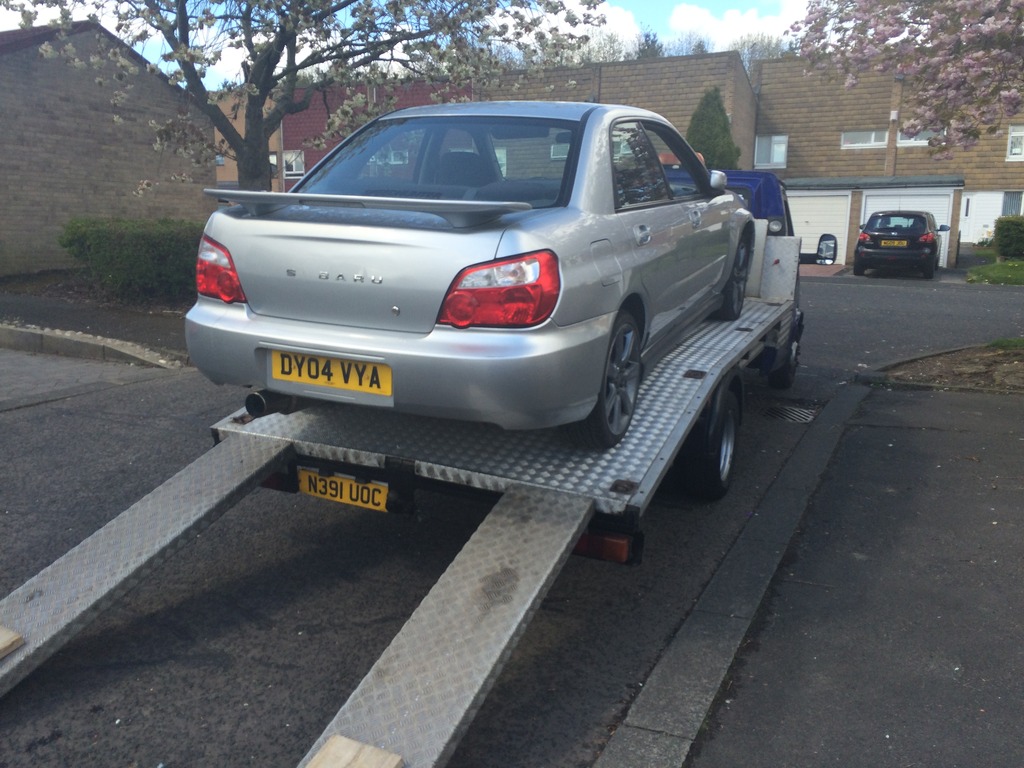
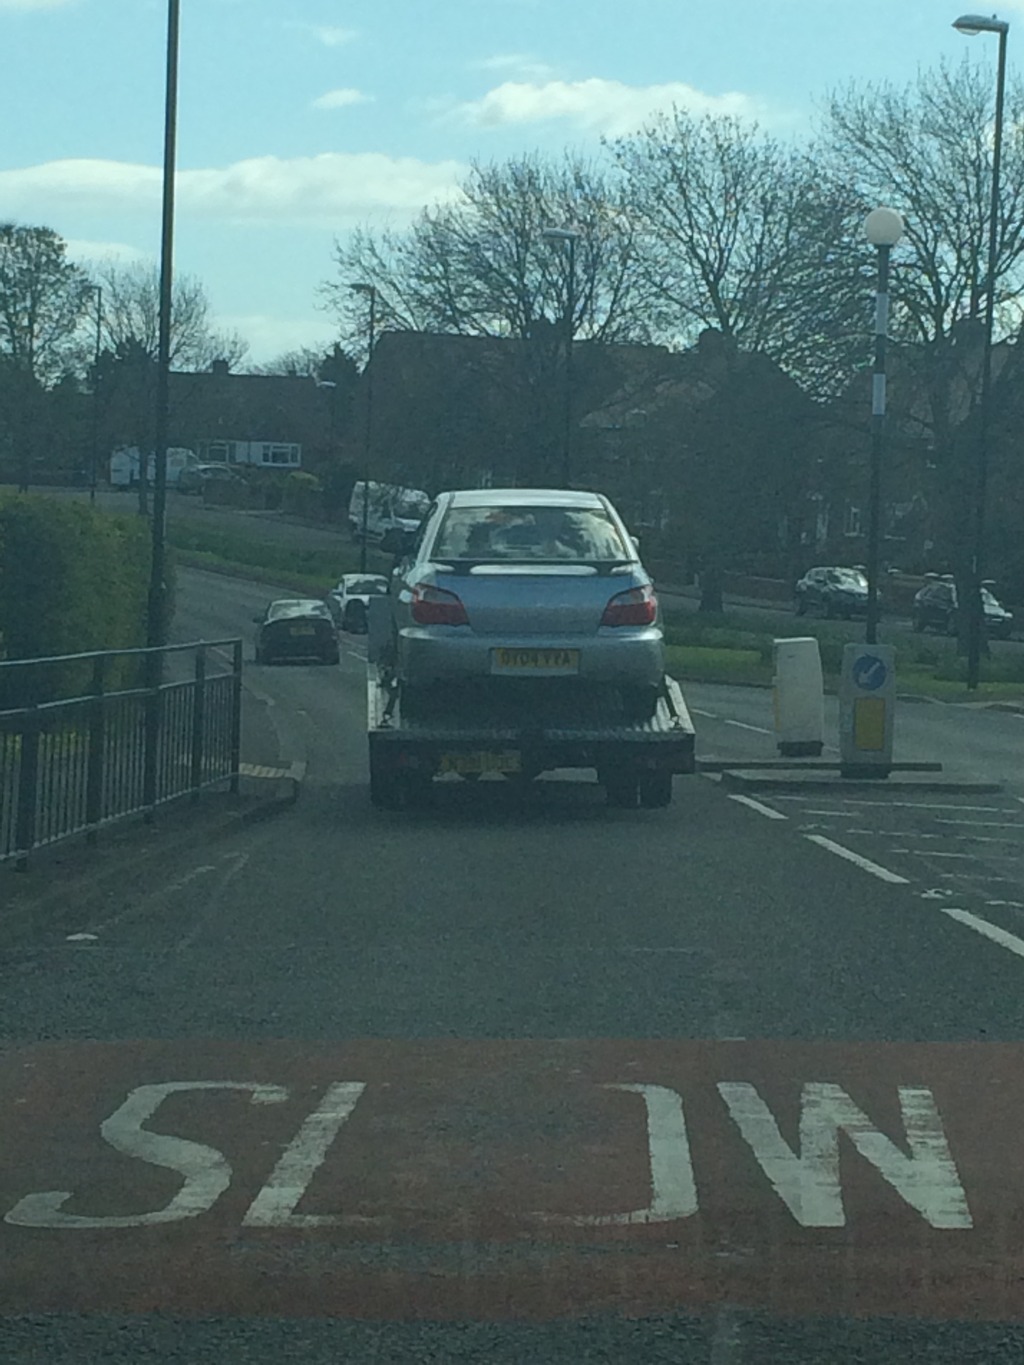
And it's journey home
Got it home and gave it a good clean inside and out, it was disgusting and neglected to hell.
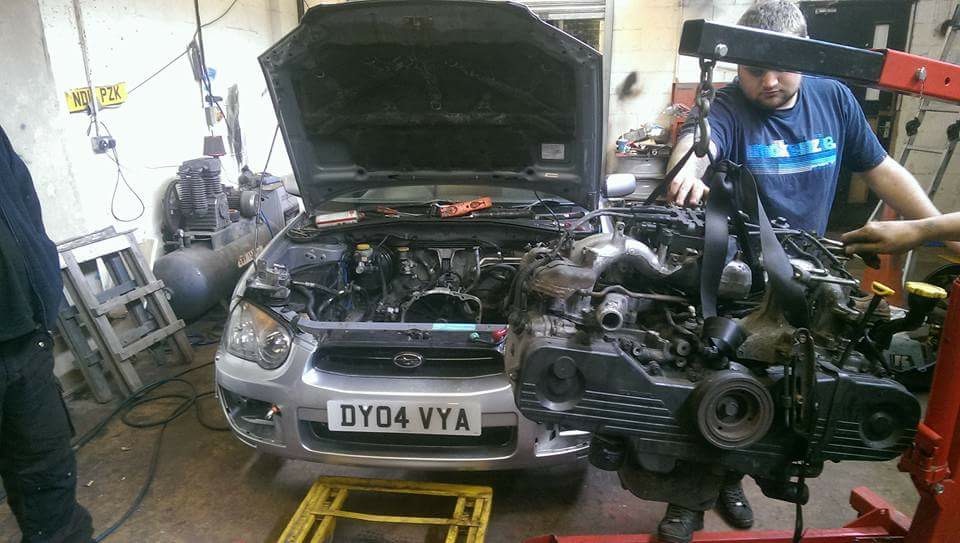
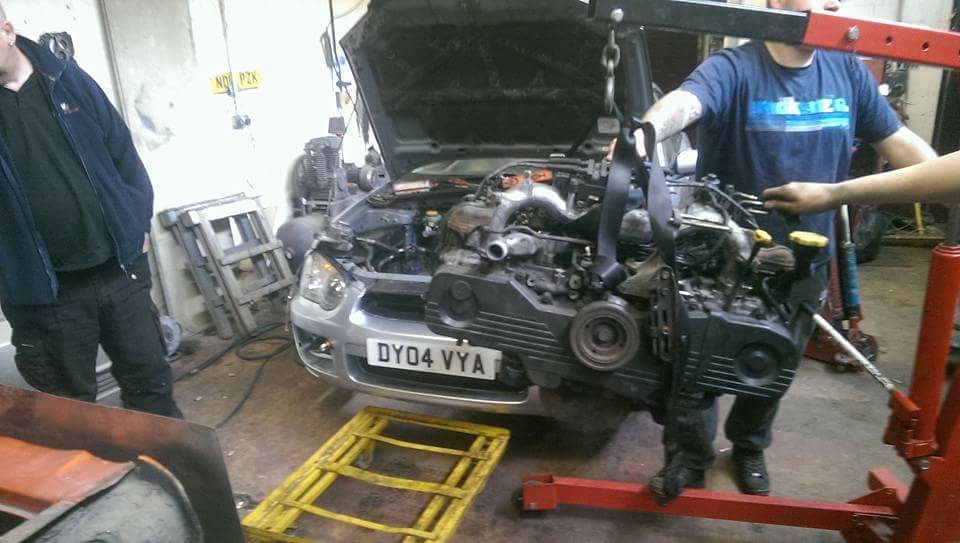
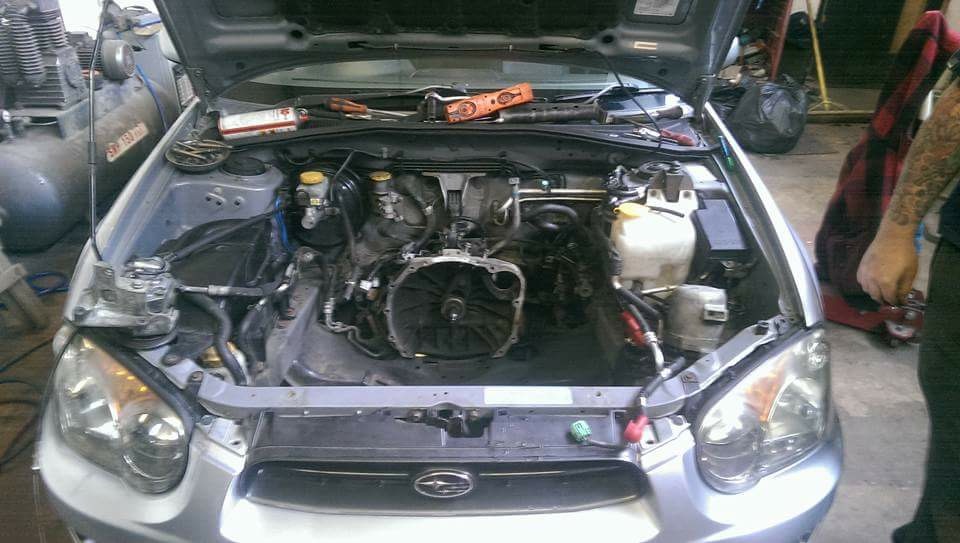
So first thing was my new engine. The Scooby was sent to Chris Byrne @ Performance Northeast in Sunderland. Just as a little side note, I can't recommend Chris enough for any work you want doing on your Impreza. He knows them inside and out and has a great reputation around here. If anyone would like his contact details please get in touch.
99% of you probably won't be interested in my car due to the fact it's a non turbo but I'm proud of my car and have lots of plans.
I don't like doing things by the book and enjoy fabricating my own parts and modifications to make my cars look unique. I've owned a few civics and a pulsar in the past but this blows them all out the water.
So this is how it stood when I bought it. I got it for �600 as the bottom end had gone. The body on the car is excellent with very little rust.

And it's journey home


Got it home and gave it a good clean inside and out, it was disgusting and neglected to hell.


So first thing was my new engine. The Scooby was sent to Chris Byrne @ Performance Northeast in Sunderland. Just as a little side note, I can't recommend Chris enough for any work you want doing on your Impreza. He knows them inside and out and has a great reputation around here. If anyone would like his contact details please get in touch.


Last edited by DanGlennon; May 30, 2015 at 04:23 PM.
 .SJ.
.SJ.
Thread Starter
Scooby Regular
Joined: Apr 2015
Posts: 189
Likes: 0
From: Sunderland
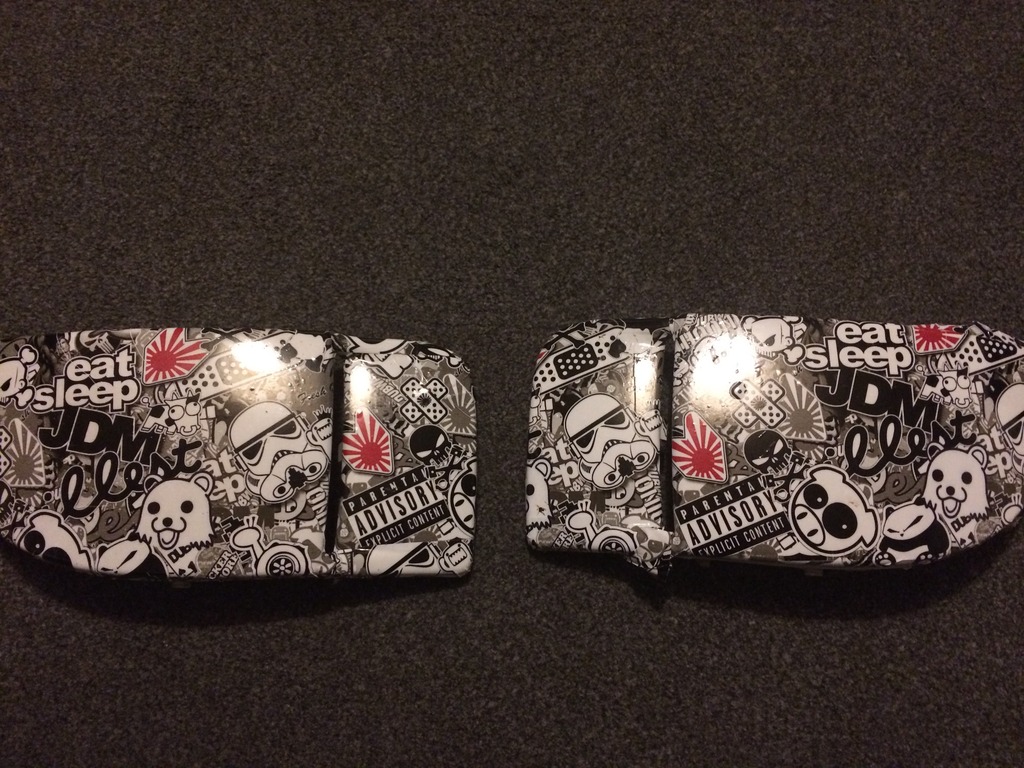
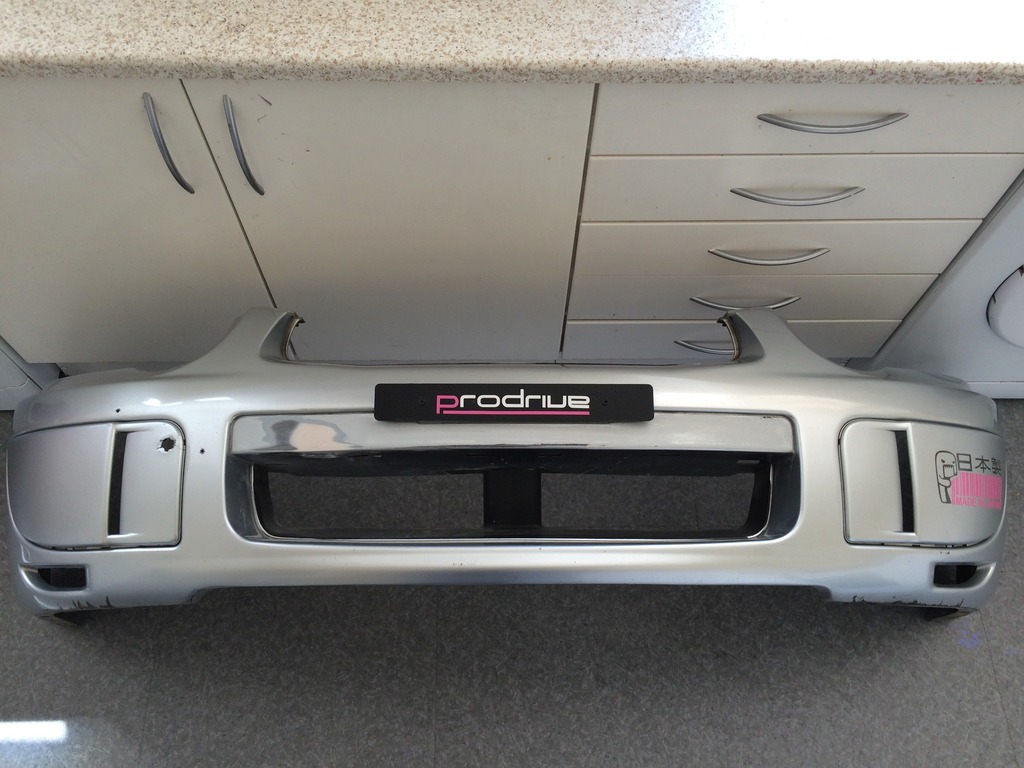
After the car got home I started to think about how I want it to look. First thing I decided I wanted to change was my yellow fog lights for a set of fog light covers. I put them on eBay and someone contacted me wanting to swap his covers and �40 for my fog lights, result!
So they arrived and I couldn't help but laugh, some people shouldn't be allowed near subarus lol!

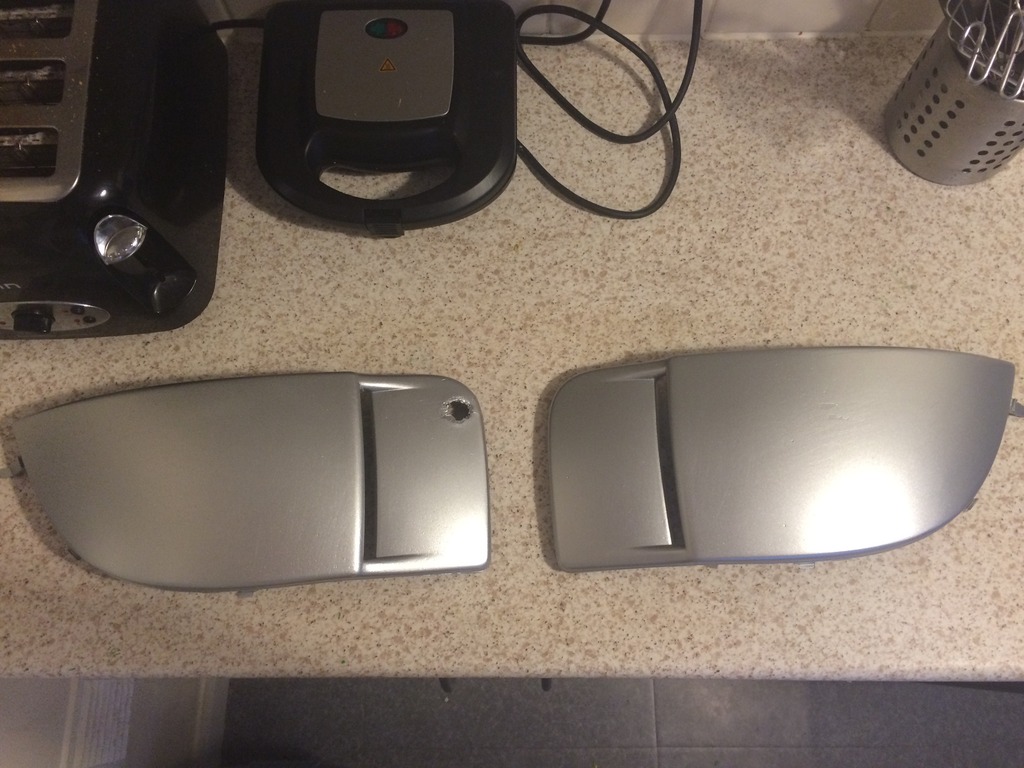
After I peeled the stickers off and fit them to my car I realised the colour was well off. They were silver underneath but past saving so I've sanded them down ready for the paint arriving on Monday
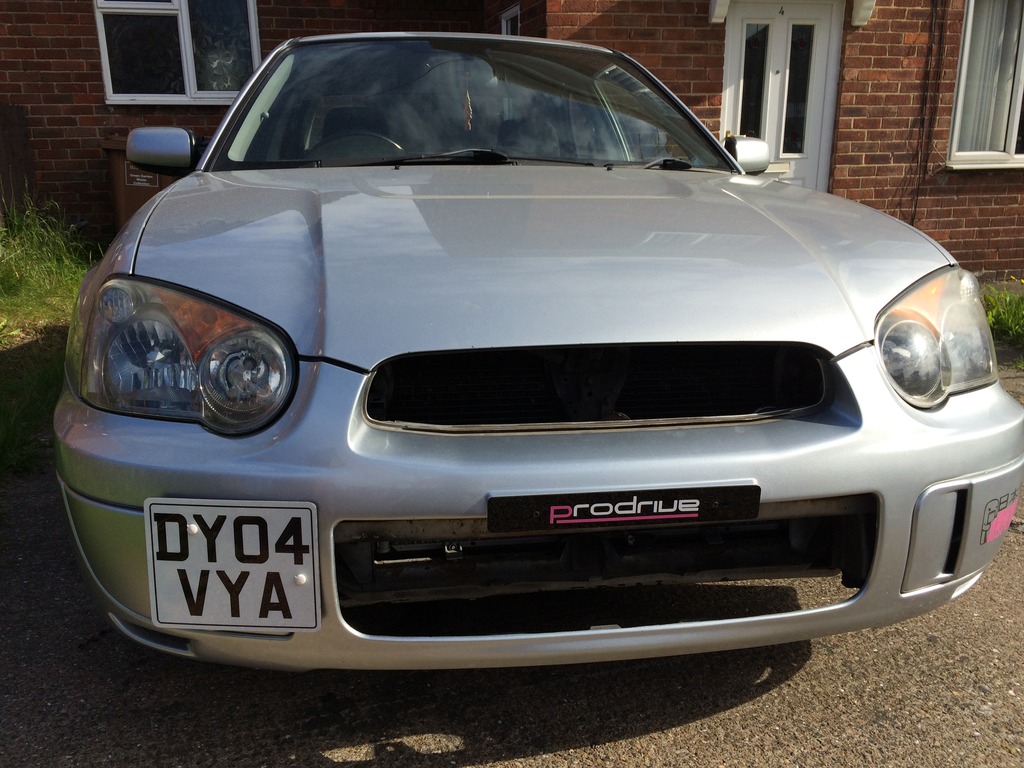
Relocated number plate ready for my next couple of modifications I've got planned.
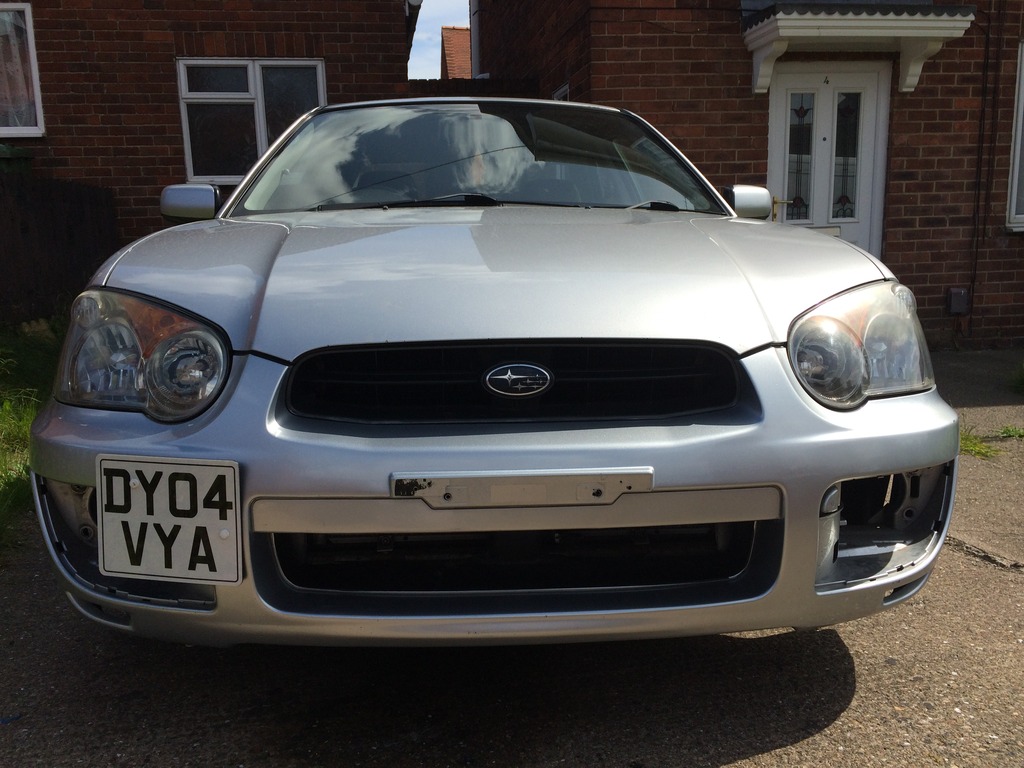
Browsed a couple of number plate deletes online (Perrin and Grimmspeed) and came to the conclusion that for what they were their really overpriced and rarely available in the UK so would of cost me even more to ship over here. I'm getting a small strip of black acrylic cut to the size of where my number plate was (370 x 50 mm), drilling my own holes and adding a design to it. With the fog light covers my front end will be well on its way to being finished
Plans are:
Fit number plate delete
Paint, fit fog light covers and add custom sticker to the LH cover
Bonnet scoop (undecided on which one)
Twisted side skirts
New spoiler
Refurbish and paint wheels
Zunsport front grills
And that's all for now
Thanks for reading.
So they arrived and I couldn't help but laugh, some people shouldn't be allowed near subarus lol!

After I peeled the stickers off and fit them to my car I realised the colour was well off. They were silver underneath but past saving so I've sanded them down ready for the paint arriving on Monday
Relocated number plate ready for my next couple of modifications I've got planned.

Browsed a couple of number plate deletes online (Perrin and Grimmspeed) and came to the conclusion that for what they were their really overpriced and rarely available in the UK so would of cost me even more to ship over here. I'm getting a small strip of black acrylic cut to the size of where my number plate was (370 x 50 mm), drilling my own holes and adding a design to it. With the fog light covers my front end will be well on its way to being finished
Plans are:
Fit number plate delete
Paint, fit fog light covers and add custom sticker to the LH cover
Bonnet scoop (undecided on which one)
Twisted side skirts
New spoiler
Refurbish and paint wheels
Zunsport front grills
And that's all for now
Thanks for reading.
Thread Starter
Scooby Regular
Joined: Apr 2015
Posts: 189
Likes: 0
From: Sunderland
Thread Starter
Scooby Regular
Joined: Apr 2015
Posts: 189
Likes: 0
From: Sunderland
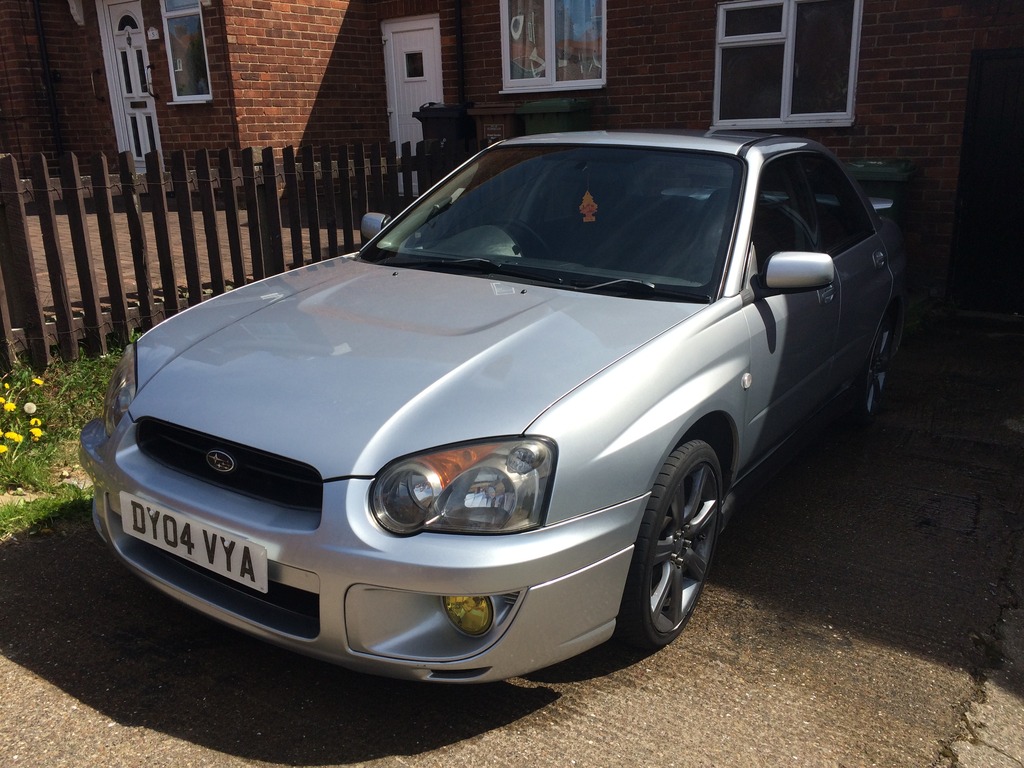
Front end is looking nice now really pleased with it I painted the fog light covers myself, added a sticker, made myself a custom number plate delete and relocated my number plate. Needs a grille set to finish it off and it'll be looking sweet.

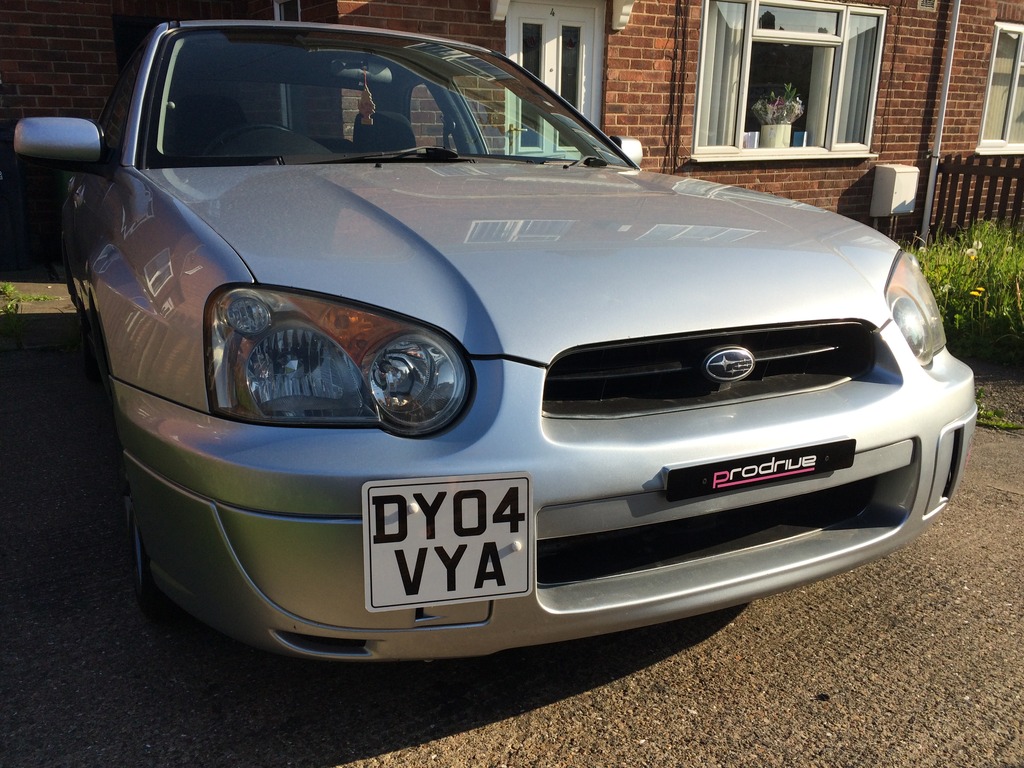
I painted the fog light covers myself, added a sticker, made myself a custom number plate delete and relocated my number plate. Needs a grille set to finish it off and it'll be looking sweet.


Trending Topics
Thread Starter
Scooby Regular
Joined: Apr 2015
Posts: 189
Likes: 0
From: Sunderland
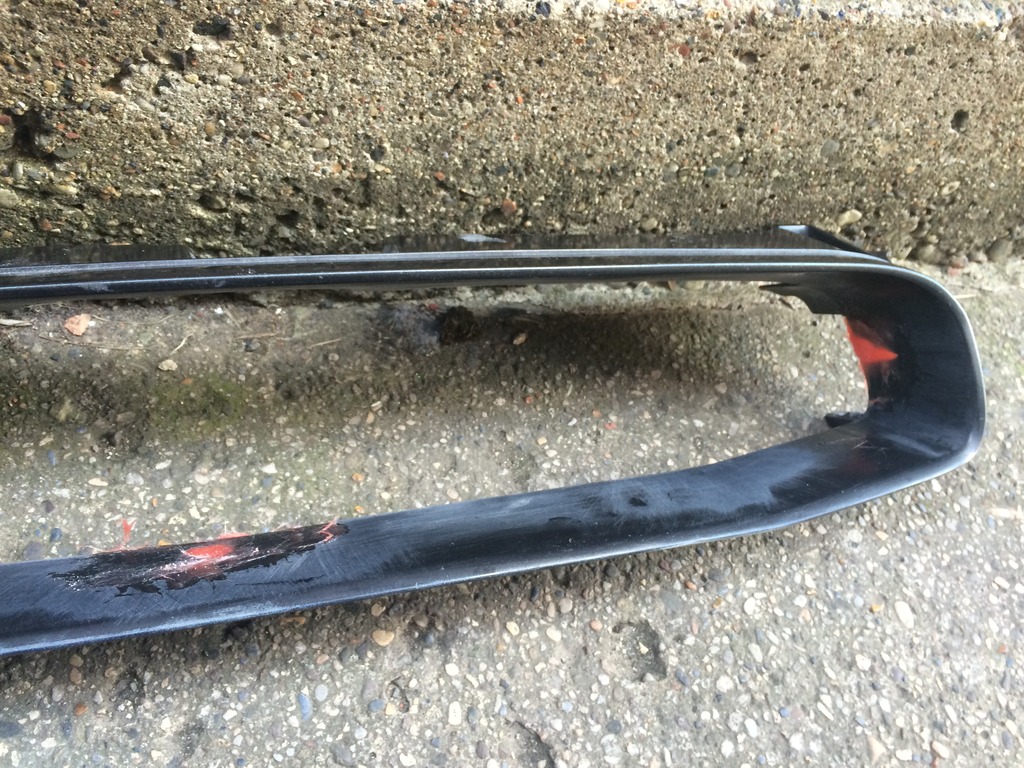
I swapped my yellow fog lights for some fog covers in silver and �40 cash. The lad told me they had a hole drilled where a tow hook was fitted but we're silver under the hideous stickers:
However, when I peeled the stickers off I realised it wasn't drilled, instead hacked with what looked like a knife and the colour wasn't a match at all. It actually looked like he'd sanded them down ready for paint then couldn't be arsed to carry on:
So my options were to get it repaired and sprayed or relocate my number plate and use the hole to make a bracket for it. So I went with the second option
Sprayed them myself using some 01G paint I got mixed and I couldn't be happier with the outcome

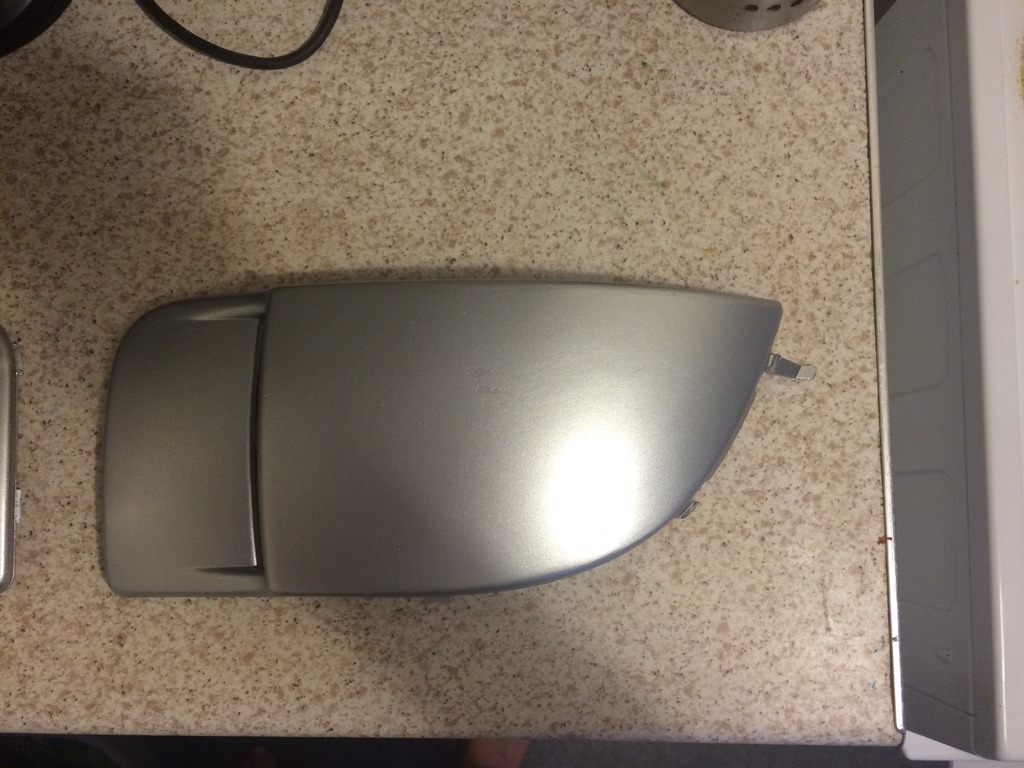
So far every piece on the car I've either made myself or had some unique input on it. The work definitely pays off, love it when ideas come together
However, when I peeled the stickers off I realised it wasn't drilled, instead hacked with what looked like a knife and the colour wasn't a match at all. It actually looked like he'd sanded them down ready for paint then couldn't be arsed to carry on:

So my options were to get it repaired and sprayed or relocate my number plate and use the hole to make a bracket for it. So I went with the second option
Sprayed them myself using some 01G paint I got mixed and I couldn't be happier with the outcome


So far every piece on the car I've either made myself or had some unique input on it. The work definitely pays off, love it when ideas come together
Last edited by DanGlennon; Jun 4, 2015 at 08:29 PM.
Thread Starter
Scooby Regular
Joined: Apr 2015
Posts: 189
Likes: 0
From: Sunderland

Thread Starter
Scooby Regular
Joined: Apr 2015
Posts: 189
Likes: 0
From: Sunderland
Well so far I'm concentrating on getting it how I want it looking but I can't rule out not wanting a big *** intercooler sat behind there one day lol.

Scooby Regular
Joined: Jul 2009
Posts: 669
Likes: 0
i thought u meant wen u were doing a numberplate delete you would of cut of the part that the plate bolts to then smoothed it off aint really a numberplate delete then you have just moved it and tbh numberplate sticks out to much now sorry just my opinion
Thread Starter
Scooby Regular
Joined: Apr 2015
Posts: 189
Likes: 0
From: Sunderland
Everyone's entitled to their own opinion dude no need to apologise.
No, when I said "number plate delete" I meant I was making a custom one. If you search on google you'll see that is what their called. Usually plastic or metal plates that go where the number plate was but their name is "number plate deletes" even though, like you have pointed out your not really deleting the plate just moving.
No, when I said "number plate delete" I meant I was making a custom one. If you search on google you'll see that is what their called. Usually plastic or metal plates that go where the number plate was but their name is "number plate deletes" even though, like you have pointed out your not really deleting the plate just moving.
Thread Starter
Scooby Regular
Joined: Apr 2015
Posts: 189
Likes: 0
From: Sunderland
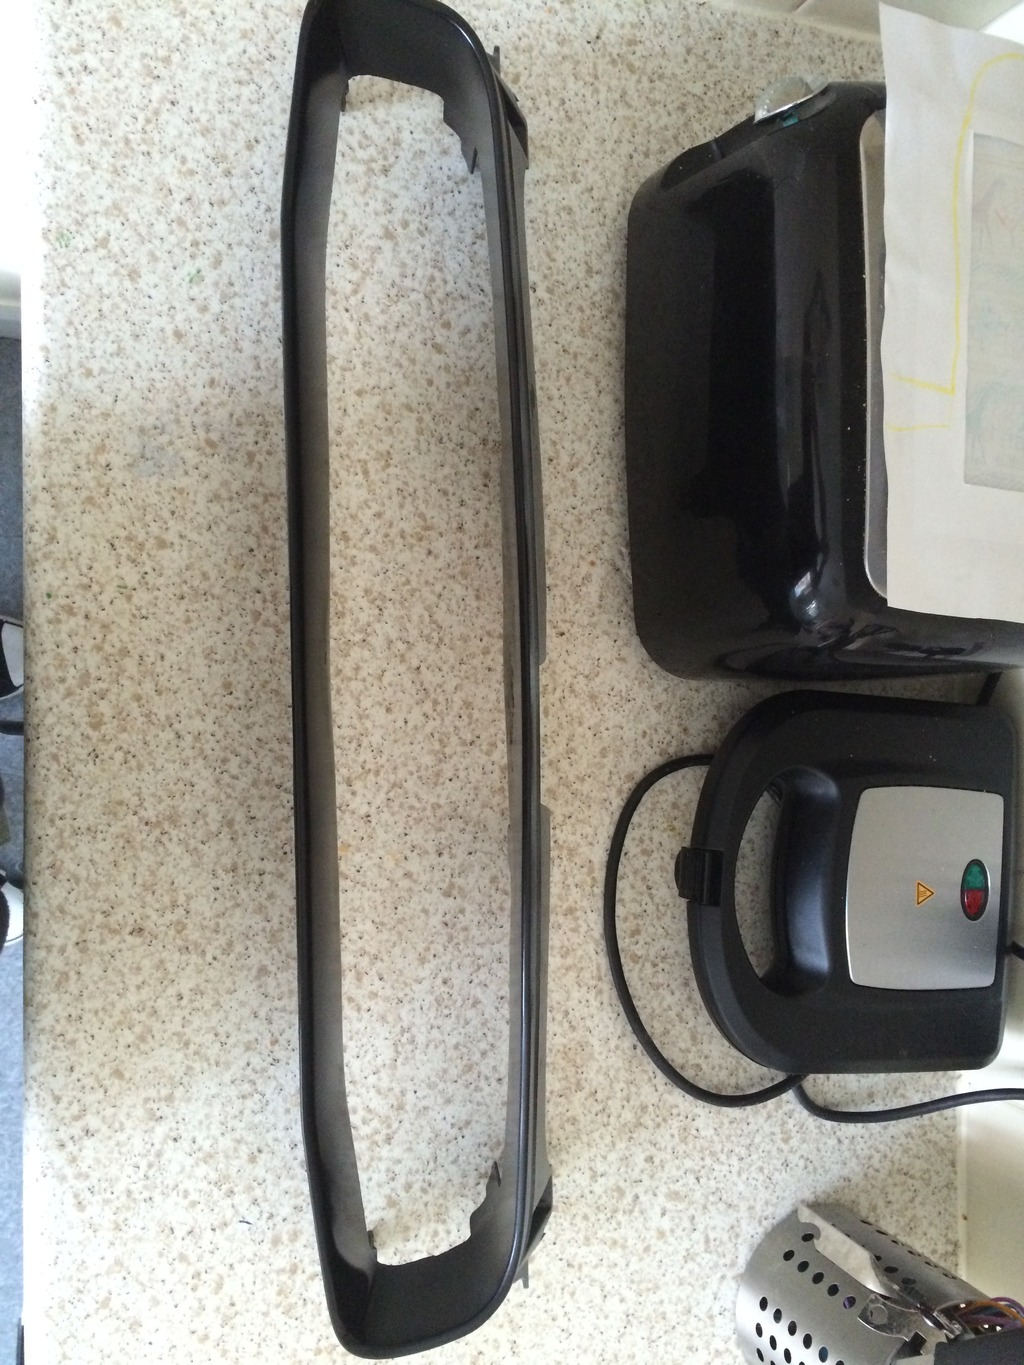
Got to work on my grill and bumper today ready for the honeycomb black mesh I've ordered.
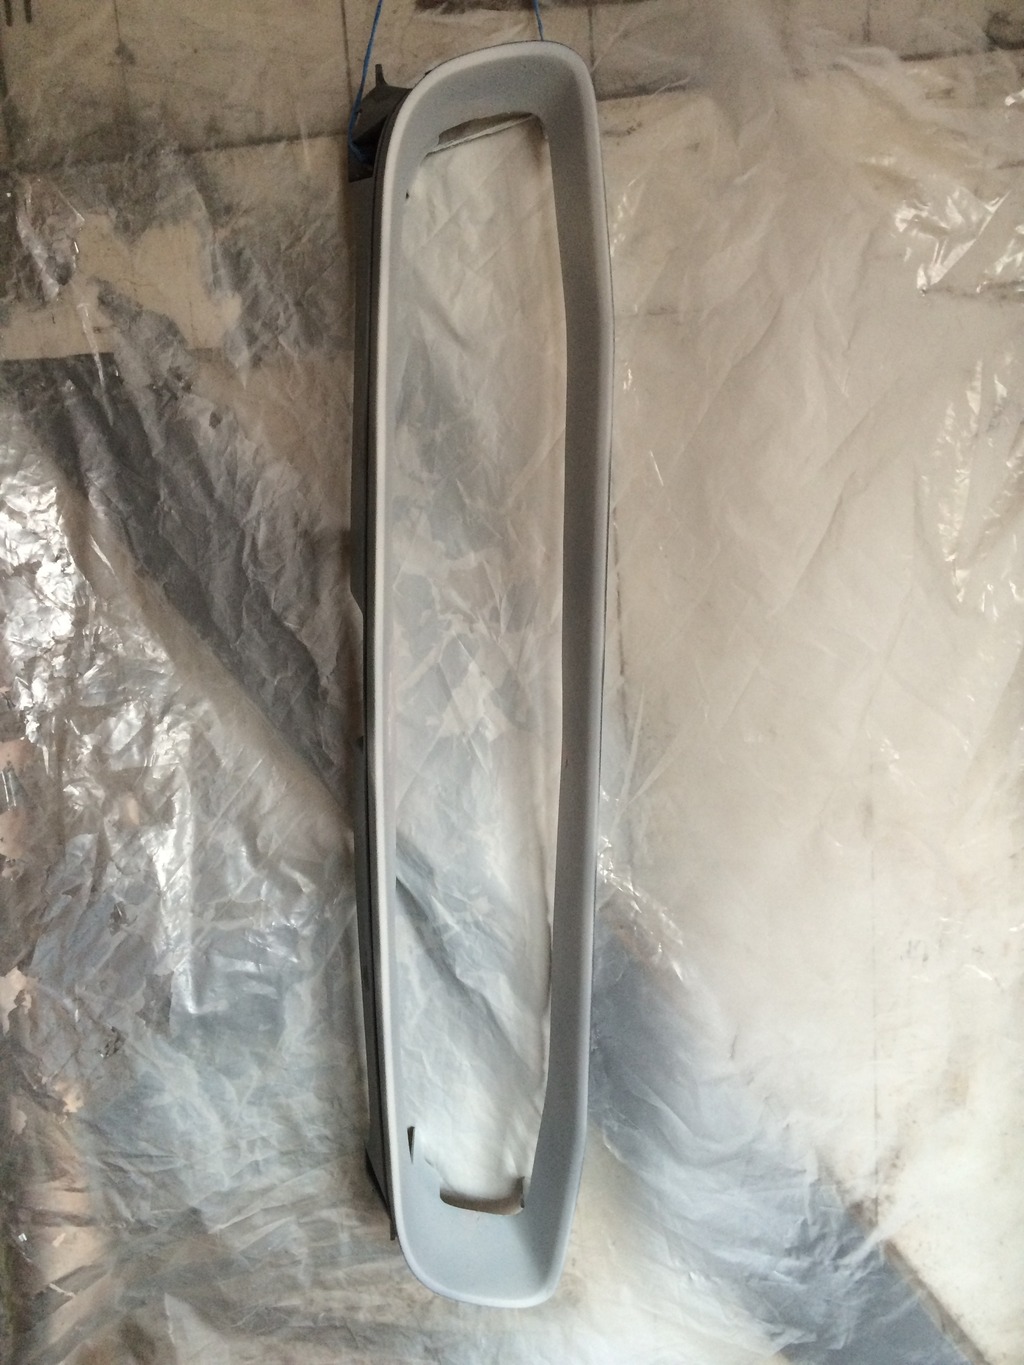
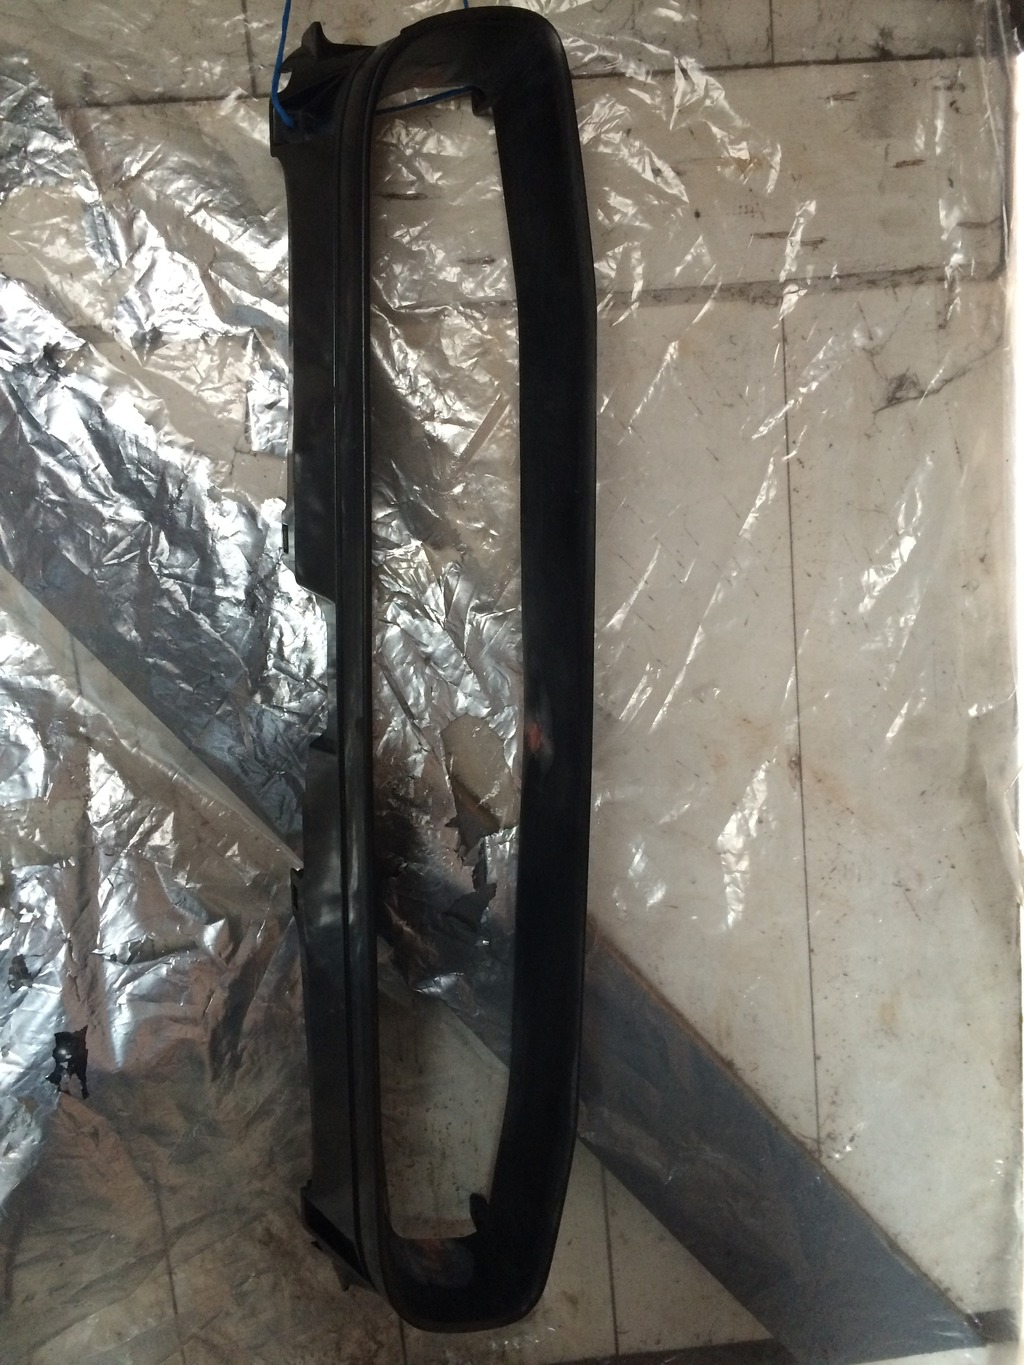
First up was the grill:
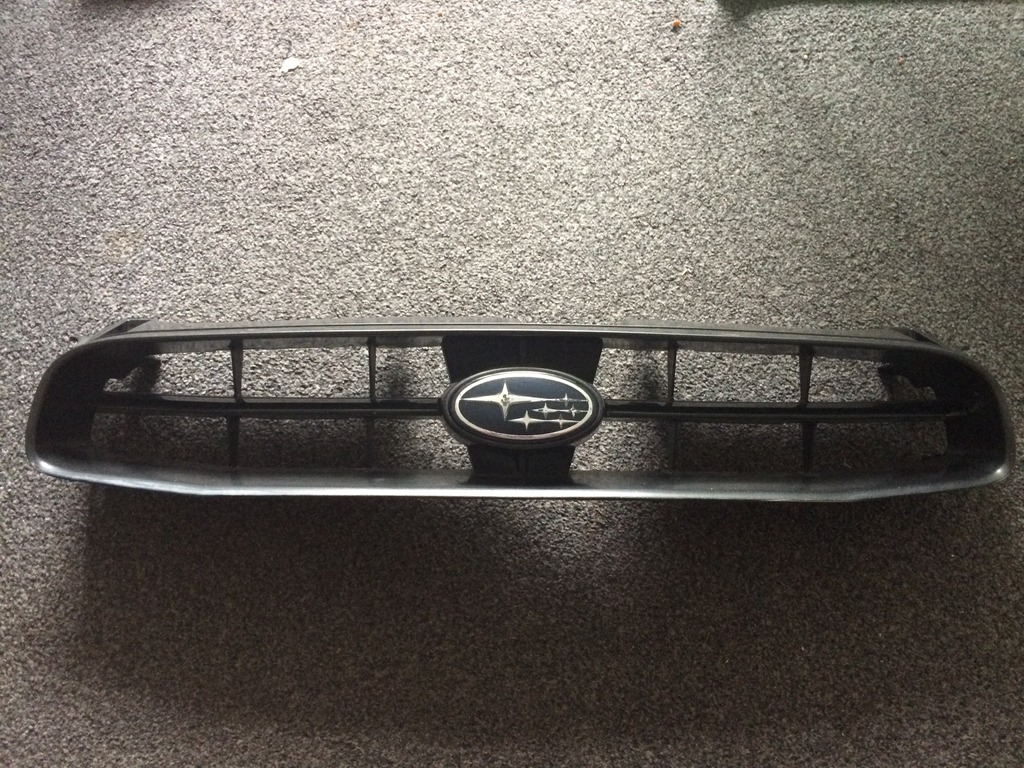
Used a hacksaw to cut the middle part out:
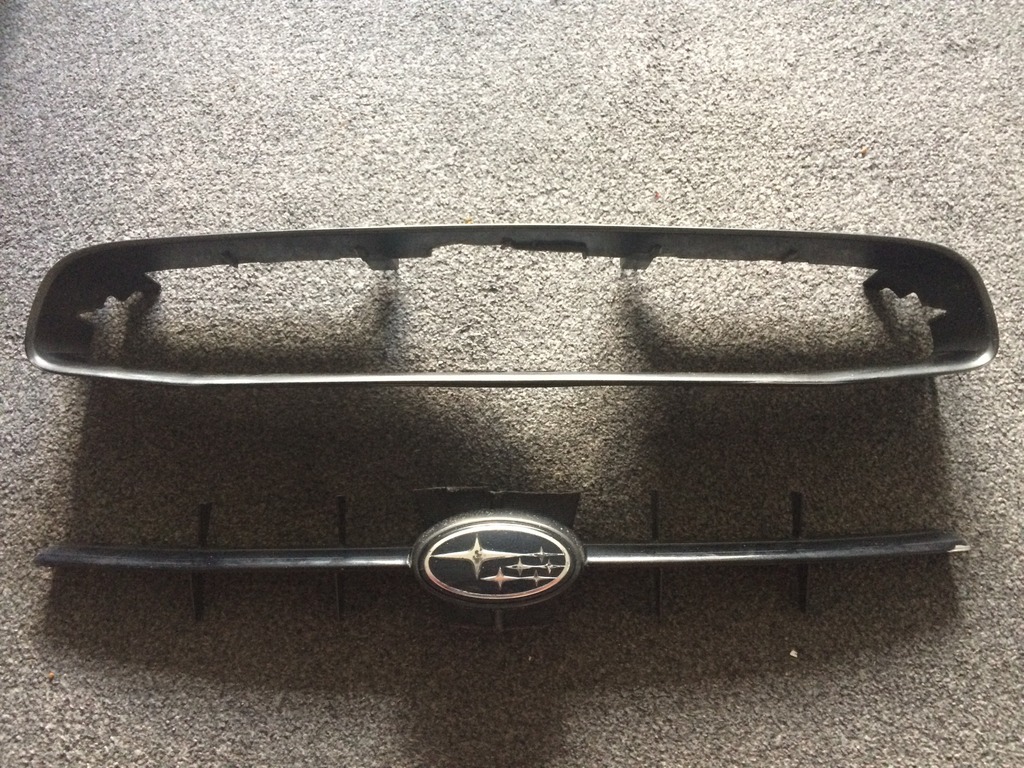
Cardboard template made for the mesh:
After sanding down I was left with bits of rough plastic all over. Took some sandpaper to it. Took a fair bit of elbow grease but well worth it:

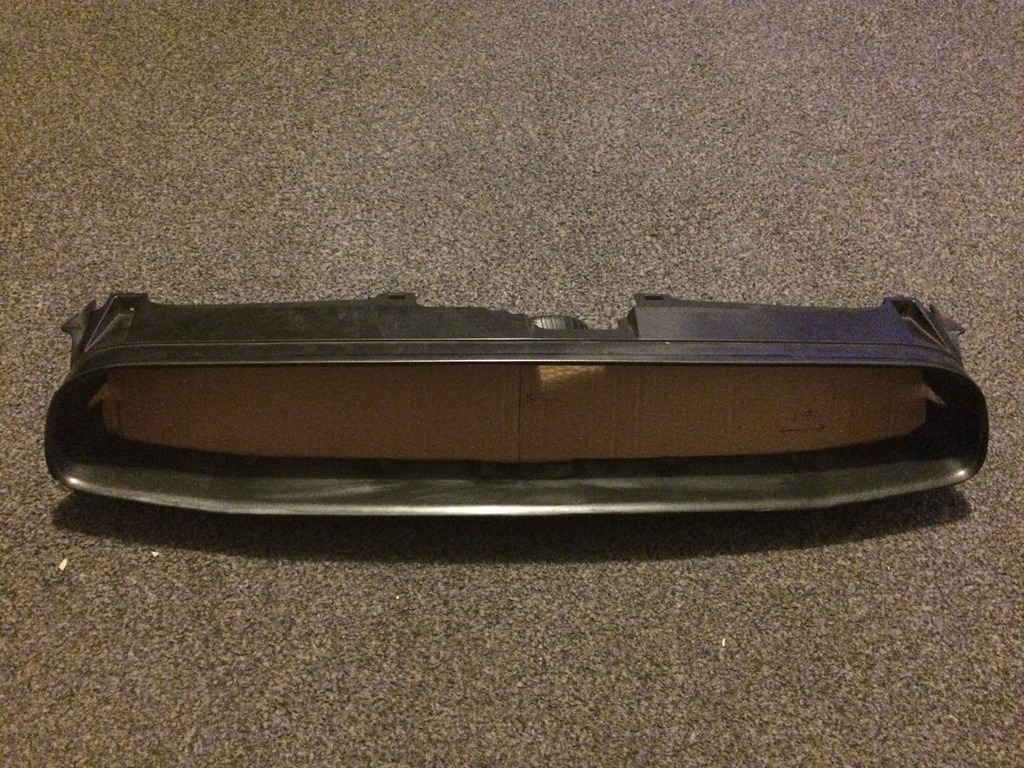
Had to fibreglass a few holes that you can't avoid making when cutting the grill out (believe me, I tried my best to avoid making them!)
Quick sand down of them too and the whole thing was smooth as glass. Ready for primer, paint and laquer when it's delivered.
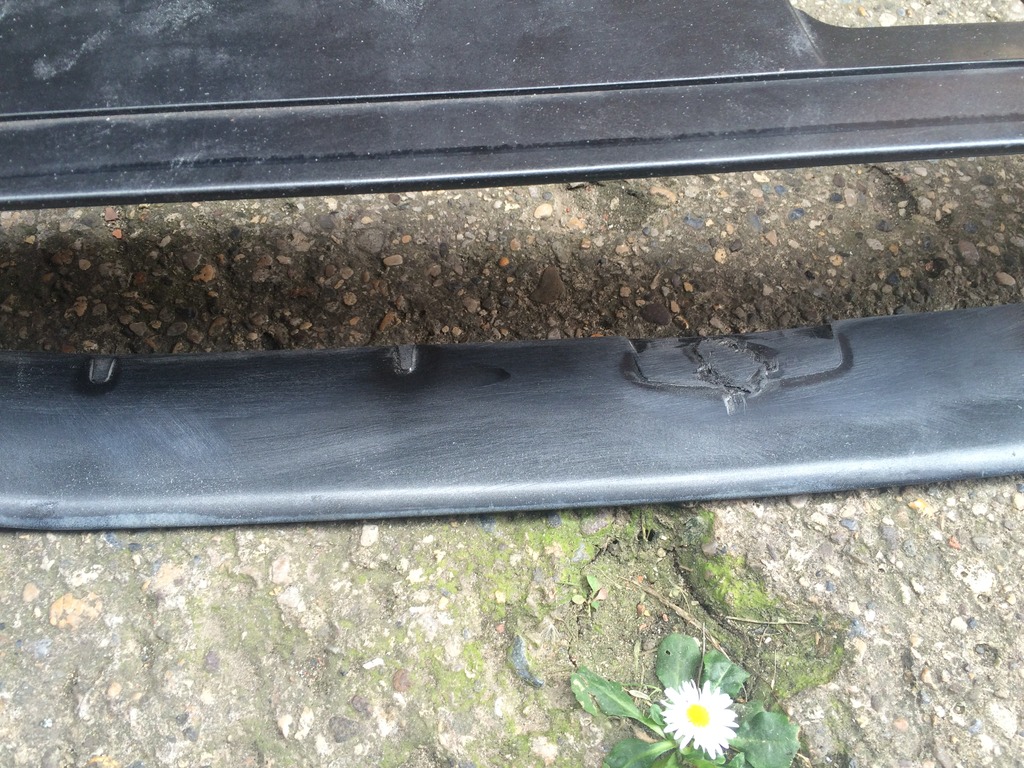
Next was to pull the bumper off. When doing so I realised the previous owner has already had it off and smashed most the clips so I've ordered a few new ones.
There's no easy way to get a hacksaw in that bumper! My arms are torn to bits off squeezing them in spaces to get my saw in. You've just got to hack little bits off wherever you can. Takes ages but eventually you wear it down:
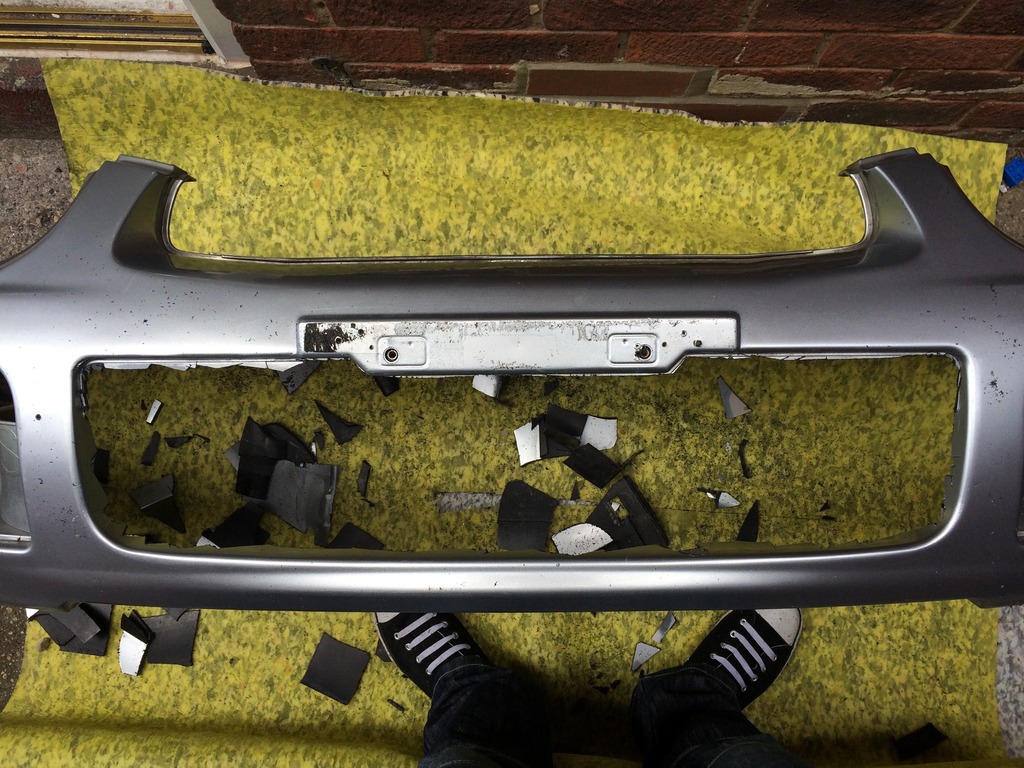
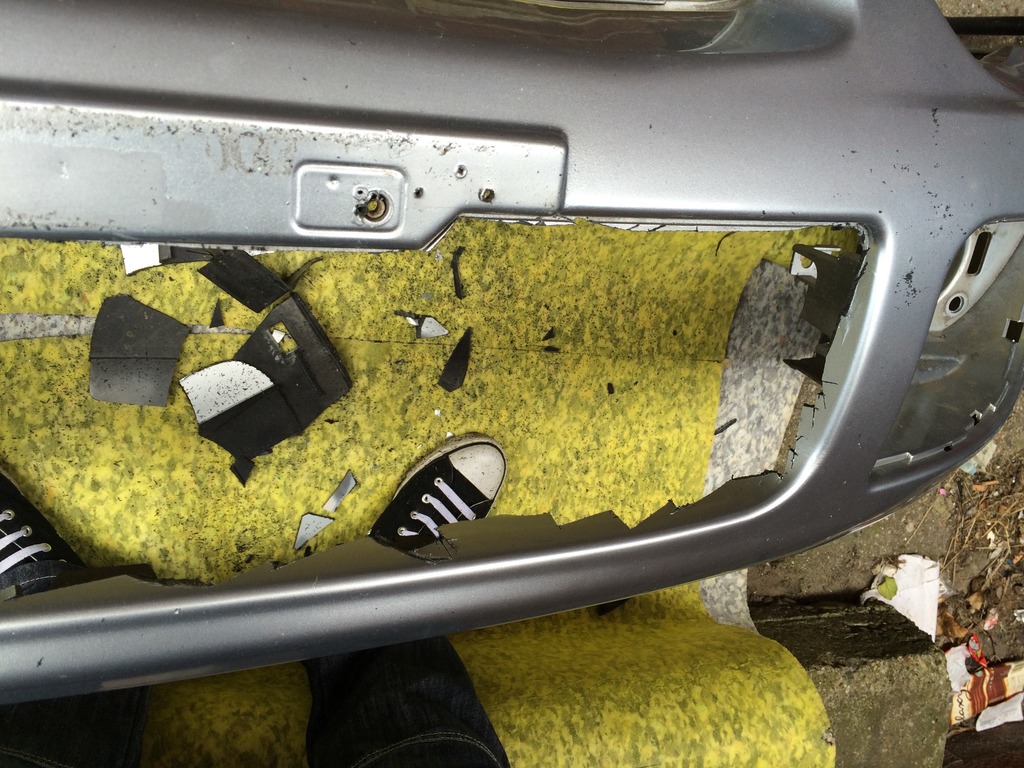
When I reached this stage I was able to turn the saw on its side properly and go around the whole edge. Took some sandpaper to it after to finish it off:
Looks like a simple thing to do and it is but it's a time consuming process. It took me from 9am until tea time. Patience definitely paid off. Looking forward to adding my mesh now
First up was the grill:

Used a hacksaw to cut the middle part out:

Cardboard template made for the mesh:

After sanding down I was left with bits of rough plastic all over. Took some sandpaper to it. Took a fair bit of elbow grease but well worth it:


Had to fibreglass a few holes that you can't avoid making when cutting the grill out (believe me, I tried my best to avoid making them!)

Quick sand down of them too and the whole thing was smooth as glass. Ready for primer, paint and laquer when it's delivered.
Next was to pull the bumper off. When doing so I realised the previous owner has already had it off and smashed most the clips so I've ordered a few new ones.


There's no easy way to get a hacksaw in that bumper! My arms are torn to bits off squeezing them in spaces to get my saw in. You've just got to hack little bits off wherever you can. Takes ages but eventually you wear it down:


When I reached this stage I was able to turn the saw on its side properly and go around the whole edge. Took some sandpaper to it after to finish it off:

Looks like a simple thing to do and it is but it's a time consuming process. It took me from 9am until tea time. Patience definitely paid off. Looking forward to adding my mesh now

Thread Starter
Scooby Regular
Joined: Apr 2015
Posts: 189
Likes: 0
From: Sunderland
Haha that would of been a lot easier, then again I probably wouldn't have access to one anyway. I tried squeezing a jigsaw in there but it's no better than the hacksaw. The angle was all off.
Thread Starter
Scooby Regular
Joined: Apr 2015
Posts: 189
Likes: 0
From: Sunderland
Finally found the mesh I wanted for my grills after scouring the net for hours. There's a lot of ugly mesh out there, I had to pay a little more than originally planned but ended up with a lovely looking black aluminium mesh.
First was to prime and spray my upper grill. Paint went on great and looked ace after.

Got a whole load of new screws and clips to put the bumper back on properly. It's rock solid now and attached the way it should be!
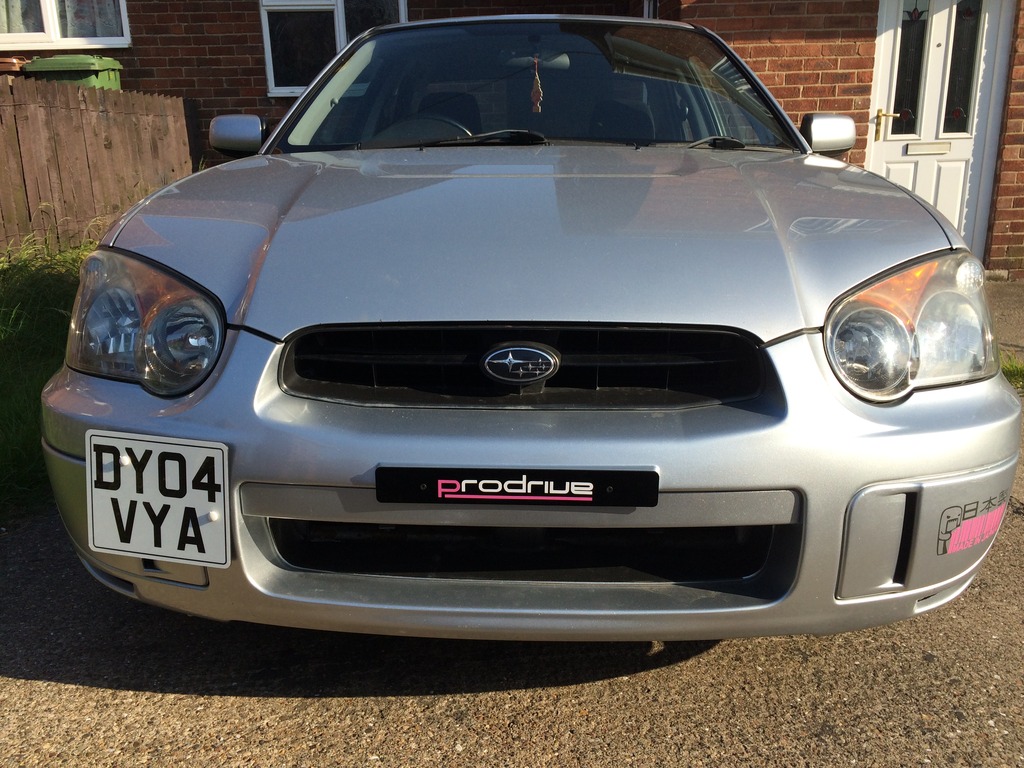
Decided to go for a pink Subaru badge because of the black grills. Needed something that would stand out.
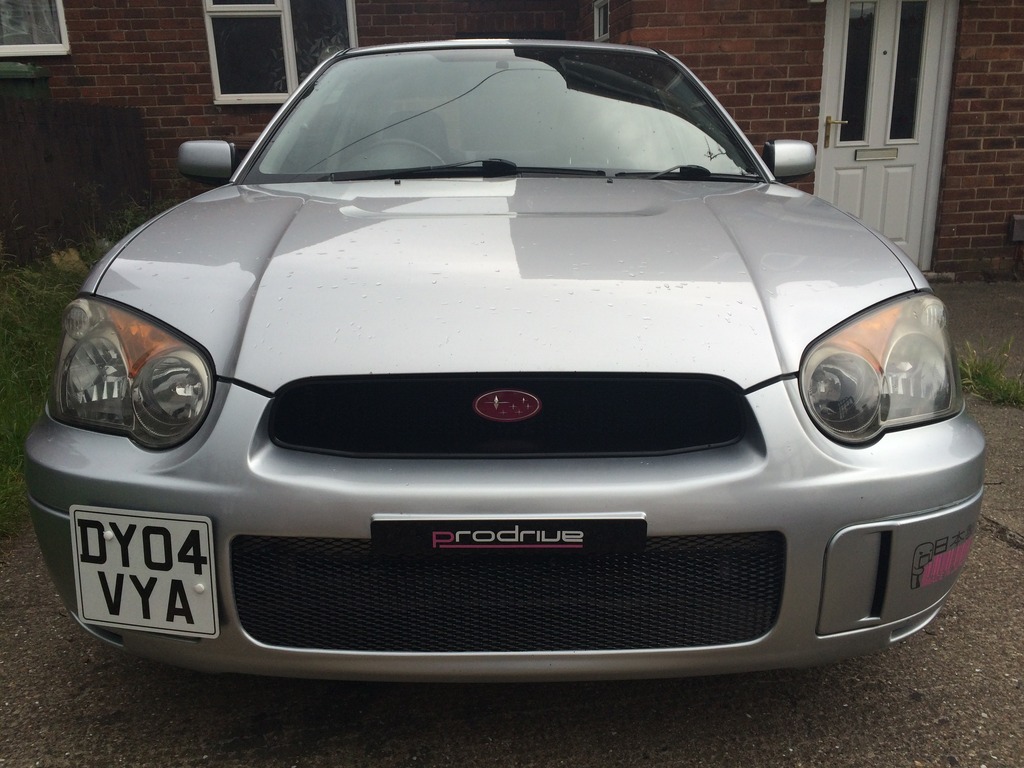
The pictures don't do it justice it looks a million times better in the flesh. Had nothing but compliments about it all day
Used tiger seal to attatch both meshs and a little tiger seal on the back of the badge. That stuff is awesome by the way and well worth the money. It still stays squidgy when it's dry so that your grill can have a little movement (going over speed bumps etc) without the glue cracking.
Not sure what I want to do next, the wheels are in dyer need of a refurb but I'd also like to get a pair of sti side skirts.
First was to prime and spray my upper grill. Paint went on great and looked ace after.


Got a whole load of new screws and clips to put the bumper back on properly. It's rock solid now and attached the way it should be!
Decided to go for a pink Subaru badge because of the black grills. Needed something that would stand out.


The pictures don't do it justice it looks a million times better in the flesh. Had nothing but compliments about it all day
Used tiger seal to attatch both meshs and a little tiger seal on the back of the badge. That stuff is awesome by the way and well worth the money. It still stays squidgy when it's dry so that your grill can have a little movement (going over speed bumps etc) without the glue cracking.
Not sure what I want to do next, the wheels are in dyer need of a refurb but I'd also like to get a pair of sti side skirts.


Thread Starter
Scooby Regular
Joined: Apr 2015
Posts: 189
Likes: 0
From: Sunderland


Thread Starter
Scooby Regular
Joined: Apr 2015
Posts: 189
Likes: 0
From: Sunderland

Thread Starter
Scooby Regular
Joined: Apr 2015
Posts: 189
Likes: 0
From: Sunderland
Cheers buddy. I'm going for a good clean look all round and I want something a little different. 99% of all scoobies have the same exterior mods and I find it a little boring. The ideas didn't come overnight and took a couple of months to plan but I love the way it's come out.
Took a few close up pictures of my new grills for anyone that's interested
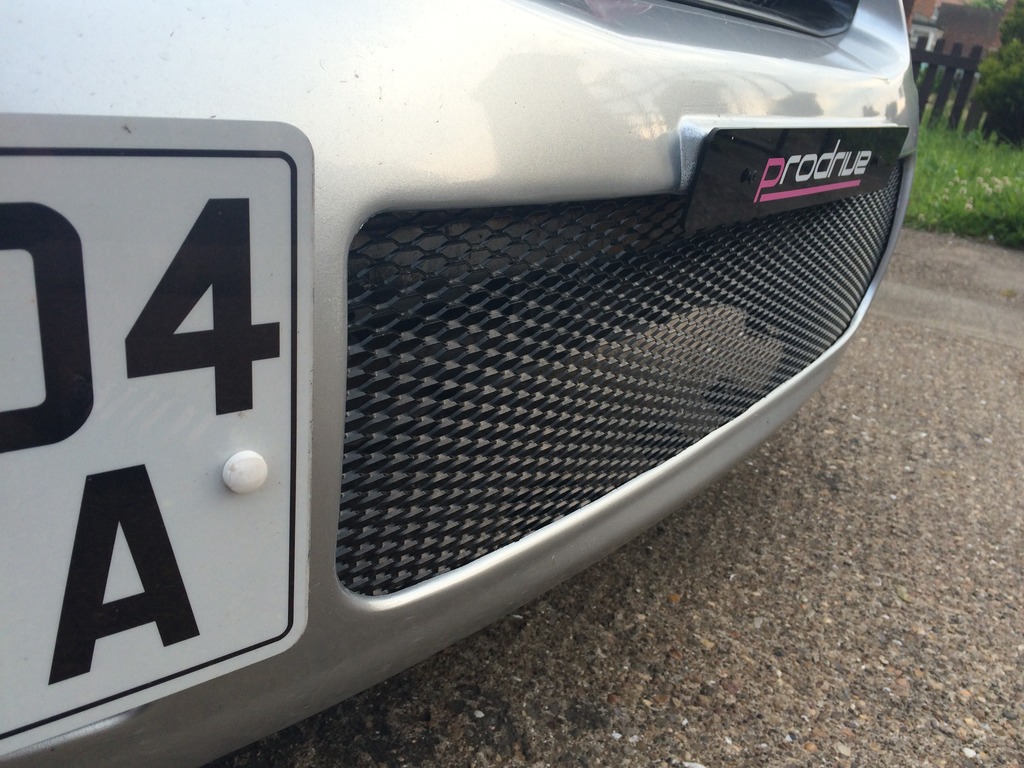
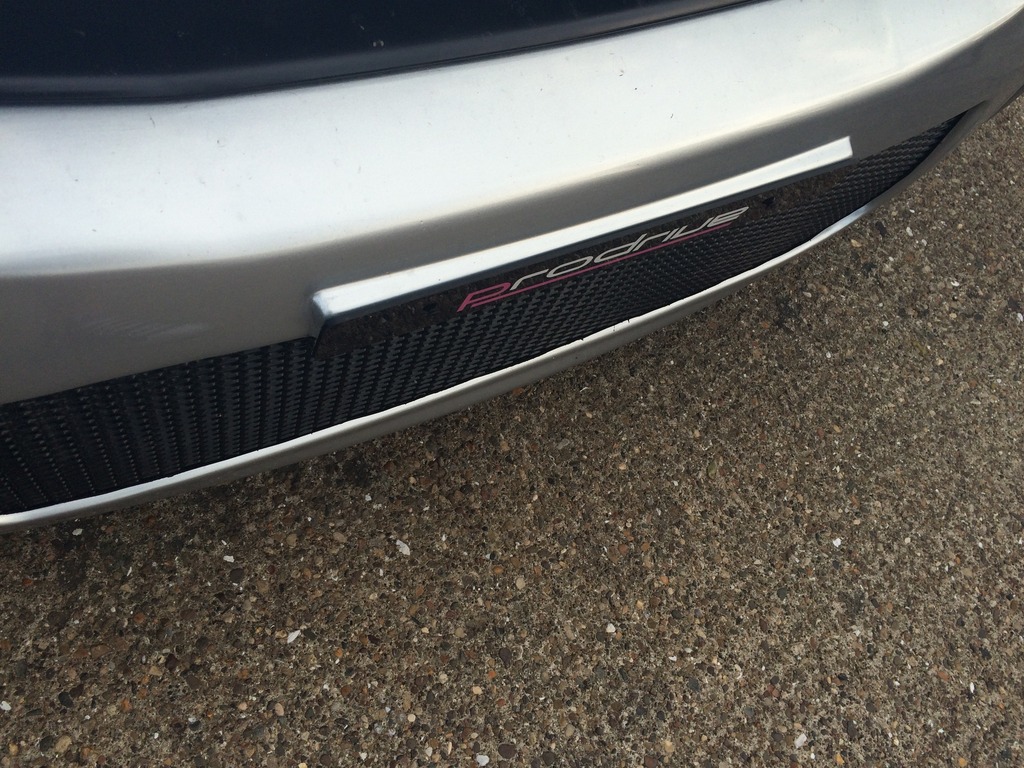
And my top grill, ignore the marks its dust from works car park. It's a nice smooth gloss black underneath
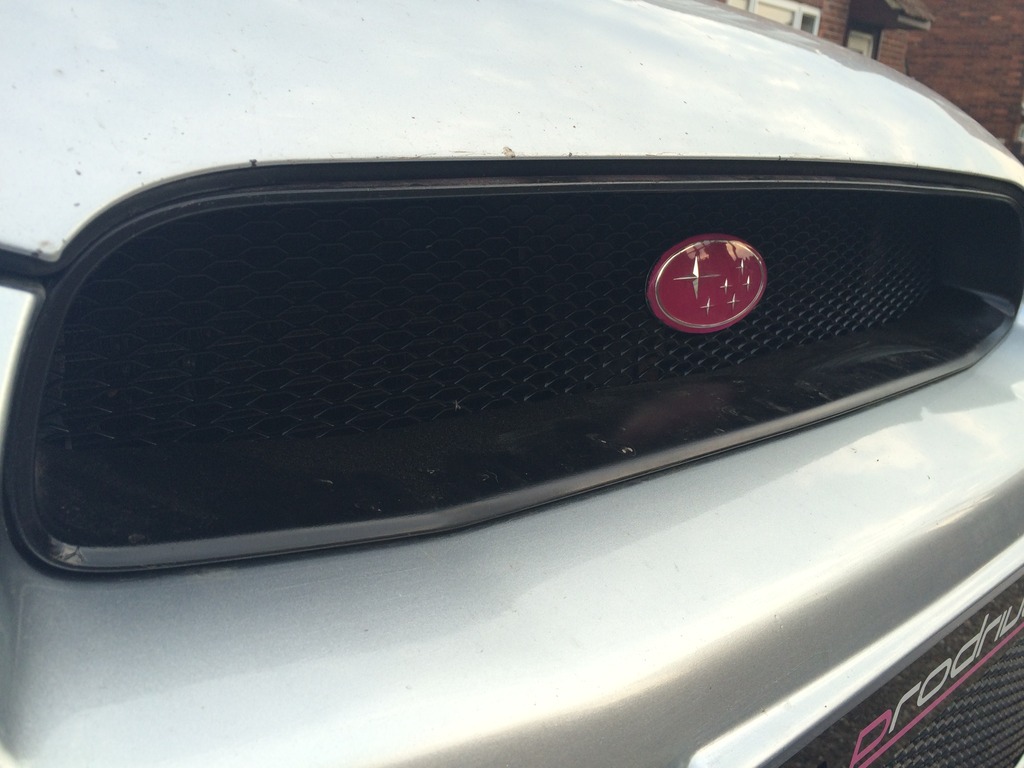
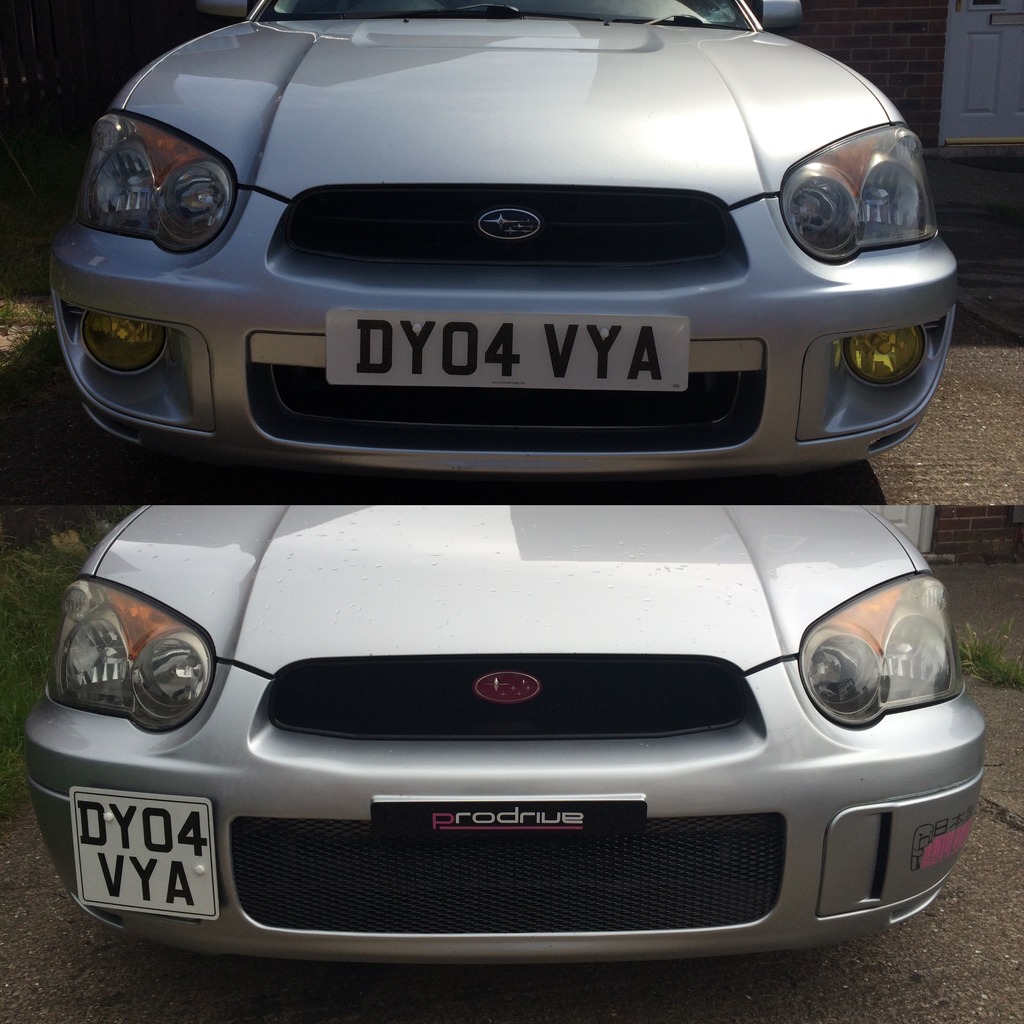
And a before and after shot..
Took a few close up pictures of my new grills for anyone that's interested


And my top grill, ignore the marks its dust from works car park. It's a nice smooth gloss black underneath

And a before and after shot..

Last edited by DanGlennon; Jul 1, 2015 at 07:42 PM.
Thread Starter
Scooby Regular
Joined: Apr 2015
Posts: 189
Likes: 0
From: Sunderland
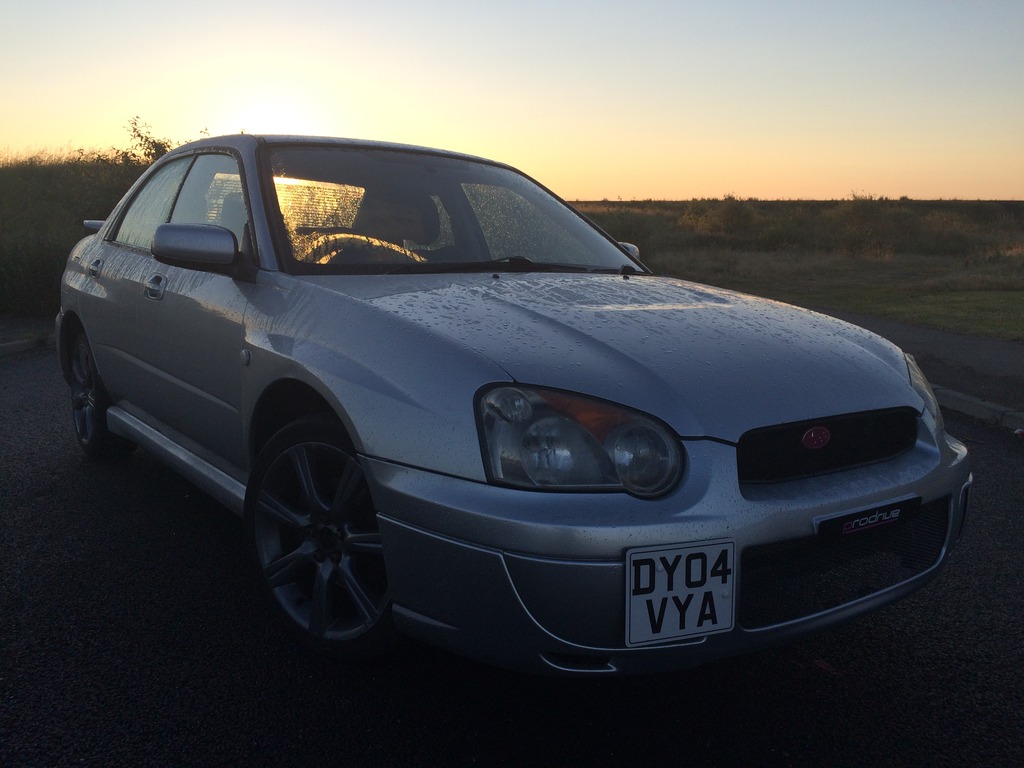
Had an early start this morning and thought I'd take advantage of the sunrise we had after a few days of heavy rain here in the North East..
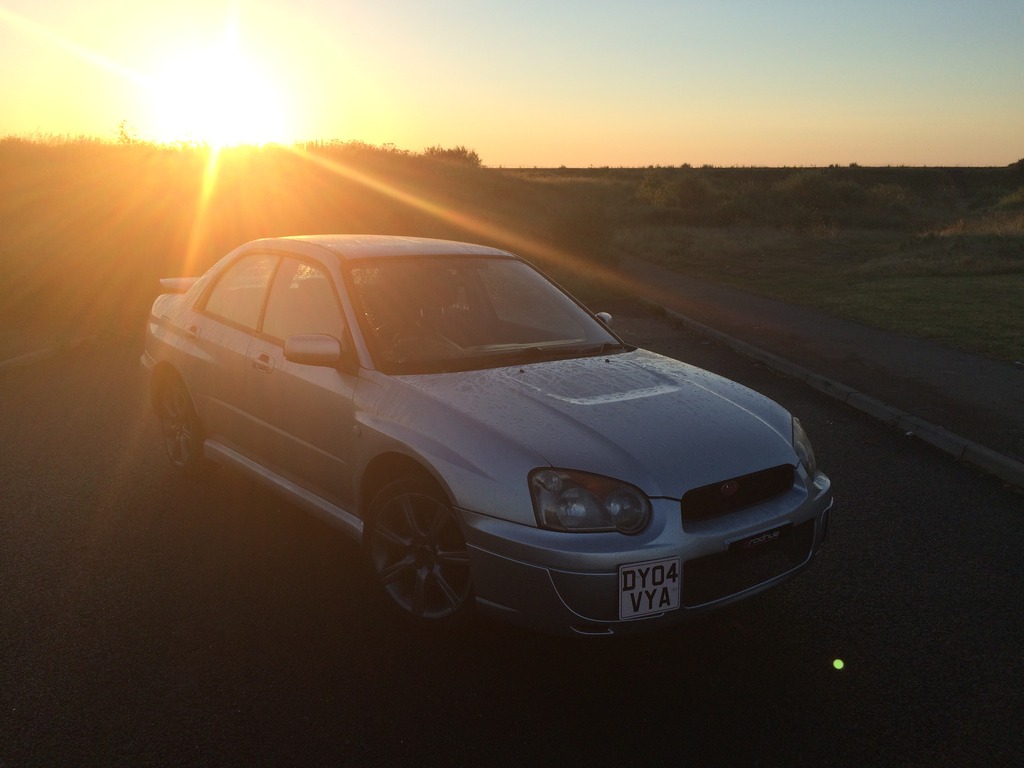

And the full moon..
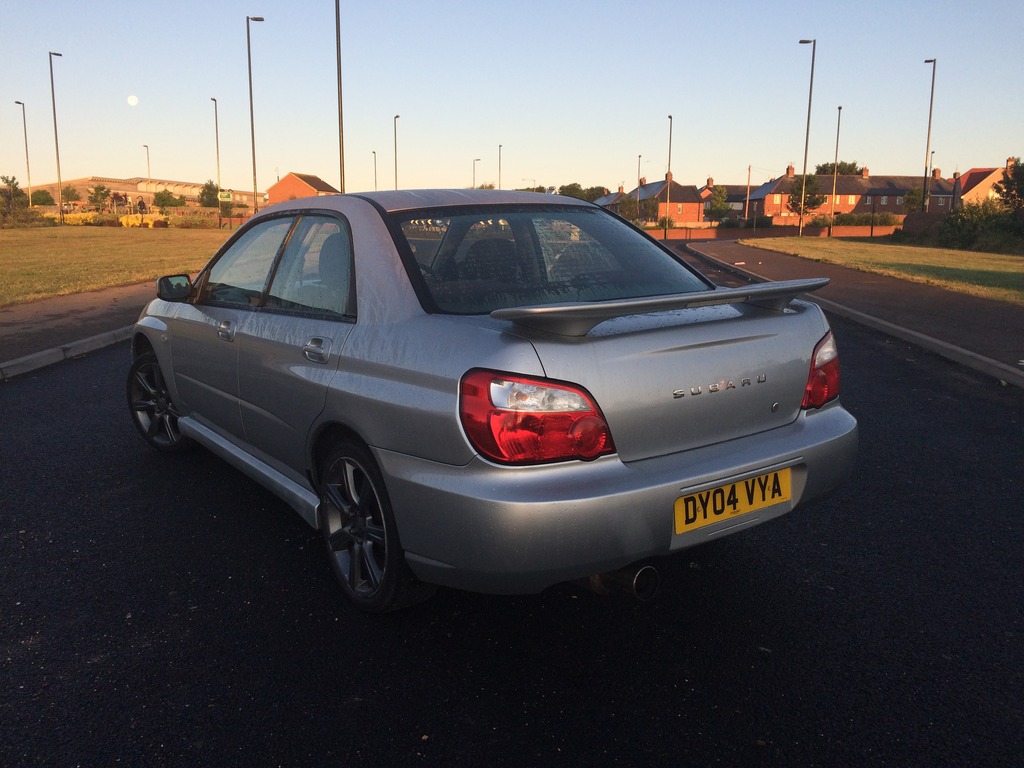


And the full moon..

Last edited by DanGlennon; Jul 3, 2015 at 05:16 PM.

