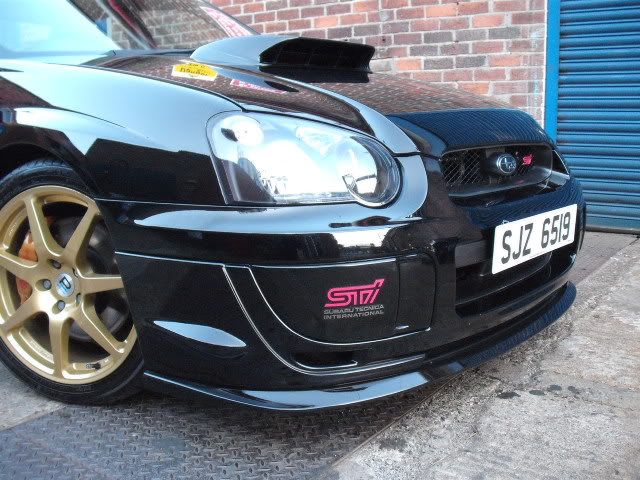
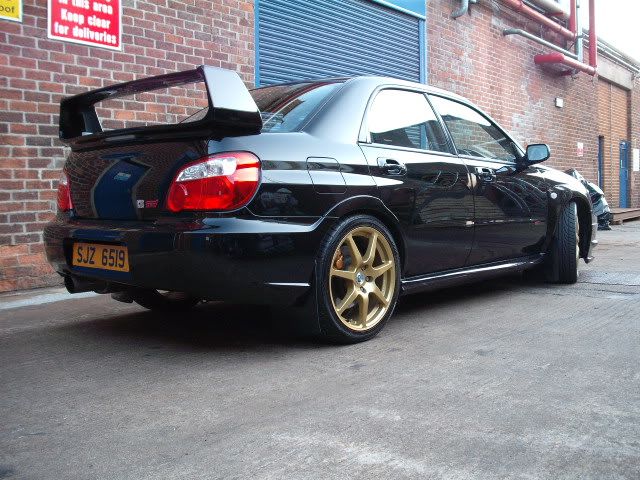
My black 05 STI....
 14 December 2011, 06:08 AM
#1
Scooby Regular
Thread Starter
iTrader: (14)
Join Date: Mar 2007
Posts: 730
Likes: 0
Received 0 Likes
on
0 Posts
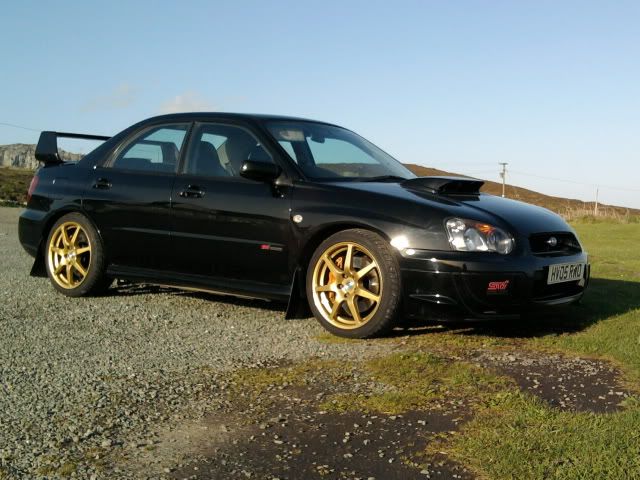
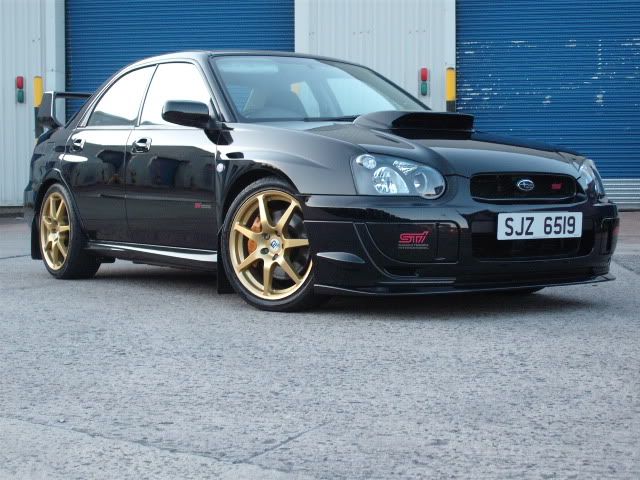
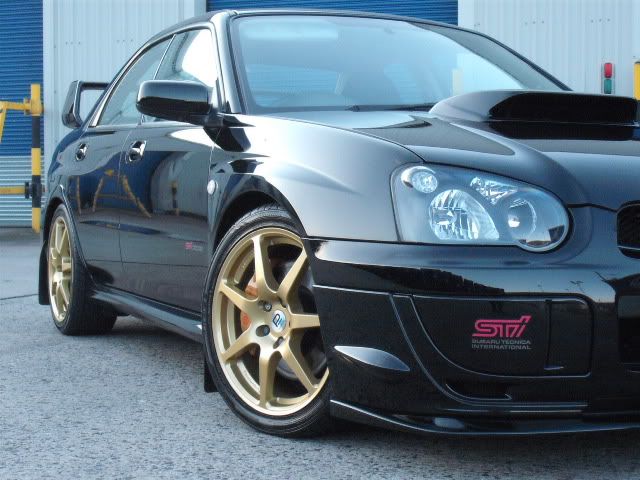
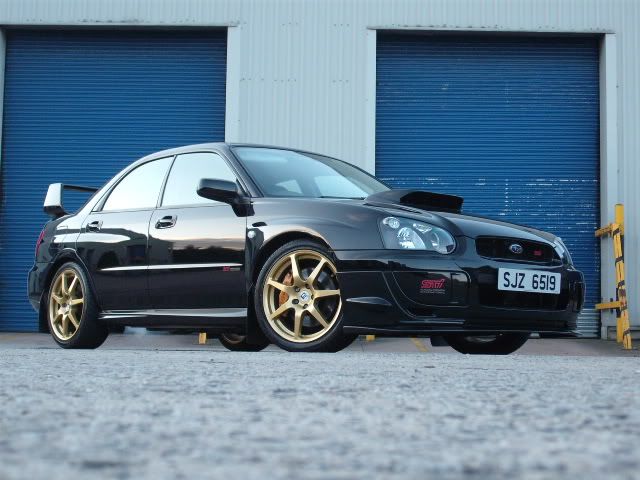
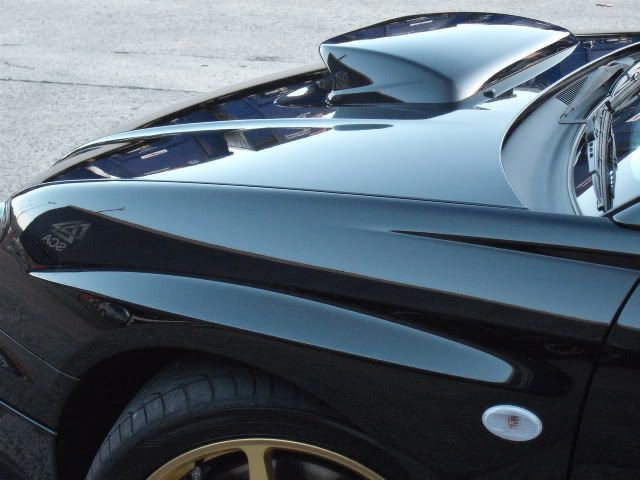
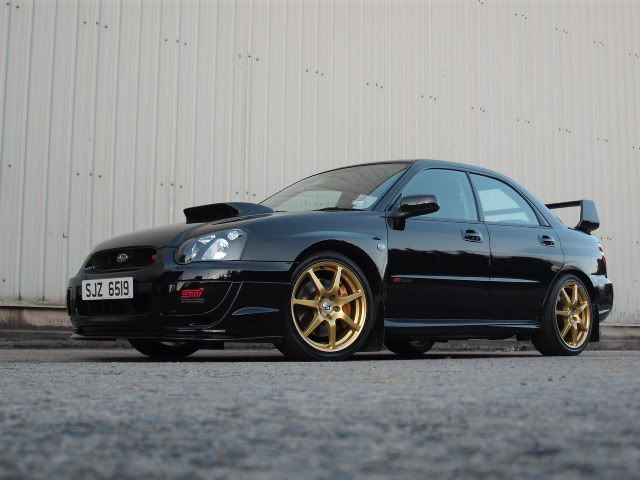
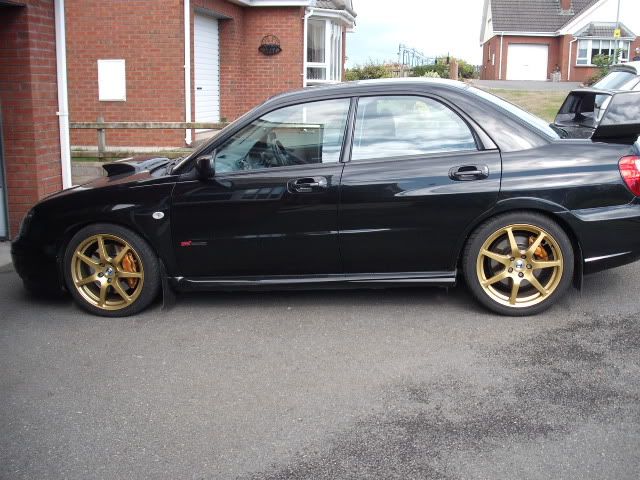
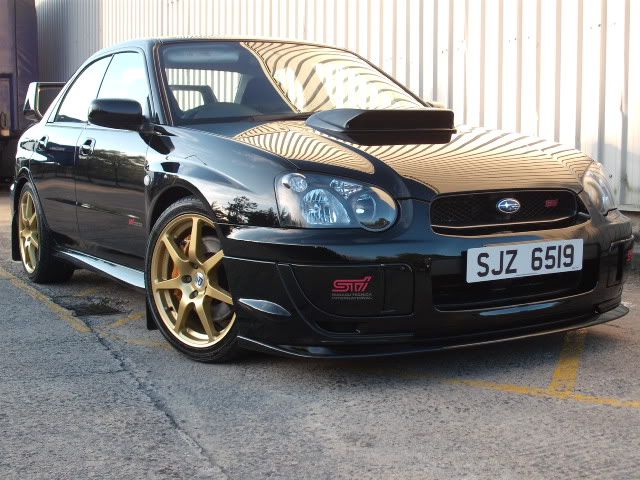
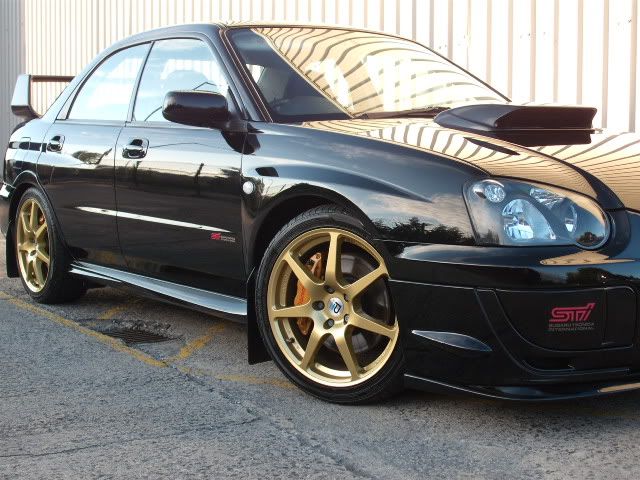
Just realised I had never put any pics of my STI up on site.
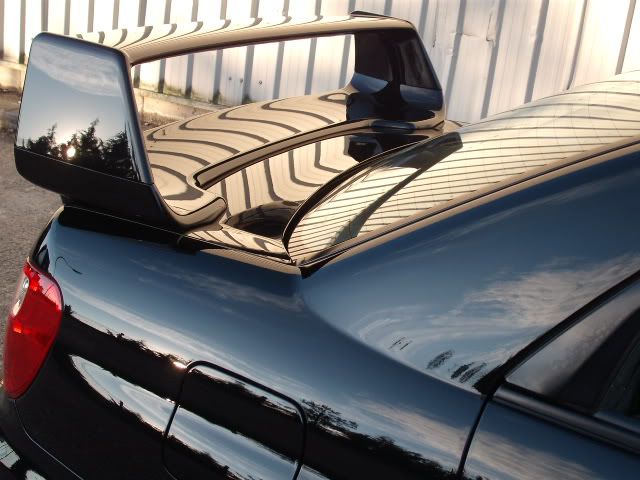
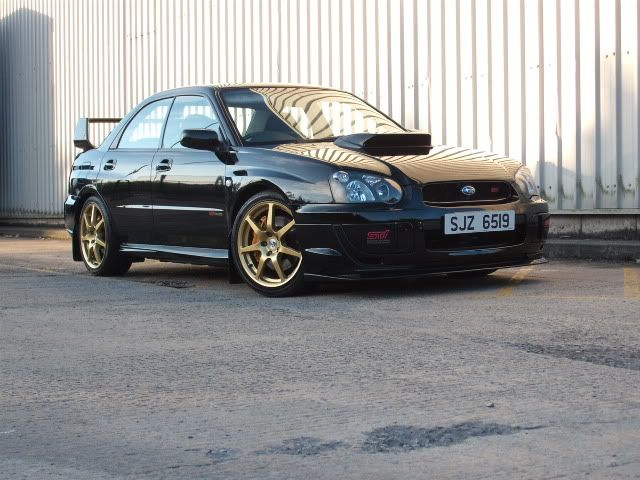
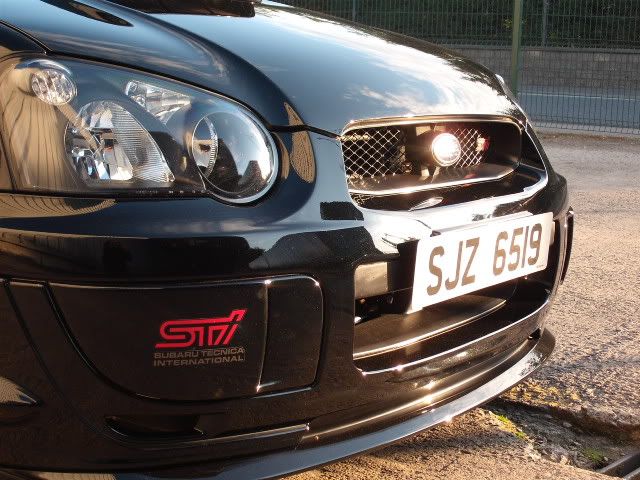
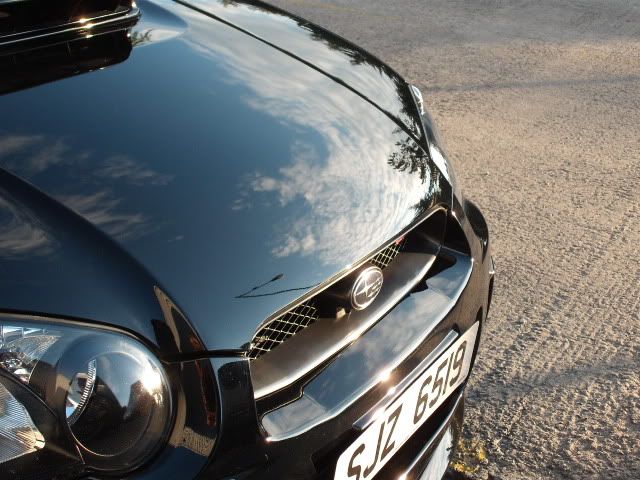
I got it in June, and this is how it looked then.
Quick spec list...
2005 STI Type UK
40,000 miles
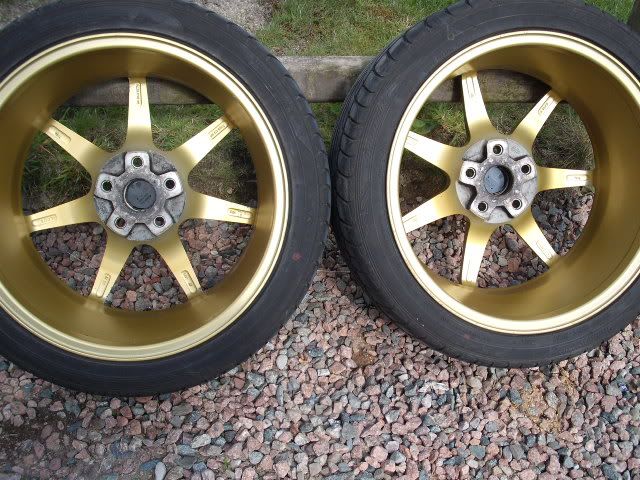
18" PFF7 rims with new Falken 452 tyres
Tein Super Street coilovers
Full Miltek turbo back exhaust, decat downpipe
JGM remap to 330BHP
EBC Yellow stuff brake pads all round
Alpine touch screen DVD
Renegade amplifier
Sony Xplod Sub woofer
And lots of swirls and buffer trails !
I got it in June, and this is how it looked then.
Quick spec list...
2005 STI Type UK
40,000 miles
18" PFF7 rims with new Falken 452 tyres
Tein Super Street coilovers
Full Miltek turbo back exhaust, decat downpipe
JGM remap to 330BHP
EBC Yellow stuff brake pads all round
Alpine touch screen DVD
Renegade amplifier
Sony Xplod Sub woofer
And lots of swirls and buffer trails !
 14 December 2011, 06:09 AM
#2
Scooby Regular
Thread Starter
iTrader: (14)
Join Date: Mar 2007
Posts: 730
Likes: 0
Received 0 Likes
on
0 Posts
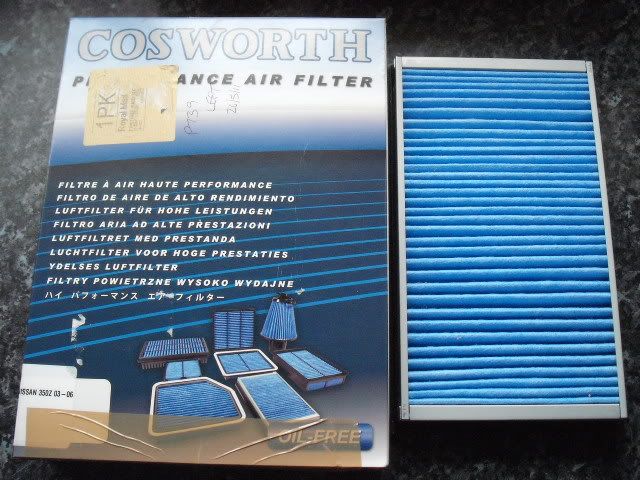
First mod was to fit a new filter. The car had been mapped with a performance filter fitted, but at its last service some bright spark binned it and replaced it with a standard one, so a Cosworth panel filter was bought and fitted.
 14 December 2011, 06:10 AM
#4
Scooby Regular
Thread Starter
iTrader: (14)
Join Date: Mar 2007
Posts: 730
Likes: 0
Received 0 Likes
on
0 Posts
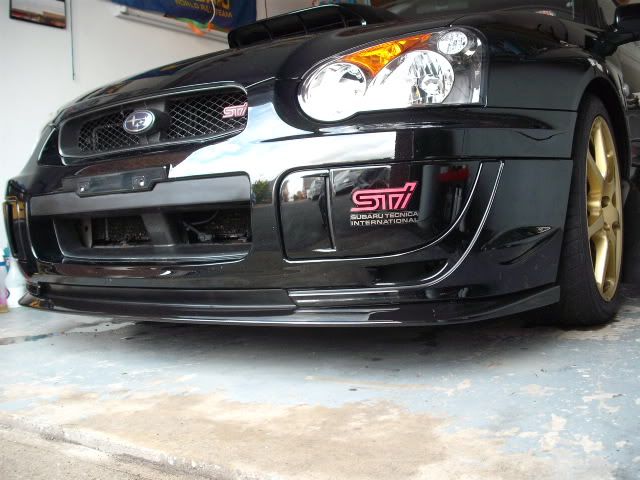
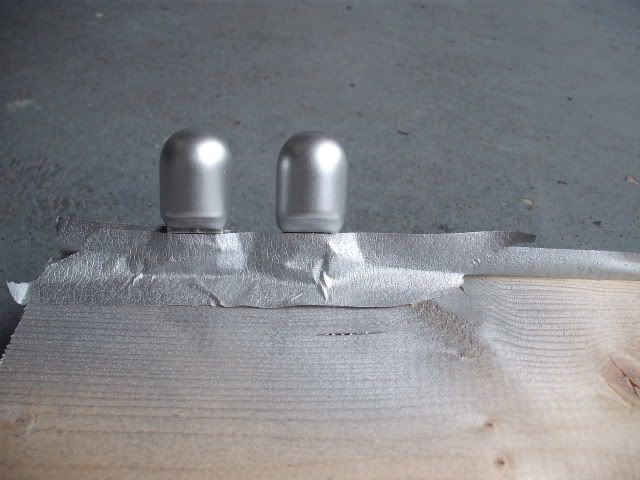
Next on the list was to remove the rear orange indicator bulbs. As I only have 1 set of Silvatec bulbs I will be using them on the front I decided to remove the bulbs and use some chrome spray on them. Turned out OK, it was only meant to be a temporary measure but I think they'll be staying like that.
Sprayed
Refitted
Sprayed
Refitted
14 December 2011, 06:12 AM
#5
Scooby Regular
Thread Starter
iTrader: (14)
Join Date: Mar 2007
Posts: 730
Likes: 0
Received 0 Likes
on
0 Posts
After about a month I managed to get round to correcting the paint work on the whole car.
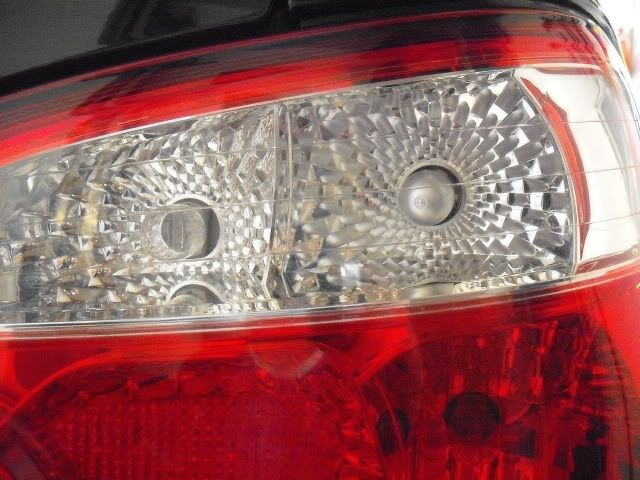
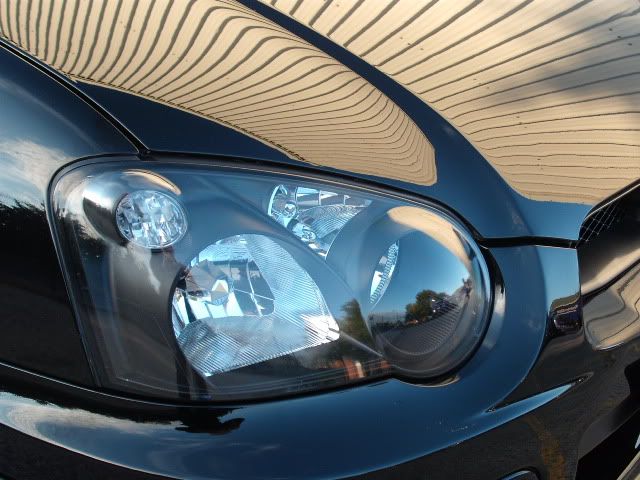
Here's some pics I took just after it was detailed and headlights de-tangoed.
Headlights de-tangoed and de-swirled
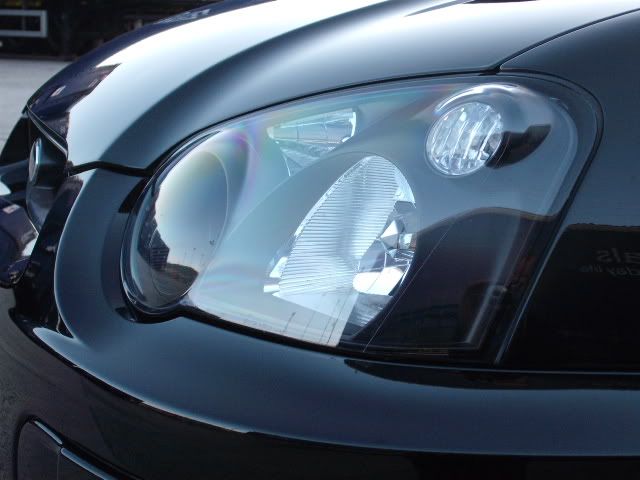

Here's some pics I took just after it was detailed and headlights de-tangoed.
Headlights de-tangoed and de-swirled
14 December 2011, 06:17 AM
#6
Scooby Regular
Thread Starter
iTrader: (14)
Join Date: Mar 2007
Posts: 730
Likes: 0
Received 0 Likes
on
0 Posts
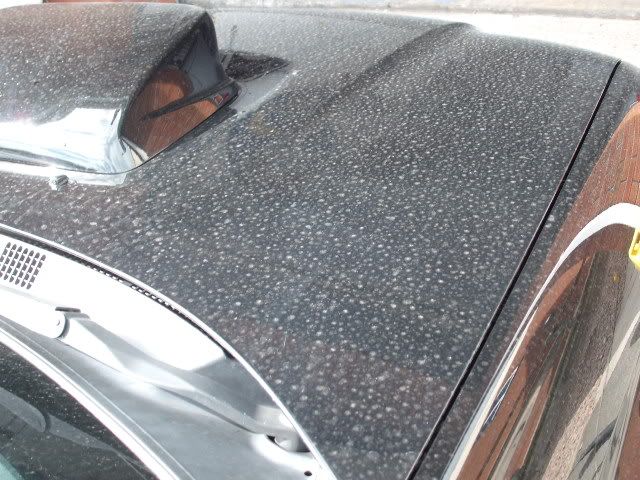
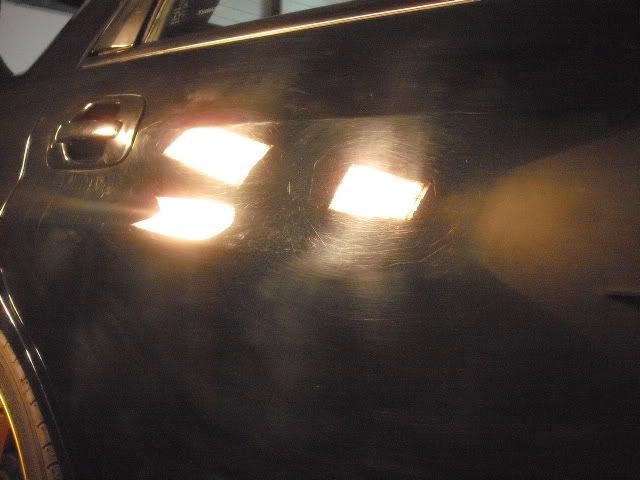
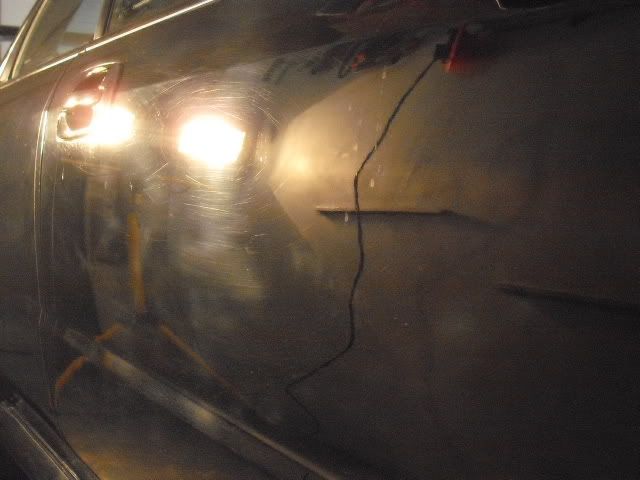
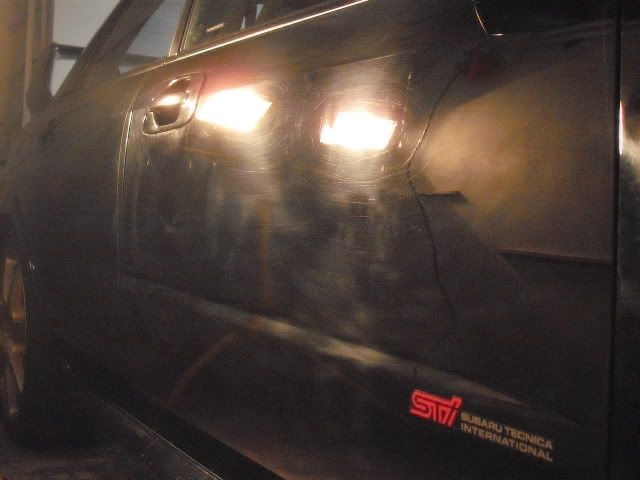
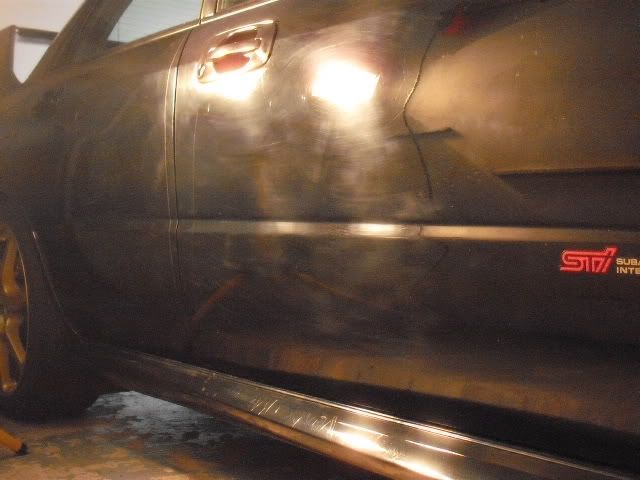
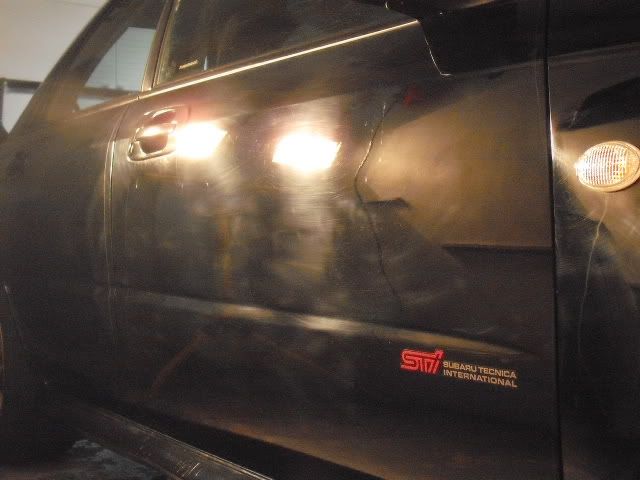
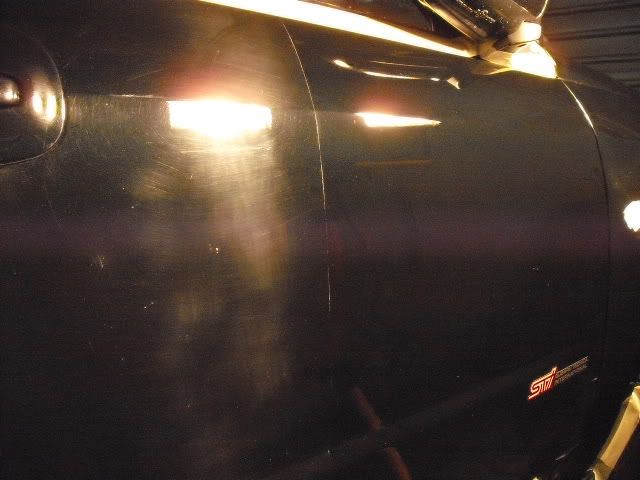
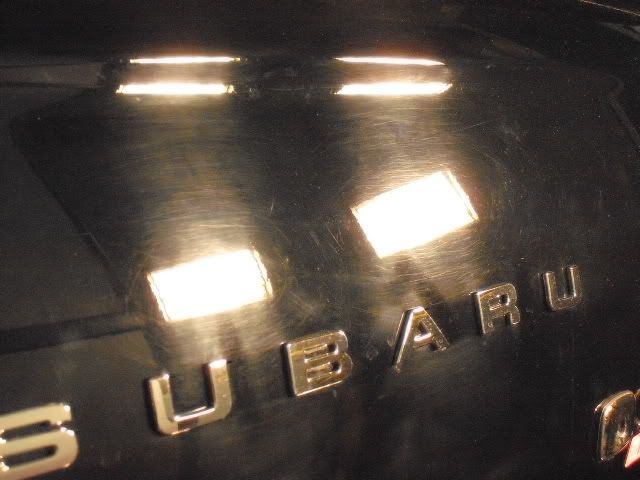
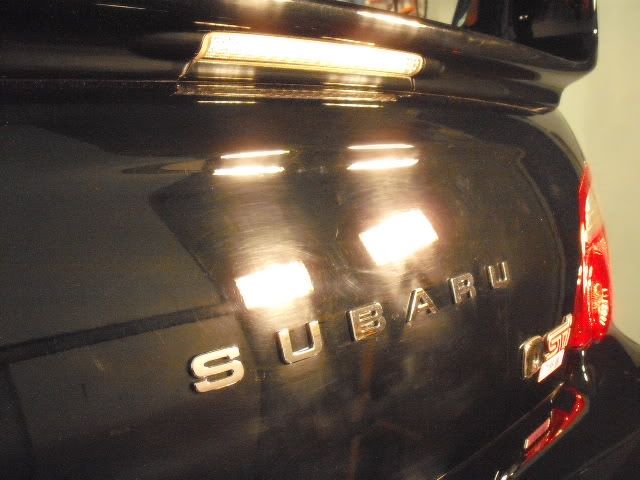
Sorry if this is a bit **** about face but heres some pics of before during and after it was detailed
I'm almost embarassed to post up some of these pics as the car looks so bad, covered in swirls and black polish .
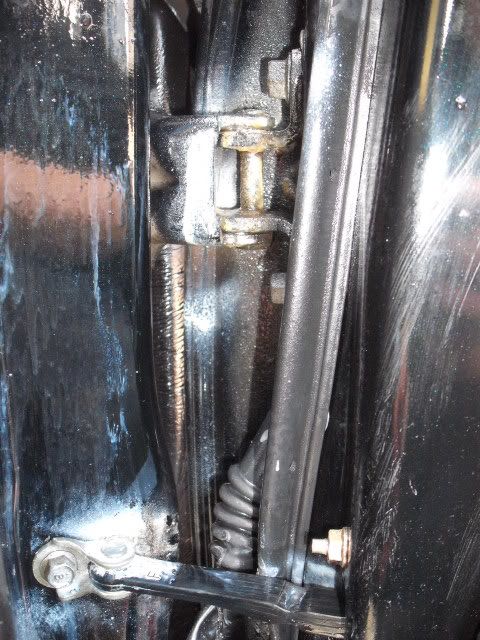
First up in the cleaning process was to spend a few hours getting rid of the black polish residue in all the panel gaps, trim lines, door handles etc. After that I had to remove all the grease from the door shuts, I know that door hinges require some lubrication but definitely not as much grease as had been thrown a these.
Sprayed with Tardis several times and rubbed with a brush, eventually powerhosed off
The bodywork was then washed with the Karcher pressure washer and foam attachment and soaked with Meguiars Hyper wash.
Wheels were cleaned with Autosmart Smart wheels and Tardis to remove any tar, trim lines, badges,panel gaps etc cleaned with G101 and a detailing brush to remove any old polish or dirt trapped along edges.
Car was dried and de-tarred, it was then then sprayed with fallout remover and brushed, then hosed off panel by panel, then clayed with Bilt Hamber soft clay, then washed down again and dried off.
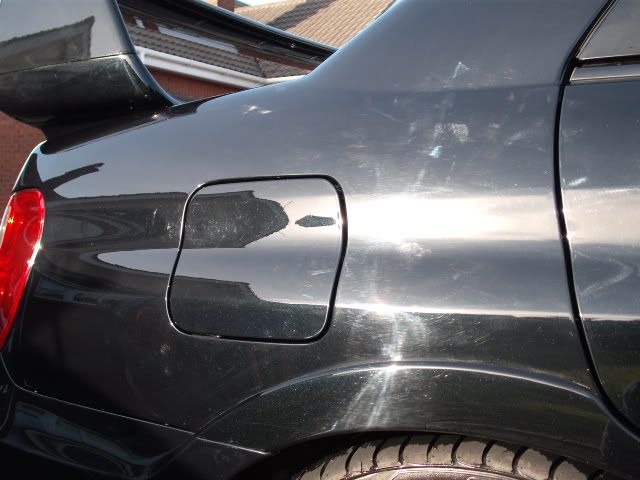
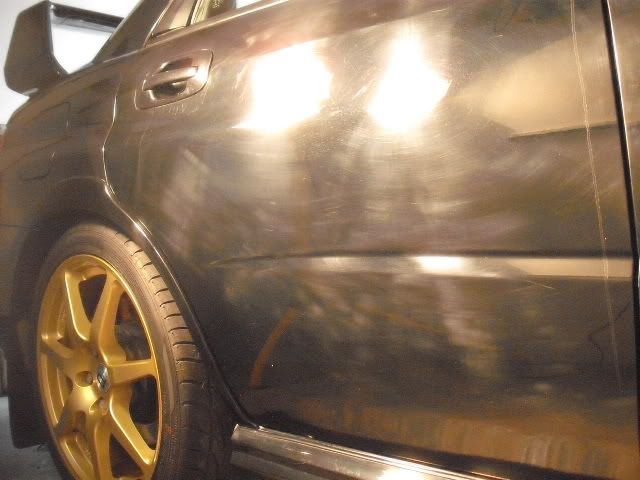
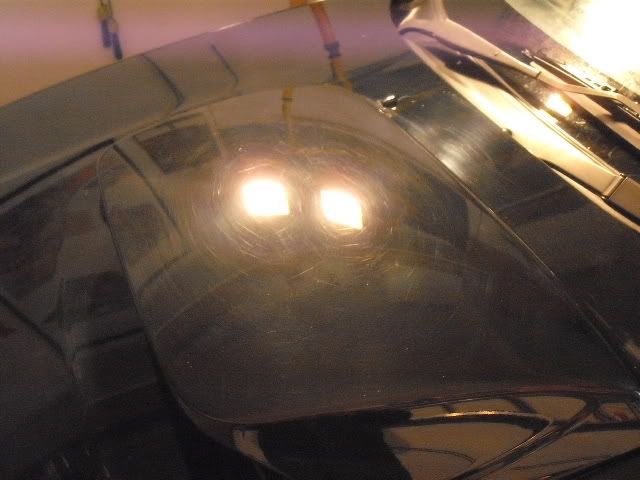
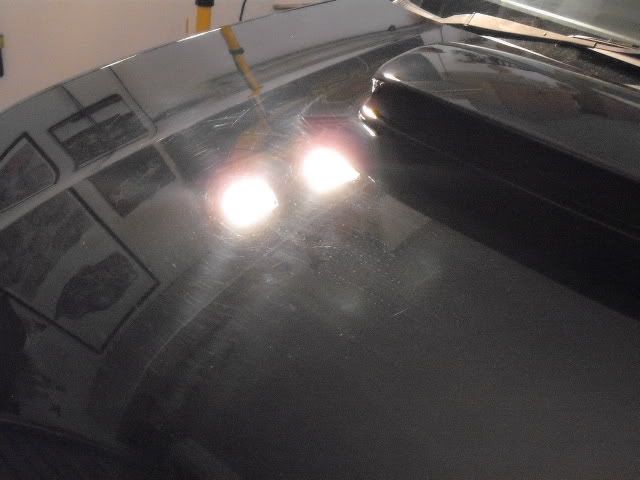
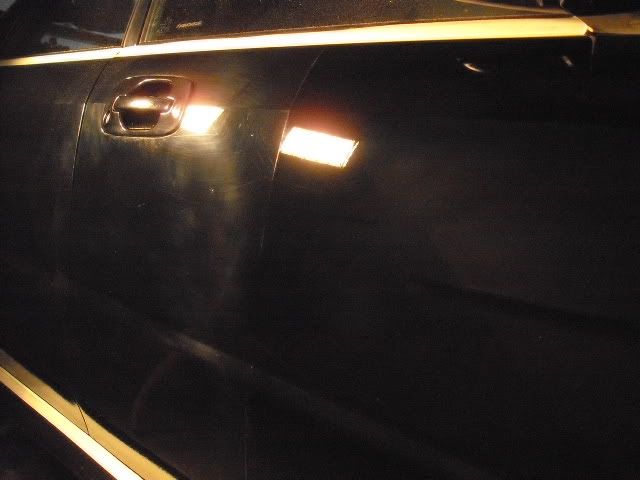
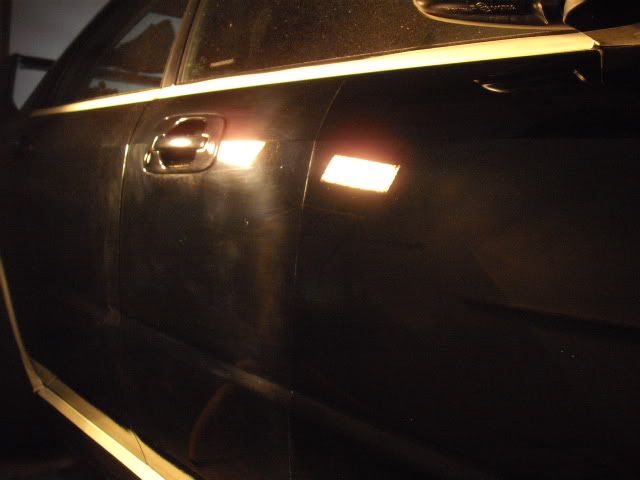
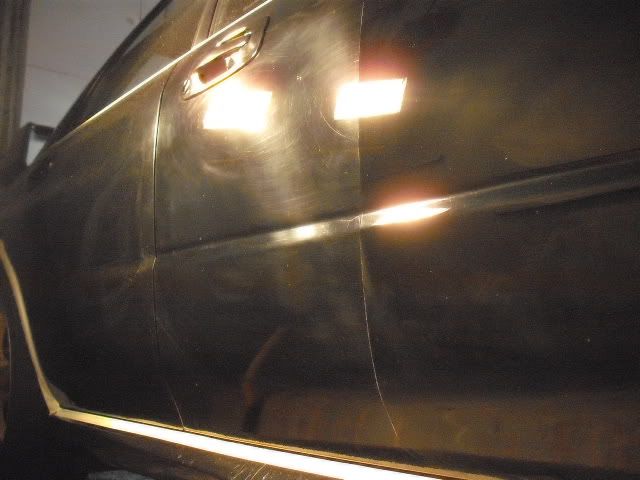
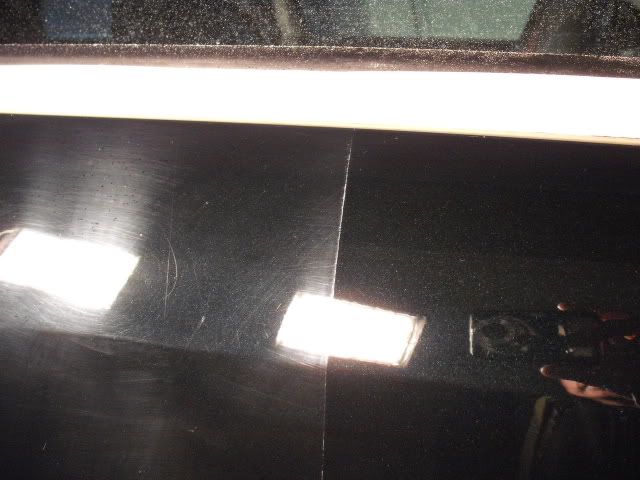
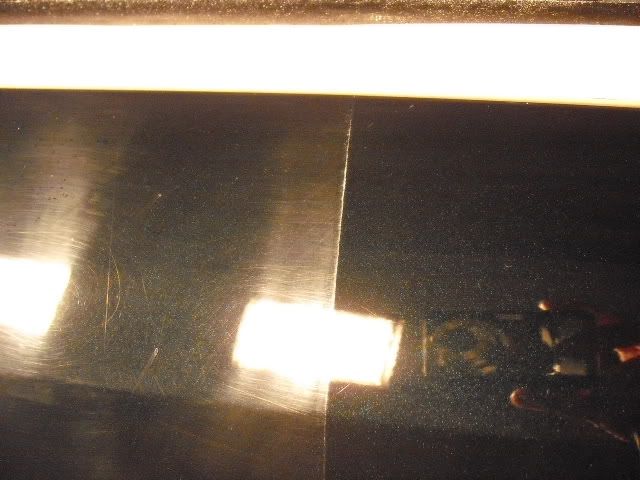
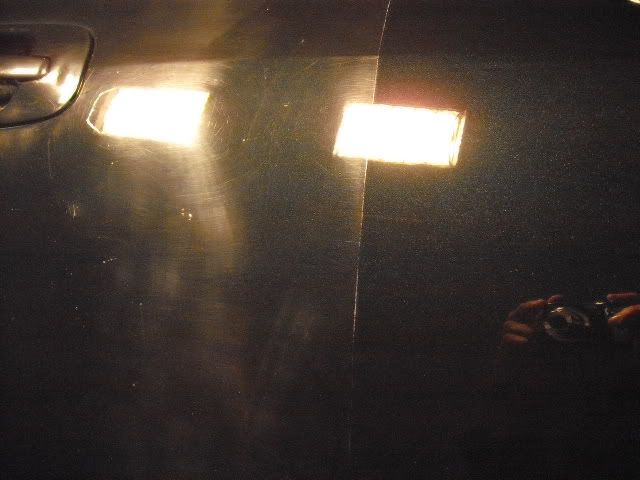
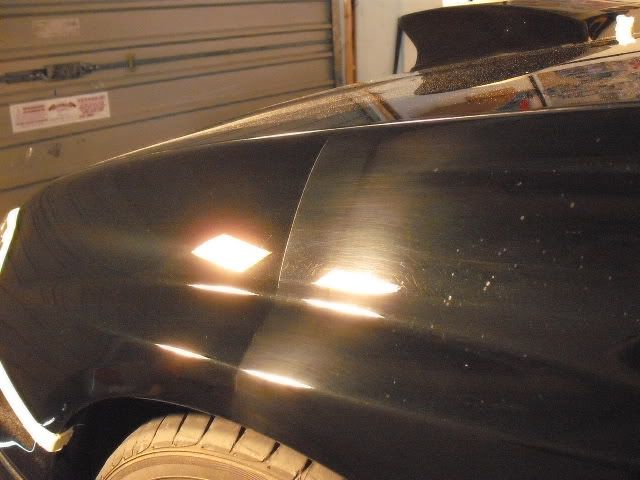
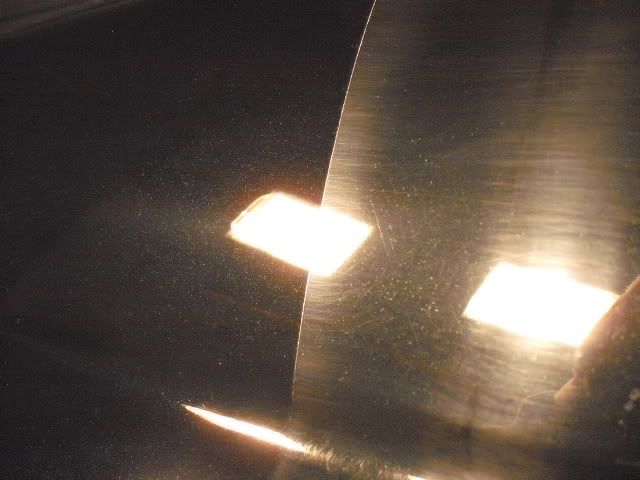
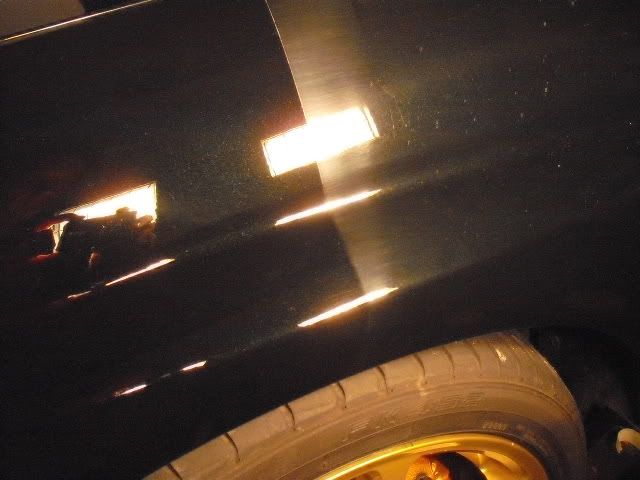
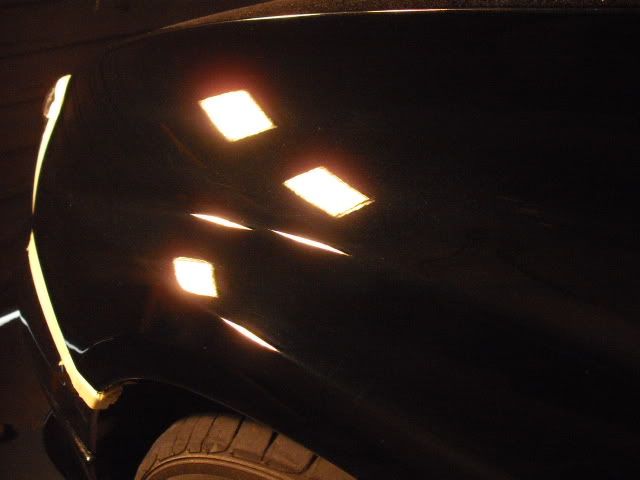
Both sides of the car appear quite badly marred, the bonnet,front and back bumpers, roof and bootlid are not as badly swirled.
I still haven't figured out the wash techniques employed by the previous owners ?
These pics were taken after washing, de-tarring and claying to remove any waxes, polishes and protection.
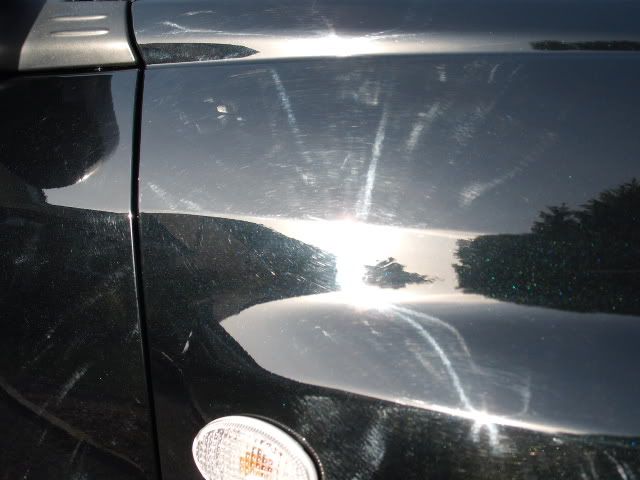

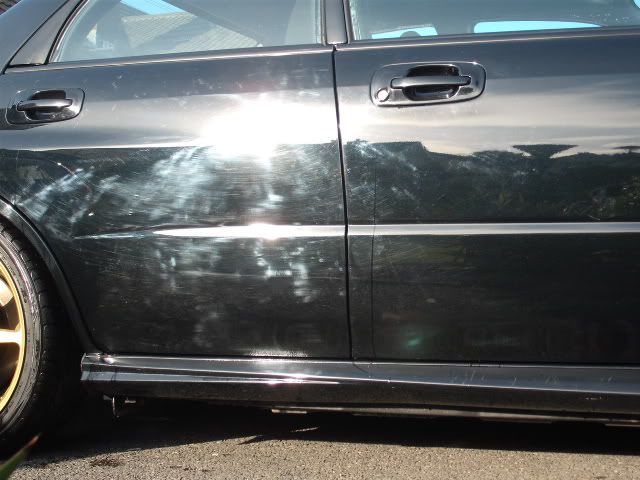
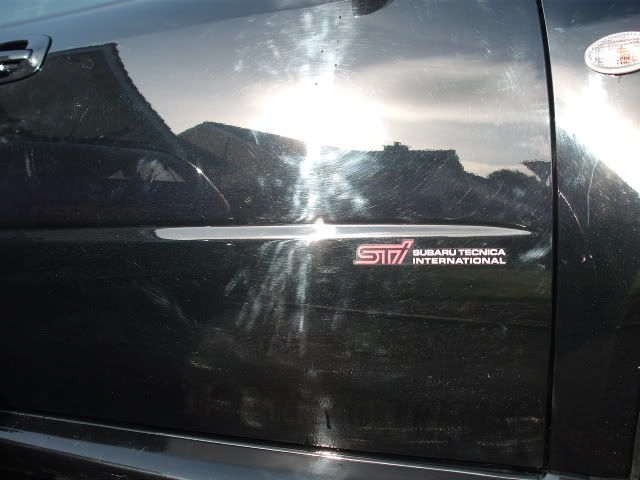
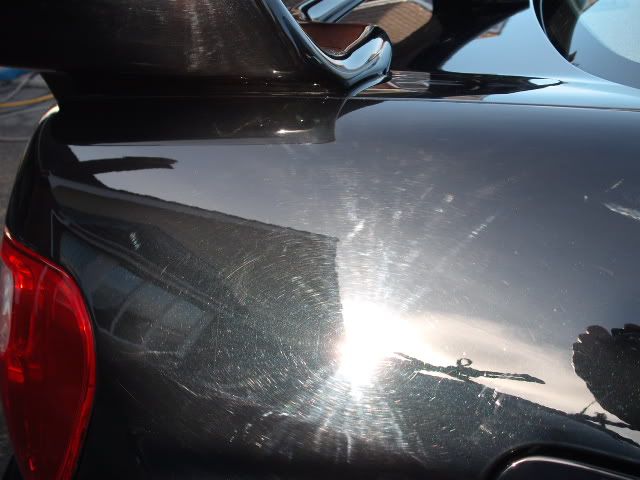
Some lovely pics taken under halogen lights.
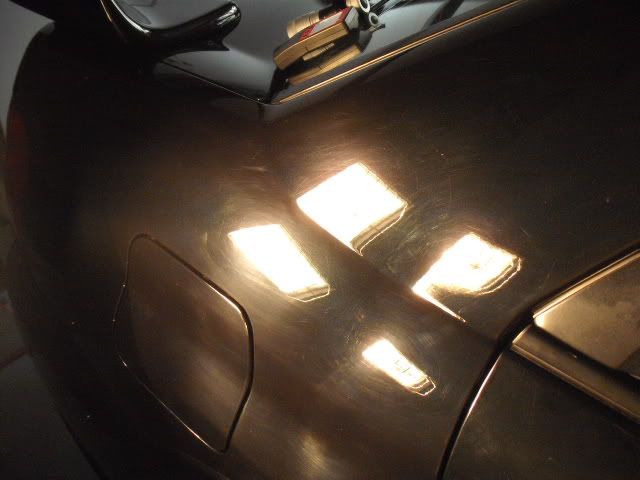
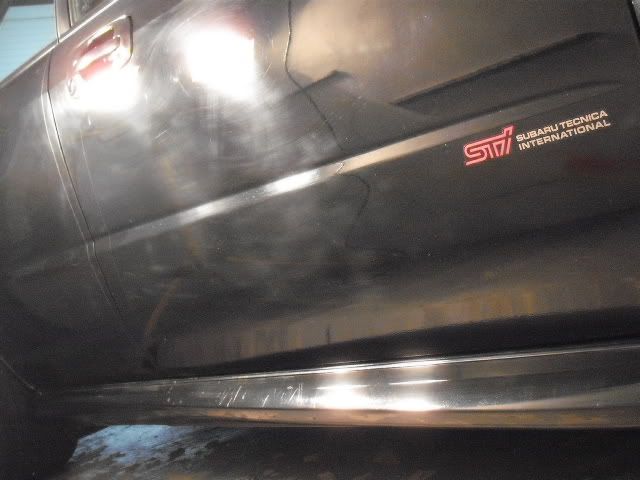
Side skirts were pretty badly scratched

On the bonnet.
I'm almost embarassed to post up some of these pics as the car looks so bad, covered in swirls and black polish .
First up in the cleaning process was to spend a few hours getting rid of the black polish residue in all the panel gaps, trim lines, door handles etc. After that I had to remove all the grease from the door shuts, I know that door hinges require some lubrication but definitely not as much grease as had been thrown a these.
Sprayed with Tardis several times and rubbed with a brush, eventually powerhosed off
The bodywork was then washed with the Karcher pressure washer and foam attachment and soaked with Meguiars Hyper wash.
Wheels were cleaned with Autosmart Smart wheels and Tardis to remove any tar, trim lines, badges,panel gaps etc cleaned with G101 and a detailing brush to remove any old polish or dirt trapped along edges.
Car was dried and de-tarred, it was then then sprayed with fallout remover and brushed, then hosed off panel by panel, then clayed with Bilt Hamber soft clay, then washed down again and dried off.
Both sides of the car appear quite badly marred, the bonnet,front and back bumpers, roof and bootlid are not as badly swirled.
I still haven't figured out the wash techniques employed by the previous owners ?
These pics were taken after washing, de-tarring and claying to remove any waxes, polishes and protection.
Some lovely pics taken under halogen lights.
Side skirts were pretty badly scratched
On the bonnet.
14 December 2011, 06:18 AM
#7
Scooby Regular
Thread Starter
iTrader: (14)
Join Date: Mar 2007
Posts: 730
Likes: 0
Received 0 Likes
on
0 Posts
The paintwork correction
Makita polisher for paint correction
Kestrel DAS polisher for correction,applying glaze and sealant
Compound - Menzerna PO203s used on 3M yellow pad
Polish - Menzerna (PO106FA)
3M yellow compounding pad
3M blue polish pad
3M spot pad(yellow and blue for concentrated scratch removal)
Few more pics during paint correction
All the 50/50 pics were taken before the panel was finished off with Menzerna PO106FA
Trending Topics
14 December 2011, 06:19 AM
#8
Scooby Regular
Thread Starter
iTrader: (14)
Join Date: Mar 2007
Posts: 730
Likes: 0
Received 0 Likes
on
0 Posts
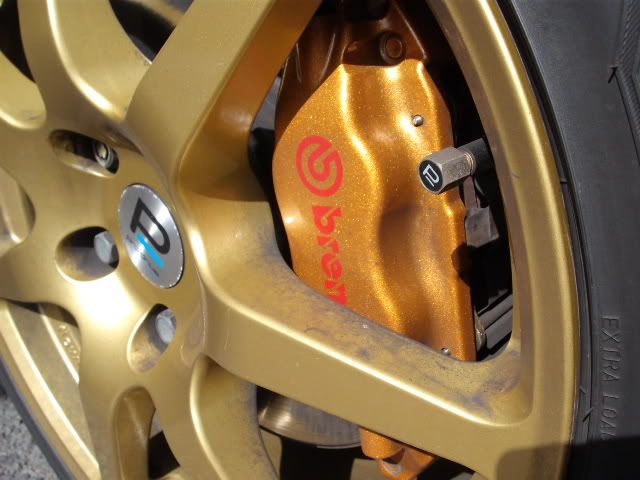
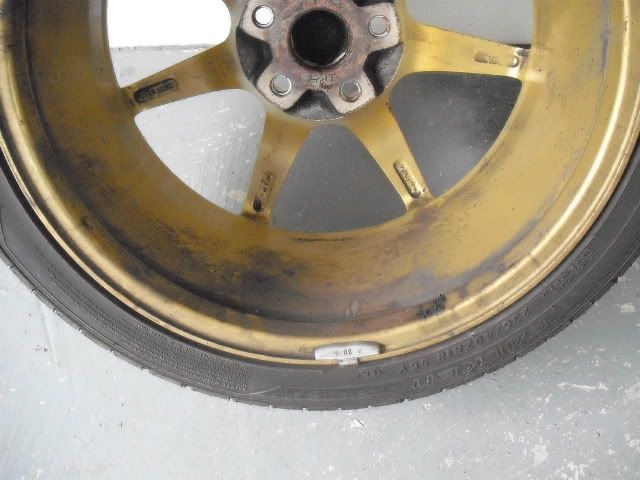
After the paintwork was sorted I spent a bit of time on the rims and arches.
Rims removed, arches sprayed with G101, brushed and hosed off.
Suspension arms G101'd, de-tarred and sprayed with Ali shine, brushed in and hosed off.
Tein coilovers sprayed with G101 and brushed then hosed
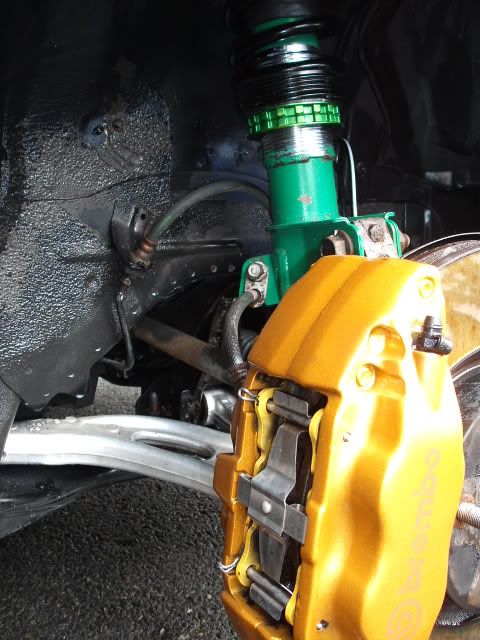
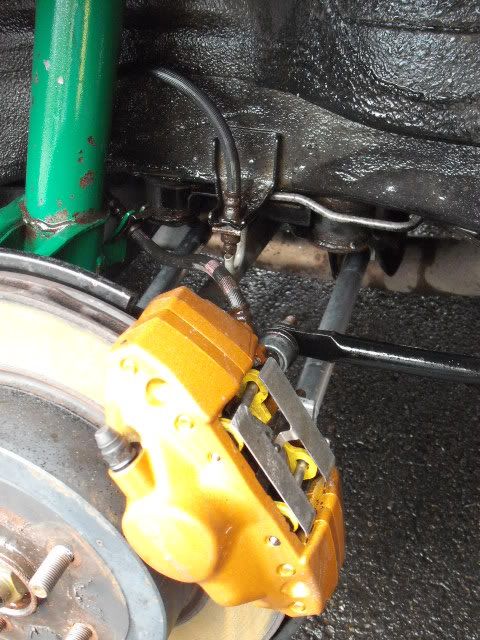
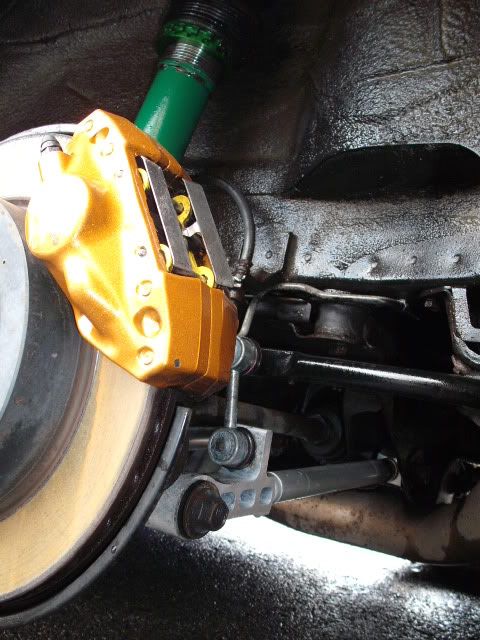
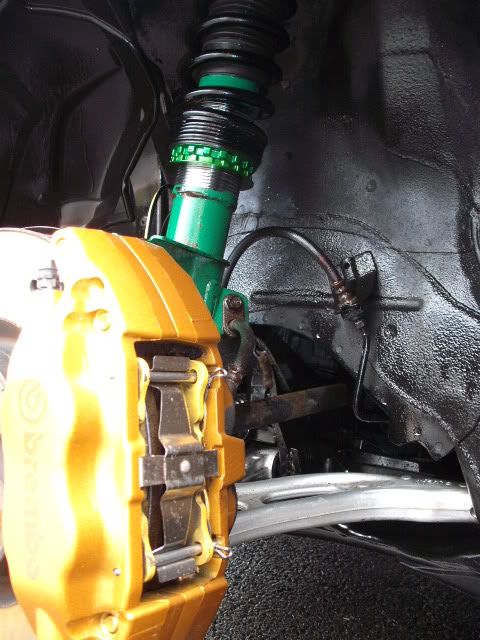
Brembo calipers sprayed with Smartwheels
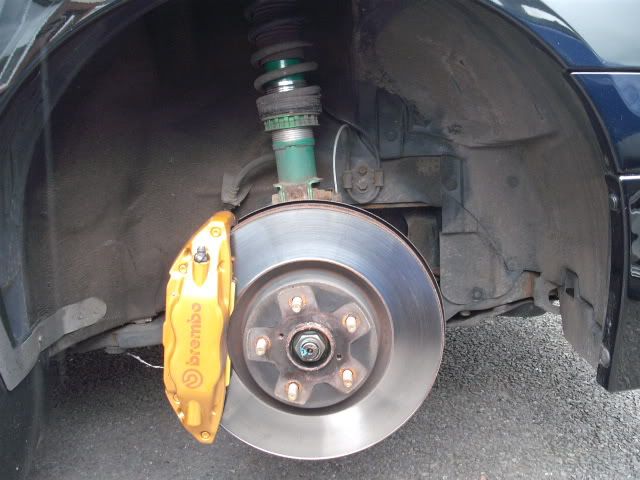
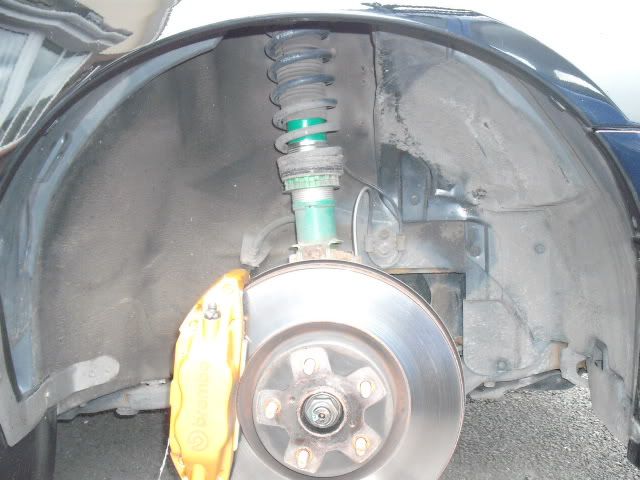
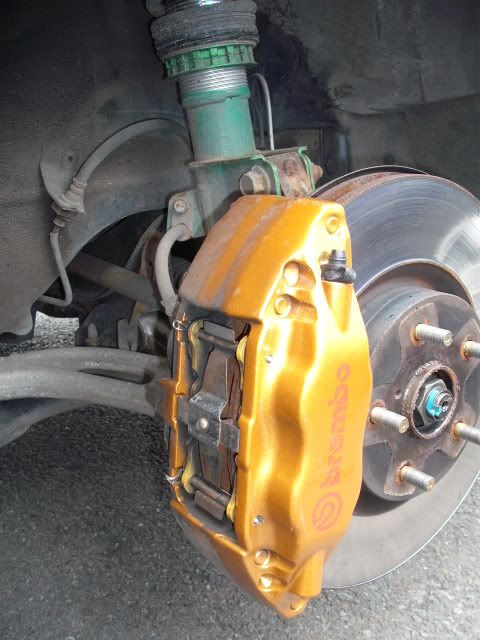
Rims cleaned with Smartwheels
Arches dressed with Finish on one side and Trim Ultra on the other ( I just wanted t see which lasts longest and is easiest kept clean)
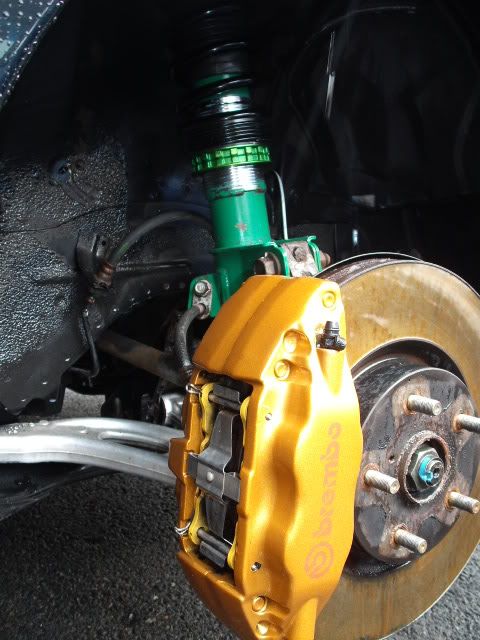
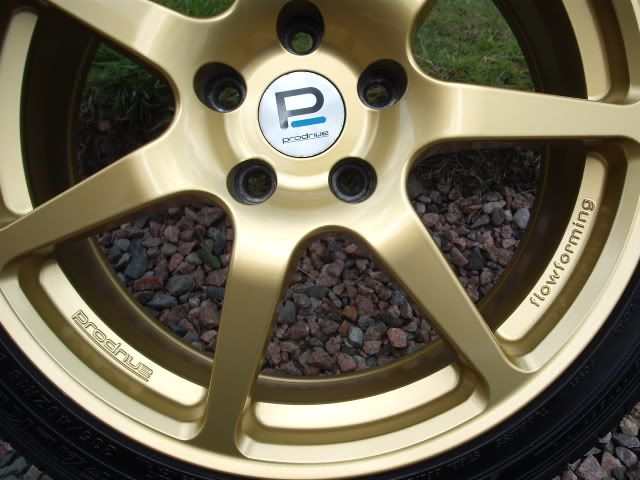
Rims cleaned,polished and then waxed with Collinite 476s.
Tyres dressed with Trim Wizard.
Rims removed, arches sprayed with G101, brushed and hosed off.
Suspension arms G101'd, de-tarred and sprayed with Ali shine, brushed in and hosed off.
Tein coilovers sprayed with G101 and brushed then hosed
Brembo calipers sprayed with Smartwheels
Rims cleaned with Smartwheels
Arches dressed with Finish on one side and Trim Ultra on the other ( I just wanted t see which lasts longest and is easiest kept clean)
Rims cleaned,polished and then waxed with Collinite 476s.
Tyres dressed with Trim Wizard.


 15 December 2011, 12:16 AM
#24
Scooby Regular
Thread Starter
iTrader: (14)
Join Date: Mar 2007
Posts: 730
Likes: 0
Received 0 Likes
on
0 Posts
Thanks for all the comments lads.
When I picked the car up I knew there was quite a lot of swirls, but it becomes clearer just how severe they are when any old polish and wax protection is removed. The halogen lamps always make them look worse as well
When I picked the car up I knew there was quite a lot of swirls, but it becomes clearer just how severe they are when any old polish and wax protection is removed. The halogen lamps always make them look worse as well
15 December 2011, 12:18 AM
#25
Scooby Regular
Thread Starter
iTrader: (14)
Join Date: Mar 2007
Posts: 730
Likes: 0
Received 0 Likes
on
0 Posts
I havent been on DW for a while now, I found that I was reading about too many "must have" products and thinking that I needed them when I already had something that would do the job equally as well.
I'd rather use the products I know and get the best out of them.
15 December 2011, 12:26 AM
#28
Scooby Regular
Thread Starter
iTrader: (14)
Join Date: Mar 2007
Posts: 730
Likes: 0
Received 0 Likes
on
0 Posts
Yep, detailing it was easy, keeping it like that is the hard bit.
Since the pics were taken in the summer I've been busy changing things a bit.
I put on a new set of Rota's
Removed the Milltek and put on a Blitz Nur Spec
Changed the colour of the calipers
pics to follow
Since the pics were taken in the summer I've been busy changing things a bit.
I put on a new set of Rota's
Removed the Milltek and put on a Blitz Nur Spec
Changed the colour of the calipers
pics to follow
15 December 2011, 01:32 AM
#29
Scooby Regular
iTrader: (3)

Join Date: Jan 2004
Location: Carrick
Posts: 977
Likes: 0
Received 0 Likes
on
0 Posts
Love it.....have never seen a car of Geoff's turned out anything less than 100%
The before and after pics are just testament to what a little product knowledge and time can do to a car
The before and after pics are just testament to what a little product knowledge and time can do to a car