New version HVAC Led mod
 13 January 2014, 08:12 PM
#1
Scooby Regular
Thread Starter

Join Date: Apr 2013
Location: Suffolk
Posts: 38
Likes: 0
Received 0 Likes
on
0 Posts
Wasn't entirely sure whether this goes in lighting or interior so meh chucked it in here.
Last year bought a HVAC unit out of one of the newer Subarus with a view to upgrade the rather old and tired looking controls for that over my standard ones.
So made the old one blue last year....
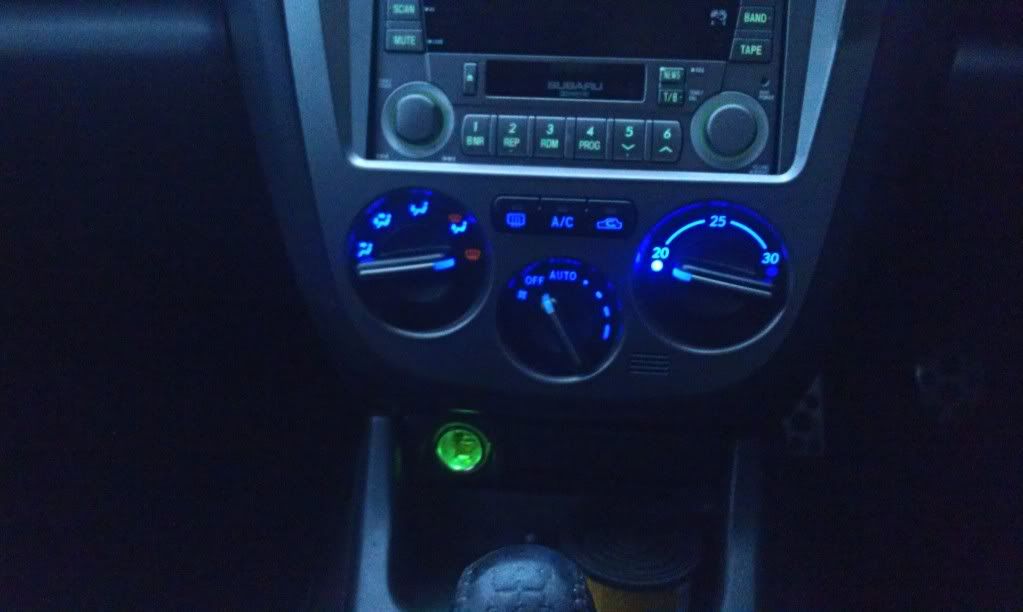
Now finally decided to see what was what with the new style one. Found a few "tutorials" on YouTube going on about drilling and adding wires etc etc. Yet I could see the "standard" leds lying at the bottom and decided to just replace hose. There is also a slight flaw with using the method below in my view....
As you can get too much light on a certain piece of the dial and it looks **** pretty much.
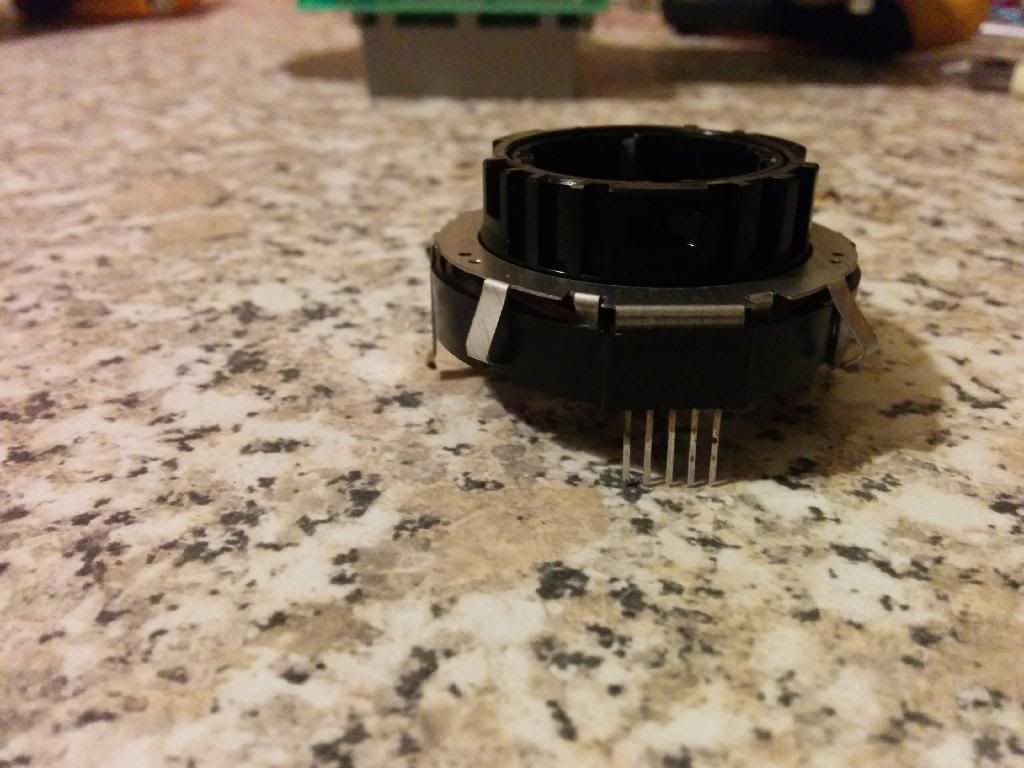
So stripped the unit down and used wide angle leds to try and show this..
Doesn't really show in the pictures but you get intensity spots at certain points where you put the leaded LEDS. i like a nice smooth colour so wasnt happy with that.
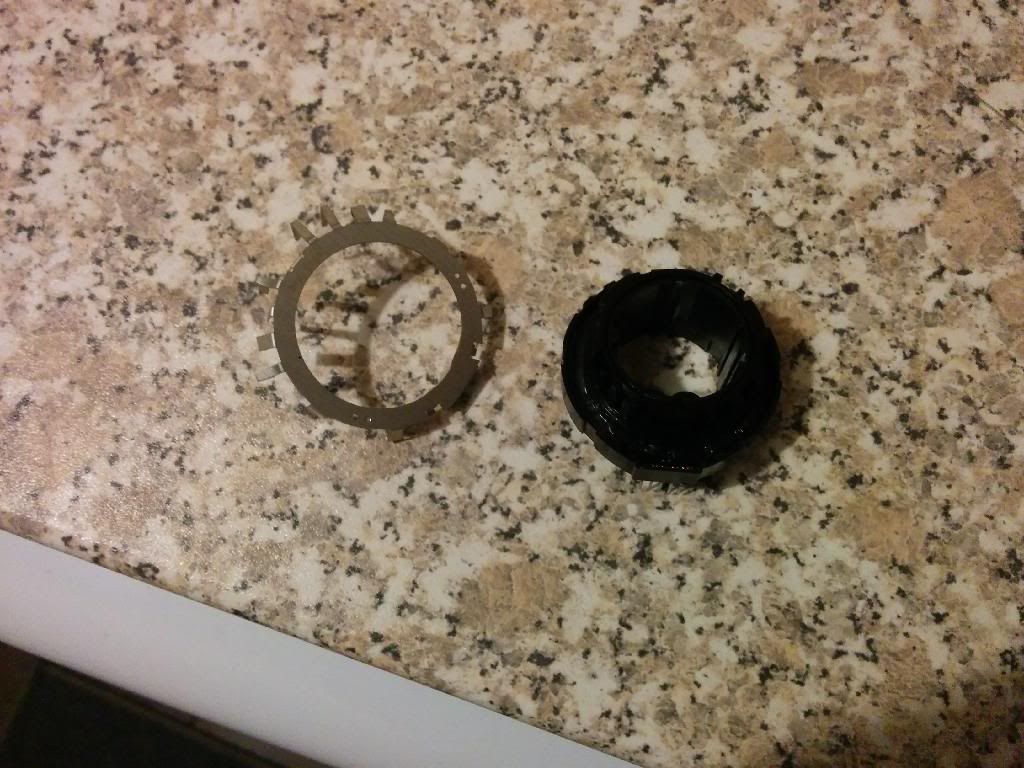
Onto the stripping to reveal the LEDs. I must state I removed the switch on this as im fairly comfortable with my soldering (considering I do it day in day out)
Ahhh hello little PLCC-4 Leds...
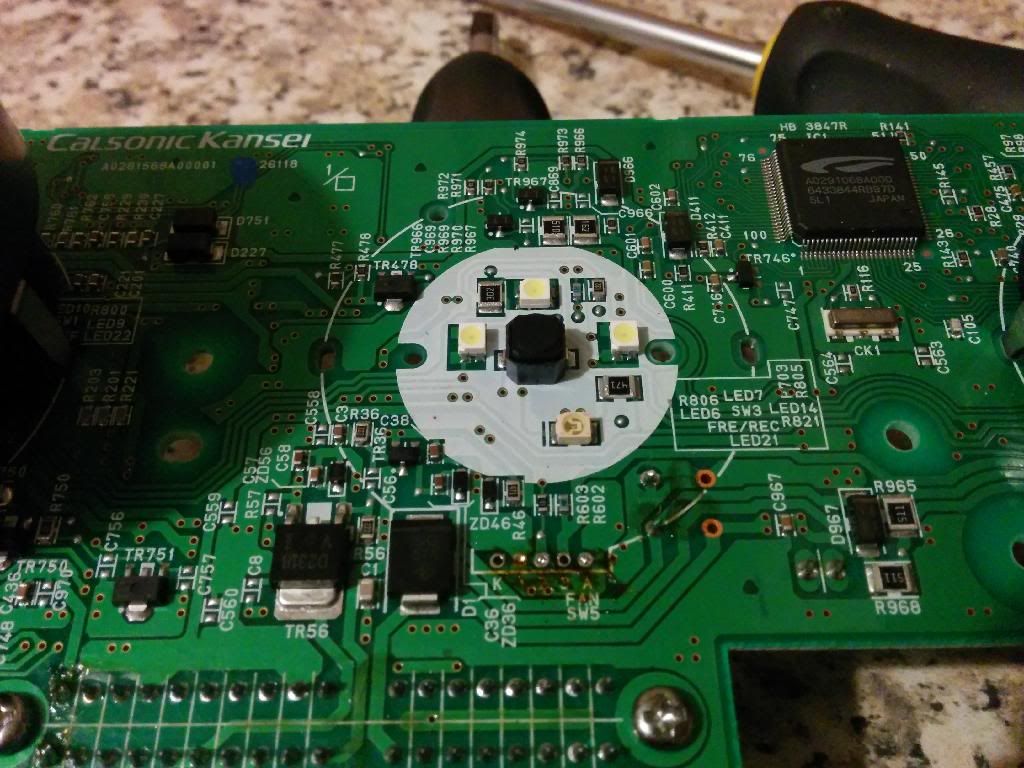
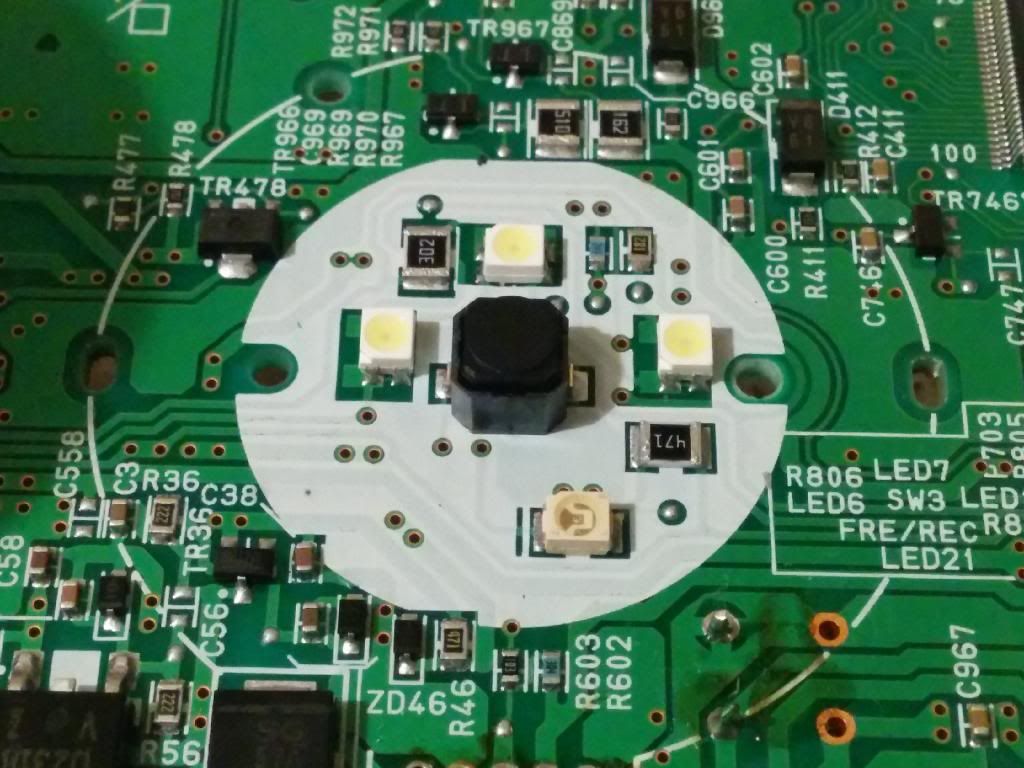
The 3 leds at the top are just normal white leds, so these are to be replaced with Blue ones. The LED by itself down the bottom is the centre indicator LED on the switch and is orange by default...this will be changed to White.
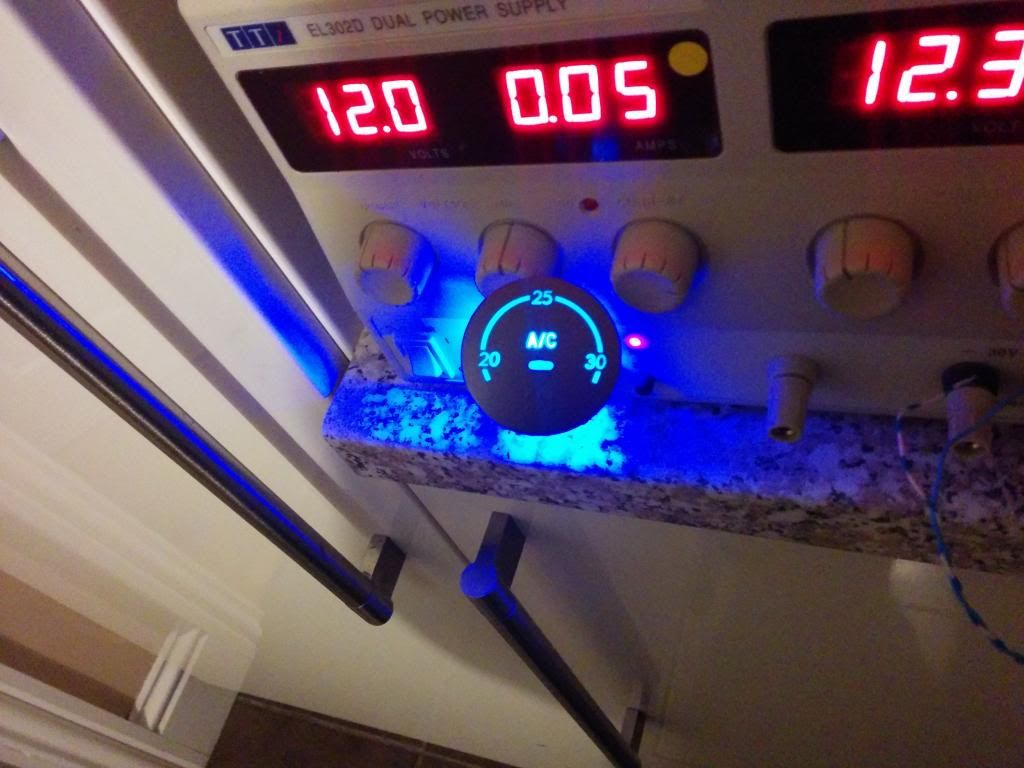
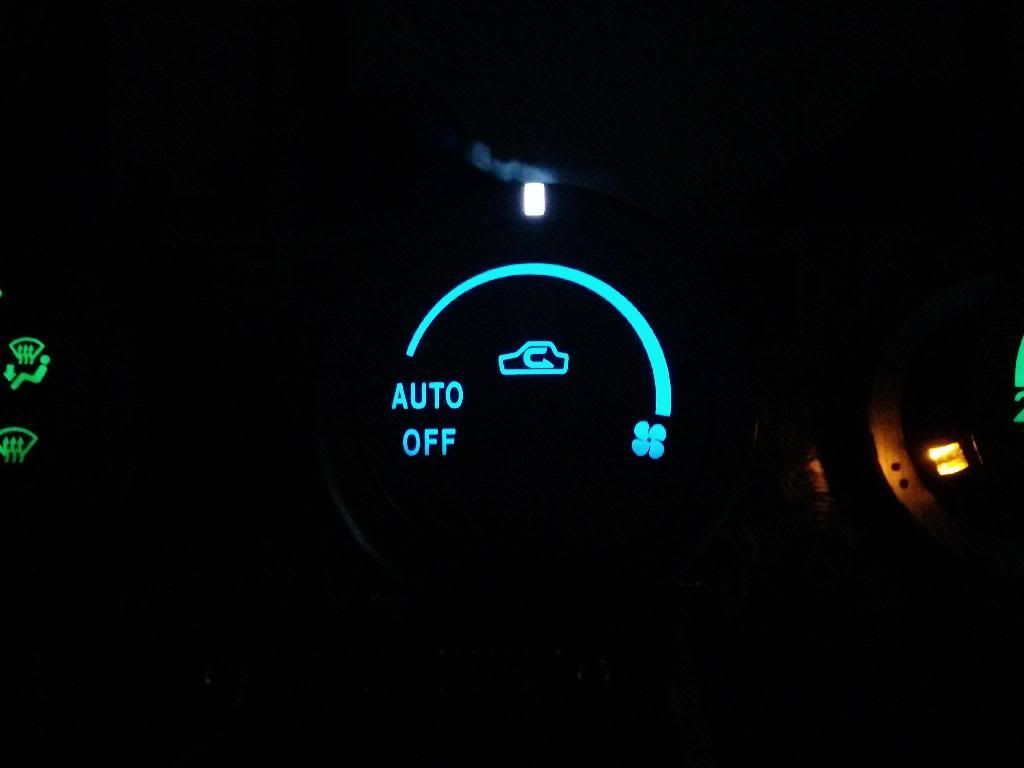
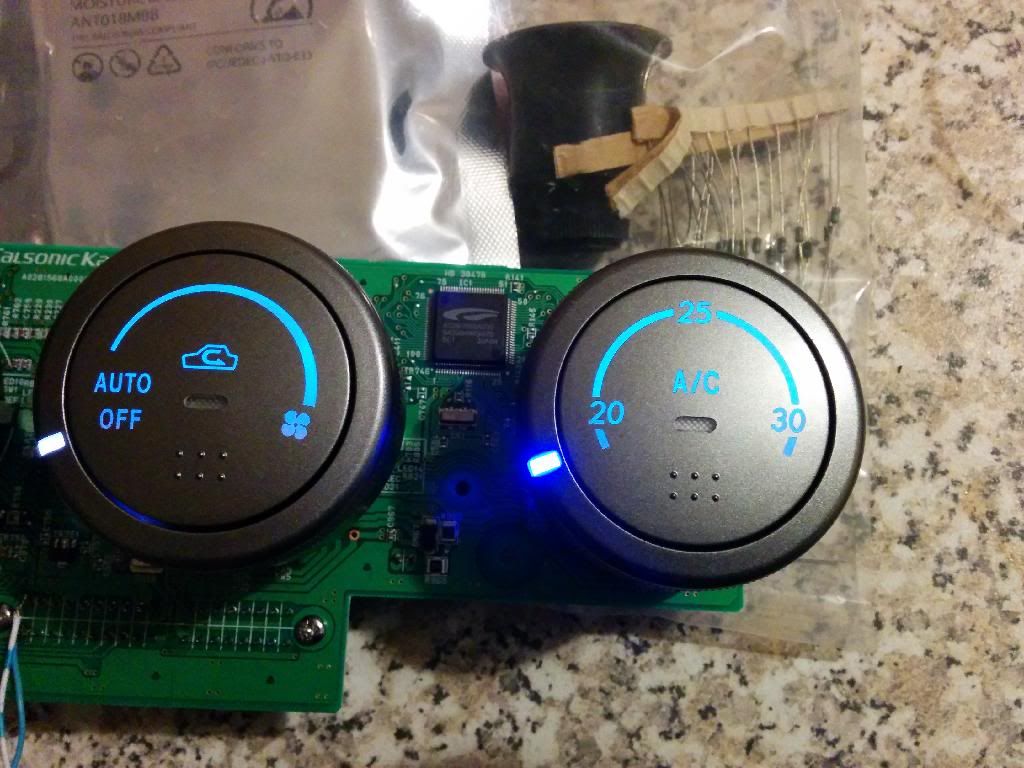
Blue LEDs fitted and tested in daylight,
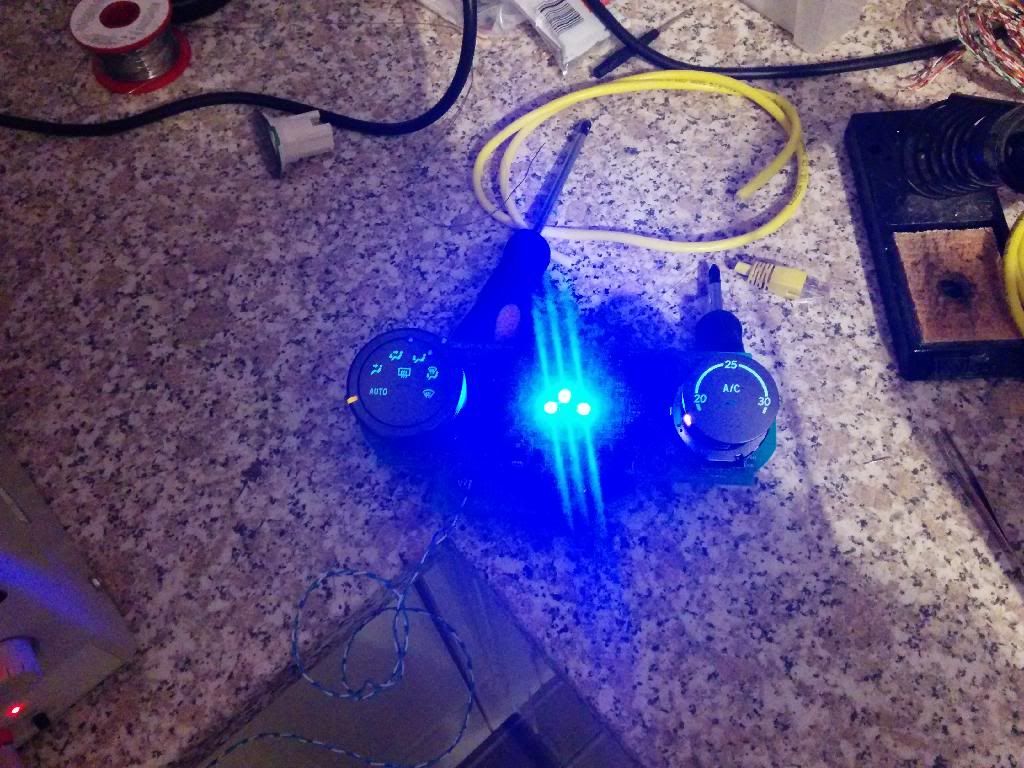
And then with a switch placed on top, they look a bit greeny in this photo but in real life are no way near and are as blue as blue can be
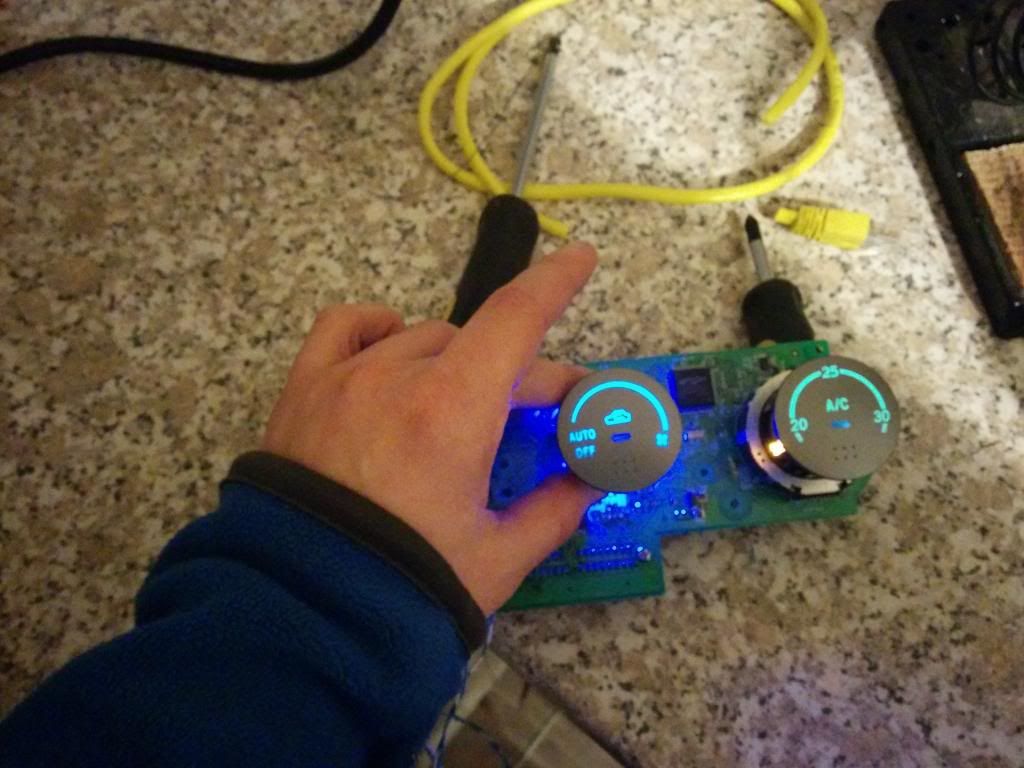
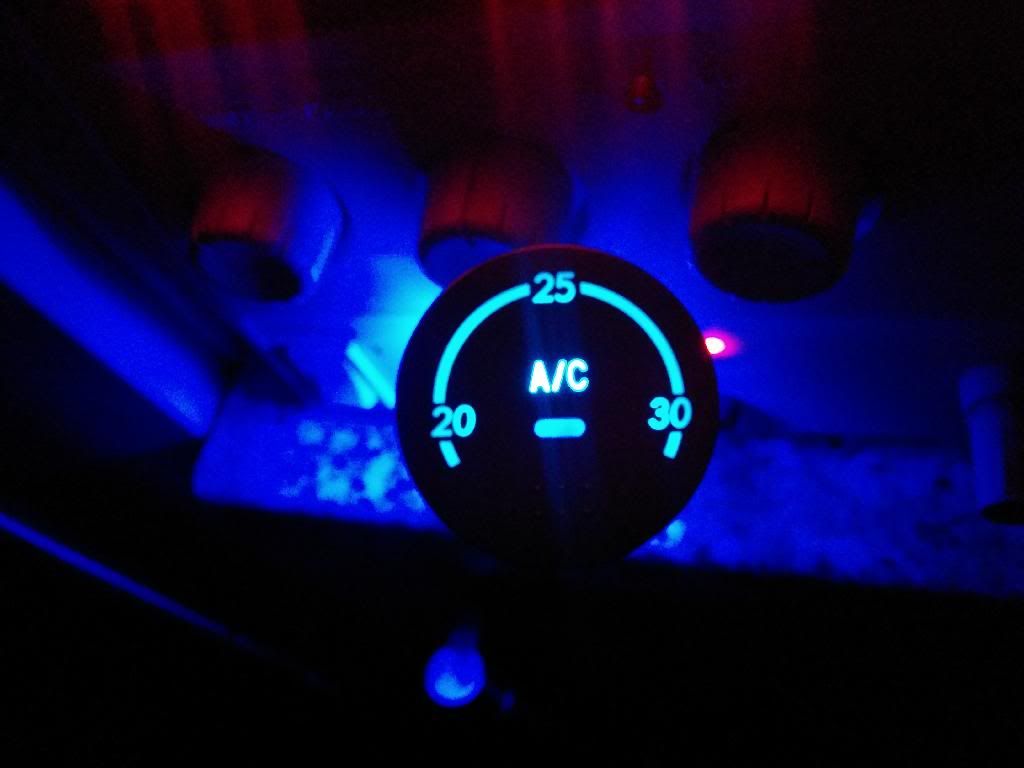
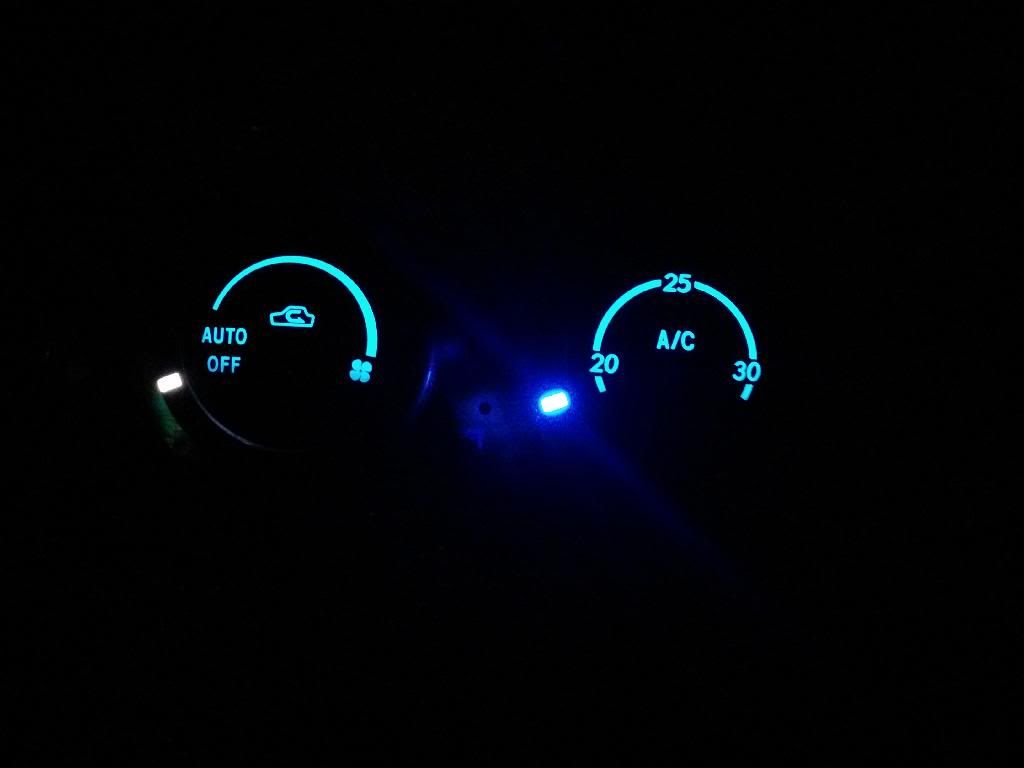
And in the Dark
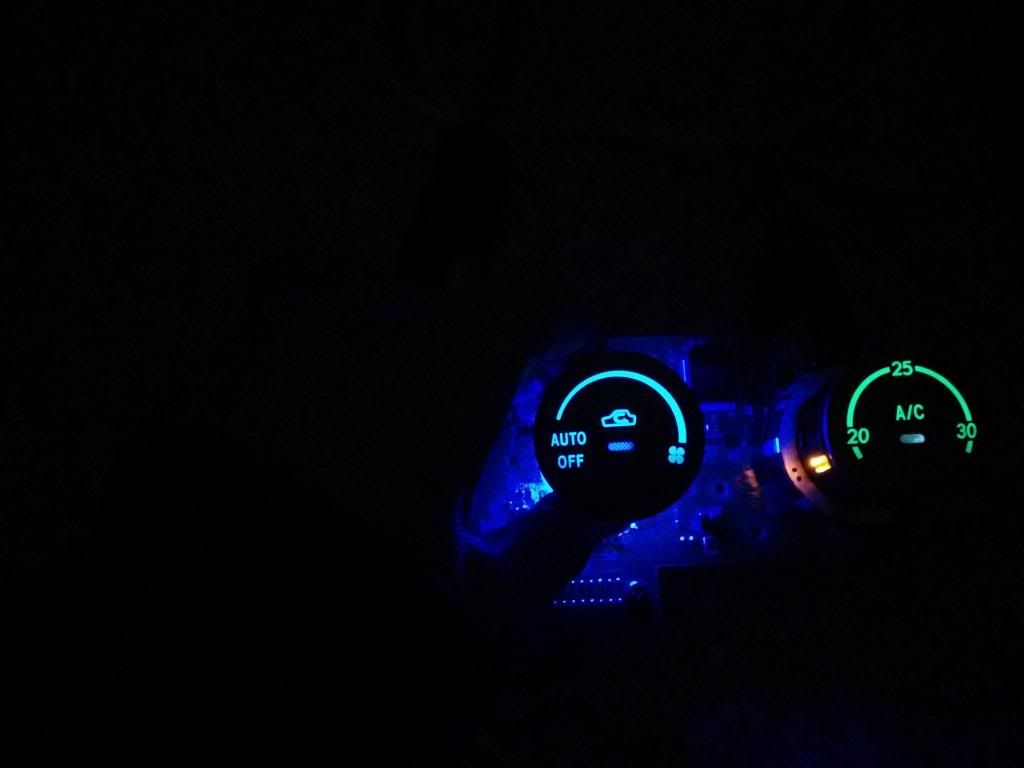
Nice and smooth spread of the light and no hotspots...just relying on the light guide inside the switch to guide the light up.
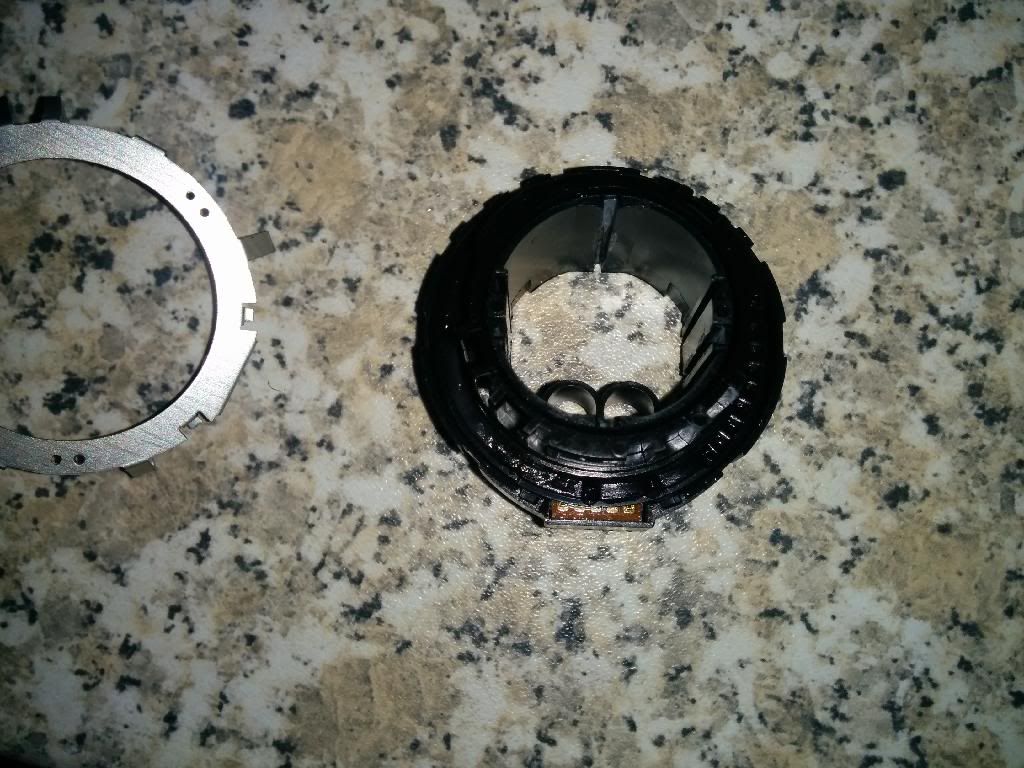
Whilst I was there I decided to also change the orange LED on the "ring" of the HVAC switches...
Switch removed from board, you have to bend all the metalwork up so that it can be removed like so
There is an indicator "notch" smack bang in the middle at the bottom so you can't put it back in the wrong way round
And the LED..
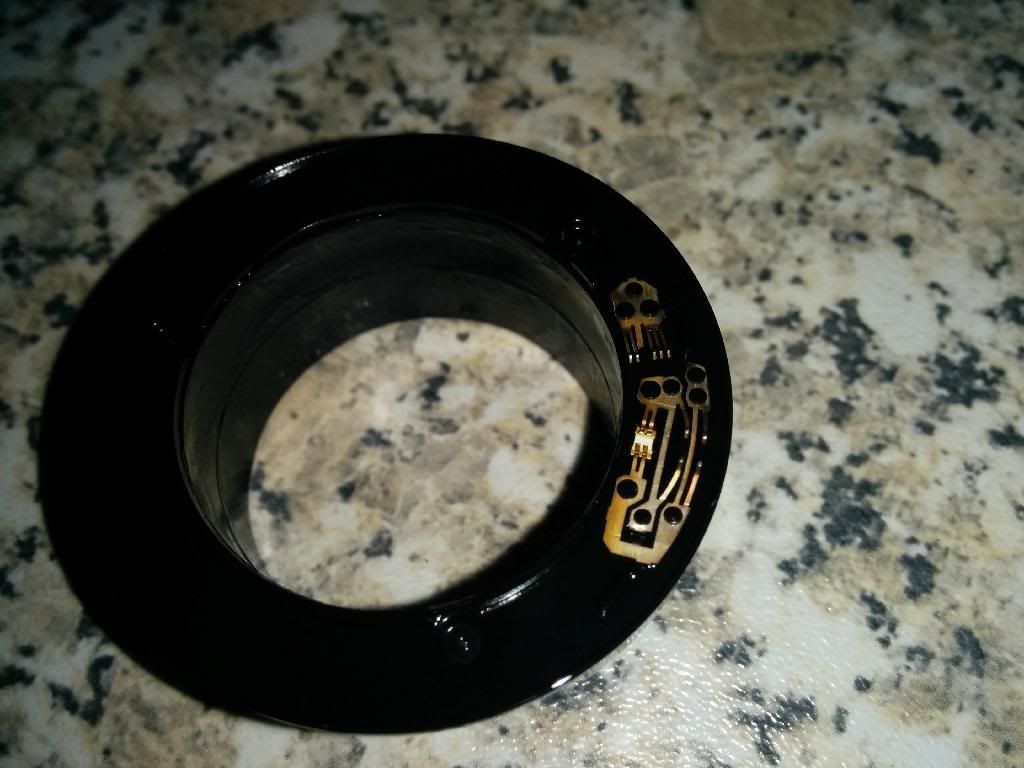
It be a nice small 0603 size....**** knows how Im going to get this out and a new one in but il find a way. Its not hard just small! Just need to prove I can change this orange LED then il crack on with the others and finish it off.
Not the easiest "MOD" to do for people and the one linked from YouTube might be better but I like to do things properly so to speak.
Last year bought a HVAC unit out of one of the newer Subarus with a view to upgrade the rather old and tired looking controls for that over my standard ones.
So made the old one blue last year....

Now finally decided to see what was what with the new style one. Found a few "tutorials" on YouTube going on about drilling and adding wires etc etc. Yet I could see the "standard" leds lying at the bottom and decided to just replace hose. There is also a slight flaw with using the method below in my view....
As you can get too much light on a certain piece of the dial and it looks **** pretty much.
So stripped the unit down and used wide angle leds to try and show this..


Doesn't really show in the pictures but you get intensity spots at certain points where you put the leaded LEDS. i like a nice smooth colour so wasnt happy with that.
Onto the stripping to reveal the LEDs. I must state I removed the switch on this as im fairly comfortable with my soldering (considering I do it day in day out)
Ahhh hello little PLCC-4 Leds...


The 3 leds at the top are just normal white leds, so these are to be replaced with Blue ones. The LED by itself down the bottom is the centre indicator LED on the switch and is orange by default...this will be changed to White.
Blue LEDs fitted and tested in daylight,

And then with a switch placed on top, they look a bit greeny in this photo but in real life are no way near and are as blue as blue can be

And in the Dark

Nice and smooth spread of the light and no hotspots...just relying on the light guide inside the switch to guide the light up.
Whilst I was there I decided to also change the orange LED on the "ring" of the HVAC switches...

Switch removed from board, you have to bend all the metalwork up so that it can be removed like so

There is an indicator "notch" smack bang in the middle at the bottom so you can't put it back in the wrong way round

And the LED..

It be a nice small 0603 size....**** knows how Im going to get this out and a new one in but il find a way. Its not hard just small! Just need to prove I can change this orange LED then il crack on with the others and finish it off.
Not the easiest "MOD" to do for people and the one linked from YouTube might be better but I like to do things properly so to speak.
 14 January 2014, 11:09 AM
#2
Scooby Regular
Thread Starter
Join Date: Apr 2013
Location: Suffolk
Posts: 38
Likes: 0
Received 0 Likes
on
0 Posts
Finished one of the switches and tested it out. Only thing I cant check is the "on" indicator led in the middle of the switch..il plug that into the car at somepoint and make sure its all ok.
So no I have a Blue background with White led as the outside indicator.
Up close
And compared to the standard green
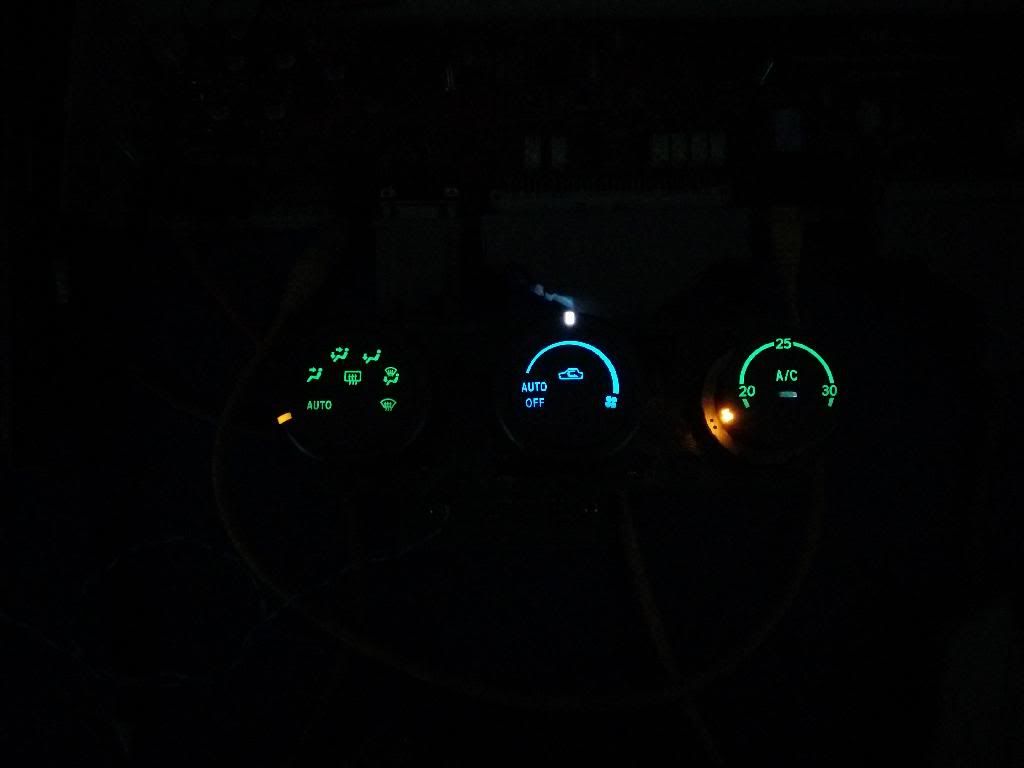
Mucho better.
I might experiment with white background and blue indication leds to see what that is like but for now im happy with this.
So no I have a Blue background with White led as the outside indicator.
Up close

And compared to the standard green

Mucho better.
I might experiment with white background and blue indication leds to see what that is like but for now im happy with this.
14 January 2014, 01:15 PM
#3

looks sweet bud, wish I could do mine that way. im currently having to redo one of my dials at the mo, as mine appeared to have a loose connection so it seemed, although couldn't actually find one when I took it apart, just waiting for new LED's to turn up now
14 January 2014, 01:26 PM
#5


Trending Topics
14 January 2014, 04:23 PM
#8
Scooby Regular
Thread Starter
Join Date: Apr 2013
Location: Suffolk
Posts: 38
Likes: 0
Received 0 Likes
on
0 Posts
No resistors used.
Just took off the old PLCC-4 leds (that were white) and replaced them with blue ones.
Worst case scenario they are pulling a bit more juice maybe 5ma and are a bit brighter but there are already resistors on the board to take care of that.
The ones I used were random ones I had lying around from a project at work so just used them.
15 January 2014, 07:59 PM
#9
Scooby Regular
Thread Starter
Join Date: Apr 2013
Location: Suffolk
Posts: 38
Likes: 0
Received 0 Likes
on
0 Posts
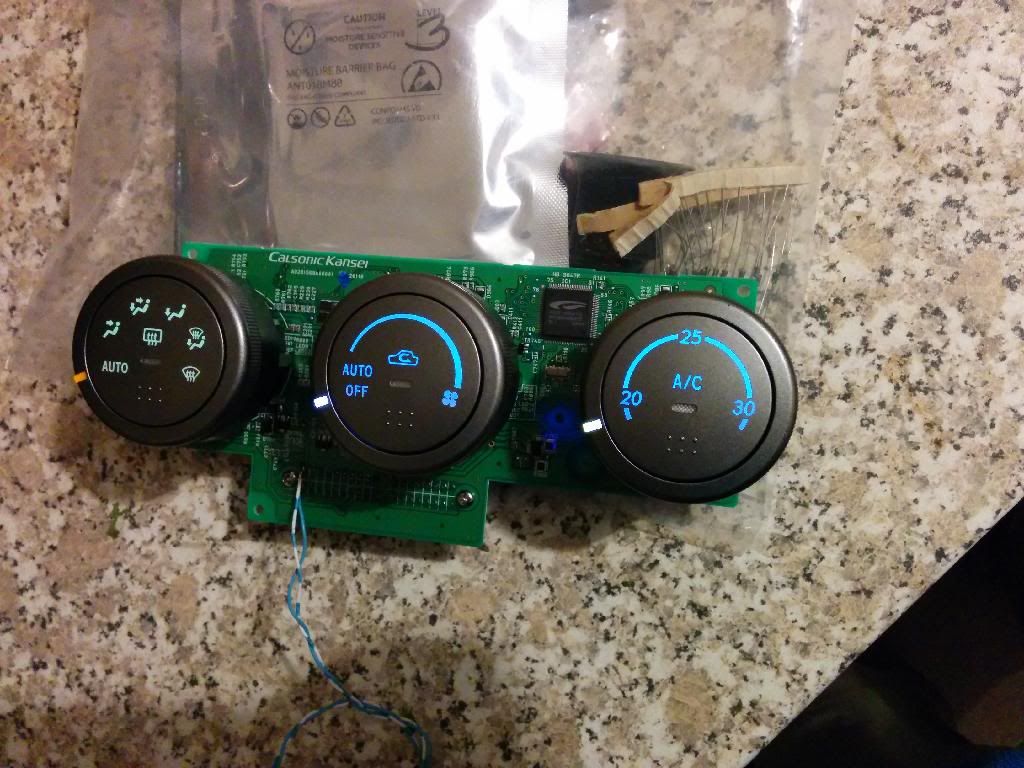
Well the first one was a success and had a few minutes spare at work today so did dial number 2.
Experimented on this one with a Blue indication led on the ring..
Purposely out of focus shot to try and show "blueness"..first 2 before removing the coloured paint from the light guide so indication led is yellow
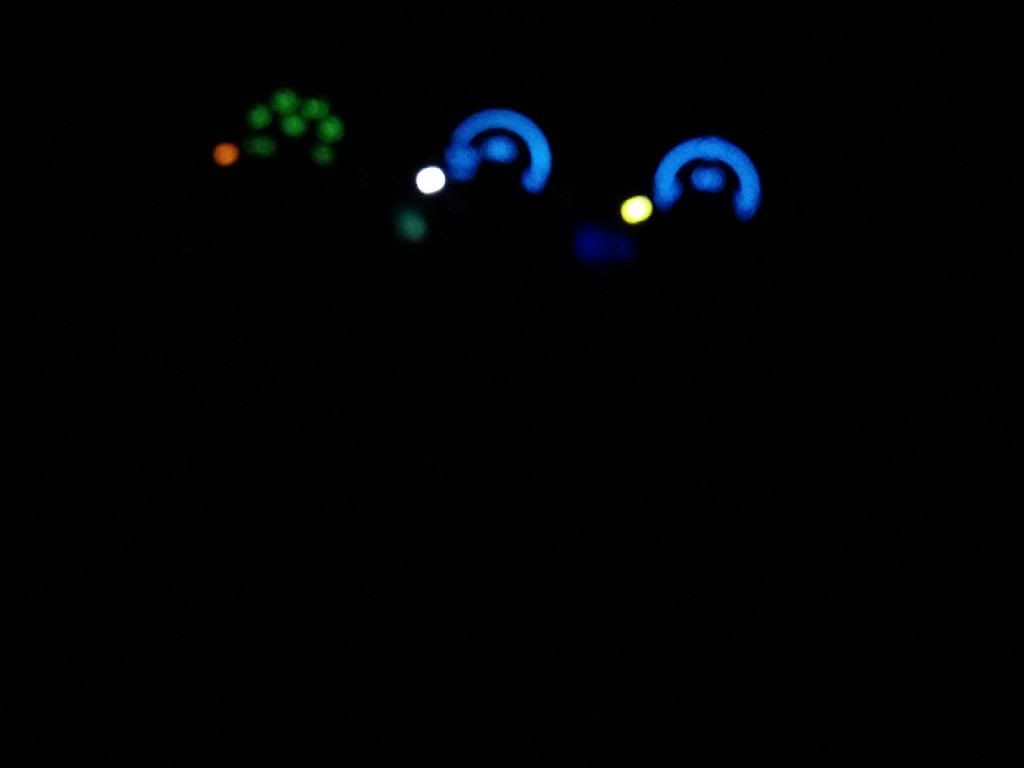
And then removed all the orange crap off of the light guide so that there was no yellowness going on with the indication led..
Can't decide whether blue or white for the indication leds.
Also after spending more time staring at the lights they are slightly turquoise/blue rather then pure blue. But its certainly better then the dull green. Be intersting to test this with red leds to see how they look
Just got to do the last one tomorrow if I get a minute and then to test if everything still works trying it in the car, If it does Il purchase a new complete centre console and install that so I can fit the newage HVAC unit. Just need to decide what if anything to do with the top vents and hazard light
Experimented on this one with a Blue indication led on the ring..
Purposely out of focus shot to try and show "blueness"..first 2 before removing the coloured paint from the light guide so indication led is yellow


And then removed all the orange crap off of the light guide so that there was no yellowness going on with the indication led..


Can't decide whether blue or white for the indication leds.
Also after spending more time staring at the lights they are slightly turquoise/blue rather then pure blue. But its certainly better then the dull green. Be intersting to test this with red leds to see how they look
Just got to do the last one tomorrow if I get a minute and then to test if everything still works trying it in the car, If it does Il purchase a new complete centre console and install that so I can fit the newage HVAC unit. Just need to decide what if anything to do with the top vents and hazard light
Last edited by kingtheydon; 15 January 2014 at 08:01 PM.
15 January 2014, 08:25 PM
#11
Scooby Regular
Thread Starter
Join Date: Apr 2013
Location: Suffolk
Posts: 38
Likes: 0
Received 0 Likes
on
0 Posts
http://uk.farnell.com/avago-technolo...6?Ntt=183-0416
These have a max forward voltage of 3.8V and they are currently running 2.6V through them so could make them brighter in theory by changing the onboard resistor. But not worth it at the minute they are bright enough.
The white indication LED is a plcc-2 version in white any will do as they are rated between 3.2V-3.7V and the onboard resistor limits current/voltage to 2.9V.
But heres an example (specs down the bottom of the page)
http://www.ebay.co.uk/itm/10x-PLCC-2...-/310314933505

Thread
Thread Starter
Forum
Replies
Last Post
Brzoza
Engine Management and ECU Remapping
1
02 October 2015 05:26 PM
jonnyboy82
Lighting and Other Electrical
0
29 September 2015 01:59 PM