
started impreza install

Thread Starter
Scooby Regular
Joined: Sep 2009
Posts: 338
Likes: 0
From: Sunderland
finally got round to starting my impreza install. consisted
of running power wires and rca cables throught the car.
I started taking some pictures as i went but during the
process i manged to hurt my back quite badly and as the
car was stripped down at work i had to rebuild the car in
absolute agony so the picture taking went to the wayside a bit.
Anyway here is what i did take.
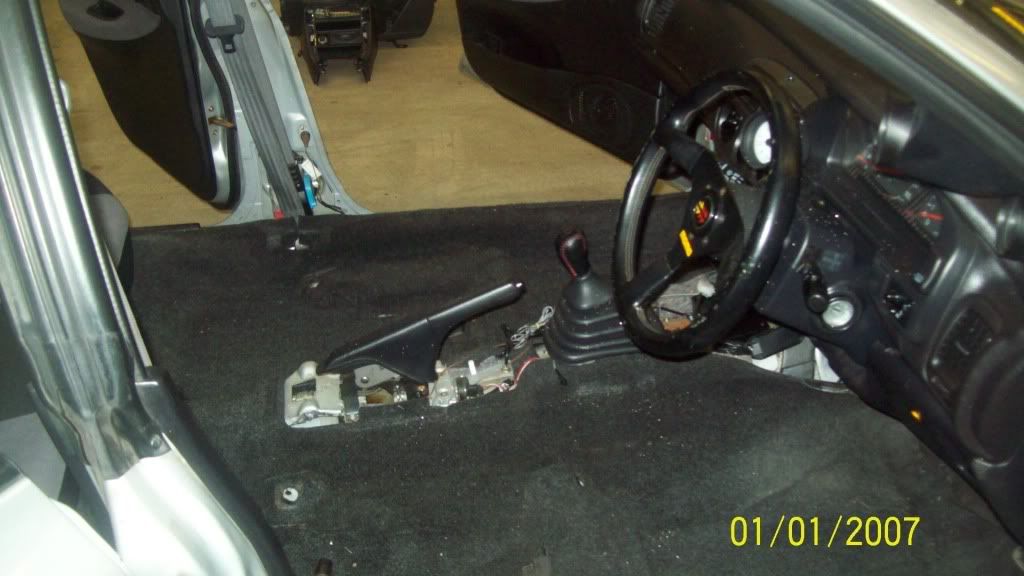
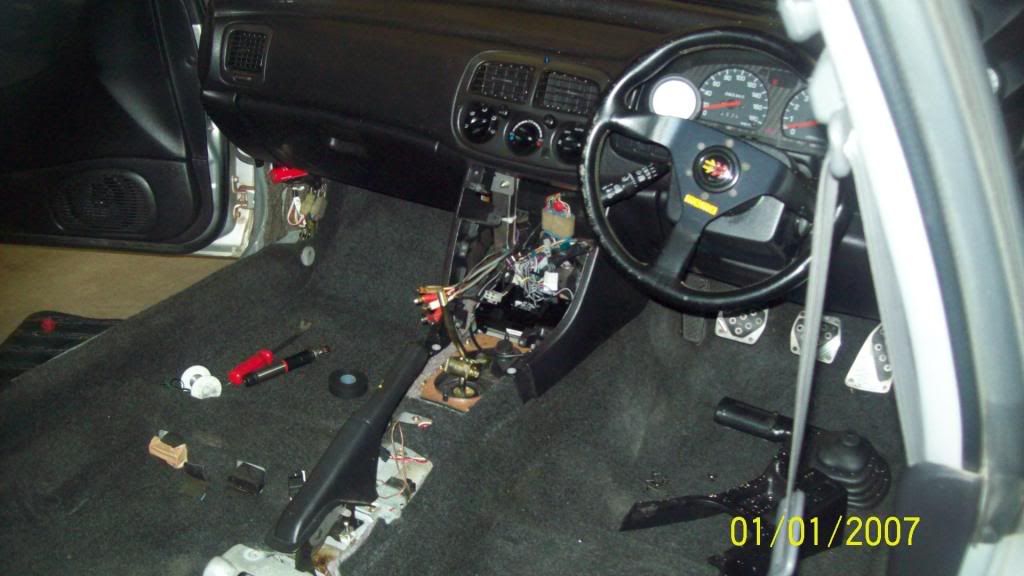
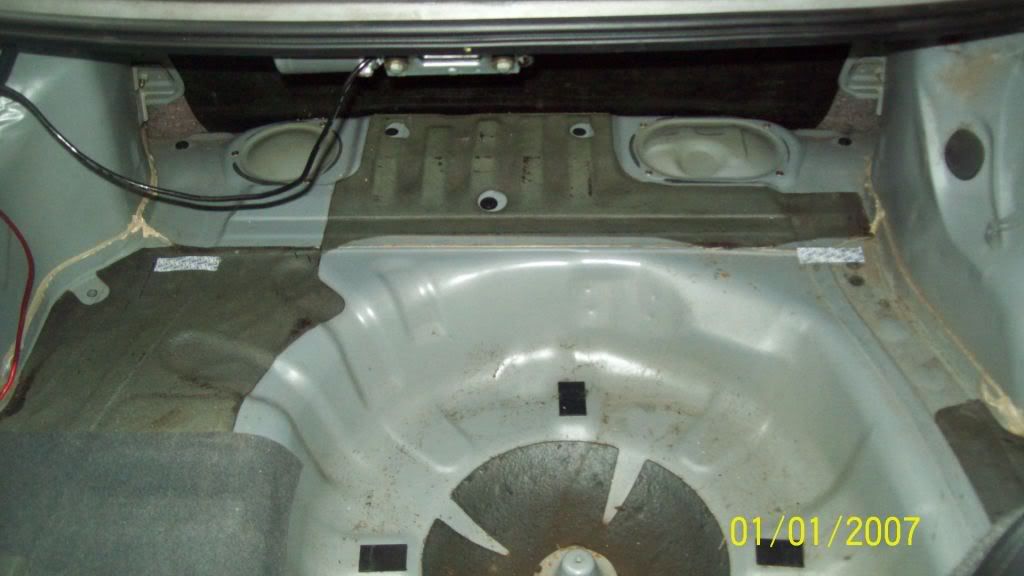
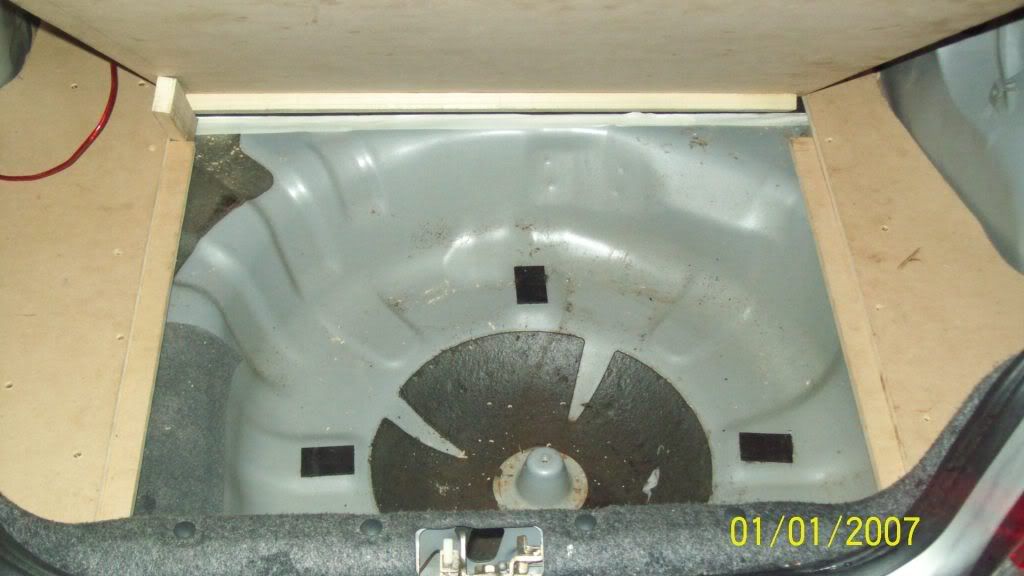
the start of the strip. front seats out
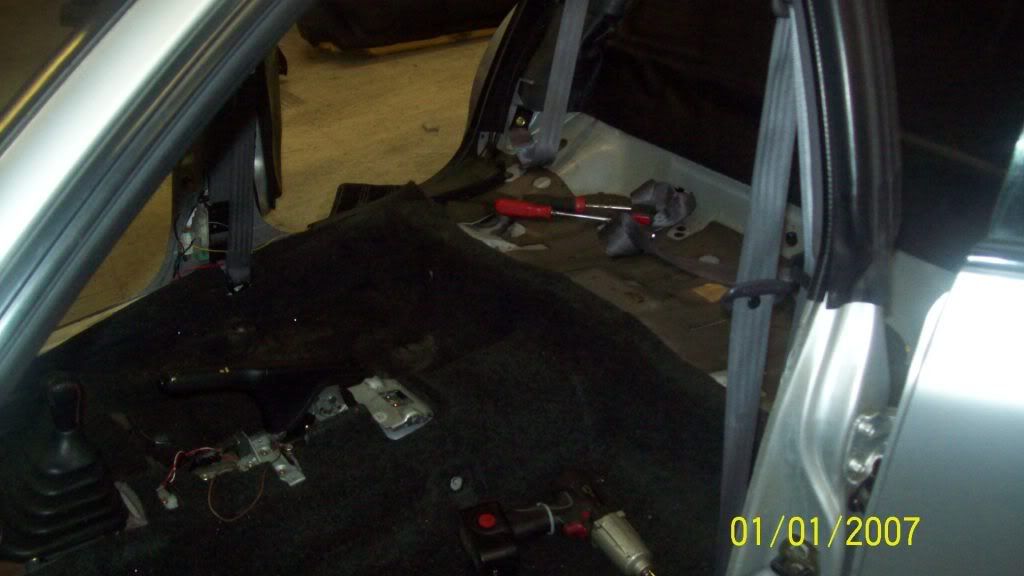
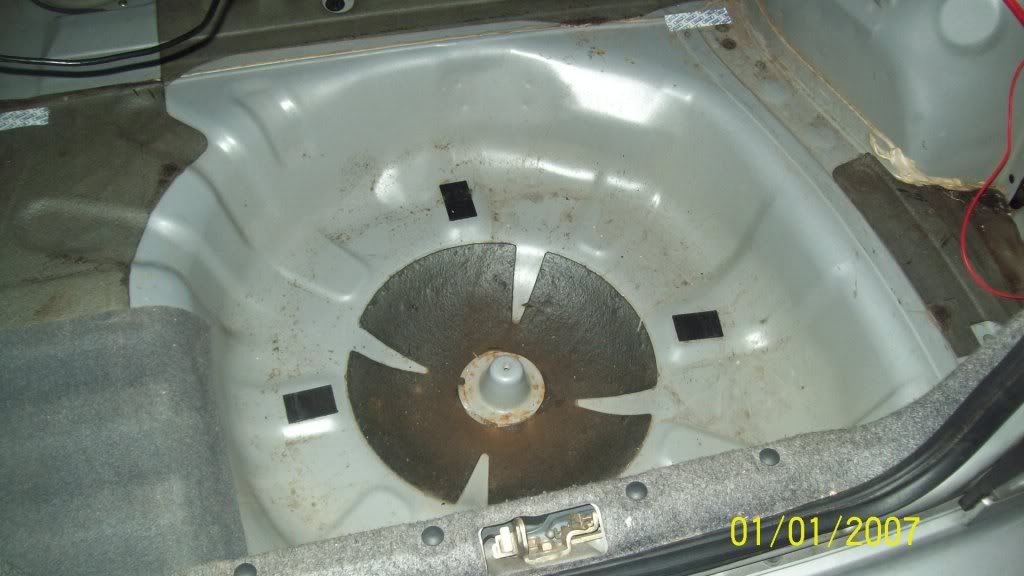
rear seats out
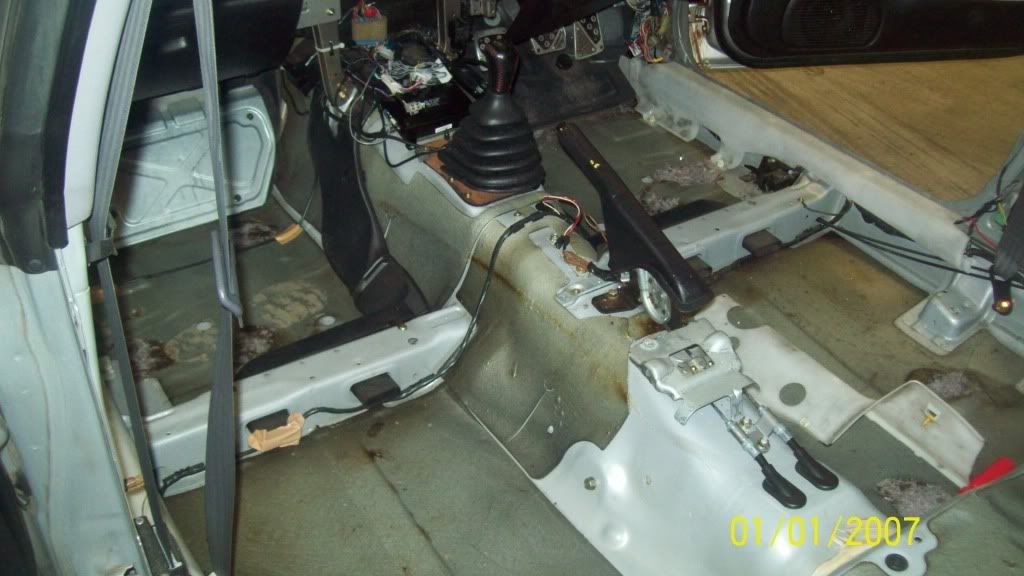
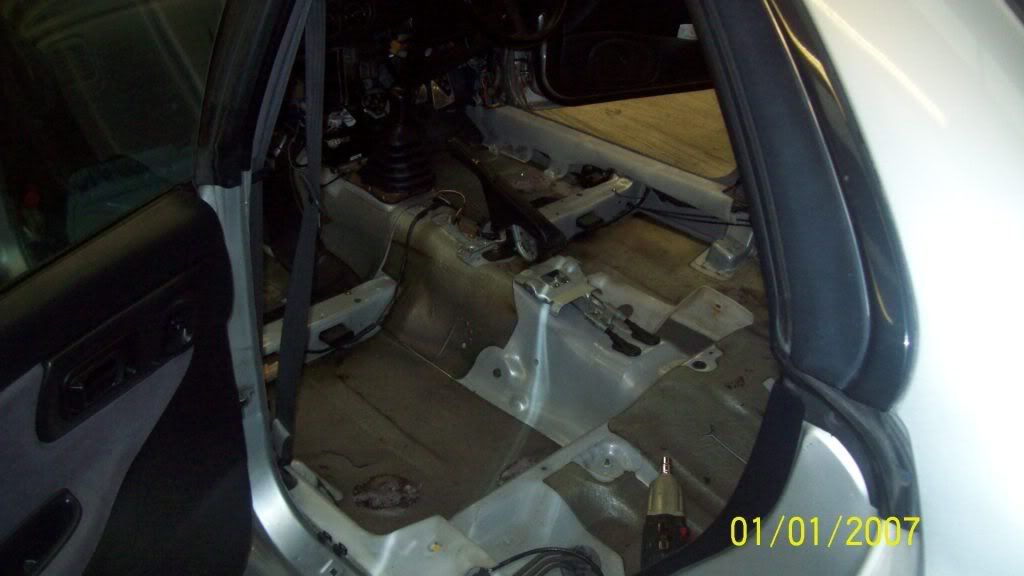
carpets gone
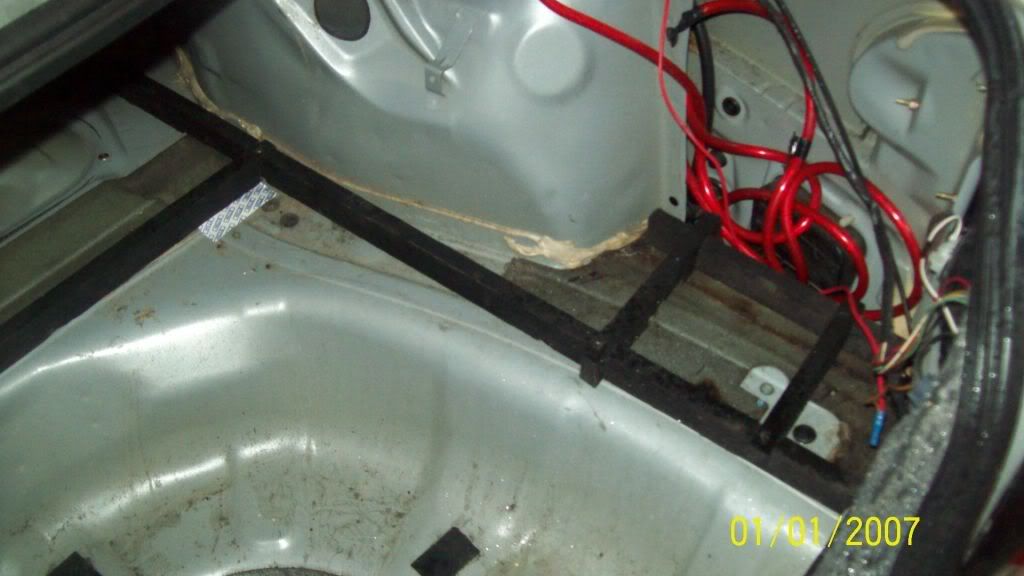
inteercooler removed to route power wire
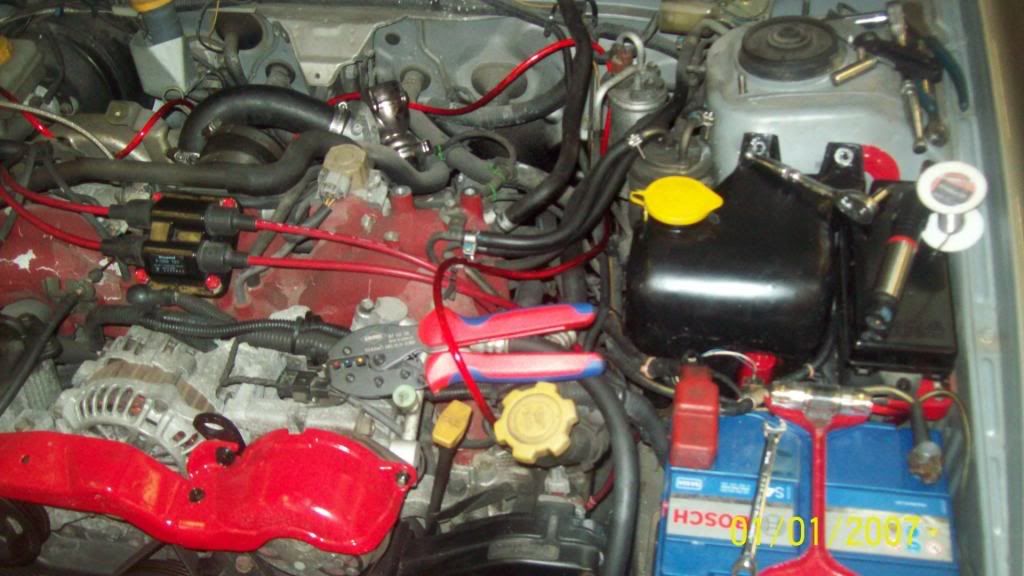
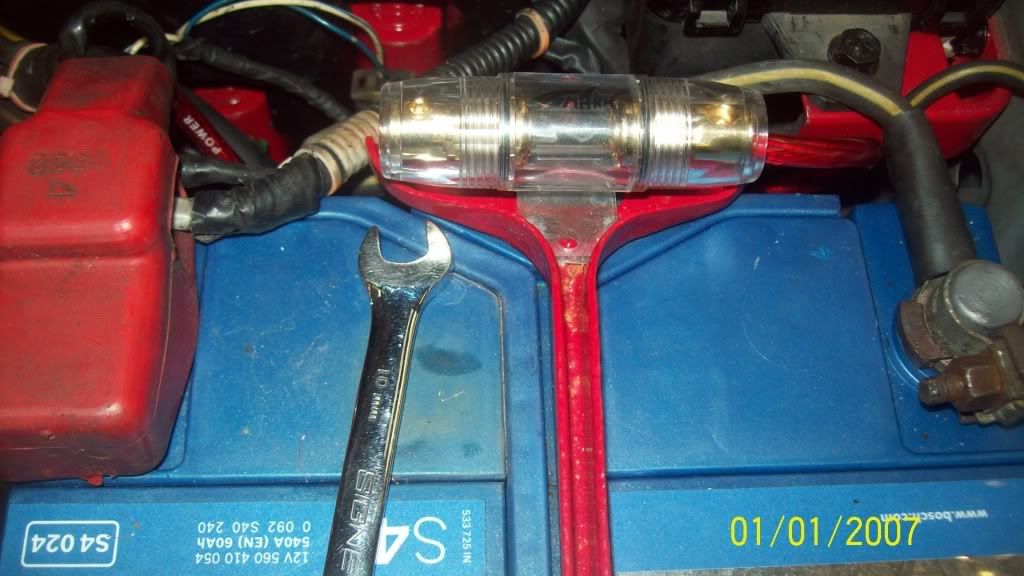
fuse holder mounted on battery clamp
all wire routed carpets back in
I was hoping to get the amp and sub in but with my back
going i was lucky to get the interior back in. Ill see how i
feel later today and hopefully get it finished off
of running power wires and rca cables throught the car.
I started taking some pictures as i went but during the
process i manged to hurt my back quite badly and as the
car was stripped down at work i had to rebuild the car in
absolute agony so the picture taking went to the wayside a bit.
Anyway here is what i did take.
the start of the strip. front seats out
rear seats out
carpets gone
inteercooler removed to route power wire
fuse holder mounted on battery clamp
all wire routed carpets back in
I was hoping to get the amp and sub in but with my back
going i was lucky to get the interior back in. Ill see how i
feel later today and hopefully get it finished off

Did you take the interior out to sound deaden ??. I ran two sets of rca's and two 4 gauge power wires just by removing the kick plates on the passenger side and goes under the carpet and straight into boot. There is loads of room and easy to route through. My 0 gauge will be going in the same way to link the 2nd battery in boot but interior will be out soon anway for sound deadening.

Thread Starter
Scooby Regular
Joined: Sep 2009
Posts: 338
Likes: 0
From: Sunderland
Did you take the interior out to sound deaden ??. I ran two sets of rca's and two 4 gauge power wires just by removing the kick plates on the passenger side and goes under the carpet and straight into boot. There is loads of room and easy to route through. My 0 gauge will be going in the same way to link the 2nd battery in boot but interior will be out soon anway for sound deadening.
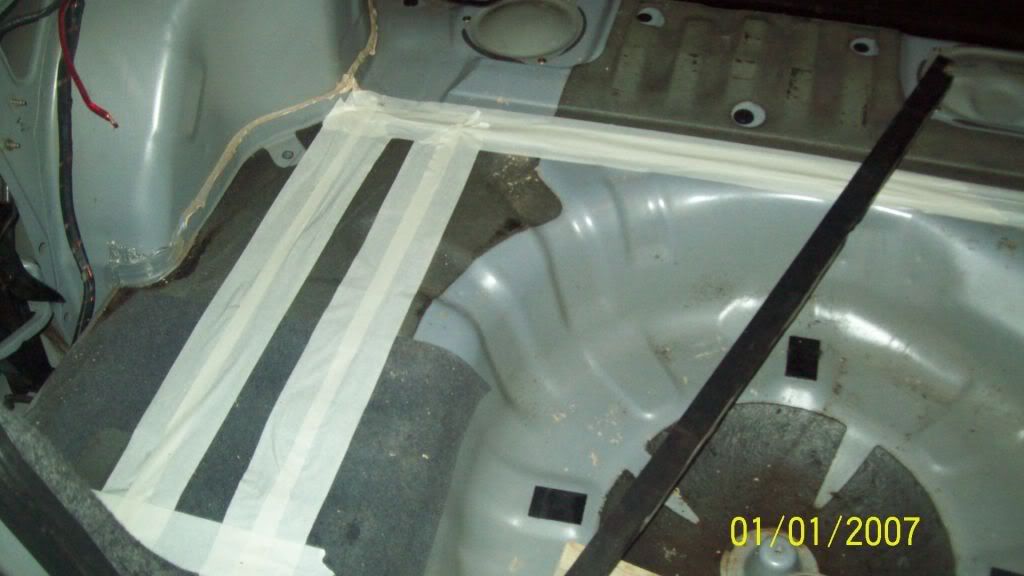
i took the interior out to so all the cables could be ran seperately throught the car.
power leads on the drivers side. away from the fuel pipes that run along the passenger sill.
speaker wires up the middle of the car
rca's along the passenger side.
never heard of it. whats that for then
Trending Topics
Thread Starter
Scooby Regular
Joined: Sep 2009
Posts: 338
Likes: 0
From: Sunderland
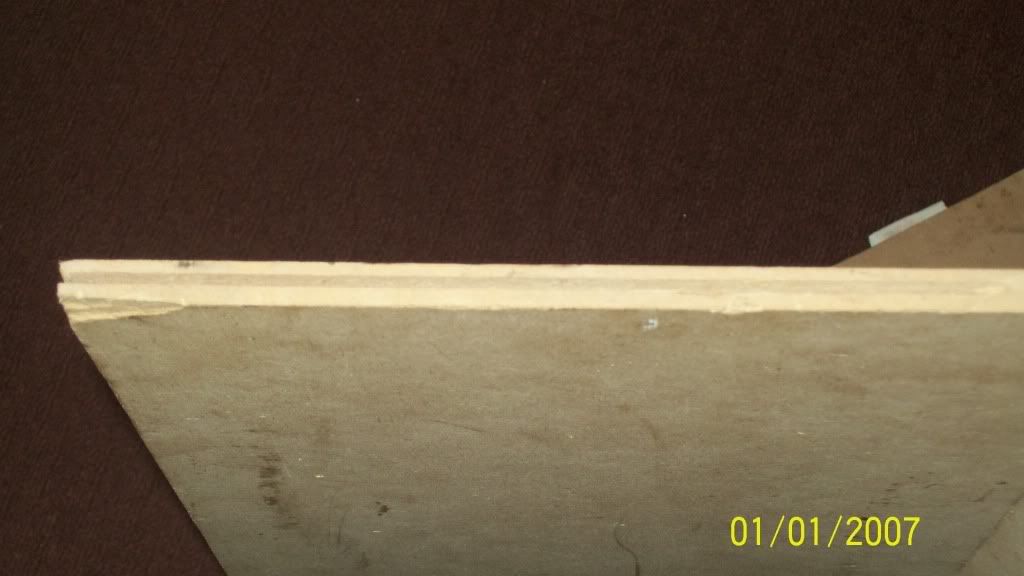
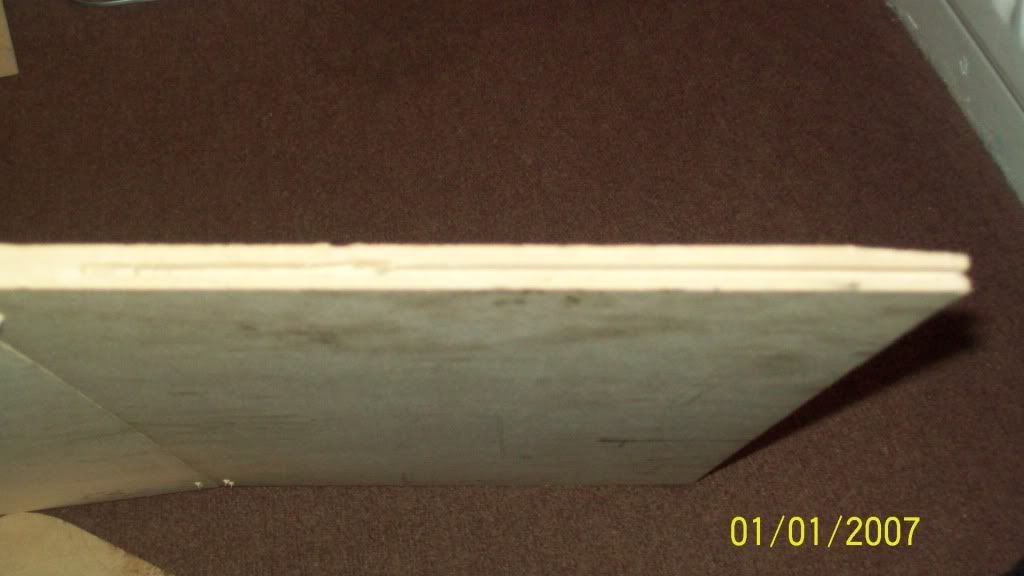
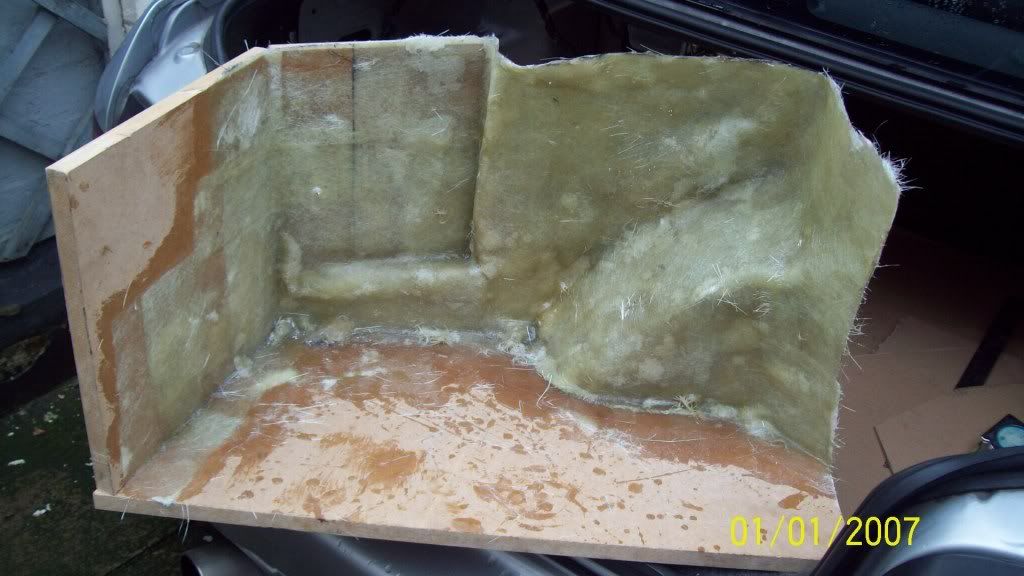
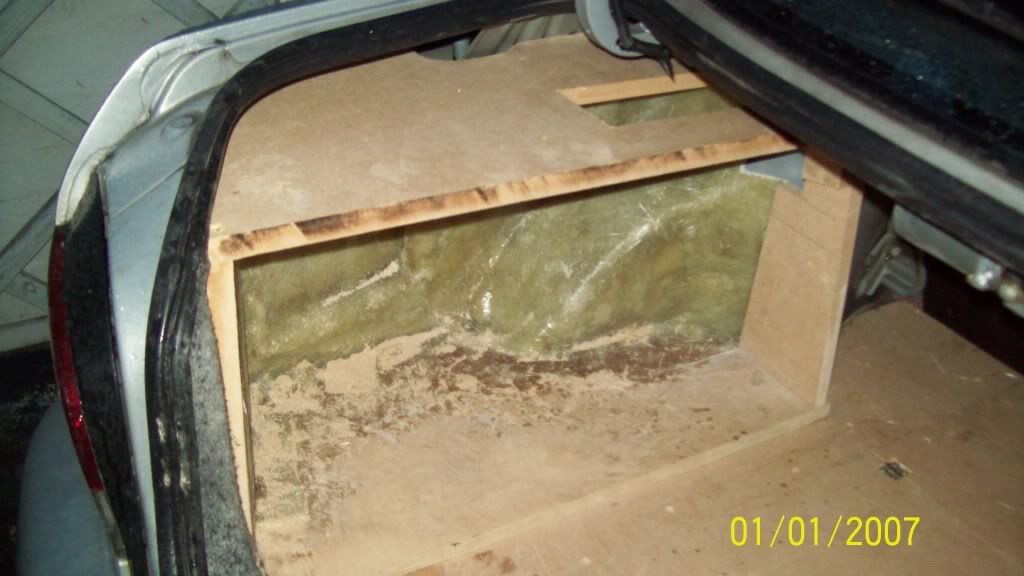
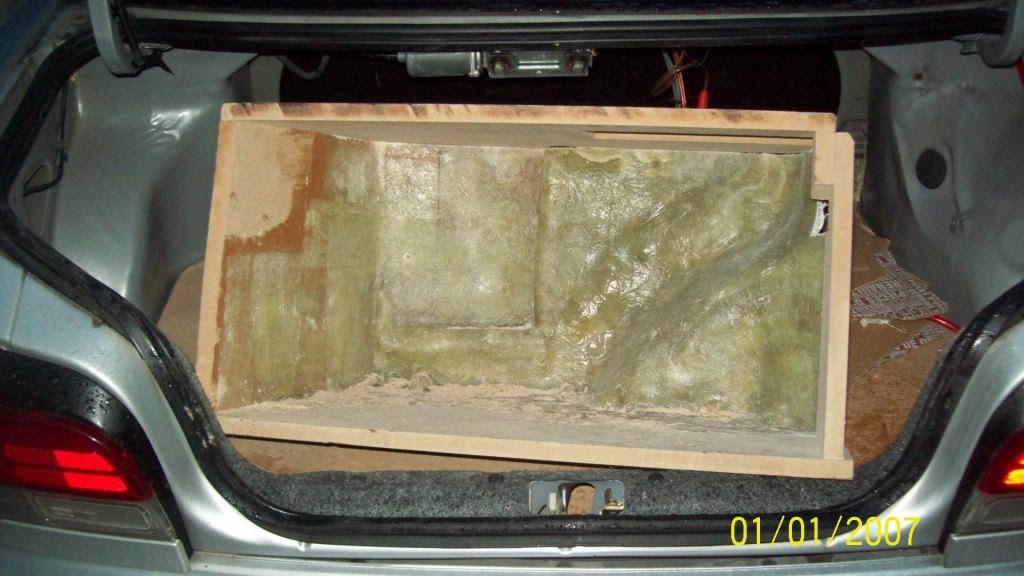
I got a bit more done on the boot yesterday.
the boot floor pieces together
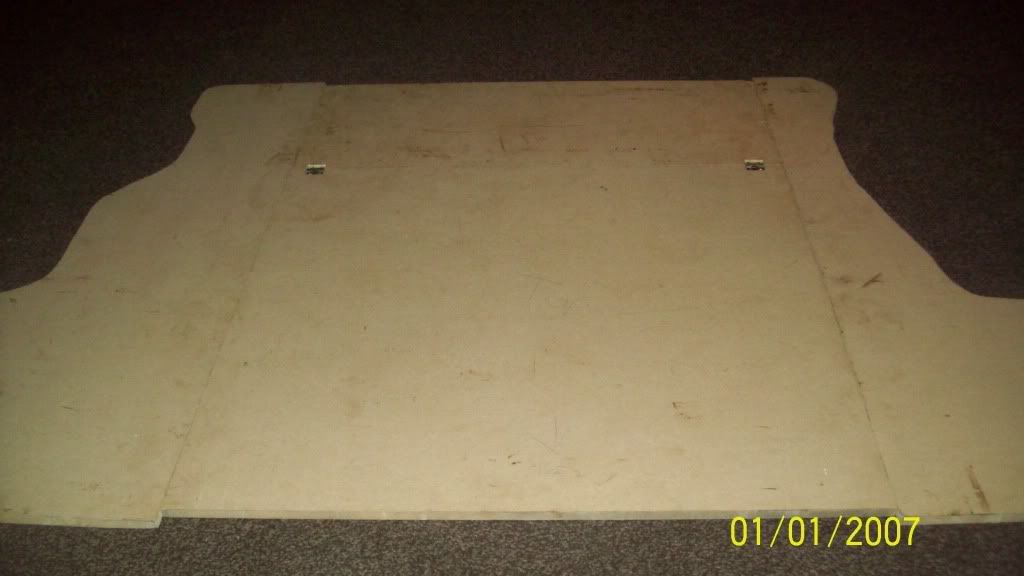
hindged flap for access to spare wheel
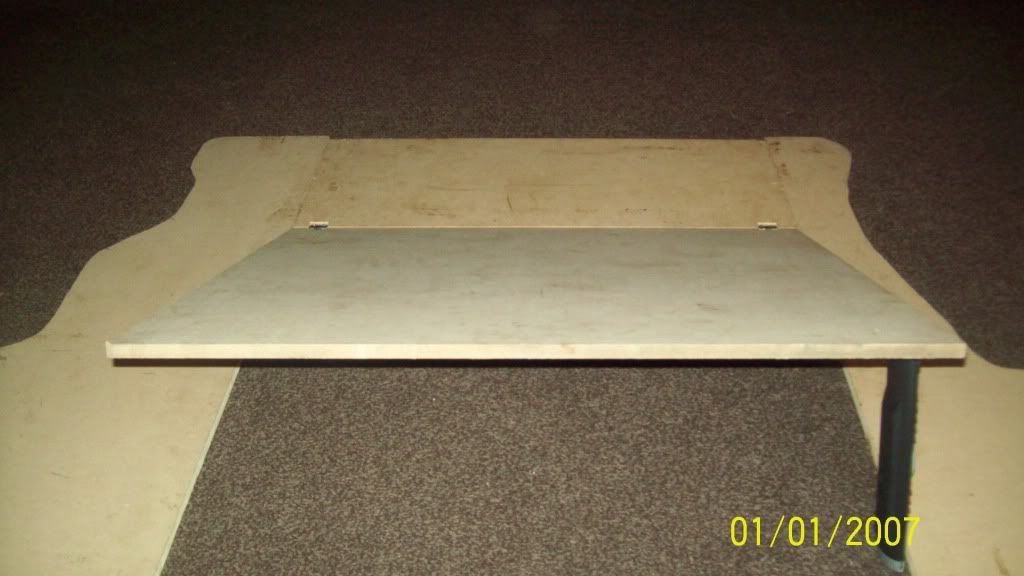
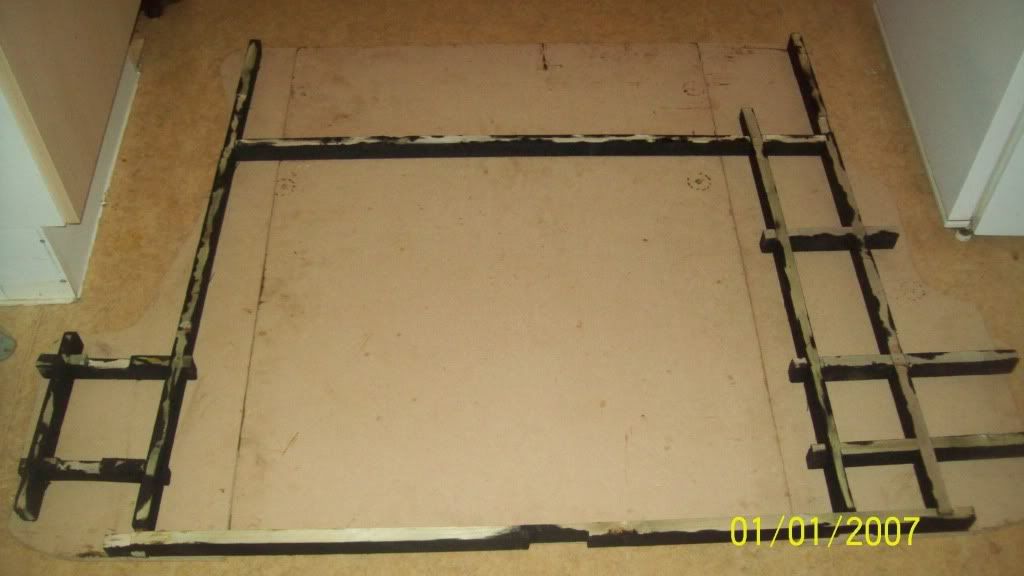
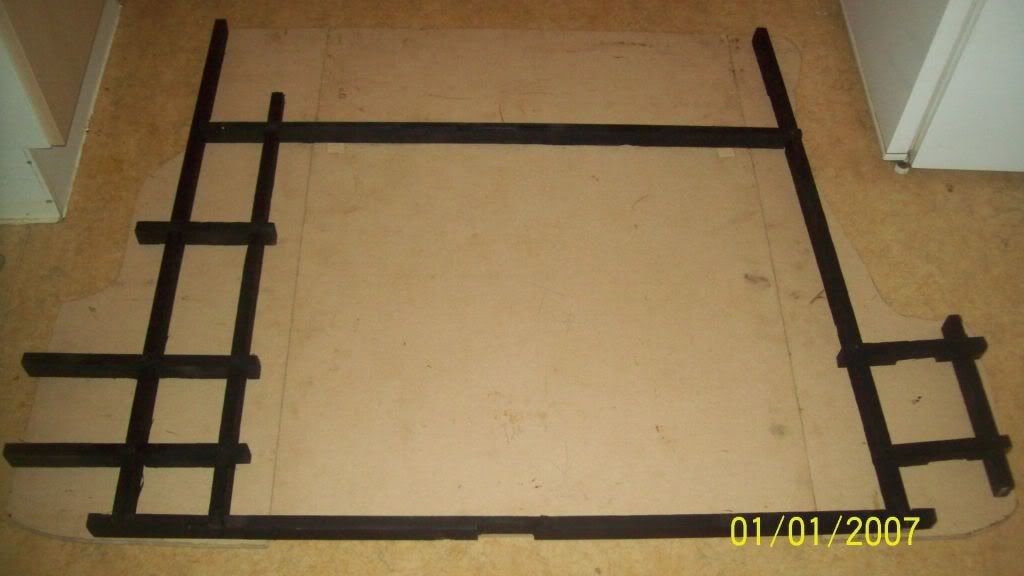
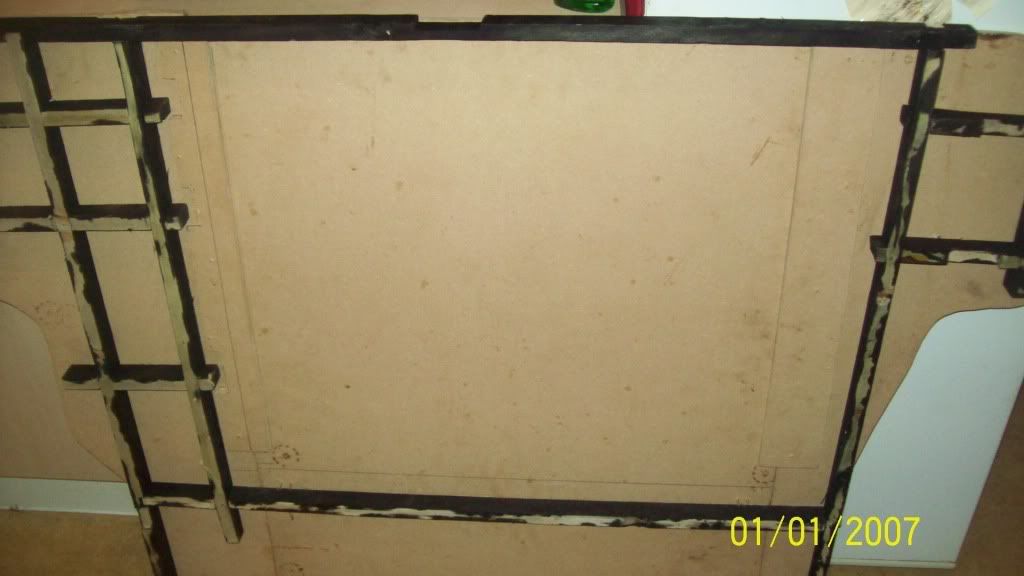
Due to the boot floor been so uneven i have decided to put a wooden frame under it which i will shape to the floor
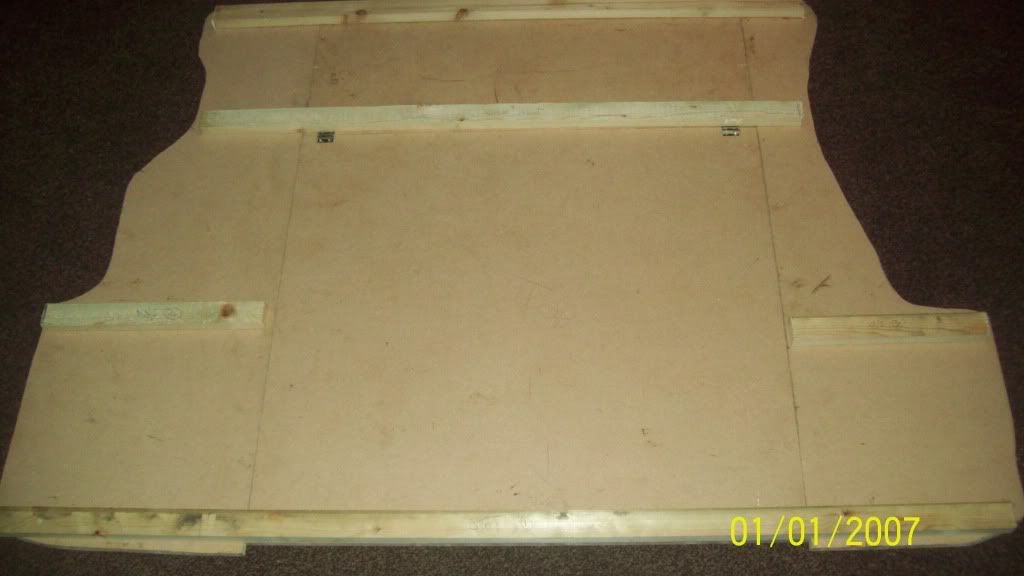
It's made up of 4 parts the 2 sides a centre peice and the flap, i put a slot in the side of the centre peice and the side peices and inserted some plastic guides in the side peices
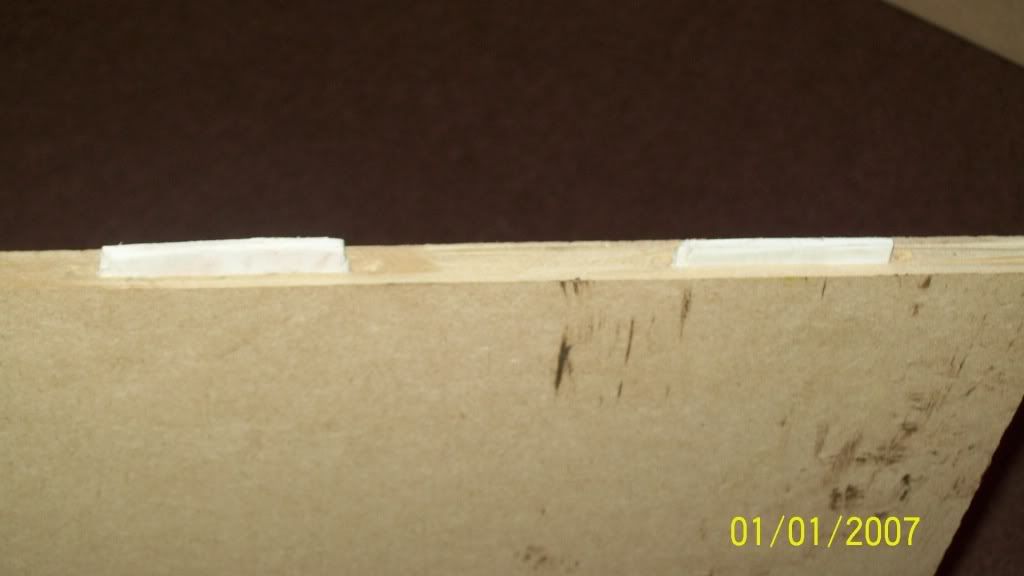
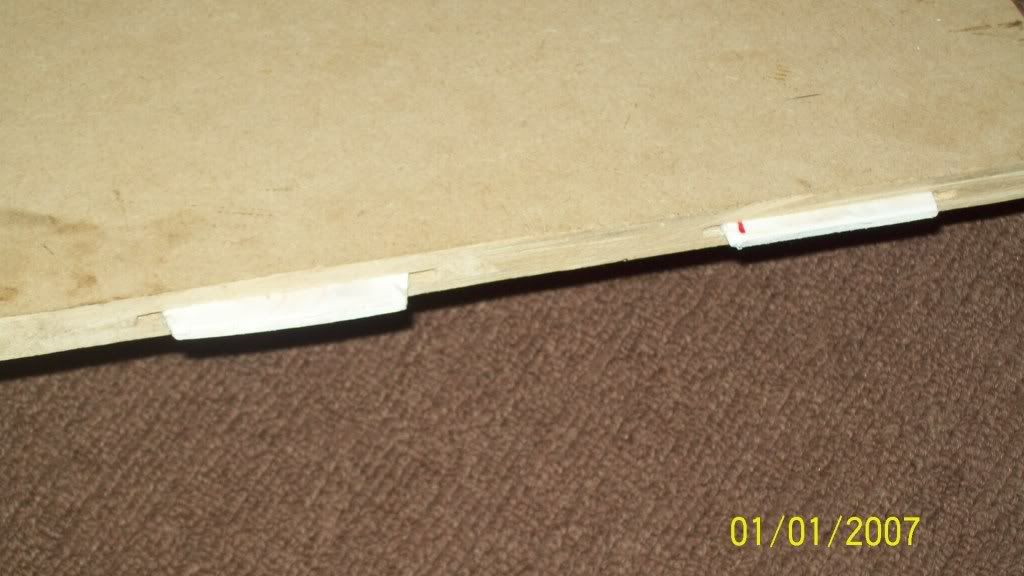
this so the sides can be put in place then the centre slides in between them locking every thing together.
Hopefully get a start on the frame tomorrow
the boot floor pieces together
hindged flap for access to spare wheel
Due to the boot floor been so uneven i have decided to put a wooden frame under it which i will shape to the floor
It's made up of 4 parts the 2 sides a centre peice and the flap, i put a slot in the side of the centre peice and the side peices and inserted some plastic guides in the side peices
this so the sides can be put in place then the centre slides in between them locking every thing together.
Hopefully get a start on the frame tomorrow

Scooby Regular
Joined: Feb 2008
Posts: 103
Likes: 0
From: South Wales / Taunton
inspiring i might have to rip mine to bits and have ago.... Im dubious of putting wood and electrics in the boot at the moment tho because i have a leak and cant for the life of me find out where its coming from....
Thread Starter
Scooby Regular
Joined: Sep 2009
Posts: 338
Likes: 0
From: Sunderland
thanks.
not ideal if there is water in there. mine is bone dry luckily i will be sealing all the wooden parts though, just incase.
The last thing i want is a water ingress have enough of those with my last car it was like a sive.
not ideal if there is water in there. mine is bone dry luckily i will be sealing all the wooden parts though, just incase.
The last thing i want is a water ingress have enough of those with my last car it was like a sive.

Thread Starter
Scooby Regular
Joined: Sep 2009
Posts: 338
Likes: 0
From: Sunderland
It's not one piece its four. The two side bits and two bits in the middle.
Got the frame finished today and it all fits perfectly.
i'll get some pictures up of it fitted.
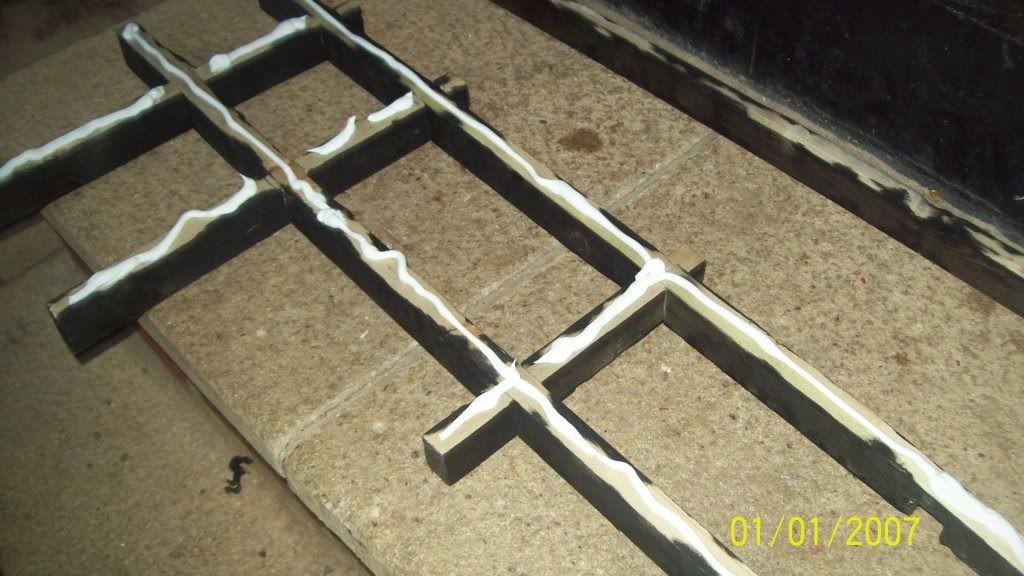
this the frame half painted
and painted some more
paint just for protection really as it wont be seen
Last edited by D4VEW557; Feb 11, 2010 at 11:29 PM.
Thread Starter
Scooby Regular
Joined: Sep 2009
Posts: 338
Likes: 0
From: Sunderland
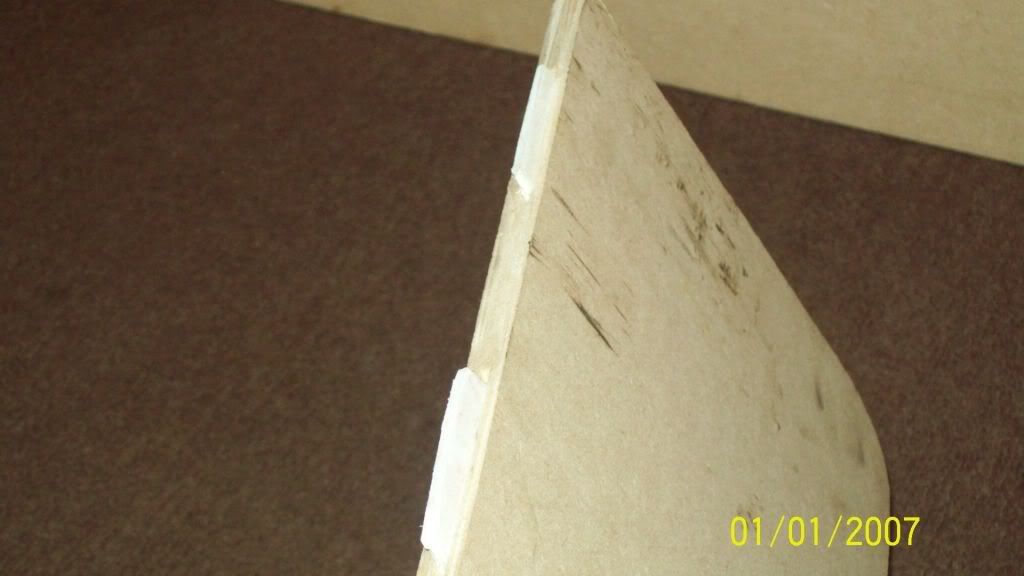
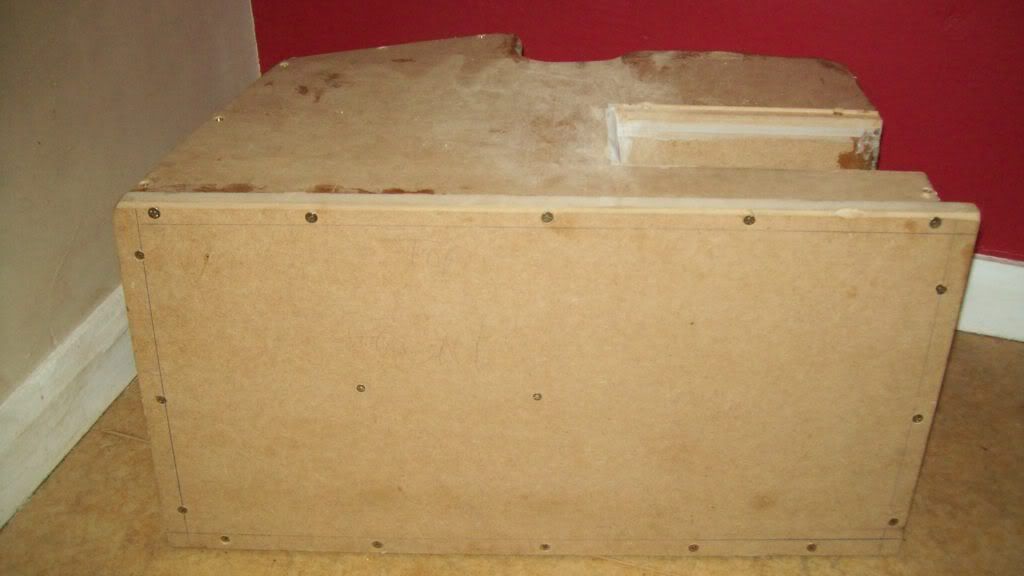
Finally got the frame in and the new floor fitted and secured.
the bare boot.
the frame in place
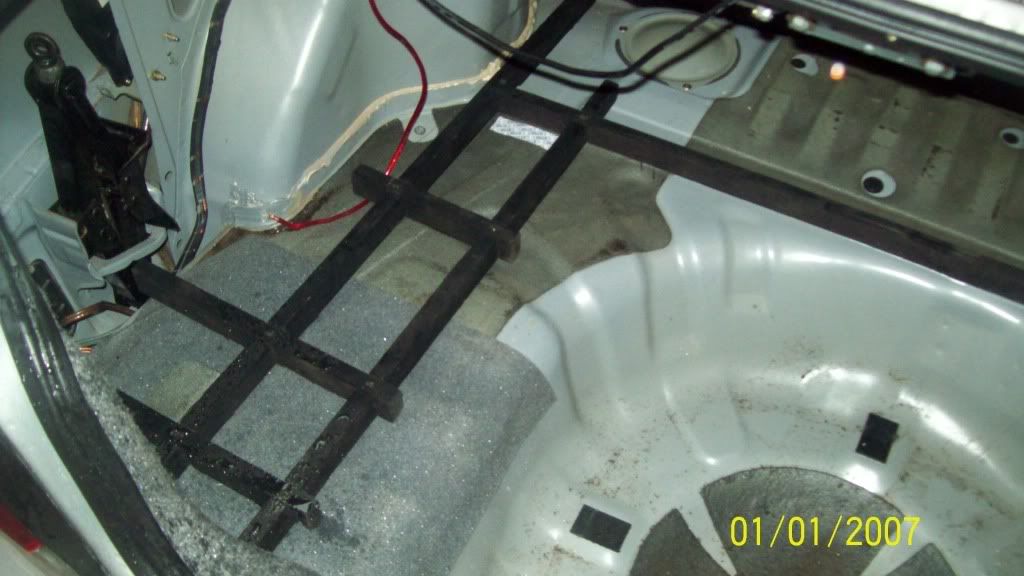
the frame mounted on the bottom of the floor
my plan from the start was not screw or permanently fasten any of this build to the car it's self. the idea been the whole thing can be removed without any trace of it being there.
so i taped the outline of the frame onto the floor then applied a bead of sealer to the bottom of the frame to help it sit nice and flush on the very uneven floor. the sealer sits on the tape and not the boot floor.
and finally the whole lot fitted
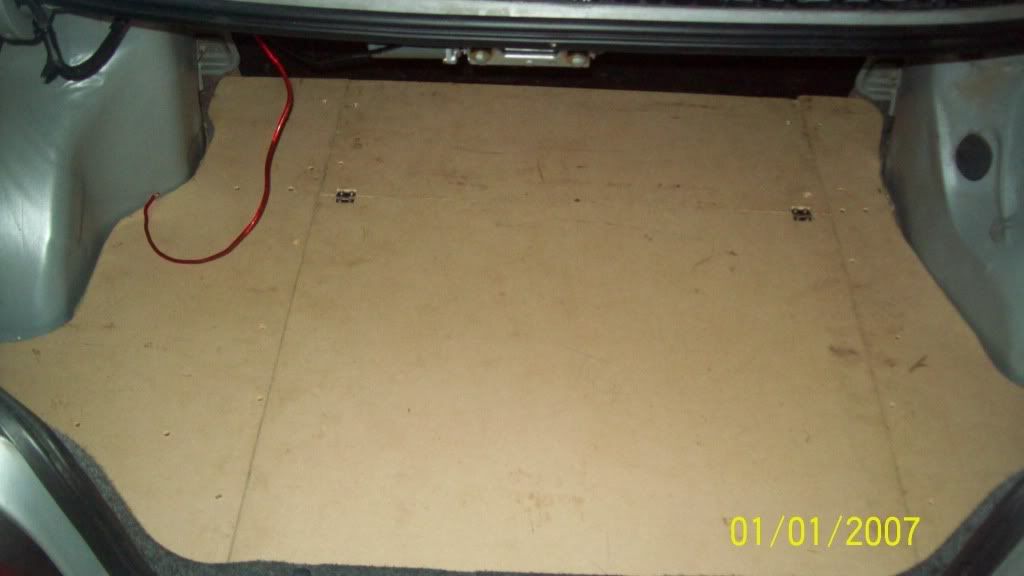
there is plenty of access to the spare wheel
next step mocking up the sub box and amp rack
the bare boot.
the frame in place
the frame mounted on the bottom of the floor
my plan from the start was not screw or permanently fasten any of this build to the car it's self. the idea been the whole thing can be removed without any trace of it being there.
so i taped the outline of the frame onto the floor then applied a bead of sealer to the bottom of the frame to help it sit nice and flush on the very uneven floor. the sealer sits on the tape and not the boot floor.
and finally the whole lot fitted
there is plenty of access to the spare wheel
next step mocking up the sub box and amp rack
Thread Starter
Scooby Regular
Joined: Sep 2009
Posts: 338
Likes: 0
From: Sunderland
I thought i'd revive my thread.
ignore any reference to times in this post as this i was done over a few month
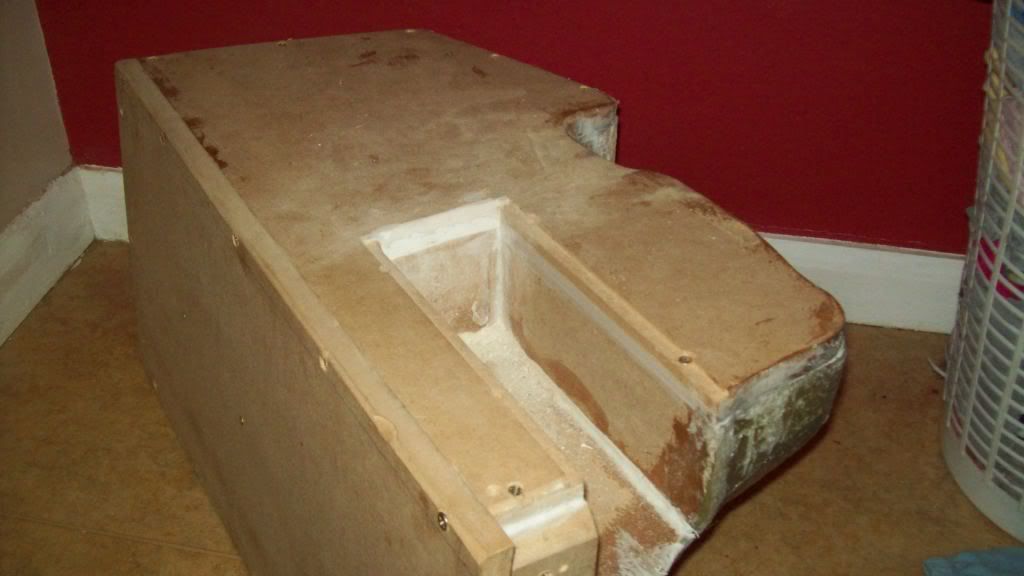
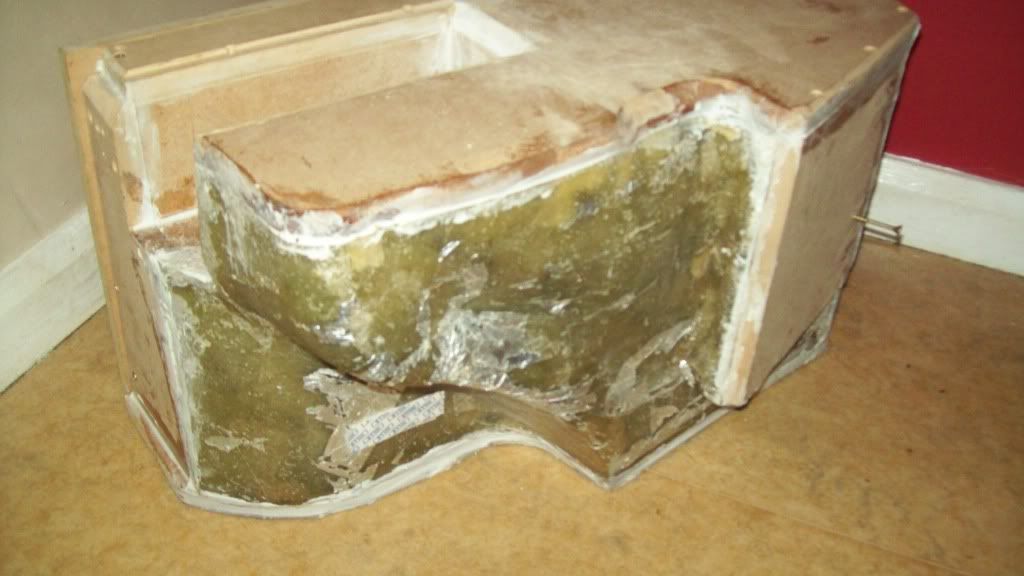
well spent a lot of time over the last week working on the sub box not that it looks like a lot of work has gone into it but it has.
here is the area taped off and foil being applied

first few layers of fiber glass and mdf base and end panel

the mould removed. it was tight to get out
A few more layers of fiber glass a top and the other end panel. cut out in the top panel for the boot hindge
the cut out for the boot hindge has now been boxed in. i foun to tiny leaks when i was checking the box volume so it needs a little bit of sealing but it's just about done.
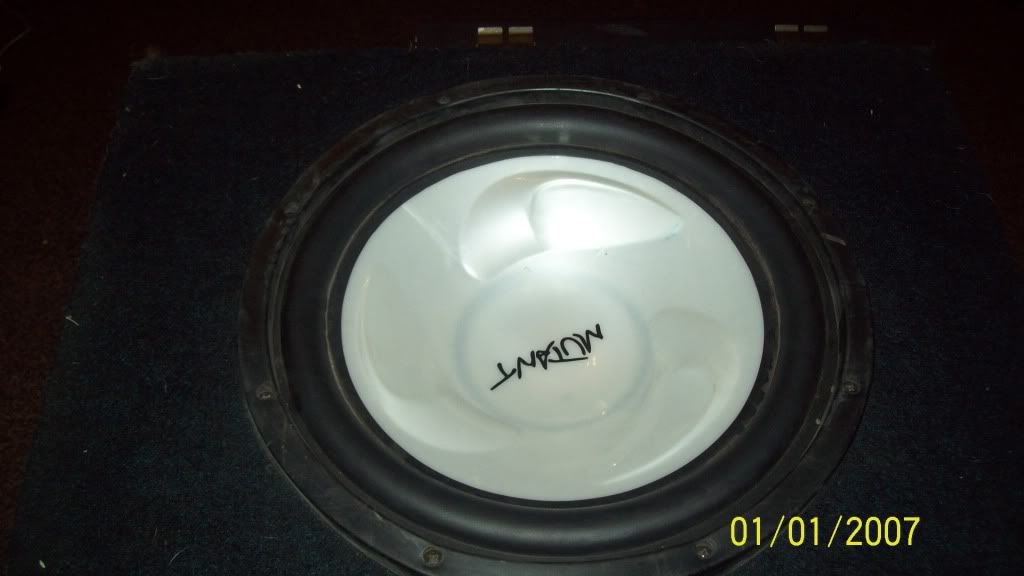
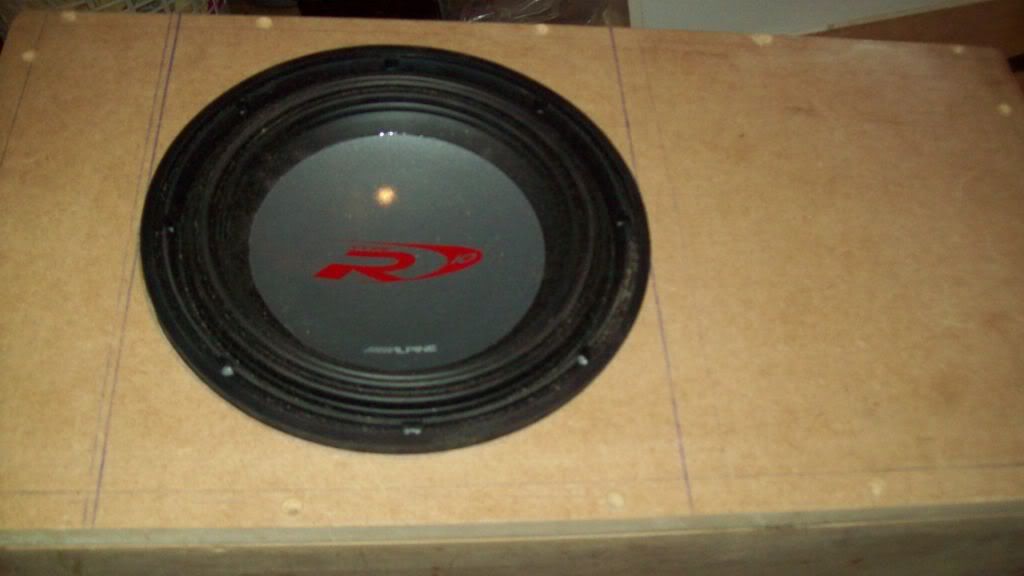
a few pictures of the sub box. hole will be cut when i get the sub
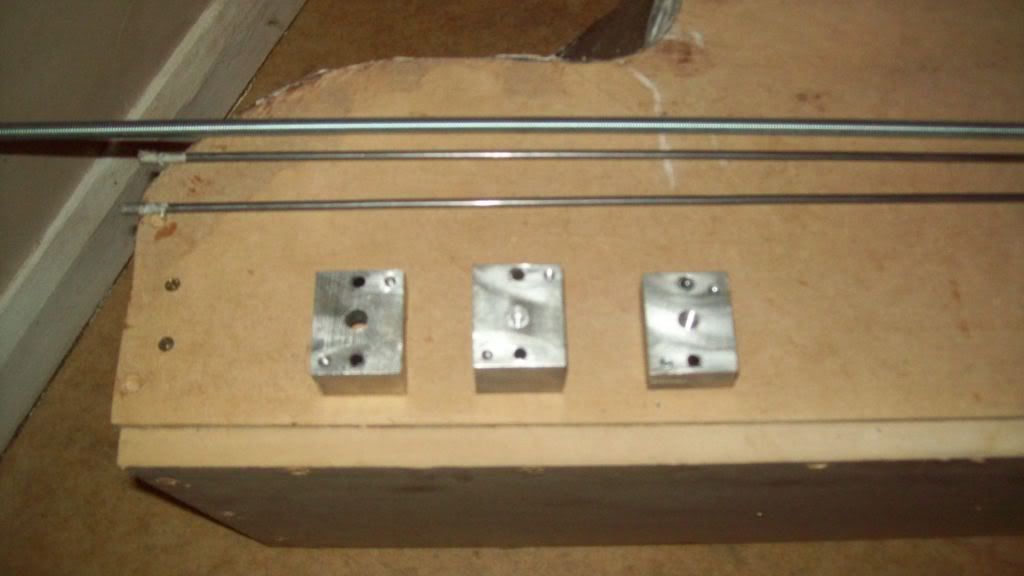
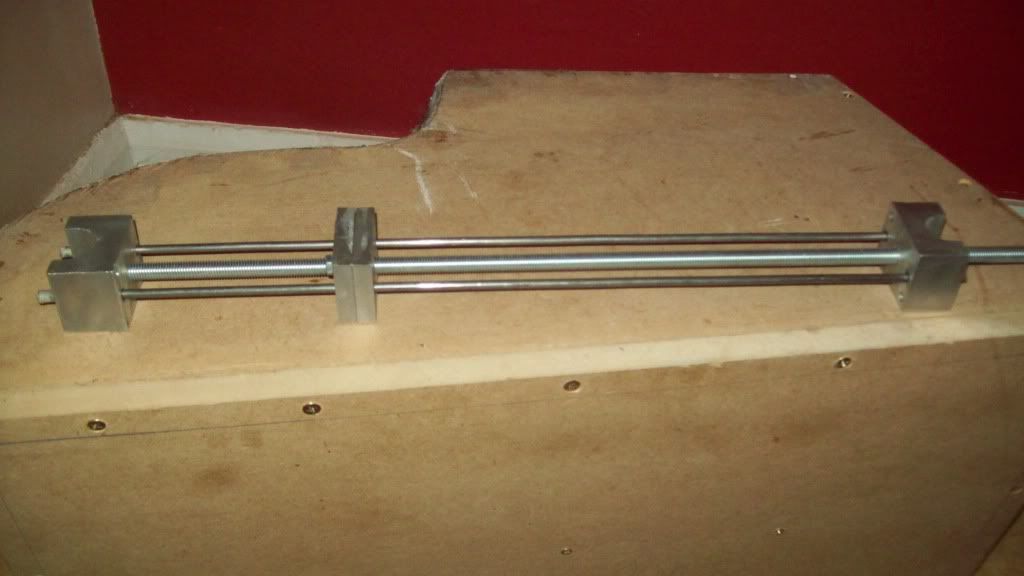
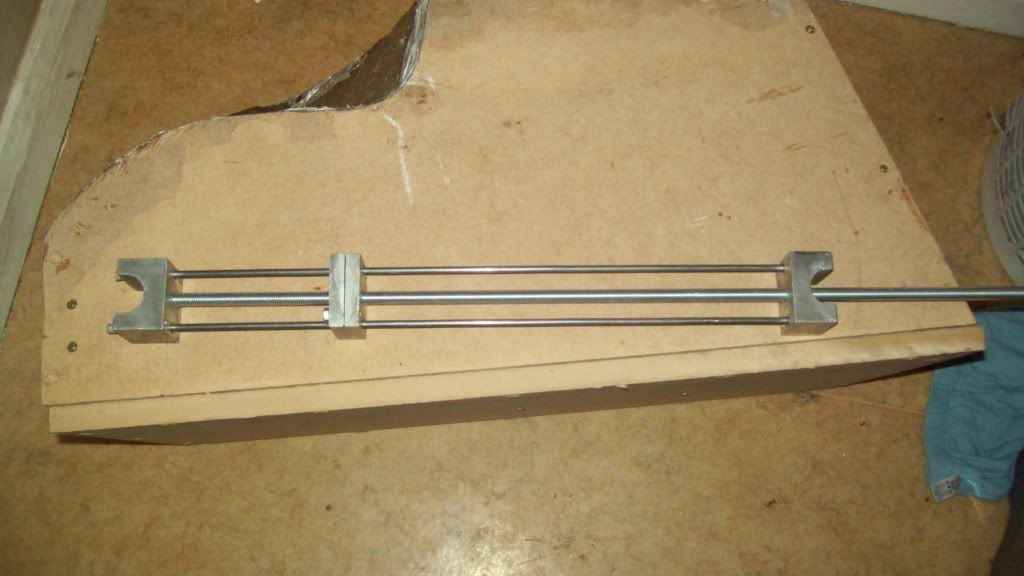
the start of a homemade slide actuator to operate the boot floor
It's been a while since i posted any updates. Not that much to post really but here are a few pictures.
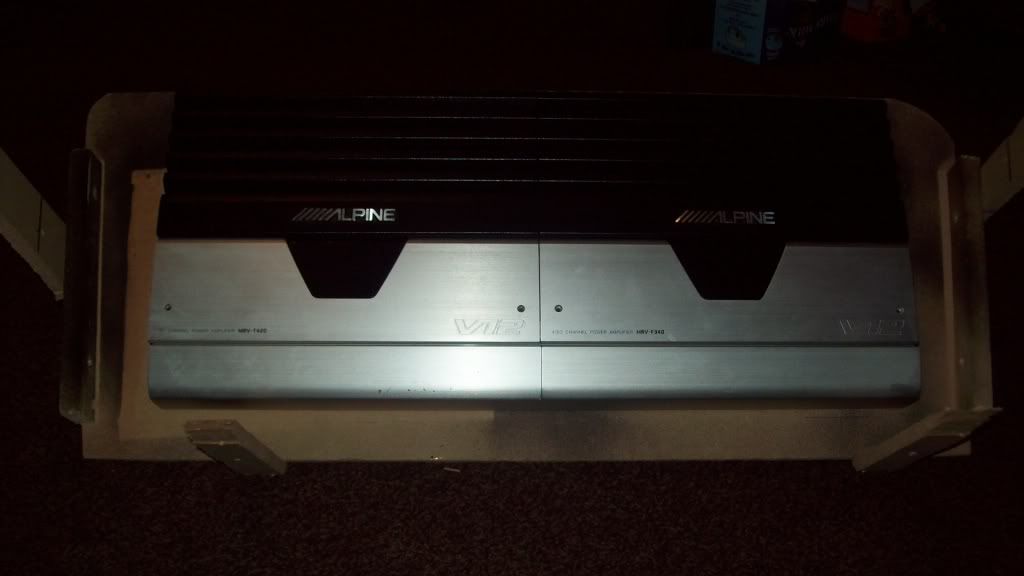
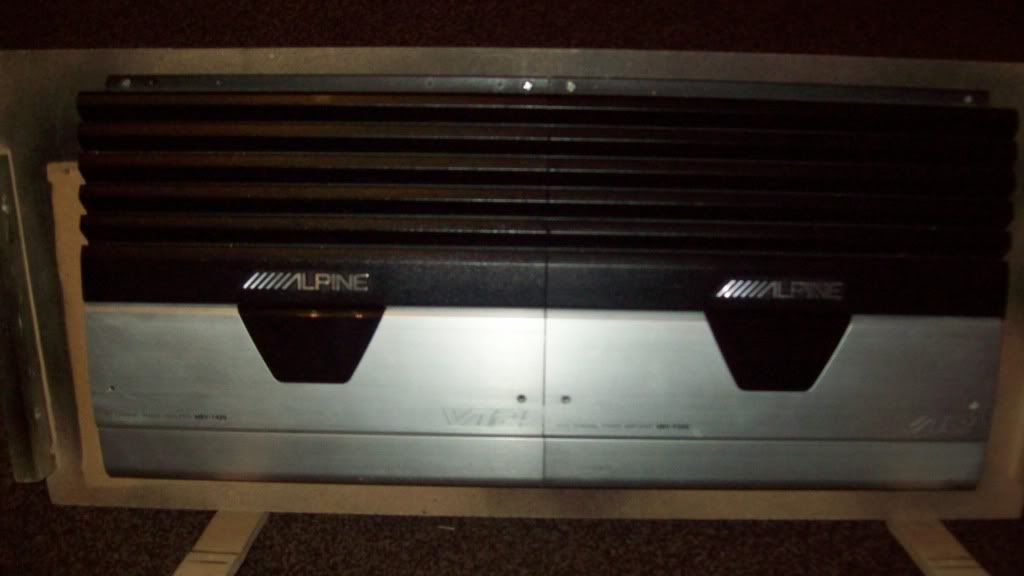
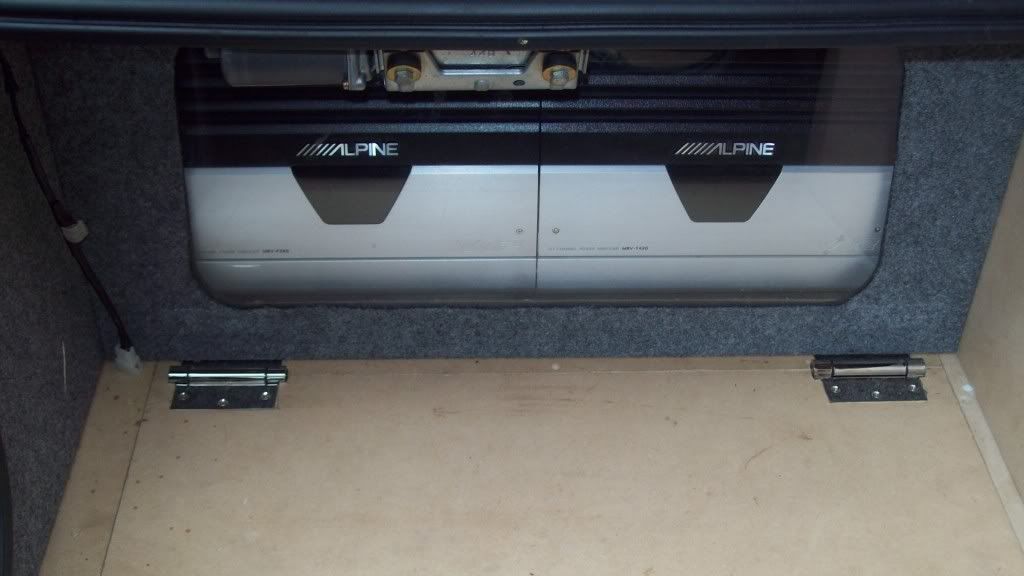
Ive been playing about with the amp rack. sorry about the poor quality of the pictures.
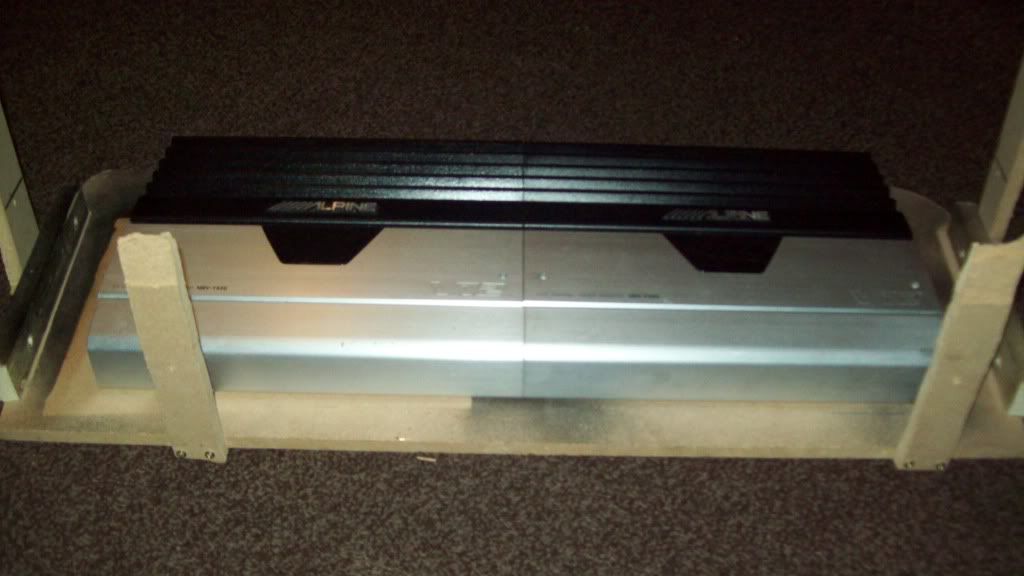
the bits of mdf on the front and sides are not part of it just what i was using to keep the top in the right place while marking the hole to be cut out.
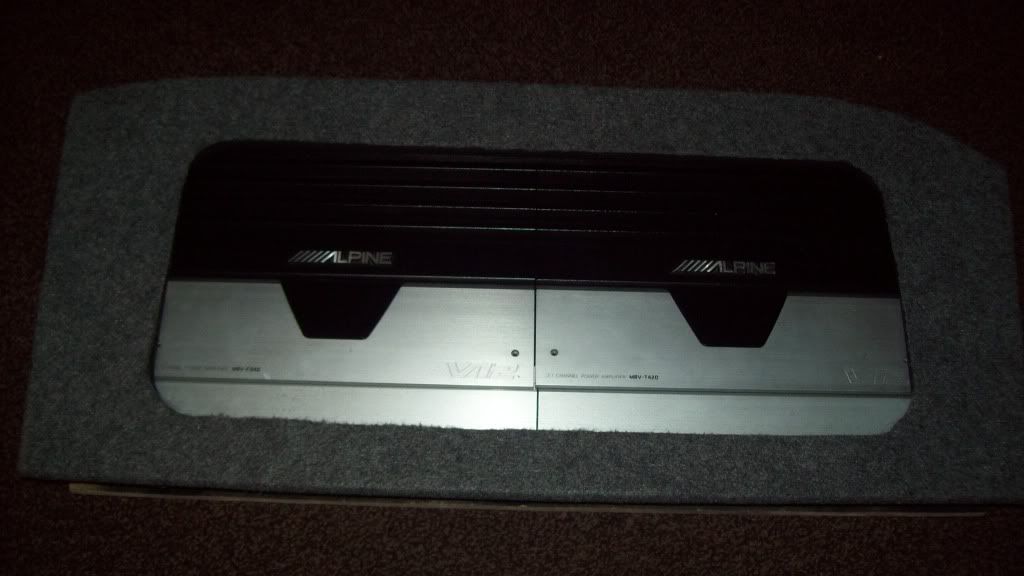
here it is wit the the top on on the L.E.D's fitted
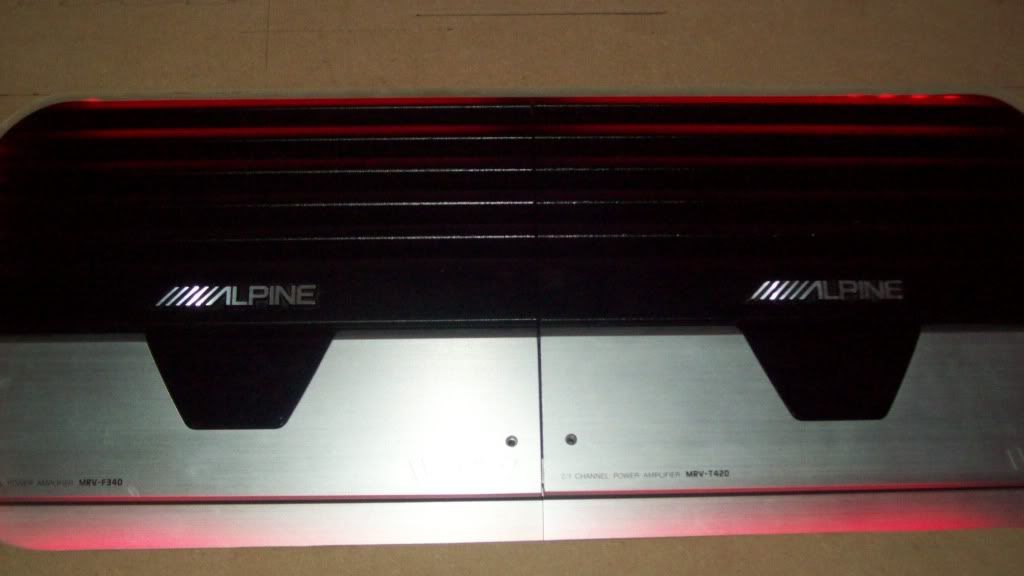
I'm disappointed with the way the light is shinning on the amps, its a bit random and not very uniform. I'm hoping when the perspex is fitted it will carry the light and look better.
well my sub should arrive on monday its been ordered for weeks.fingers crossed.
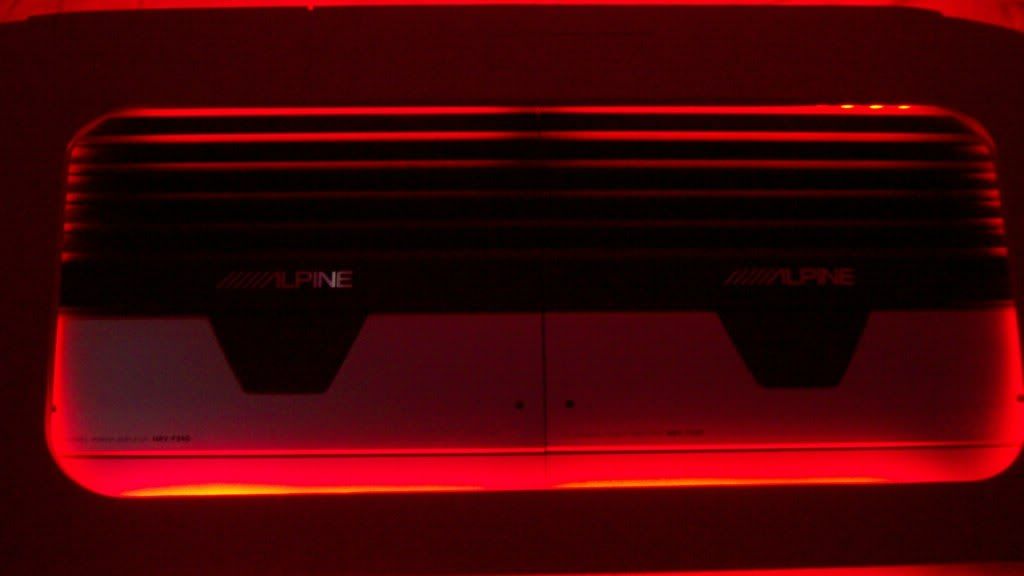
i got the perspex fitted in the cover for the amps, still not happy with the way the light is shinnig on the amps but i can play around with this later when its all fitted in the car.
im going to make my self a circle cutting jig for my router today but back at work tommorrow so not sure when i will get the sub fitted.
Once the sub is in i will be refitting everything so i will get some pictures then. ive ordered some carpet not enough to do the whole boot just a sample to see if i like it
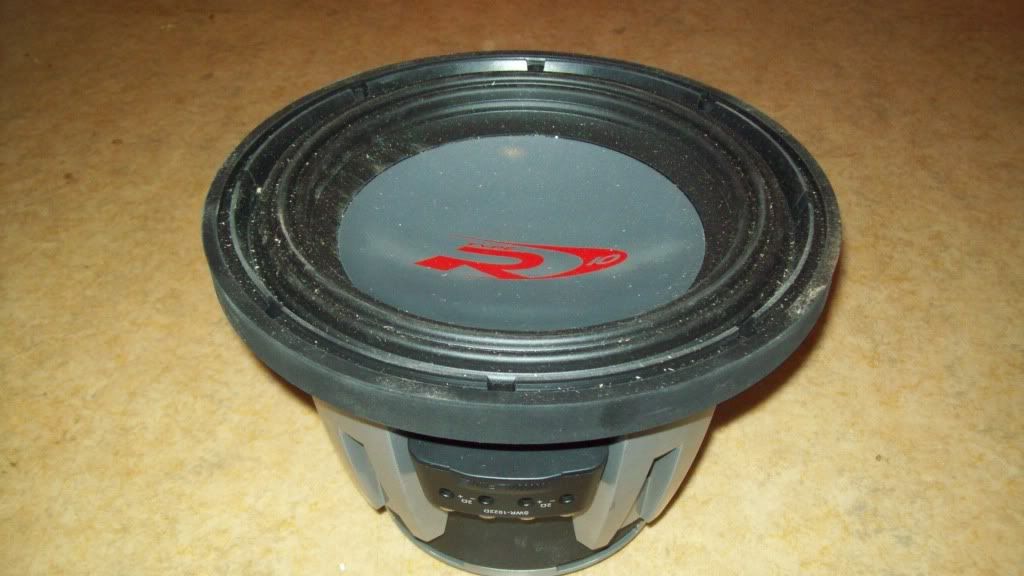
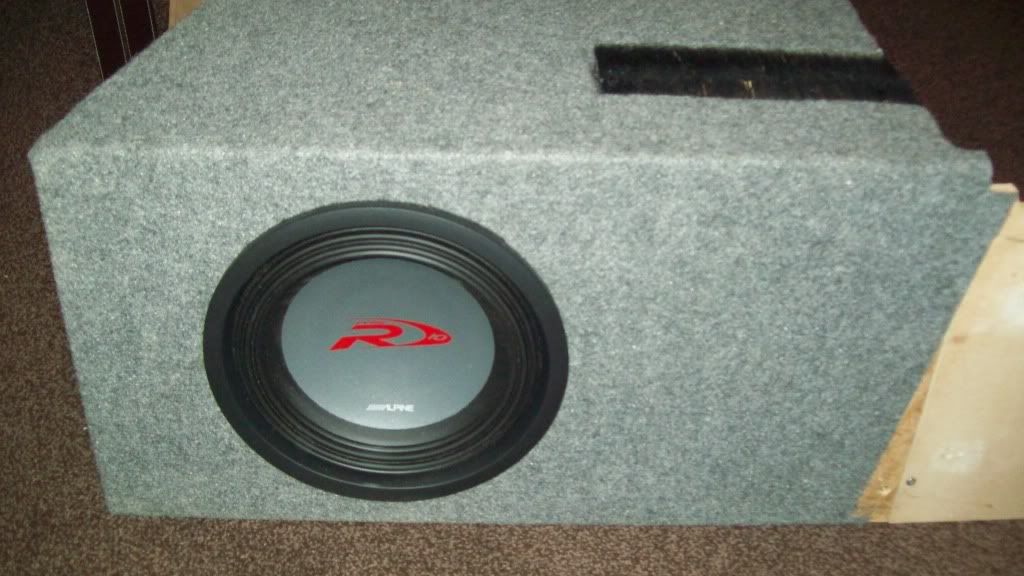
got the hole cut in the sub box using my home made circle jig
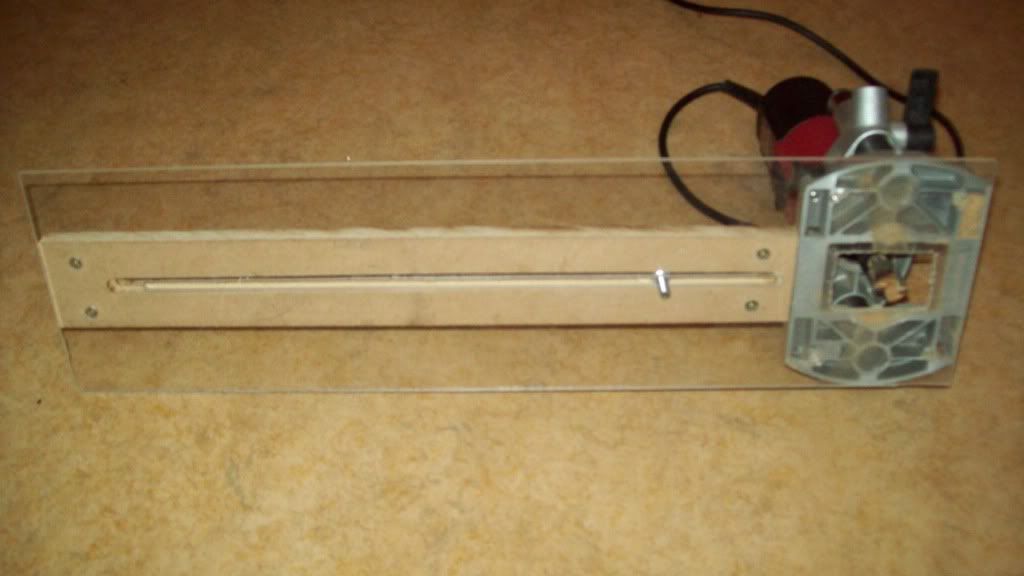
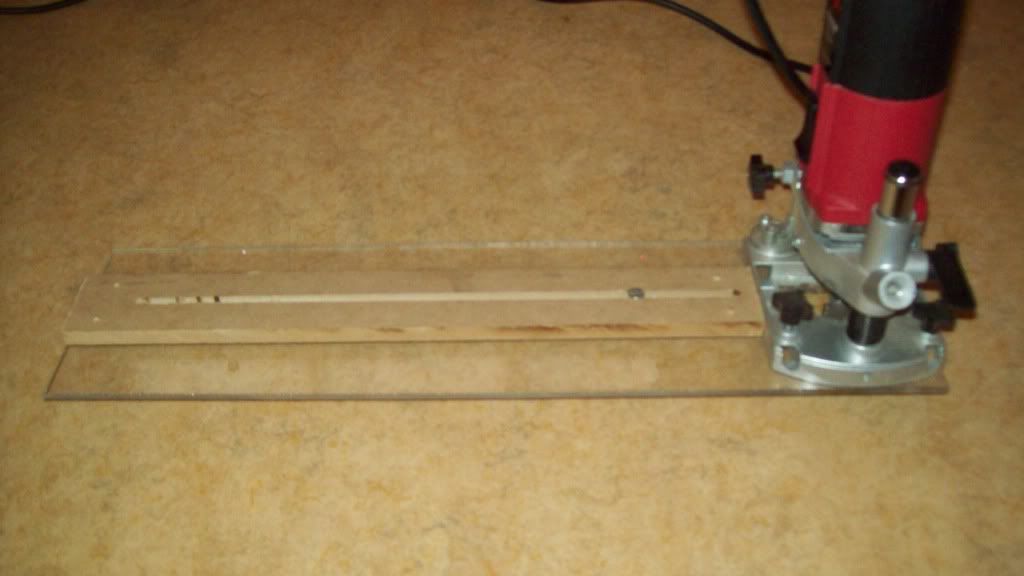
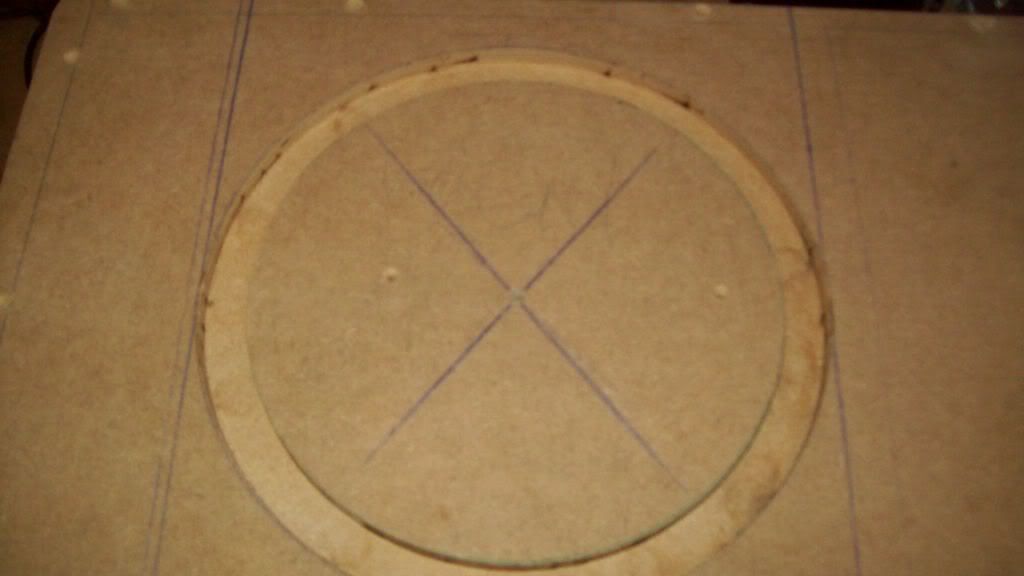
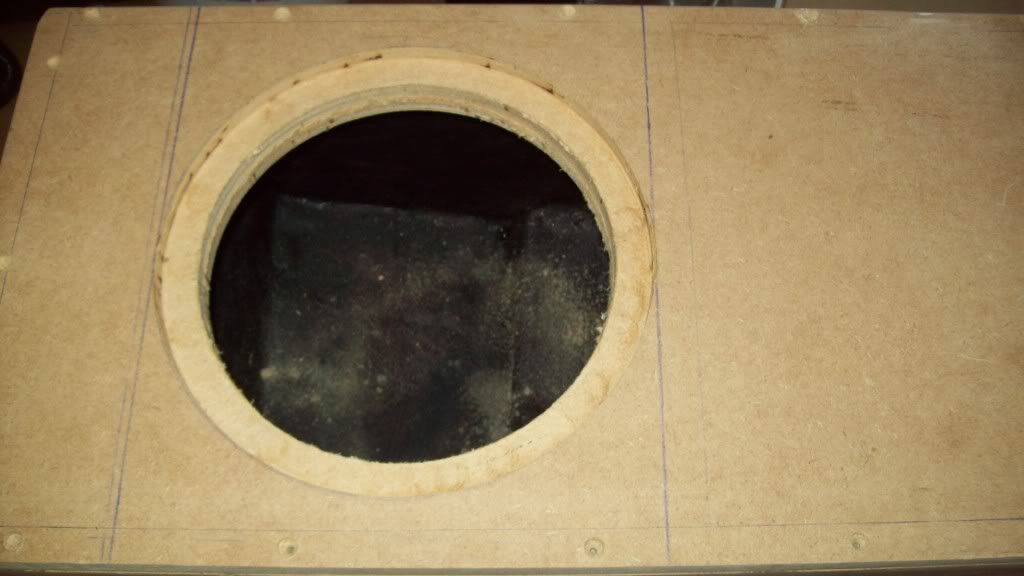
i've recessed it 12mm in to the front so it still sits proud when the carpet is on it will stick out only a couple of mm
started to do so trimming today.
got the box covered and the amp cover
i found this to be harder than i thought it would, but it looks ok. a few dodgy edges on the amp cover but for a first attempt i think its ok.
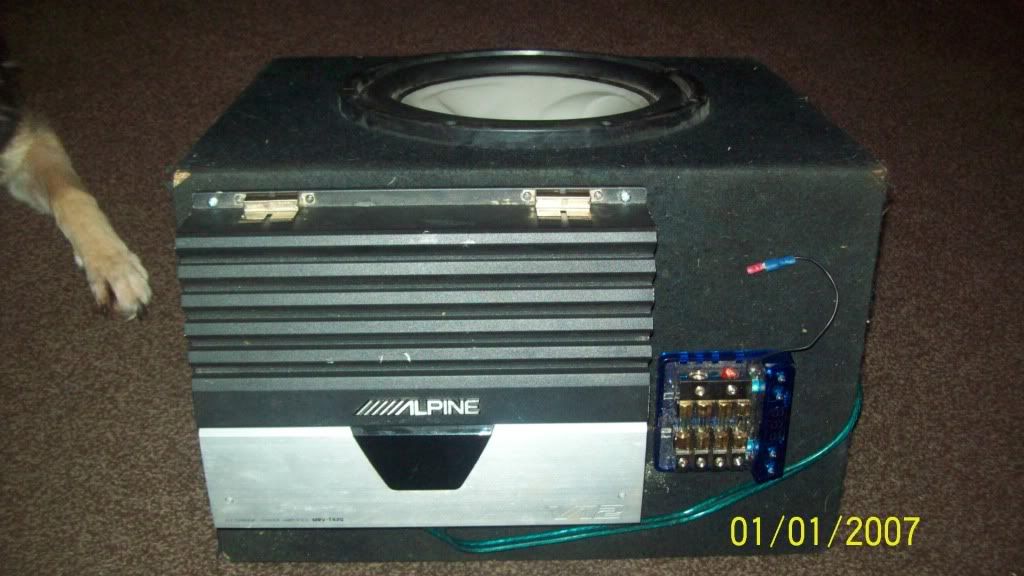
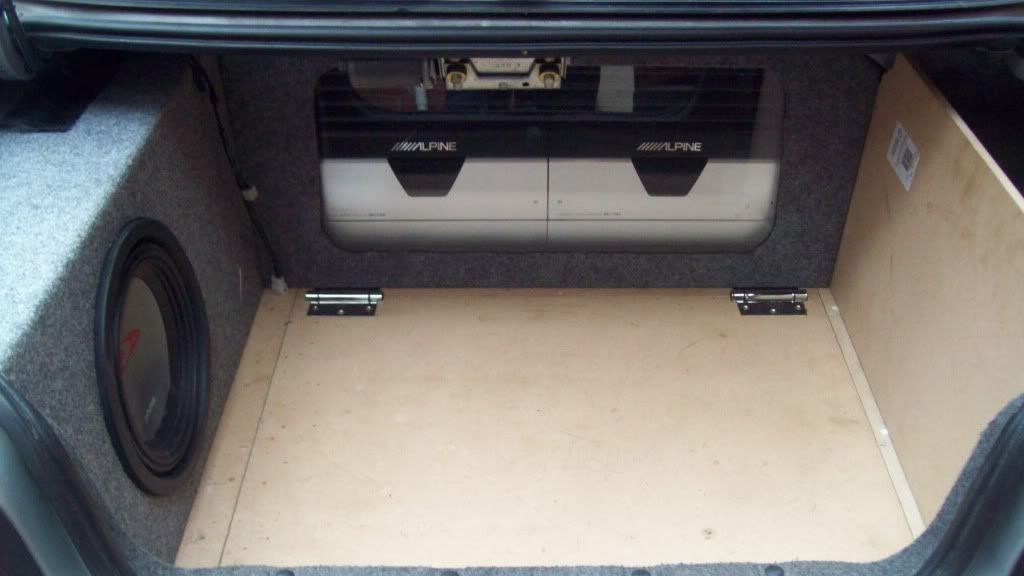
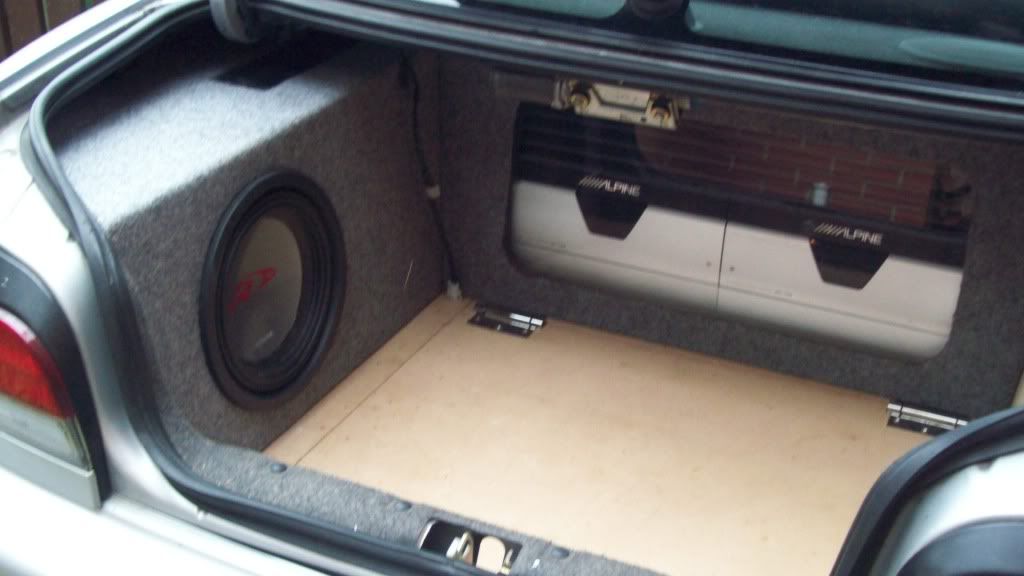
well finally got the amps and sub in the car. Amp is powered up and sub is pumping away.
this is how it looks, not finished yet obviously but its getting there
The boot is on hold for a while now. so i can get other bits and bobs done on the car.
ignore any reference to times in this post as this i was done over a few month
well spent a lot of time over the last week working on the sub box not that it looks like a lot of work has gone into it but it has.
here is the area taped off and foil being applied
first few layers of fiber glass and mdf base and end panel
the mould removed. it was tight to get out
A few more layers of fiber glass a top and the other end panel. cut out in the top panel for the boot hindge
the cut out for the boot hindge has now been boxed in. i foun to tiny leaks when i was checking the box volume so it needs a little bit of sealing but it's just about done.
a few pictures of the sub box. hole will be cut when i get the sub
the start of a homemade slide actuator to operate the boot floor
It's been a while since i posted any updates. Not that much to post really but here are a few pictures.
Ive been playing about with the amp rack. sorry about the poor quality of the pictures.
the bits of mdf on the front and sides are not part of it just what i was using to keep the top in the right place while marking the hole to be cut out.
here it is wit the the top on on the L.E.D's fitted
I'm disappointed with the way the light is shinning on the amps, its a bit random and not very uniform. I'm hoping when the perspex is fitted it will carry the light and look better.
well my sub should arrive on monday its been ordered for weeks.fingers crossed.
i got the perspex fitted in the cover for the amps, still not happy with the way the light is shinnig on the amps but i can play around with this later when its all fitted in the car.
im going to make my self a circle cutting jig for my router today but back at work tommorrow so not sure when i will get the sub fitted.
Once the sub is in i will be refitting everything so i will get some pictures then. ive ordered some carpet not enough to do the whole boot just a sample to see if i like it
got the hole cut in the sub box using my home made circle jig
i've recessed it 12mm in to the front so it still sits proud when the carpet is on it will stick out only a couple of mm
started to do so trimming today.
got the box covered and the amp cover
i found this to be harder than i thought it would, but it looks ok. a few dodgy edges on the amp cover but for a first attempt i think its ok.
well finally got the amps and sub in the car. Amp is powered up and sub is pumping away.
this is how it looks, not finished yet obviously but its getting there
The boot is on hold for a while now. so i can get other bits and bobs done on the car.

Thread Starter
Scooby Regular
Joined: Sep 2009
Posts: 338
Likes: 0
From: Sunderland
Remove the sub. Which is easy but time consuming. The whole thing is like a puzzle, unfortunately the sub box is one of the first pieces to go in which means last to get out.
Bet its gonna sound great tho, my luck would be bulbs going every 5 mins lol.

Thread Starter
Scooby Regular
Joined: Sep 2009
Posts: 338
Likes: 0
From: Sunderland
No templates.
I could sell this one i've made it so as it can be removed from the car leaving no trace it was ever there. No holes drilled or screws in to the car, and all the wiring that had to be moved, i made extension harrnesses that fit the orginal connectors so no wires were cut.
all thats need for it to fit in to any classic boot is the removal of the boot carpet and side trim and it would slip straight in.

Thread
Thread Starter
Forum
Replies
Last Post
Wingnuttzz
Member's Gallery
30
Apr 26, 2022 11:15 PM
Danny0608
Subaru
6
Sep 27, 2015 02:16 PM
Adam Kindness
ScoobyNet General
0
Sep 15, 2015 03:31 PM