V4 Heads refurb
#1
I'm looking for some advice and possibly a guide on stripping and rebuilding a set of V4 heads taken from my Type R (Shim under bucket). But I have a few questions....
1. The head gaskets were not leaking, so will I still need to skim the head to block surface?. (New gaskets will be used)
2. If not what is the best way to clean the head surface?.
3. Do I just need to replace the valve seals? Or is there anything else that should be changed?.
4. Does anyone have the clearances?. Should these be set once torqued down to the block?.
Thanks in advance.
Al
#2
Scooby Regular
iTrader: (14)
Join Date: May 2006
Location: Sunderland
Posts: 533
Likes: 0
Received 0 Likes
on
0 Posts
Clean the head & block faces off & check for flatness,I used thinners & a razor scraper, to remove the remains of the old gasket, IMO i'd get a mahine shop to give them a light dust skim, that will clean them off & remove any imperfections, once you strip them, & lap in the valves, you will need to re-shim the buckets. I measured mine & worked out what amount of material needed to be removed & sent them to a machine shop to linish them.
0.20mm Inlet
0.25mm Exhaust
& i'm more than sure the tollerance is +/- .2mm.
0.20mm Inlet
0.25mm Exhaust
& i'm more than sure the tollerance is +/- .2mm.
#3
Scooby Regular
iTrader: (2)
I've just had my heads rebuilt by www.finchmotorsport.co.uk far superior job to what I could ever achieve.
Valve seats recut to Pauls spec, new seals and guides. They look like new

Uploaded with ImageShack.us

Uploaded with ImageShack.us
Valve seats recut to Pauls spec, new seals and guides. They look like new


Uploaded with ImageShack.us
Uploaded with ImageShack.us
#5
Scooby Regular
iTrader: (6)
I had a local engineer take 2 tho off both heads (and block faces just to be safe),check the valve guides, recut all the valves and then chuck the heads through his hot wash
cost me £100 for the work on the heads
I lapped the valves in and replaced the stem seals myself but, I did upgrade the inlet valve seals by using exhaust ones as the exhaust seals are the same dimensions and made from a higher grade Viton rubber to take the heat
cost me £100 for the work on the heads

I lapped the valves in and replaced the stem seals myself but, I did upgrade the inlet valve seals by using exhaust ones
 as the exhaust seals are the same dimensions and made from a higher grade Viton rubber to take the heat
Trending Topics
#13
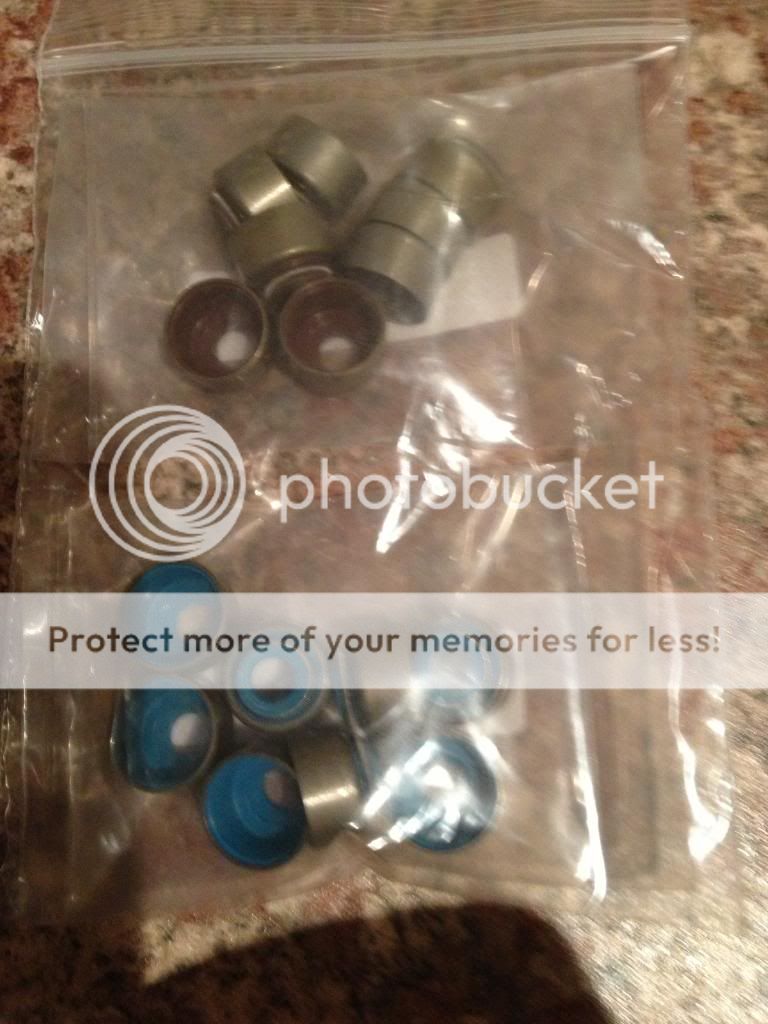
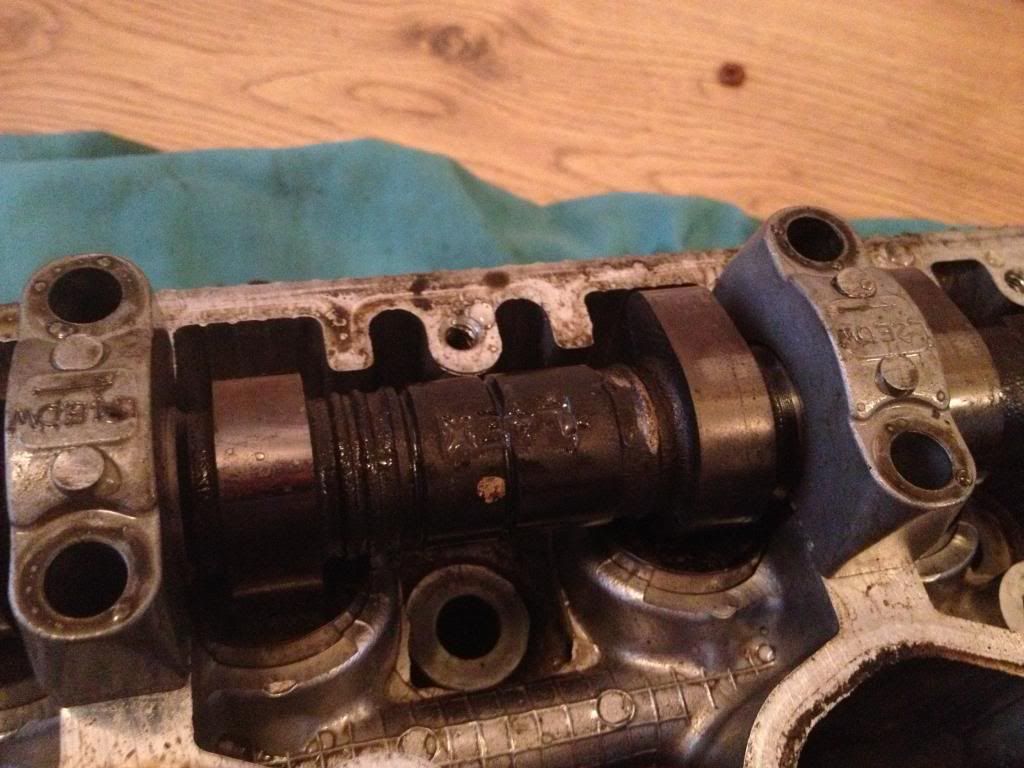
Heads now skimmed. New Valve stem seals all ready. I've lapped the valves in using the finer grinding paste, but I didn't want to over do it.
Now to build the heads back up. I was thinking of cleaning each spring/collet etc with gunk, then spraying off with brake cleaner. Do I need to oil any parts up before putting them back in situ?


Also does anyone know if the blue seals are for the exhaust valves?

Now to build the heads back up. I was thinking of cleaning each spring/collet etc with gunk, then spraying off with brake cleaner. Do I need to oil any parts up before putting them back in situ?


Also does anyone know if the blue seals are for the exhaust valves?

Last edited by Kwik; 03 September 2013 at 03:41 PM.
#14
Scooby Regular
iTrader: (2)
You need to completly strip the heads including all the oil gallery bungs & the 2 restrictors, where do you think the ally swarf can get to when skimmed, they also need a complete decoke, before you lap the valves, when clean build it all with oil or assembly lube, the latter if its going to stand about for a while.
Be carefull with Supertech seals, they have a tendency for the seal to part company with its metal outer, genuine Subaru Ex seals are a lot better fitted to all valves.
Be carefull with Supertech seals, they have a tendency for the seal to part company with its metal outer, genuine Subaru Ex seals are a lot better fitted to all valves.
Last edited by MOTORS S GT; 03 September 2013 at 05:08 PM.
#15
Scooby Regular
iTrader: (1)
Before you go ahead and assemble anything, I would recommend removing the oil gallery plugs and the restrictor in each head and giving the oil gallerys a good flush through seeing the heads have been skimmed and to remove the years of tarnish and crud.
Mick
The above post beat me to it lol
Mick
The above post beat me to it lol
Last edited by merlin24; 03 September 2013 at 05:08 PM.
#16
You need to completly strip the heads including all the oil gallery bungs & the 2 restrictors, where do you think the ally swarf can get to when skimmed, they also need a complete decoke, before you lap the valves, when clean build it all with oil or assembly lube, the latter if its going to stand about for a while.
Be carefull with Supertech seals, they have a tendency for the seal to part company with its metal outer, genuine Subaru Ex seals are a lot better fitted to all valves.
Be carefull with Supertech seals, they have a tendency for the seal to part company with its metal outer, genuine Subaru Ex seals are a lot better fitted to all valves.
Before you go ahead and assemble anything, I would recommend removing the oil gallery plugs and the restrictor in each head and giving the oil gallerys a good flush through seeing the heads have been skimmed and to remove the years of tarnish and crud.
Mick
The above post beat me to it lol
Mick
The above post beat me to it lol
Any advice on decoking?
Thanks

#17
Scooby Regular
iTrader: (1)
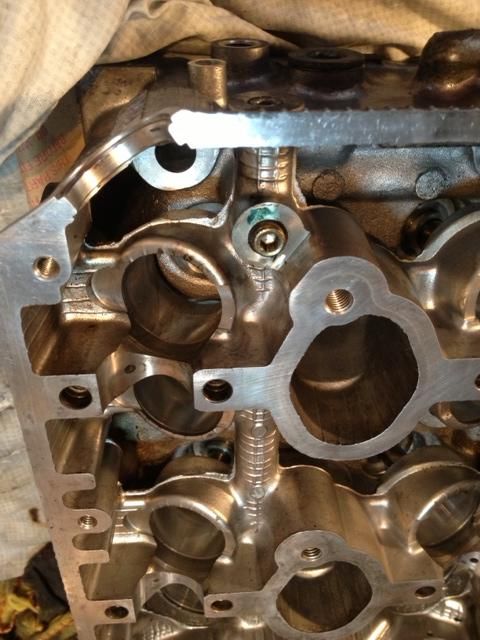
The photo shows a later restrictor from STi Version 5~6 heads but your heads will be similar and use a cylinderical restrictor.
Follow the oil feed from the head face and upwards on each head and this is where the restrictor is located.
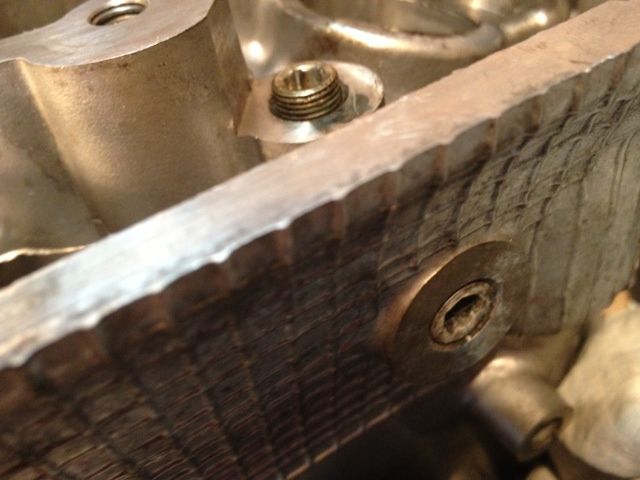
The gallery bungs are a combination of 14mm headed bungs and 5mm allen key bungs - remove the 5mm allen key bungs ( 5 or 6 depending on version of heads) by warming the bungs up with a blow-torch to soften the locktite.
Using a long rod, tap out the restrictor from the opposite end of the gallery.
Remove all bungs if possible and you will be suprised by the amount of crud which comes out when flushed through with brake cleaner especially on the exhaust side oil gallerys.

Mick
Follow the oil feed from the head face and upwards on each head and this is where the restrictor is located.
The gallery bungs are a combination of 14mm headed bungs and 5mm allen key bungs - remove the 5mm allen key bungs ( 5 or 6 depending on version of heads) by warming the bungs up with a blow-torch to soften the locktite.
Using a long rod, tap out the restrictor from the opposite end of the gallery.
Remove all bungs if possible and you will be suprised by the amount of crud which comes out when flushed through with brake cleaner especially on the exhaust side oil gallerys.

Mick
#19
Scooby Regular
iTrader: (2)
If you don't clean the galleries out, or any part of the engine, including new parts, you might as well flush your money invested in an engine down the loo, does'nt matter what you buy, billet cranks, rods forged pistons etc, if its not spotlessly clean it will be scrap.
#27
I ran the head up to Southern rebore for them to have a look at the grub screw that is rounded and they advised not touching it. Instead they advised to clean out from the other side, and the grub screw about an inch away. They said as it is a tapered thread it would cause more problems.
They aren't a Subaru specialist so thought I'd see what is advised before I did anything else.
They aren't a Subaru specialist so thought I'd see what is advised before I did anything else.
Thread
Thread Starter
Forum
Replies
Last Post
Mattybr5@MB Developments
Full Cars Breaking For Spares
28
28 December 2015 11:07 PM
acemodder
ScoobyNet General
50
01 October 2015 07:01 PM


