Polished Bliss®: RS6 MTM...
 01 March 2011, 09:47 AM
#1
Former Sponsor
Thread Starter

Join Date: Mar 2007
Location: Aberdeen
Posts: 181
Likes: 0
Received 0 Likes
on
0 Posts
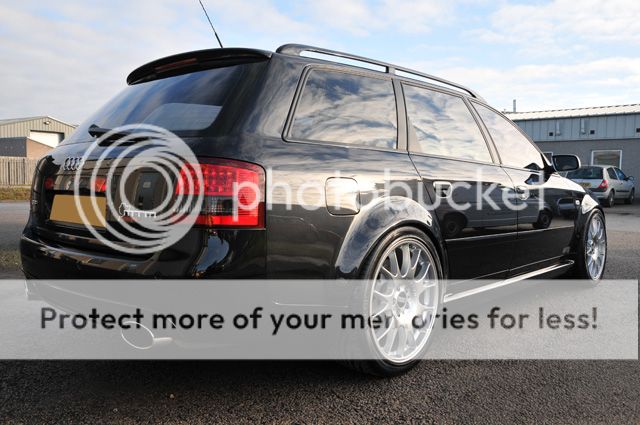
This was the latest one in for a bit (ALOT!) of correction work and was carried out by myself and Alan over the space of a week.
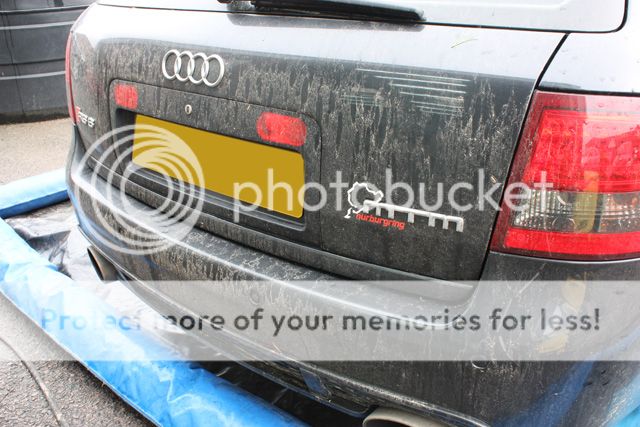
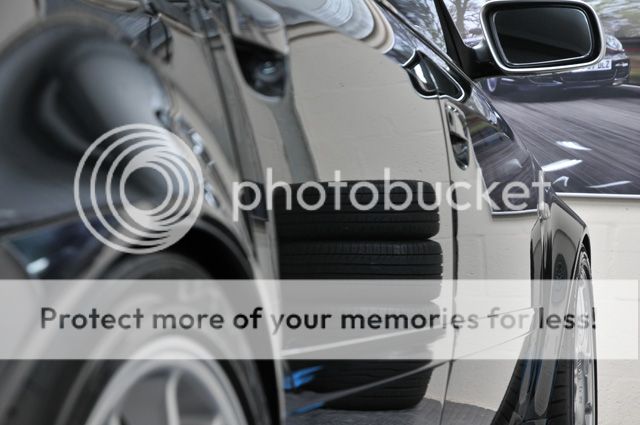
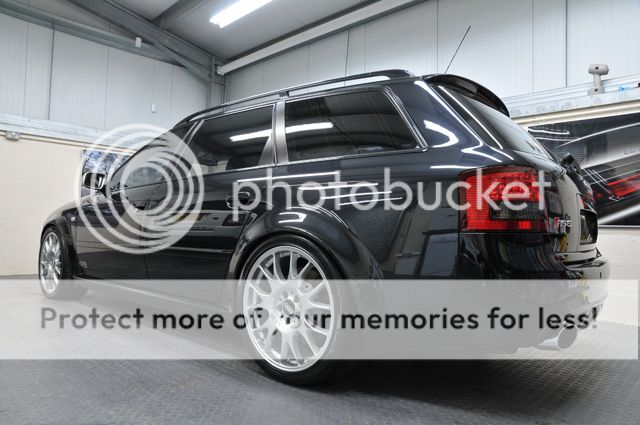
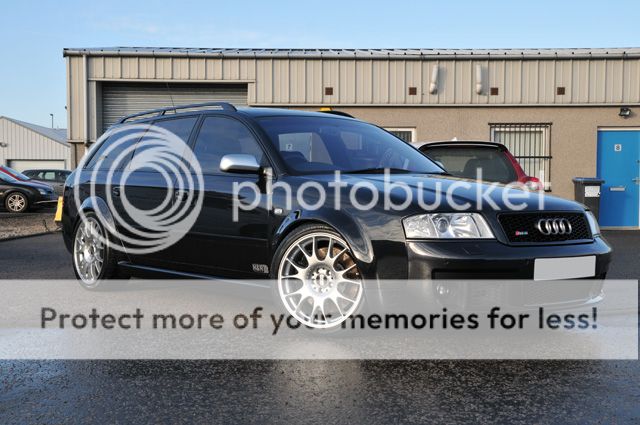
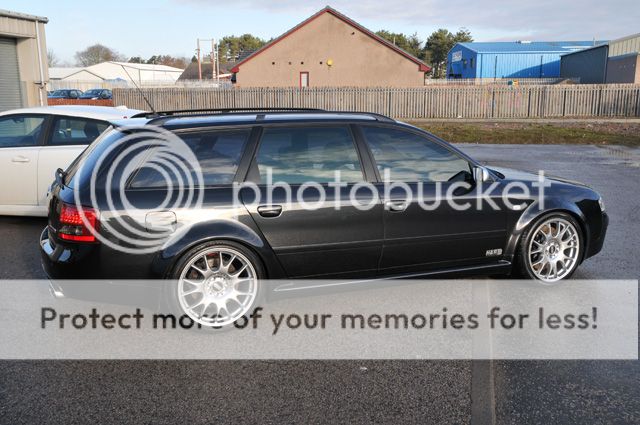
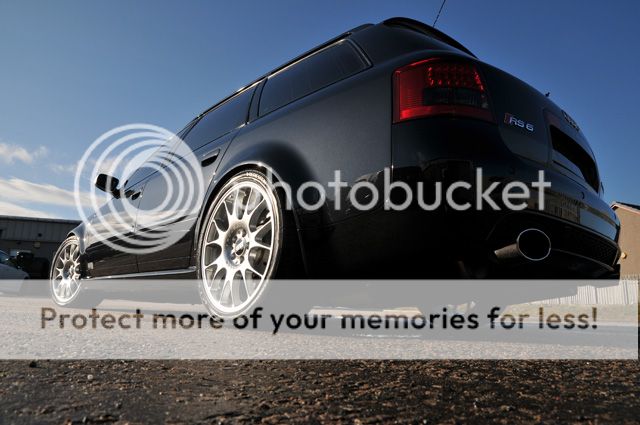
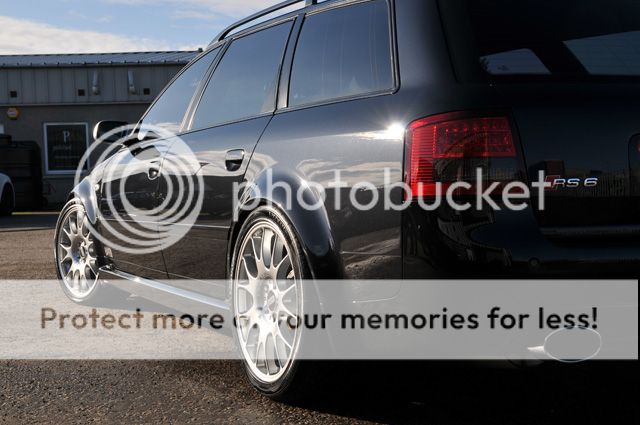
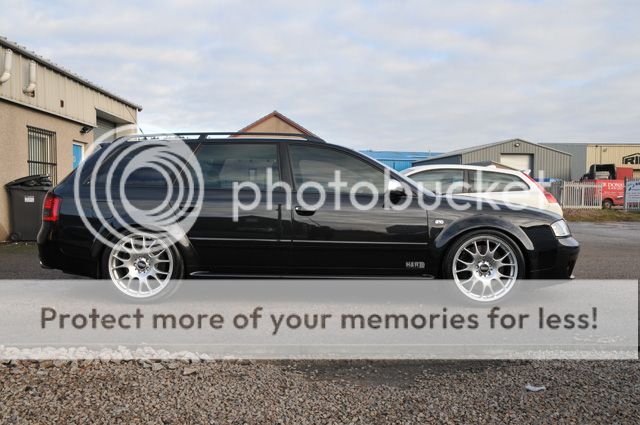
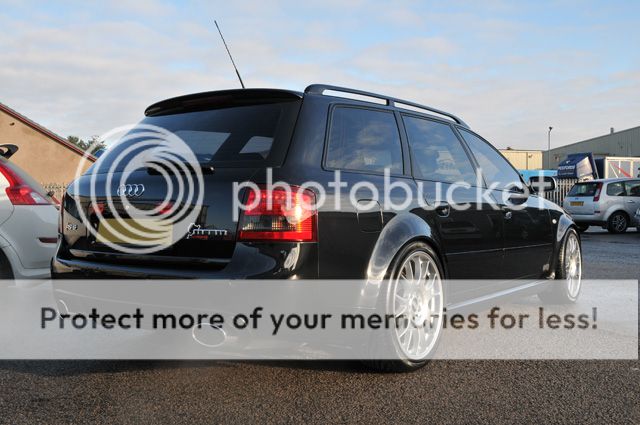
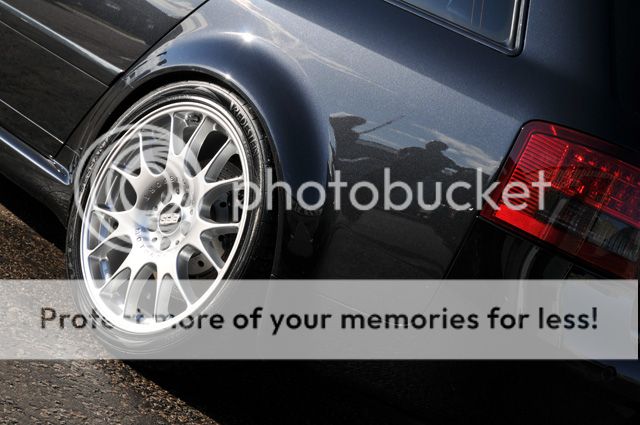
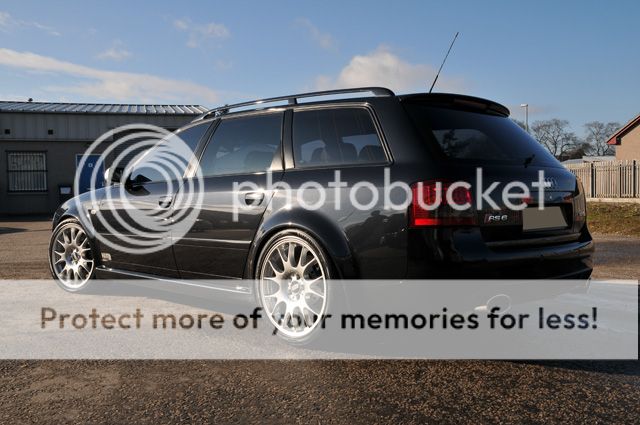
The car arrived looking pretty dull and a bit grubby - not surprising given the state of the roads lately:

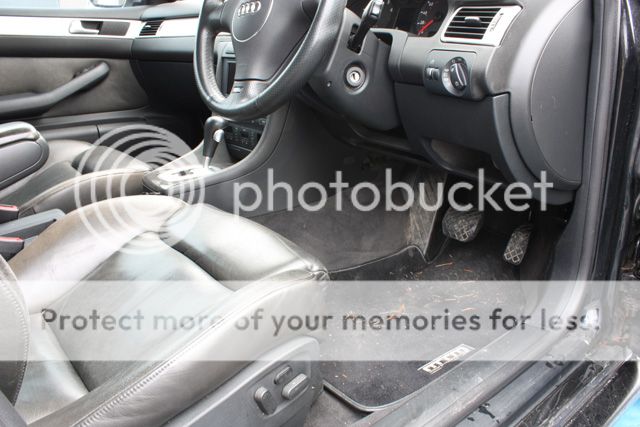
The leather was looking really sorry for itself due to ingrained dirt and poor dressings used by the previous owner:


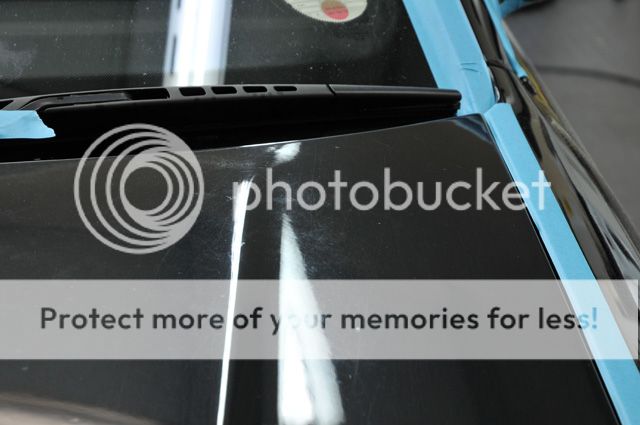
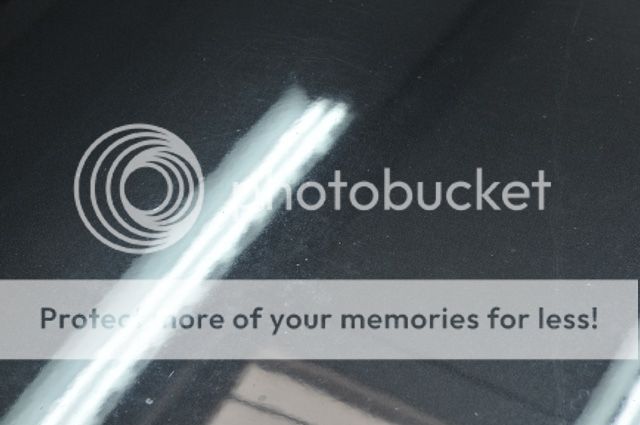
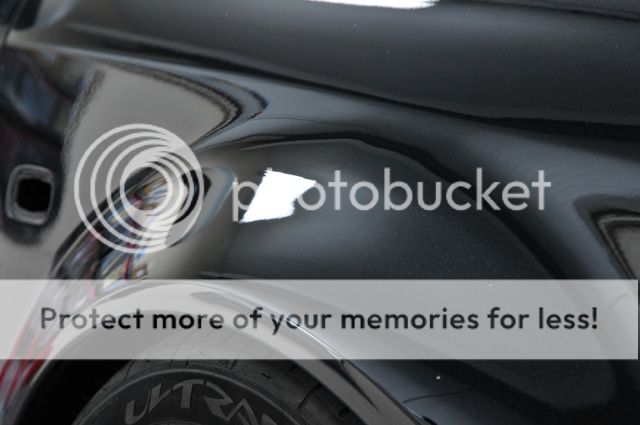
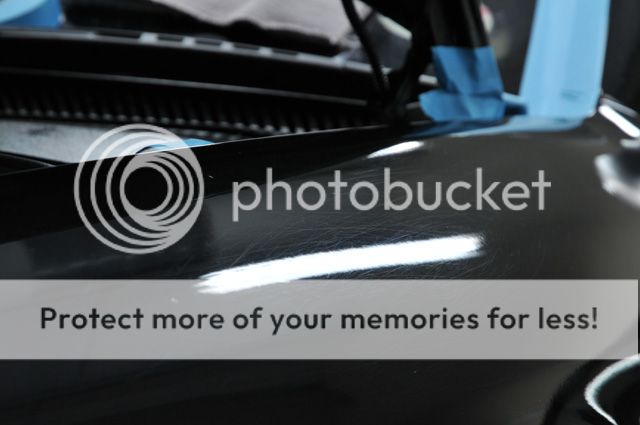
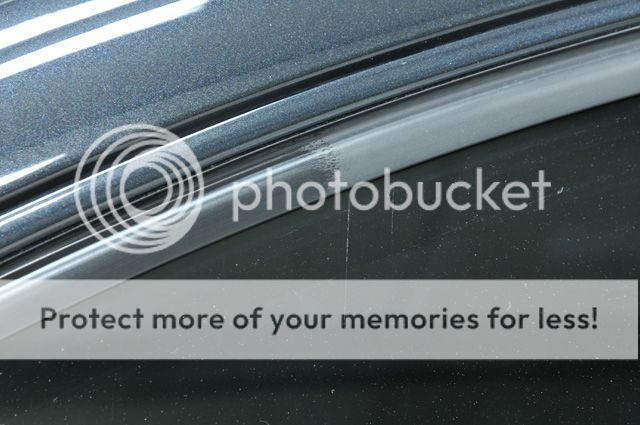
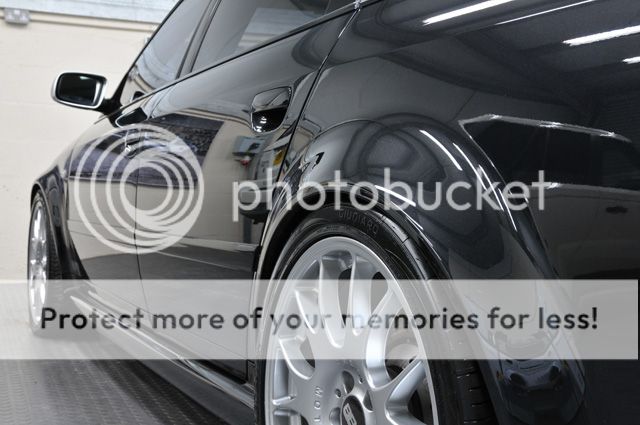
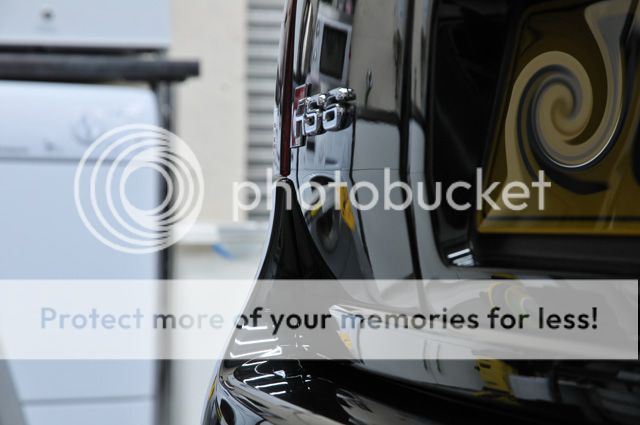
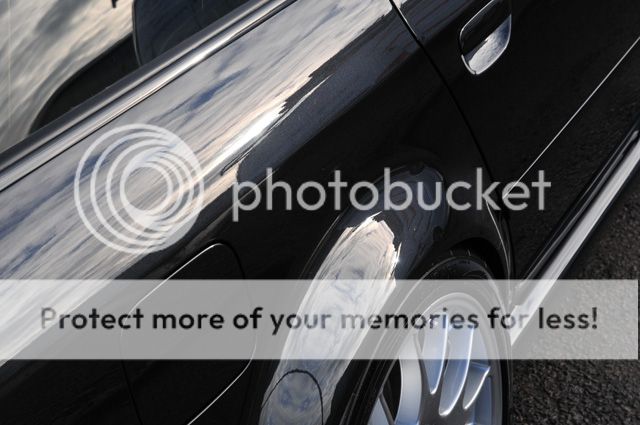
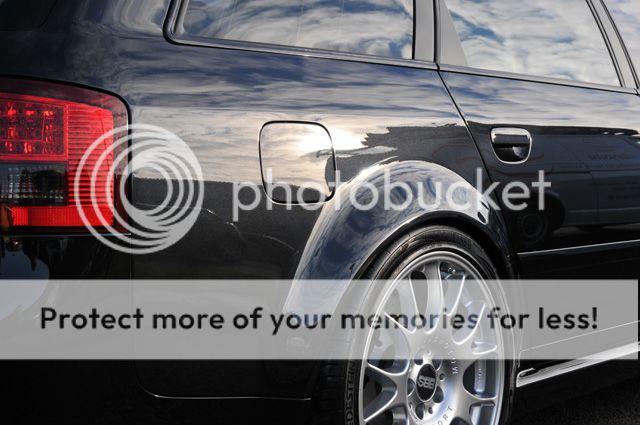
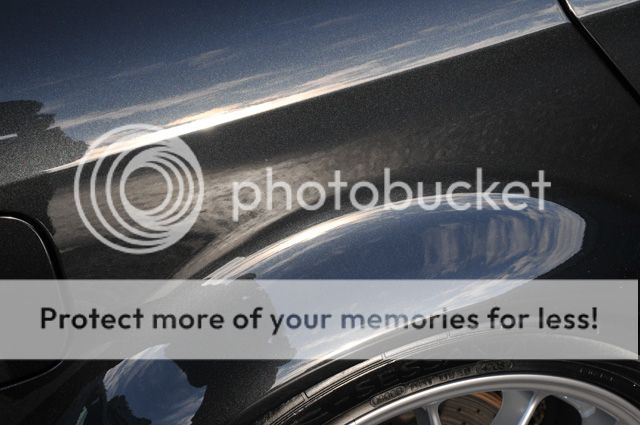
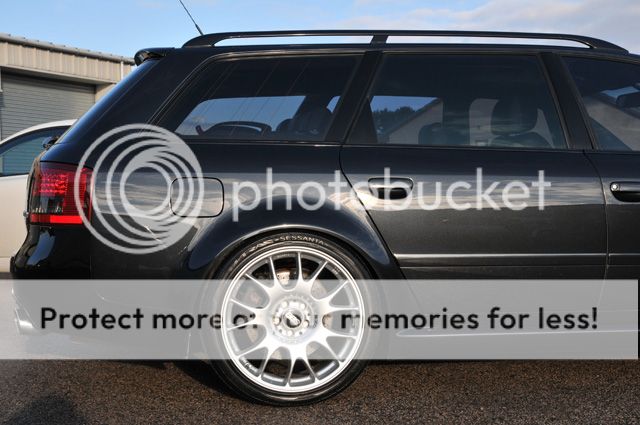
I think these 2 pictures help show the lack of shine in the paintwork:

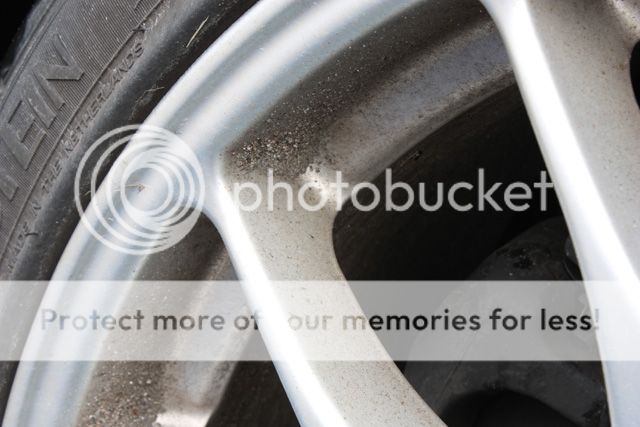
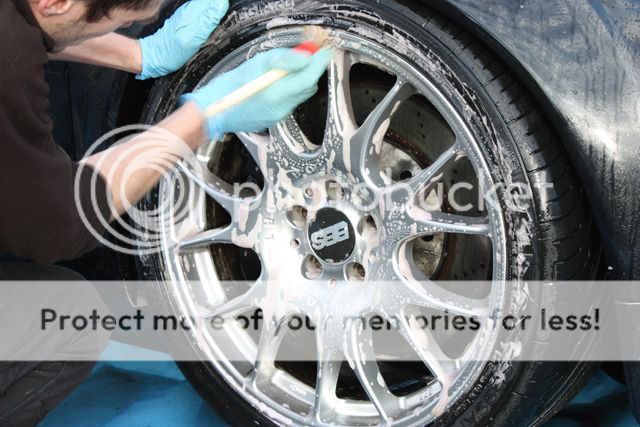
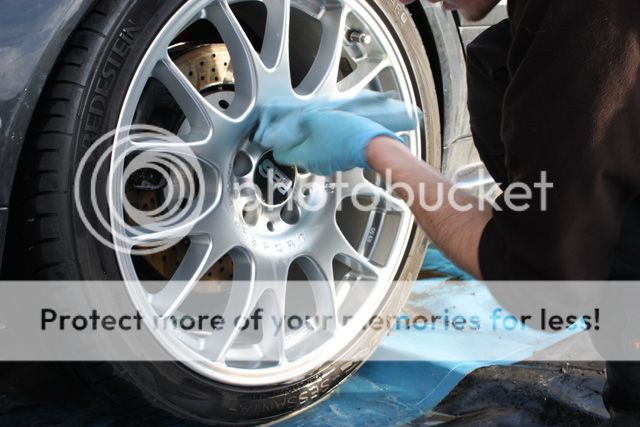
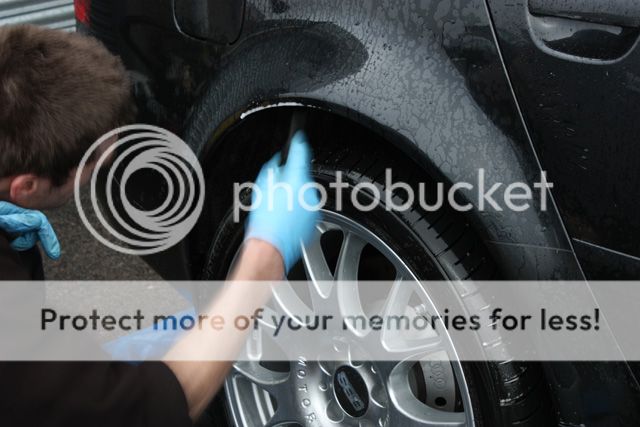
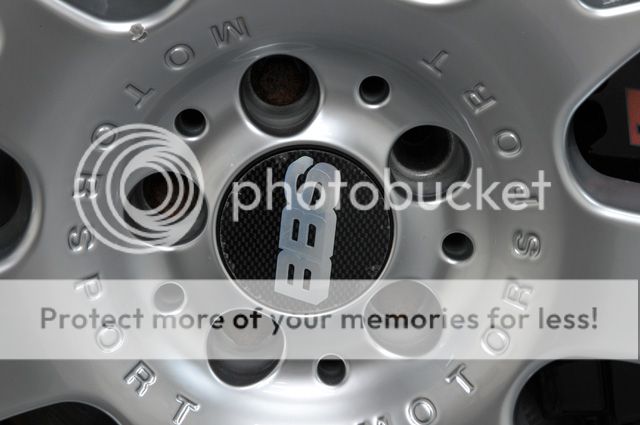
Alan carried out the wash process and as always, started with wheels:

After a thorough pre rinse the wheels were sprayed with Meguiars Wheel Brightener (4:1)...

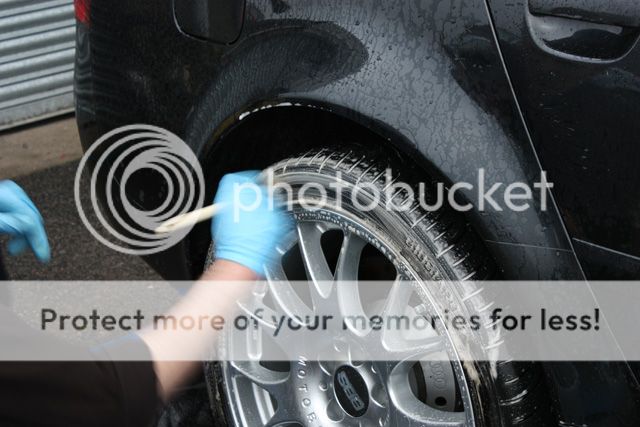
...agitated with Raceglaze brushes and Eimann Fabrik Wheel Woolies...
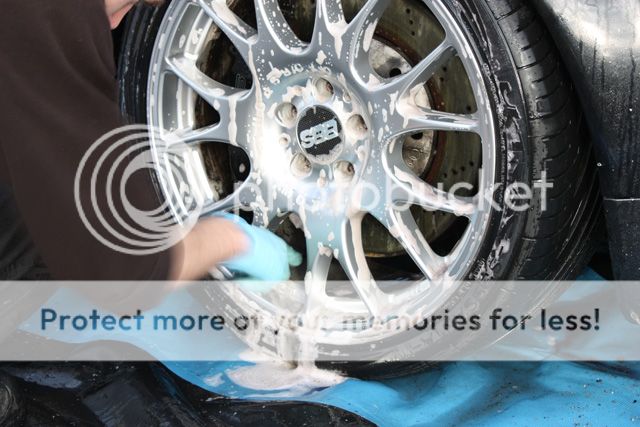
This was followed by a rinse and then an application of Autosmart Tardis:
Wiping any tar spots off with an old MF towel:
Then another rinse:
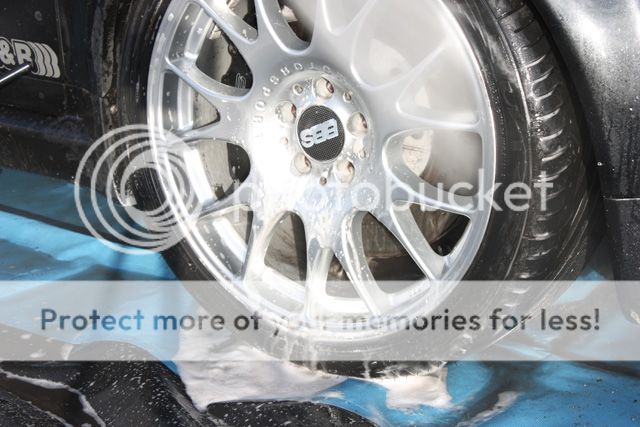
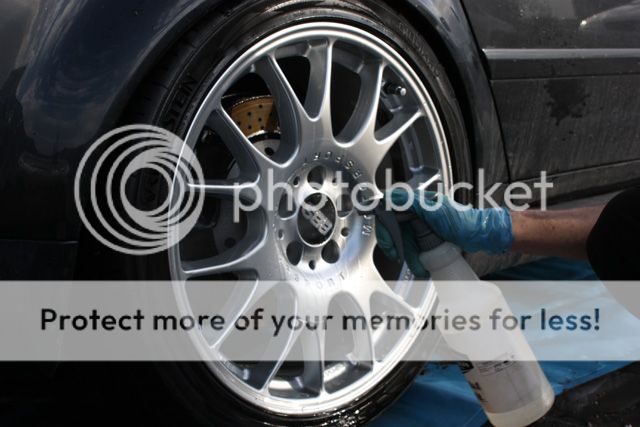
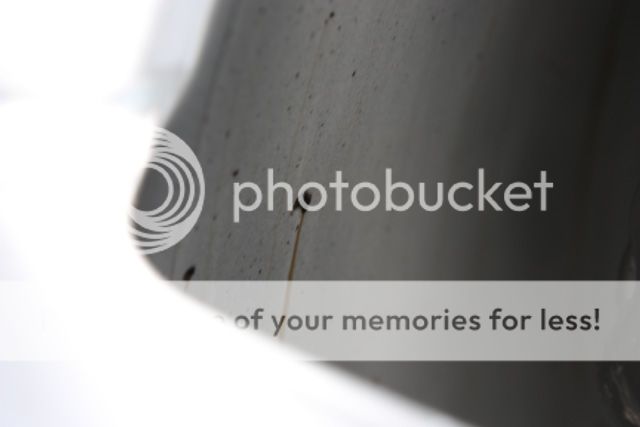
Then a new product was applied to the wheels to remove iron contamination - same idea as Iron-X and still turns purple when there's a reaction but a different product all together

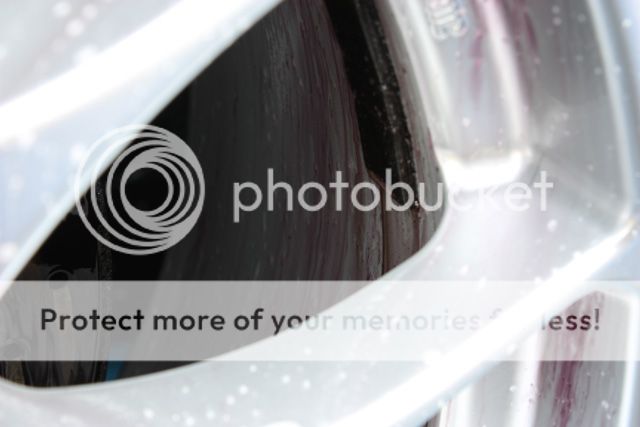
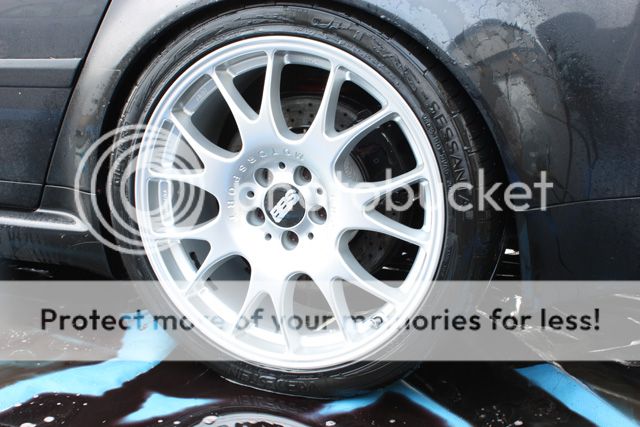
After a good agitation with the various brushes and then a final rinse the wheels were squeaky clean:
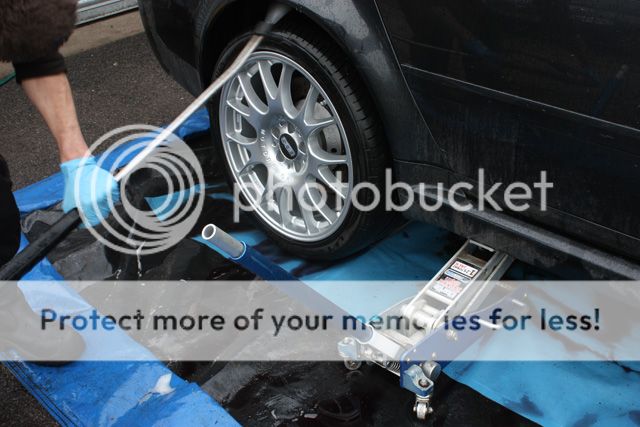
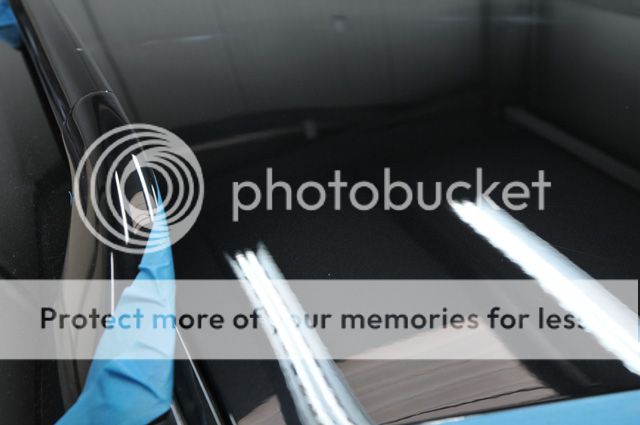
Arches and Tyres next, sprayed with Meguiars Super Degreaser (4:1)...

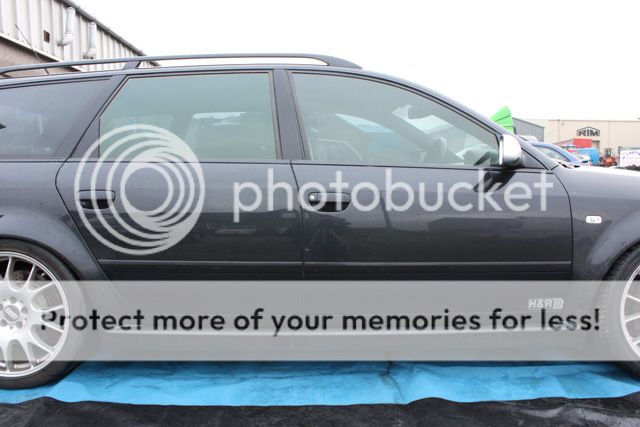
A trolley jack was used to gain access to the arches incase you wondered where that huge clearance suddenly appeared from:
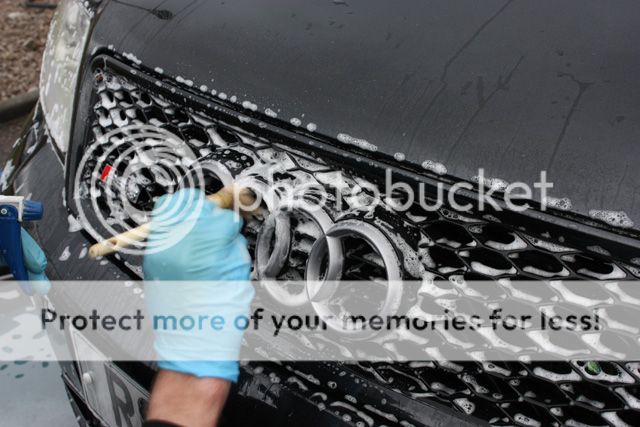
The car was then foamed with a strong APC solution and left for a few minutes:
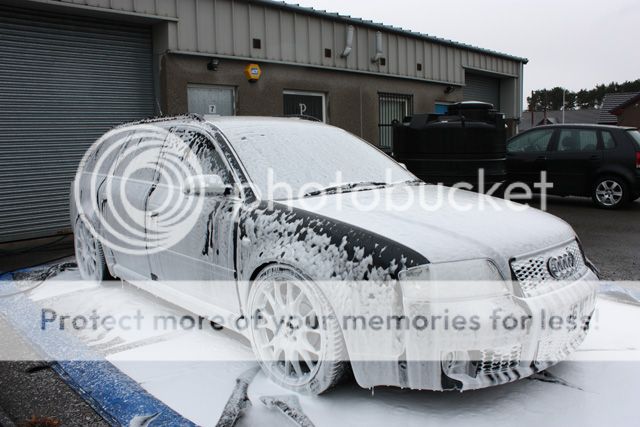
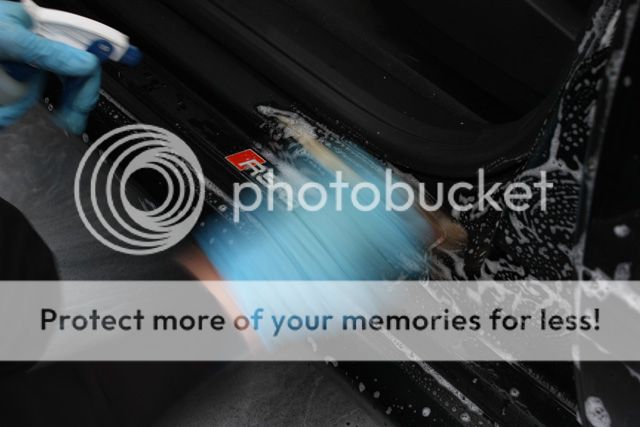
After a thorough rinse at high pressure at a temperature of approx 60 degrees all the door shuts, exterior trim etc were cleaned with APC:
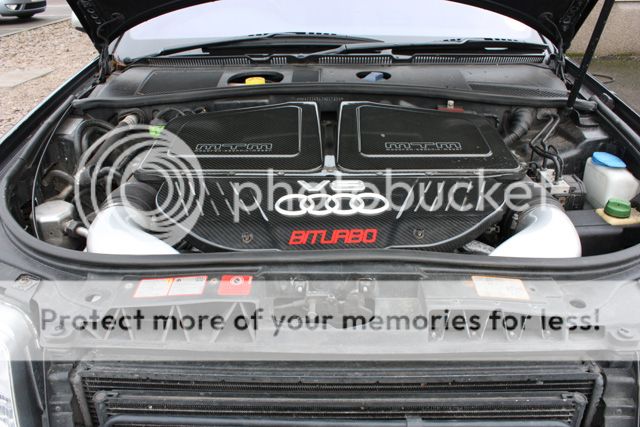
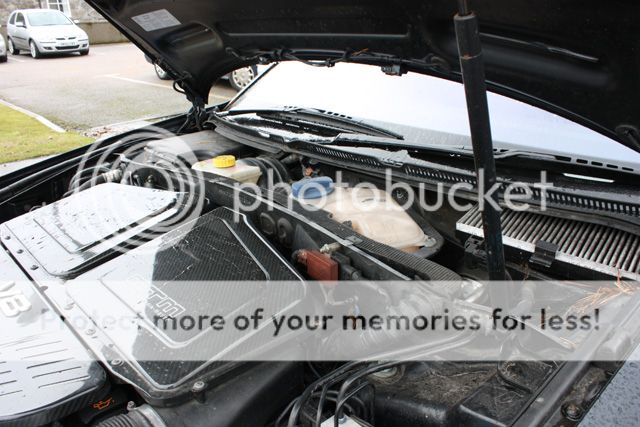
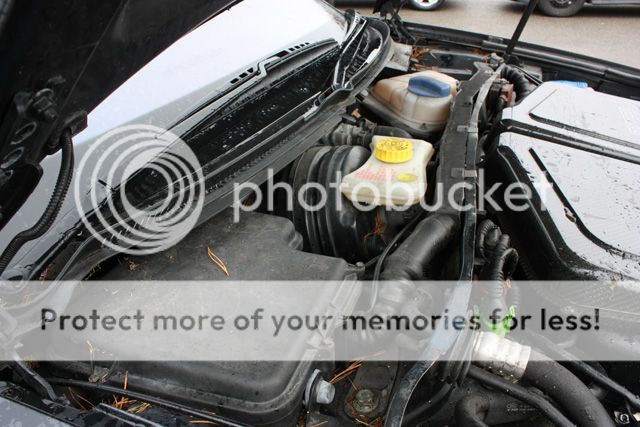
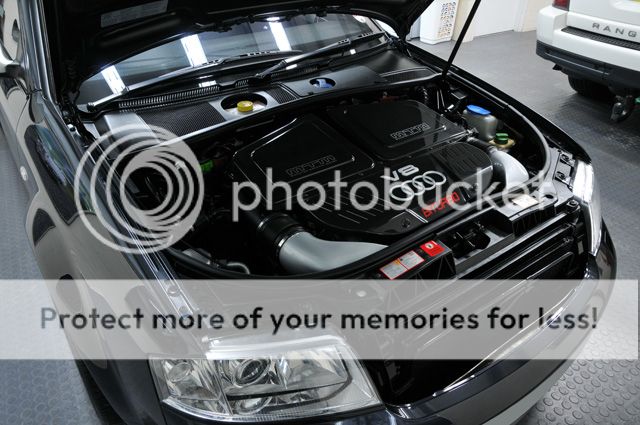
The engine bay was then cleaned with Meguiars Super Degreaser and then the car was washed with Meguiars Shampoo Plus but no pics of this as Alan's camera batteries were charging.
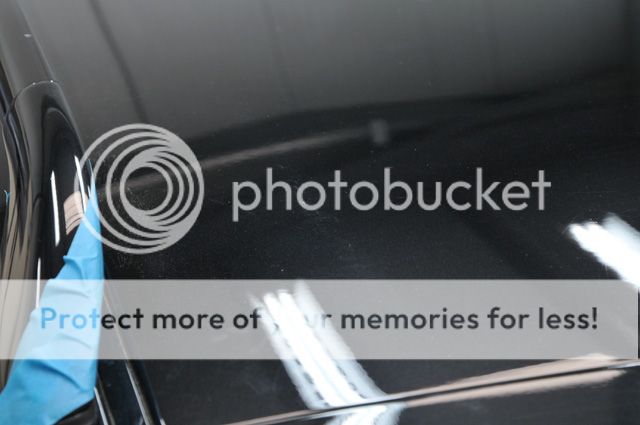
Once washed (and batteries charge a bit) Autosmart Tardis was applied to the entire car:

Then wiped over with an old MF towel:
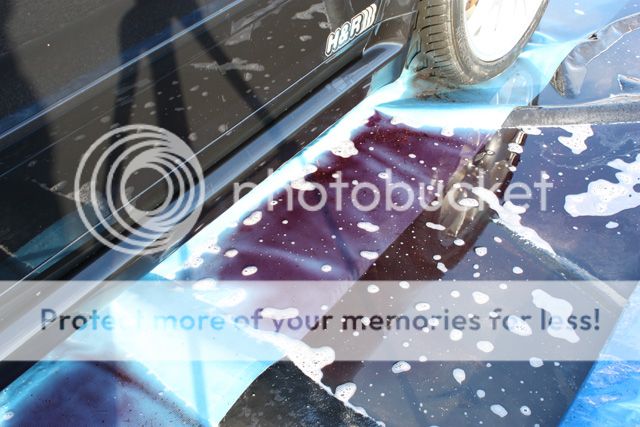
This was rinsed again and then any iron contamination was then removed with the new product:

Wiping it over with a MF towel:

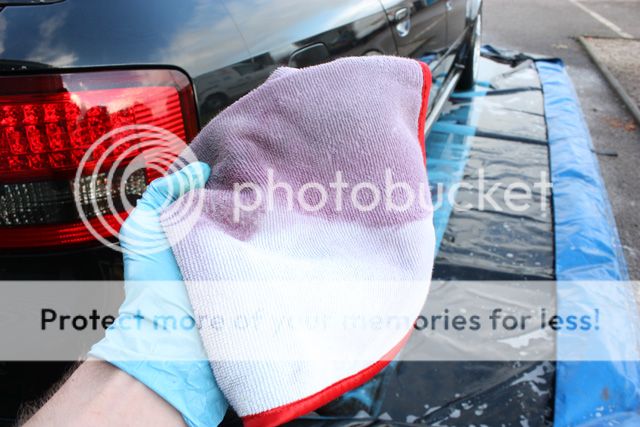
As you can see, the car bled purple for a while
After another rinse off with hot water the car was put inside and clayed with Meguiars Mild:

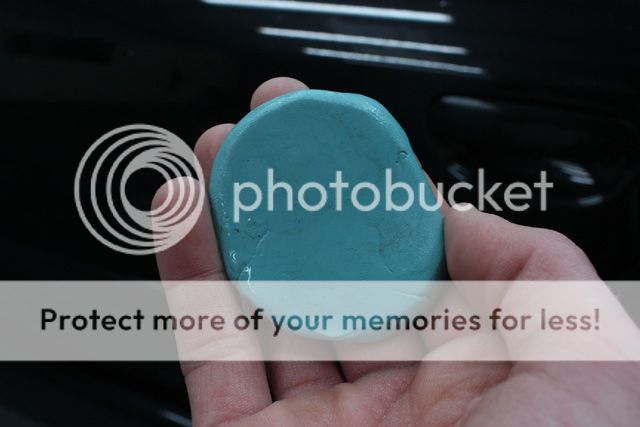
Very little contamination present after the chemical process carried out during the wash stage
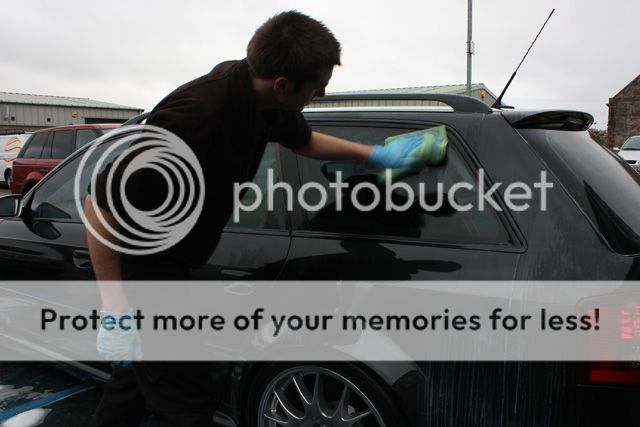
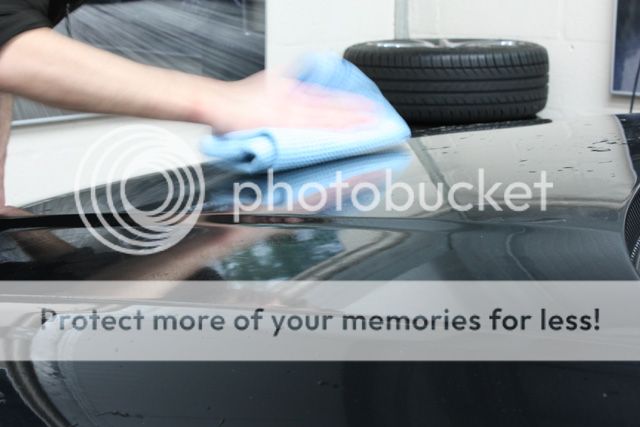
The car was then wiped dry with a Poorboys Waffle Weave towel (usually we pat dry but the car is about to get machined anyway so any marring induced will be removed):
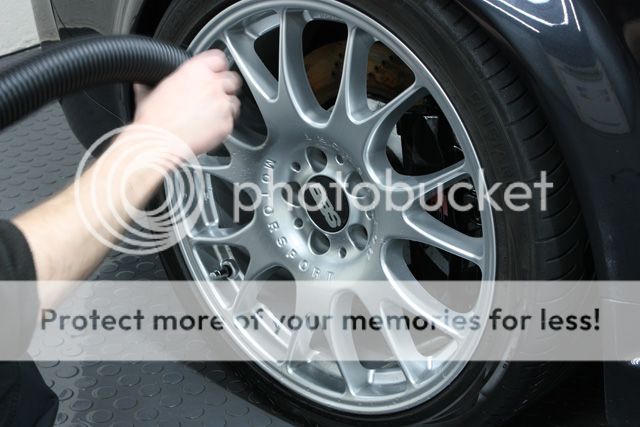
Black Baron came out to play to get rid of any excess water hiding in the panel gaps, wheels etc:
The engine bay was sprayed with 303 Protectant in a Swissvax Mixing Bottle:

The tailpipes were polished with Raceglaze Alutech:


Alan decided to get the interior out the way first

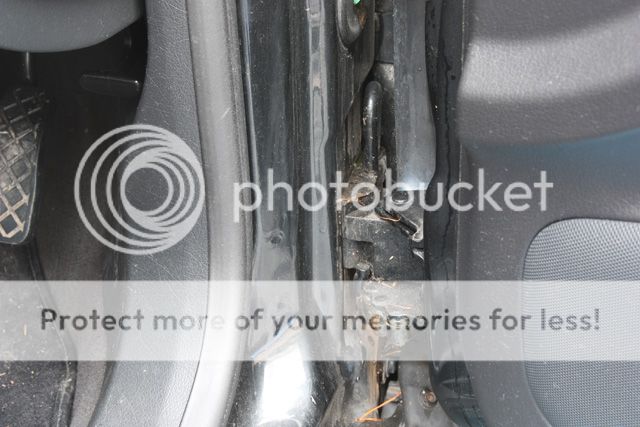
Making sure to pull the seams of the seats apart to get all the dirt out that builds up over the years:

All interior surfaces were wiped down with APC before the attention was turned to the leather.
Swissvax Leather Cleaner Forte was used to thoroughly clean all that grime and old product residue and bring the leather back to life:
Before:

After:

And one of the best 50/50's I've seen on leather for a while!

The leather was then fed with Raceglaze Leather Balm by bare hands to thoroughly work it in and interior glass was cleaned with Swissvax Crystal.
Now let’s turn our attention to the paintwork:

The entire car was covered in etchings and deep scratches so the initial plan of Alan helping with the correction stage with the Dual Action machine was put on hold as the defects were just too deep to be fully removed after a bit of time playing with some of the most aggressive combinations - the results weren't bad but they weren't to a Polished Bliss standard
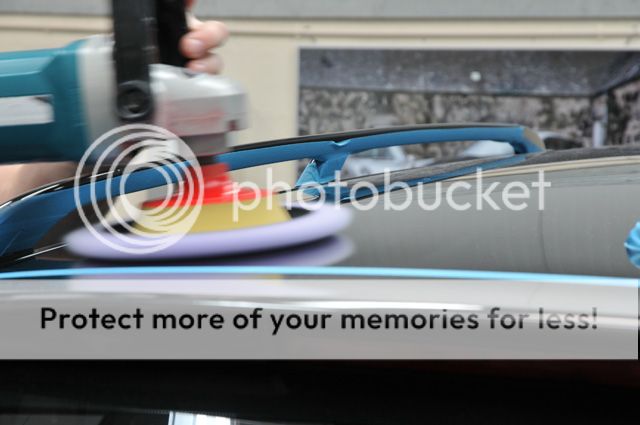
However, he managed to correct the tail and head lights (using Menzerna 3.02 & Menzerna Spot Pads as well as the pillars and roof rails so at least that saved me a bit of time on those parts.
So, with Alan having done his thing with the wash stage and interior it was now my time to flex the muscle of the Makita.
The paint on this car was rock hard, one of the hardest I've polished in a while so it needed a pretty aggressive combination even by rotary standards.
A 3 stage correction job was carried out using Lake Country Foamed Wool & Menzerna Fast Gloss (not yet in the store but will be very shortly) @ approx 2-2200rpm's then followed up with Lake Country Tangerine H-T pads and Menzerna 3.02 @ 1500rpm's with IPA wipe downs carried out in between.
The paint would then be further refined by Alan and the DA machine but this was left till the car had been rinsed off after the first 2 stages to get rid of all the dust.
I suppose I better show some correction shots, in no particular order
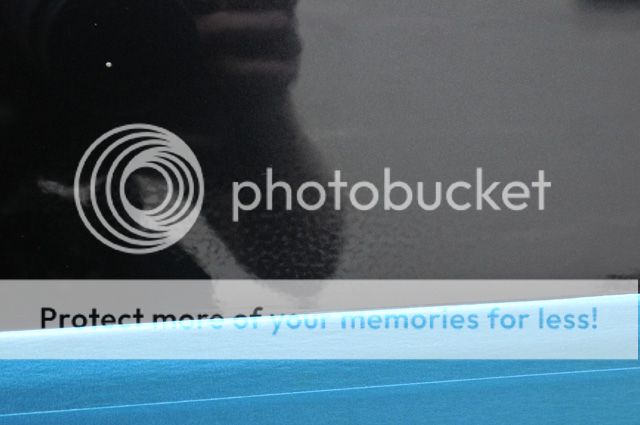
You can just make out a 50/50 line down the bonnet:

After 3.02:

The roof had loads of little scuffs and scratches:
During:
After:
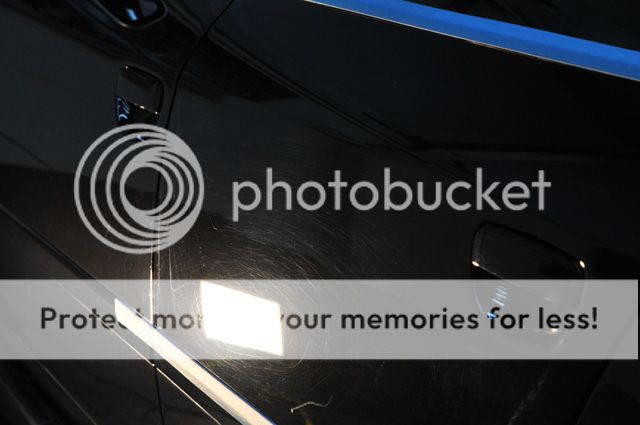
O/S front wing, showing the depth of the scratches pretty well:

And then after the first 2 stages of correction:
Driver’s door had some pretty obvious sanding marks:
Under the 3M Sun Gun:

After correction (3 hits with the wool needed):

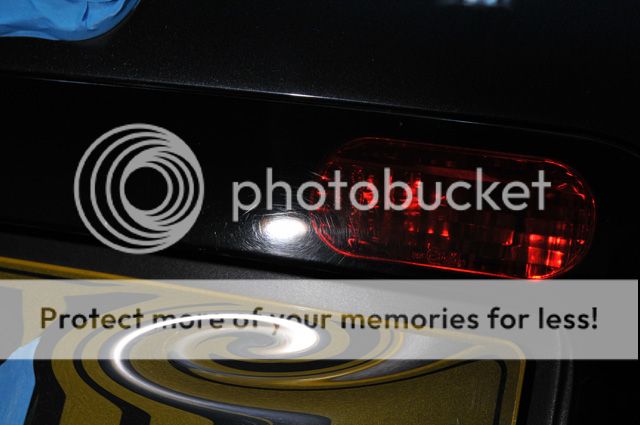
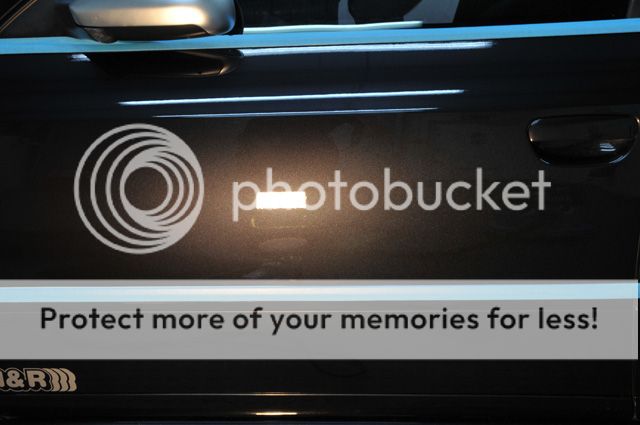
N/S rear door before:
After:

Under Halogen lighting:

Under 3M Sun Gun lighting:

N/S wing before:
After:


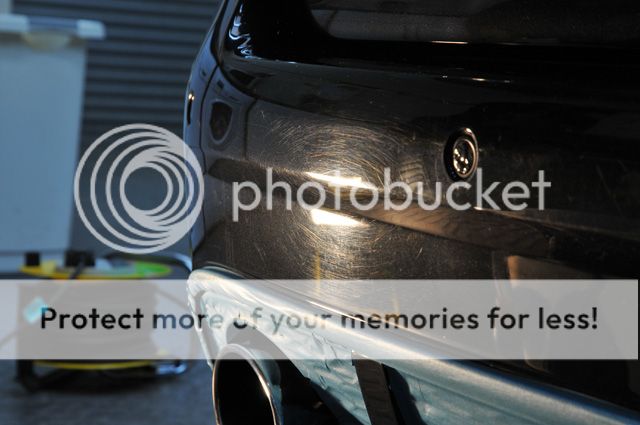
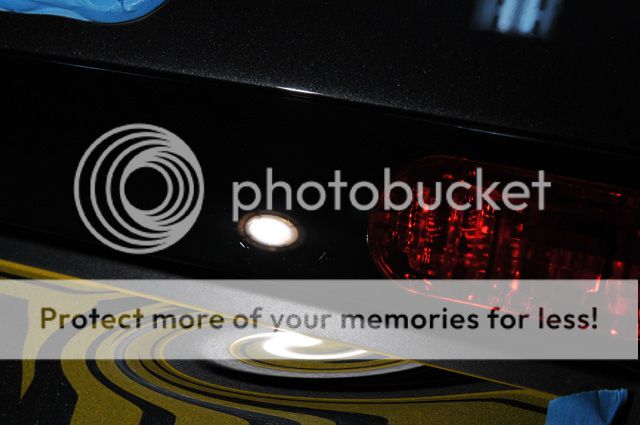
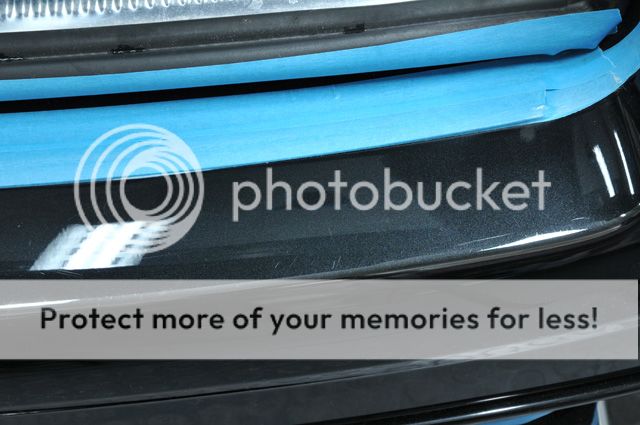
Rear bumper before:
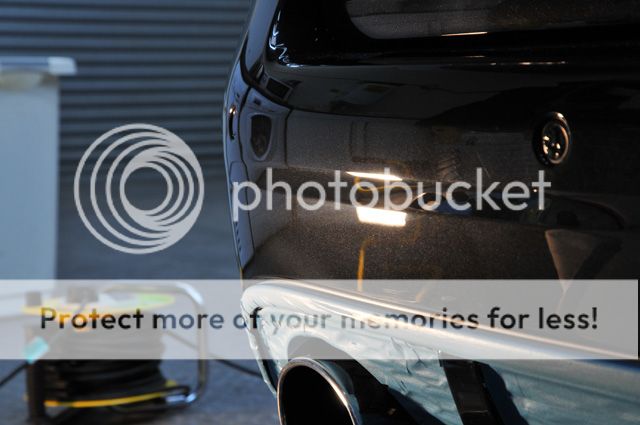
After:
Tailgate before:
After:
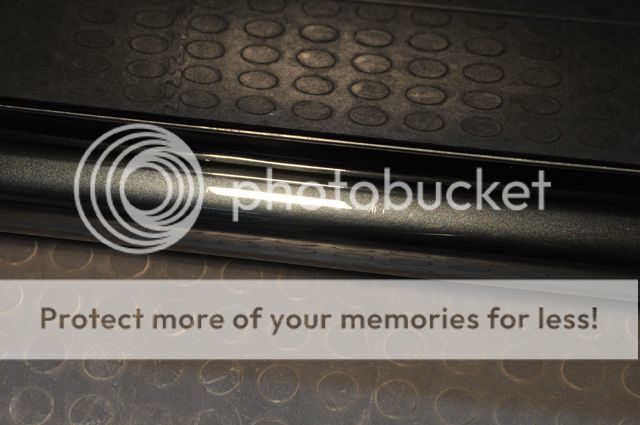
Side skirt before:
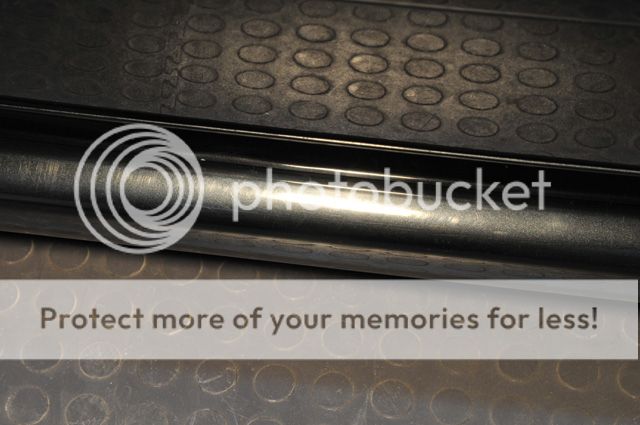
After:
Front bumper before:
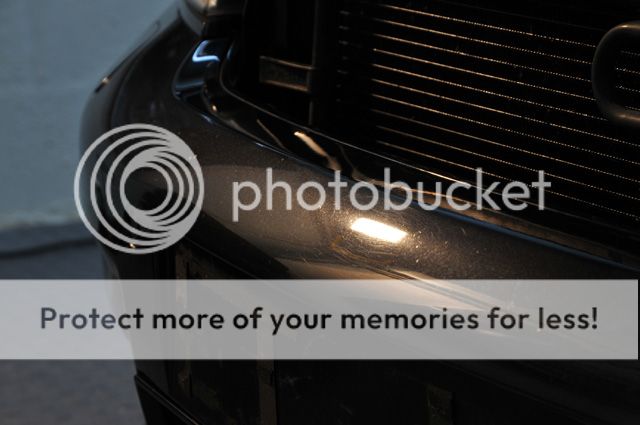
This had been resprayed and as a result wasn't so badly scratched so I only needed 3.02 to correct it.
After:

Top of rear bumper before:

After:
50/50:


N/S front door before:

After:

(Couple of deeper marks left which didn't warrant further clear coat removal)
The approximate level of clear coat removed during the first 2 stages of correction was around the 5-6 micron mark with some places slightly less where only one hit was needed.
The car was then rolled outside and given a thorough rinse to get rid of all the dust that had made its way into the panel gaps and then dried off again with the Black Baron.
Alan then got some more polishing practice by refining the finish further with the Das-6, Lake Country Finishing Pad & Menzerna 85RE.
I then finished off the car by prepping the paint for wax by applying Swissvax Cleaner Fluid a panel at a time before buffing off and then applied Crystal Rock to the entire car and left for 20 mins or so:

(The carbon fibre parts in the engine bay were done with the same process)
The front grills were enhanced and protected with Swissvax Protecton:
Before:
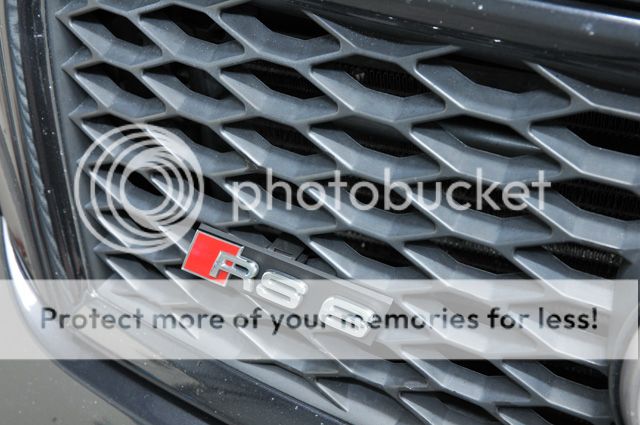
After:

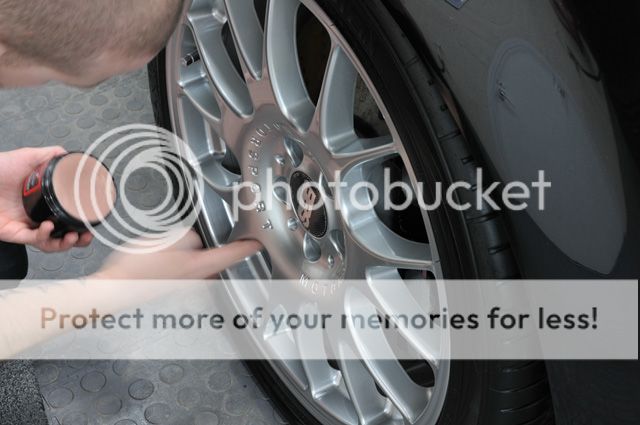
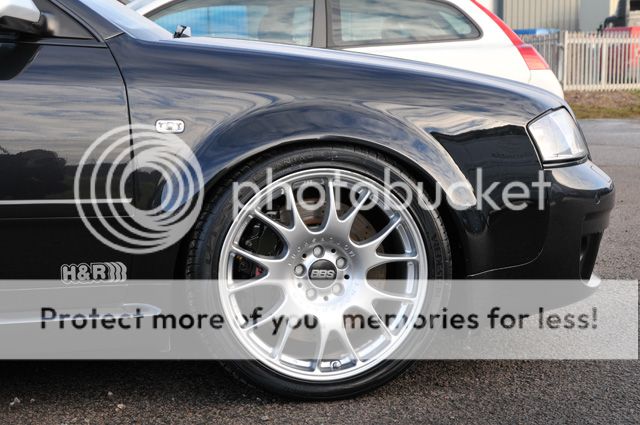
Swissvax Autobahn was applied by bare hand to the alloys:
Then all the other minor details were done including polishing and protecting of the door shuts (Werkstat Prime Strong), dressing the tyres (Swissvax Pneu) and conditioning the interior and exterior rubbers with Swissvax Seal Feed:
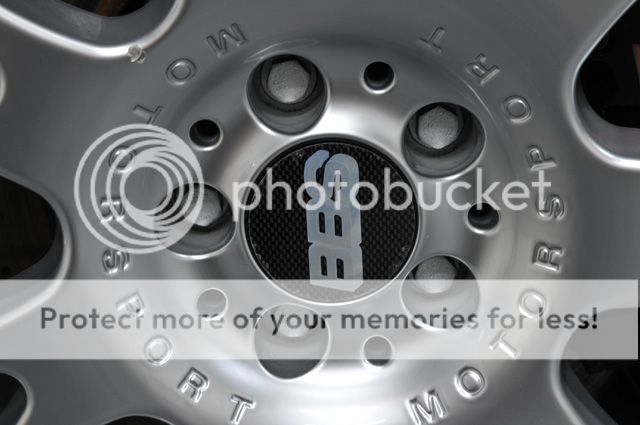
One last thing letting the car down were the rusty wheel bolts:
So these were painted to greatly improve the overall appearance of the car:
And I think that's about it! Here are the finished shots ....
....


Thank you for taking the time to read, if you made it to the end then well done!
Clark
The car arrived looking pretty dull and a bit grubby - not surprising given the state of the roads lately:
The leather was looking really sorry for itself due to ingrained dirt and poor dressings used by the previous owner:
I think these 2 pictures help show the lack of shine in the paintwork:
Alan carried out the wash process and as always, started with wheels:
After a thorough pre rinse the wheels were sprayed with Meguiars Wheel Brightener (4:1)...
...agitated with Raceglaze brushes and Eimann Fabrik Wheel Woolies...
This was followed by a rinse and then an application of Autosmart Tardis:
Wiping any tar spots off with an old MF towel:
Then another rinse:
Then a new product was applied to the wheels to remove iron contamination - same idea as Iron-X and still turns purple when there's a reaction but a different product all together
After a good agitation with the various brushes and then a final rinse the wheels were squeaky clean:
Arches and Tyres next, sprayed with Meguiars Super Degreaser (4:1)...
A trolley jack was used to gain access to the arches incase you wondered where that huge clearance suddenly appeared from:
The car was then foamed with a strong APC solution and left for a few minutes:
After a thorough rinse at high pressure at a temperature of approx 60 degrees all the door shuts, exterior trim etc were cleaned with APC:
The engine bay was then cleaned with Meguiars Super Degreaser and then the car was washed with Meguiars Shampoo Plus but no pics of this as Alan's camera batteries were charging.
Once washed (and batteries charge a bit) Autosmart Tardis was applied to the entire car:
Then wiped over with an old MF towel:
This was rinsed again and then any iron contamination was then removed with the new product:
Wiping it over with a MF towel:
As you can see, the car bled purple for a while
After another rinse off with hot water the car was put inside and clayed with Meguiars Mild:
Very little contamination present after the chemical process carried out during the wash stage
The car was then wiped dry with a Poorboys Waffle Weave towel (usually we pat dry but the car is about to get machined anyway so any marring induced will be removed):
Black Baron came out to play to get rid of any excess water hiding in the panel gaps, wheels etc:
The engine bay was sprayed with 303 Protectant in a Swissvax Mixing Bottle:
The tailpipes were polished with Raceglaze Alutech:
Alan decided to get the interior out the way first
Making sure to pull the seams of the seats apart to get all the dirt out that builds up over the years:
All interior surfaces were wiped down with APC before the attention was turned to the leather.
Swissvax Leather Cleaner Forte was used to thoroughly clean all that grime and old product residue and bring the leather back to life:
Before:
After:
And one of the best 50/50's I've seen on leather for a while!
The leather was then fed with Raceglaze Leather Balm by bare hands to thoroughly work it in and interior glass was cleaned with Swissvax Crystal.
Now let’s turn our attention to the paintwork:
The entire car was covered in etchings and deep scratches so the initial plan of Alan helping with the correction stage with the Dual Action machine was put on hold as the defects were just too deep to be fully removed after a bit of time playing with some of the most aggressive combinations - the results weren't bad but they weren't to a Polished Bliss standard
However, he managed to correct the tail and head lights (using Menzerna 3.02 & Menzerna Spot Pads as well as the pillars and roof rails so at least that saved me a bit of time on those parts.
So, with Alan having done his thing with the wash stage and interior it was now my time to flex the muscle of the Makita.
The paint on this car was rock hard, one of the hardest I've polished in a while so it needed a pretty aggressive combination even by rotary standards.
A 3 stage correction job was carried out using Lake Country Foamed Wool & Menzerna Fast Gloss (not yet in the store but will be very shortly) @ approx 2-2200rpm's then followed up with Lake Country Tangerine H-T pads and Menzerna 3.02 @ 1500rpm's with IPA wipe downs carried out in between.
The paint would then be further refined by Alan and the DA machine but this was left till the car had been rinsed off after the first 2 stages to get rid of all the dust.
I suppose I better show some correction shots, in no particular order
You can just make out a 50/50 line down the bonnet:
After 3.02:
The roof had loads of little scuffs and scratches:
During:
After:
O/S front wing, showing the depth of the scratches pretty well:
And then after the first 2 stages of correction:
Driver’s door had some pretty obvious sanding marks:
Under the 3M Sun Gun:
After correction (3 hits with the wool needed):
N/S rear door before:
After:
Under Halogen lighting:
Under 3M Sun Gun lighting:
N/S wing before:
After:
Rear bumper before:
After:
Tailgate before:
After:
Side skirt before:
After:
Front bumper before:
This had been resprayed and as a result wasn't so badly scratched so I only needed 3.02 to correct it.
After:
Top of rear bumper before:
After:
50/50:
N/S front door before:
After:
(Couple of deeper marks left which didn't warrant further clear coat removal)
The approximate level of clear coat removed during the first 2 stages of correction was around the 5-6 micron mark with some places slightly less where only one hit was needed.
The car was then rolled outside and given a thorough rinse to get rid of all the dust that had made its way into the panel gaps and then dried off again with the Black Baron.
Alan then got some more polishing practice by refining the finish further with the Das-6, Lake Country Finishing Pad & Menzerna 85RE.
I then finished off the car by prepping the paint for wax by applying Swissvax Cleaner Fluid a panel at a time before buffing off and then applied Crystal Rock to the entire car and left for 20 mins or so:
(The carbon fibre parts in the engine bay were done with the same process)
The front grills were enhanced and protected with Swissvax Protecton:
Before:
After:
Swissvax Autobahn was applied by bare hand to the alloys:
Then all the other minor details were done including polishing and protecting of the door shuts (Werkstat Prime Strong), dressing the tyres (Swissvax Pneu) and conditioning the interior and exterior rubbers with Swissvax Seal Feed:
One last thing letting the car down were the rusty wheel bolts:
So these were painted to greatly improve the overall appearance of the car:
And I think that's about it! Here are the finished shots
....Thank you for taking the time to read, if you made it to the end then well done!
Clark


 you guys must have the patience of saints though!
Trending Topics
05 March 2011, 04:29 PM
#8
Scooby Regular
iTrader: (2)

Join Date: Dec 2004
Location: East Sussex
Posts: 1,106
Likes: 0
Received 0 Likes
on
0 Posts
You guys really are a cut above the rest (pardon the pun!). I would love to get mine to you at some point, as being black it suffers with the usual swirls that despite claying once a year and kepping it polished and sealed with Blackfire products (from you guys), it could really do with machineing properly. I'll get saving!!..
 25 April 2011, 09:37 AM
#12
Scooby Regular
Join Date: Nov 2007
Location: solihull
Posts: 940
Likes: 0
Received 0 Likes
on
0 Posts
what would this work cost if you dont mind me asking mate, the work gone into this is truly amazing,as a painter i know how hard compounding is with run of the mill cars,let alone getting to that standard on such a nice car.looks ace now.

Thread
Thread Starter
Forum
Replies
Last Post