
Detailed a 22B....

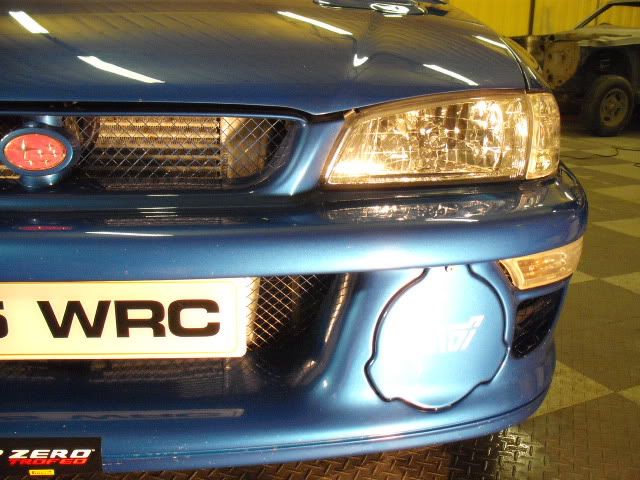
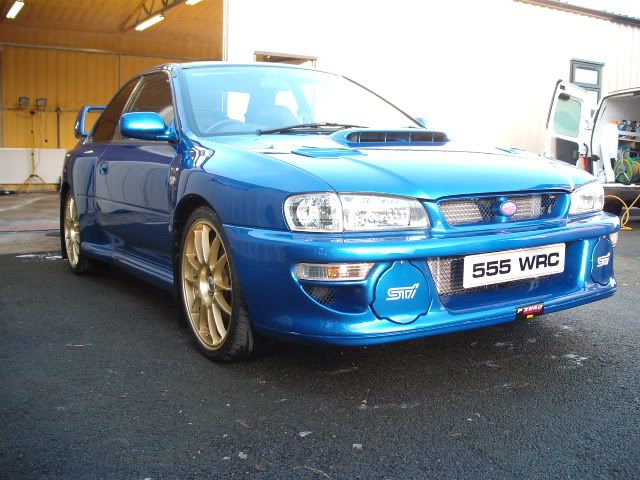
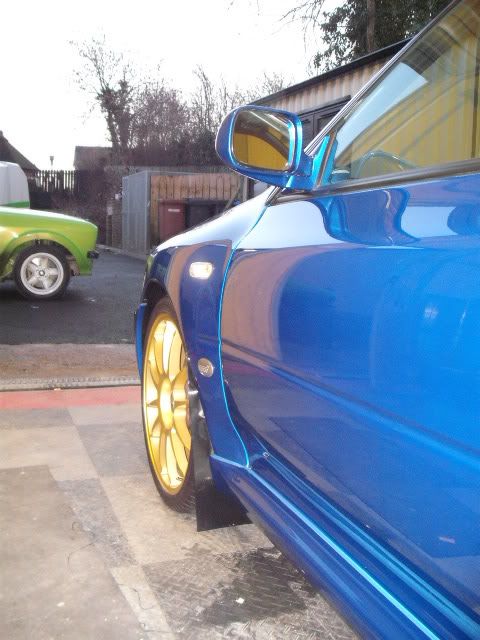
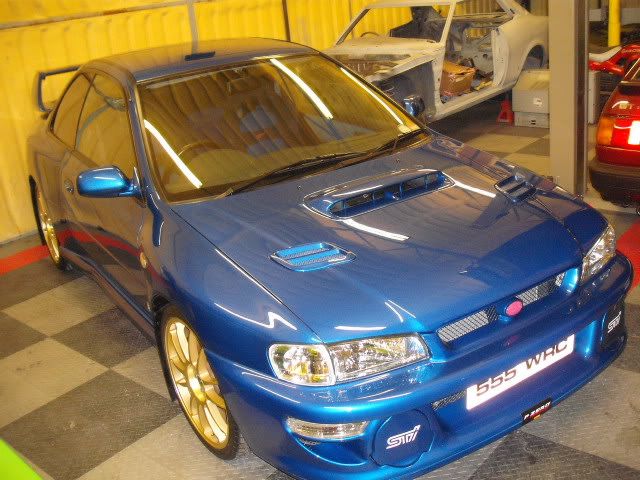
I had the pleasure of detailing this 22B last weekend.
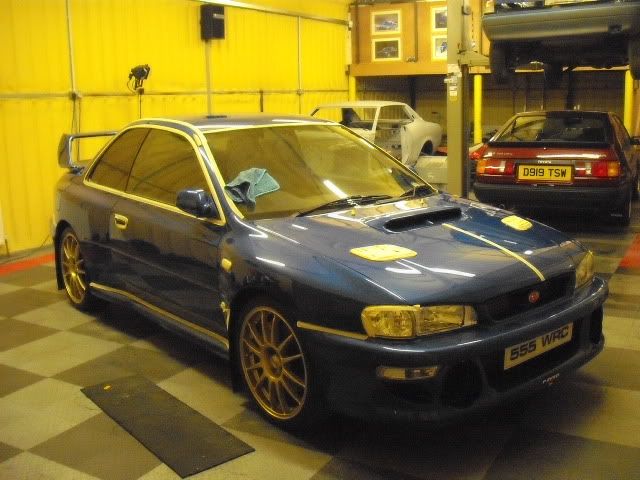
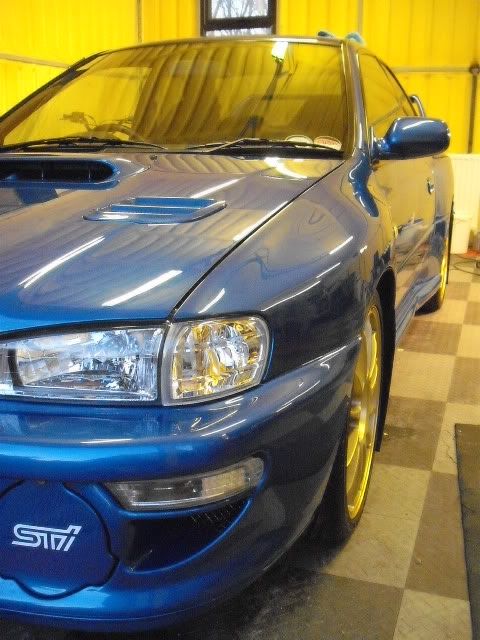
I took these pics before any correction work was carried out
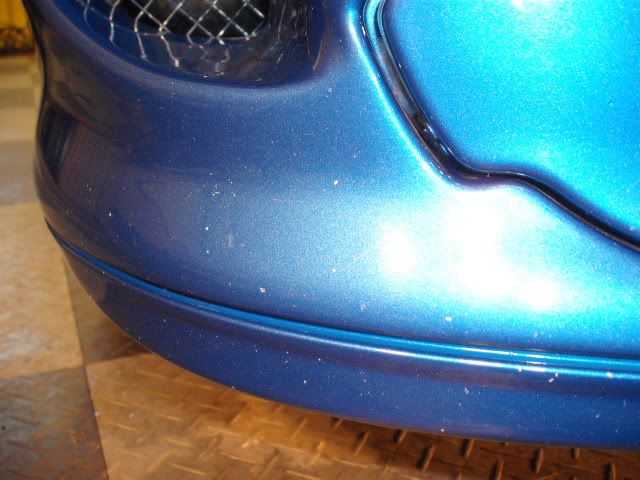
Chips on the front bumper.
More chips on the bumper
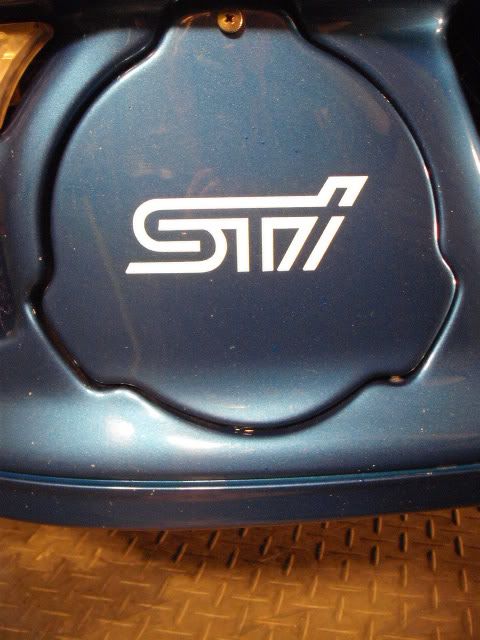
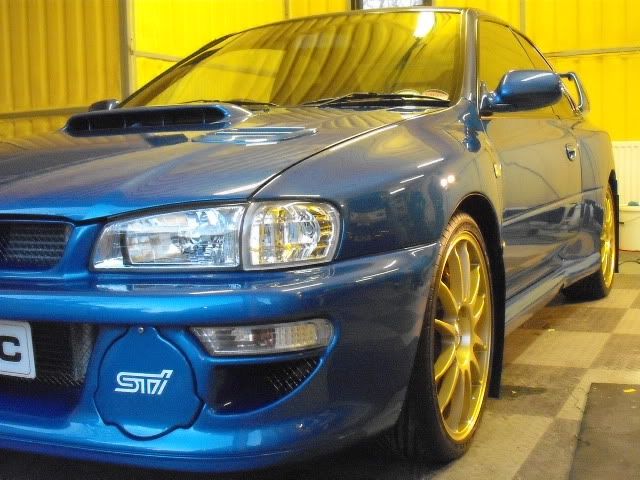
Fog covers were removed and any chips touched in before being corrected.
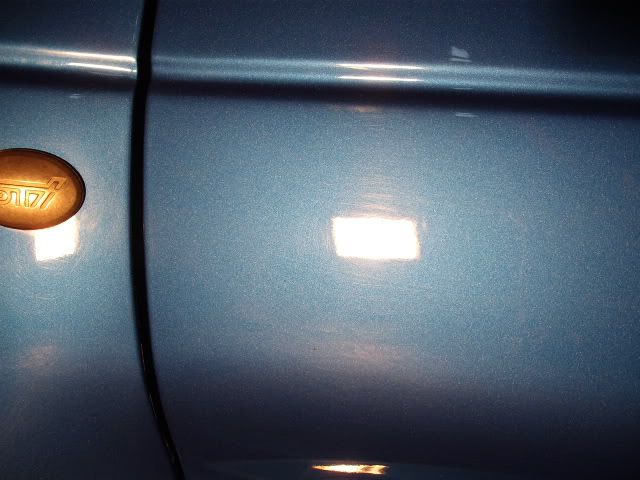
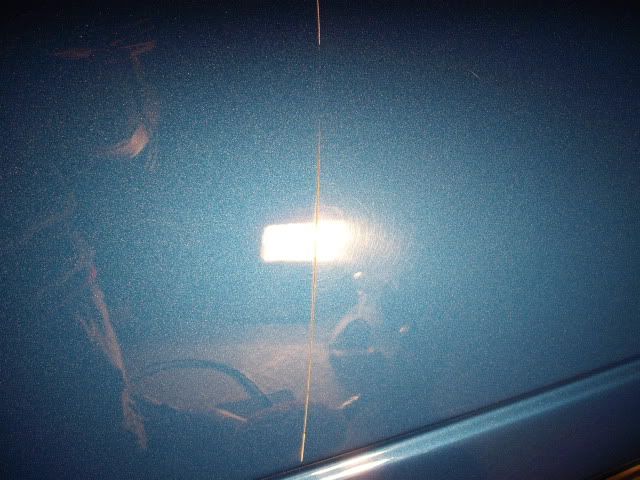
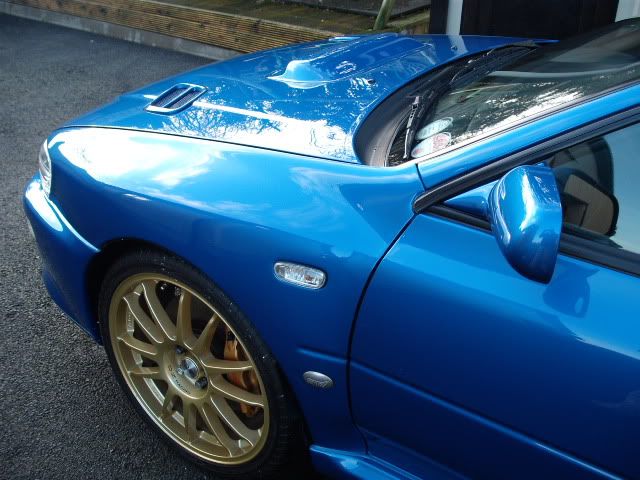
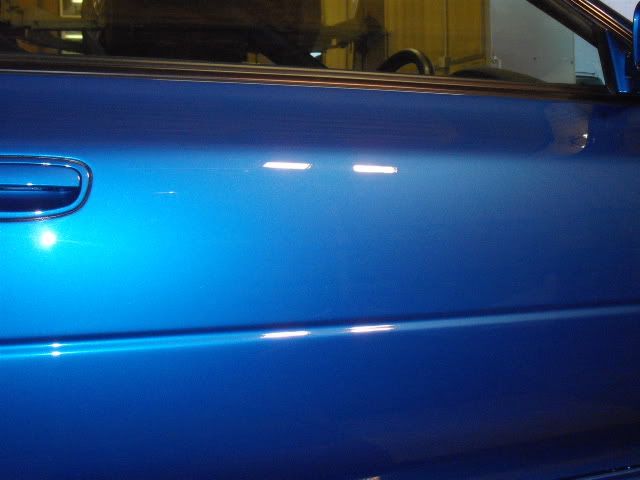
Swirls on the drivers side

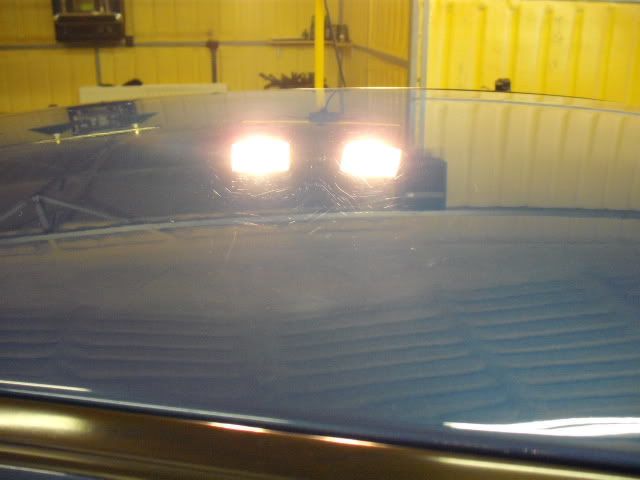
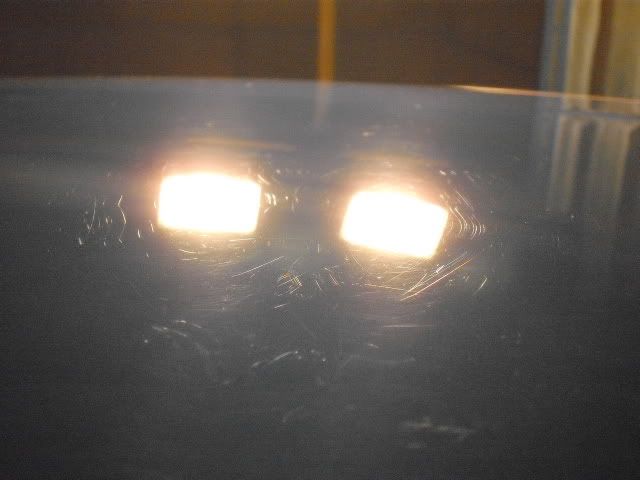
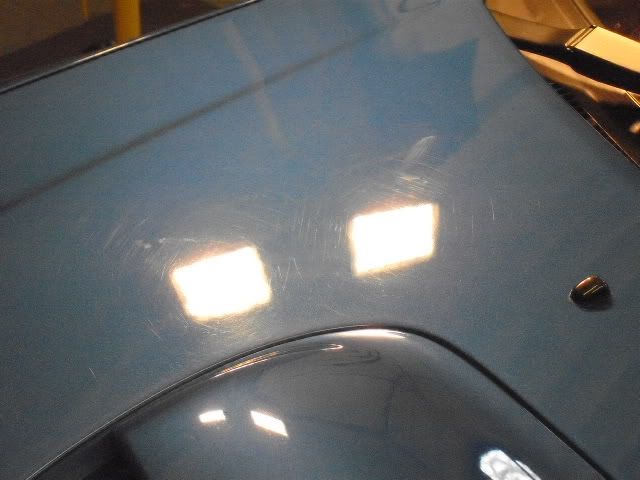
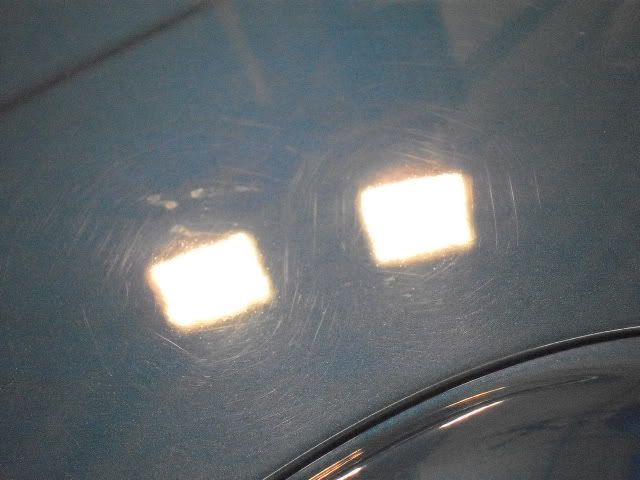
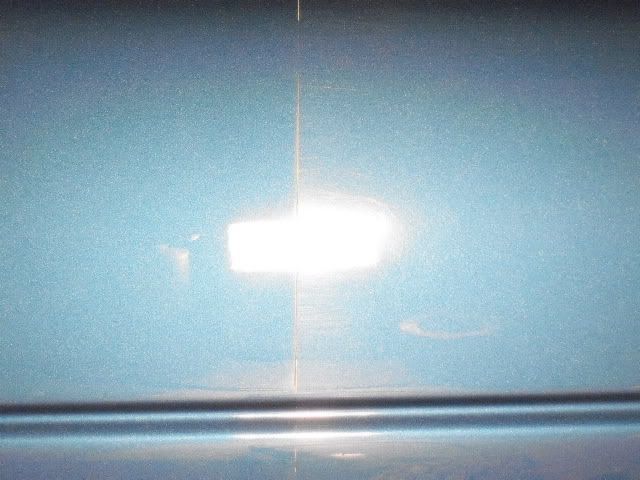
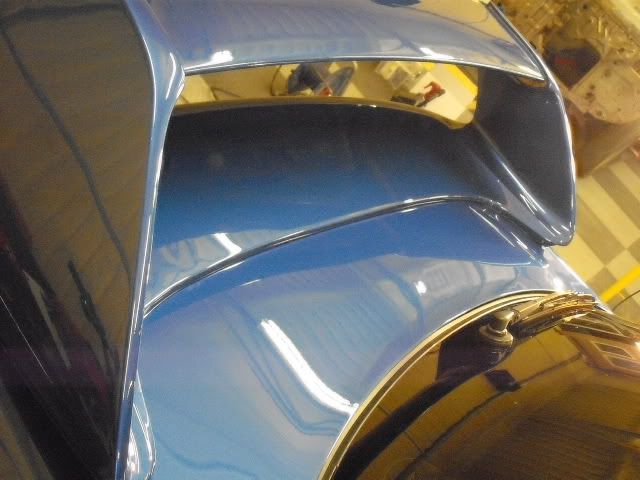
Swirls on the roof. The roof had a higher concentration of swirls than anywhere else on the car. Some of them were quite deep
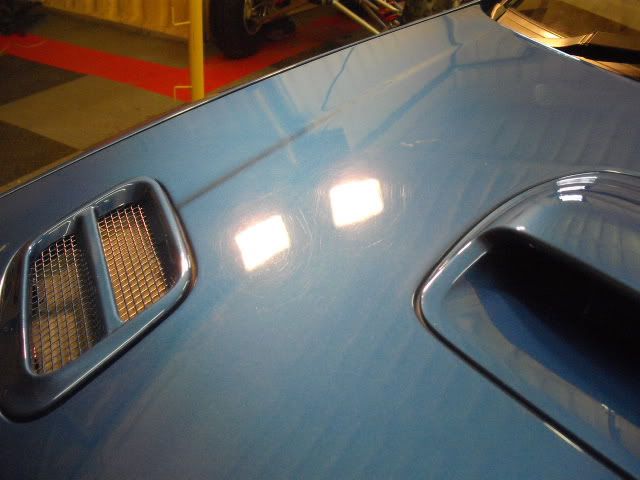
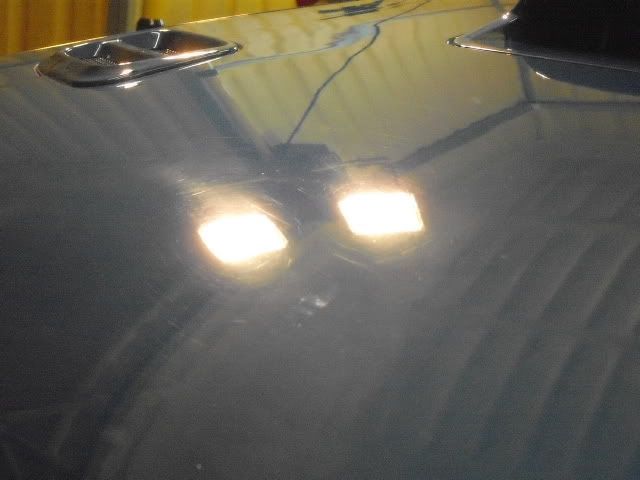
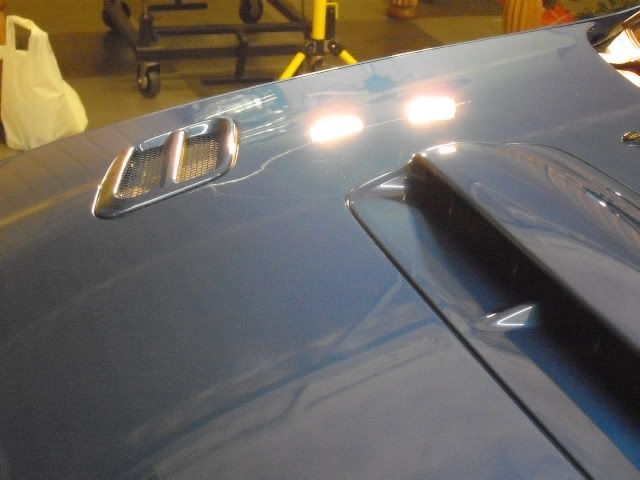
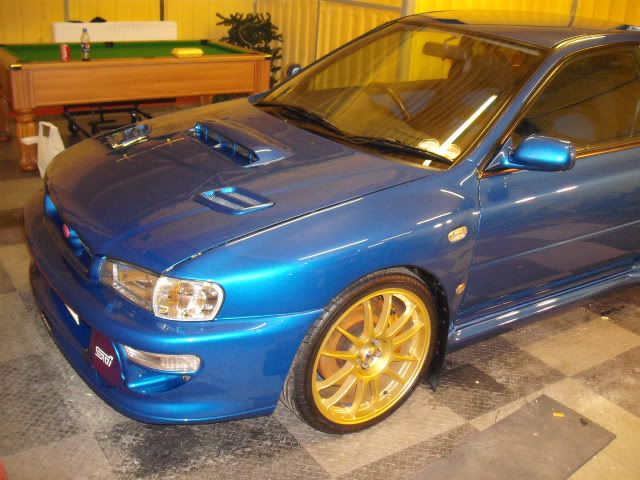
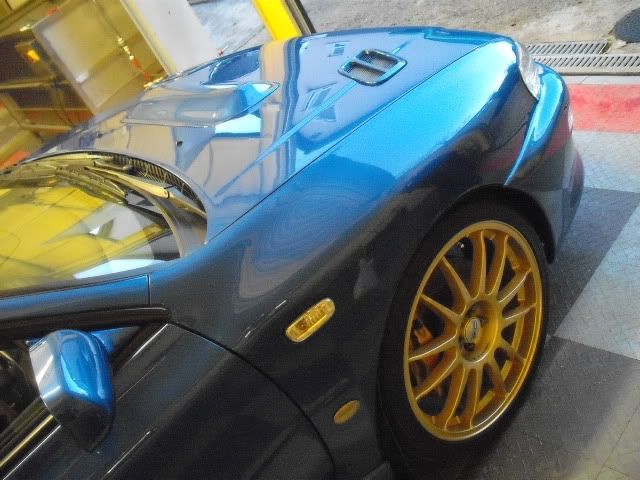
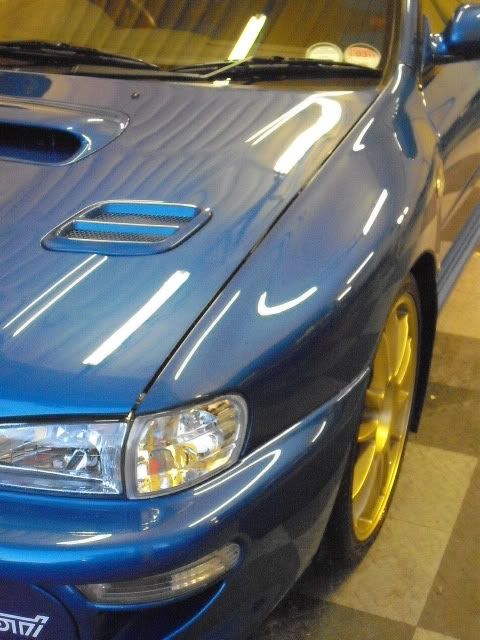
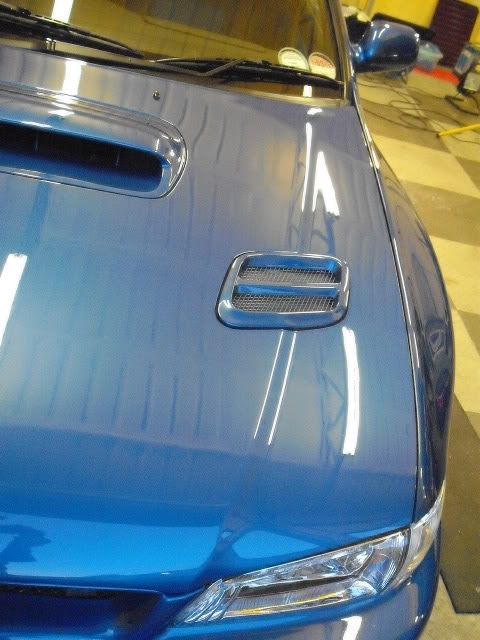
The bonnet was also quite well swirled, along with thousands of tiny pin ***** marks from a pevious respray, it would require quite a bit of work..
Some of the tiny marks are just visible in the pics
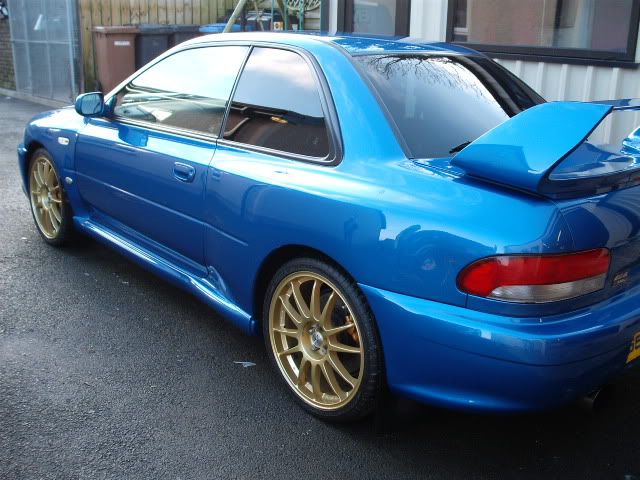
More swirls on the passenger side
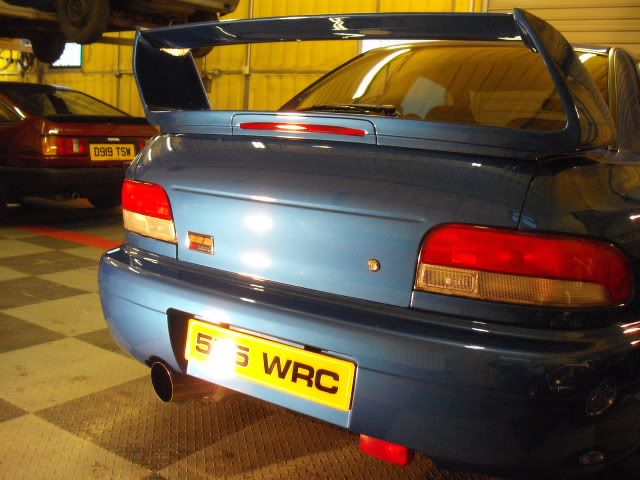
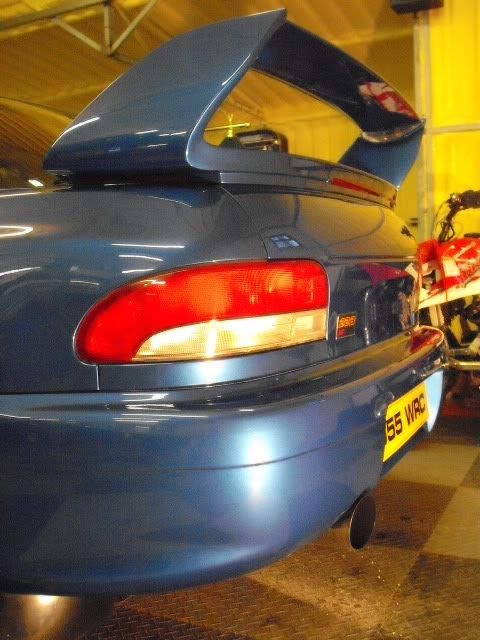
On the bootlid and lower part of the rear spoiler
Correction....
Kestrel DAS polisher
Bluepoint rotary polisher
Compound - 3M Perfect-it Extra Fine Compound
Polish - 3M Perfect-it UltrafinaSE
Pads....
Hexlogic orange componding pad
3M blue polish pad
Hexlogic finishing/glazing pad
Hexlogic polishing pad
Glaze - Poorboys Blackhole
Sealant - Poorboys EX-P
Wax - Valentines Road n' Track
Eurow microfibre buffing cloths
Some 50/50 photos
On the drivers side door
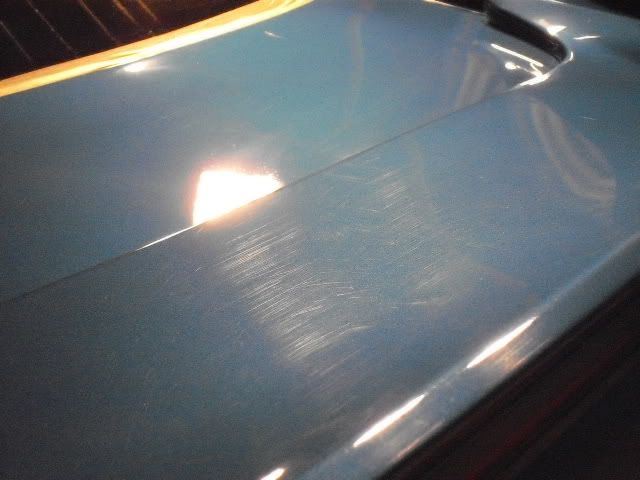
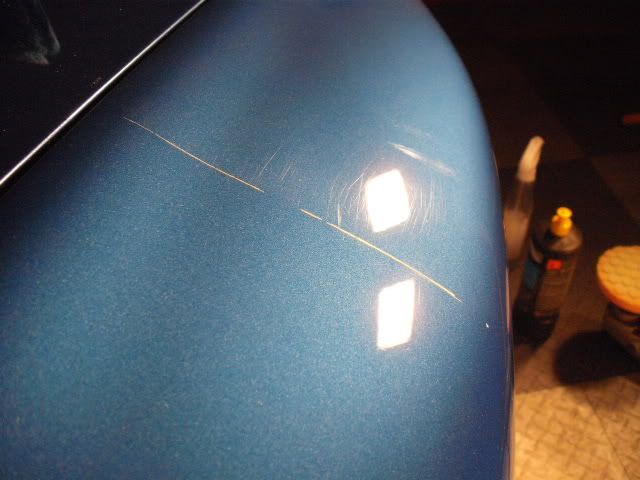
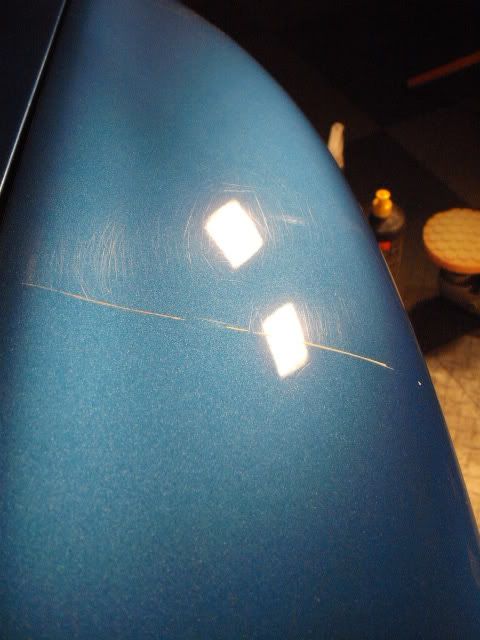
Looking down on the drivers side wing.
This wing had a strange X mark in the paint, it was not a normal scratch. I was going to wet sand the area slightly but after a while correcting the paintwork it almost disappeared, another few passes of the polisher and it was gone.

One of the last areas to be corrected was the bonnet. I tried to take some pics of the tiny pin ***** marks all over the paintwork but it proved to be impossible. I masked off half the bonnet and started working on the drivers side first. I used 3M Perfect-it extra fine compound on a Hexlogic orange pad and the rotary polisher.I put 2 blobs of 3M compound along with 1 blob of Finixa compound on the pad as I needed to be able to work the area for longer than normal. After over an hour of continually polishing, buffing and measuring I could notice a great improvement in the appearance of the bonnet.
Saturday morning... eventually I finished correcting the bonnet and it was then further refined with 3M Ultrafina SE polish on a blue 3M pad. Total time spent correcting the bonnet alone was 3 hours
The rest of the car was then finished off before it was taken outside to be washed again to remove any dust etc.
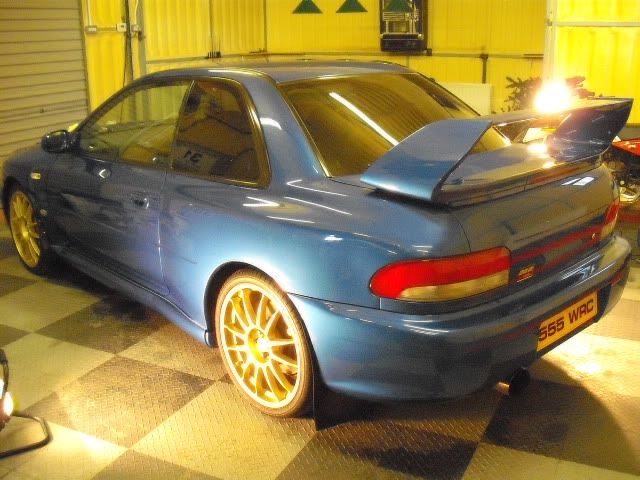
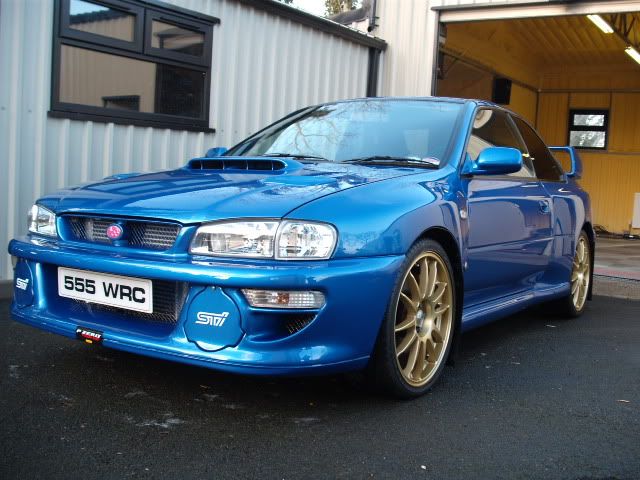
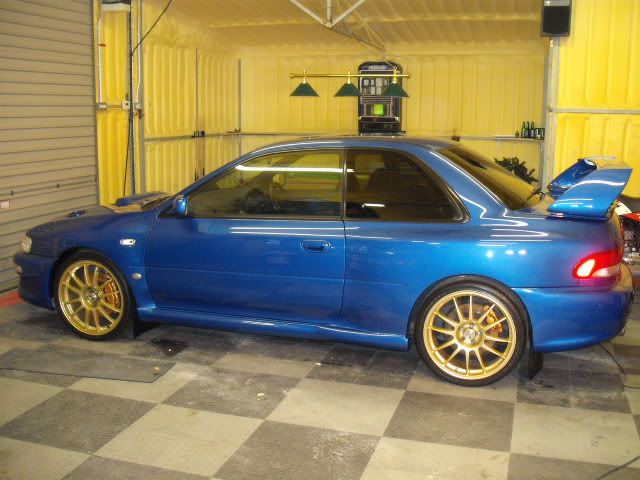
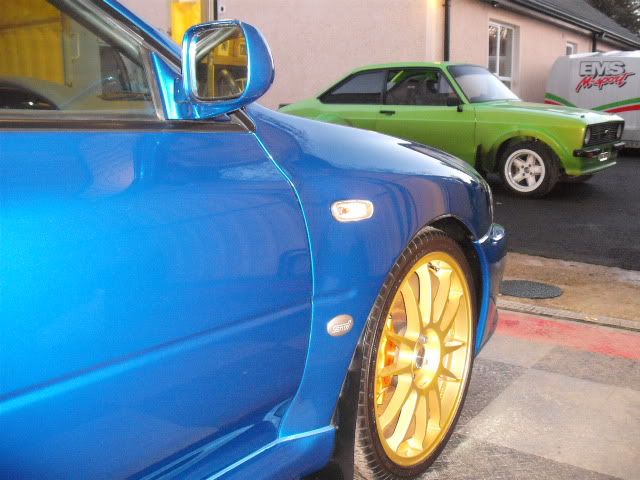
Theses pics were taken after correction and polishing but before any glaze, sealant or wax was applied. This was going to be the only chance to get some pics outside as it would be near dark before I got finished.
After drying off the car was brought back inside and some Poorboys Blackhole glaze was applied. After glazing a coat of Poorboys EX-P sealant was applied and allowed to cure for approx an hour. This gave me time to spray the arches with AutoSmart Finish, apply some Collinite wax to the rims and some AutoSmart Trim Wizard to the tyres.
The sealant was then buffed off and a coat of Valentines wax was applied one panel at a time. The windows were polished with Autoglym glass polish, the exhaust was cleaned with Autosol.
Eventually....
Another coat of Valentines wax was applied and removed with the Eurow buffing cloths
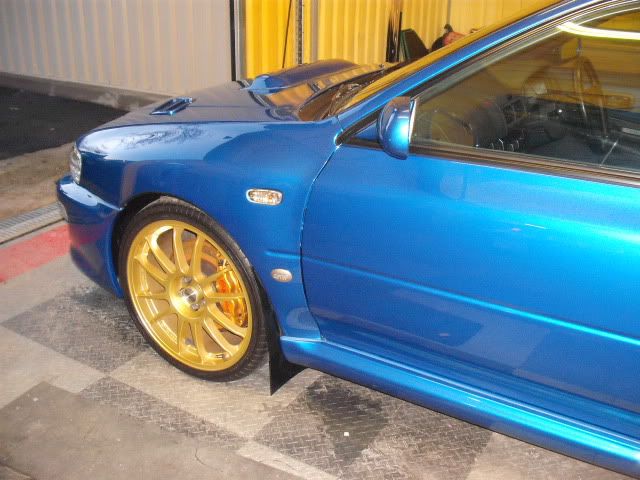
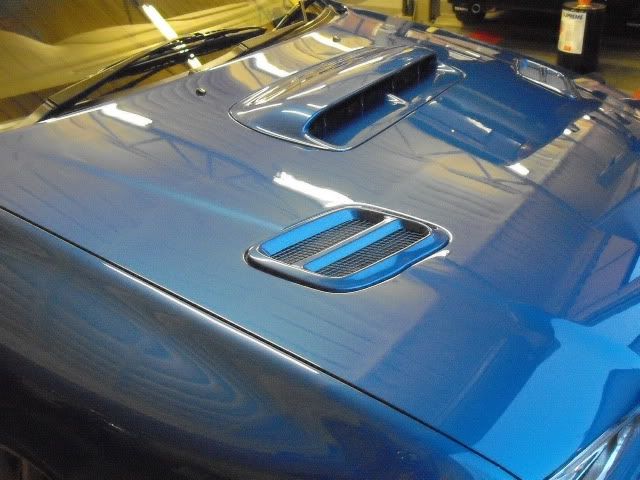
The bonnet finished
Swirl free doors

Total time spent was 17 hours.
I took these pics before any correction work was carried out
Chips on the front bumper.
More chips on the bumper
Fog covers were removed and any chips touched in before being corrected.
Swirls on the drivers side
Swirls on the roof. The roof had a higher concentration of swirls than anywhere else on the car. Some of them were quite deep
The bonnet was also quite well swirled, along with thousands of tiny pin ***** marks from a pevious respray, it would require quite a bit of work..
Some of the tiny marks are just visible in the pics
More swirls on the passenger side
On the bootlid and lower part of the rear spoiler
Correction....
Kestrel DAS polisher
Bluepoint rotary polisher
Compound - 3M Perfect-it Extra Fine Compound
Polish - 3M Perfect-it UltrafinaSE
Pads....
Hexlogic orange componding pad
3M blue polish pad
Hexlogic finishing/glazing pad
Hexlogic polishing pad
Glaze - Poorboys Blackhole
Sealant - Poorboys EX-P
Wax - Valentines Road n' Track
Eurow microfibre buffing cloths
Some 50/50 photos
On the drivers side door
Looking down on the drivers side wing.
This wing had a strange X mark in the paint, it was not a normal scratch. I was going to wet sand the area slightly but after a while correcting the paintwork it almost disappeared, another few passes of the polisher and it was gone.
One of the last areas to be corrected was the bonnet. I tried to take some pics of the tiny pin ***** marks all over the paintwork but it proved to be impossible. I masked off half the bonnet and started working on the drivers side first. I used 3M Perfect-it extra fine compound on a Hexlogic orange pad and the rotary polisher.I put 2 blobs of 3M compound along with 1 blob of Finixa compound on the pad as I needed to be able to work the area for longer than normal. After over an hour of continually polishing, buffing and measuring I could notice a great improvement in the appearance of the bonnet.
Saturday morning... eventually I finished correcting the bonnet and it was then further refined with 3M Ultrafina SE polish on a blue 3M pad. Total time spent correcting the bonnet alone was 3 hours
The rest of the car was then finished off before it was taken outside to be washed again to remove any dust etc.
Theses pics were taken after correction and polishing but before any glaze, sealant or wax was applied. This was going to be the only chance to get some pics outside as it would be near dark before I got finished.
After drying off the car was brought back inside and some Poorboys Blackhole glaze was applied. After glazing a coat of Poorboys EX-P sealant was applied and allowed to cure for approx an hour. This gave me time to spray the arches with AutoSmart Finish, apply some Collinite wax to the rims and some AutoSmart Trim Wizard to the tyres.
The sealant was then buffed off and a coat of Valentines wax was applied one panel at a time. The windows were polished with Autoglym glass polish, the exhaust was cleaned with Autosol.
Eventually....
Another coat of Valentines wax was applied and removed with the Eurow buffing cloths
The bonnet finished
Swirl free doors
Total time spent was 17 hours.


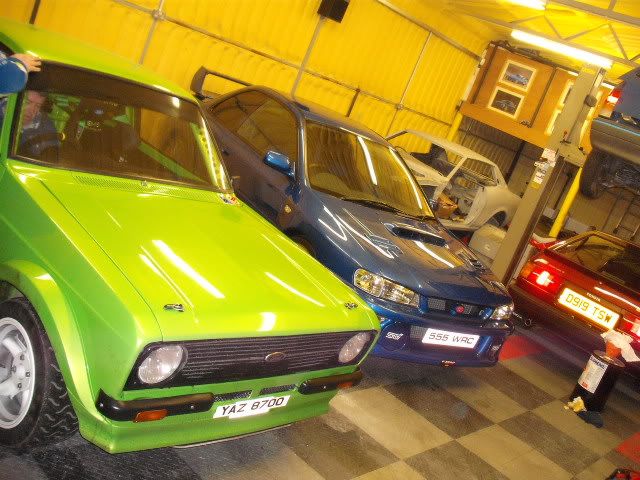
Escort is stunning and would put many show cars to shame, it was at the NEC show 3 weeks ago.
Plenty more pics of it here.
http://www.rallyphotographer.com/?q=showevent&event=577
Plenty more pics of it here.
http://www.rallyphotographer.com/?q=showevent&event=577
Trending Topics

The wheels are safely tucked away. The sticker is there temporarily to cover a small scuff. I was tempted to remove it and see if anything could be done with it but could feel the scuff under the sticker so left it alone.

Scooby Regular
Joined: Oct 2009
Posts: 496
Likes: 0
From: Inverness

Escort is stunning and would put many show cars to shame, it was at the NEC show 3 weeks ago.
Plenty more pics of it here.
http://www.rallyphotographer.com/?q=showevent&event=577
Plenty more pics of it here.
http://www.rallyphotographer.com/?q=showevent&event=577
Worth a pretty penny too id say


Thread
Thread Starter
Forum
Replies
Last Post
Wingnuttzz
Member's Gallery
30
Apr 26, 2022 11:15 PM