Polished Bliss®: 65+ hours on a Range Rover...
 25 August 2010, 04:43 PM
#1
Former Sponsor
Thread Starter

Join Date: Mar 2007
Location: Aberdeen
Posts: 181
Likes: 0
Received 0 Likes
on
0 Posts
Apologies for the lack of posts recently, the hunt for our new second detailer plus a heavy work load has lead to virtually no time available for write ups but hopefully that's about to change 
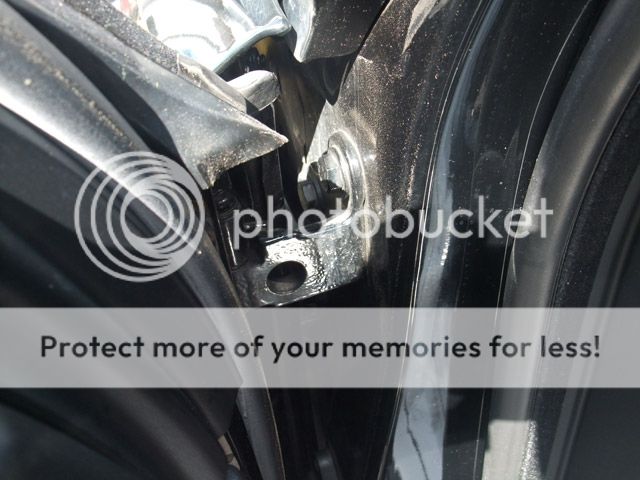
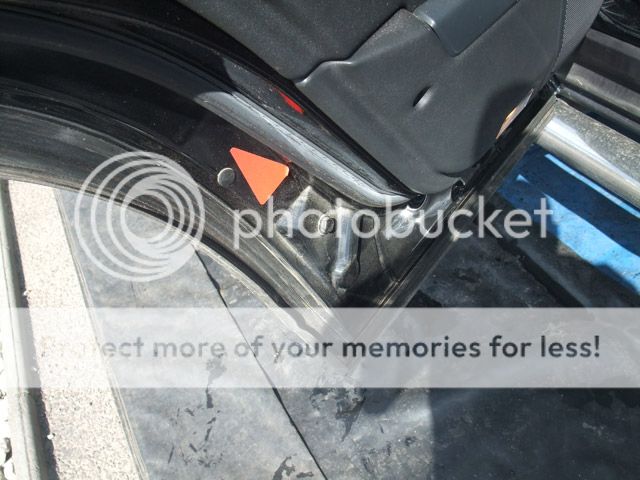
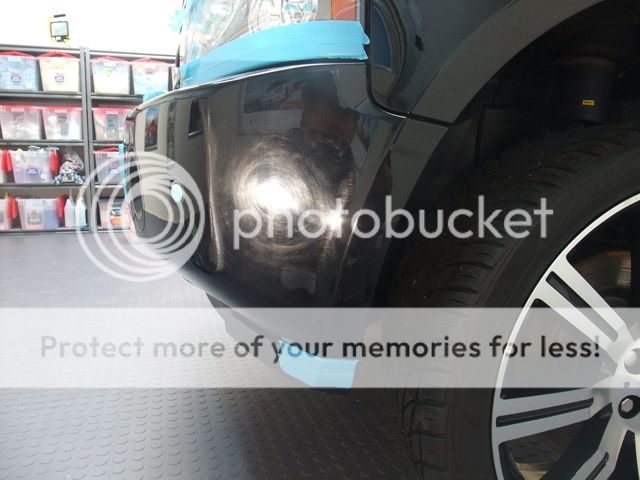
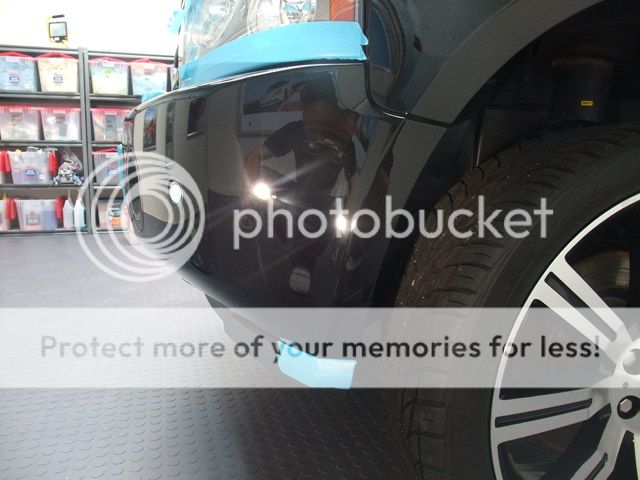
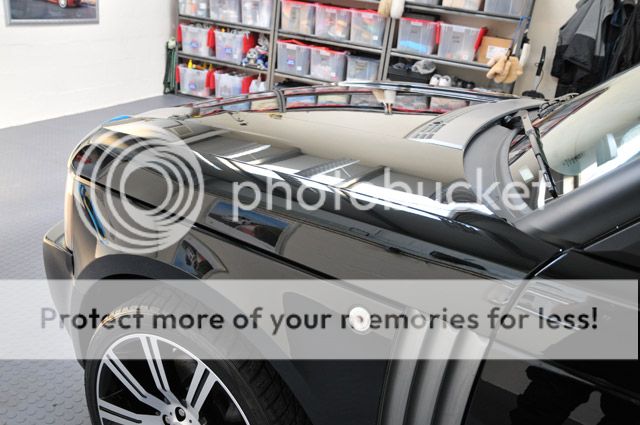
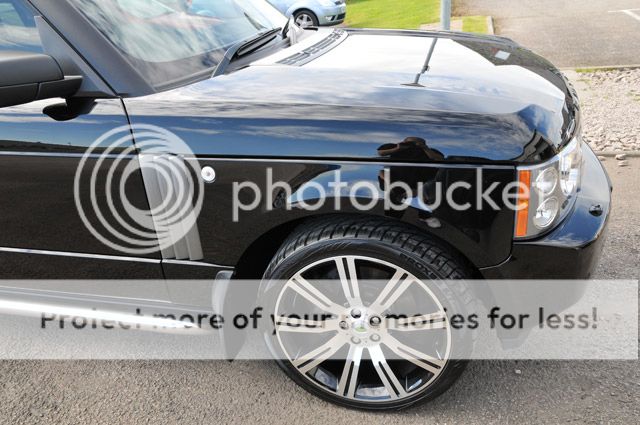
This Range Rover was in for full correction a month or two ago and this was how it looked on arrival:
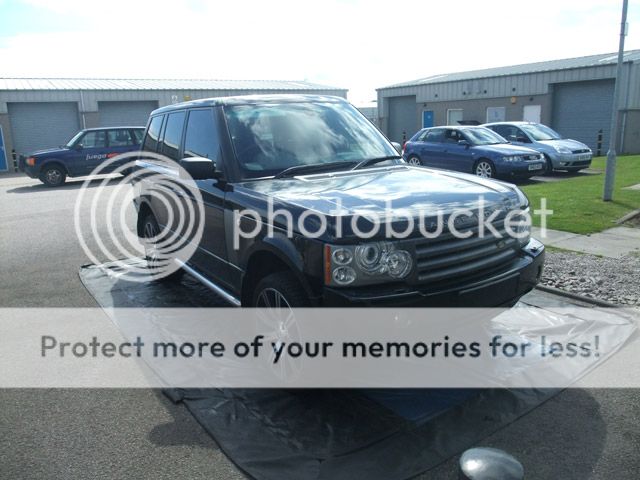
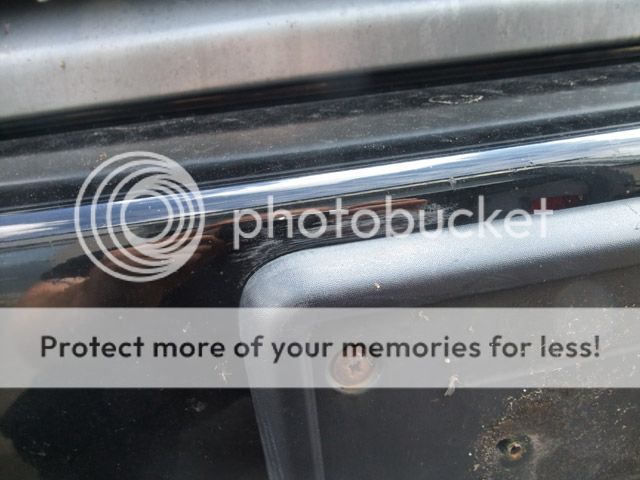
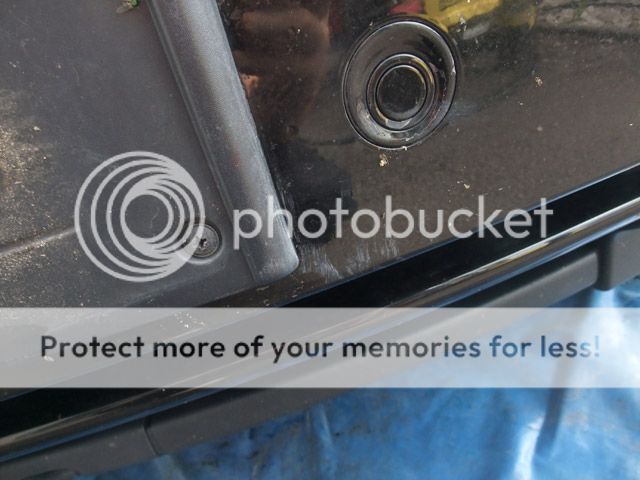
Generally pretty grubby with alot of product residue in panel gaps etc and several parts of trim such as the front and side grills were badly stained from a strong TFR type product:


My camera batteries were needing a good charge so unfortunately no pics of the wash stage but I'm sure most of you know what a car covered in foam looks like by now.
For those that are interested though, the wash stage was as follows:
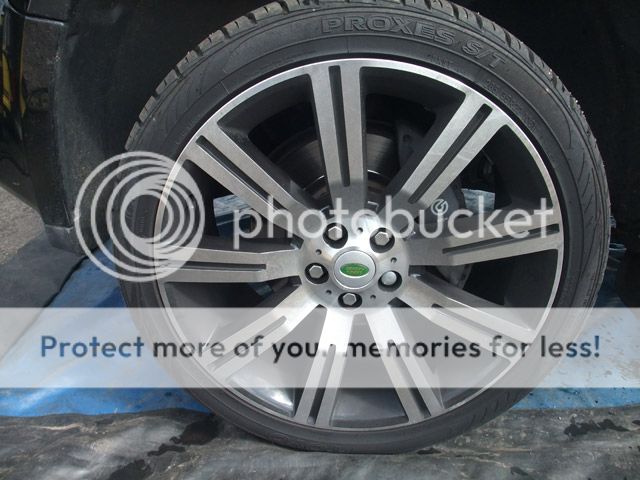
- Wheels cleaned with Gloss-It wheel gel, Tardis and then Iron Cut.
- Tyres,arches and suspension cleaned with Meguiars Superdegreaser and then Tardis (Arches)
- Engine Bay, door shuts & exterior trim cleaned with R222.
- Car foamed with R222 & thoroughly rinsed at high pressure (60 degrees)
- Washed with 2 bucket method, LW mitt & Meguiars Shampoo Plus.
- Tar removed with Tardis.
- Iron deposits on the rear end removed with Iron Cut.
- Paint and glass clayed with Meguiars Aggressive Clay.
- Dried with PB Luxury drying towel and Black Baron.
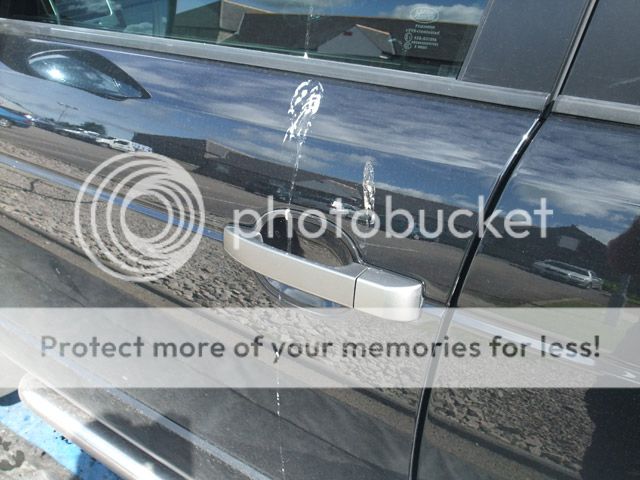
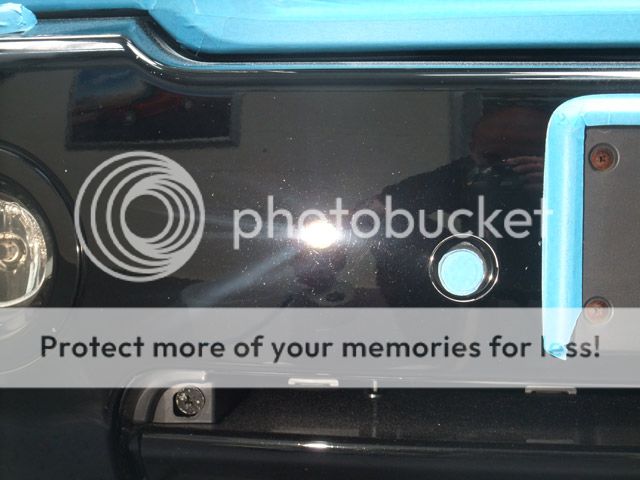
So we'll pick up with some examples of the paint defects - some of which were more apparant now the paint was clean...

...And inside under natural light:
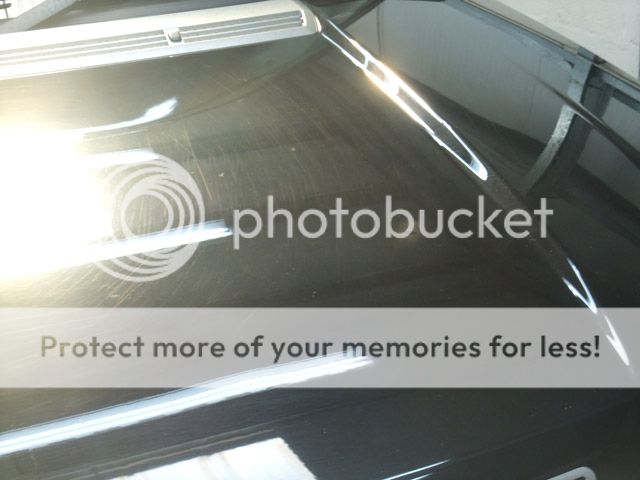


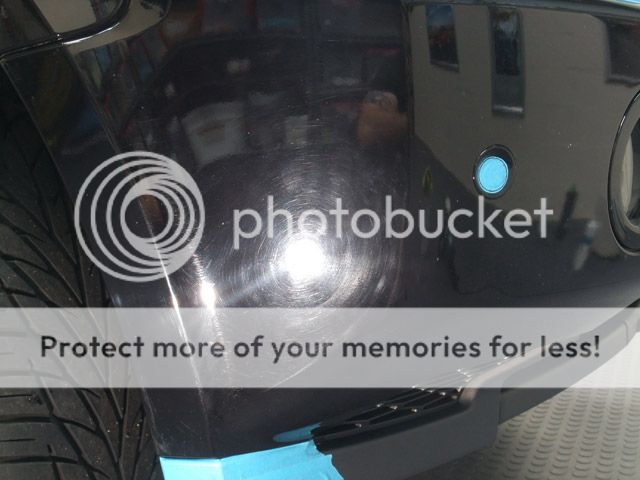
Aswell as being brush washed from new, it was obvious it had maybe seen a scouring sponge at some point to remove some dead bugs...


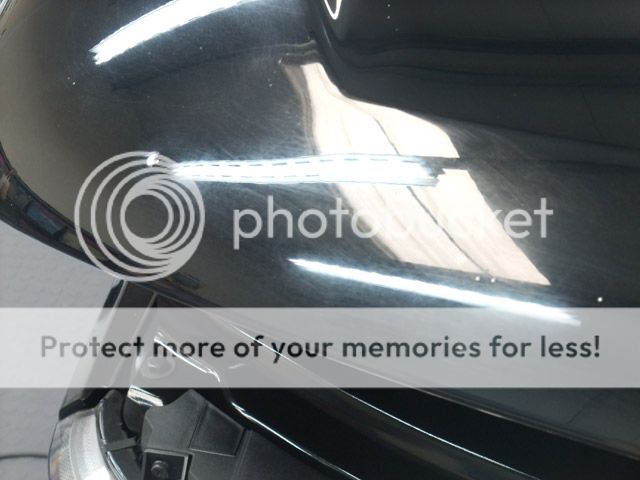
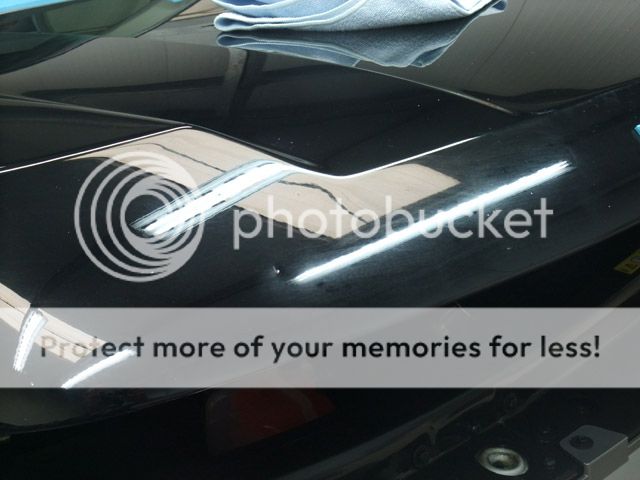
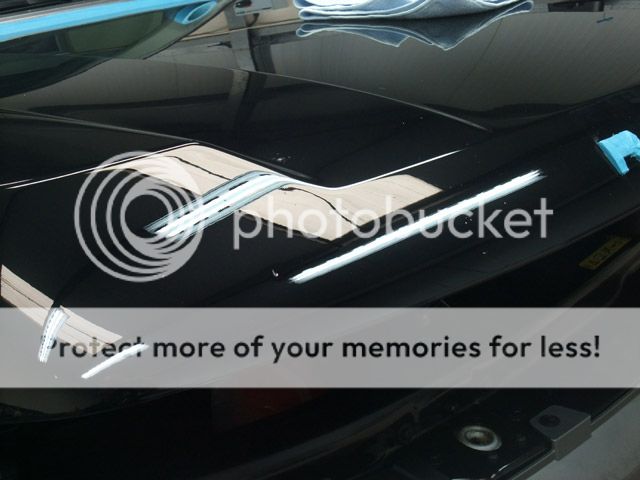
And a few shots with the halogens to show just how tightly packed together the scratches were:


Surprisingly for a Range Rover the paint was generally pretty healthy and consistent, mostly in the 130-140 micron range with the odd high spot:

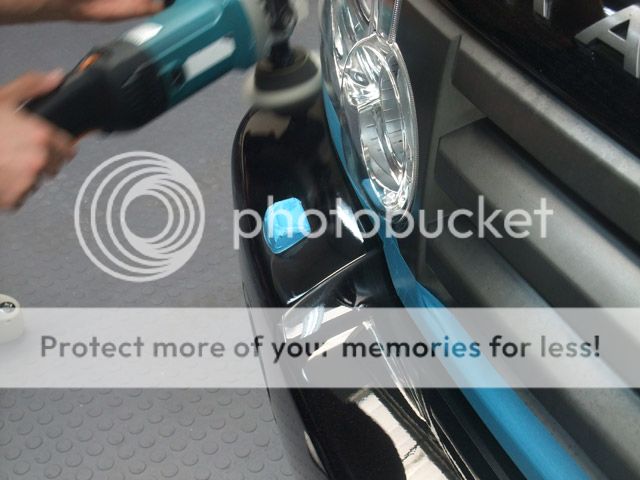
Unsurprisingly for a Range Rover, the paint was slightly sticky. Whilst it's nowhere near as bad as the likes of many Porsches it's enough to be a bit of a pain at times so to keep panel temperatures down I used Gloss-It white wool pads with Menzerna 3.02 to correct the majority of the paint, occasionaly stepping up to Meguiars 105 where the scratches were at their deepest.
50/50 after 3.02 (yet to be refined):


The smaller wool pads are extremely handy for deep defects on bumpers etc:
50/50 with the Sun Gun:

And with the strip lights:

Before:
After:
Before:
After:
Before:

After:
Before:
After:

Before:

After:

Rear bumper before:
After:

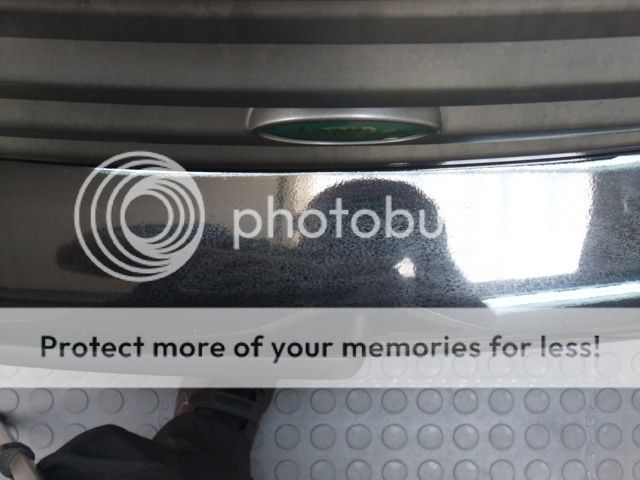
Foam pads were used for the few places that weren't quite so bad:
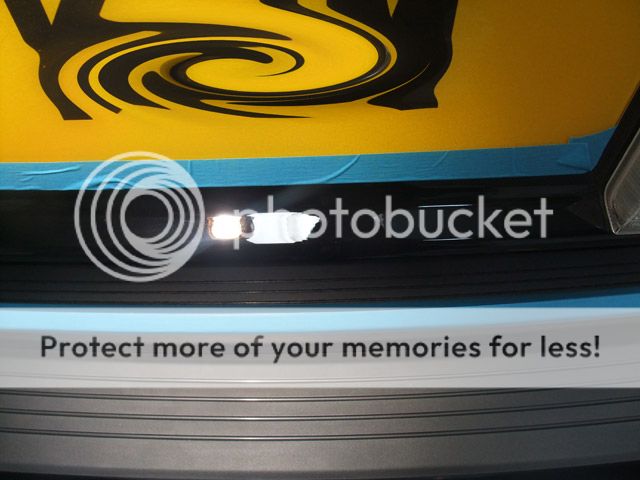
The vinyl decals had to be masked off while polishing the surrounding paint with the rotary but this obviously left an un-corrected part:

This was solved with some Meguiars 205 and a Gloss-It Fast Cut spot pad with the DA machine:
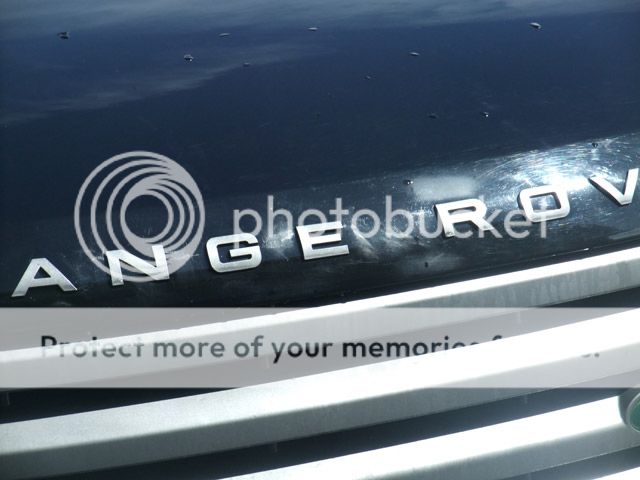
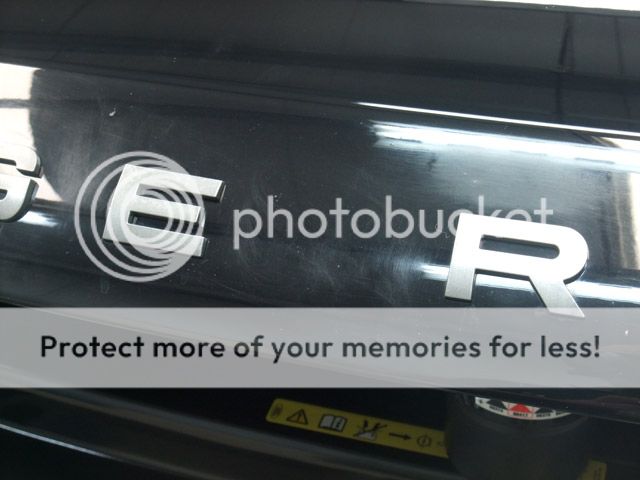
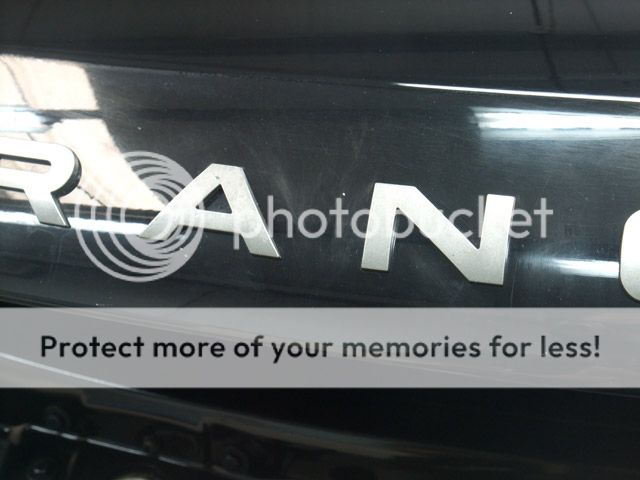
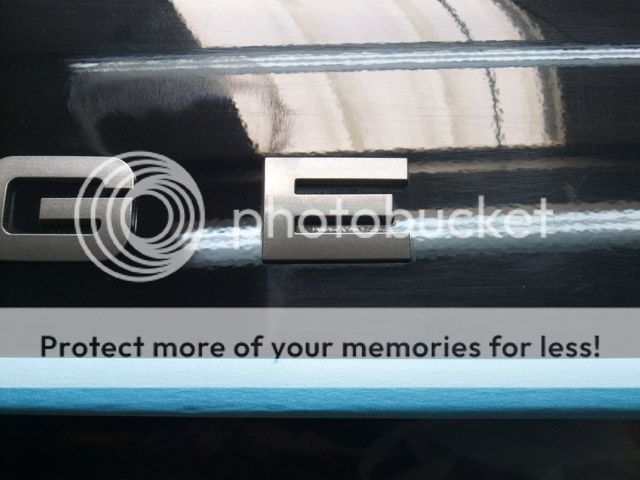
Onto those akward Range Rover letters now - the paint surrounding them was polished with Menz 3.02 and a Lake Country Light Cut hand polishing pad:
Always amazes me how well you can correct even the swirliest paint by hand if it's just a small section
It took a few hours to get these bits spot on but it was well worth it:


Before:
After:

I used a cotton bud and some 85RE to clean all the little parts of the badges:


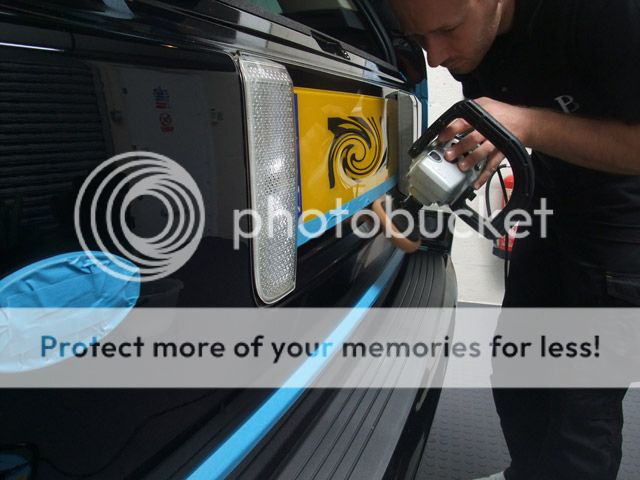
When it came to refining the finish, I found the best method was to do 90% of each polishing set with the Rotary and Menzerna FPII with a Lake Country Polishing Pad and then do the last few passes with the DA and the same polish and pad combo. Due to the sticky paint it was incredibly time consuming ensuring the rotary finished 100% trail free so it was much easier and quicker to finish up with the DA

My intentions of taking pics of every stage of the LSP/interior steps went out the window unfortunately as the last couple of days ran into really late nights so I just wanted to get it finished so here's the rest of the process:
- Car dusted down with Lambswool Duster to remove polishing dust.
- Paintwork wiped down with IPA.
- Paint sealed with Blackfire Wet Diamond.
- Glass polished and protected with Werkstat Prime Strong.
- Wheels sealed with Blackfire Metal Sealant.
- Tyres dressed with Gloss-It Signature Tyre Gloss.
- Arches & exterior trim dressed with Meguiars All Season Dressing.
- Engine Bay protected with 303 Aerospace Protectant.
- Interior fully detailed including cleaning and feeding of the leather.
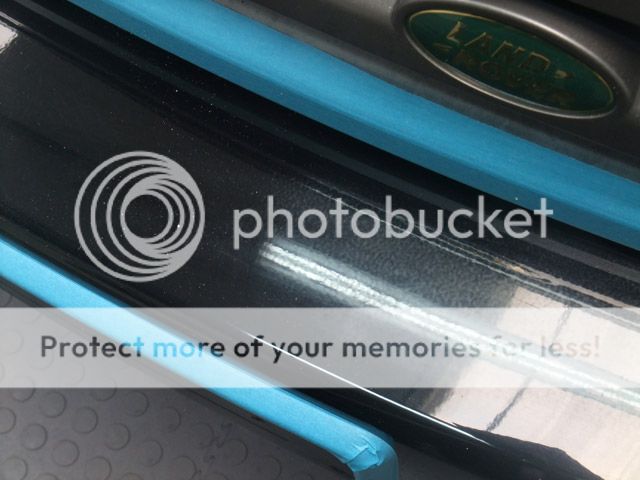
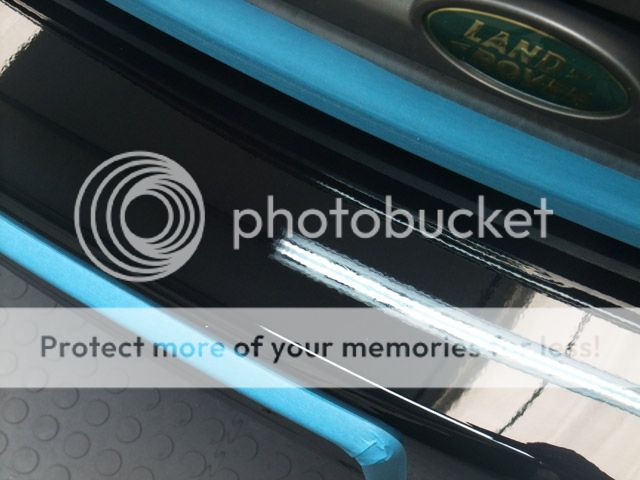
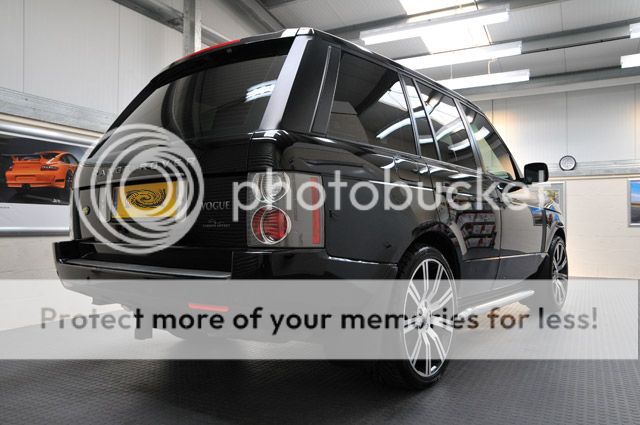
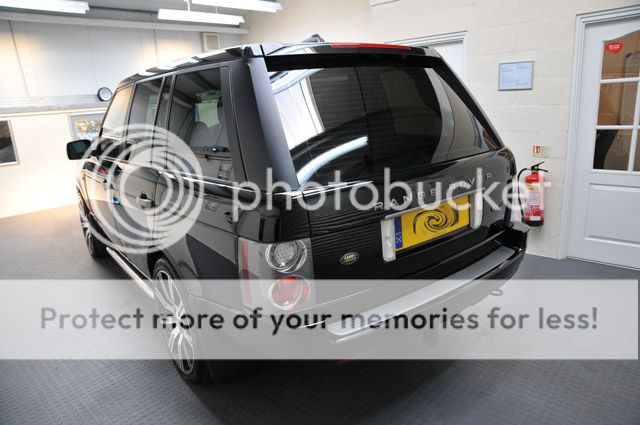
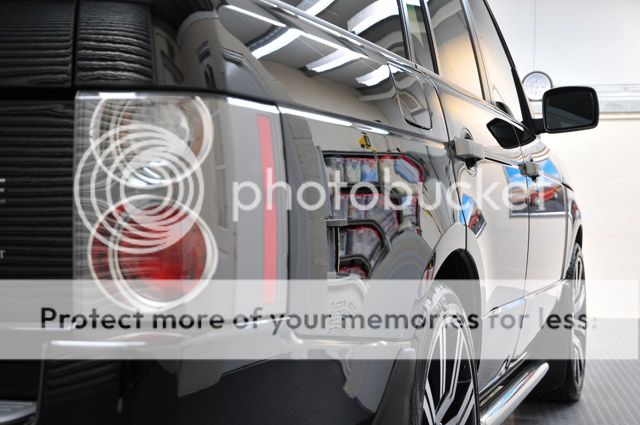
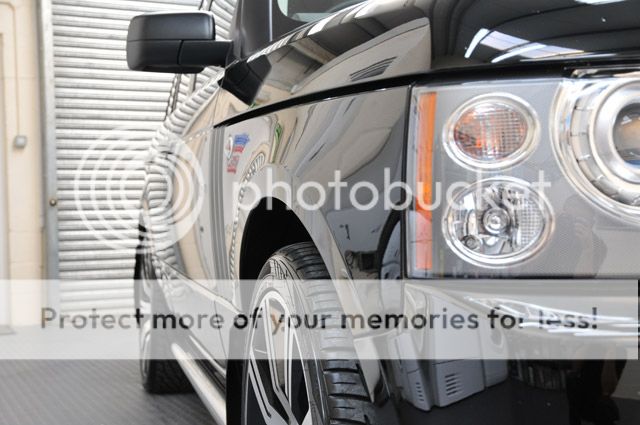
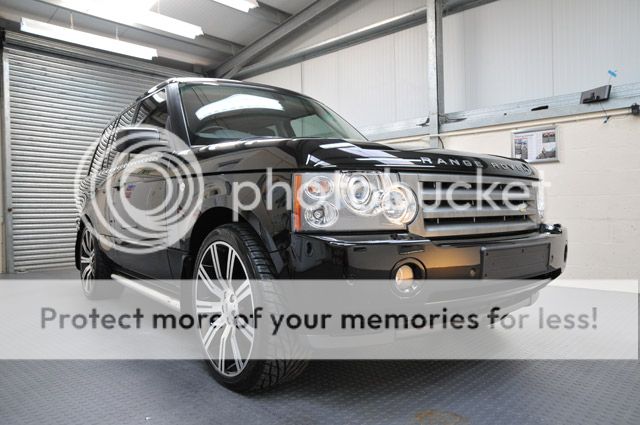
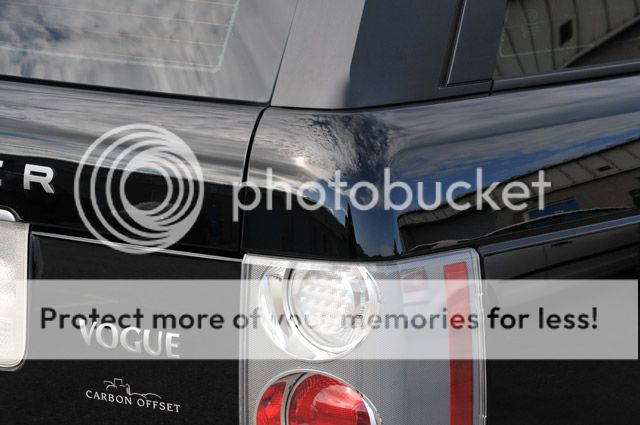
So that then takes us to the finished shots - you'll see in some of the pics the TFR stained trims still aren't 100% perfect as nothing seemed to improve them much and I tried EVERYTHING Pretty annoying but just one of those things I guess.
Anyways, here are the afters - not quite as many as I'd have liked as the owner was in a bit of a rush:


Thanks for looking, I'm going to be aiming for a write up every week from now on (Famous last words...)
Clark
This Range Rover was in for full correction a month or two ago and this was how it looked on arrival:
Generally pretty grubby with alot of product residue in panel gaps etc and several parts of trim such as the front and side grills were badly stained from a strong TFR type product:
My camera batteries were needing a good charge so unfortunately no pics of the wash stage but I'm sure most of you know what a car covered in foam looks like by now.
For those that are interested though, the wash stage was as follows:
- Wheels cleaned with Gloss-It wheel gel, Tardis and then Iron Cut.
- Tyres,arches and suspension cleaned with Meguiars Superdegreaser and then Tardis (Arches)
- Engine Bay, door shuts & exterior trim cleaned with R222.
- Car foamed with R222 & thoroughly rinsed at high pressure (60 degrees)
- Washed with 2 bucket method, LW mitt & Meguiars Shampoo Plus.
- Tar removed with Tardis.
- Iron deposits on the rear end removed with Iron Cut.
- Paint and glass clayed with Meguiars Aggressive Clay.
- Dried with PB Luxury drying towel and Black Baron.
So we'll pick up with some examples of the paint defects - some of which were more apparant now the paint was clean...
...And inside under natural light:
Aswell as being brush washed from new, it was obvious it had maybe seen a scouring sponge at some point to remove some dead bugs...
And a few shots with the halogens to show just how tightly packed together the scratches were:
Surprisingly for a Range Rover the paint was generally pretty healthy and consistent, mostly in the 130-140 micron range with the odd high spot:
Unsurprisingly for a Range Rover, the paint was slightly sticky. Whilst it's nowhere near as bad as the likes of many Porsches it's enough to be a bit of a pain at times so to keep panel temperatures down I used Gloss-It white wool pads with Menzerna 3.02 to correct the majority of the paint, occasionaly stepping up to Meguiars 105 where the scratches were at their deepest.
50/50 after 3.02 (yet to be refined):
The smaller wool pads are extremely handy for deep defects on bumpers etc:
50/50 with the Sun Gun:
And with the strip lights:
Before:
After:
Before:
After:
Before:
After:
Before:
After:
Before:
After:
Rear bumper before:
After:
Foam pads were used for the few places that weren't quite so bad:
The vinyl decals had to be masked off while polishing the surrounding paint with the rotary but this obviously left an un-corrected part:
This was solved with some Meguiars 205 and a Gloss-It Fast Cut spot pad with the DA machine:
Onto those akward Range Rover letters now - the paint surrounding them was polished with Menz 3.02 and a Lake Country Light Cut hand polishing pad:
Always amazes me how well you can correct even the swirliest paint by hand if it's just a small section
It took a few hours to get these bits spot on but it was well worth it:
Before:
After:
I used a cotton bud and some 85RE to clean all the little parts of the badges:
When it came to refining the finish, I found the best method was to do 90% of each polishing set with the Rotary and Menzerna FPII with a Lake Country Polishing Pad and then do the last few passes with the DA and the same polish and pad combo. Due to the sticky paint it was incredibly time consuming ensuring the rotary finished 100% trail free so it was much easier and quicker to finish up with the DA
My intentions of taking pics of every stage of the LSP/interior steps went out the window unfortunately as the last couple of days ran into really late nights so I just wanted to get it finished so here's the rest of the process:
- Car dusted down with Lambswool Duster to remove polishing dust.
- Paintwork wiped down with IPA.
- Paint sealed with Blackfire Wet Diamond.
- Glass polished and protected with Werkstat Prime Strong.
- Wheels sealed with Blackfire Metal Sealant.
- Tyres dressed with Gloss-It Signature Tyre Gloss.
- Arches & exterior trim dressed with Meguiars All Season Dressing.
- Engine Bay protected with 303 Aerospace Protectant.
- Interior fully detailed including cleaning and feeding of the leather.
So that then takes us to the finished shots - you'll see in some of the pics the TFR stained trims still aren't 100% perfect as nothing seemed to improve them much and I tried EVERYTHING
Pretty annoying but just one of those things I guess.Anyways, here are the afters - not quite as many as I'd have liked as the owner was in a bit of a rush:
Thanks for looking, I'm going to be aiming for a write up every week from now on (Famous last words...
)Clark


 30 August 2010, 04:19 PM
#4
Former Sponsor
Thread Starter
Join Date: Mar 2007
Location: Aberdeen
Posts: 181
Likes: 0
Received 0 Likes
on
0 Posts
Haha, I'll need 2 weeks on that shed of a thing!


Trending Topics

 06 September 2010, 12:30 PM
#12
Scooby Regular
iTrader: (2)
Join Date: Jul 2008
Location: Solihull
Posts: 1,109
Likes: 0
Received 0 Likes
on
0 Posts
Excellent write-up - I've missed these!
Also my favourite shape Rangie (before they started bolting on tatty bits of bling all over the place) with one of the best engines ever
Also my favourite shape Rangie (before they started bolting on tatty bits of bling all over the place) with one of the best engines ever

Thread
Thread Starter
Forum
Replies
Last Post
Pro-Line Motorsport
Car Parts For Sale
2
29 September 2015 07:36 PM