
Scoob detail using a porter cable

Thread Starter
.......*SMACS*...........
iTrader: (1)
Joined: Jul 2003
Posts: 9,372
Likes: 0
From: Manchester - Official SMACS Cleaning Freak who suffers from OCD
Here we go its took a long time coming but I can finally post a few pics of my first detail on my scoob - the girlfriends Peugeot 106 to follow shortly
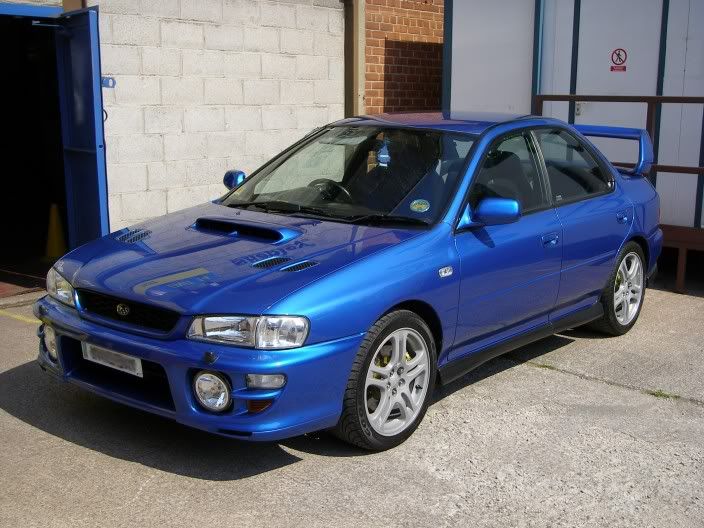
Right first up is my 00 uk turbo in sonic blue � I normally keep my cars clean but mine was in need of some deswirling as there were marks all over it.
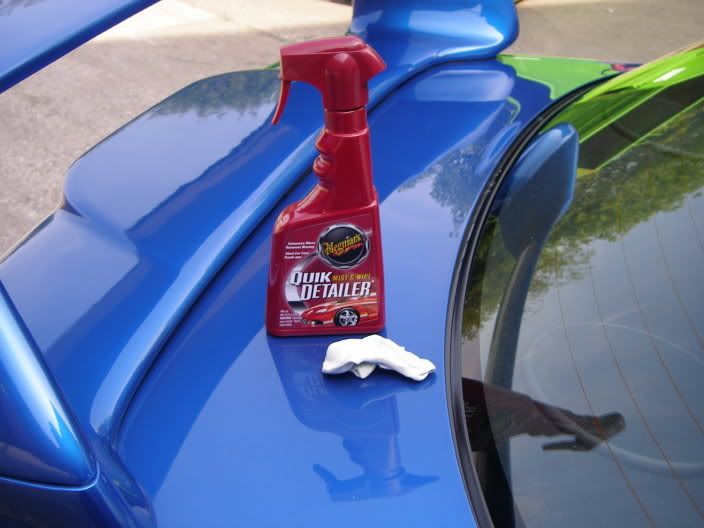
Stage 1 � a bloody good wash
First up jet washed the car using a strong TFR to remove basically everything from the cars paint i.e old wax etc, left to dwell for 5 mins then rinsed off using a warm water pressure washer (thanks to my work) -. I then attacked the under arches with G101 � APC 50/50 mix this was left to dwell for 10 mins then rinsed off again using the pressure washer on medium pressure � the crap just fell off � I was surprised how good this stuff was. Alloys were sprayed with Maguire�s hot rims � only left it on for 1 minute then rinsed off. I then set out washing the car the normal way � 2-bucket method using blackfire gloss shampoo also using 2 lamb wool wash mits � after a good wash I then dried the car using a poorboys waffle weave towel, next stage was to give the car a good claying, it had been done a few months previous so I didn�t expect much crap in the paint � as guessed not a lot came out but it did give me the starting level I wanted to get polishing
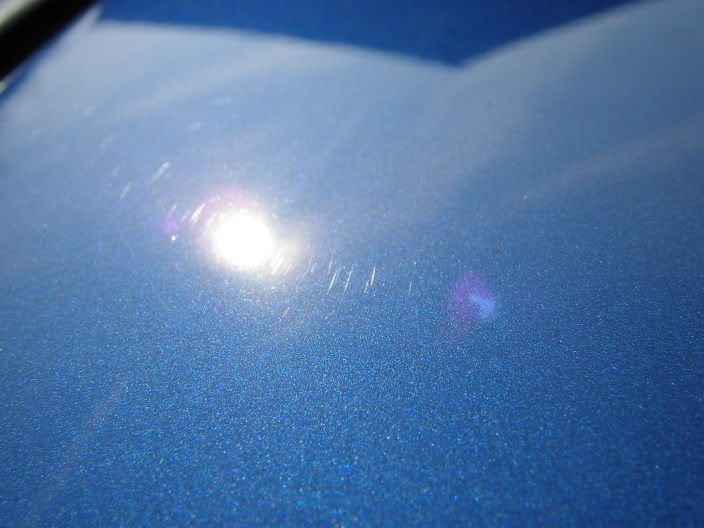
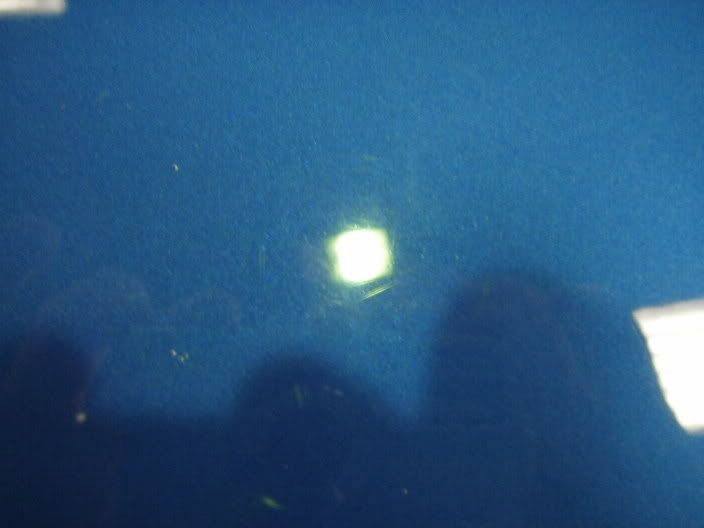
Before I started polishing I took some pre swirl pics best I could (its hard as I haven�t got a spot lamp yet) so heres a few nice swirls

I then proceeded to mask the car up best I could to stop the splatter of polish (sorry no pics)
Stage 2 � the polishing begins
Next up was to start the polishing process using a porter cable, first up tested the least abrasive polish I had on a small area - menzerna final polish 2 - on a orange light cut 6.5� pad then wiped using a PB`s microfiber towel this didn�t touch any defects at all so I stepped up to Intensive polish sprayed pad with a quick spritz of quick detailer � again testing on a small area, spread polish on speed 2 then gave it 2 slow passes on speed 5 this got 95 % of the defects out, I then proceeded to do the whole car using the same method � except bumpers and hard to reach places, I used a 3.5� backing pad with a orange light cut pad, after hours of buffing the intensive polish stage was complete (sorry no pics as I don�t have a spot lamp)
Stage 3 was to try and bring out more colour and to eliminate any micro marring that the intensive polish left. Using the final polish 2 and this time using the white polishing pad and again keeping the same technique after yet more hours passed the stage was complete � the car was looking better then ever but I was far from done.
Stage 4 � Blackfire gloss enhancing polish
This again was to give me a rich finish and bring out the flake of the paint, I used the porter cable with black 6.5� finishing pad to apply the polish which went on very easily (thank god) as my body was starting to hurt as time was ticking on. Once the polish was dry I again used PB`s microfibre towels to buff off the residue.
Stage 5 � Apply wax/sealent
The last step of the paint work cleaning process was to apply the wax/sealent I decided to use blackfire wet diamond all finish paint protection, but this time by hand using the german applicator pad (pink side) this went on very easy � once whole car was covered I left it to dry for about 30 minutes, again buffed of using PB`s microfibre towels. This gave the car a very wet look also the melting point for this sealant is about 300 degrees so no chance of the protection melting in hot sun not that we get any mine!.
Stage 6 - was to de-tape the car and clean all plastic trims using poorboys trim restorer this brought the plastic trims and rubber seals back to life (smelt nice too) once complete I then dressed the trims with poorboys natural look dressing (smelt of marzipan), I then proceeded to clean the rear lights with meguires plast-X, last but not least I dressed the tyres with Autosmarts waterproof tyre gloss. (the exhaust was clean so I didn�t need to touch that)
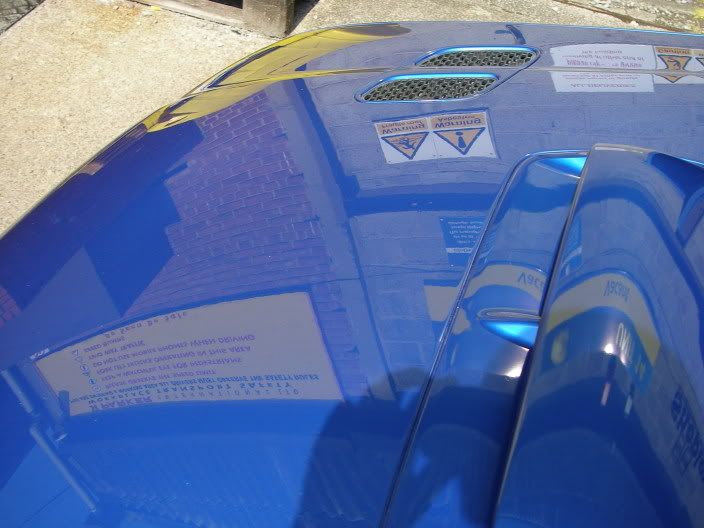
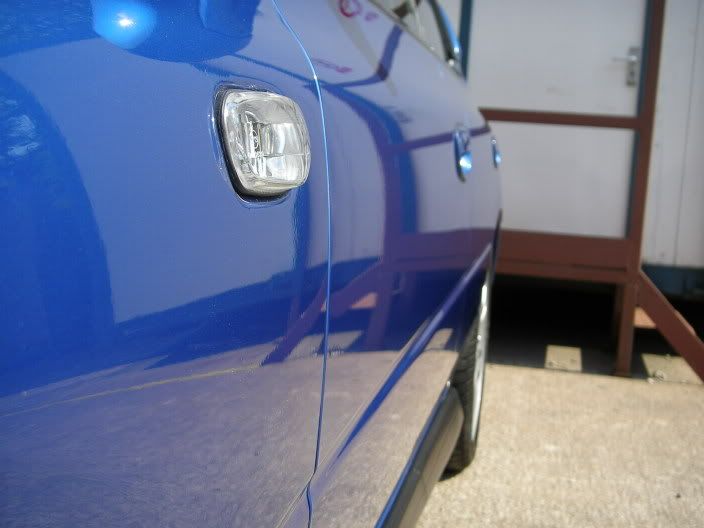
Here are some deswirled pics

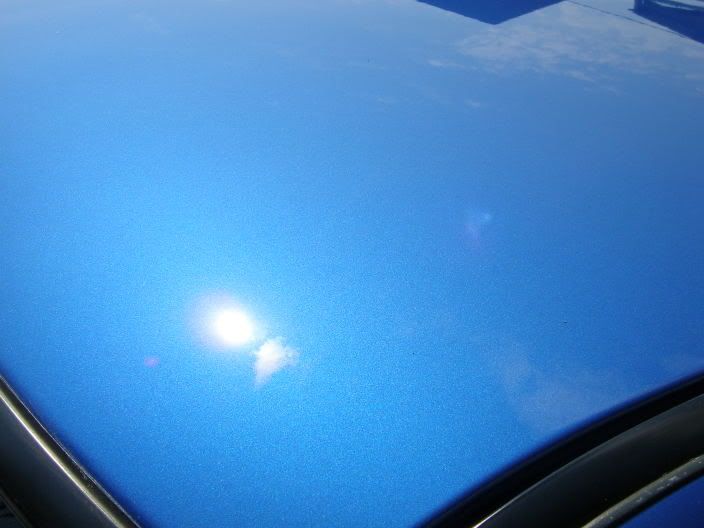
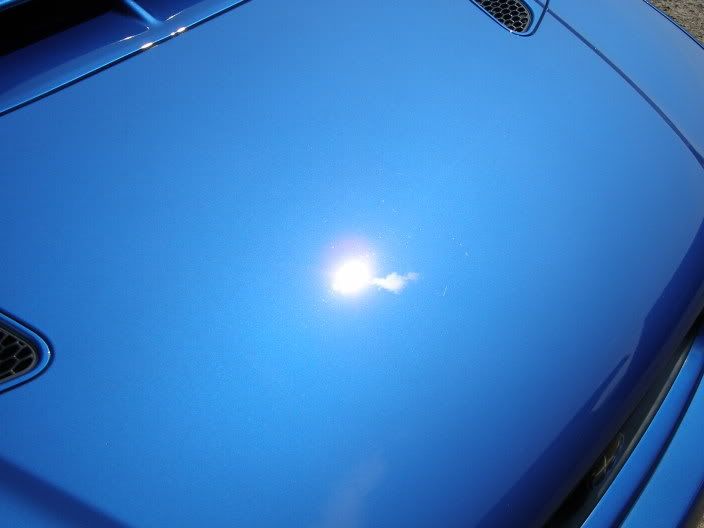
couple of shiny shots
total time 11 hours
last week I then decided to tackle my engine bay
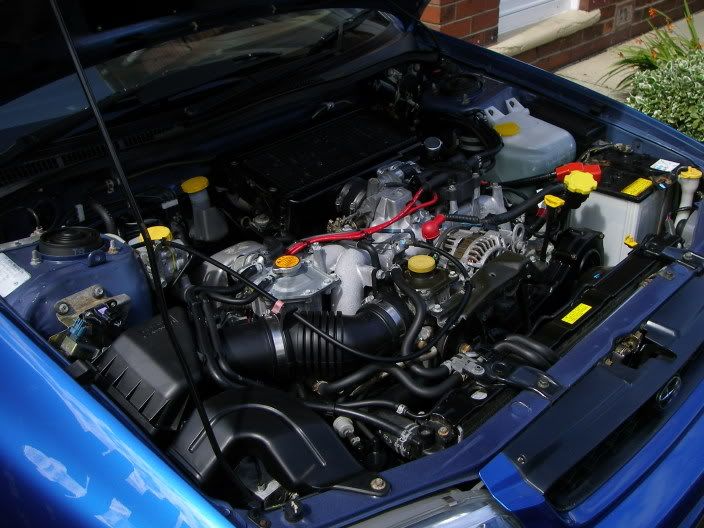
the only before pic ive got is this (before I changed air filter back to std)
(with a cold engine) since CD2 isn�t sold anymore I decided to give G101 a whirl (50/50) mix � first sprayed on the whole engine bay (avoiding getting any over spray on bodywork) or its good bye wax protection, I left it to dwell for 10 mins, then using a small paint brush started to loosen some of the dried on Ming that�s built up under the bonnet for the past 6 years, after another 15 mins I then proceeded to carefully rinse the engine using the garden hose (avoiding the important electrical bits, I was shocked to see the transformation before me its come clean � after rinsing properly I then took my time to dry the engine bay using my old chamois leather and a roll of kitchen towel basically anything I could get my hands on to soak up any standing water after it was 90% dry I noticed the G101 had reacted with my Alloy dump valve so a quick wipe of autosol soon sorted that out, I then took my time cleaning all hozes/plastics with poorboys trim restorer and again I dressed them with poorboys natural look dressing as I didn�t want them looking too shiny. Hear are a couple of after pics
before �

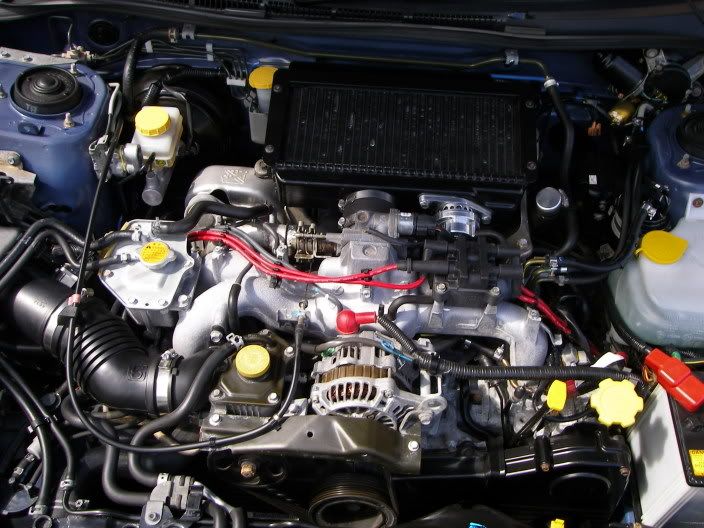
After -

The girlfriends Pug 106 detail is to follow
Right first up is my 00 uk turbo in sonic blue � I normally keep my cars clean but mine was in need of some deswirling as there were marks all over it.
Stage 1 � a bloody good wash
First up jet washed the car using a strong TFR to remove basically everything from the cars paint i.e old wax etc, left to dwell for 5 mins then rinsed off using a warm water pressure washer (thanks to my work) -. I then attacked the under arches with G101 � APC 50/50 mix this was left to dwell for 10 mins then rinsed off again using the pressure washer on medium pressure � the crap just fell off � I was surprised how good this stuff was. Alloys were sprayed with Maguire�s hot rims � only left it on for 1 minute then rinsed off. I then set out washing the car the normal way � 2-bucket method using blackfire gloss shampoo also using 2 lamb wool wash mits � after a good wash I then dried the car using a poorboys waffle weave towel, next stage was to give the car a good claying, it had been done a few months previous so I didn�t expect much crap in the paint � as guessed not a lot came out but it did give me the starting level I wanted to get polishing
Before I started polishing I took some pre swirl pics best I could (its hard as I haven�t got a spot lamp yet) so heres a few nice swirls
I then proceeded to mask the car up best I could to stop the splatter of polish (sorry no pics)
Stage 2 � the polishing begins
Next up was to start the polishing process using a porter cable, first up tested the least abrasive polish I had on a small area - menzerna final polish 2 - on a orange light cut 6.5� pad then wiped using a PB`s microfiber towel this didn�t touch any defects at all so I stepped up to Intensive polish sprayed pad with a quick spritz of quick detailer � again testing on a small area, spread polish on speed 2 then gave it 2 slow passes on speed 5 this got 95 % of the defects out, I then proceeded to do the whole car using the same method � except bumpers and hard to reach places, I used a 3.5� backing pad with a orange light cut pad, after hours of buffing the intensive polish stage was complete (sorry no pics as I don�t have a spot lamp)
Stage 3 was to try and bring out more colour and to eliminate any micro marring that the intensive polish left. Using the final polish 2 and this time using the white polishing pad and again keeping the same technique after yet more hours passed the stage was complete � the car was looking better then ever but I was far from done.
Stage 4 � Blackfire gloss enhancing polish
This again was to give me a rich finish and bring out the flake of the paint, I used the porter cable with black 6.5� finishing pad to apply the polish which went on very easily (thank god) as my body was starting to hurt as time was ticking on. Once the polish was dry I again used PB`s microfibre towels to buff off the residue.
Stage 5 � Apply wax/sealent
The last step of the paint work cleaning process was to apply the wax/sealent I decided to use blackfire wet diamond all finish paint protection, but this time by hand using the german applicator pad (pink side) this went on very easy � once whole car was covered I left it to dry for about 30 minutes, again buffed of using PB`s microfibre towels. This gave the car a very wet look also the melting point for this sealant is about 300 degrees so no chance of the protection melting in hot sun not that we get any mine!.
Stage 6 - was to de-tape the car and clean all plastic trims using poorboys trim restorer this brought the plastic trims and rubber seals back to life (smelt nice too) once complete I then dressed the trims with poorboys natural look dressing (smelt of marzipan), I then proceeded to clean the rear lights with meguires plast-X, last but not least I dressed the tyres with Autosmarts waterproof tyre gloss. (the exhaust was clean so I didn�t need to touch that)
Here are some deswirled pics
couple of shiny shots
total time 11 hours
last week I then decided to tackle my engine bay
the only before pic ive got is this (before I changed air filter back to std)
(with a cold engine) since CD2 isn�t sold anymore I decided to give G101 a whirl (50/50) mix � first sprayed on the whole engine bay (avoiding getting any over spray on bodywork) or its good bye wax protection, I left it to dwell for 10 mins, then using a small paint brush started to loosen some of the dried on Ming that�s built up under the bonnet for the past 6 years, after another 15 mins I then proceeded to carefully rinse the engine using the garden hose (avoiding the important electrical bits, I was shocked to see the transformation before me its come clean � after rinsing properly I then took my time to dry the engine bay using my old chamois leather and a roll of kitchen towel basically anything I could get my hands on to soak up any standing water after it was 90% dry I noticed the G101 had reacted with my Alloy dump valve so a quick wipe of autosol soon sorted that out, I then took my time cleaning all hozes/plastics with poorboys trim restorer and again I dressed them with poorboys natural look dressing as I didn�t want them looking too shiny. Hear are a couple of after pics
before �
After -
The girlfriends Pug 106 detail is to follow

Scooby Regular
Joined: Feb 2000
Posts: 2,538
Likes: 0
From: Please excuse my Spelling - its not the best !!
wow very good, especially the engine clean !
Do you want to demonstrate cleaning the engine bay and removing swirls on my car ?
Richard
Do you want to demonstrate cleaning the engine bay and removing swirls on my car ?
Richard
Last edited by richs2891; Aug 2, 2006 at 12:41 PM.


Thread Starter
.......*SMACS*...........
iTrader: (1)
Joined: Jul 2003
Posts: 9,372
Likes: 0
From: Manchester - Official SMACS Cleaning Freak who suffers from OCD
Thanks guys - 
PB - do you mean the detailing world one?
just wait to see the pics of the girlfriends Pug 106 - it came out better then mine
funny as shes still complains as her hand keeps slideing off the boot - you just cannot win
pug paint is bloody solid
PB - do you mean the detailing world one?
just wait to see the pics of the girlfriends Pug 106 - it came out better then mine
funny as shes still complains as her hand keeps slideing off the boot - you just cannot win
pug paint is bloody solid
PMSL, there's no pleasing some! No, not the DW one, my one - check out the link below, I run a monthly comp on my site, just posted this month's winners on here to give you an idea of the competition.
http://www.polishedbliss.co.uk/acatalog/show.html

http://www.polishedbliss.co.uk/acatalog/show.html
Trending Topics

Thread
Thread Starter
Forum
Replies
Last Post