
The Four and the Rotary


Thread Starter
Scooby Regular
Joined: Aug 2013
Posts: 233
Likes: 8
From: North London
I finally got back around to tinkering after six weeks recovering from an op, trying to get as much done as I can before the next one....
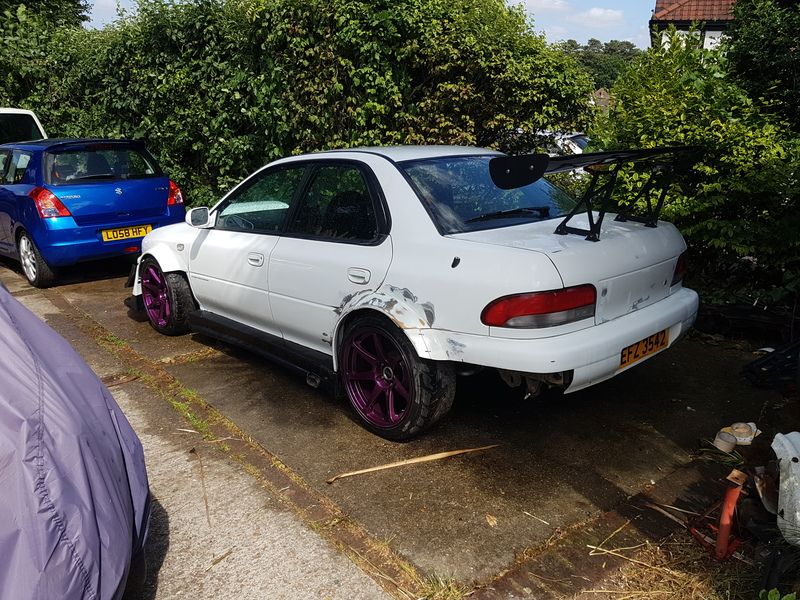
So been playing with a few aero bits, did the wheels at last and have really started to get into the interior bits.... well what's left og it at least
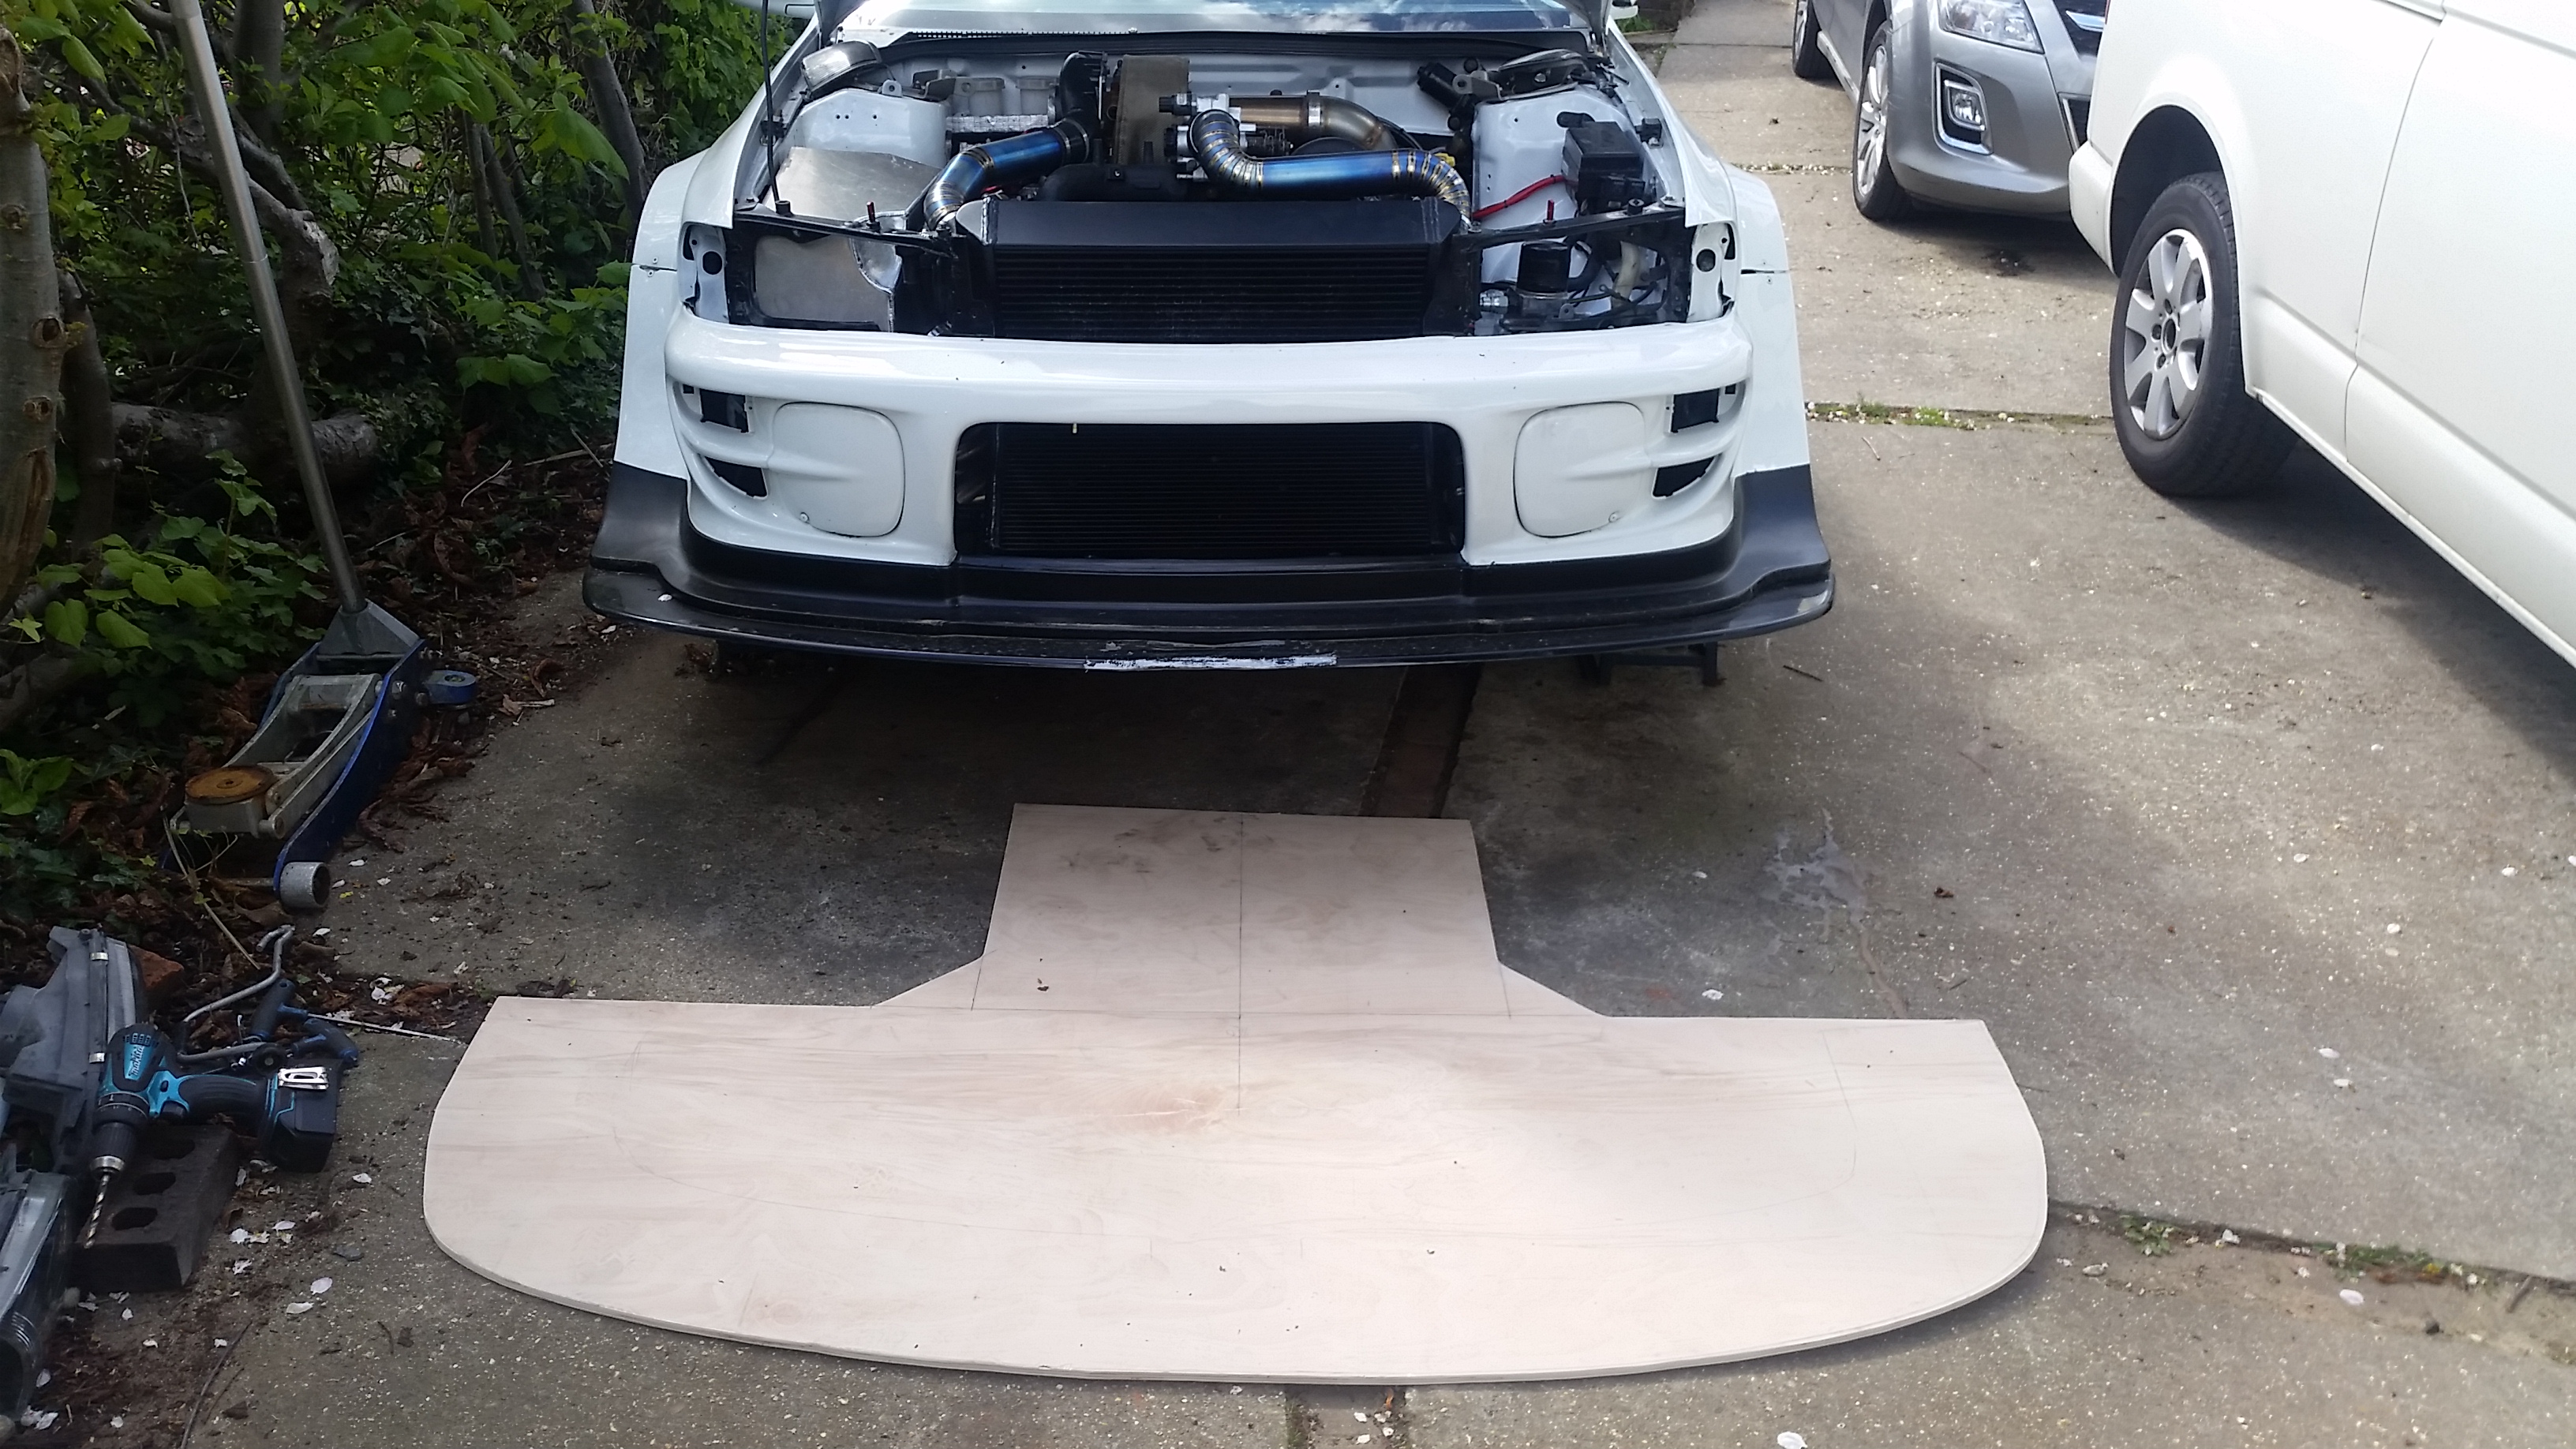
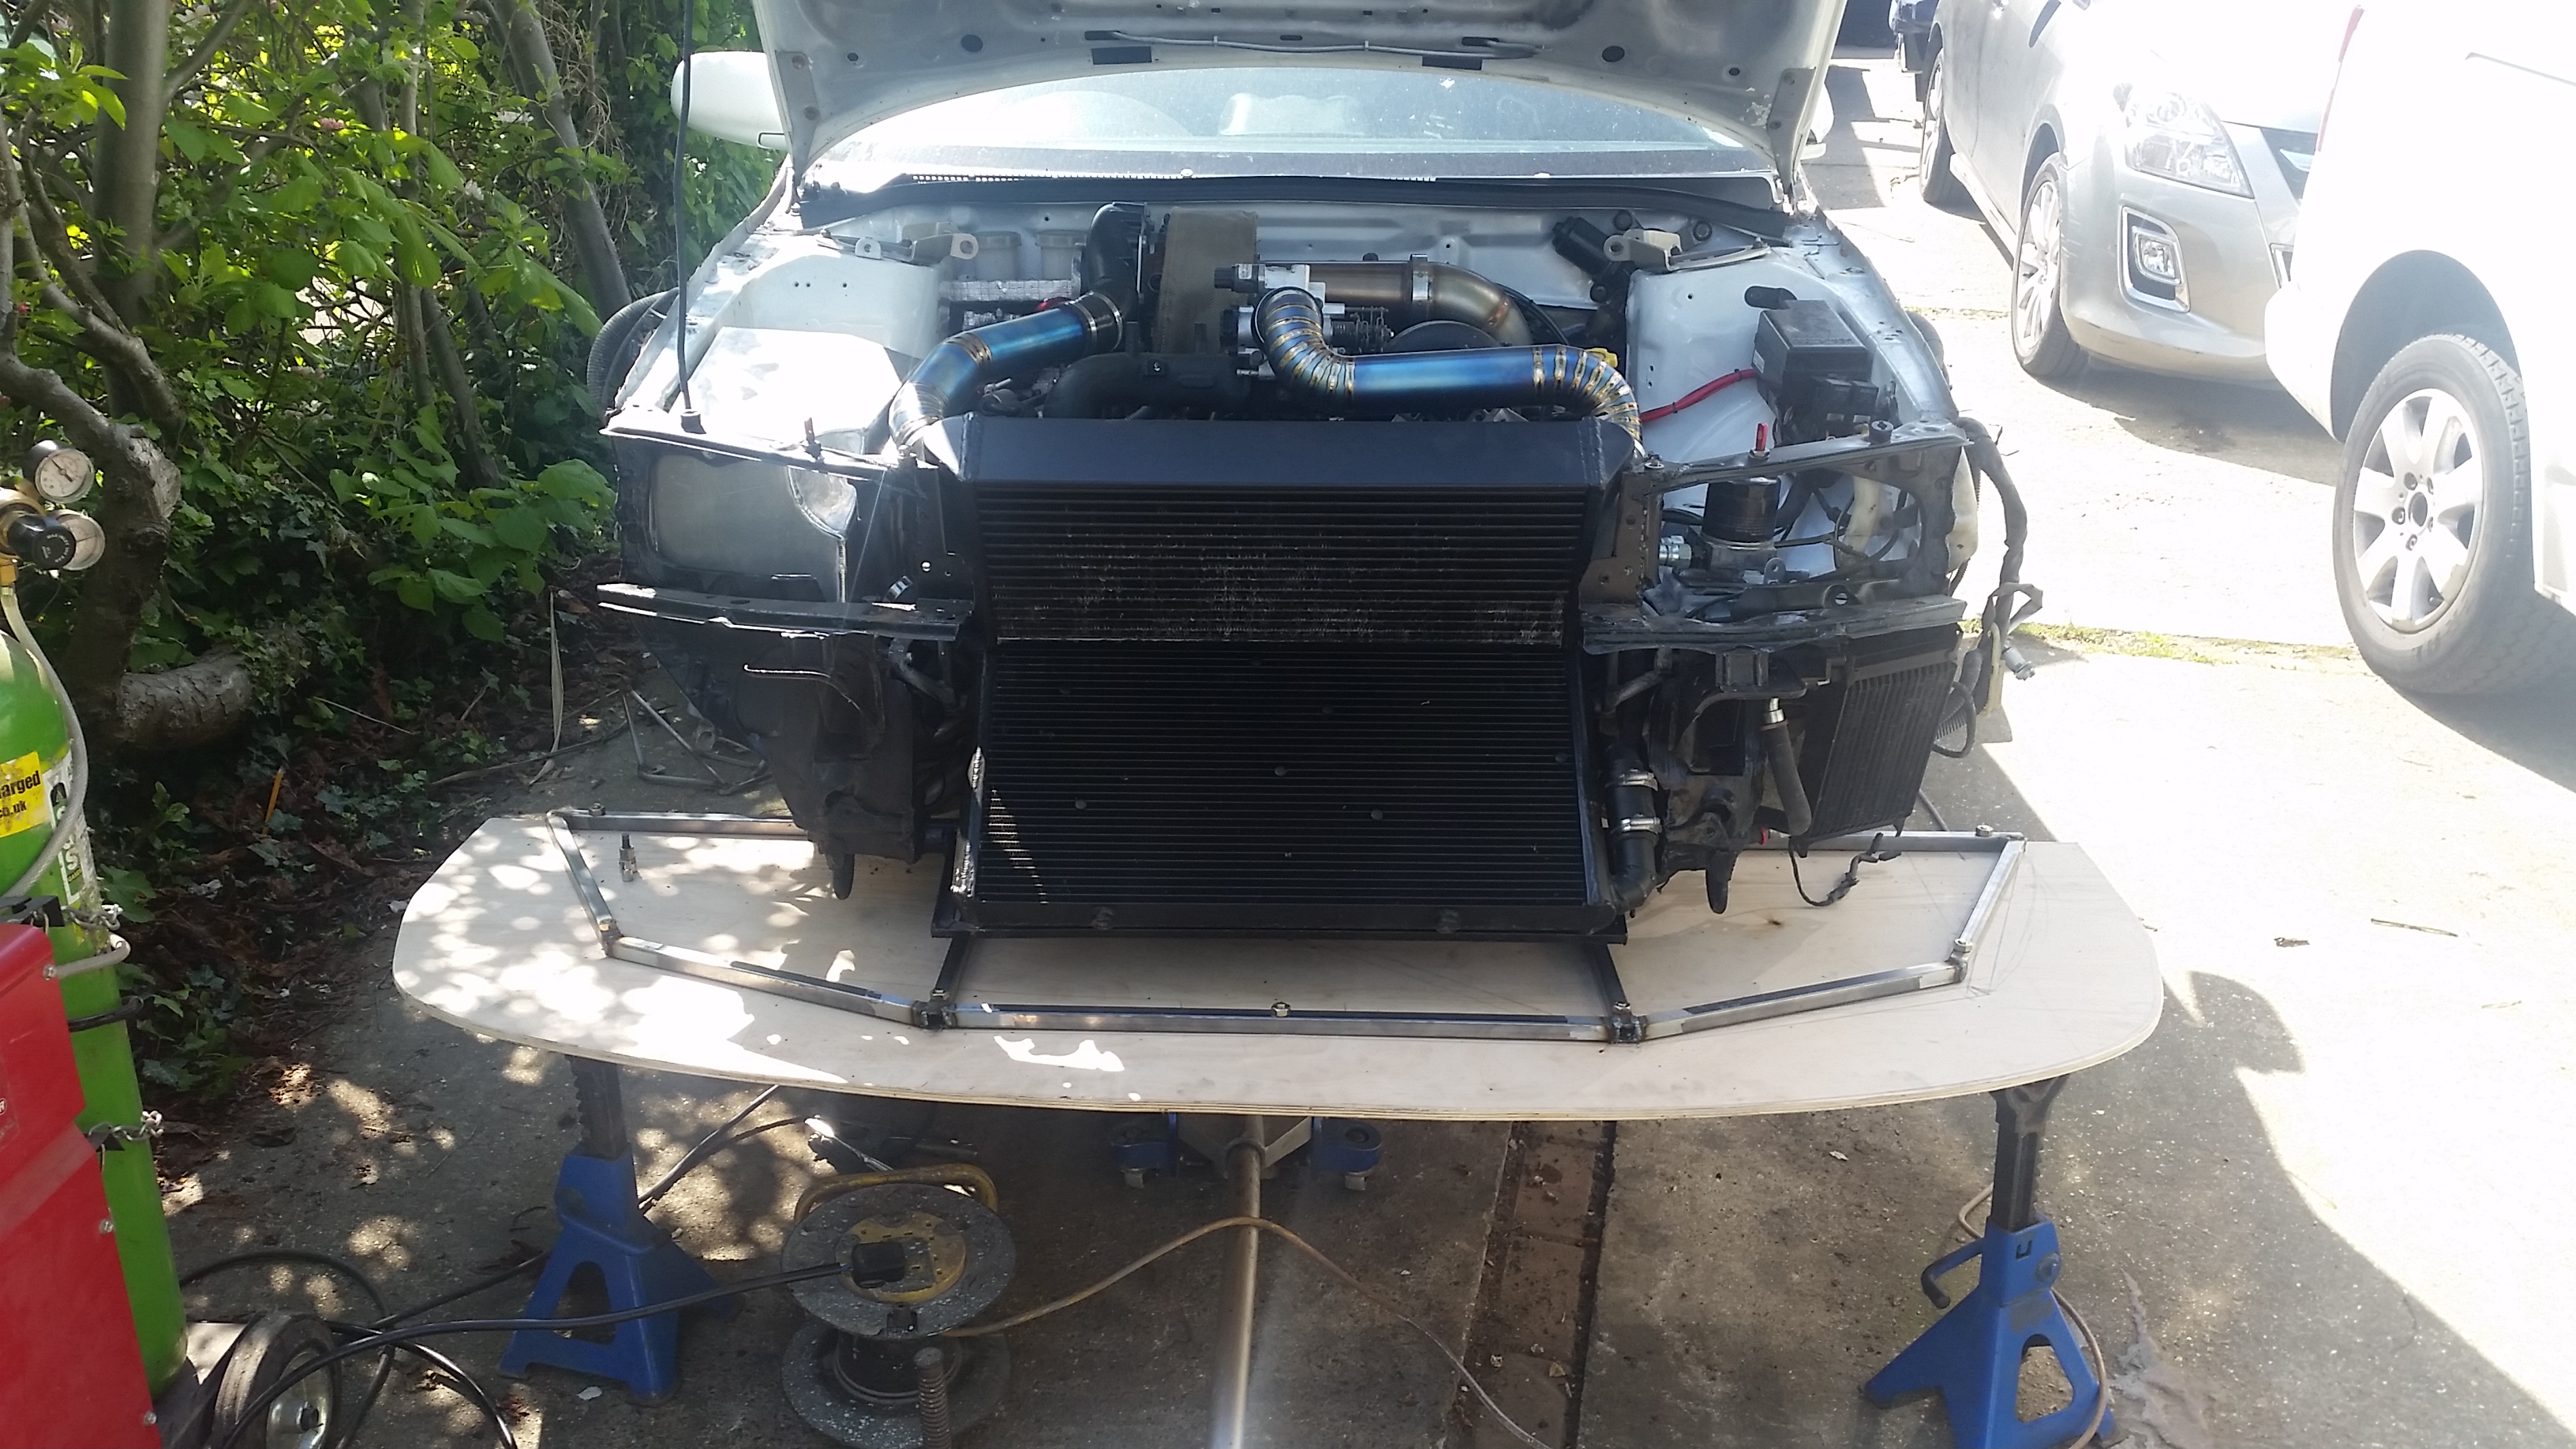
So, I wanted to make a larger under tray that goes just beyond the bell housing and under the engine completely. Lets nip the first thing in the bud quickly. I have used marine ply for this at the moment for a couple of reasons. firstly it great for a template, easy to work and can take a bit of a beating.... secondly, I haven't the budget for a huge carbon item that could turn out to be useless for my needs, get crack, smashed and wrecked in uk roads.... so as a test bed the ply will do just fine...
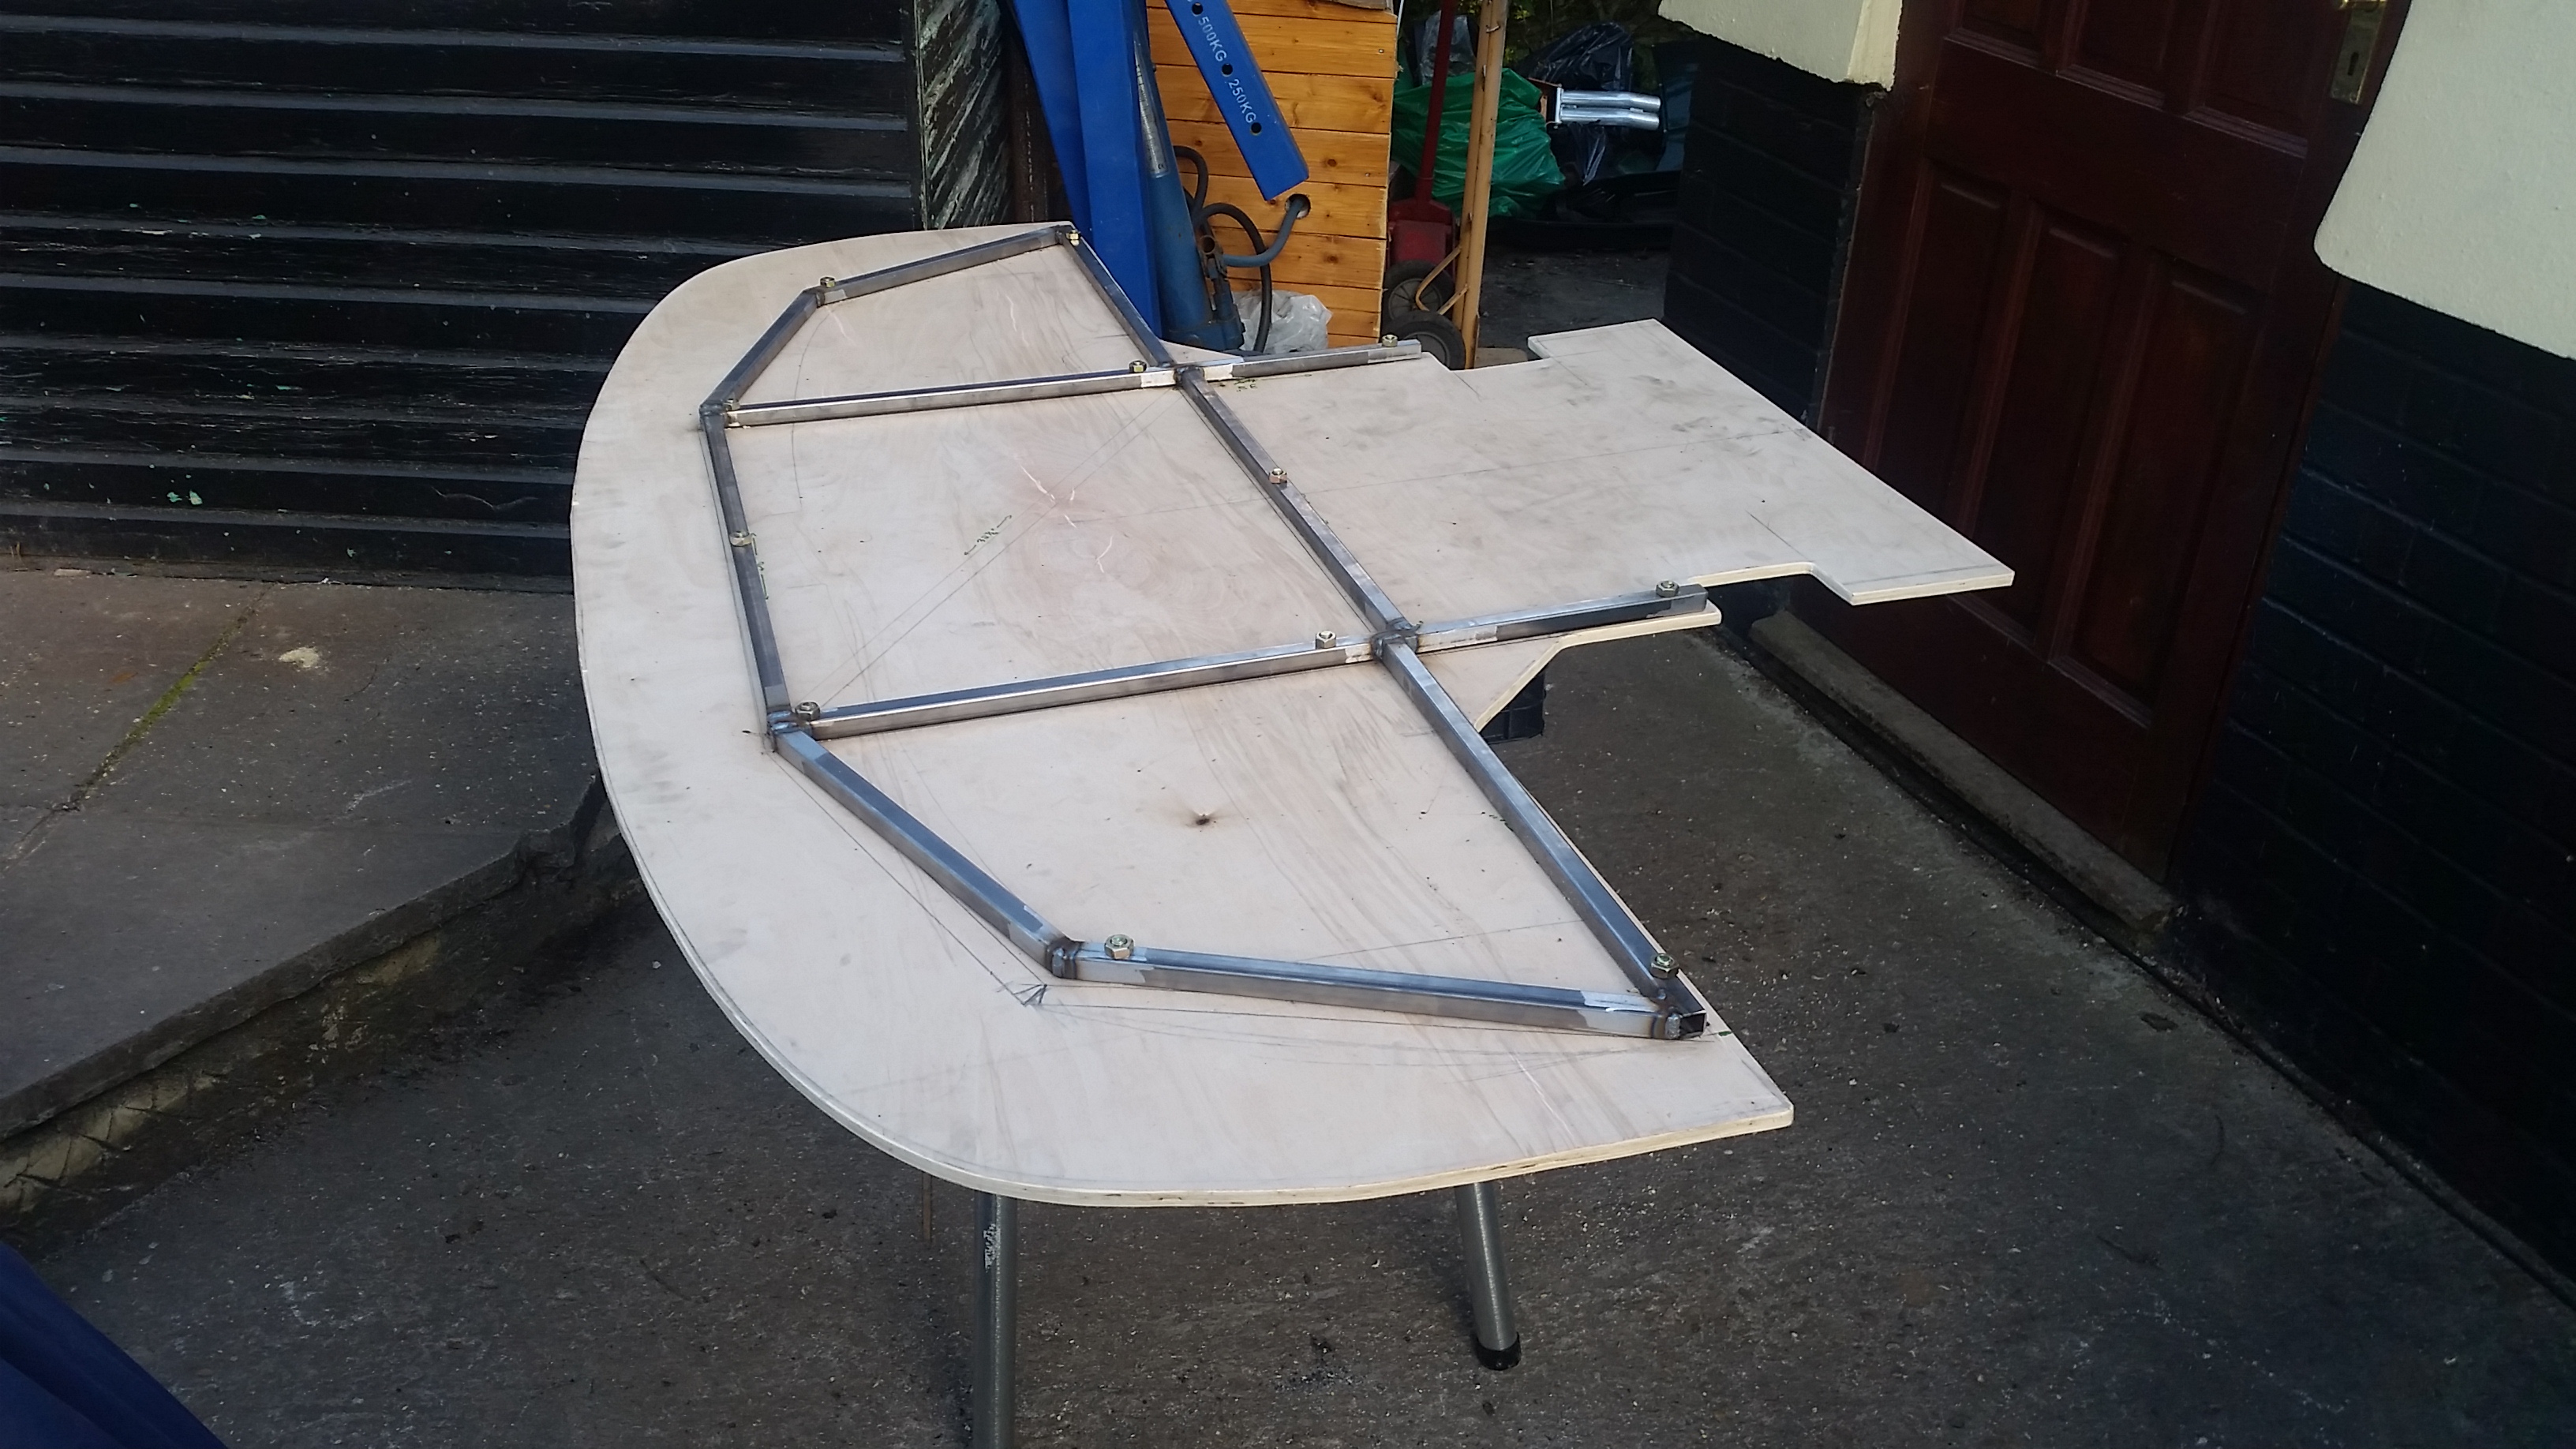
A frame work was also make using simple square bar with tabs here and there for suppose and fixings. I haven't made the rose joints etc yet but all the bits are on route... some pics:
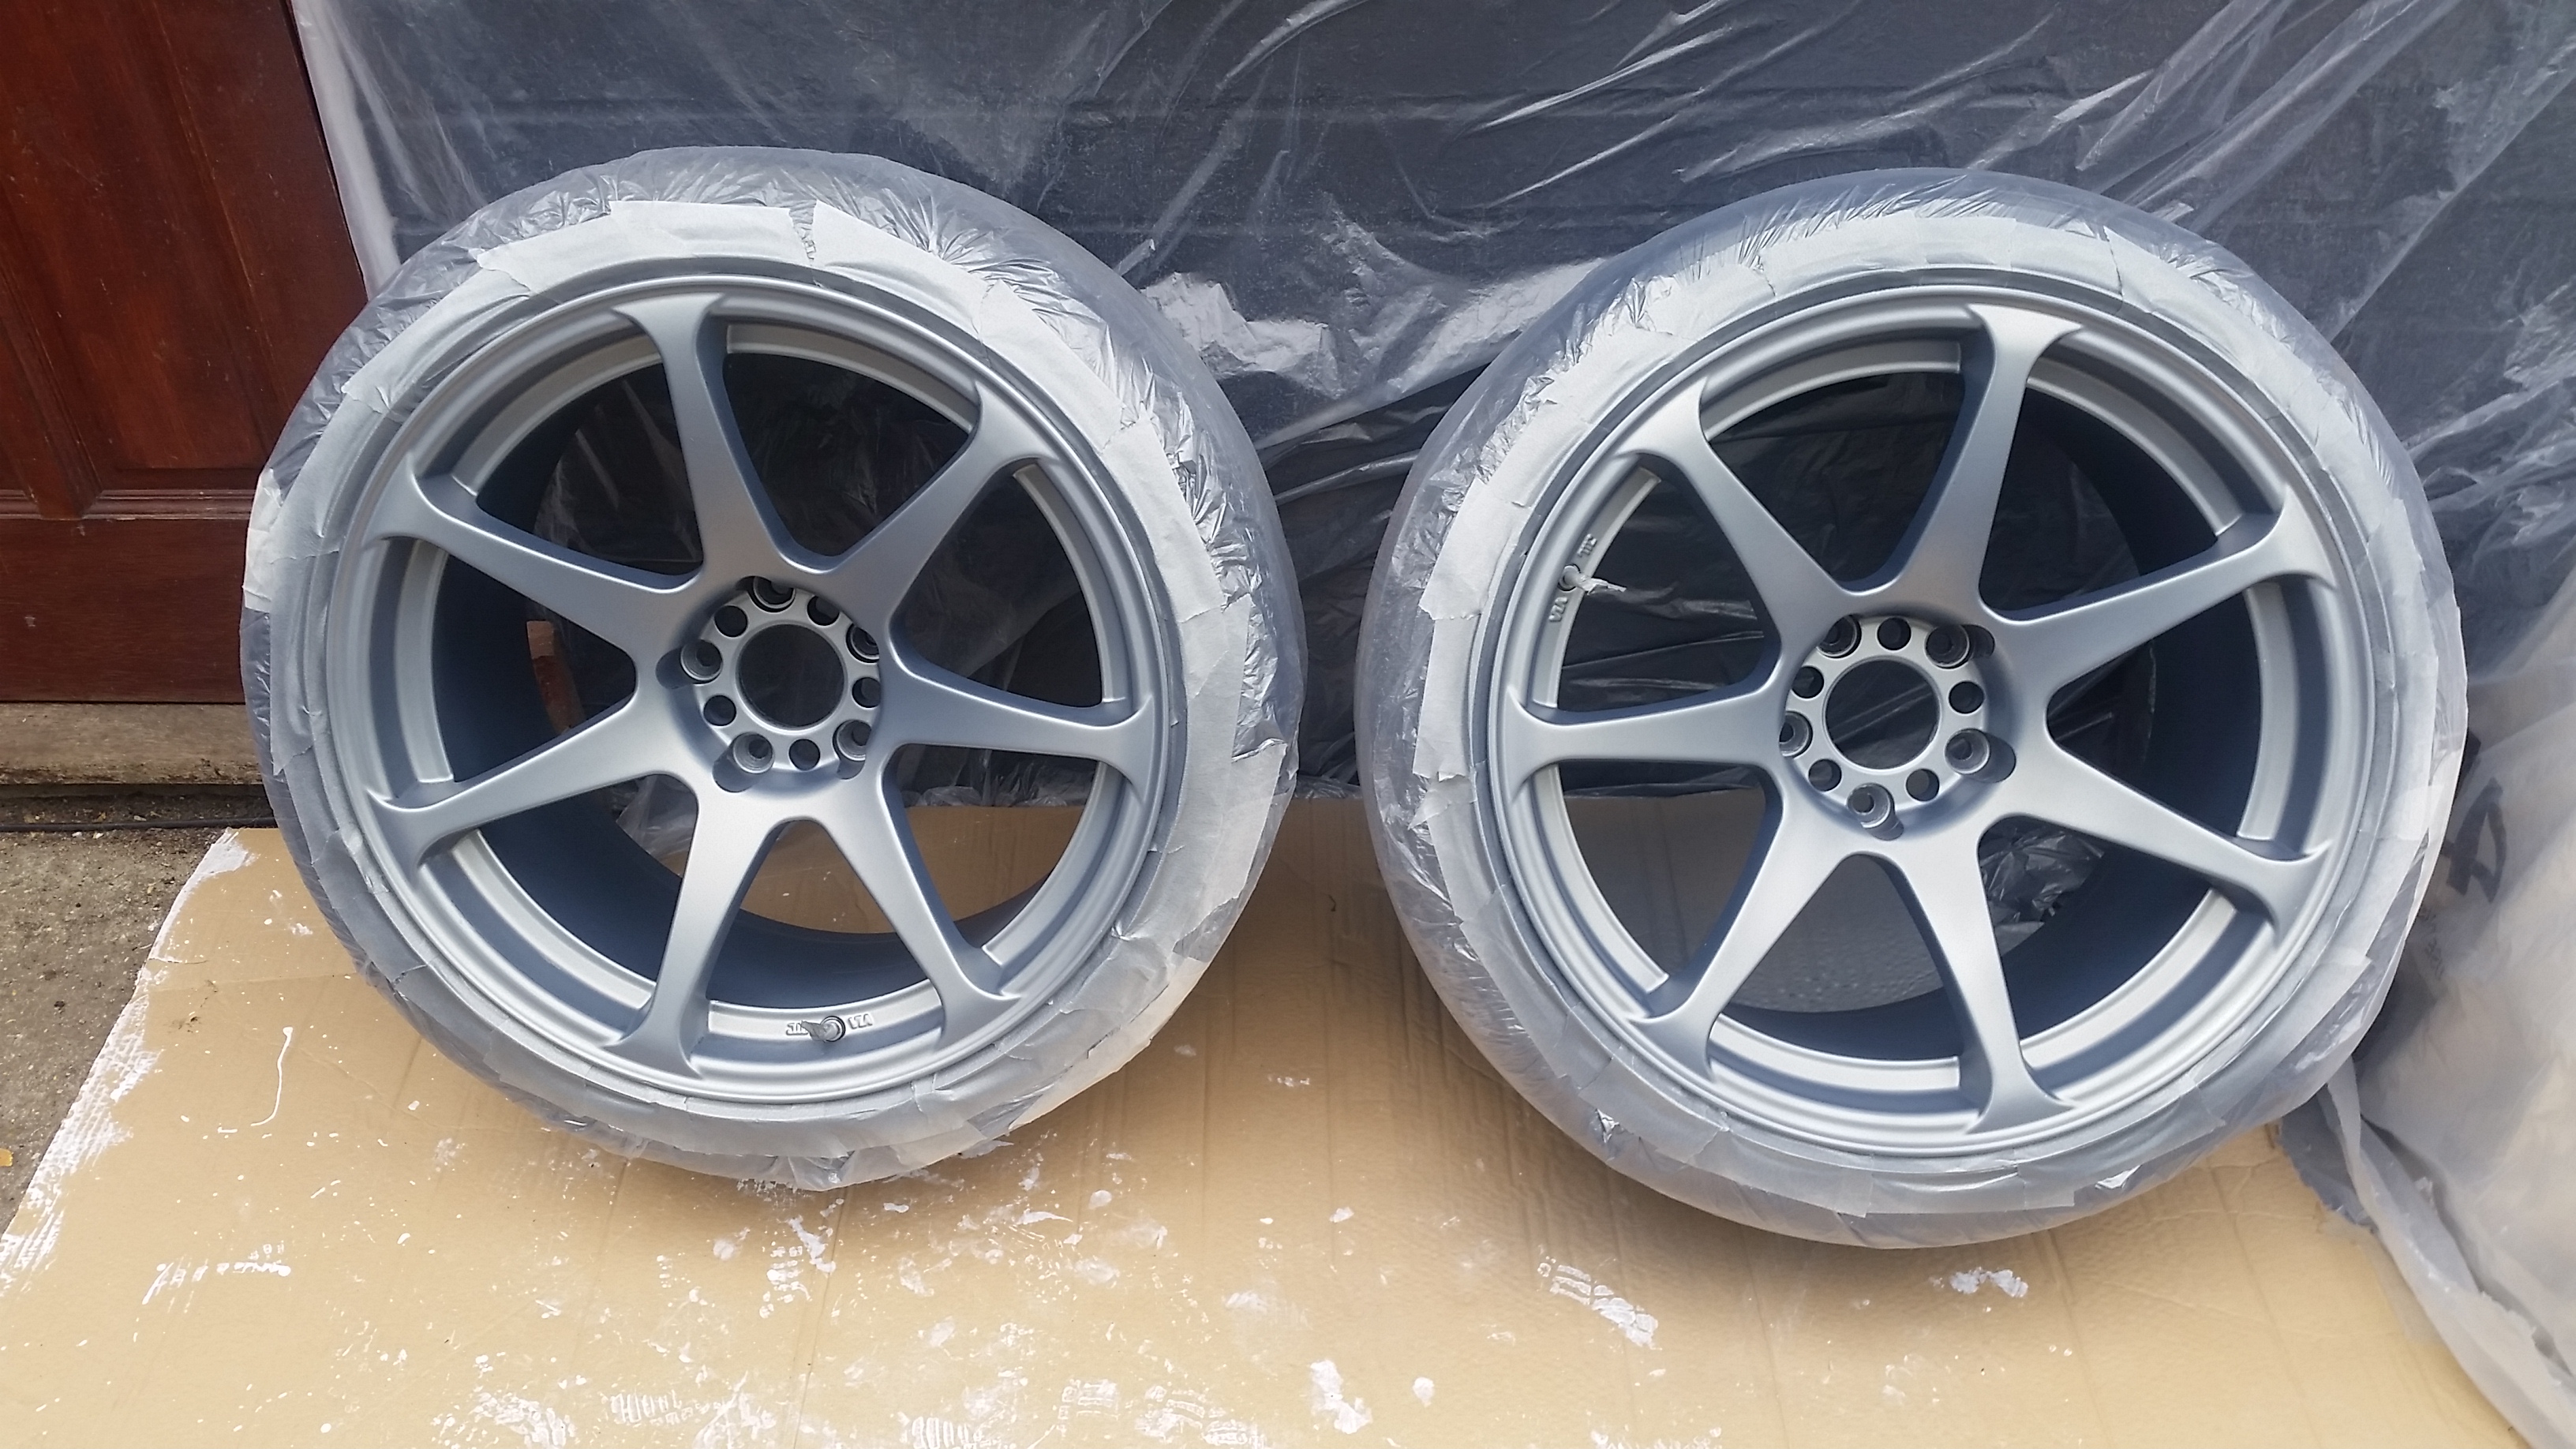
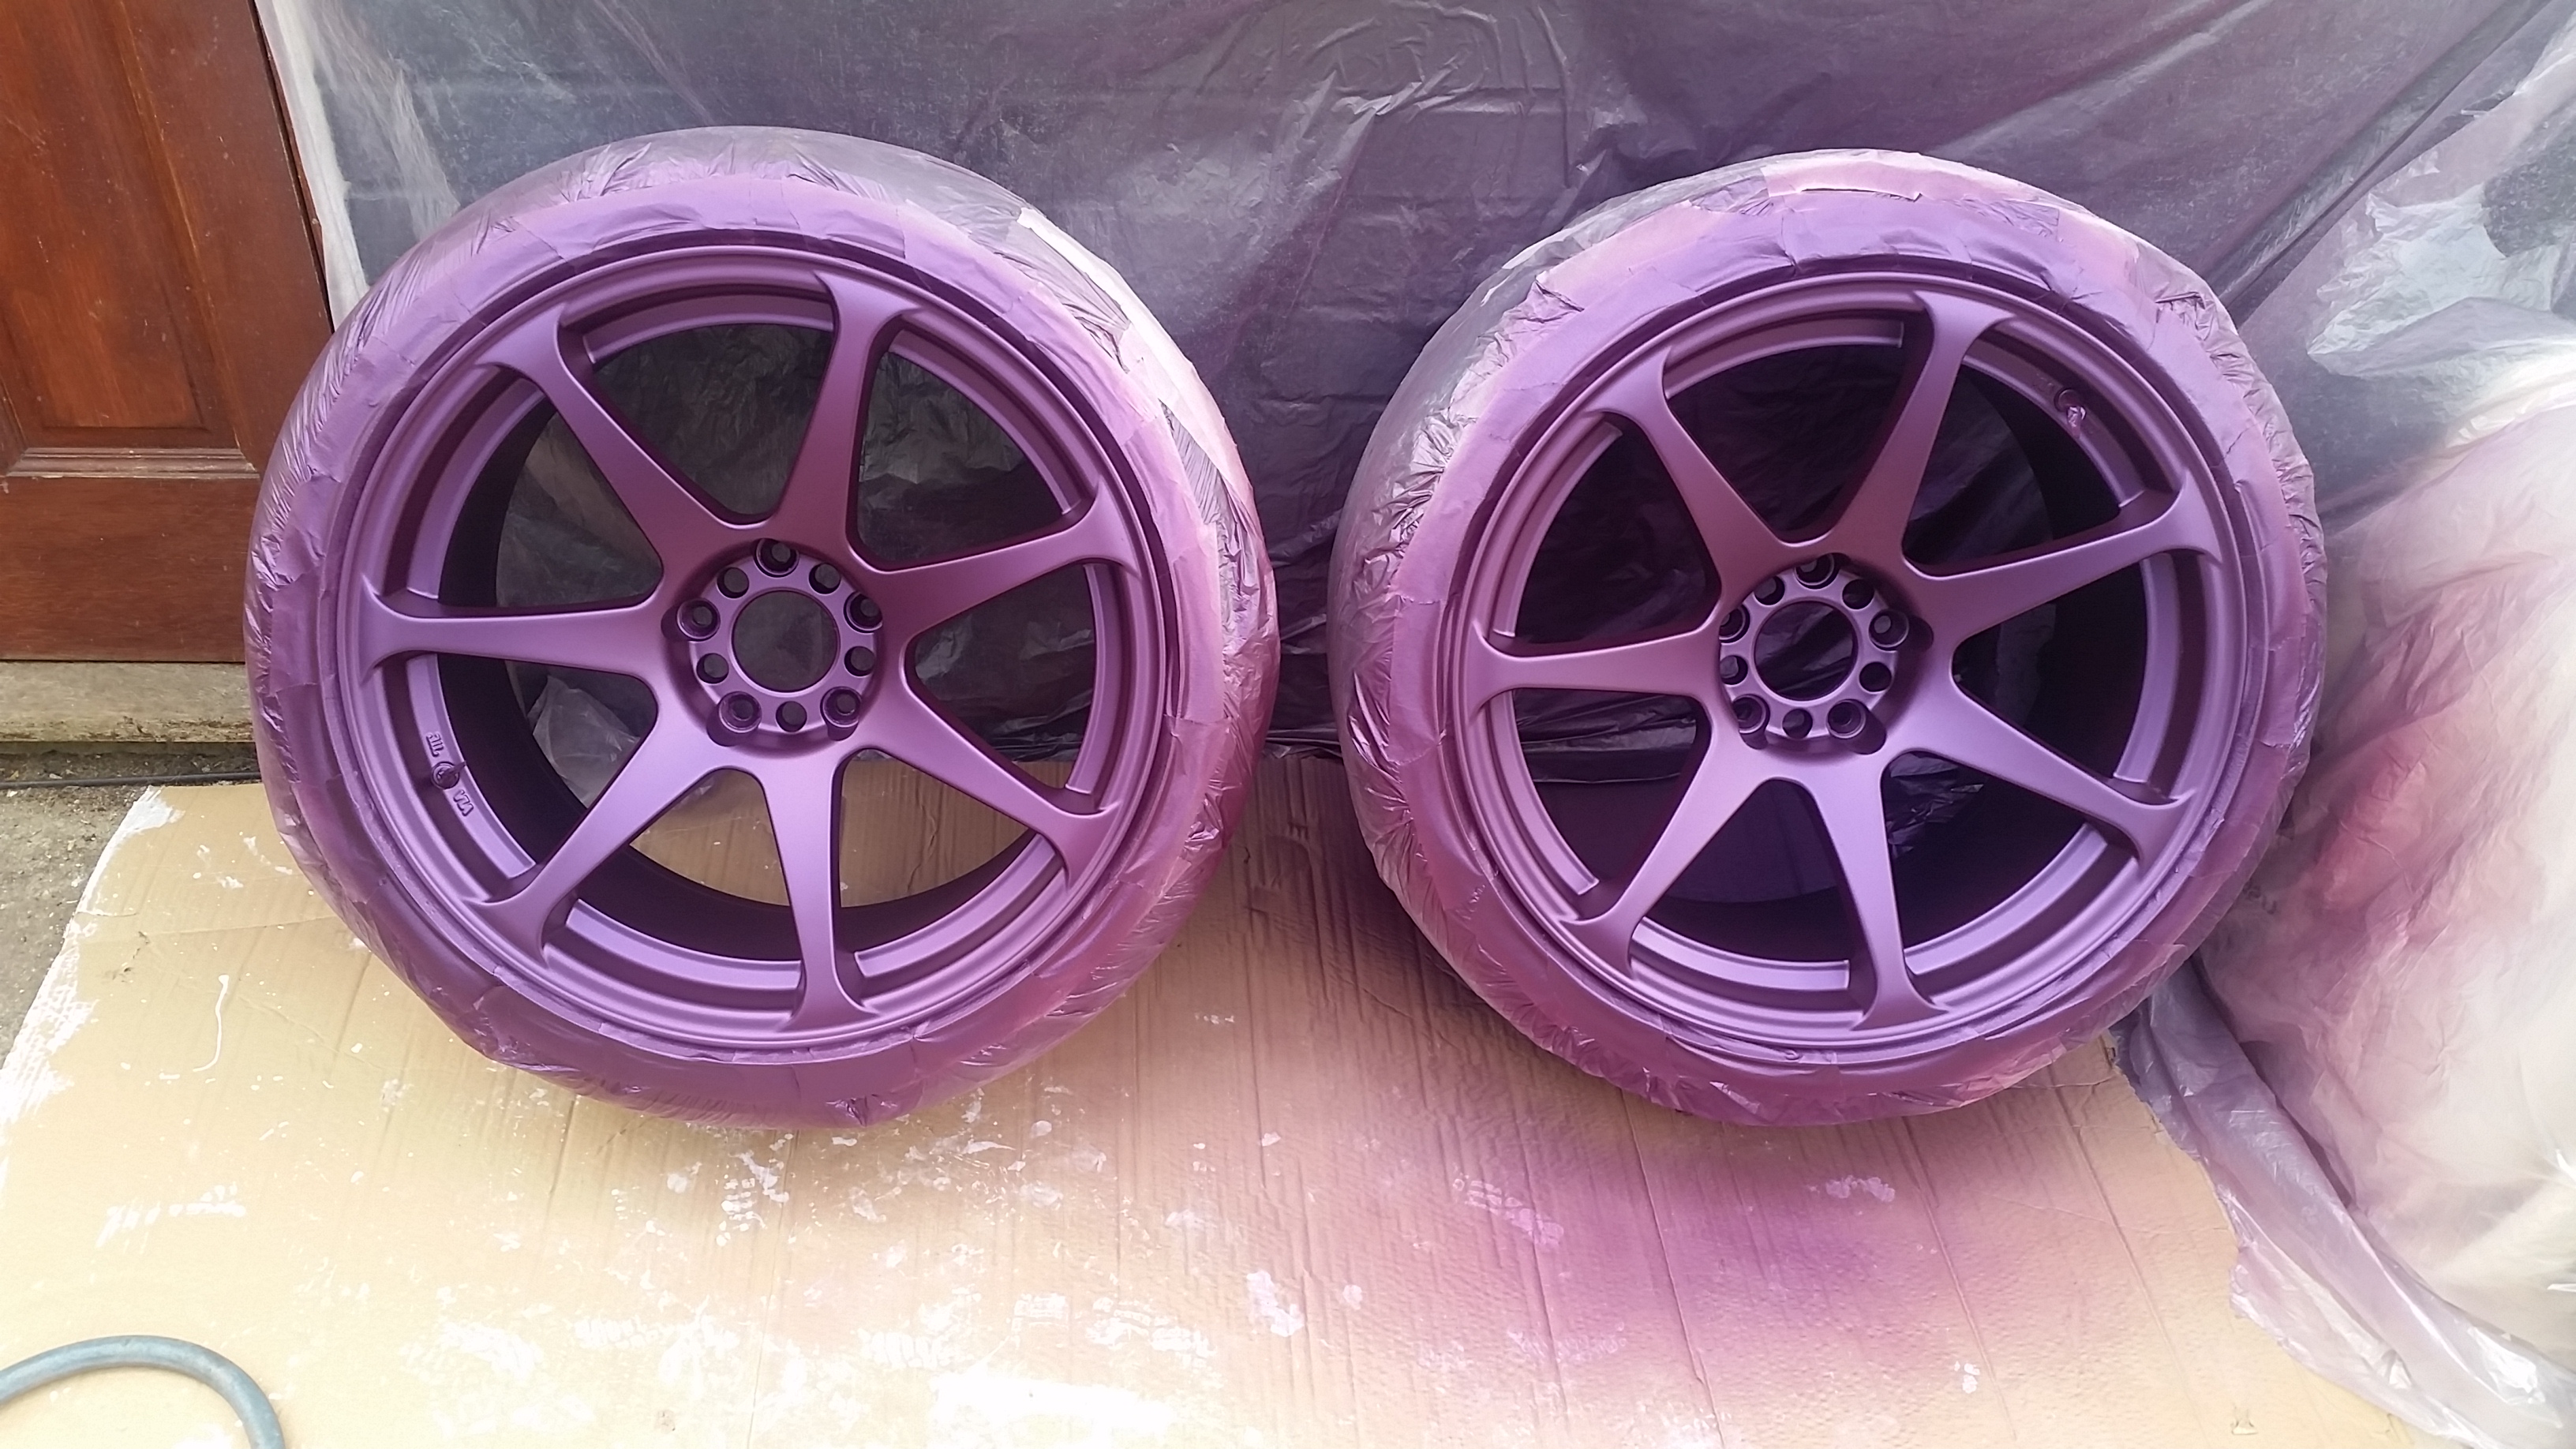
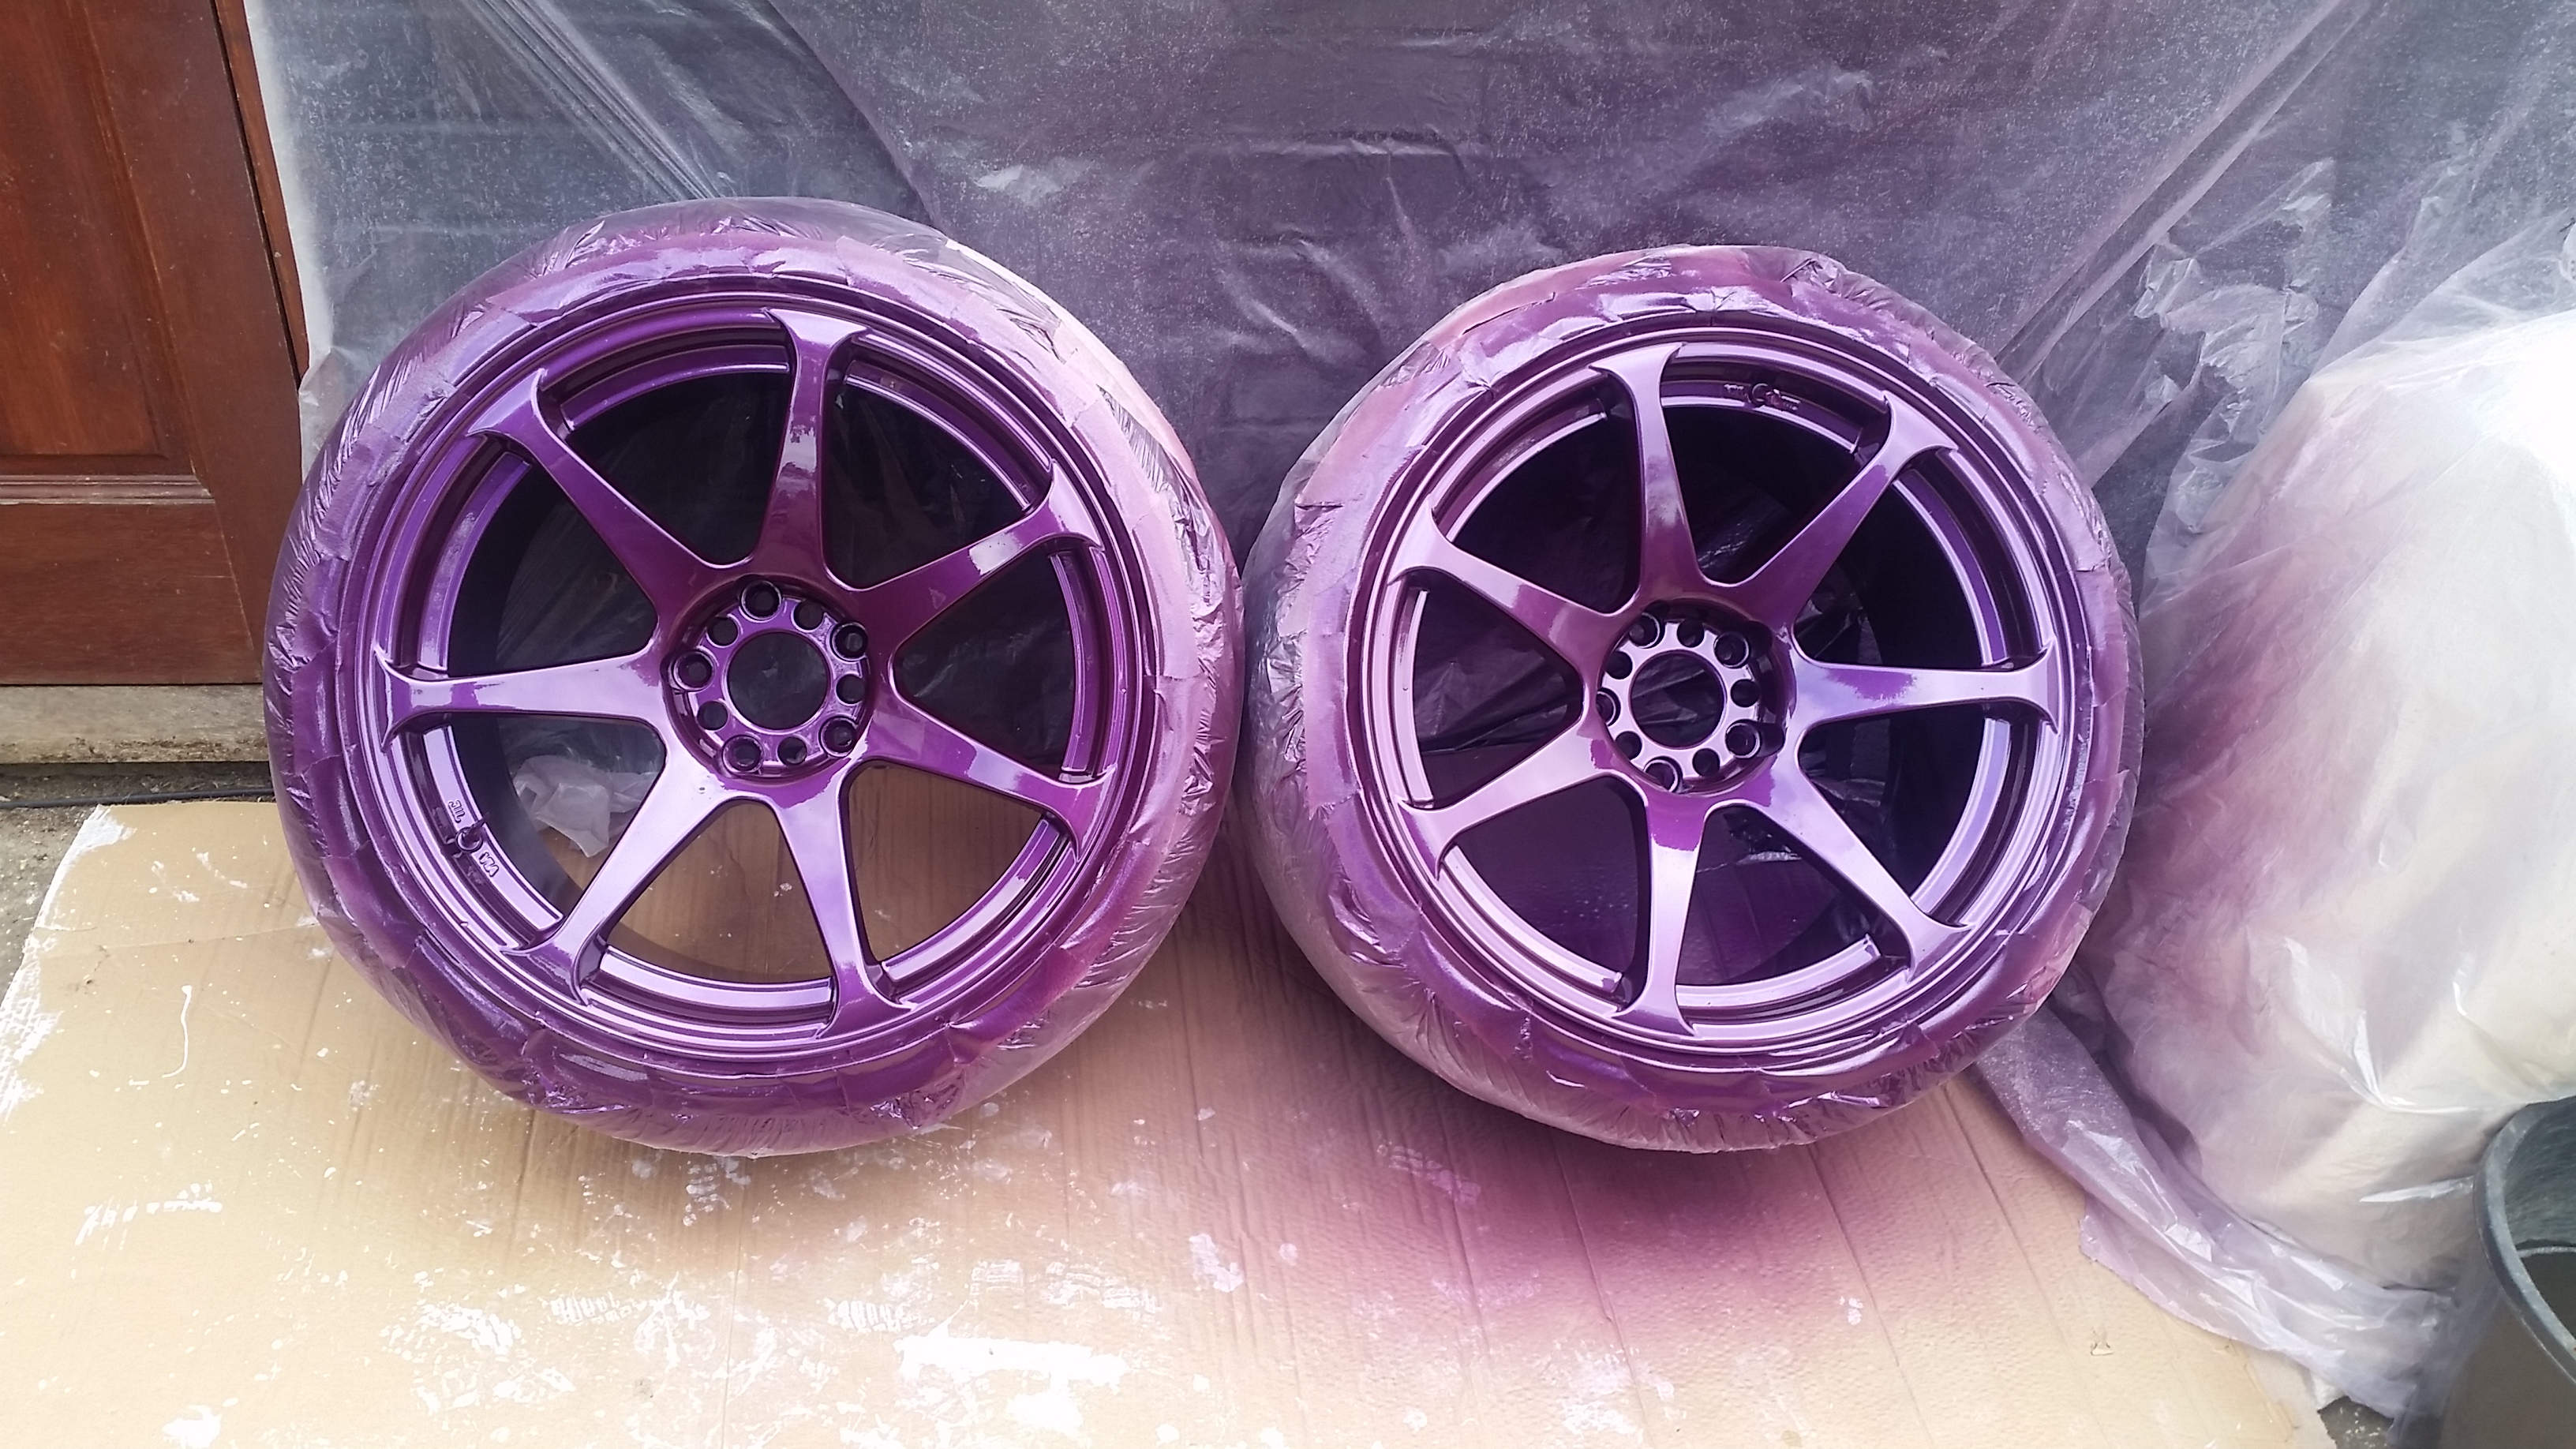
The next bit was to finally ditch that nasty chrome look on the wheels. The wheels needed a small bit of repair but noting major; so on with the repair and silver base coat. That was followed by a few coats of a Xerallic purple mix and then a few coats of clear...
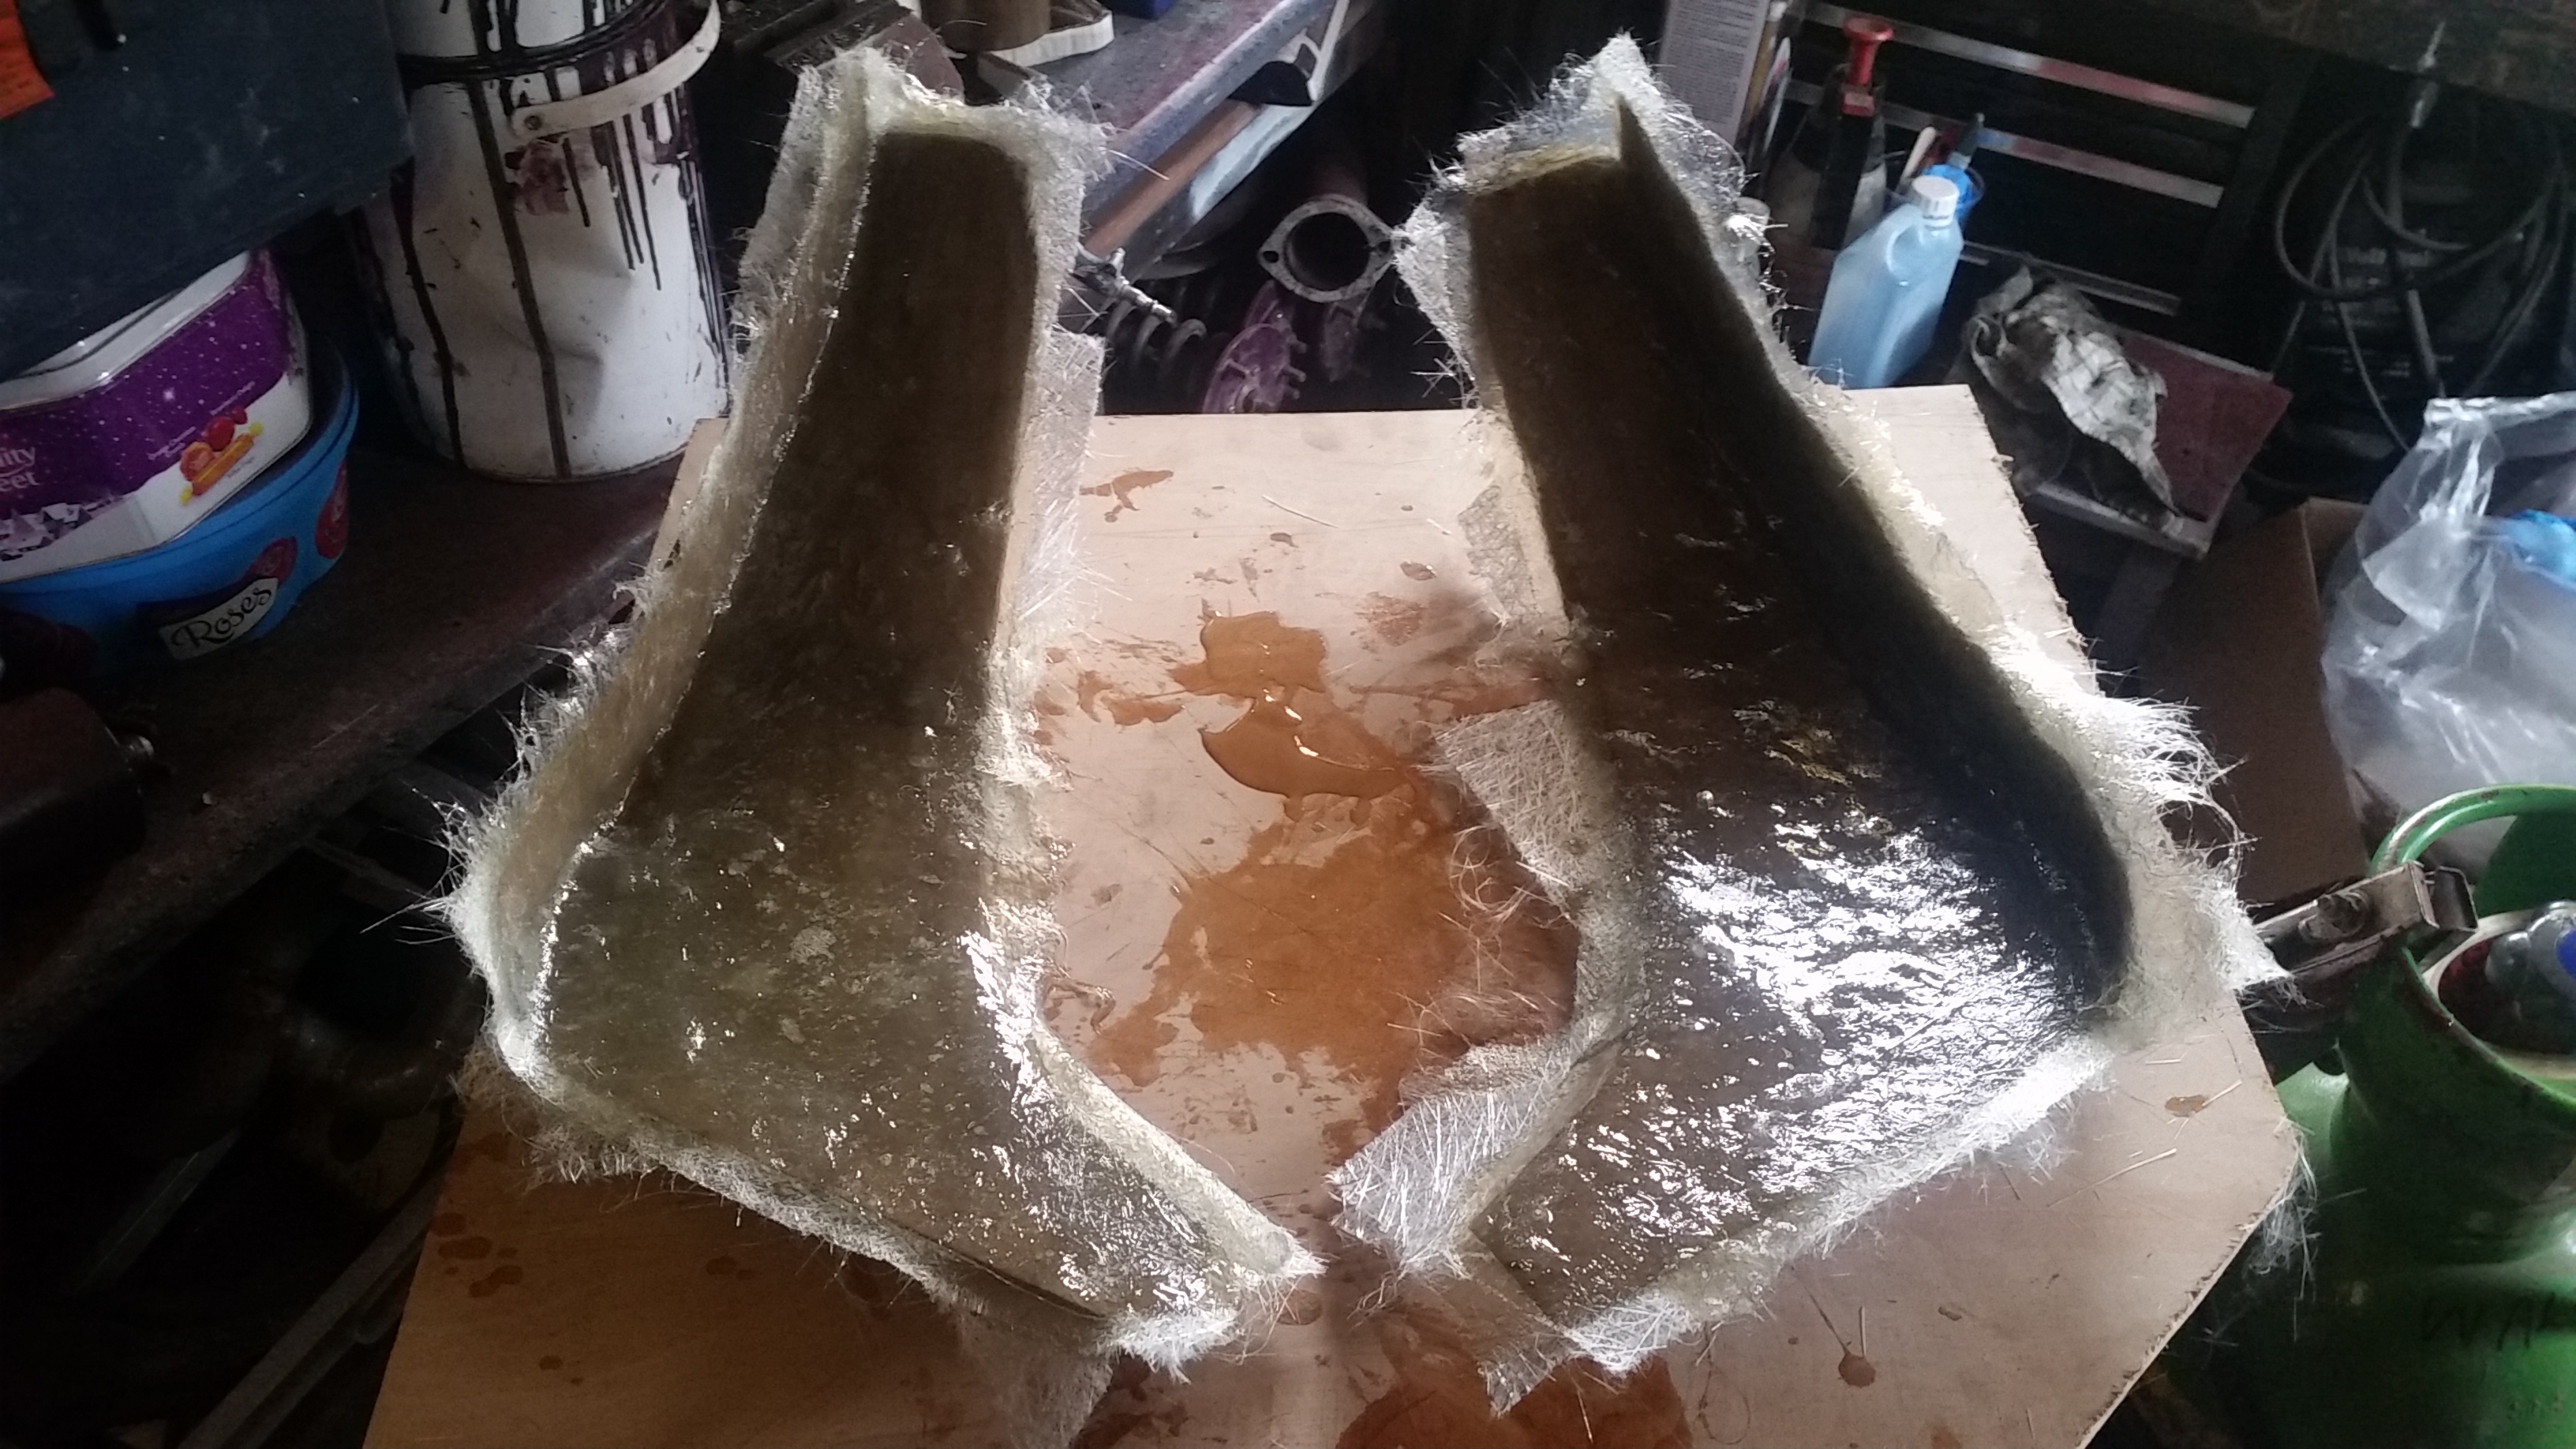
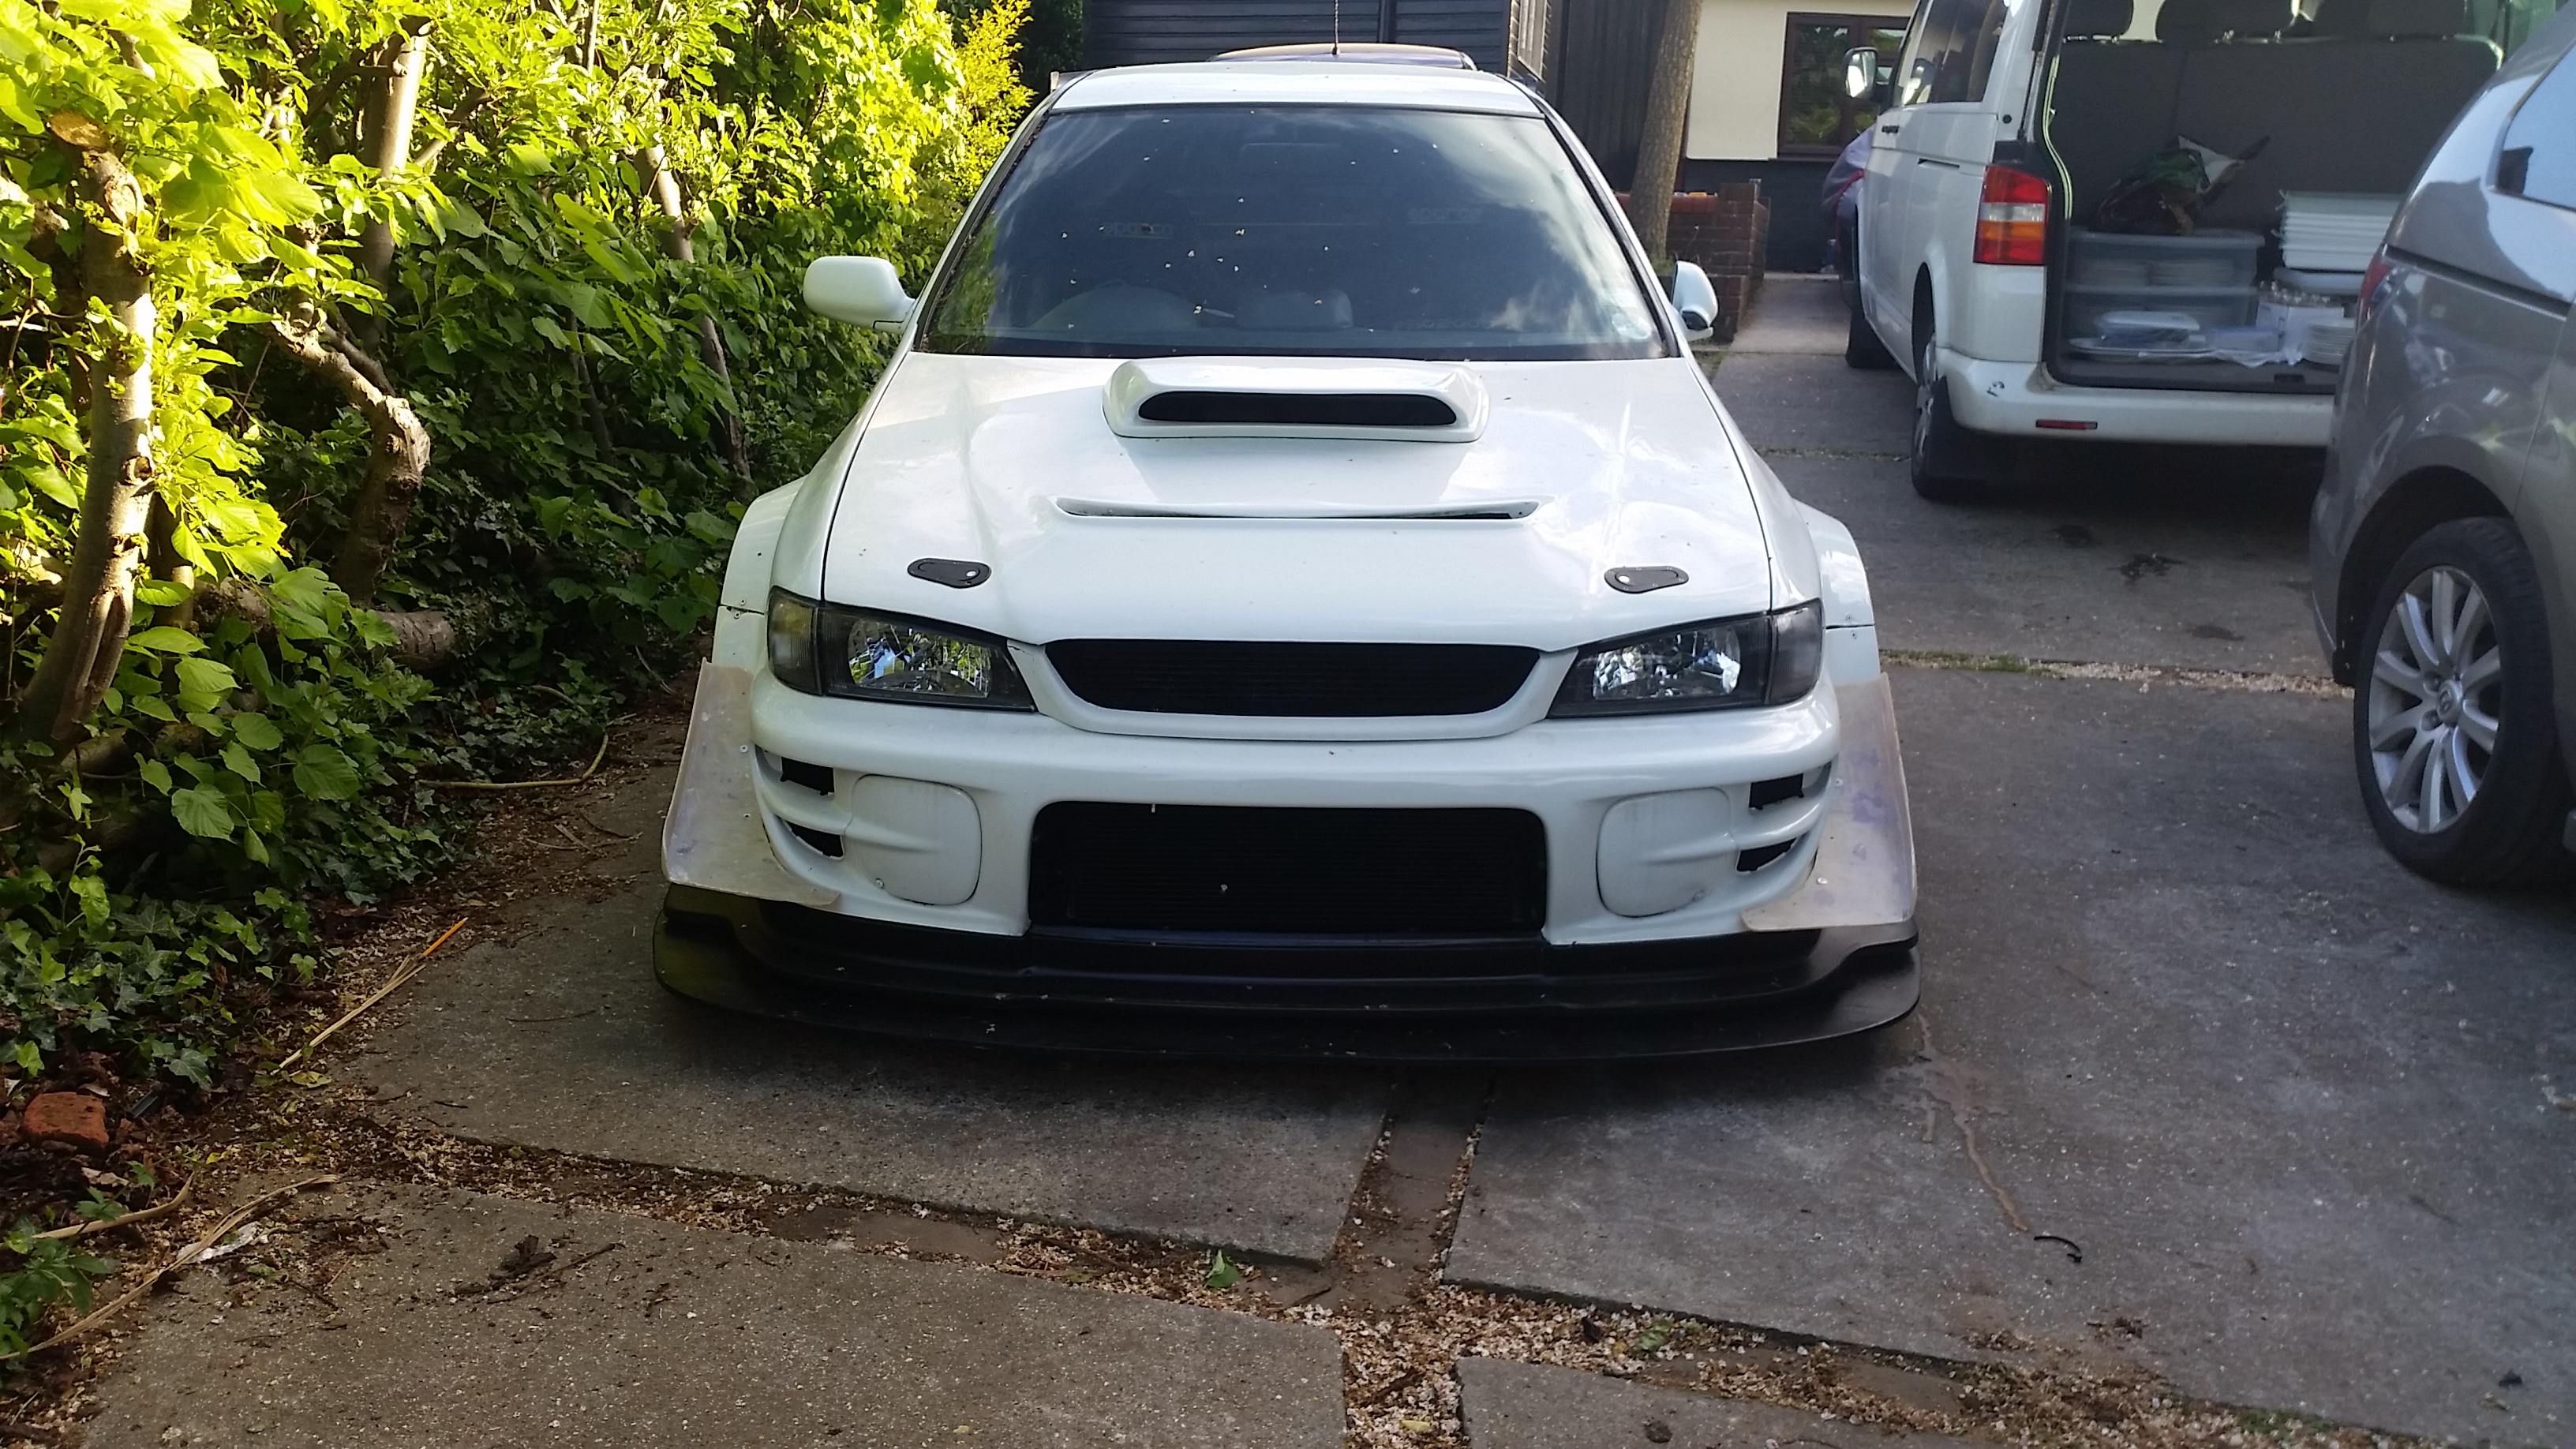
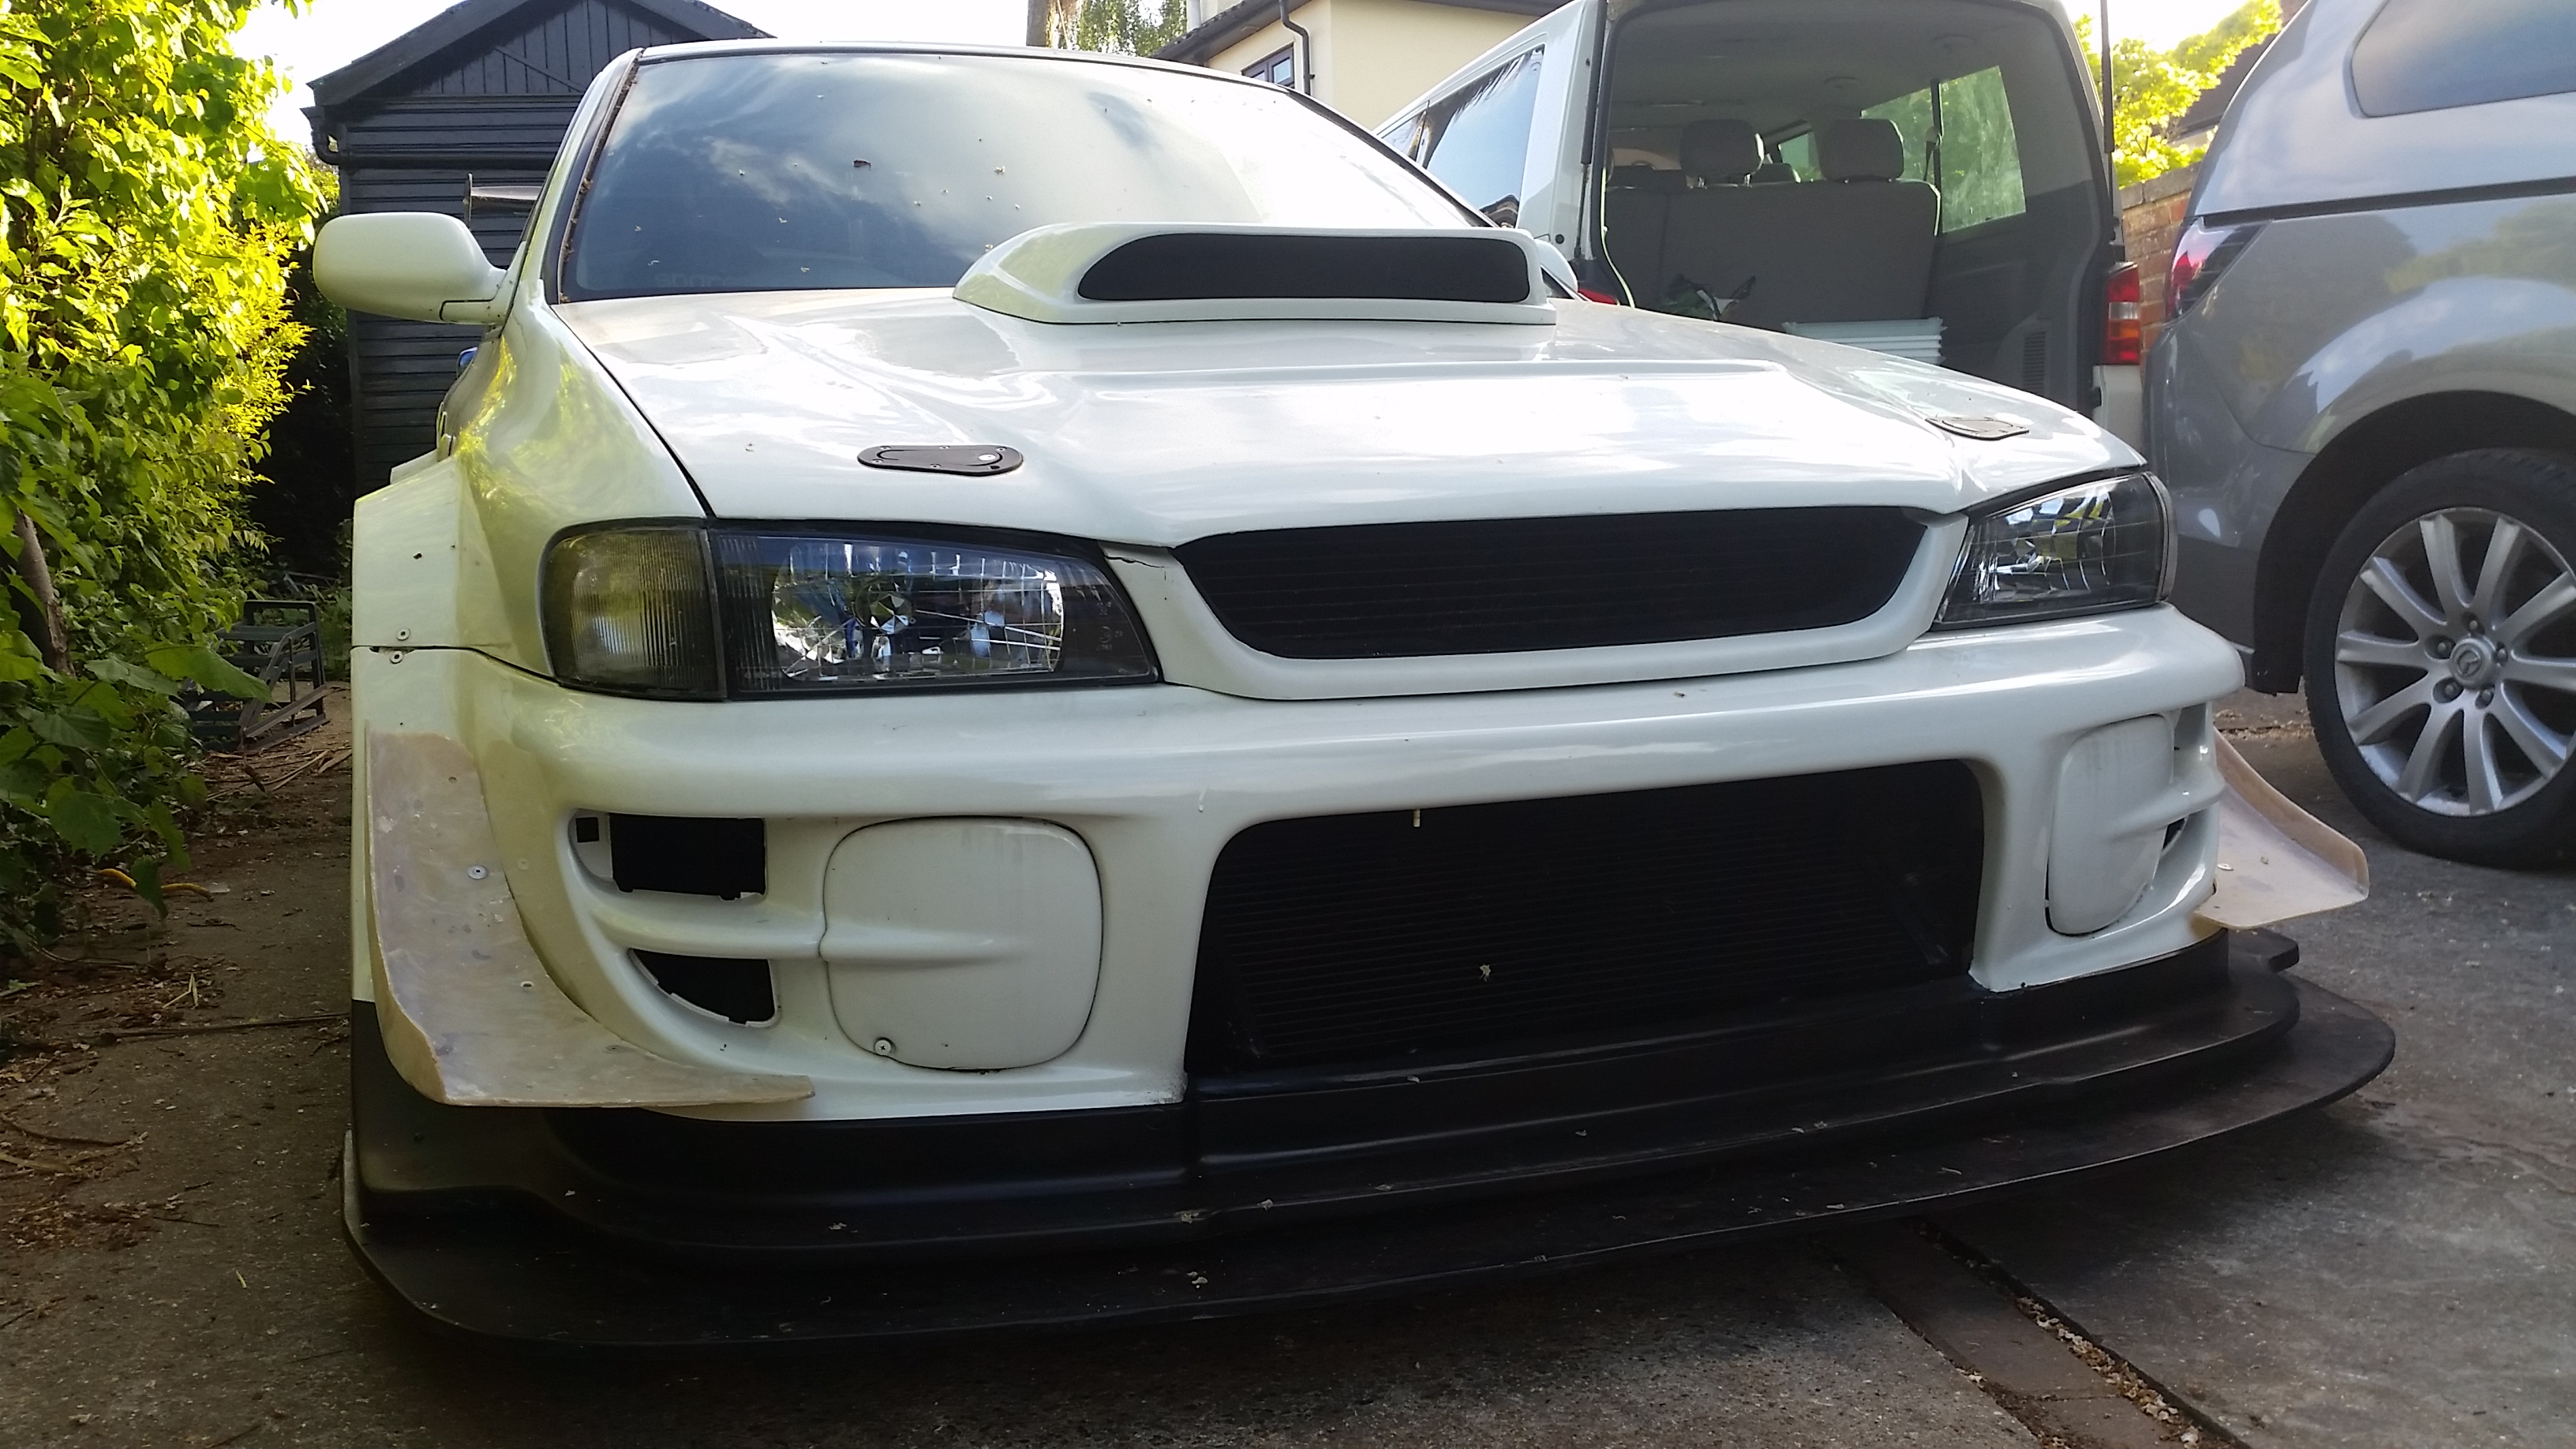
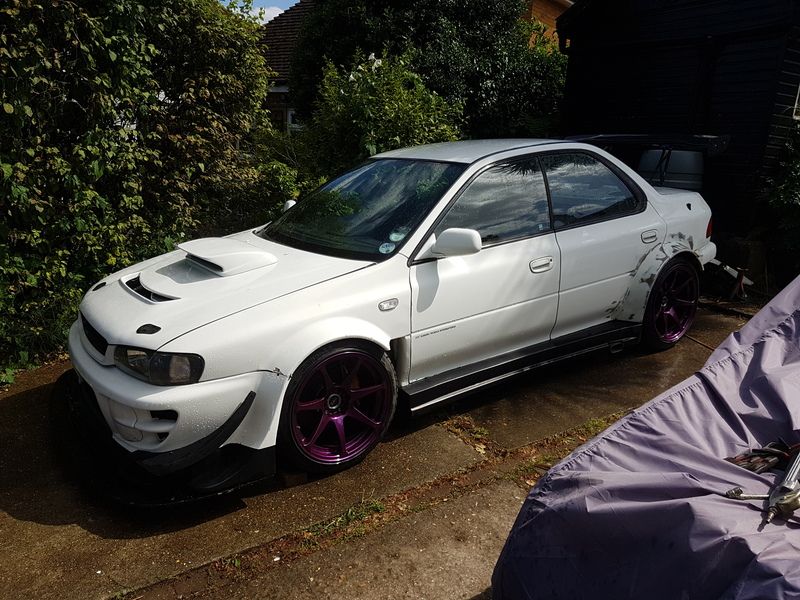
following the new wheel look and front floor section I turned back too looking at a little more aero for the front. Canards. There was literally nothing I could buy off the shelf to suit what I kind of wanted so out with the fibre glass...
Quick test fit and eye ball:
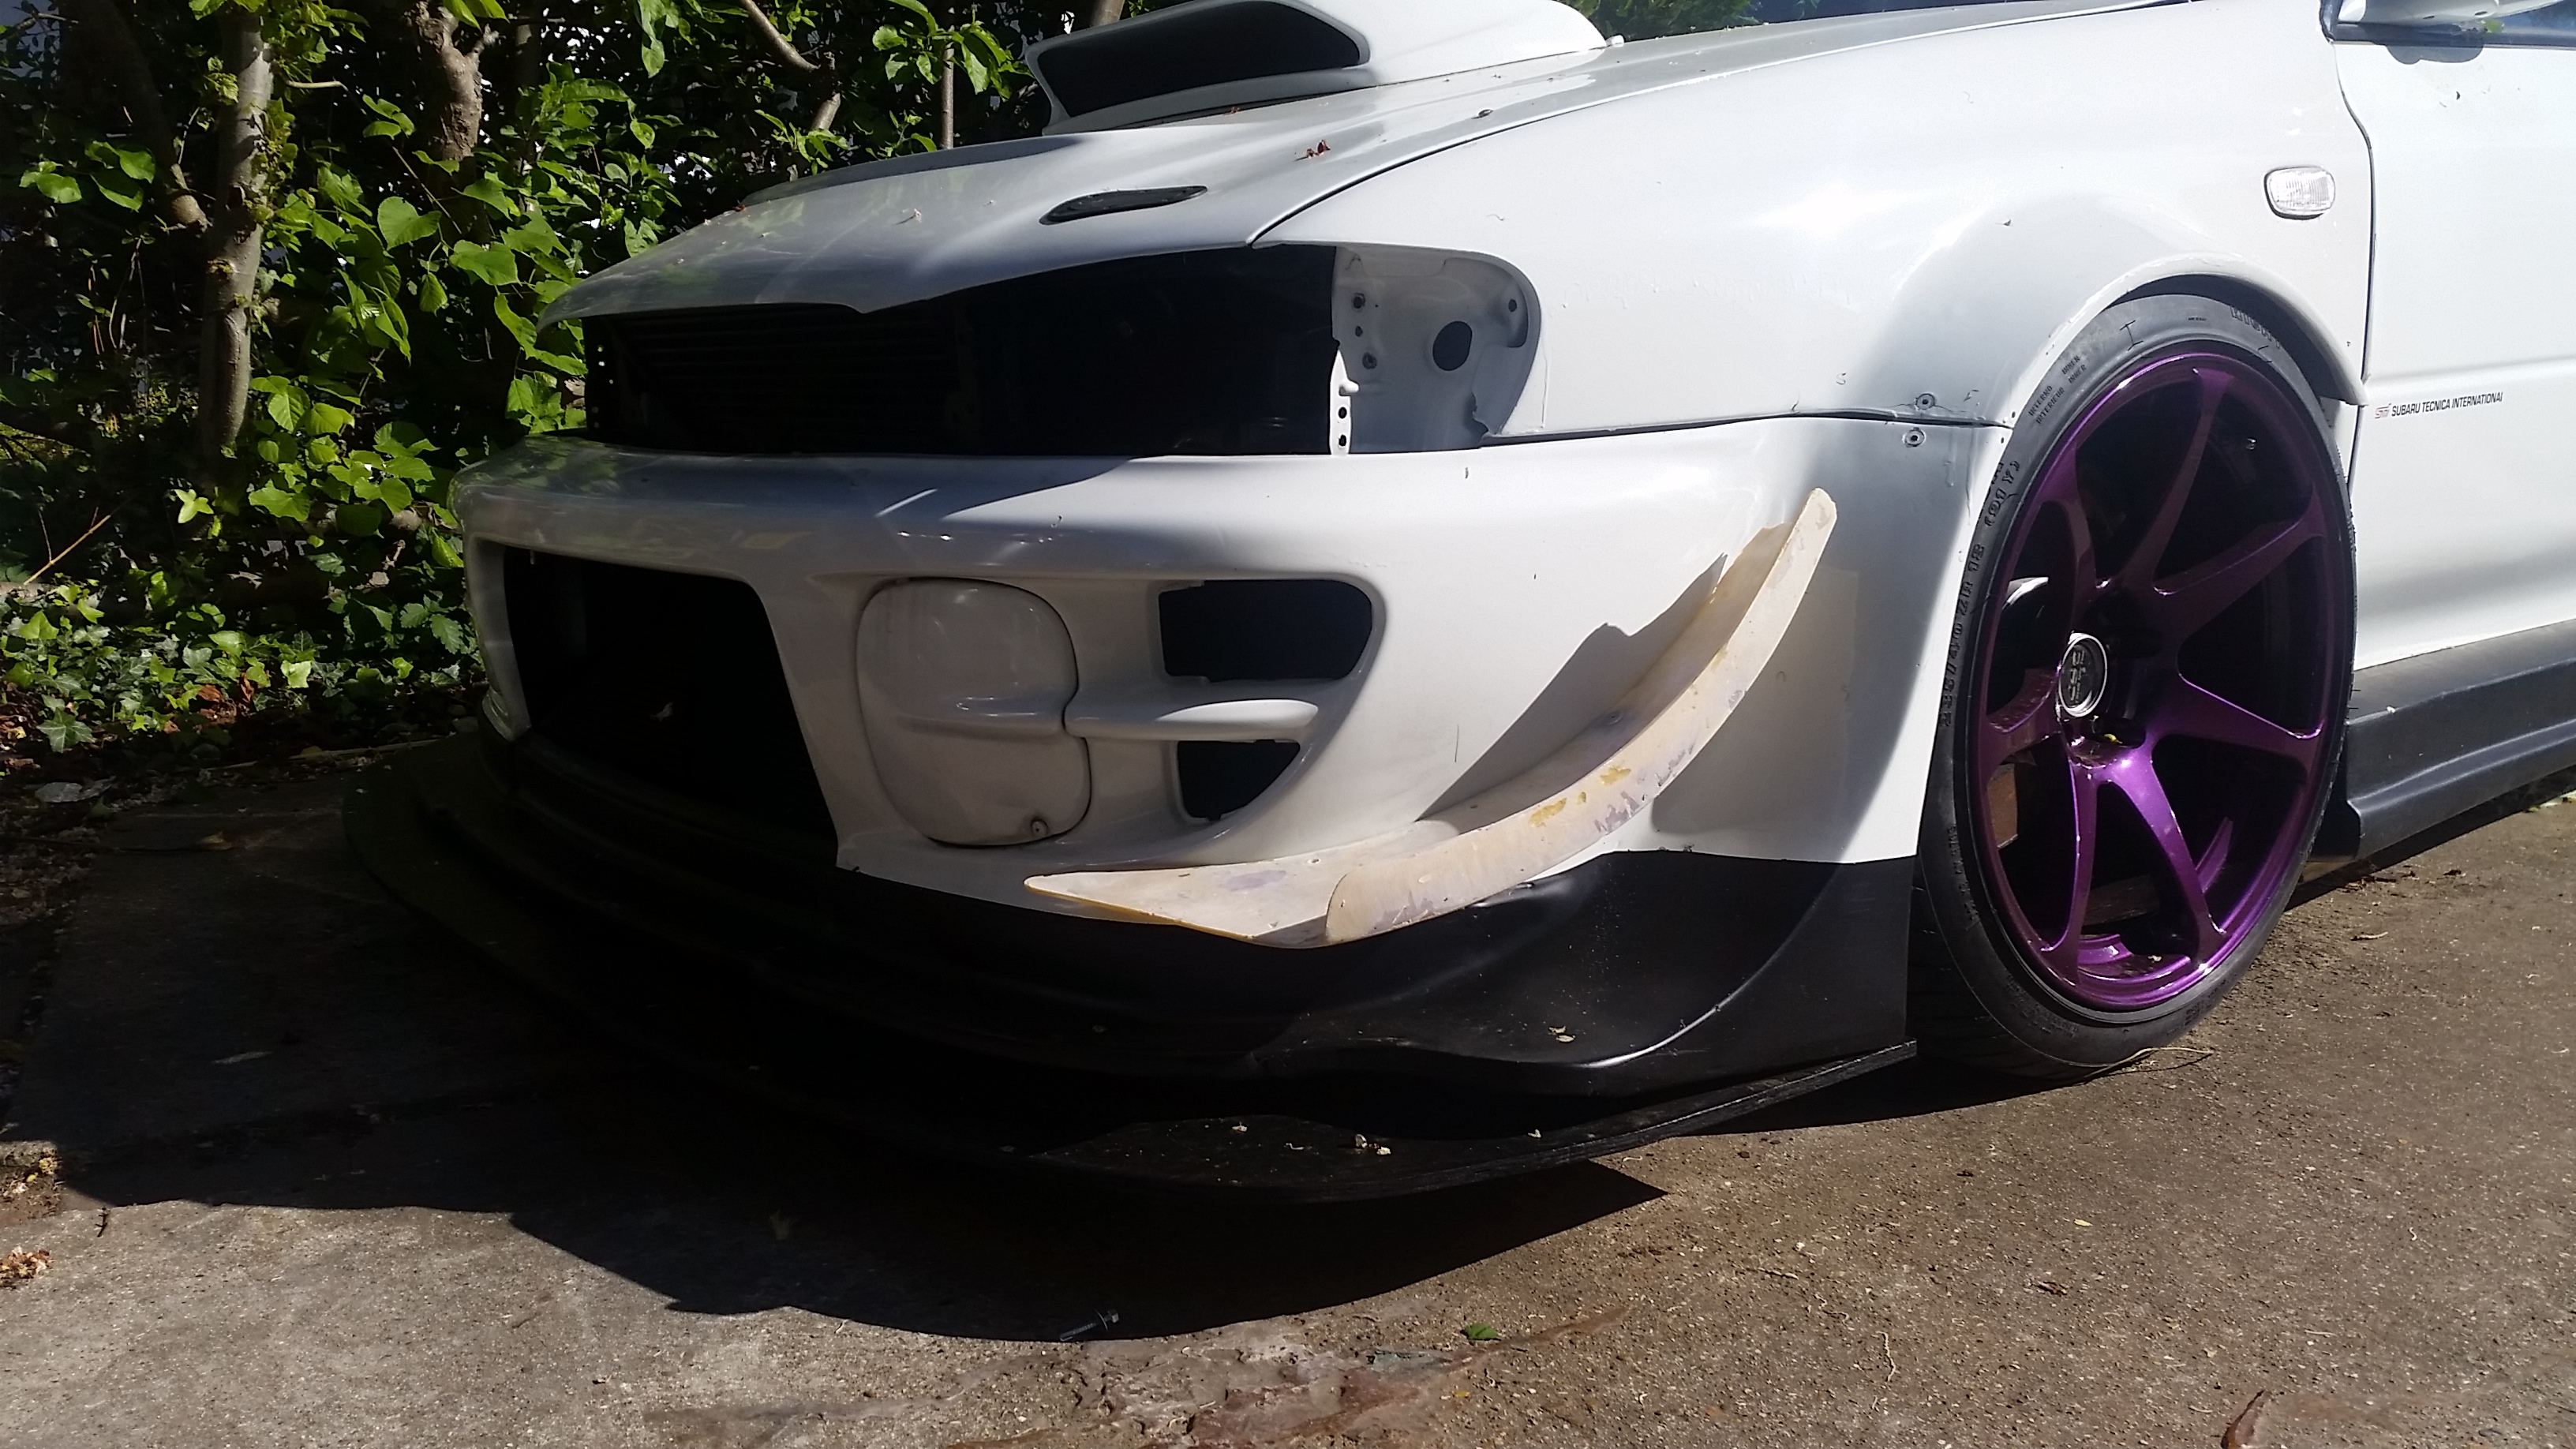
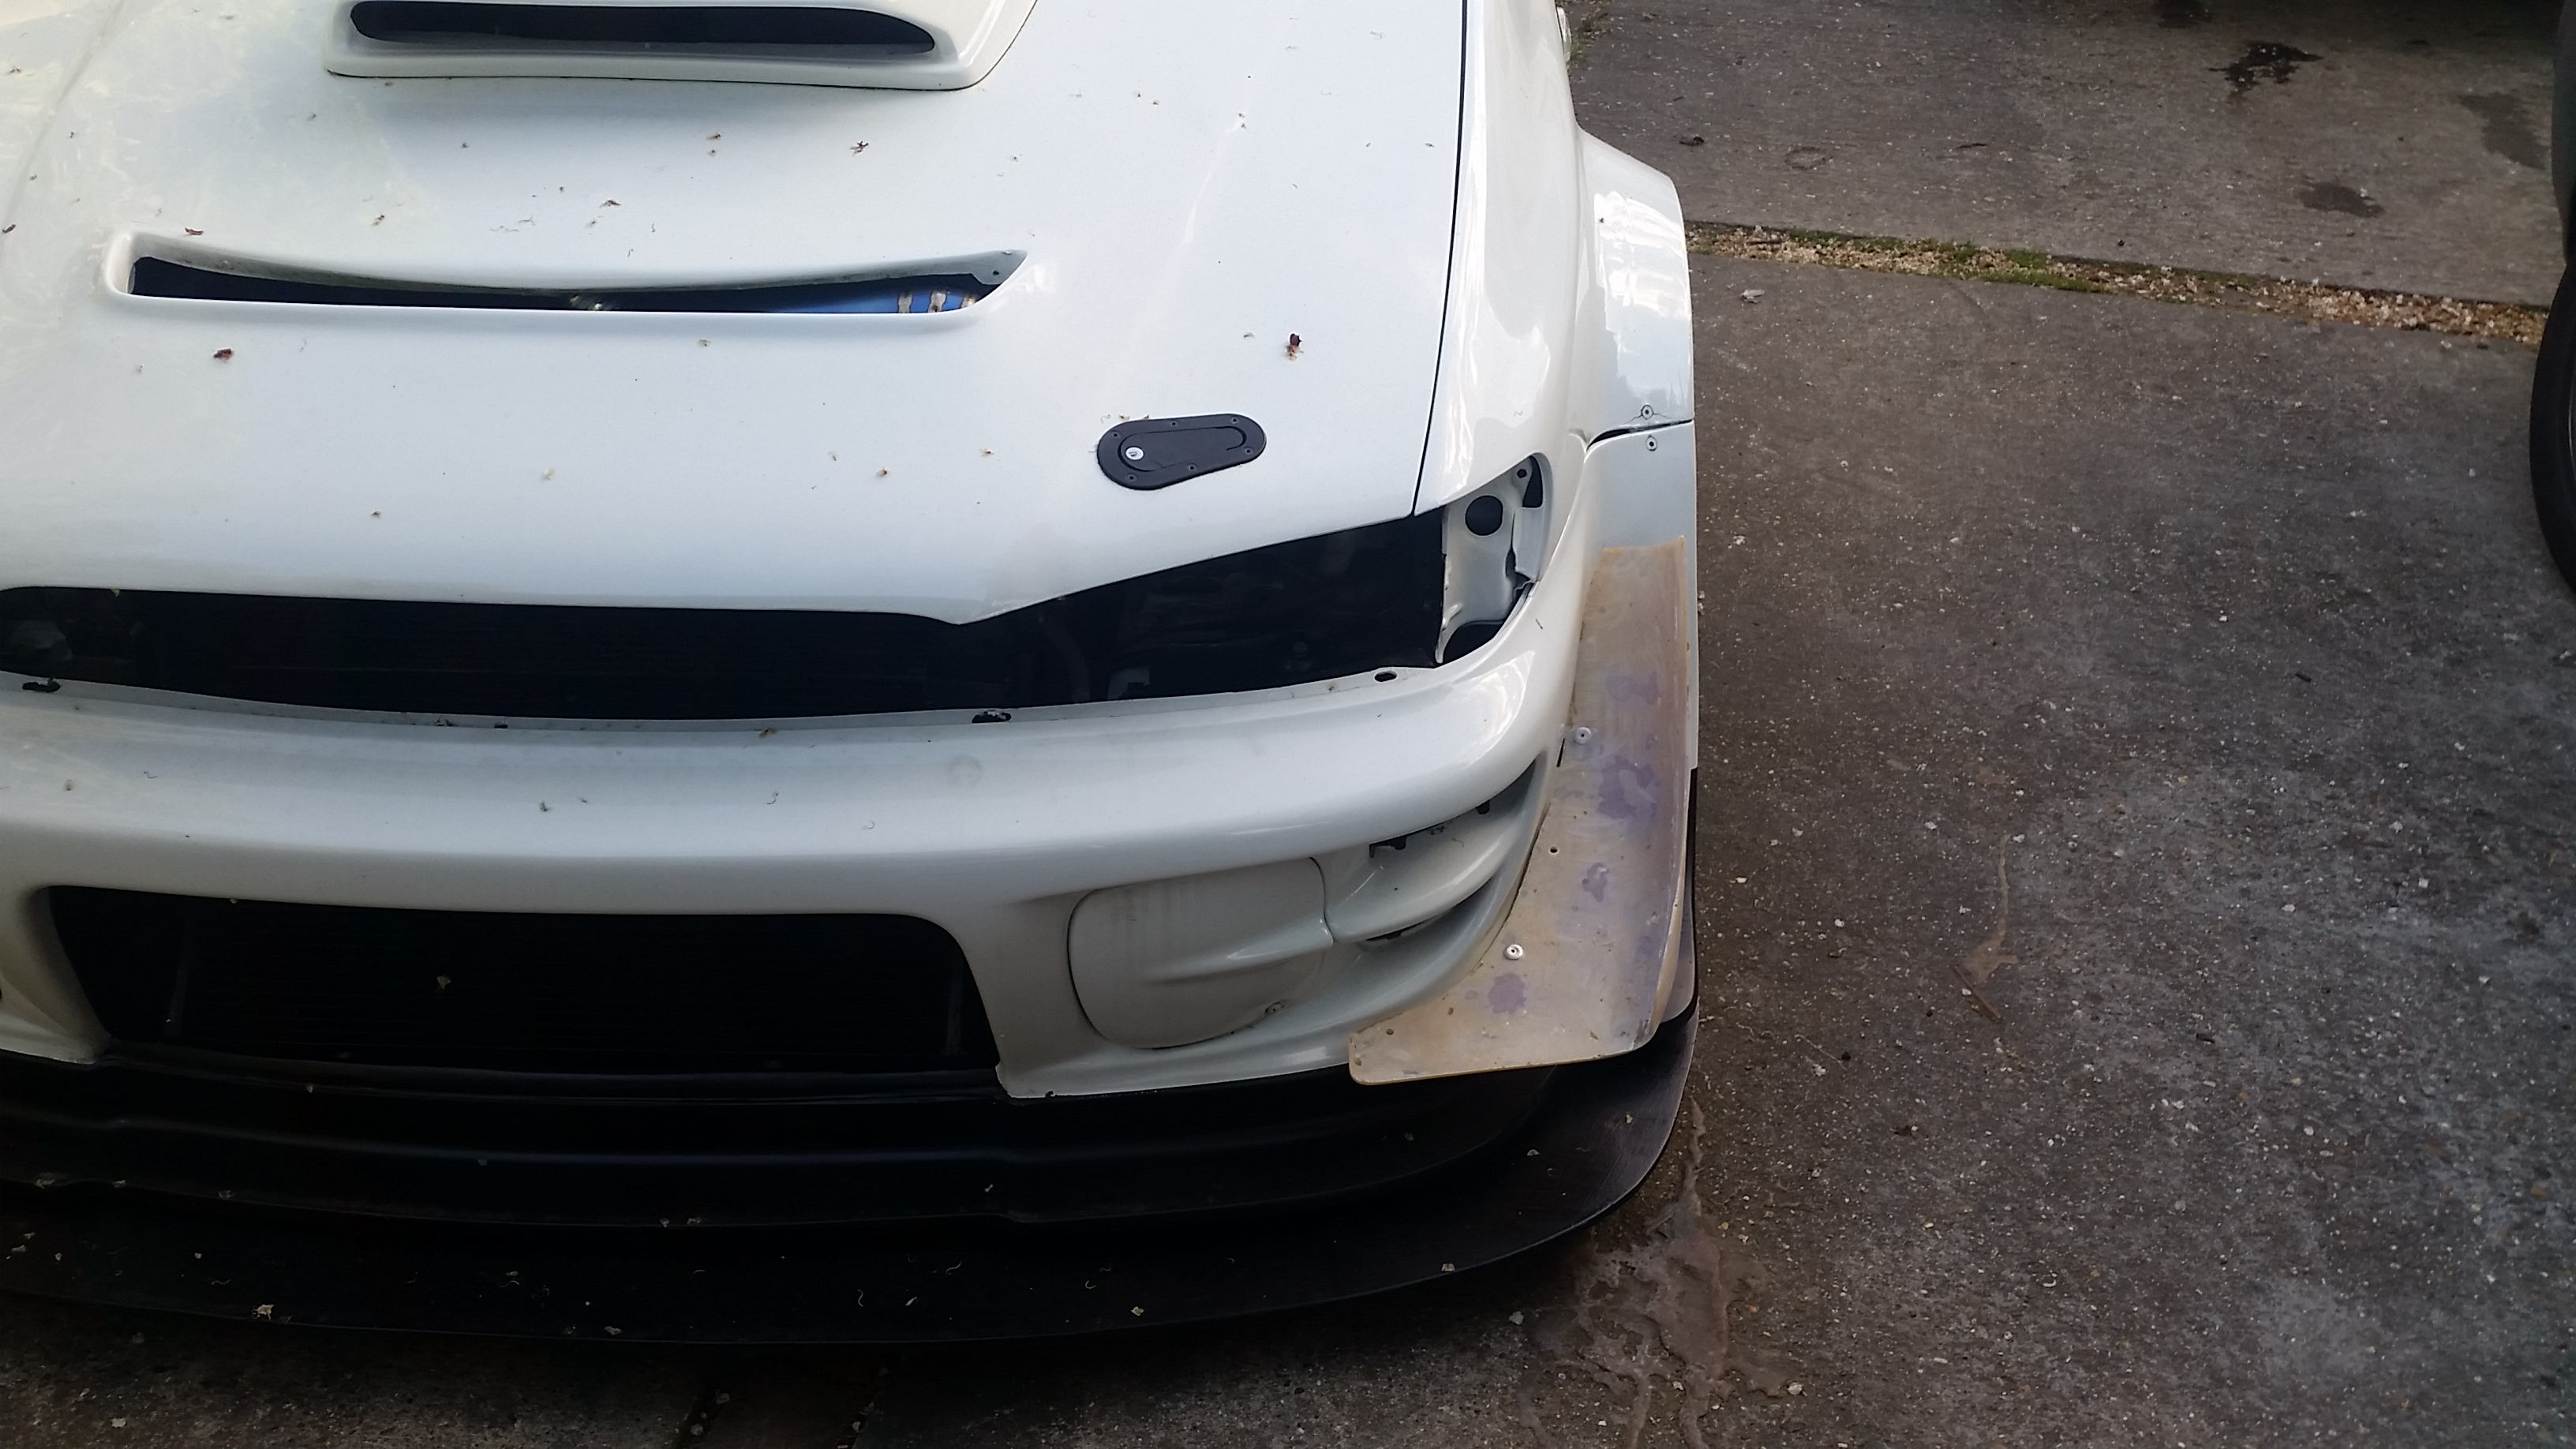
They both still need a bit of trimming and adjusting oh and painting but this gives you an idea and to be fair I was pretty happy with them at this stage...
while they where being finished off:
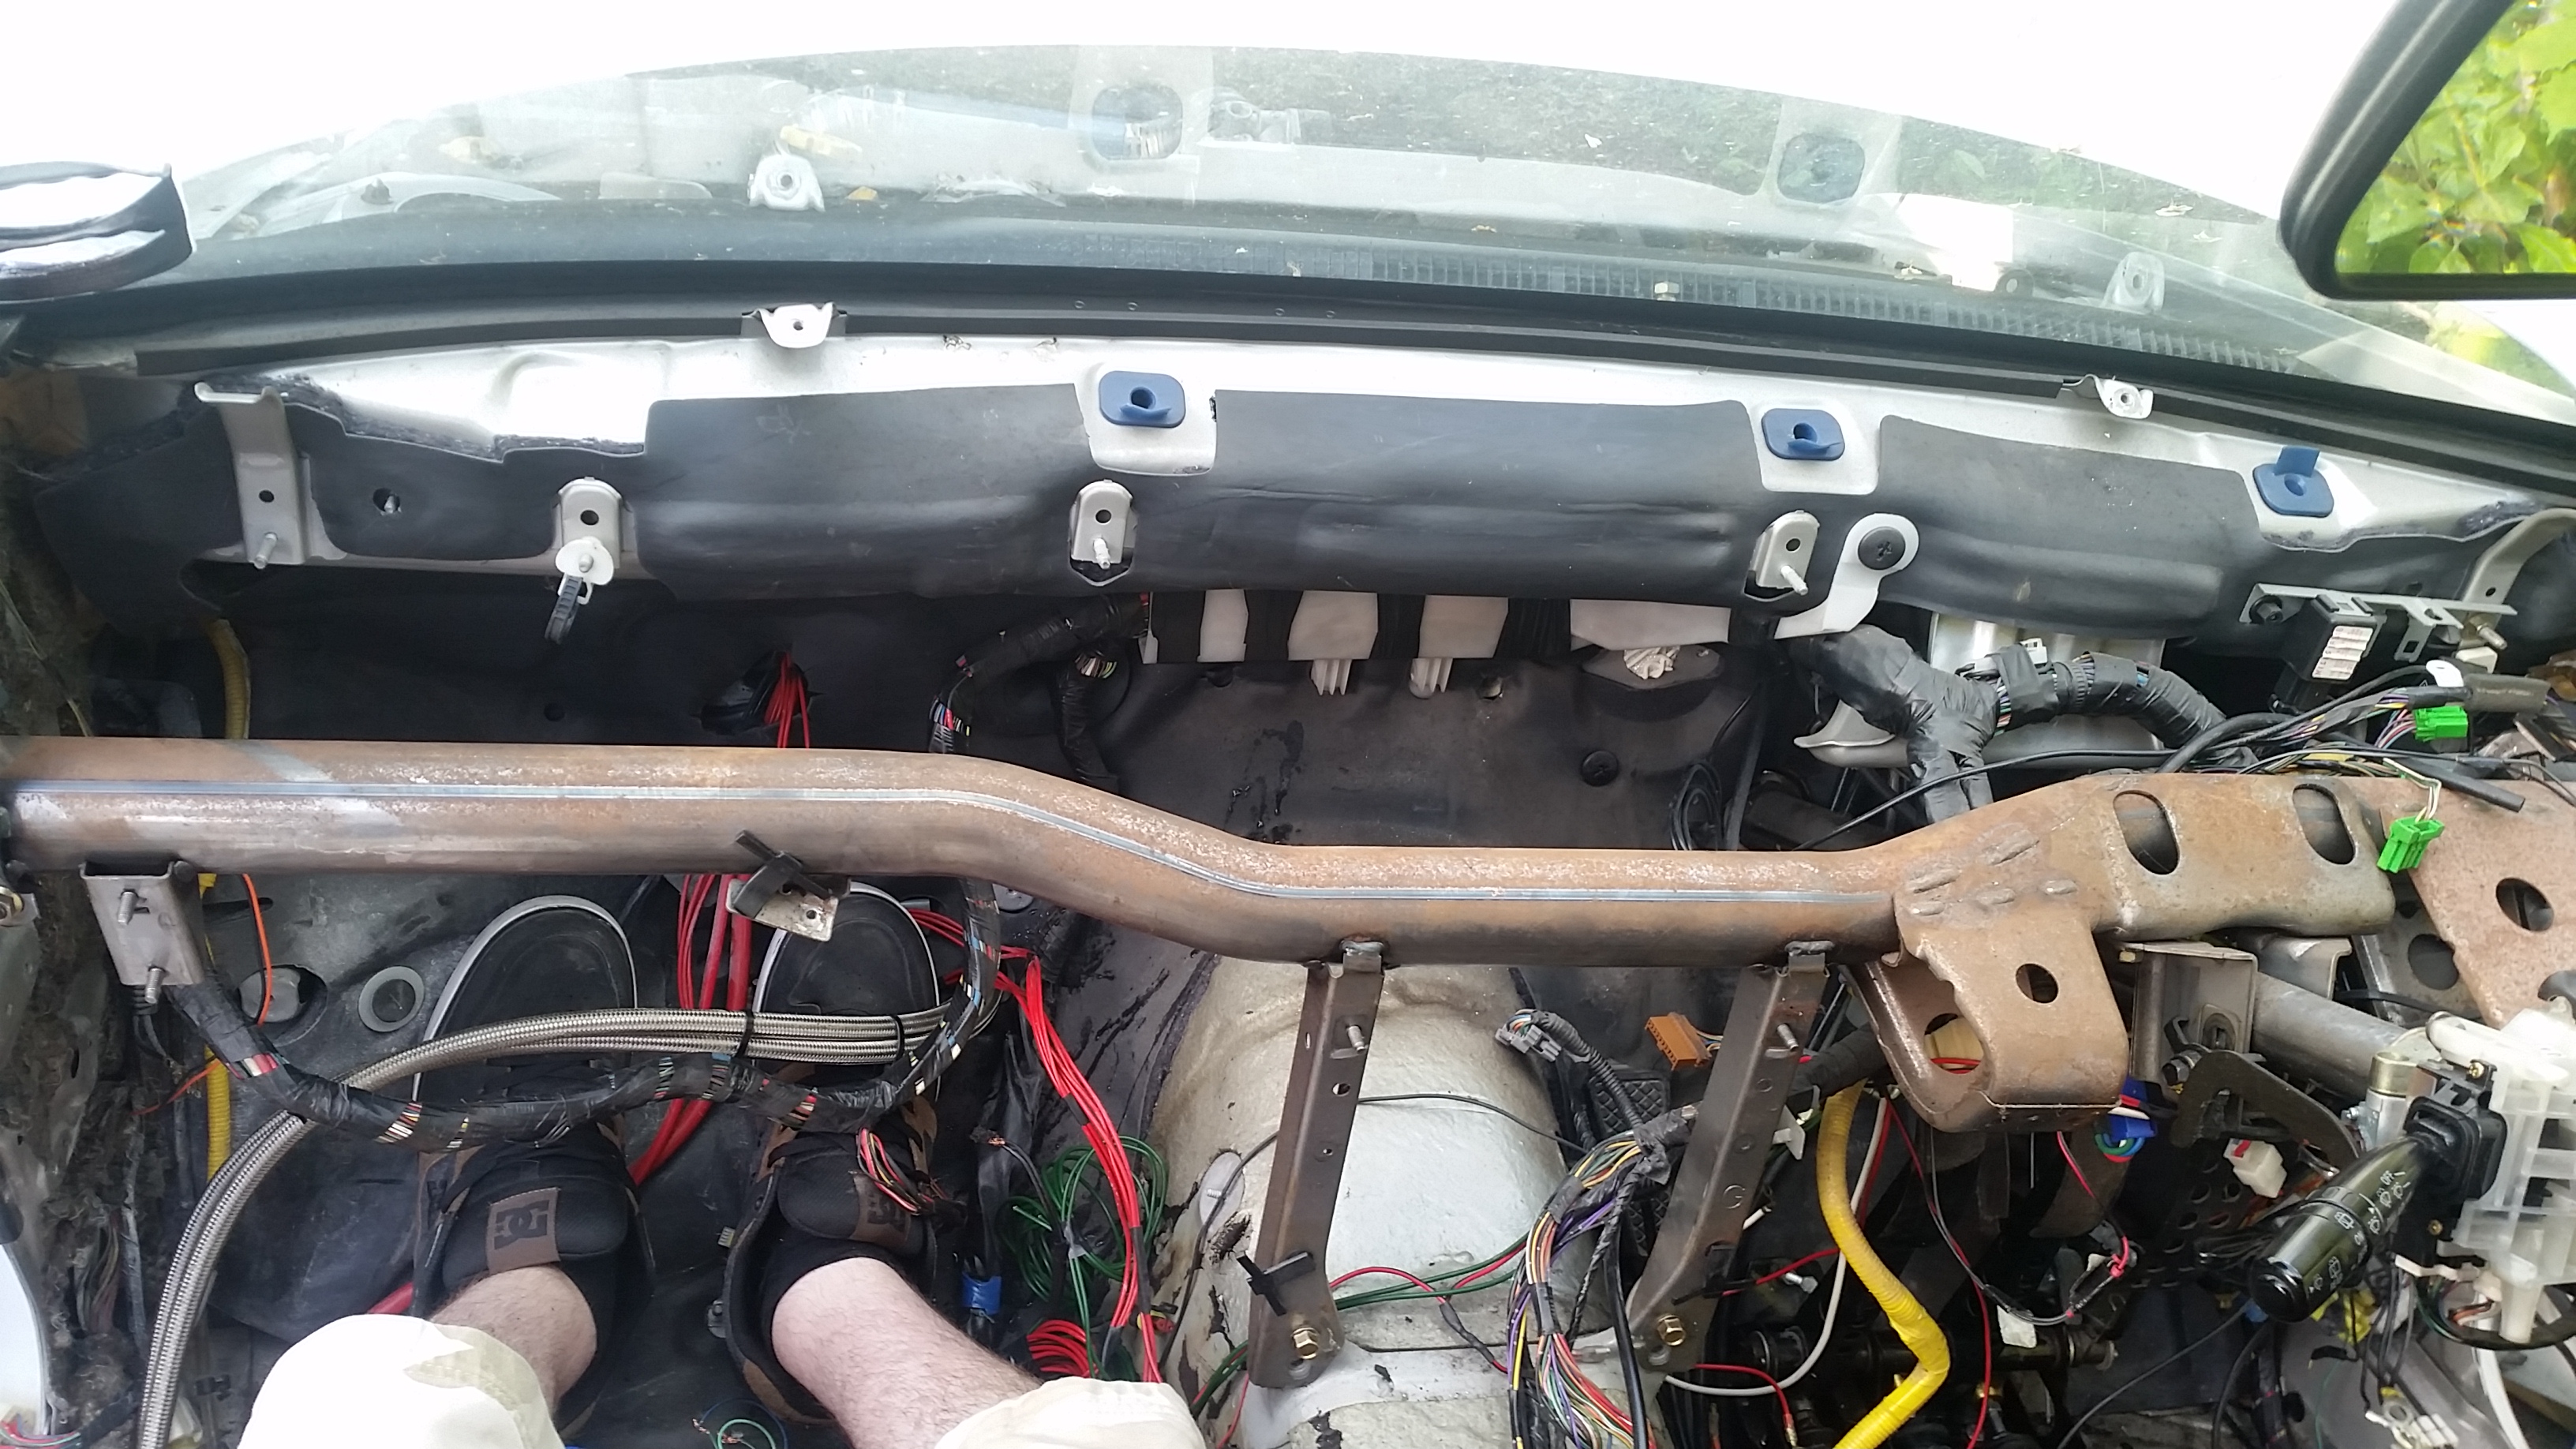
The pesky interior.... lots to do here. The S6 I have isn't a plug and play. I didn't want too use the stock loom as it has issue so a full new engine loom is required and I shall do that bit soon. The aim here again along with the seat swap is too loose weight and make it all simple....
A vast strip back of the stock loom saved a huge 13kgs.... these is leaving the lights, wiper systems, front electric windows, steering rack controls and indicators. pretty much everything else has gone.... including the bulky air con unit and heater unit.... The heater is being replaced with a smaller much lighter unit....
so that's those gone:
all this seemed very unnecessary:
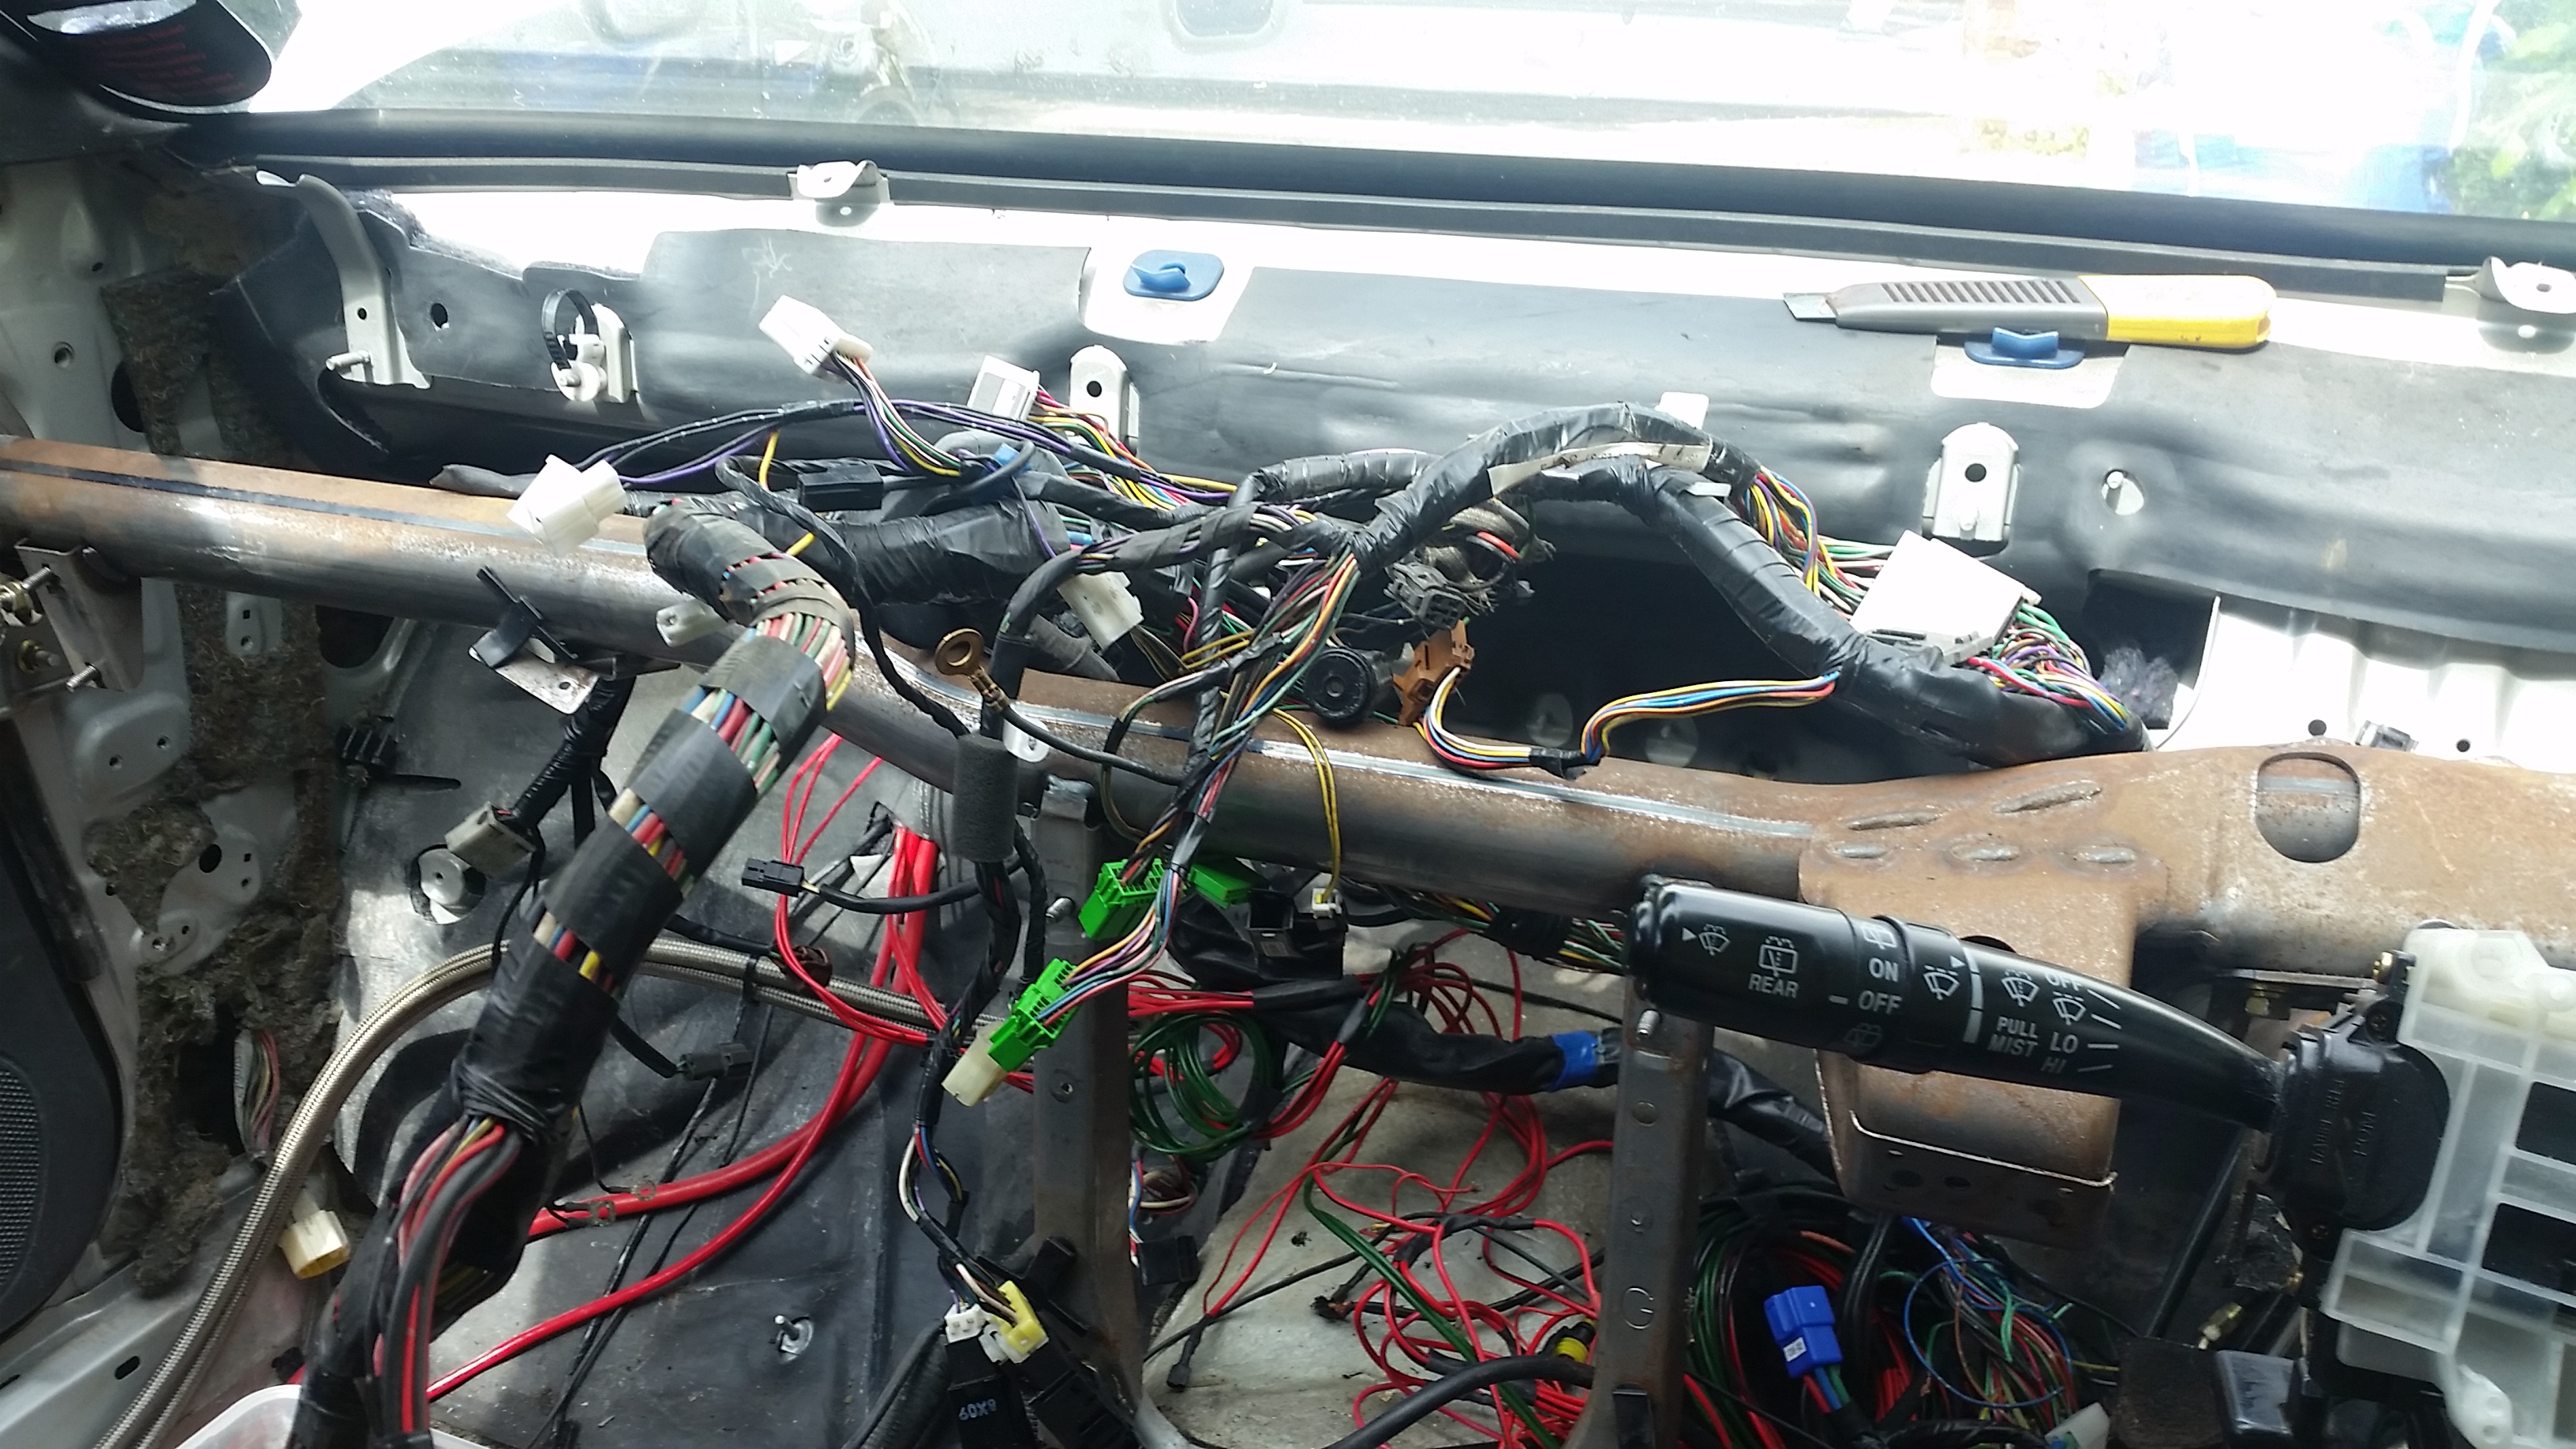
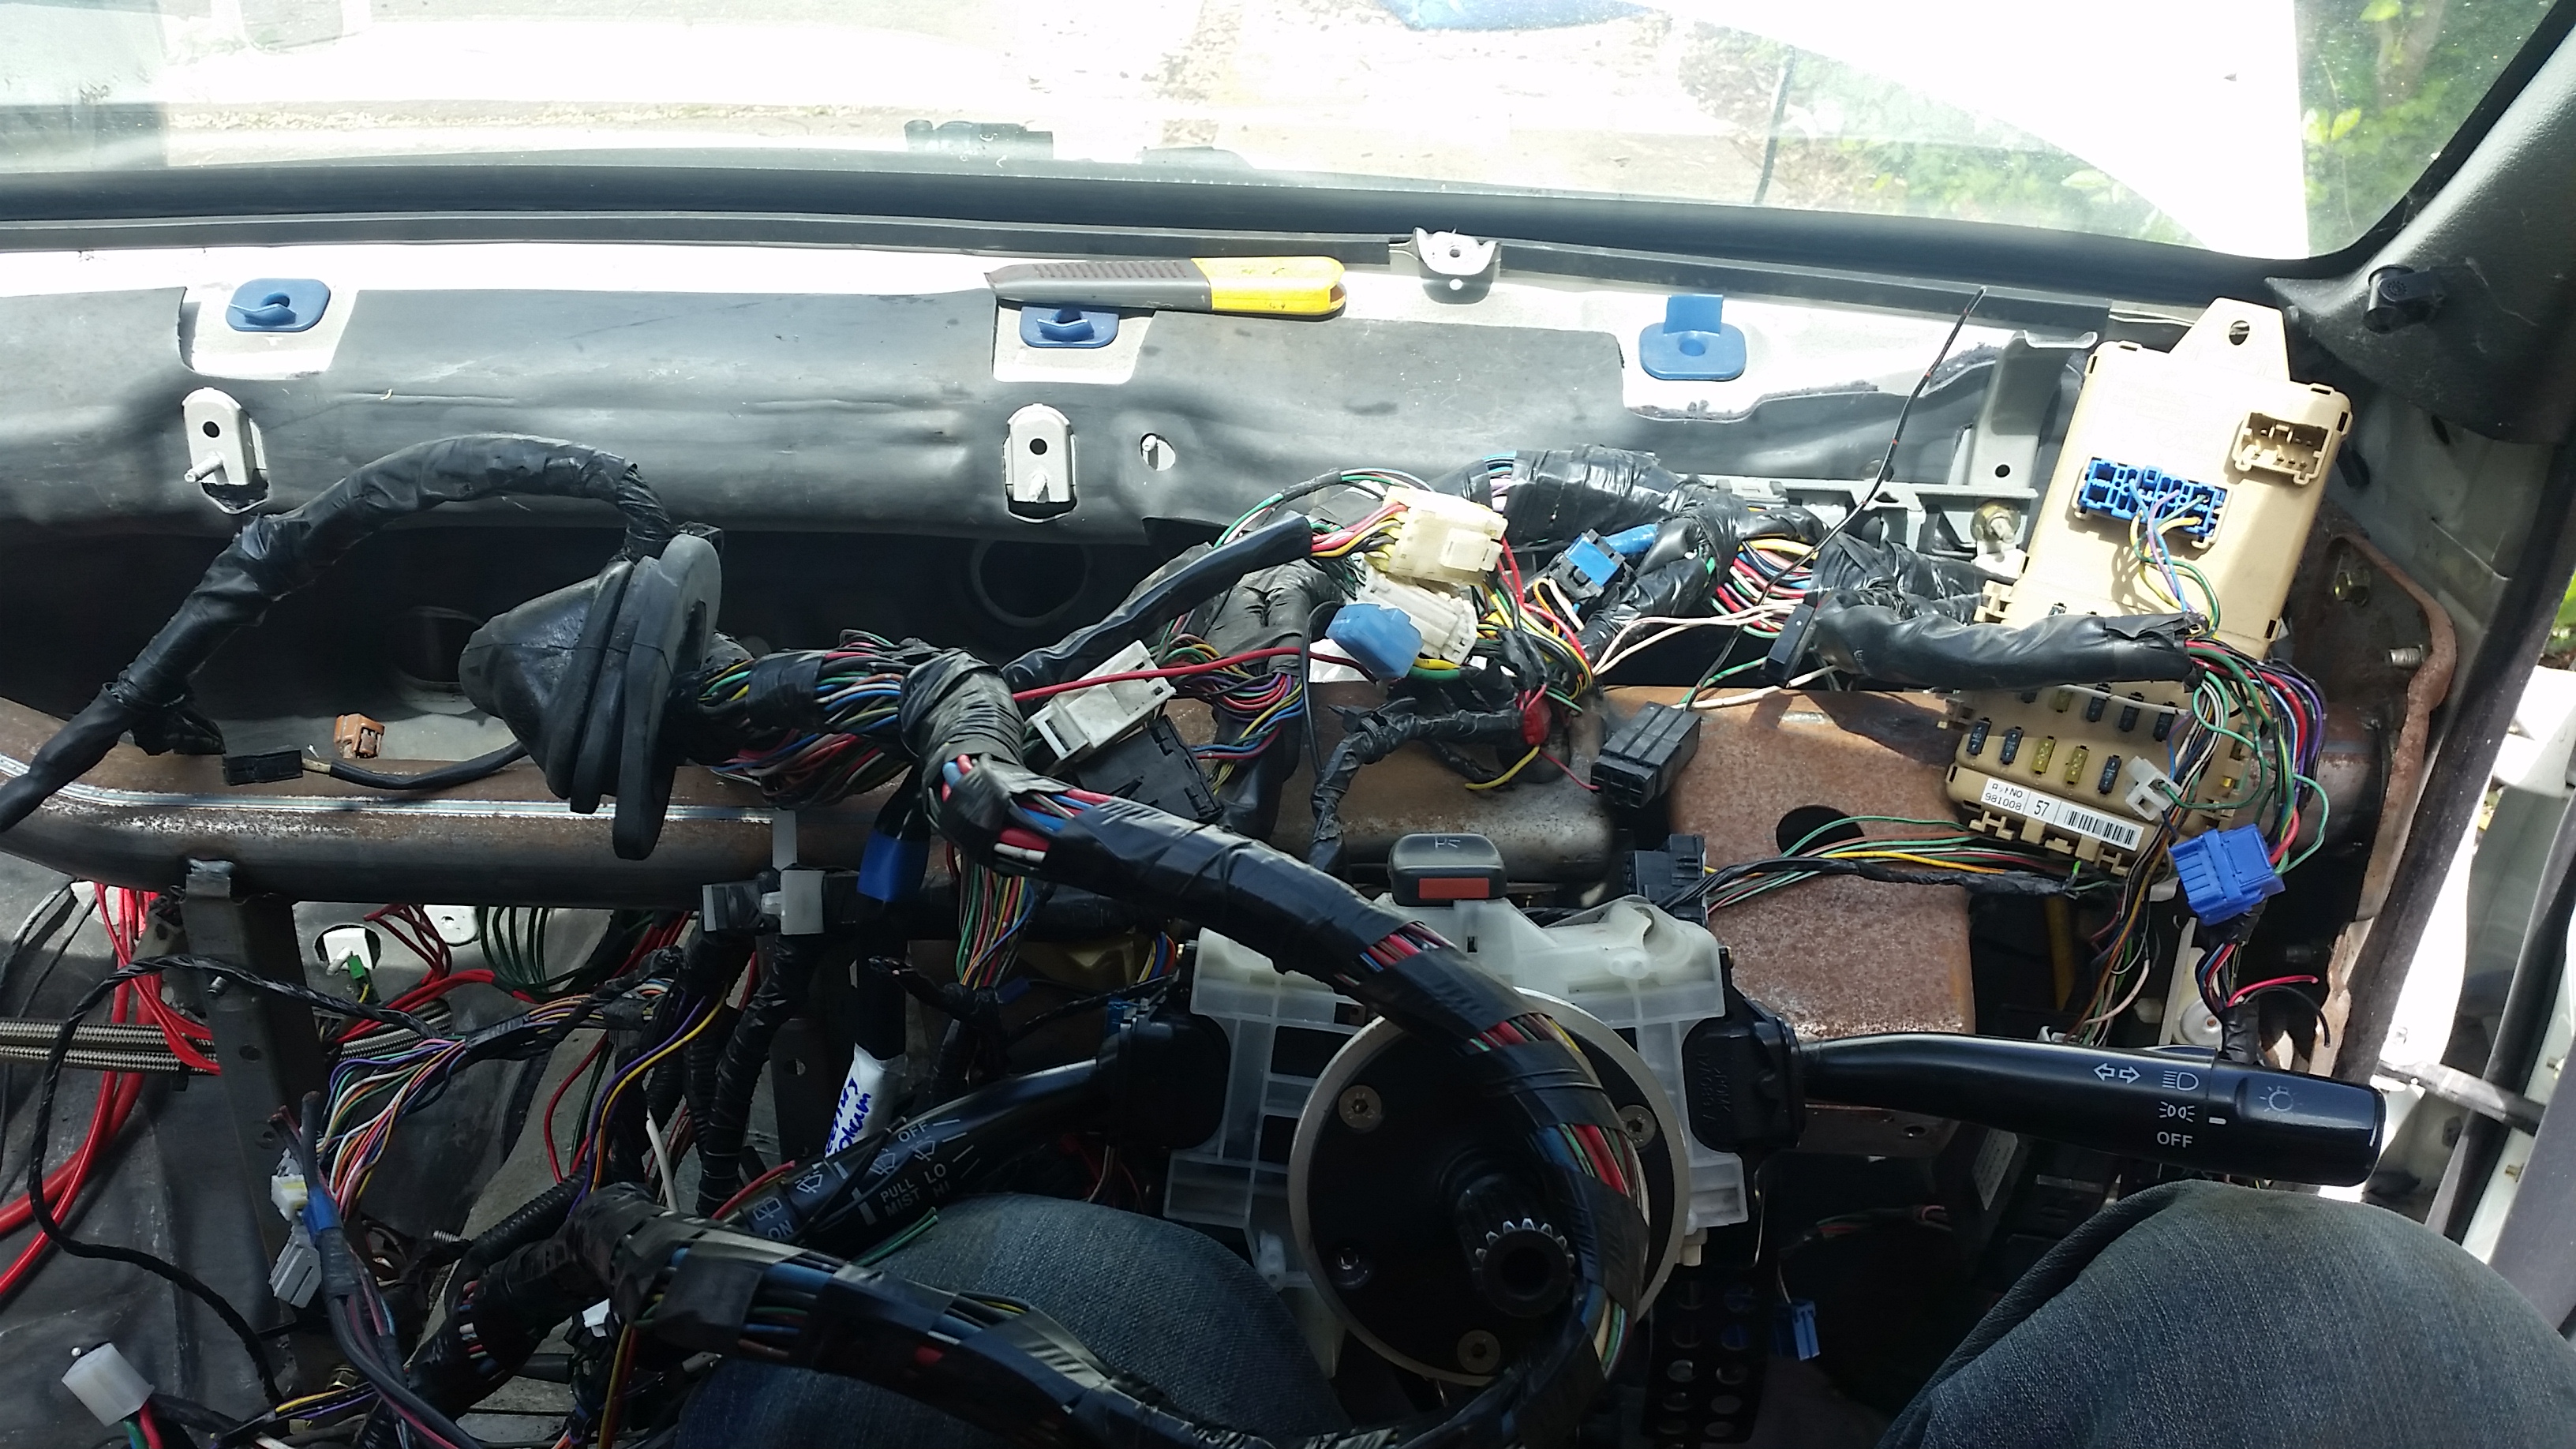
And this is what is left:
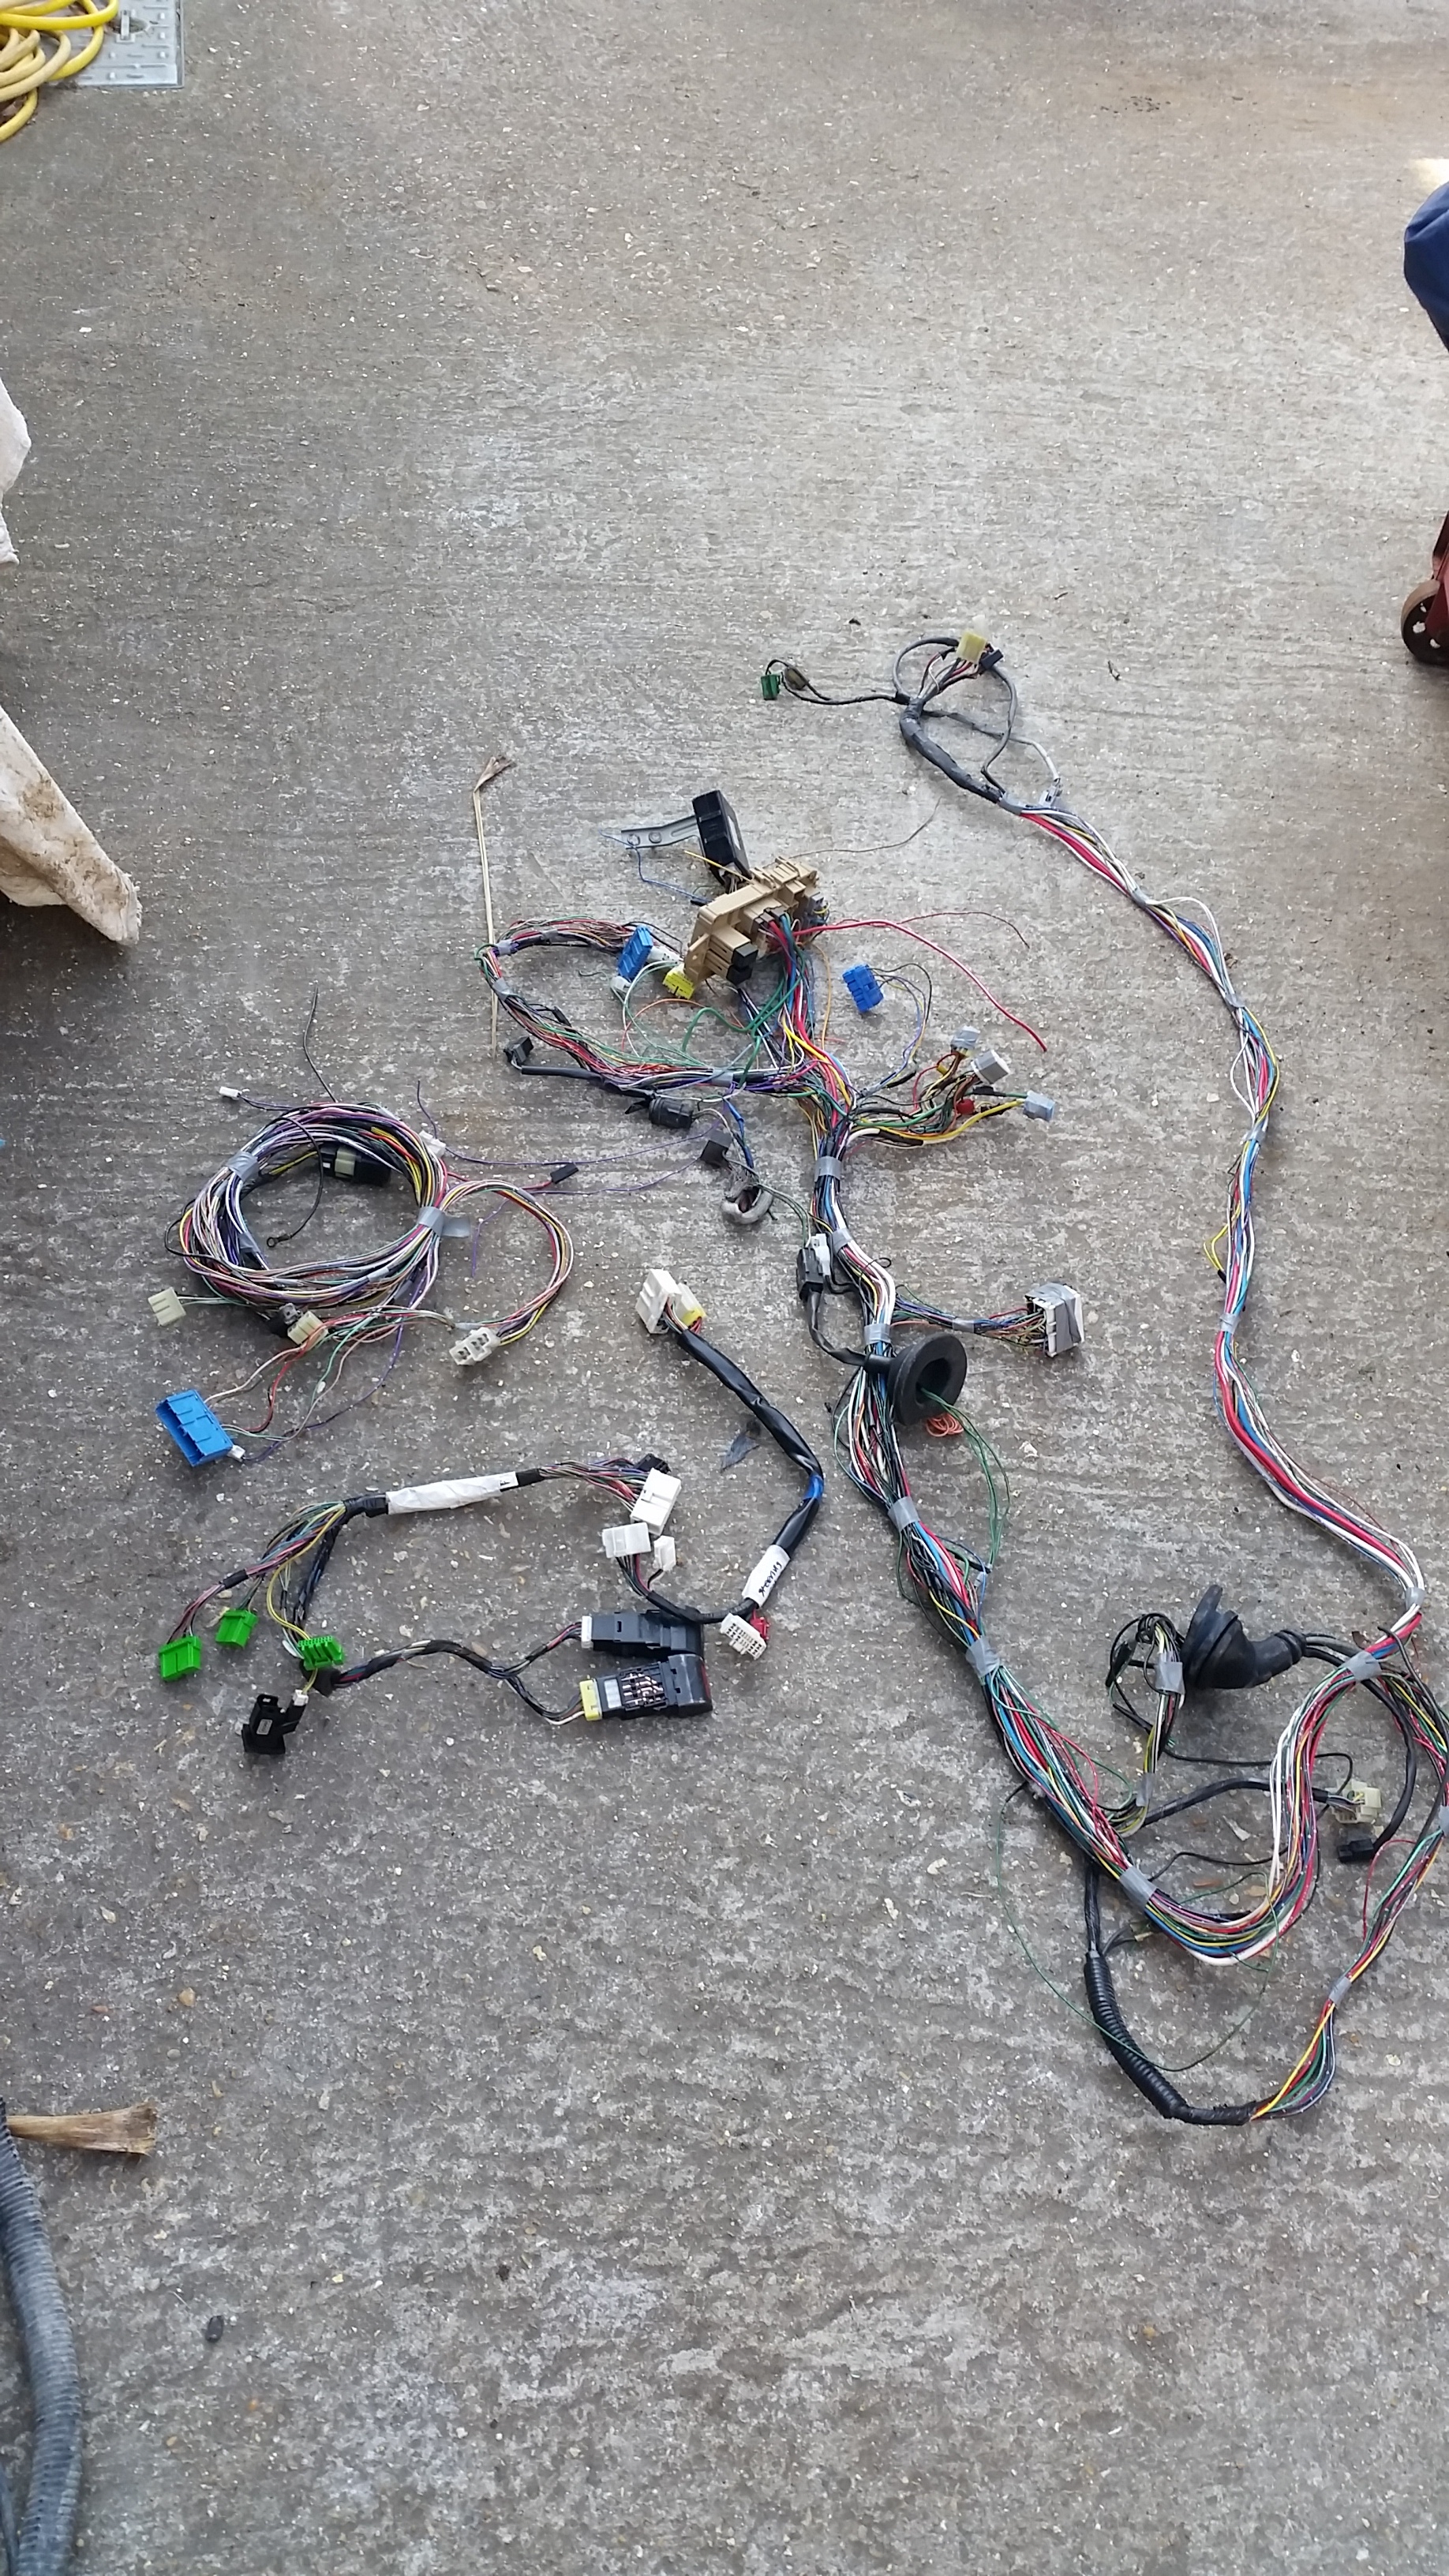
with the heater/air con/wiring an over all saving of just under 21 kgs.... that'll do for now....
So been playing with a few aero bits, did the wheels at last and have really started to get into the interior bits.... well what's left og it at least
So, I wanted to make a larger under tray that goes just beyond the bell housing and under the engine completely. Lets nip the first thing in the bud quickly. I have used marine ply for this at the moment for a couple of reasons. firstly it great for a template, easy to work and can take a bit of a beating.... secondly, I haven't the budget for a huge carbon item that could turn out to be useless for my needs, get crack, smashed and wrecked in uk roads.... so as a test bed the ply will do just fine...
A frame work was also make using simple square bar with tabs here and there for suppose and fixings. I haven't made the rose joints etc yet but all the bits are on route... some pics:


The next bit was to finally ditch that nasty chrome look on the wheels. The wheels needed a small bit of repair but noting major; so on with the repair and silver base coat. That was followed by a few coats of a Xerallic purple mix and then a few coats of clear...


following the new wheel look and front floor section I turned back too looking at a little more aero for the front. Canards. There was literally nothing I could buy off the shelf to suit what I kind of wanted so out with the fibre glass...

Quick test fit and eye ball:


They both still need a bit of trimming and adjusting oh and painting but this gives you an idea and to be fair I was pretty happy with them at this stage...


while they where being finished off:
The pesky interior.... lots to do here. The S6 I have isn't a plug and play. I didn't want too use the stock loom as it has issue so a full new engine loom is required and I shall do that bit soon. The aim here again along with the seat swap is too loose weight and make it all simple....
A vast strip back of the stock loom saved a huge 13kgs.... these is leaving the lights, wiper systems, front electric windows, steering rack controls and indicators. pretty much everything else has gone.... including the bulky air con unit and heater unit.... The heater is being replaced with a smaller much lighter unit....
so that's those gone:

all this seemed very unnecessary:


And this is what is left:

with the heater/air con/wiring an over all saving of just under 21 kgs.... that'll do for now....
Last edited by seventune; Jun 20, 2018 at 10:40 AM.

Thread Starter
Scooby Regular
Joined: Aug 2013
Posts: 233
Likes: 8
From: North London
Not a problem.... to be honest if this wasn't the kind of thing I did for a living it would be a very different car...
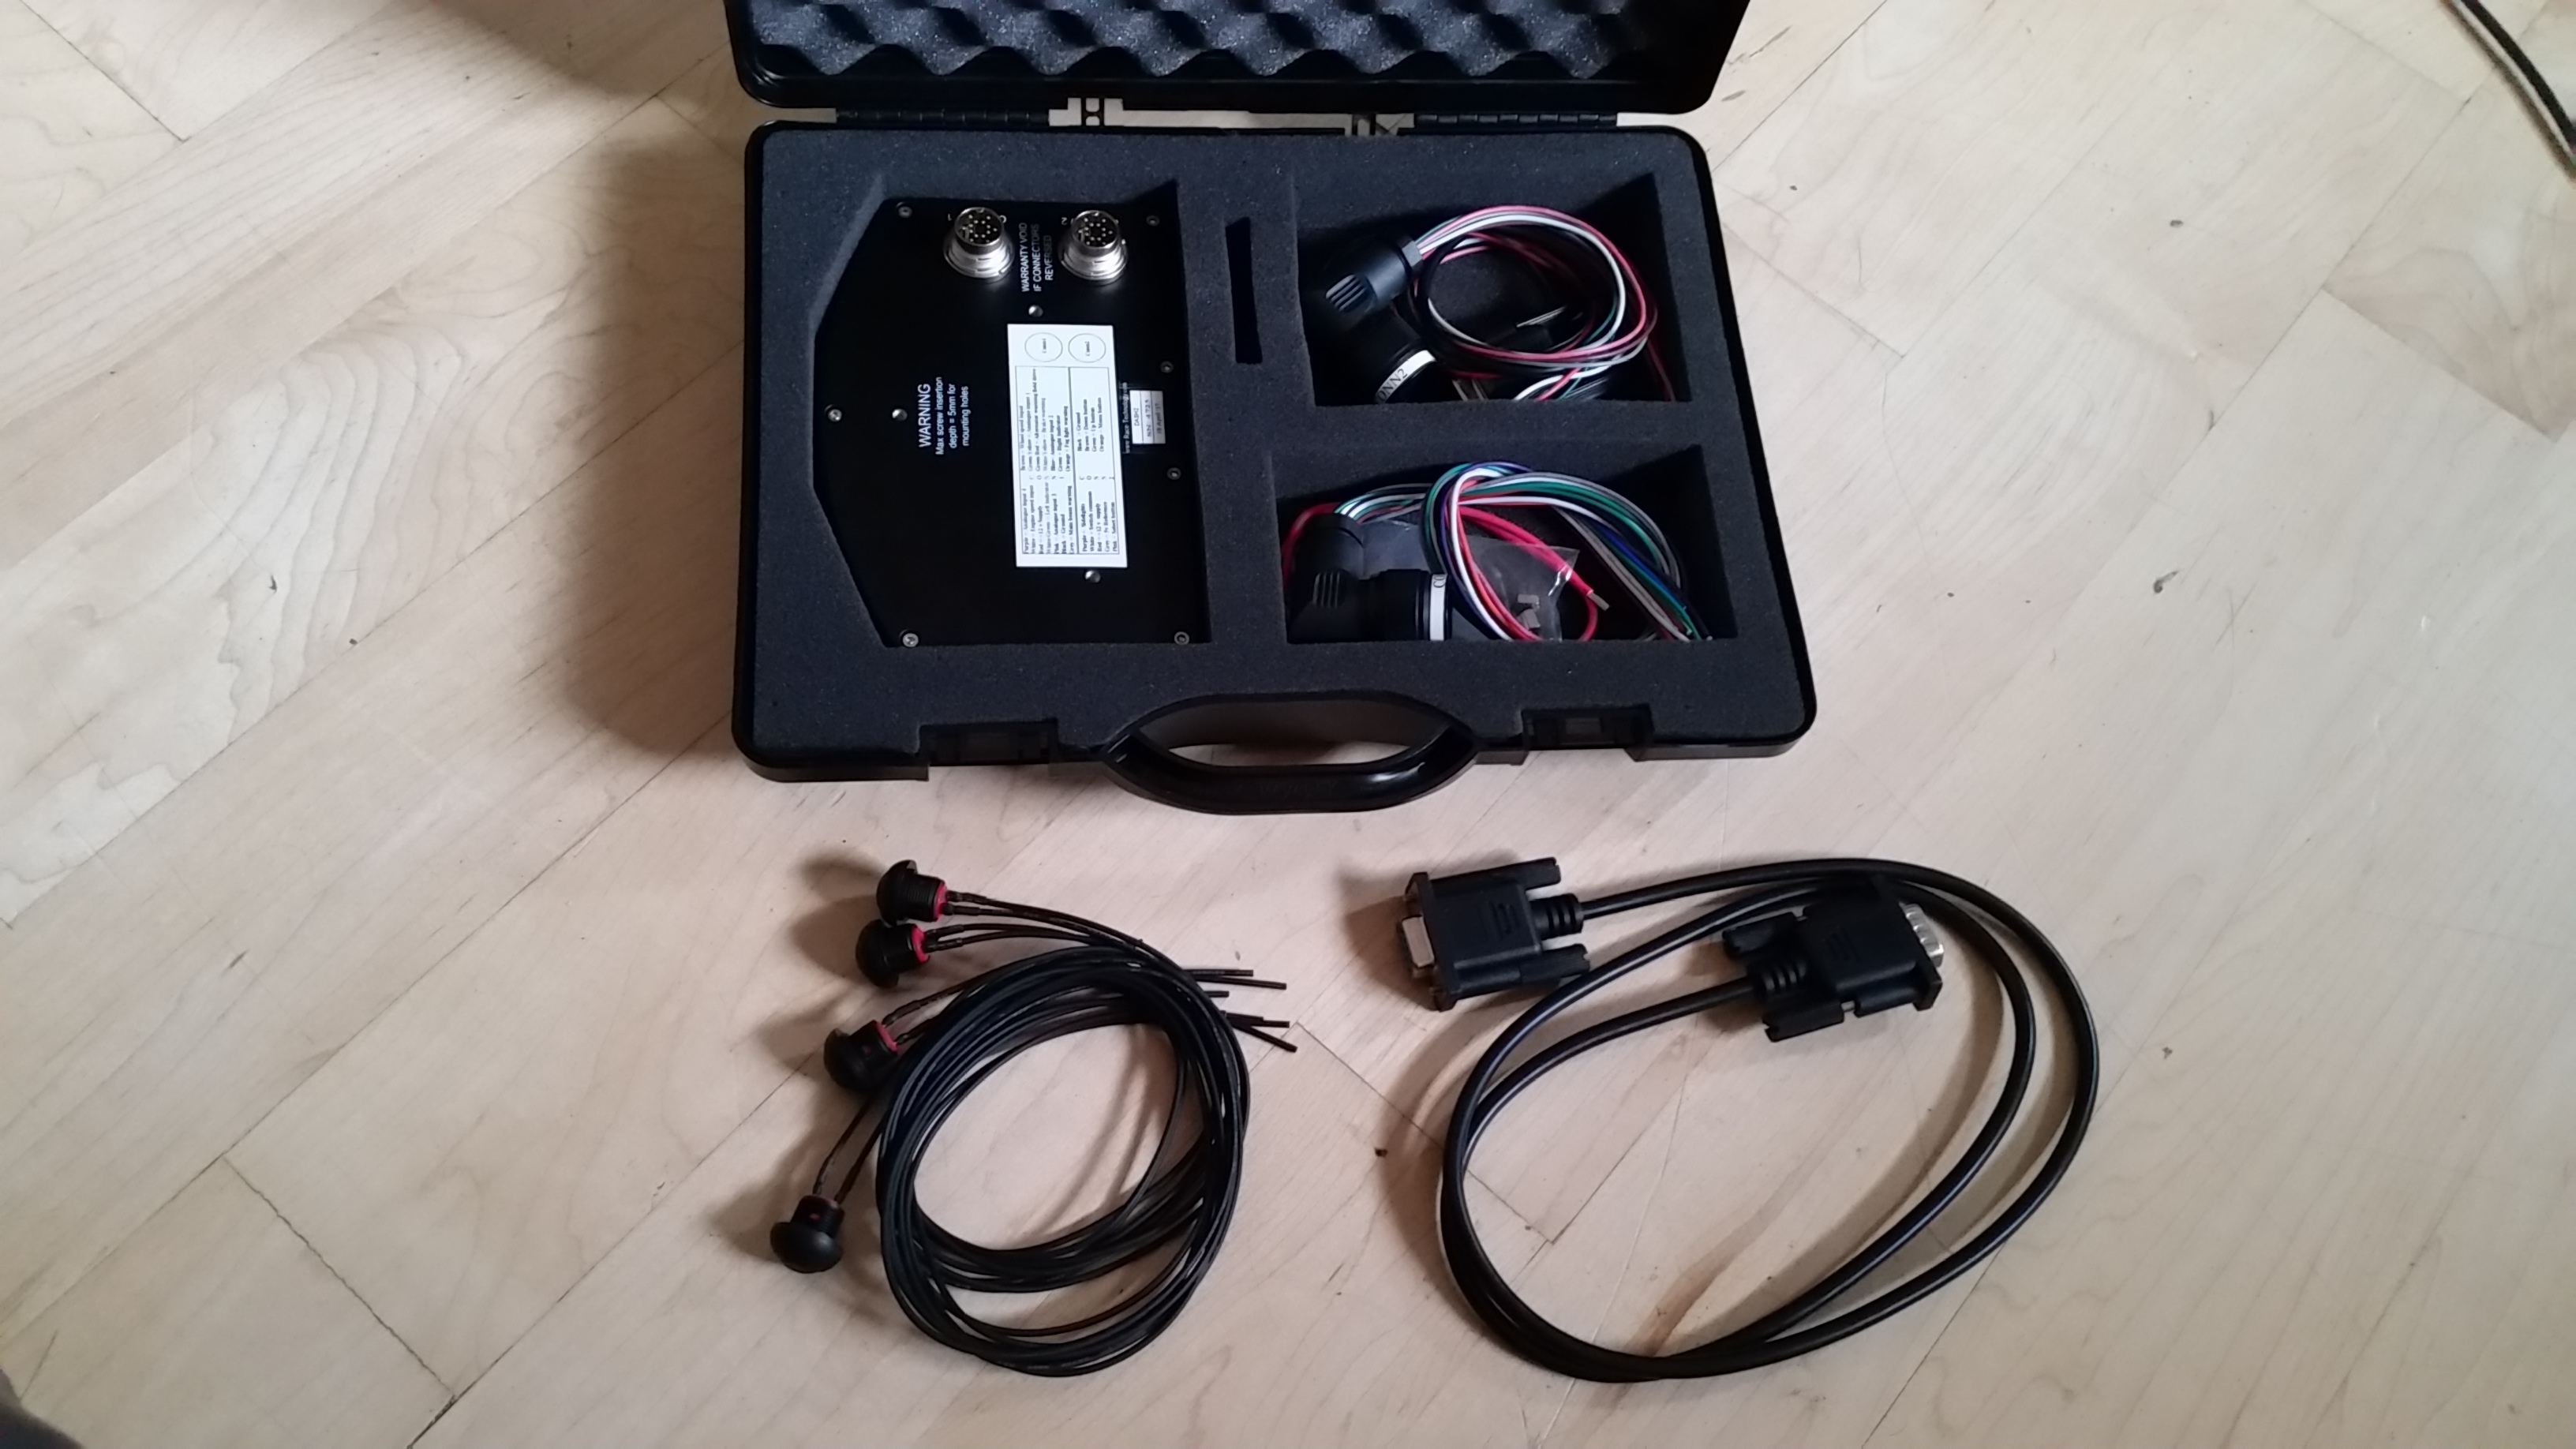
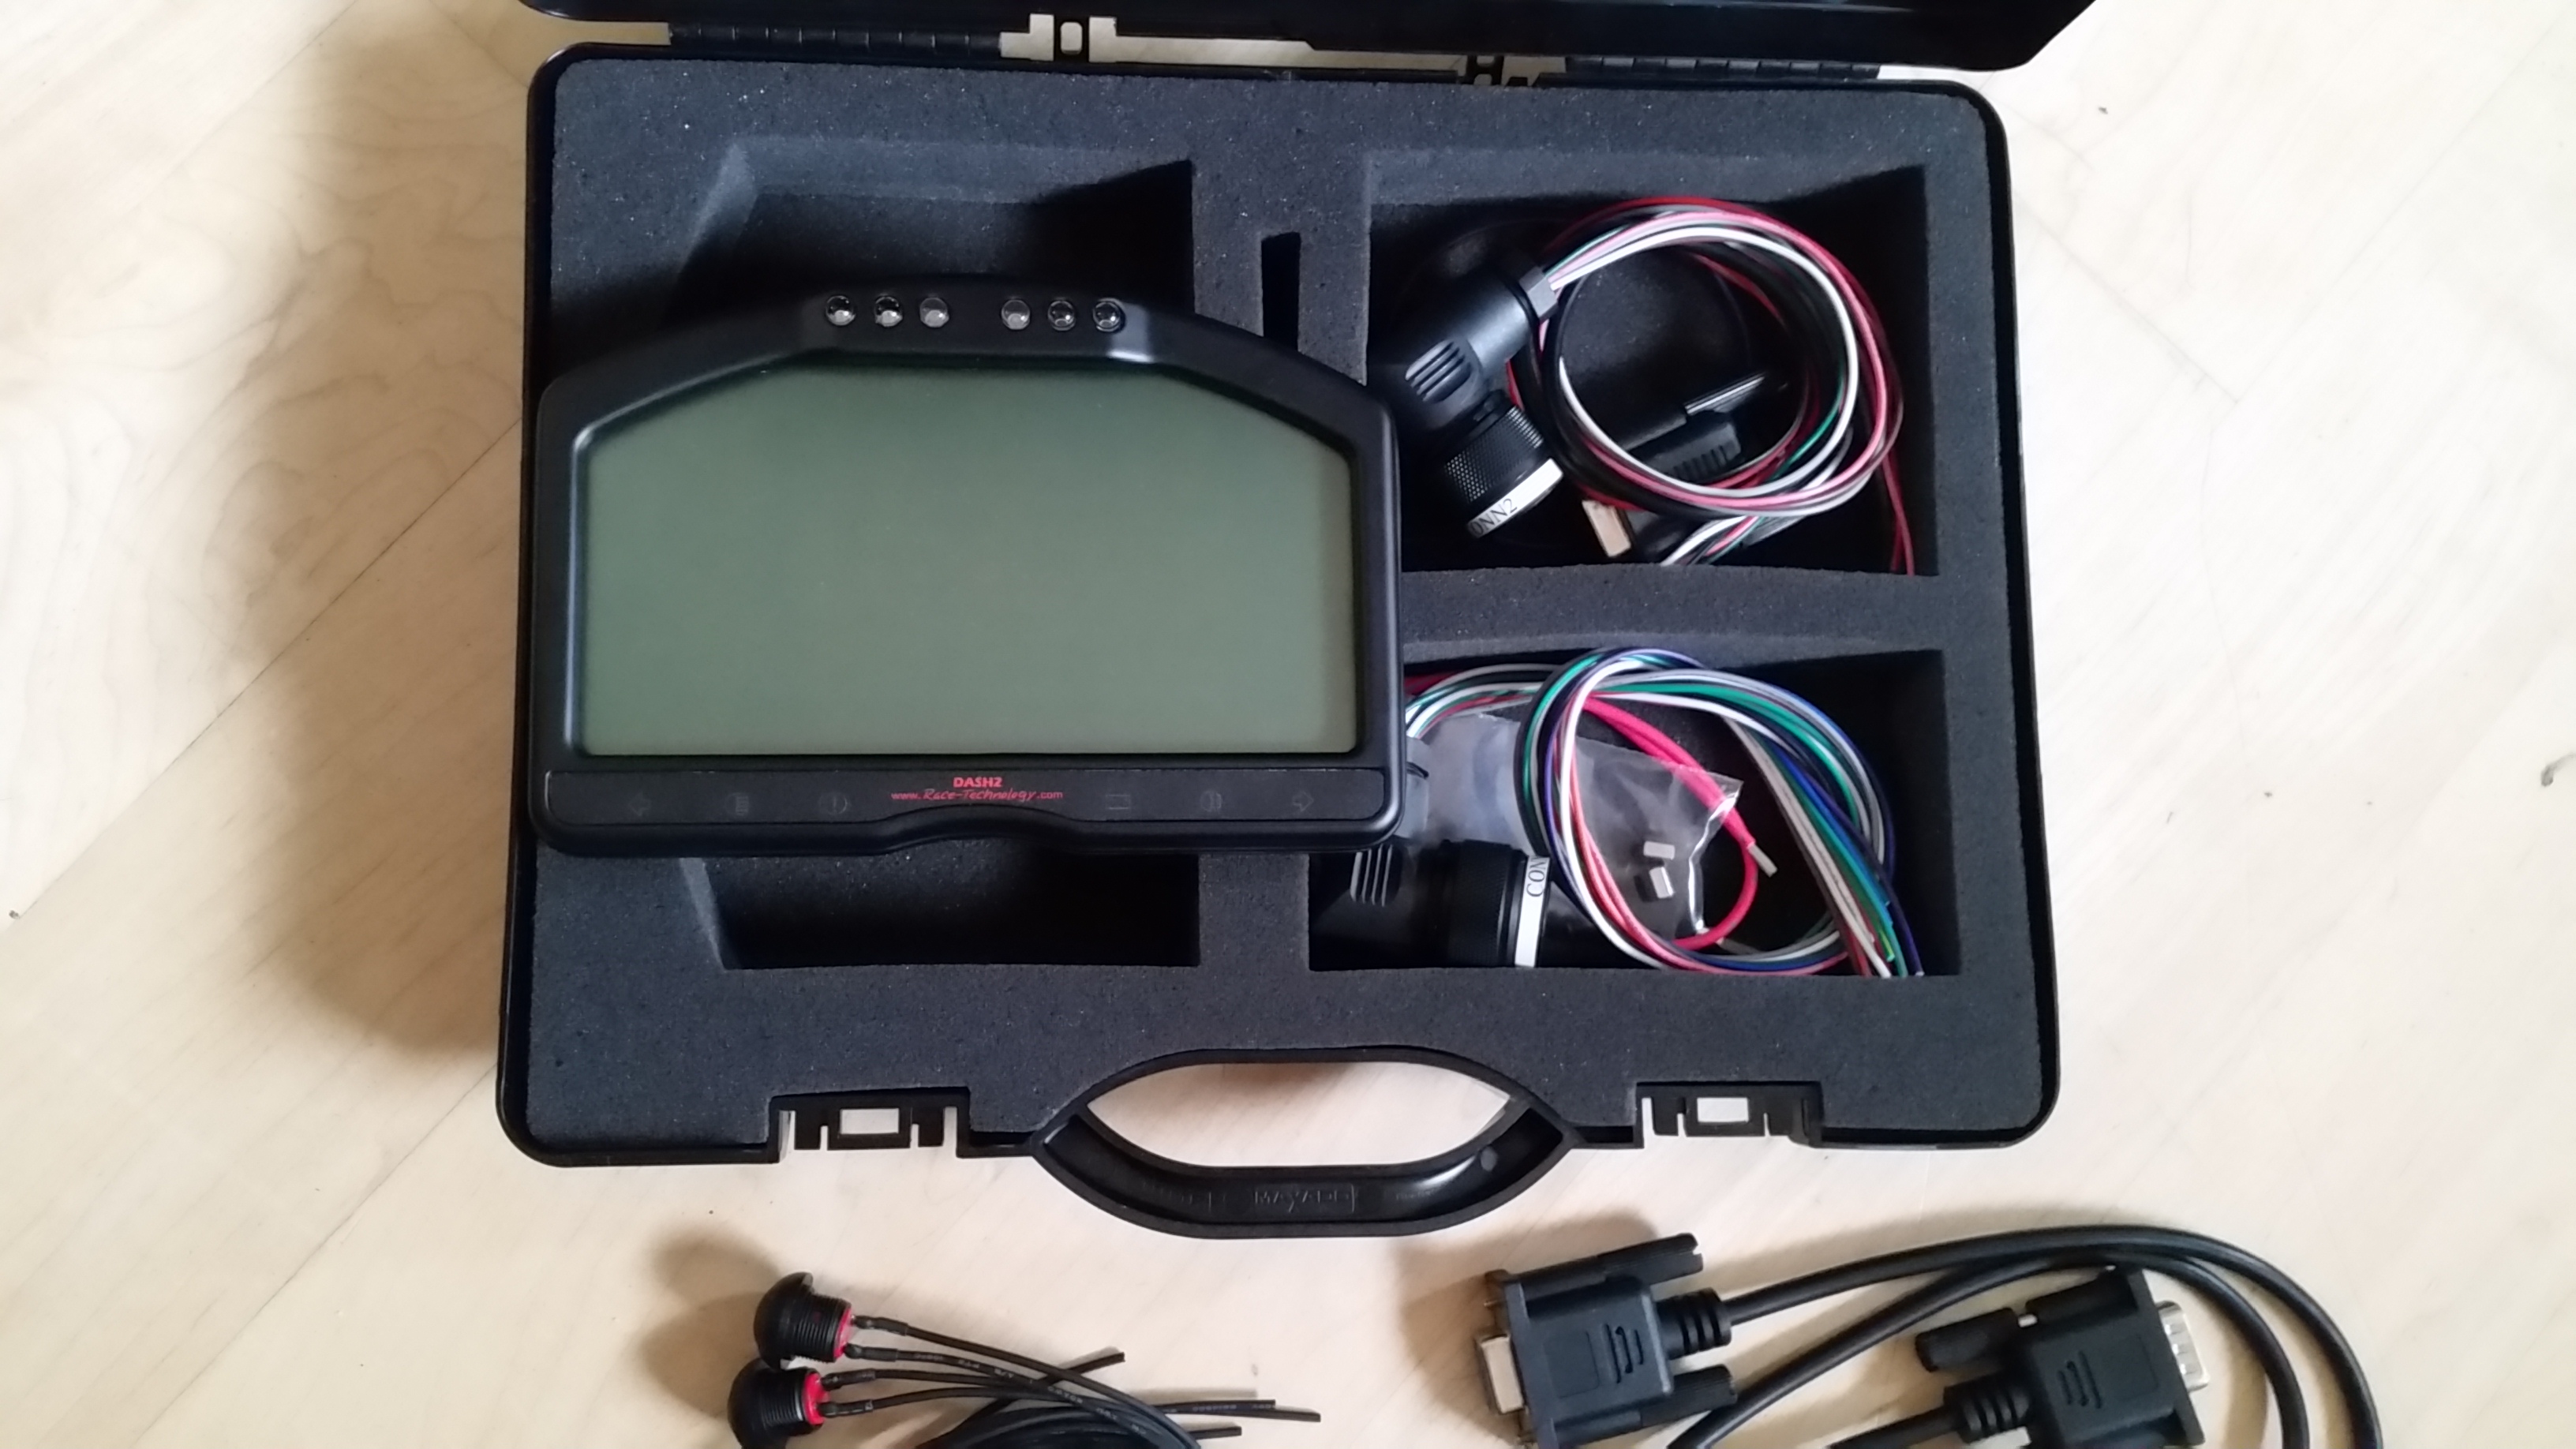
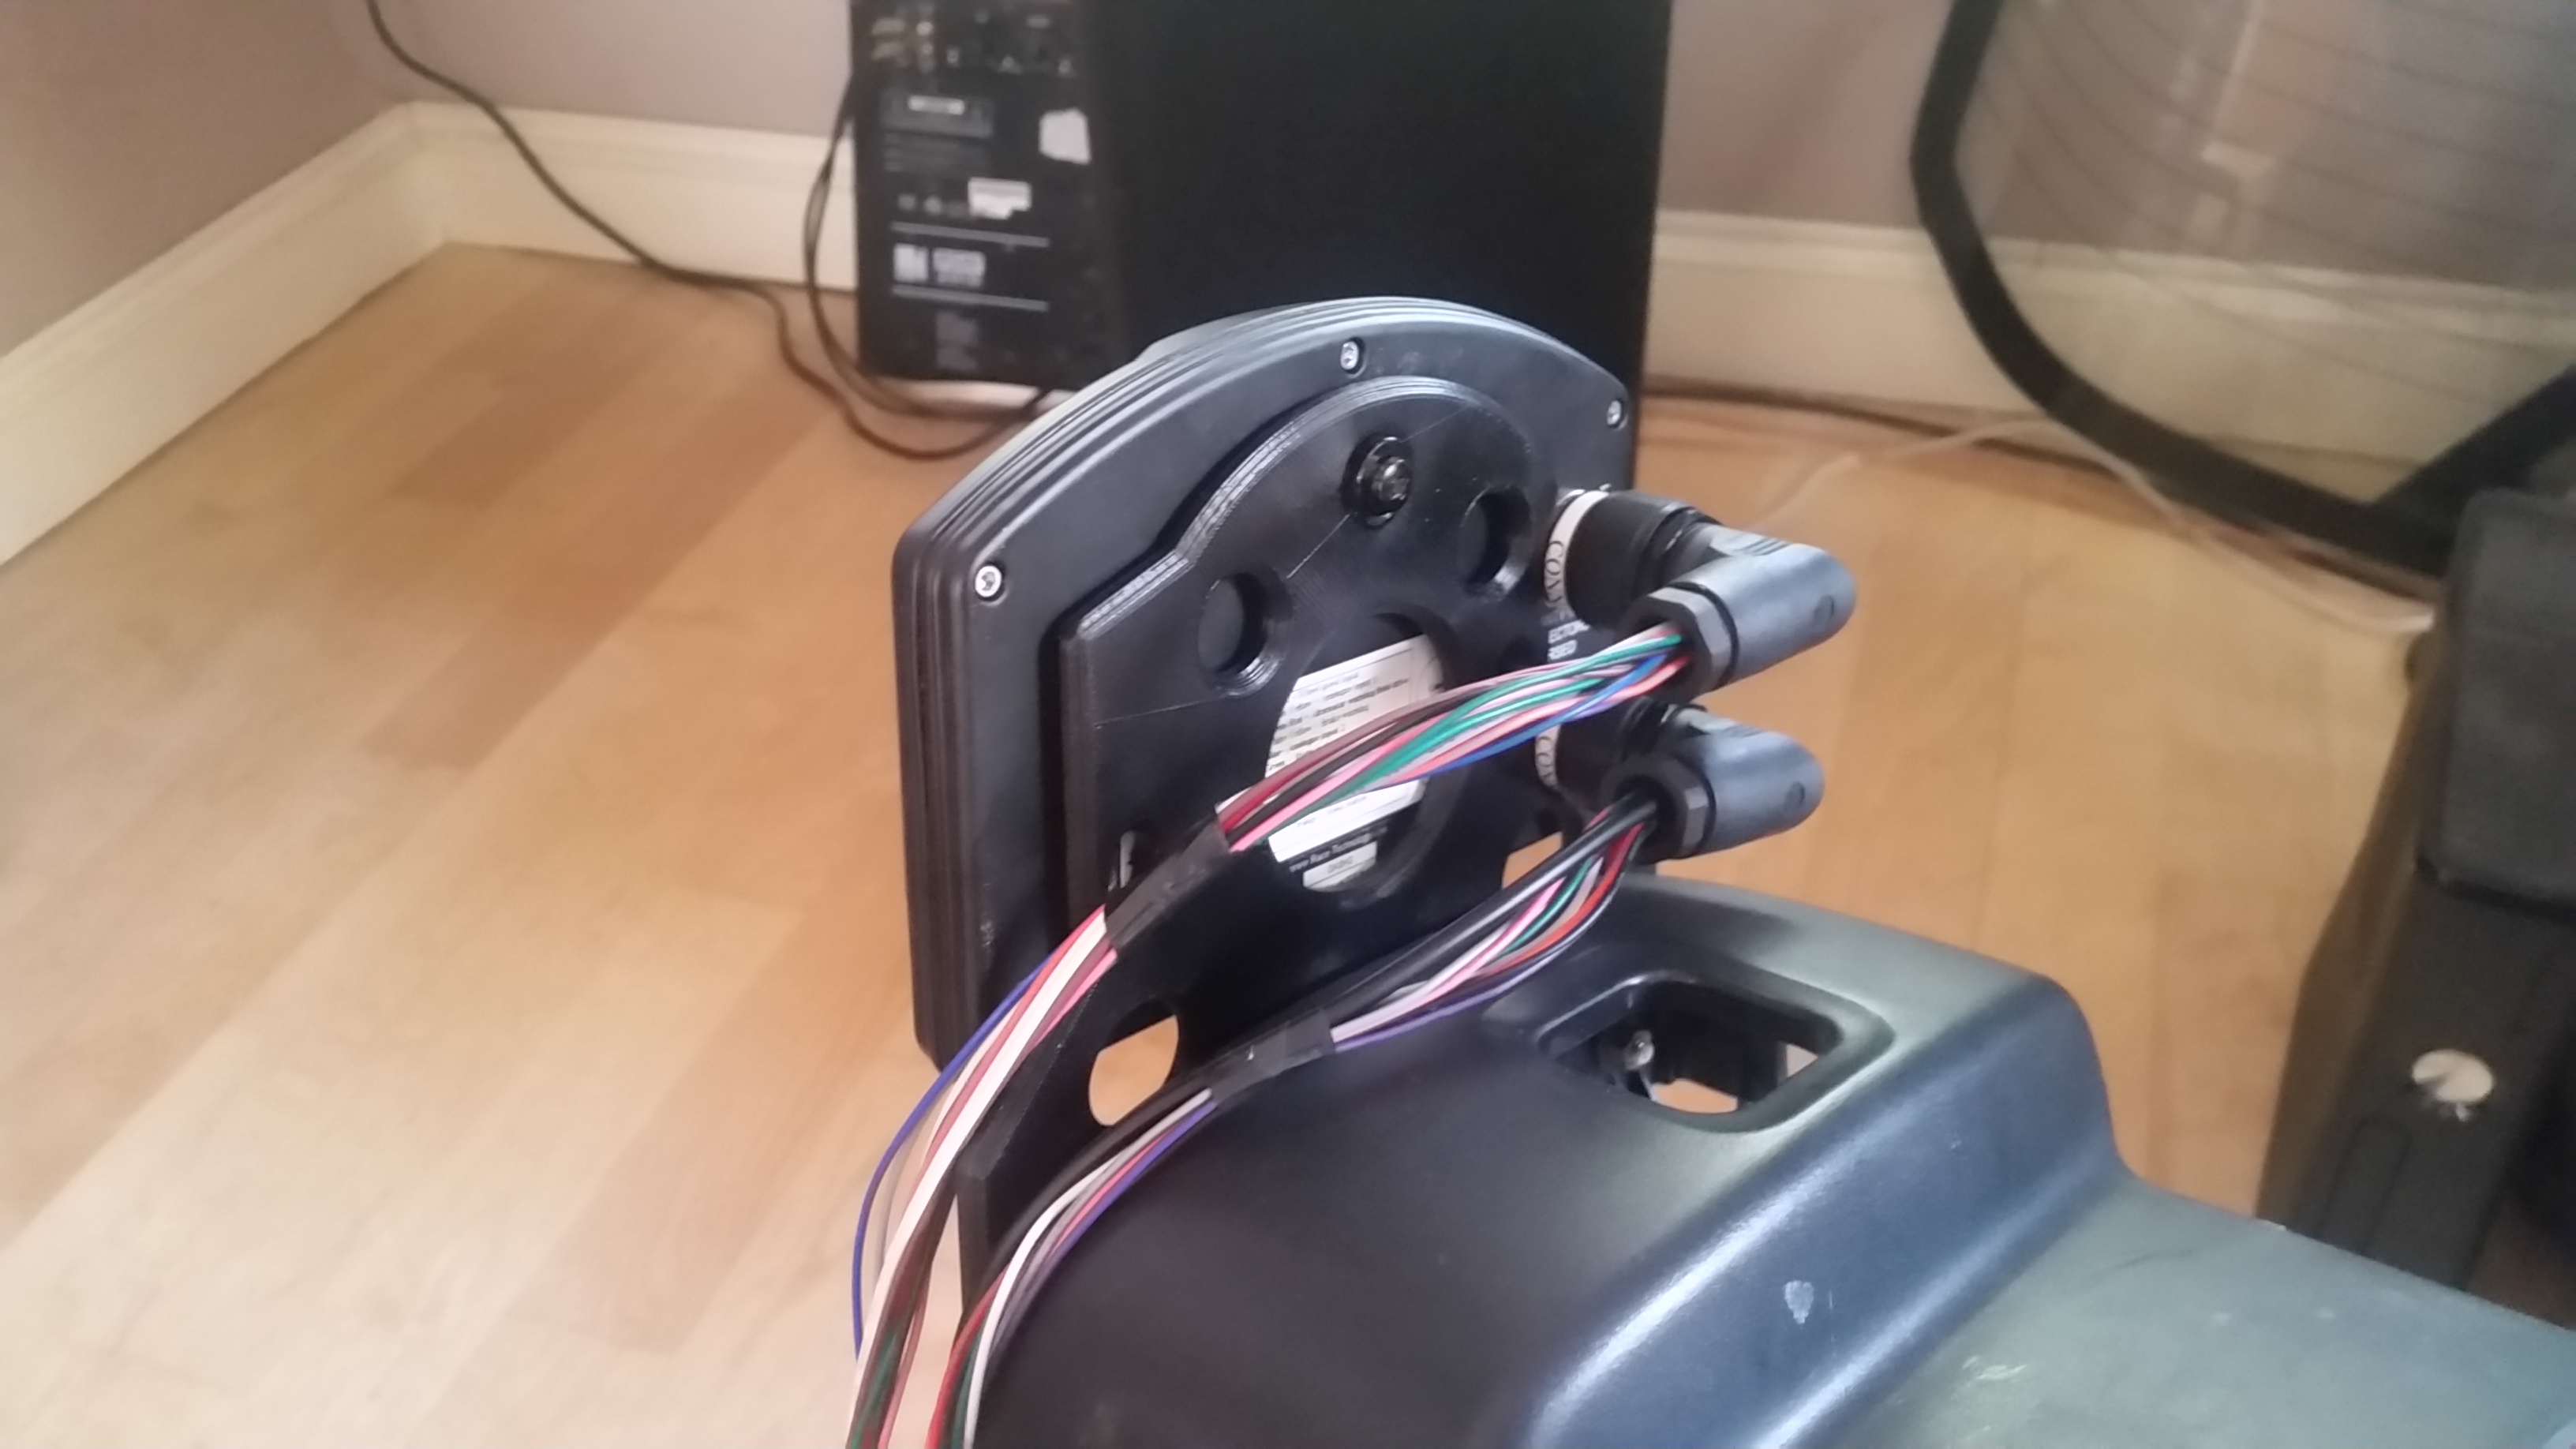
A curious black box turned up this morning....
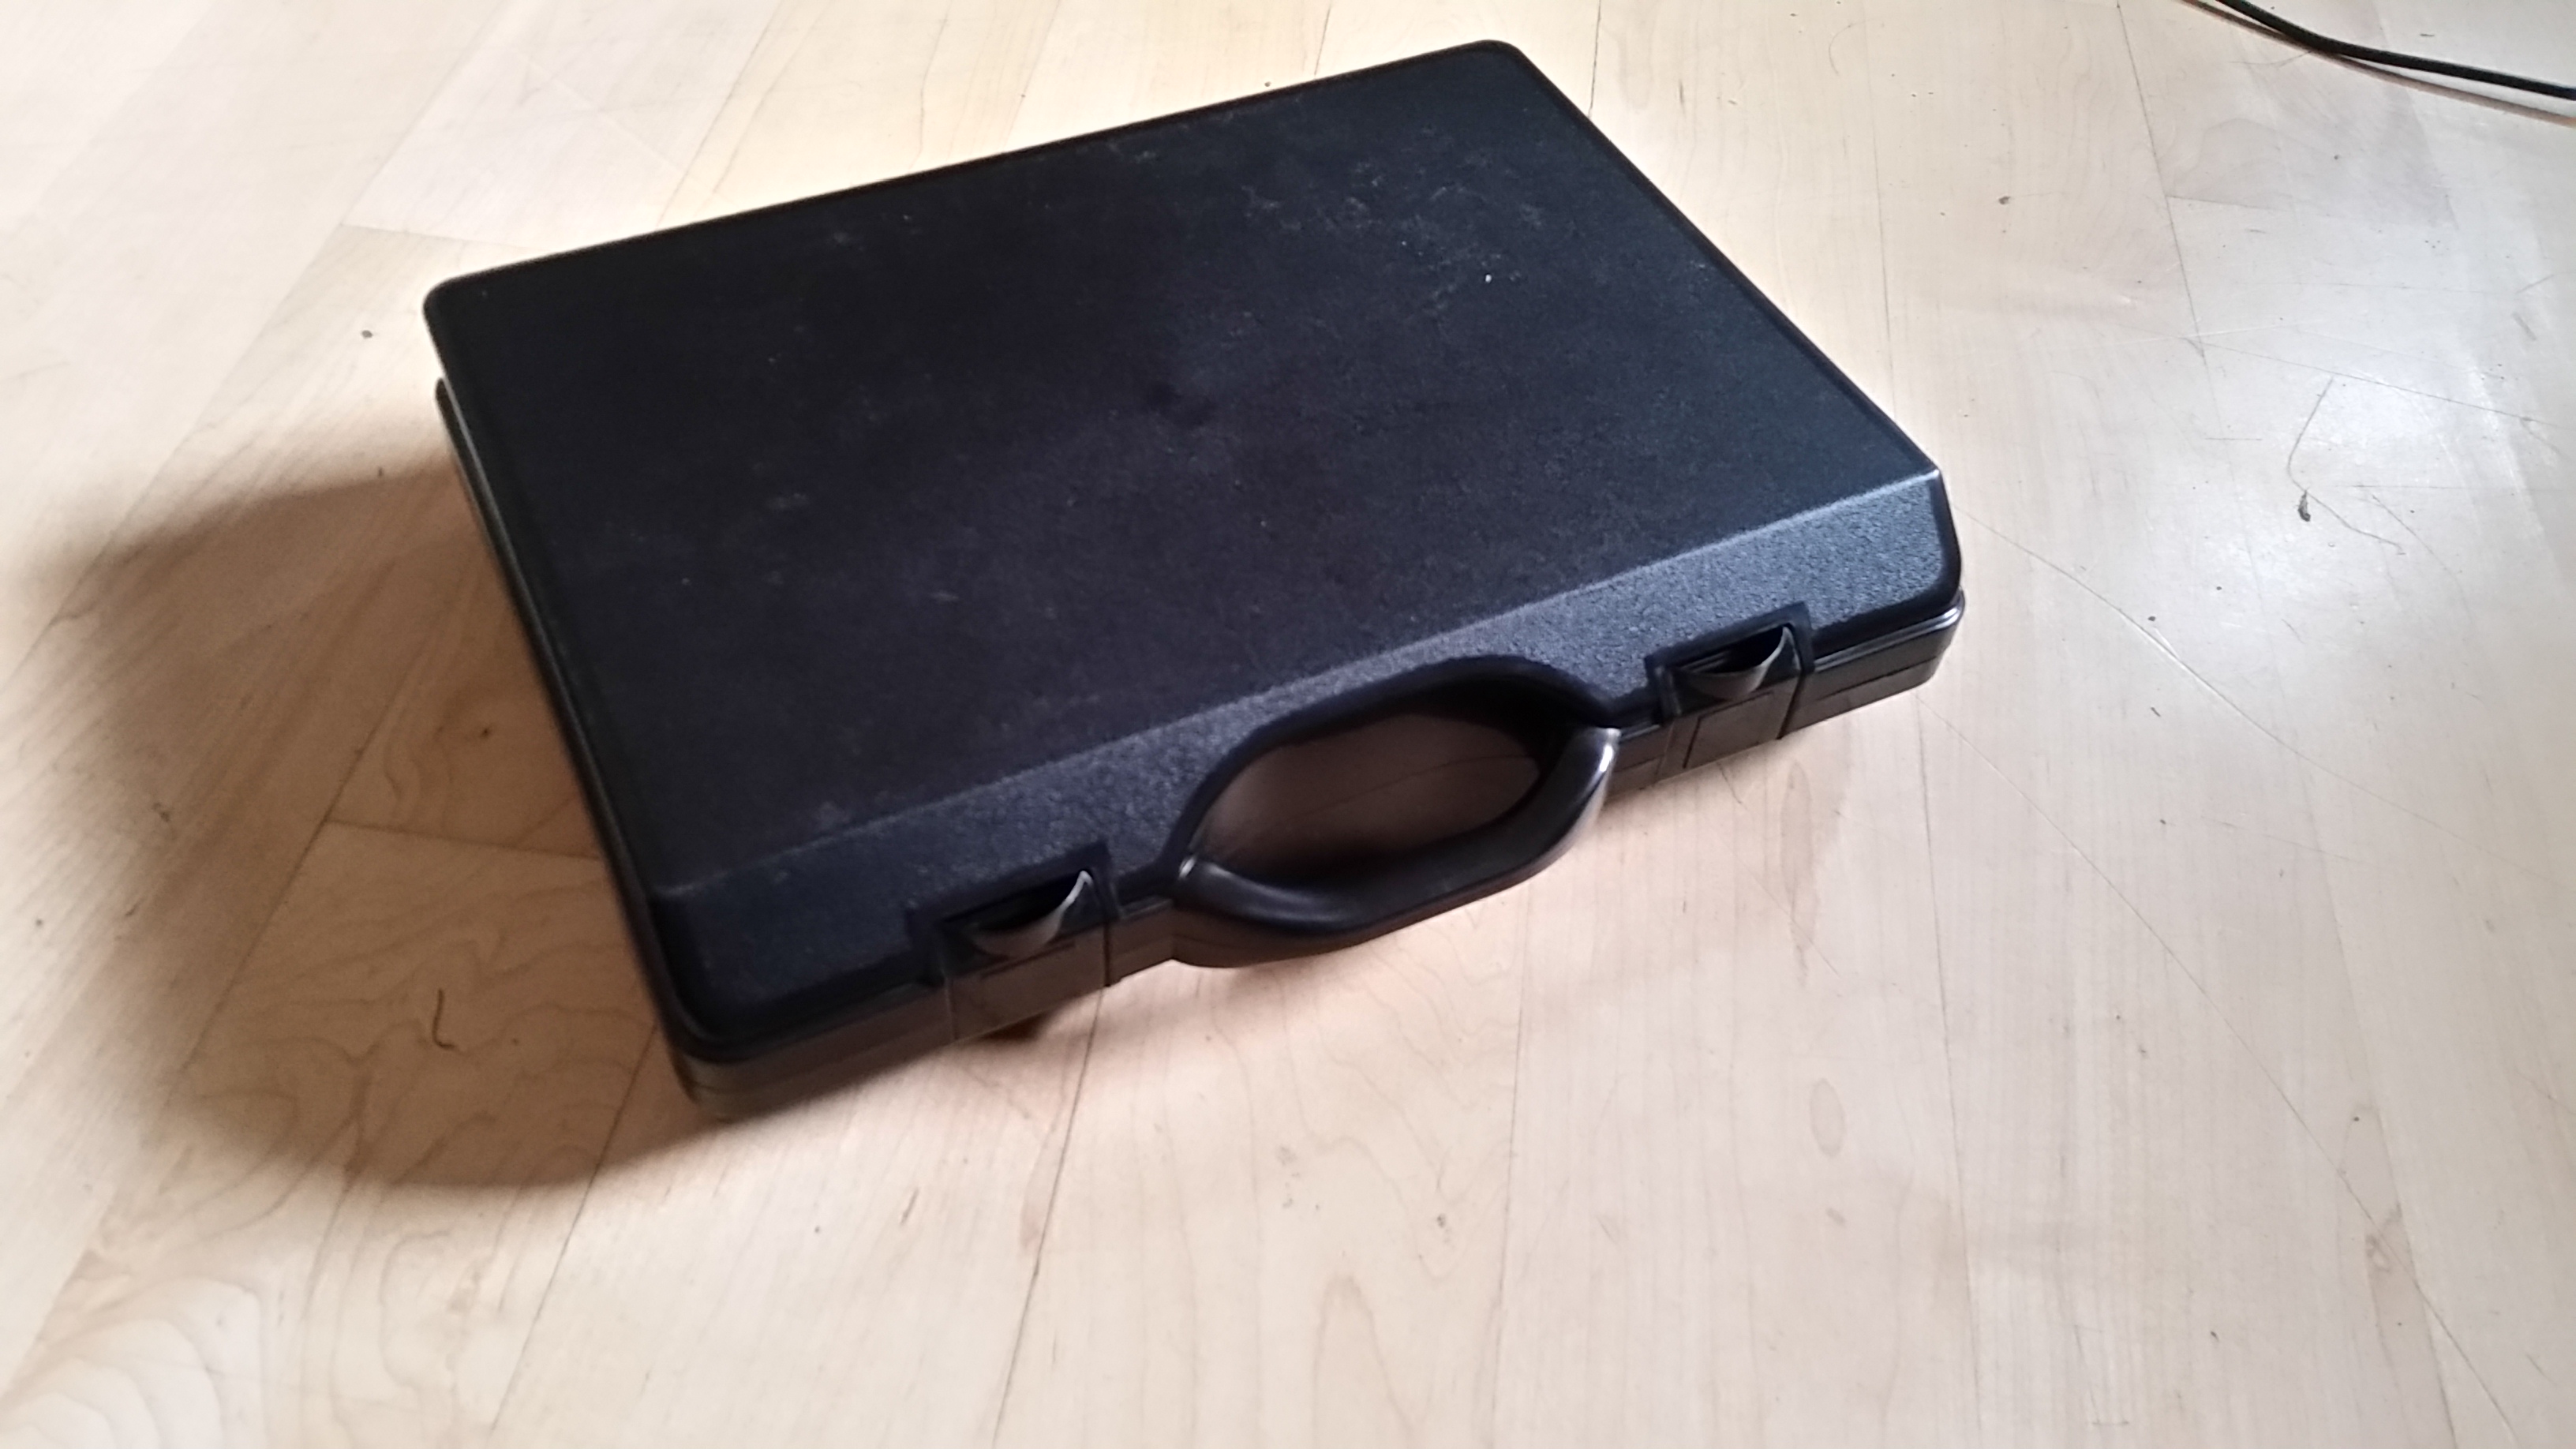
What's inside???
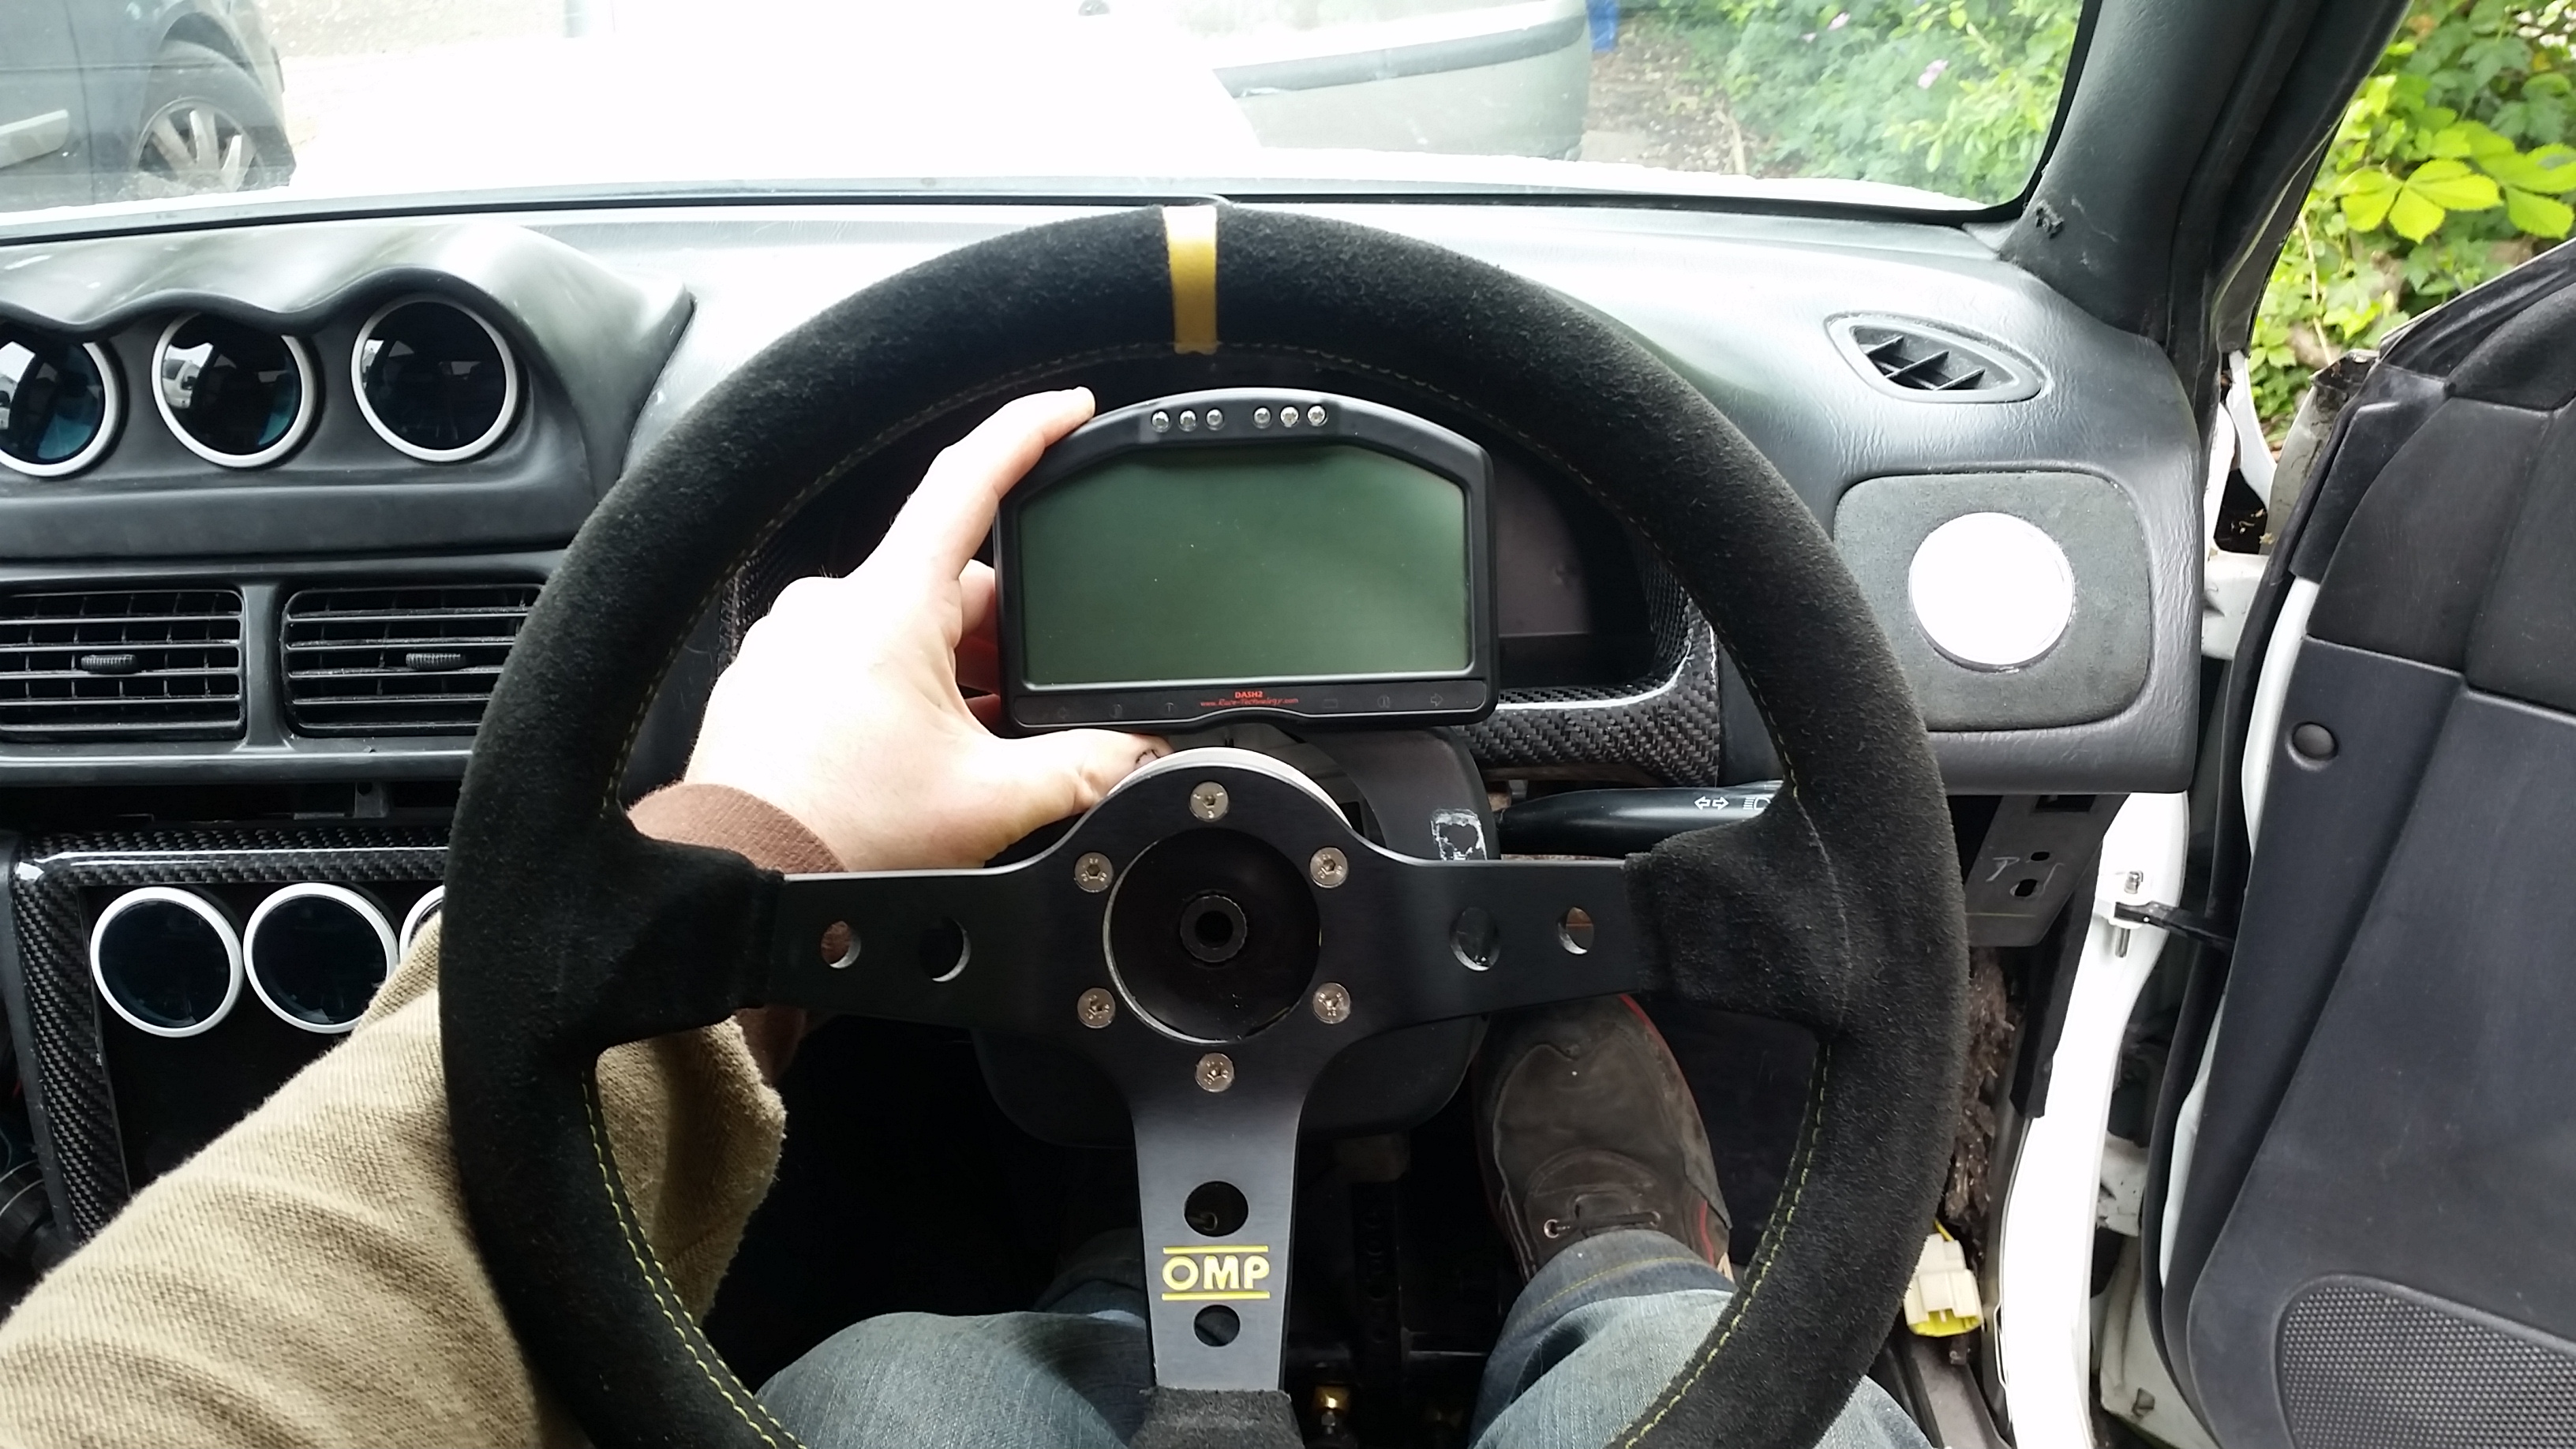
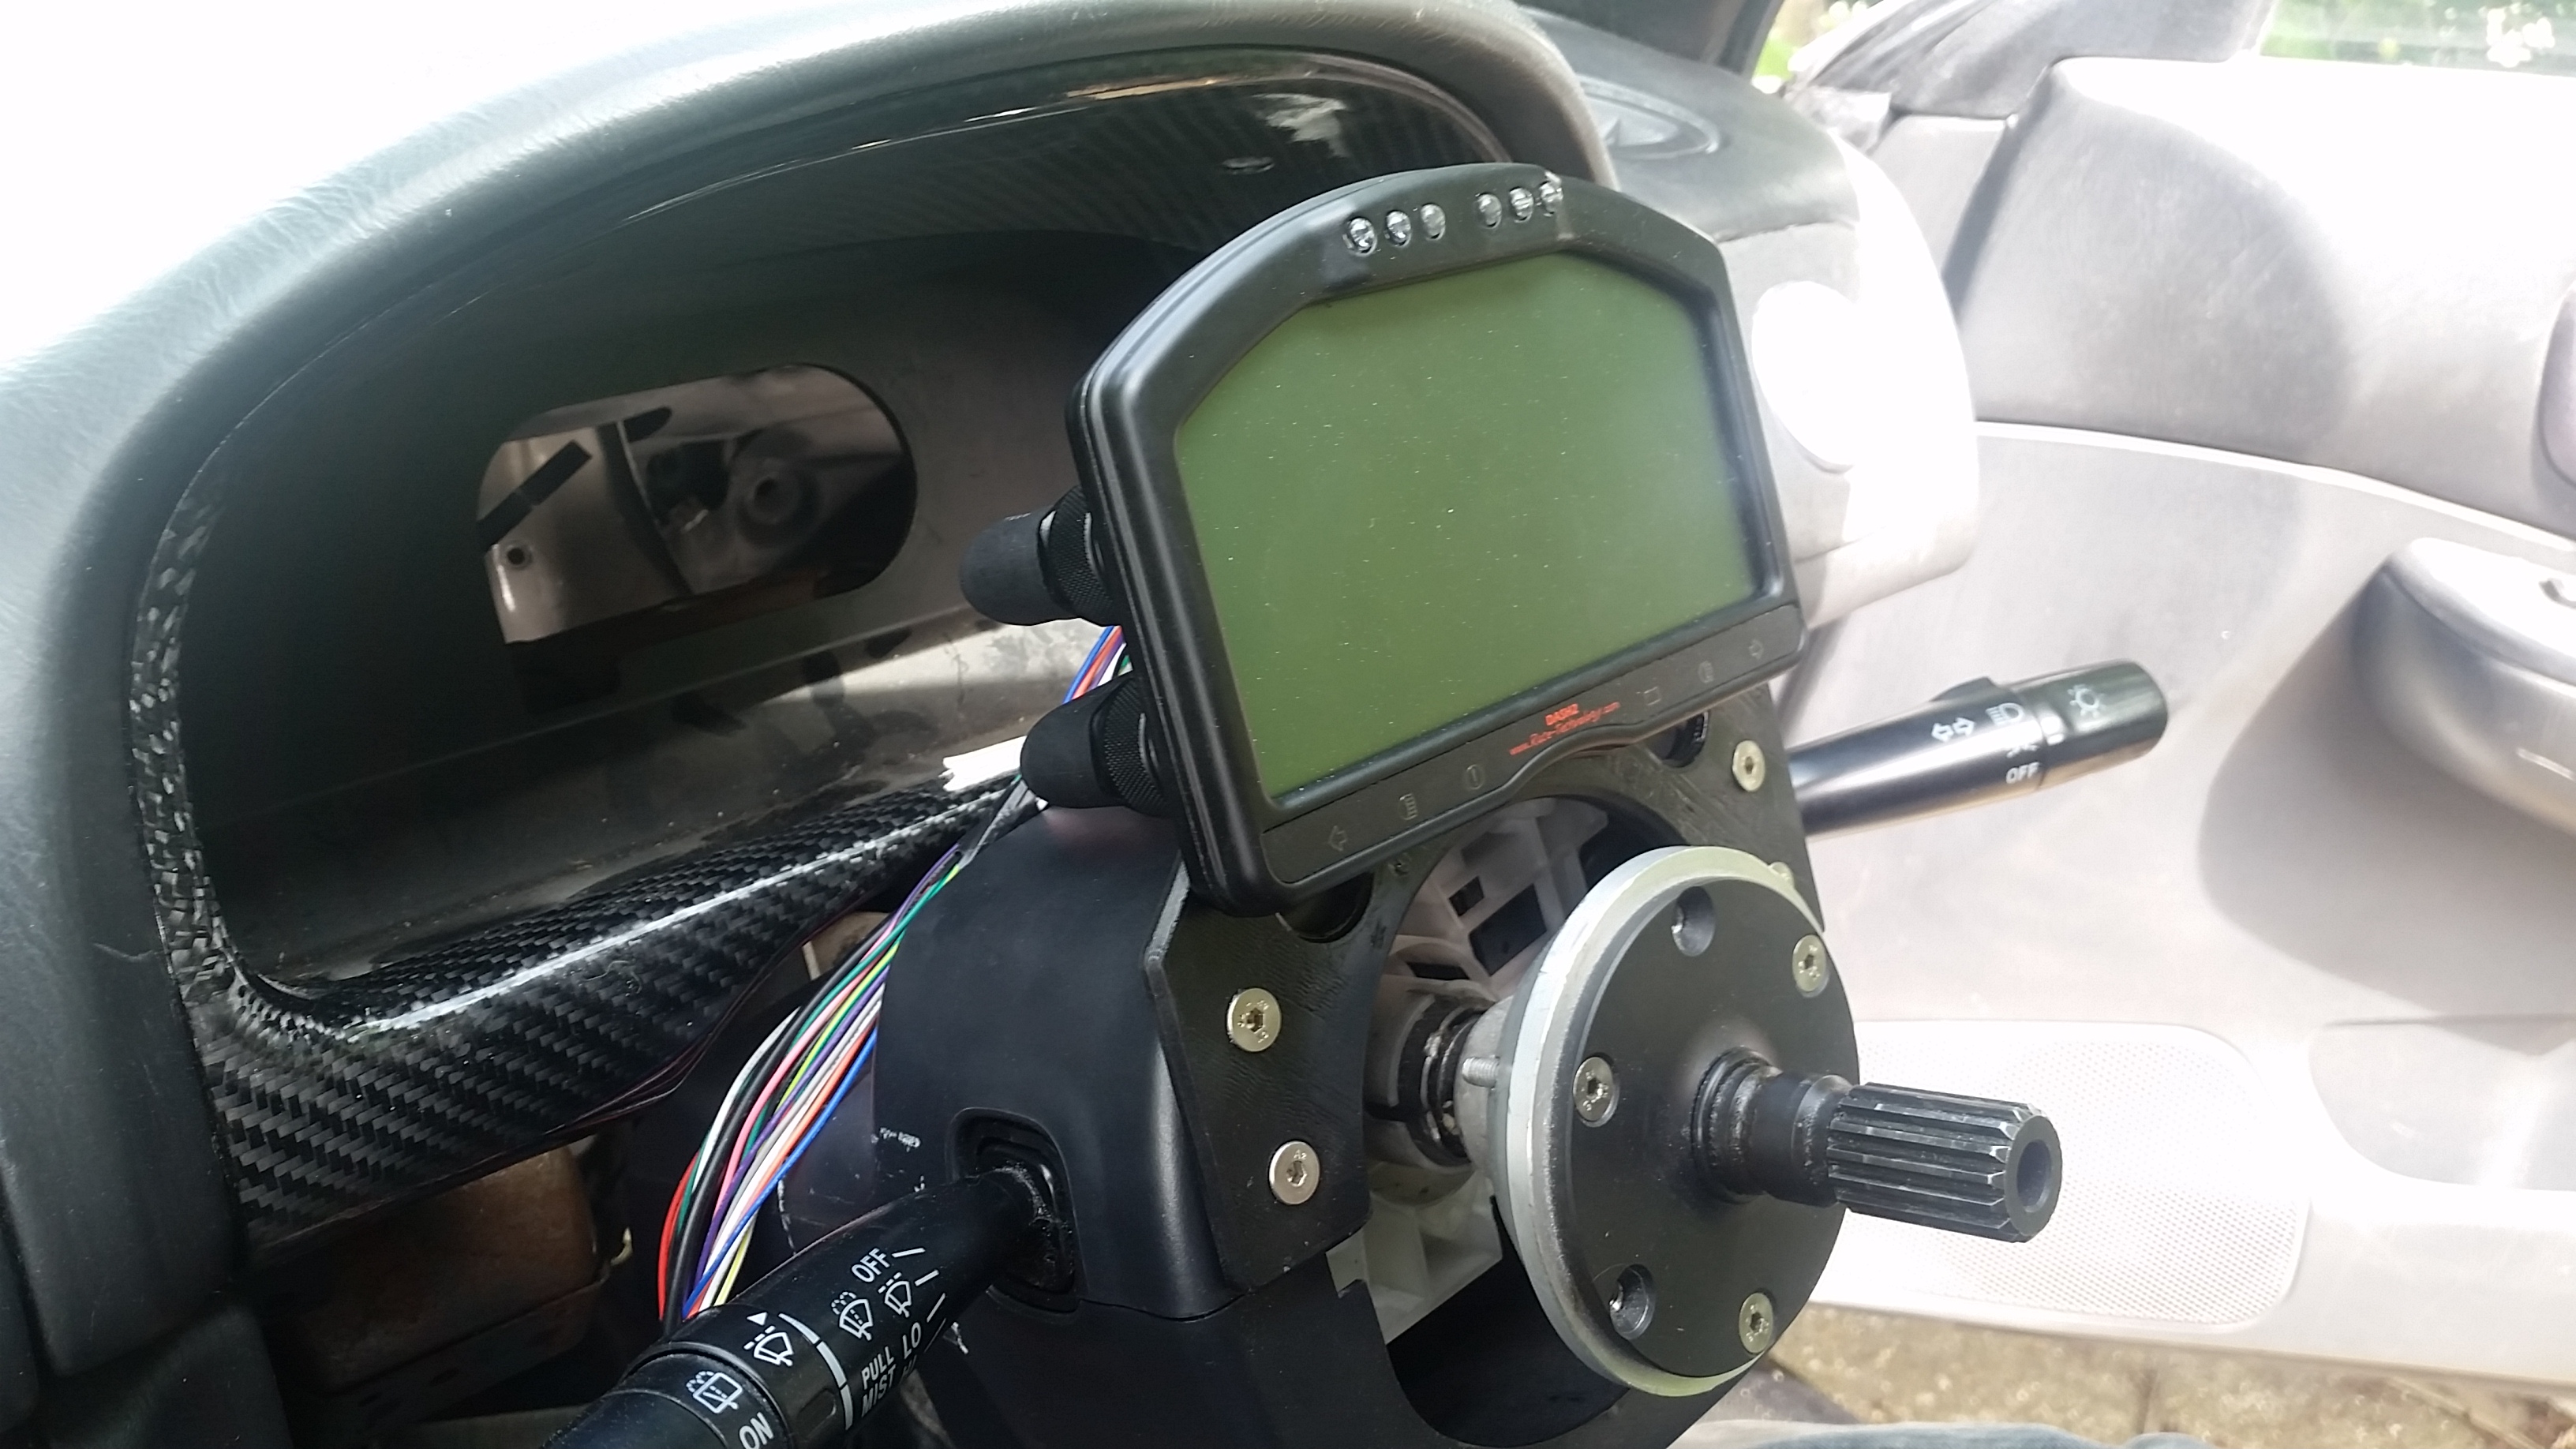
The comes the question... near or far.... have to say I think it's close for me.... means the dash moves with the height adjustment on the steering colum.....
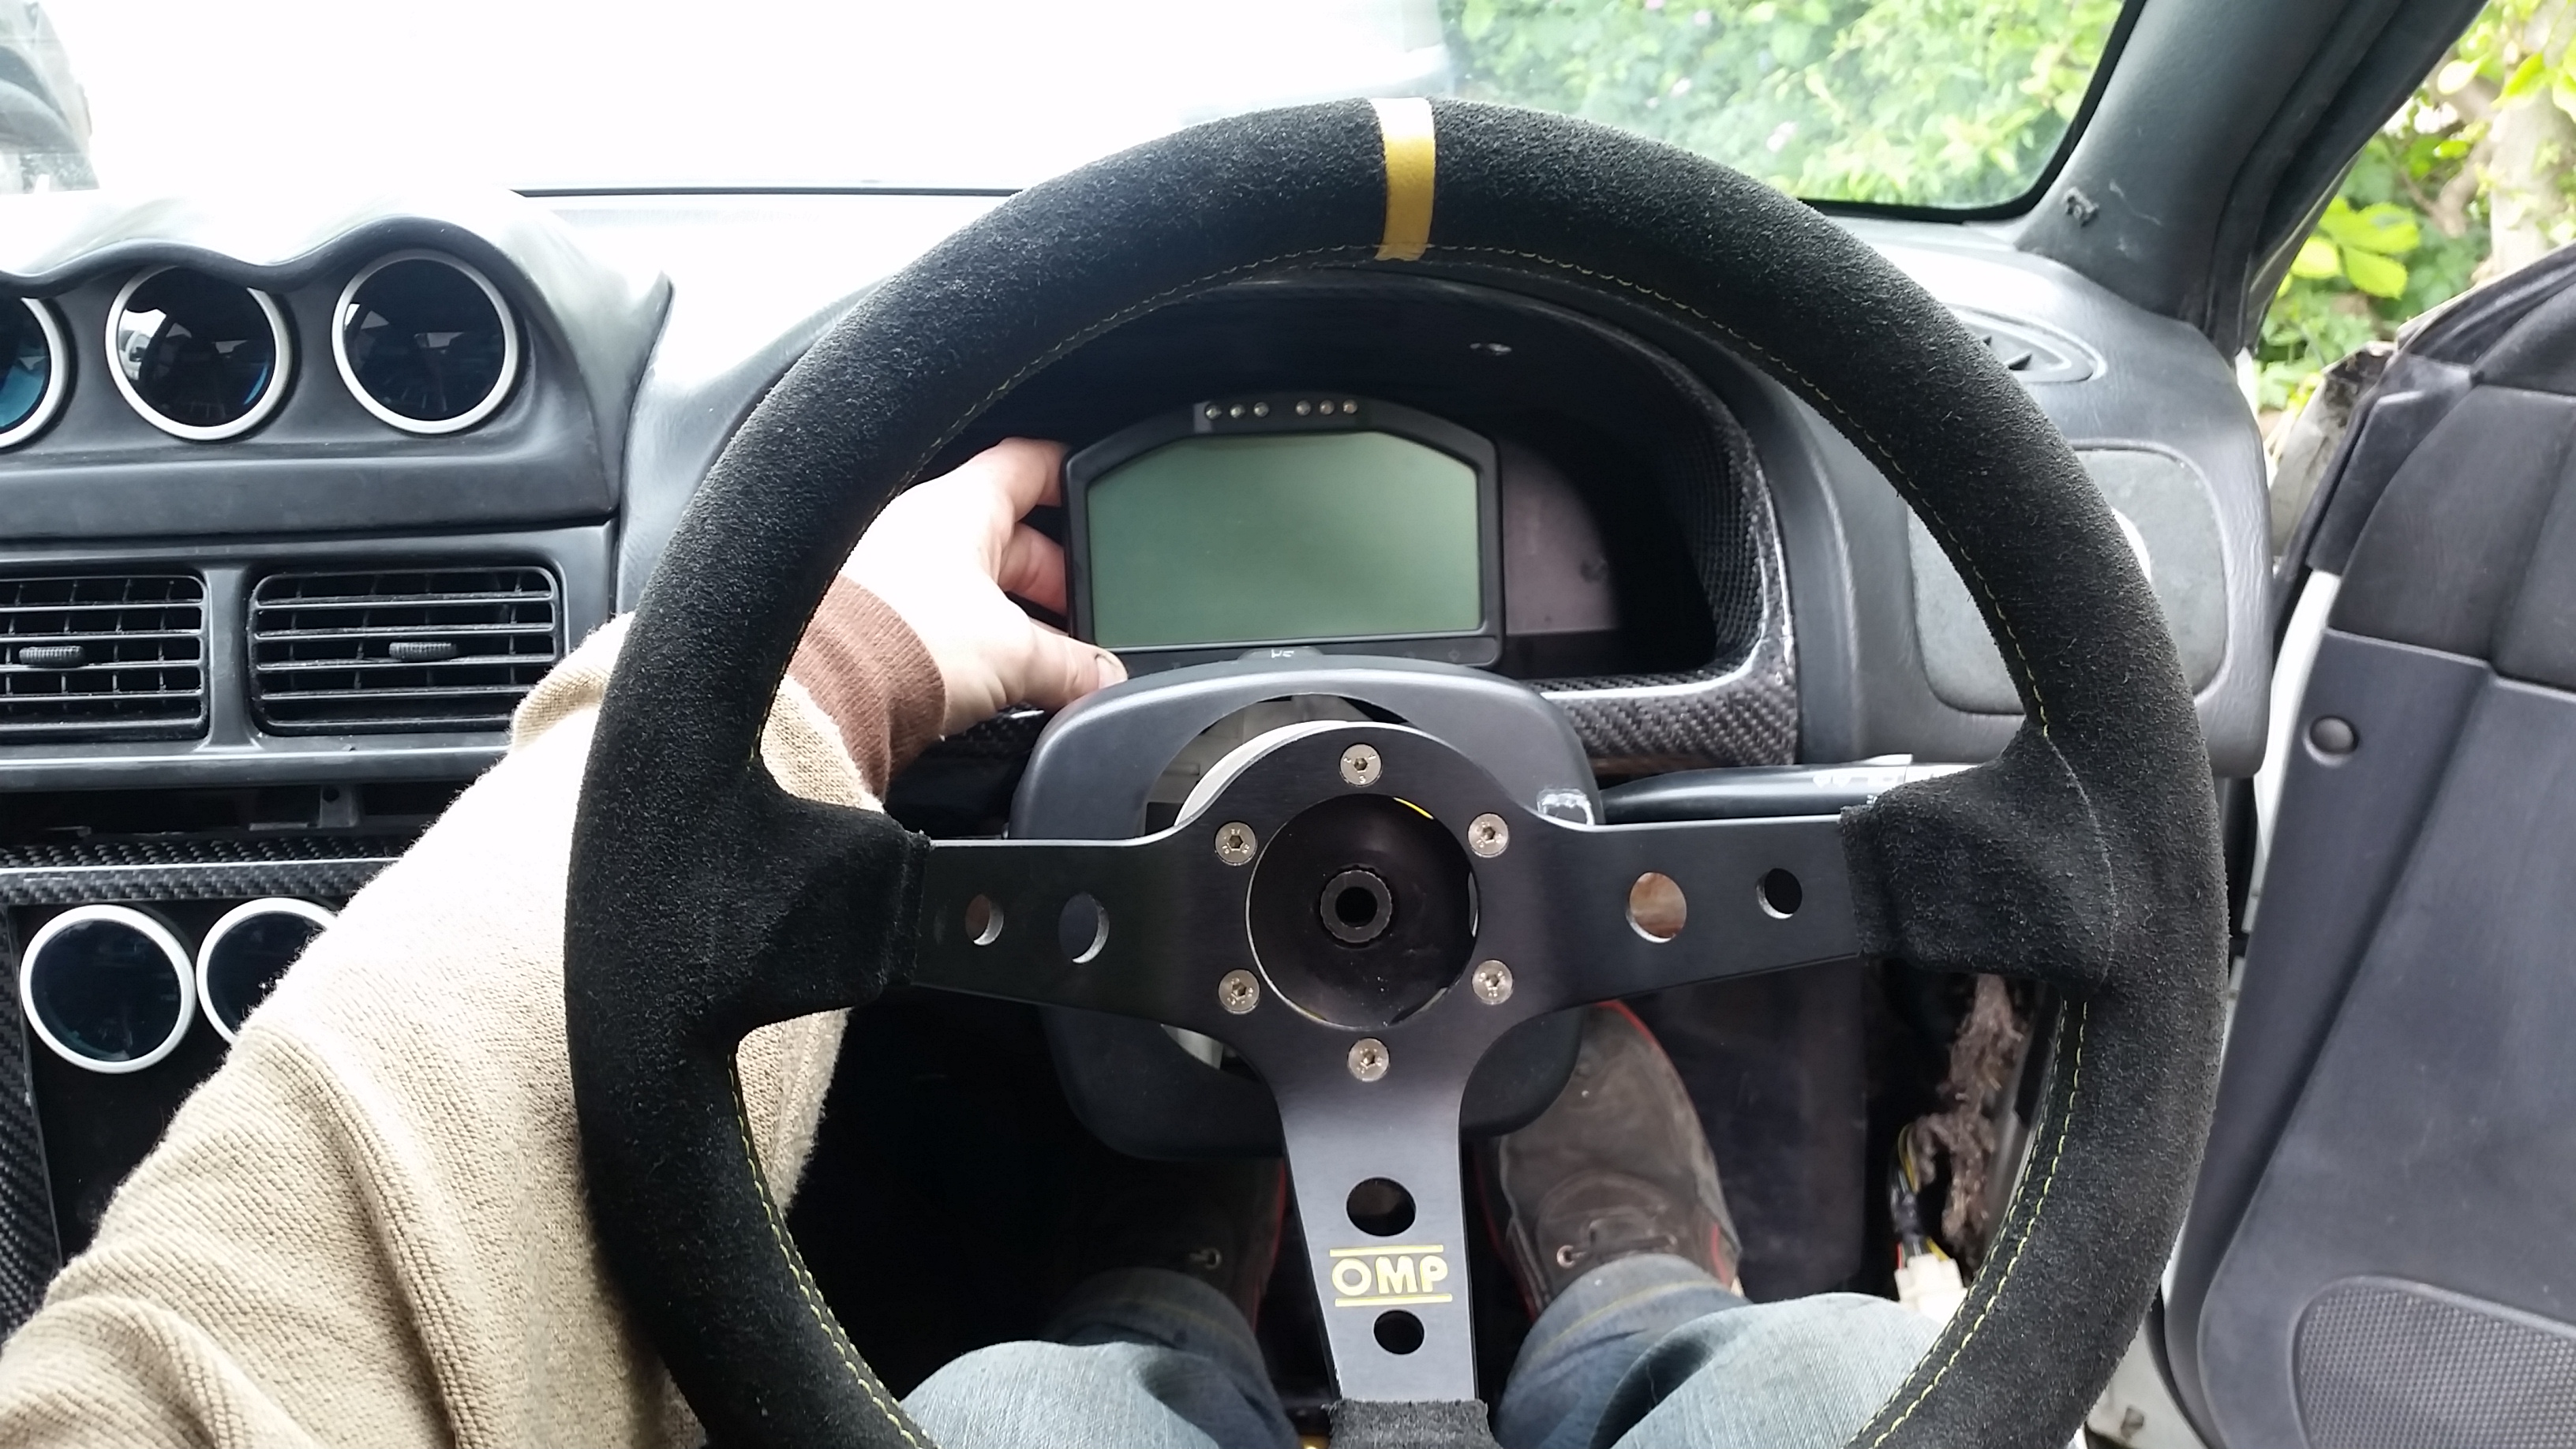
Near:
A curious black box turned up this morning....

What's inside???


The comes the question... near or far.... have to say I think it's close for me.... means the dash moves with the height adjustment on the steering colum.....

Near:

Thread Starter
Scooby Regular
Joined: Aug 2013
Posts: 233
Likes: 8
From: North London
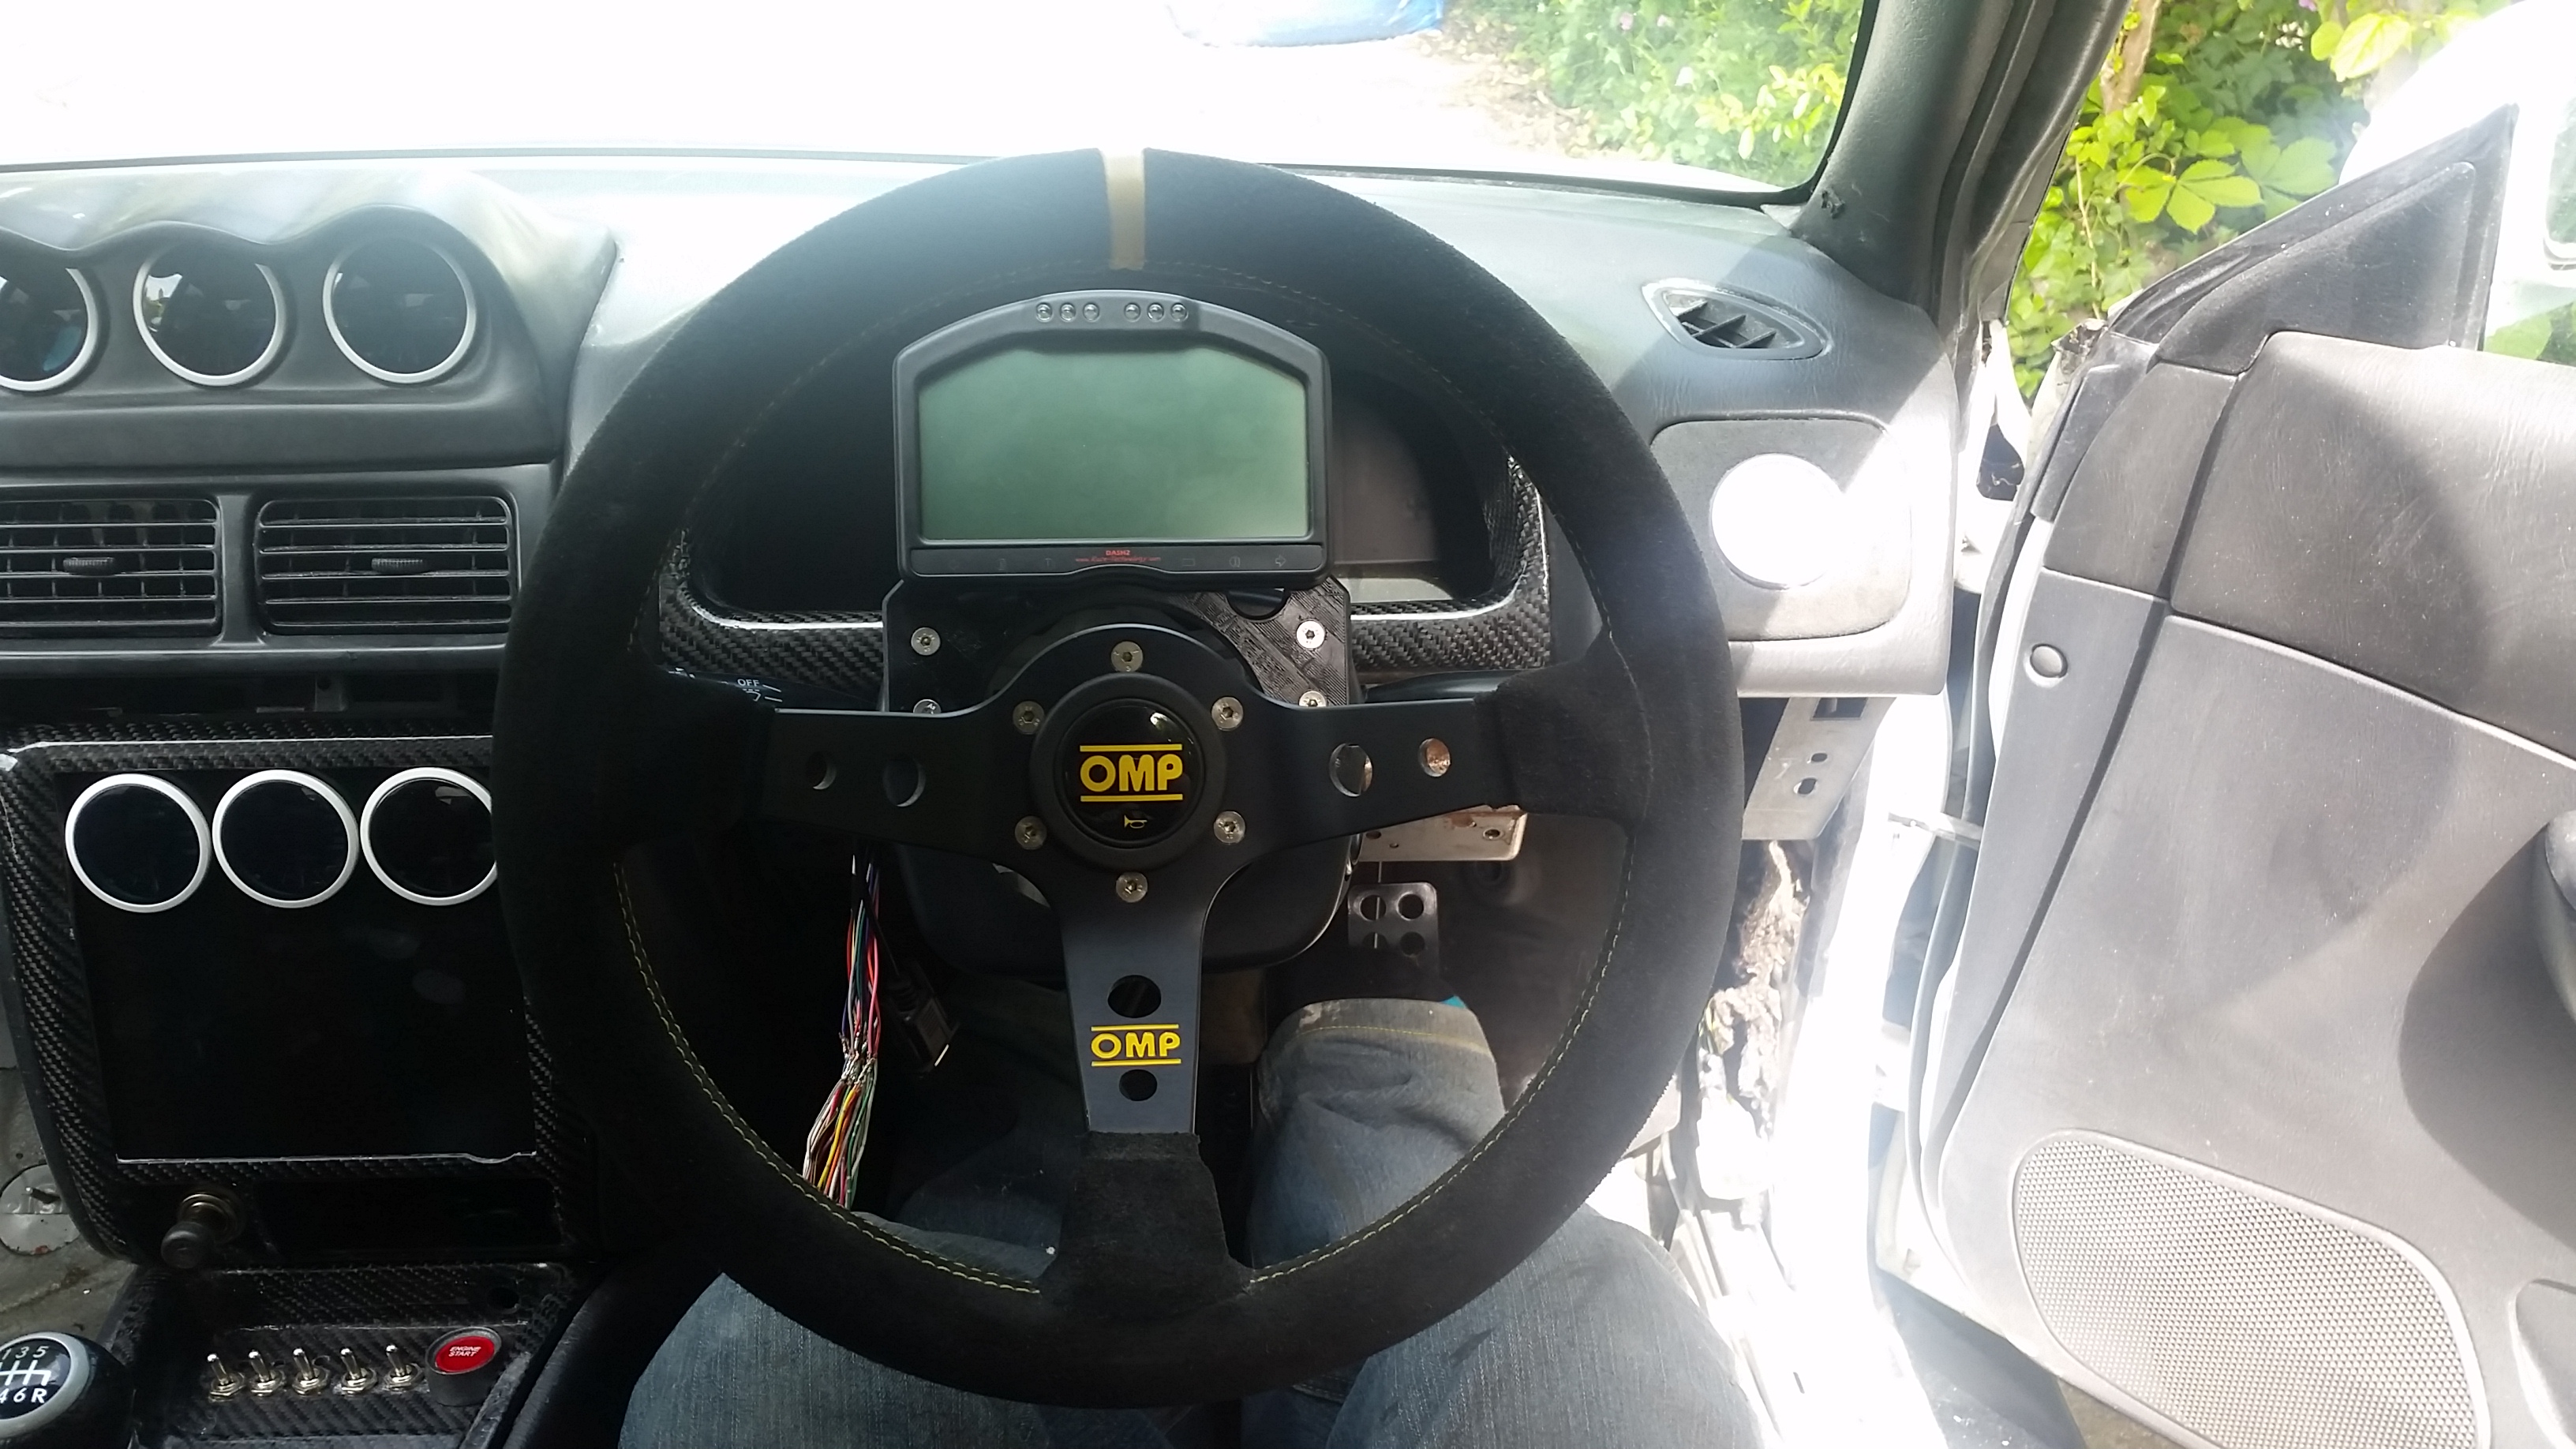
Had a friend of mine 3d print me a dash mount plate. 6mm hollow filled, very tough and super light....
Drawing:

End result:
Drawing:

End result:


Last edited by seventune; May 16, 2017 at 04:35 PM.
Nice! I do love my 3D printer. Such a great tool.
Just be careful with it. In my experience the PLA material used (being biodegradable) doesn't last too well over time. Some of my parts have ended up cracking and warping.
Just be careful with it. In my experience the PLA material used (being biodegradable) doesn't last too well over time. Some of my parts have ended up cracking and warping.
Thread Starter
Scooby Regular
Joined: Aug 2013
Posts: 233
Likes: 8
From: North London
Hoping to get back on the old girl soon! I've been super ill since the last instalment and finally feeling a little more with it!!!
She really isn't far off now.
P/S lines and pump
fuel cell
finish the exhaust and plumb the wastegates in
wire the thing up
And some paint wouldn't go a miss either to be fair! I'm sure there are some other niggling bits but they are the big jobs....
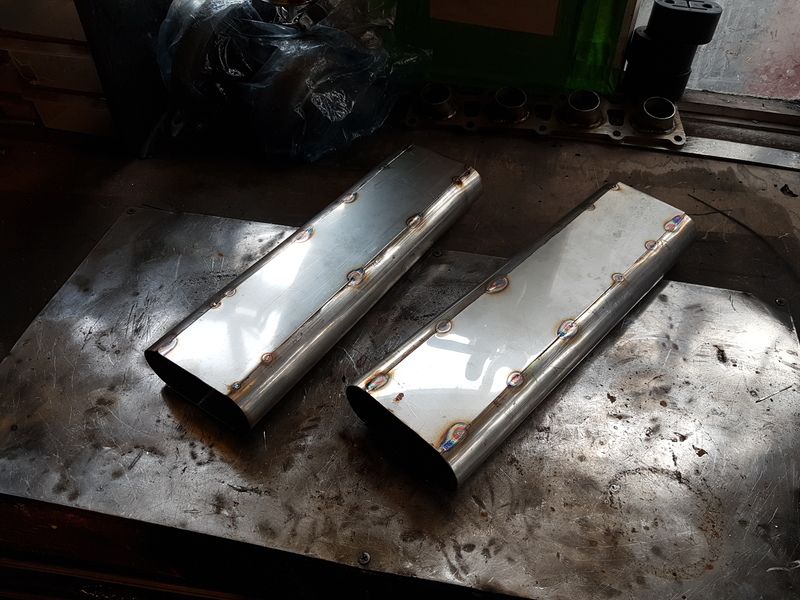
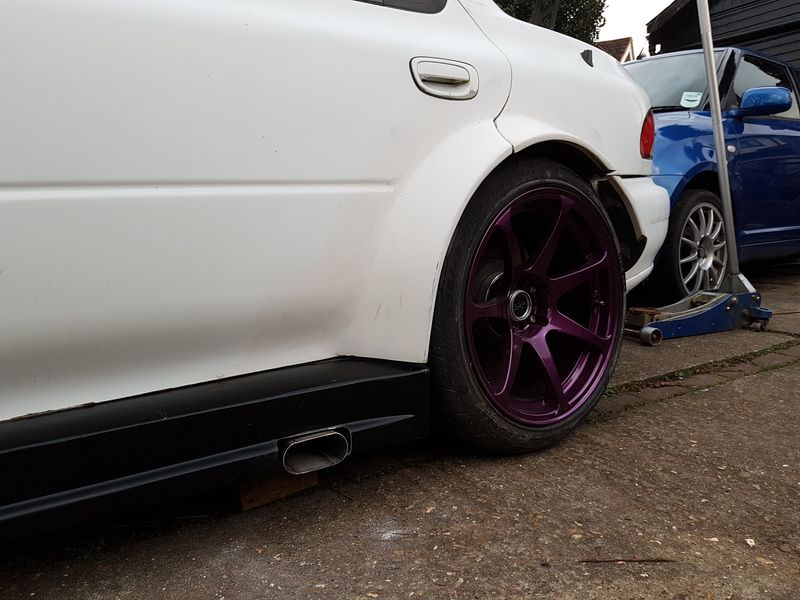
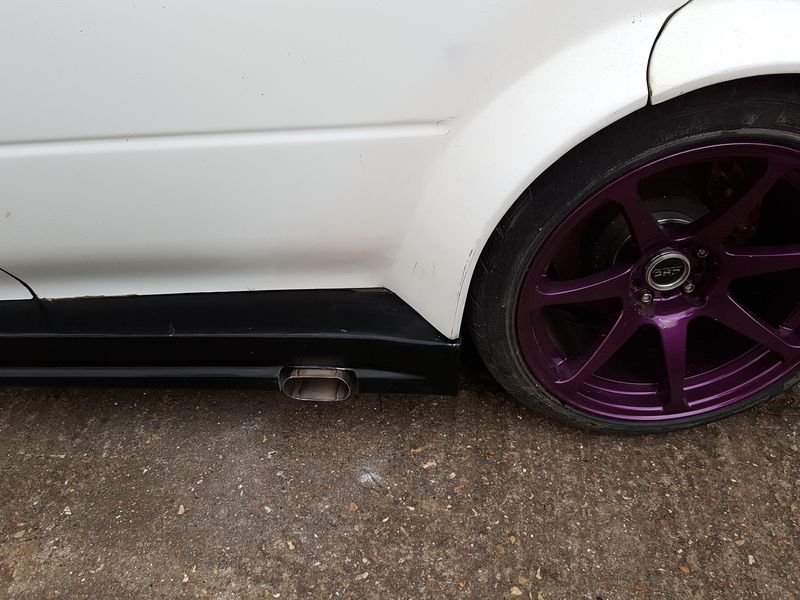
Had a little play today with exhaust ideas, will defiantly go with twin side exits, one either side, the exits have been made into flat oval using a length of pipe and some sheet metal.... so made those today and trimmed the skirts to get an idea to style and placement.... I will have to get the diff mounted underneath before i can build the exhaust properly but definitely happy with the look....
the tips:
She really isn't far off now.
P/S lines and pump
fuel cell
finish the exhaust and plumb the wastegates in
wire the thing up
And some paint wouldn't go a miss either to be fair! I'm sure there are some other niggling bits but they are the big jobs....
Had a little play today with exhaust ideas, will defiantly go with twin side exits, one either side, the exits have been made into flat oval using a length of pipe and some sheet metal.... so made those today and trimmed the skirts to get an idea to style and placement.... I will have to get the diff mounted underneath before i can build the exhaust properly but definitely happy with the look....
the tips:


Thread Starter
Scooby Regular
Joined: Aug 2013
Posts: 233
Likes: 8
From: North London
Clutch bearing is an AP jobbie, was a good while ago i bought that it is unlike;y i still have the paper work for it... As for the adaptor I custom made is at the shop to suite the chromemoly fly wheel that and Quarter master clutch, there isn't much chance it would suit any other set up.
Thread Starter
Scooby Regular
Joined: Aug 2013
Posts: 233
Likes: 8
From: North London
I've had no time to play the old girl for ages!!! Just been silly busy with? Well I'm sure what other than work!!!
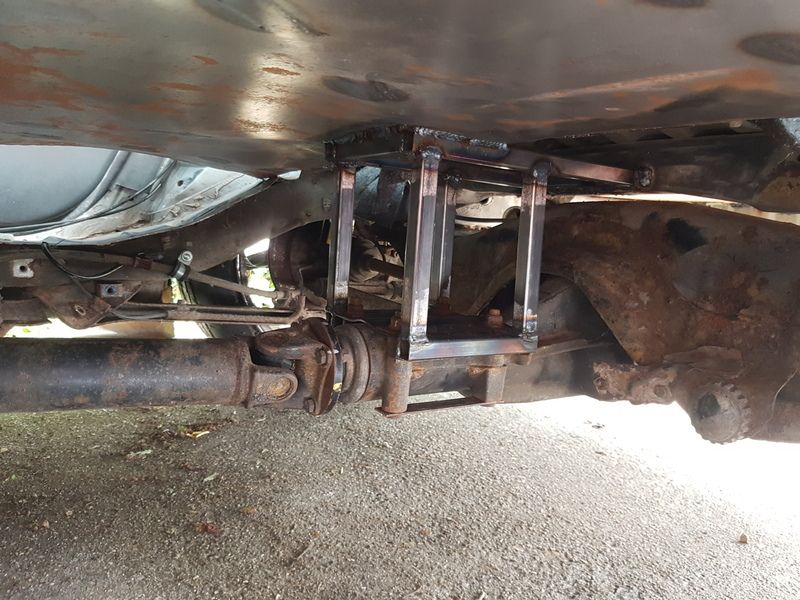
Anyway managed to get a few more bits done.... Diff mount is almost finished. There are a few more braces to weld in just to aid with the twisting motion from the drivechain but you get the idea. The brace that holds the diff is also tied into the floor support and exhaust mount points that are part of the rear floor section.
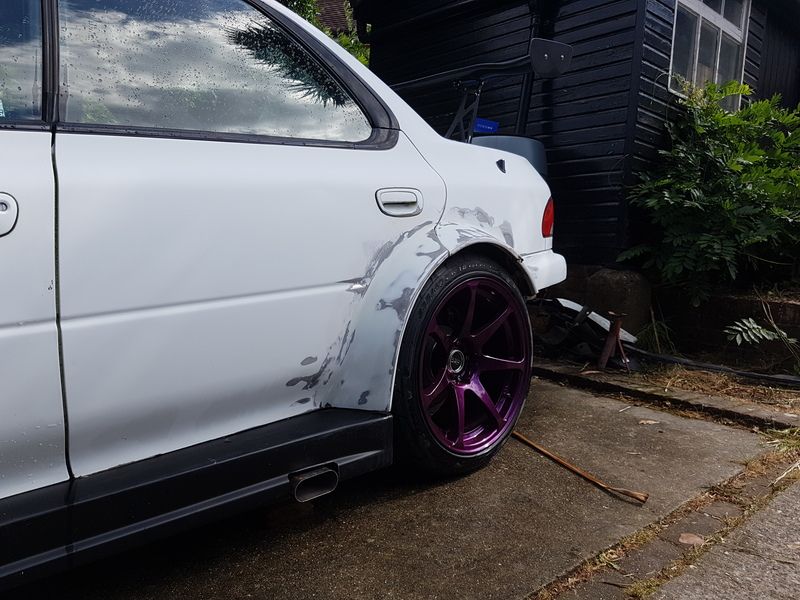
I have also spent a while re working the rear arches a little and modding the rear bumper with cuts aways. These will have addition sections added in which I'm hoping i might get done tomorrow. There is some fiber glass work to do on the bumper too which i will have to do before paint.... some pics:
The almost finished diff brace:
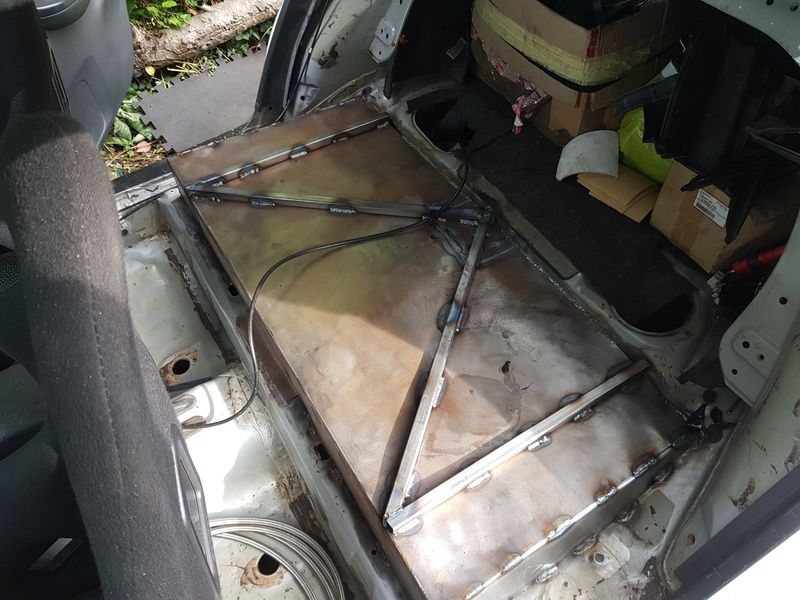
The new rear floor section which has been mad to house the two side exit silencers:
As for the arches, you can't really tell from a pic the changes as they look pretty similar but evidence to show the working and also the cut away sections which, with any luck, will look better in the next few days:
Doesn't look like much has been done but there is a "few" hours in there the last couple of days!!! Once these bits are done i will be making the battery tray, mounting the ECU and Injector driver. Then onto the the PS reservoir, header tank and air intake tube.... my tube roller is busted so for now I will use 4" ally tube for that and will build the Ti one at the later date once i have rolled the tube.... The onto the Exhaust and wiring!!!
Oh yeah and the fuel system!... I forgot about the fuel system!!! Quite important that bit! but anyway there isn't a huge amount left to do which has given me a 2nd wind
Anyway managed to get a few more bits done.... Diff mount is almost finished. There are a few more braces to weld in just to aid with the twisting motion from the drivechain but you get the idea. The brace that holds the diff is also tied into the floor support and exhaust mount points that are part of the rear floor section.
I have also spent a while re working the rear arches a little and modding the rear bumper with cuts aways. These will have addition sections added in which I'm hoping i might get done tomorrow. There is some fiber glass work to do on the bumper too which i will have to do before paint.... some pics:
The almost finished diff brace:

The new rear floor section which has been mad to house the two side exit silencers:

As for the arches, you can't really tell from a pic the changes as they look pretty similar but evidence to show the working
and also the cut away sections which, with any luck, will look better in the next few days:


Doesn't look like much has been done but there is a "few" hours in there the last couple of days!!! Once these bits are done i will be making the battery tray, mounting the ECU and Injector driver. Then onto the the PS reservoir, header tank and air intake tube.... my tube roller is busted so for now I will use 4" ally tube for that and will build the Ti one at the later date once i have rolled the tube.... The onto the Exhaust and wiring!!!
Oh yeah and the fuel system!... I forgot about the fuel system!!! Quite important that bit! but anyway there isn't a huge amount left to do which has given me a 2nd wind
Thread Starter
Scooby Regular
Joined: Aug 2013
Posts: 233
Likes: 8
From: North London
The '00 Thrid Gen MR2 Roadster was labelled as the MR-S. If you go back in the thread there is a picture of it mounted in front of the drivers wheel behind the bumper.... Its not a small pump no and you'd have to make a cradle for it to sit in. The other issue is, depending on your set up, that the reservoir is part of the pump itself so the top needs to be accessible.
Thread Starter
Scooby Regular
Joined: Aug 2013
Posts: 233
Likes: 8
From: North London
Annoyingly after getting the bugvagain to get cracking with this strange contraption health has managed to get in the way again. After a ten day stage in hospital after surgery I'm back to a six to eight week recovery again.... which is frustrating to say the least....
However just before that I did manage to get a few niggly bits done in the engine. Water system/ header tank and lines are all in and buttoned up, power steering cooler and lines are all in along with all the vacuum system, 4 port boost solenoid and MAP sensor.... I have to take some pics of most of those bits still but here is a couple of the wee header tank. You can also see where the MAP sensor will be mounted although it isn't in the picture....
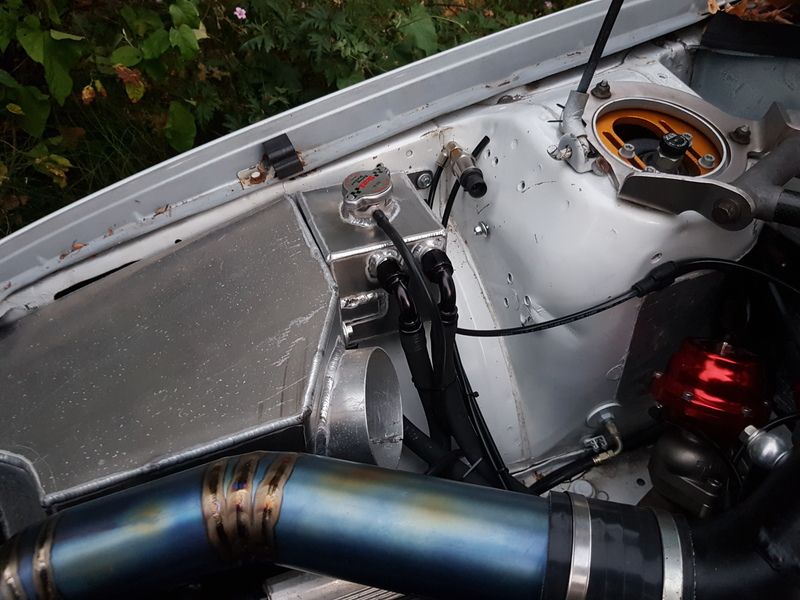
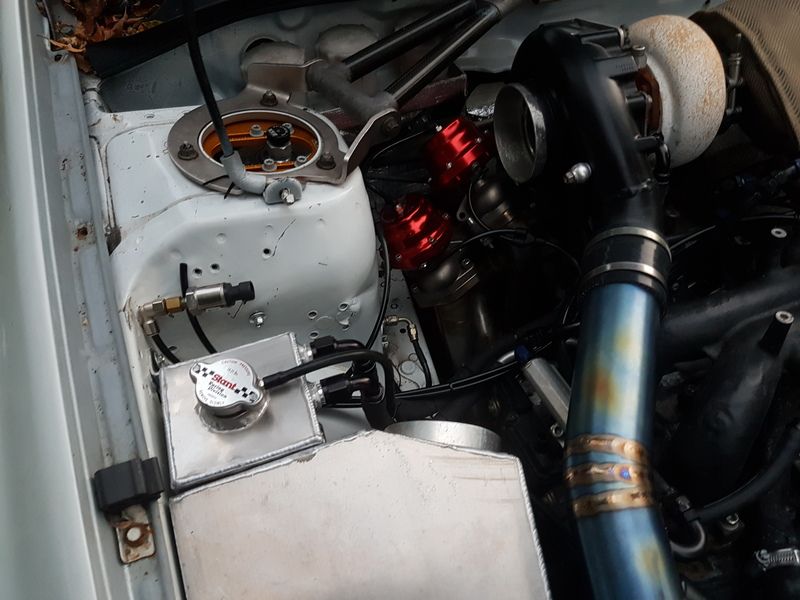
However just before that I did manage to get a few niggly bits done in the engine. Water system/ header tank and lines are all in and buttoned up, power steering cooler and lines are all in along with all the vacuum system, 4 port boost solenoid and MAP sensor.... I have to take some pics of most of those bits still but here is a couple of the wee header tank. You can also see where the MAP sensor will be mounted although it isn't in the picture....


Thread Starter
Scooby Regular
Joined: Aug 2013
Posts: 233
Likes: 8
From: North London
Yeah thanks, there are defiantly a few hours in there !!
So while I'm not able to do anything physical for a bit I've turned my attention to the wiring.... as you know I have pulled all looms and wires out the car so none remain. I did chop the interior loom right down but I have decided to remake that as well as the engine harness.... which means there is a lot to consider.... after going through the eve pin outs, assigning in and outputs etc I decided a good idea would be to draw out all the individual circuits before bringing them together.... this has resulted in and engine look and a lighting and interior loom.... So here is what I came up with as a guide to location, volume of wire required and just a visual reference so I can get my head around it.... the example uses here is the lighting loom....
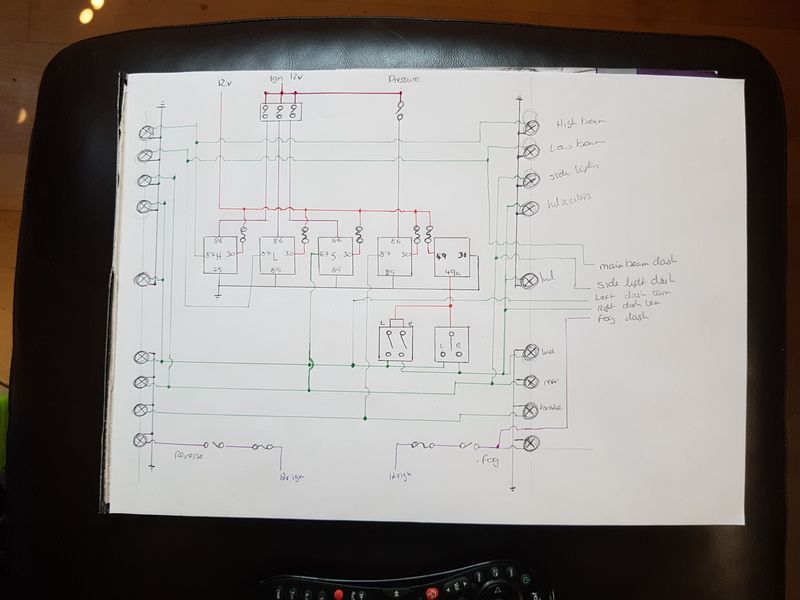
So first off the lighting circuit.... no do bare in mind these are more for visual reference....
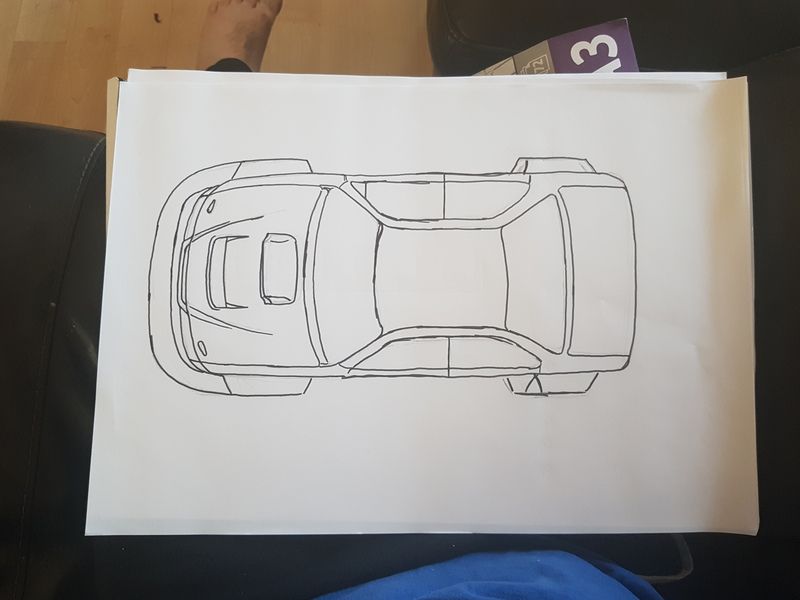
Then I decided to scribble a quick top view of the car.... this then allows me to place another sheet of paper over the top to draw in the circuit....
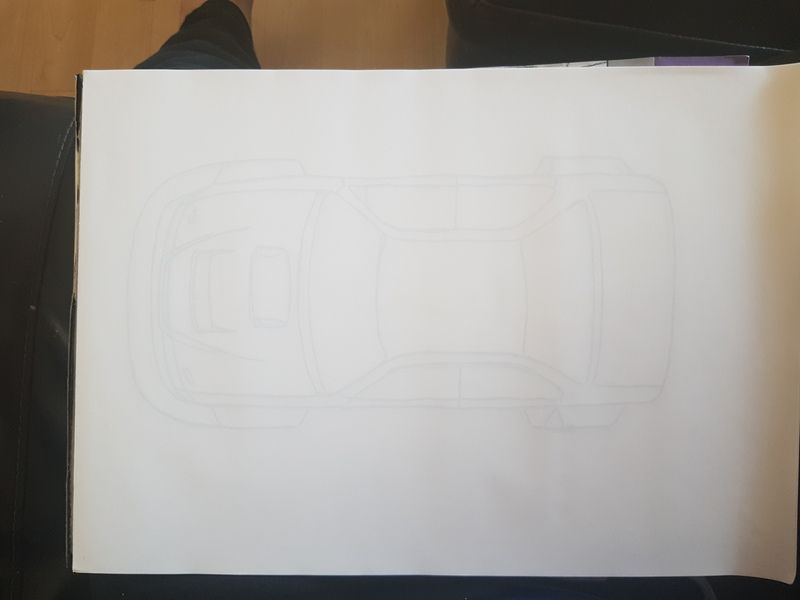
Then on this sheet I can draw in approximate locations of busbars, relays and get a rough idea of the length of wires needed to each circuit..... in this pic is the lighting, power windows and rear screen heater....
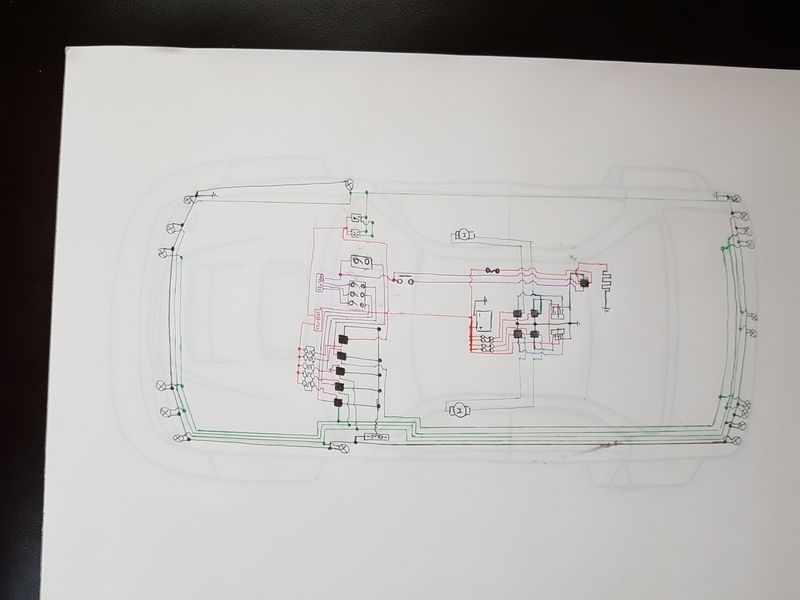
This may seem a little long winded but it does provide me with a less confusing veiw of it all.... I then did the same with the ecu engine harness for the syvecs....
So while I'm not able to do anything physical for a bit I've turned my attention to the wiring.... as you know I have pulled all looms and wires out the car so none remain. I did chop the interior loom right down but I have decided to remake that as well as the engine harness.... which means there is a lot to consider.... after going through the eve pin outs, assigning in and outputs etc I decided a good idea would be to draw out all the individual circuits before bringing them together.... this has resulted in and engine look and a lighting and interior loom.... So here is what I came up with as a guide to location, volume of wire required and just a visual reference so I can get my head around it.... the example uses here is the lighting loom....
So first off the lighting circuit.... no do bare in mind these are more for visual reference....

Then I decided to scribble a quick top view of the car.... this then allows me to place another sheet of paper over the top to draw in the circuit....


Then on this sheet I can draw in approximate locations of busbars, relays and get a rough idea of the length of wires needed to each circuit..... in this pic is the lighting, power windows and rear screen heater....

This may seem a little long winded but it does provide me with a less confusing veiw of it all.... I then did the same with the ecu engine harness for the syvecs....
Thread Starter
Scooby Regular
Joined: Aug 2013
Posts: 233
Likes: 8
From: North London
With the wiring diagrams all now sorted out I turned my attention to the exhaust. Because I'm told that I still can't do too much physical work I turned to the trusty Fusion 360 to make sure all the sizes I had worked out were correct....
You can quite quickly see why I did so much work to the rear floor of the car and the weird design I have decided to go with for the silencers. There are a couple of reasons for this. Side exits are crazy loud as they act as megaphones, to keep the build as compact as possible first for weight, secondly because even with all that work there isn't enough room for more silencers.
The system design goes from the GT40 at 3" and cones up 3.5". The 3.5" then runs all the way back back to the Y pipe where it splits into dual 3" and into the two twin loop mufflers before allowing the noise to escape through the 2" x 5" oval tips. Conventional straight through inline pipes we all know and love as I said in a side exit configuration is very loud. Inverted multi-layer expansion-type silencers widely used by car manufacturers provides stable silencing. This is where the sound/gasses passes trough several divided silencer chambers but has the disadvantages of power loss, larger and heavier than other silencers. As a result of our quest for the ideal design for racing engines, Mugen developed the "twin loop-type silencer," in which the pipe is twisted into two loops and passes straight through the silencer twice. This could be considered the best arrangement as it combines uninterrupted free flowing pipes with a larger amount of sound absorption.... but proof will be in the pudding once it built...
Some pics.... I did get a little carried away in the end!!!!
Scooby Regular
Joined: Aug 2018
Posts: 631
Likes: 88
From: Southampton, UK
It took me several days to read & digest & I've loved every second of it...
However didn't you say around 5 years ago that this was your daily driver & "not really a project"
Completely awesome, especially the latest rendition of the airbox (which I am surprised you don't see more like this rather than just bare cone filters under the engine bay). Is the box open on the underside or is there a direct feed to it?
I salute you & look forwards to more installments on this epic journey
Thread Starter
Scooby Regular
Joined: Aug 2013
Posts: 233
Likes: 8
From: North London
Hey guys and gals!... a distinct absence one here for a while!... unfortunately health struck again and now the crappy weather but fear not.... I'm still collecting parts and things to hopefully get this finished and running soon.... the two big jobs to finish are the wiring and exhaust.... other than that it's just lots of little jobs and lines that need to be made.... hopefully come the summer I can begin to put some miles on the old girl....
As for the RX7; the engine And gearbox are safely stored away but the chassis itself went to another home.... with the Impreza and R32 GTR projects the RX7 was just a step to far for me.... however the motor that was in it shall become part of another plan once the other two are done.... very sad to see it go but with the proity on the other two it was better to let it go....
As for the RX7; the engine And gearbox are safely stored away but the chassis itself went to another home.... with the Impreza and R32 GTR projects the RX7 was just a step to far for me.... however the motor that was in it shall become part of another plan once the other two are done.... very sad to see it go but with the proity on the other two it was better to let it go....

As for the RX7; the engine And gearbox are safely stored away but the chassis itself went to another home.... with the Impreza and R32 GTR projects the RX7 was just a step to far for me.... however the motor that was in it shall become part of another plan once the other two are done.... very sad to see it go but with the proity on the other two it was better to let it go....
Thread Starter
Scooby Regular
Joined: Aug 2013
Posts: 233
Likes: 8
From: North London
Like a phoenix from the ashes it rises again!... Back in the world of the living.... Lots of titanium due in the next week or so for the exhaust... All the welding to be done!!!!
